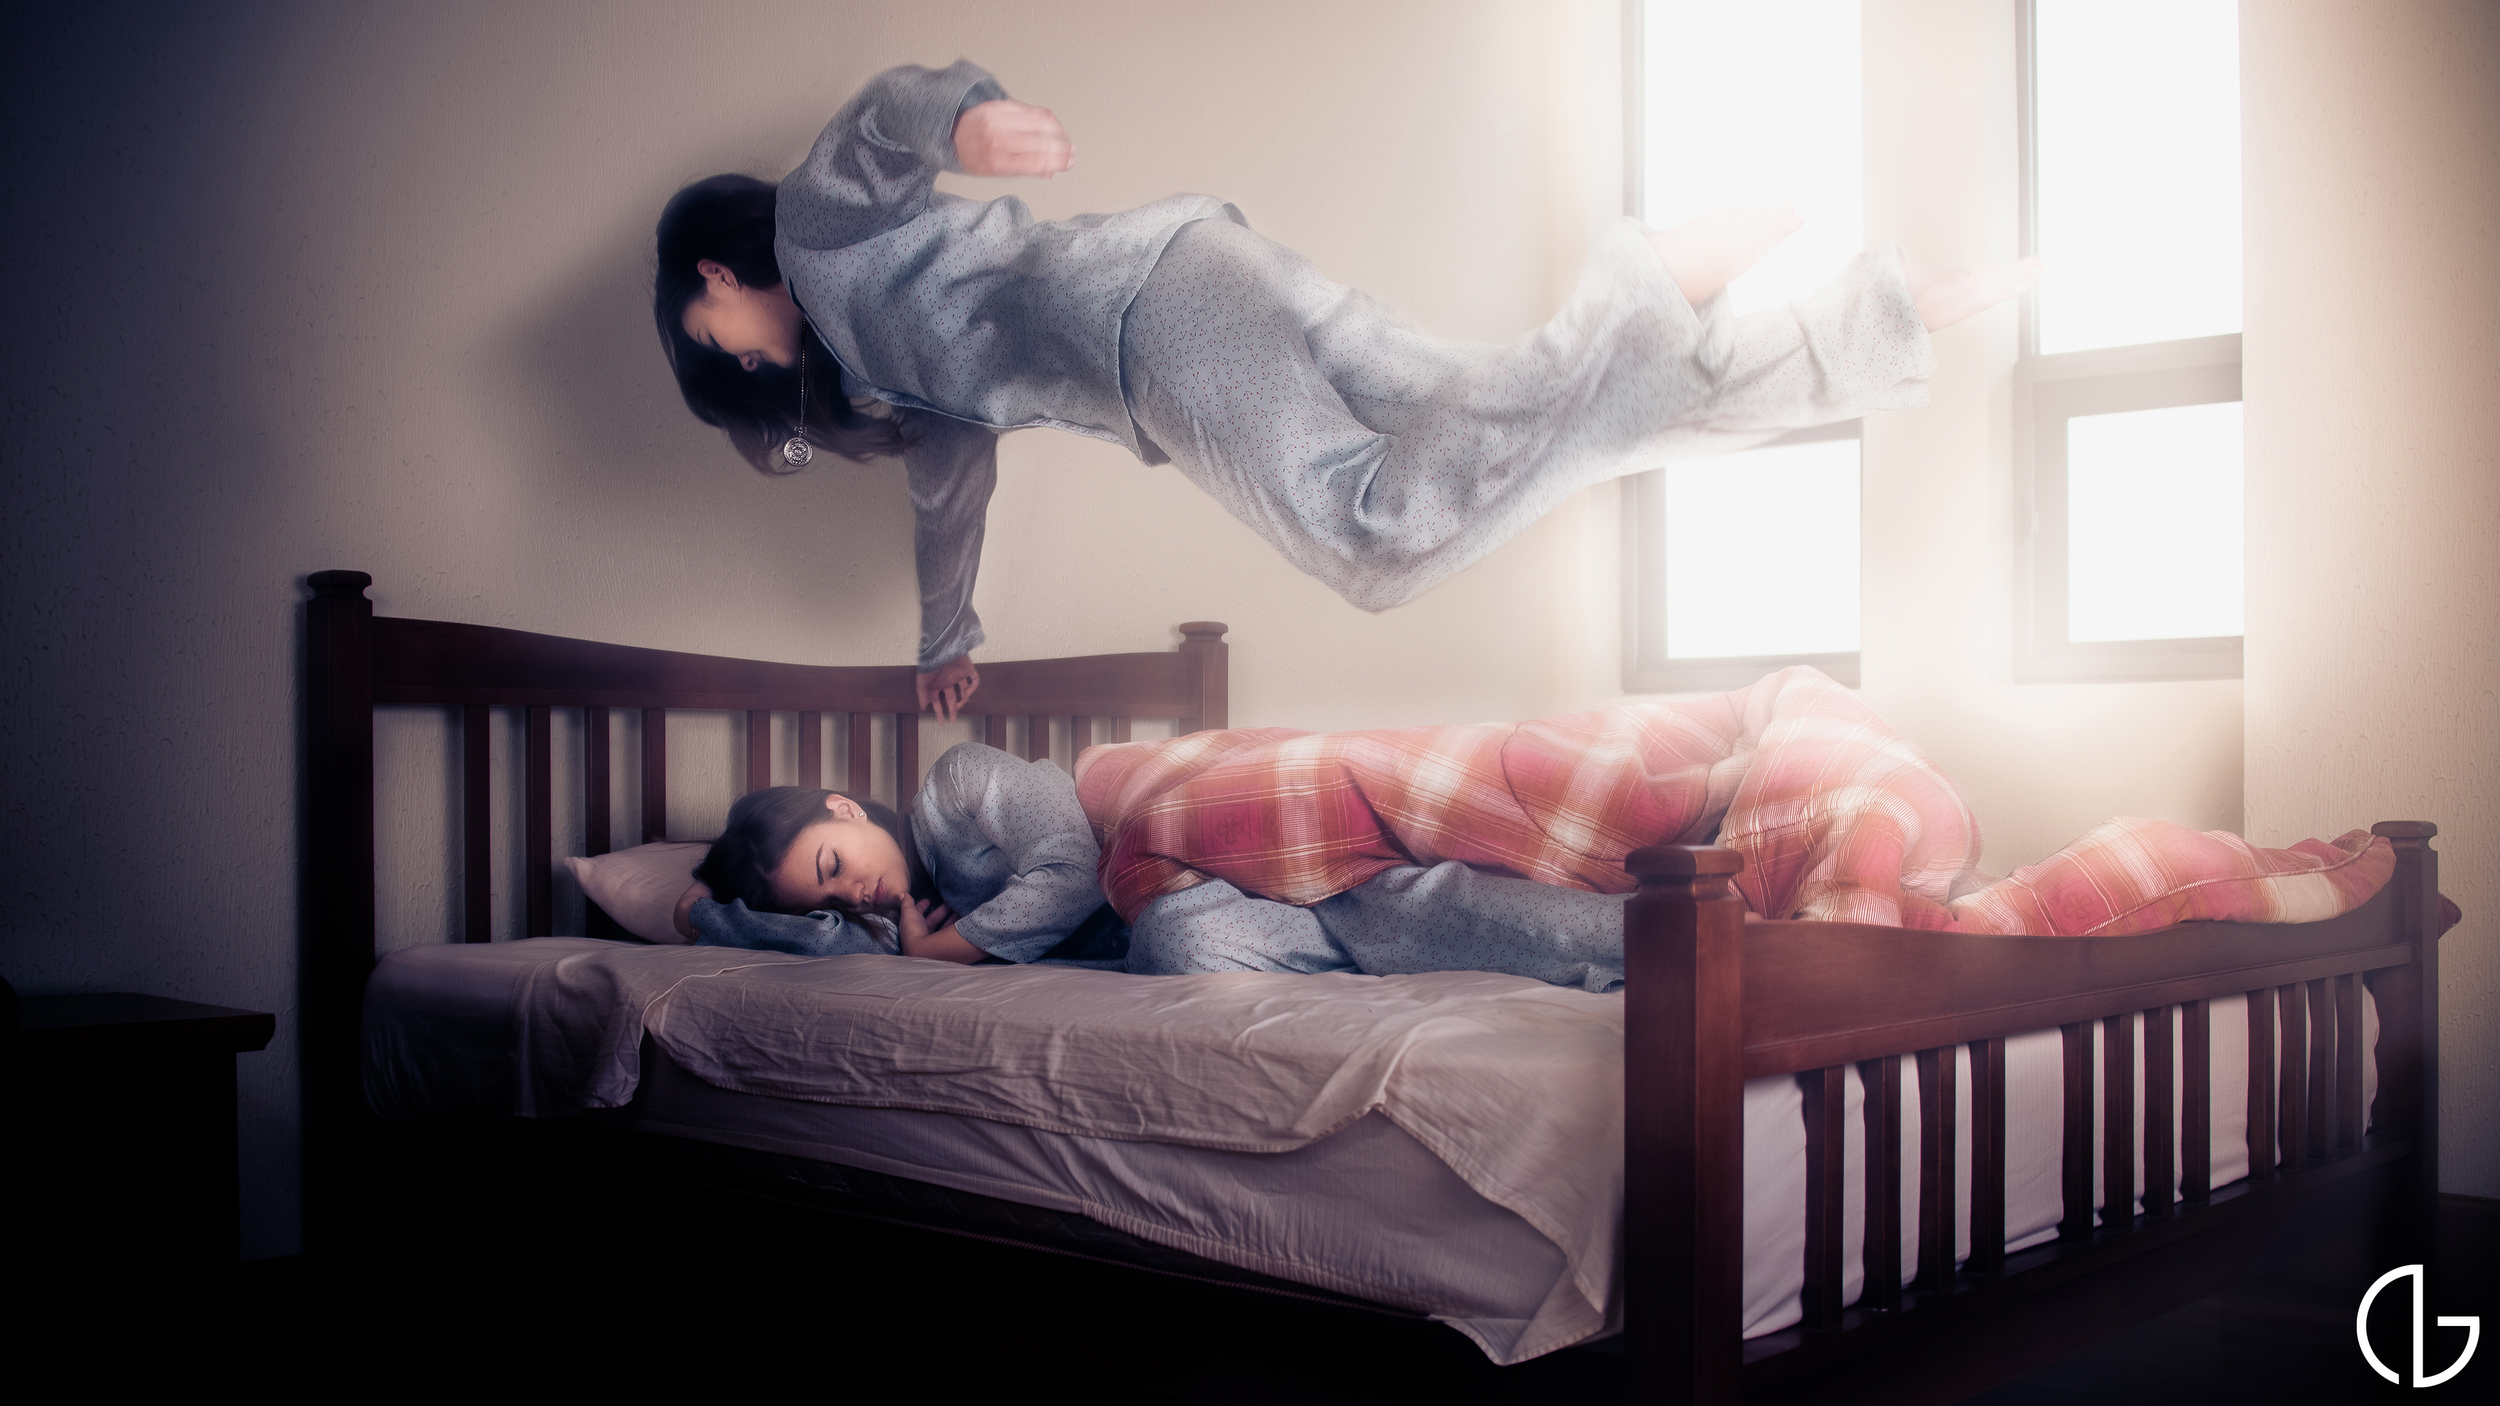
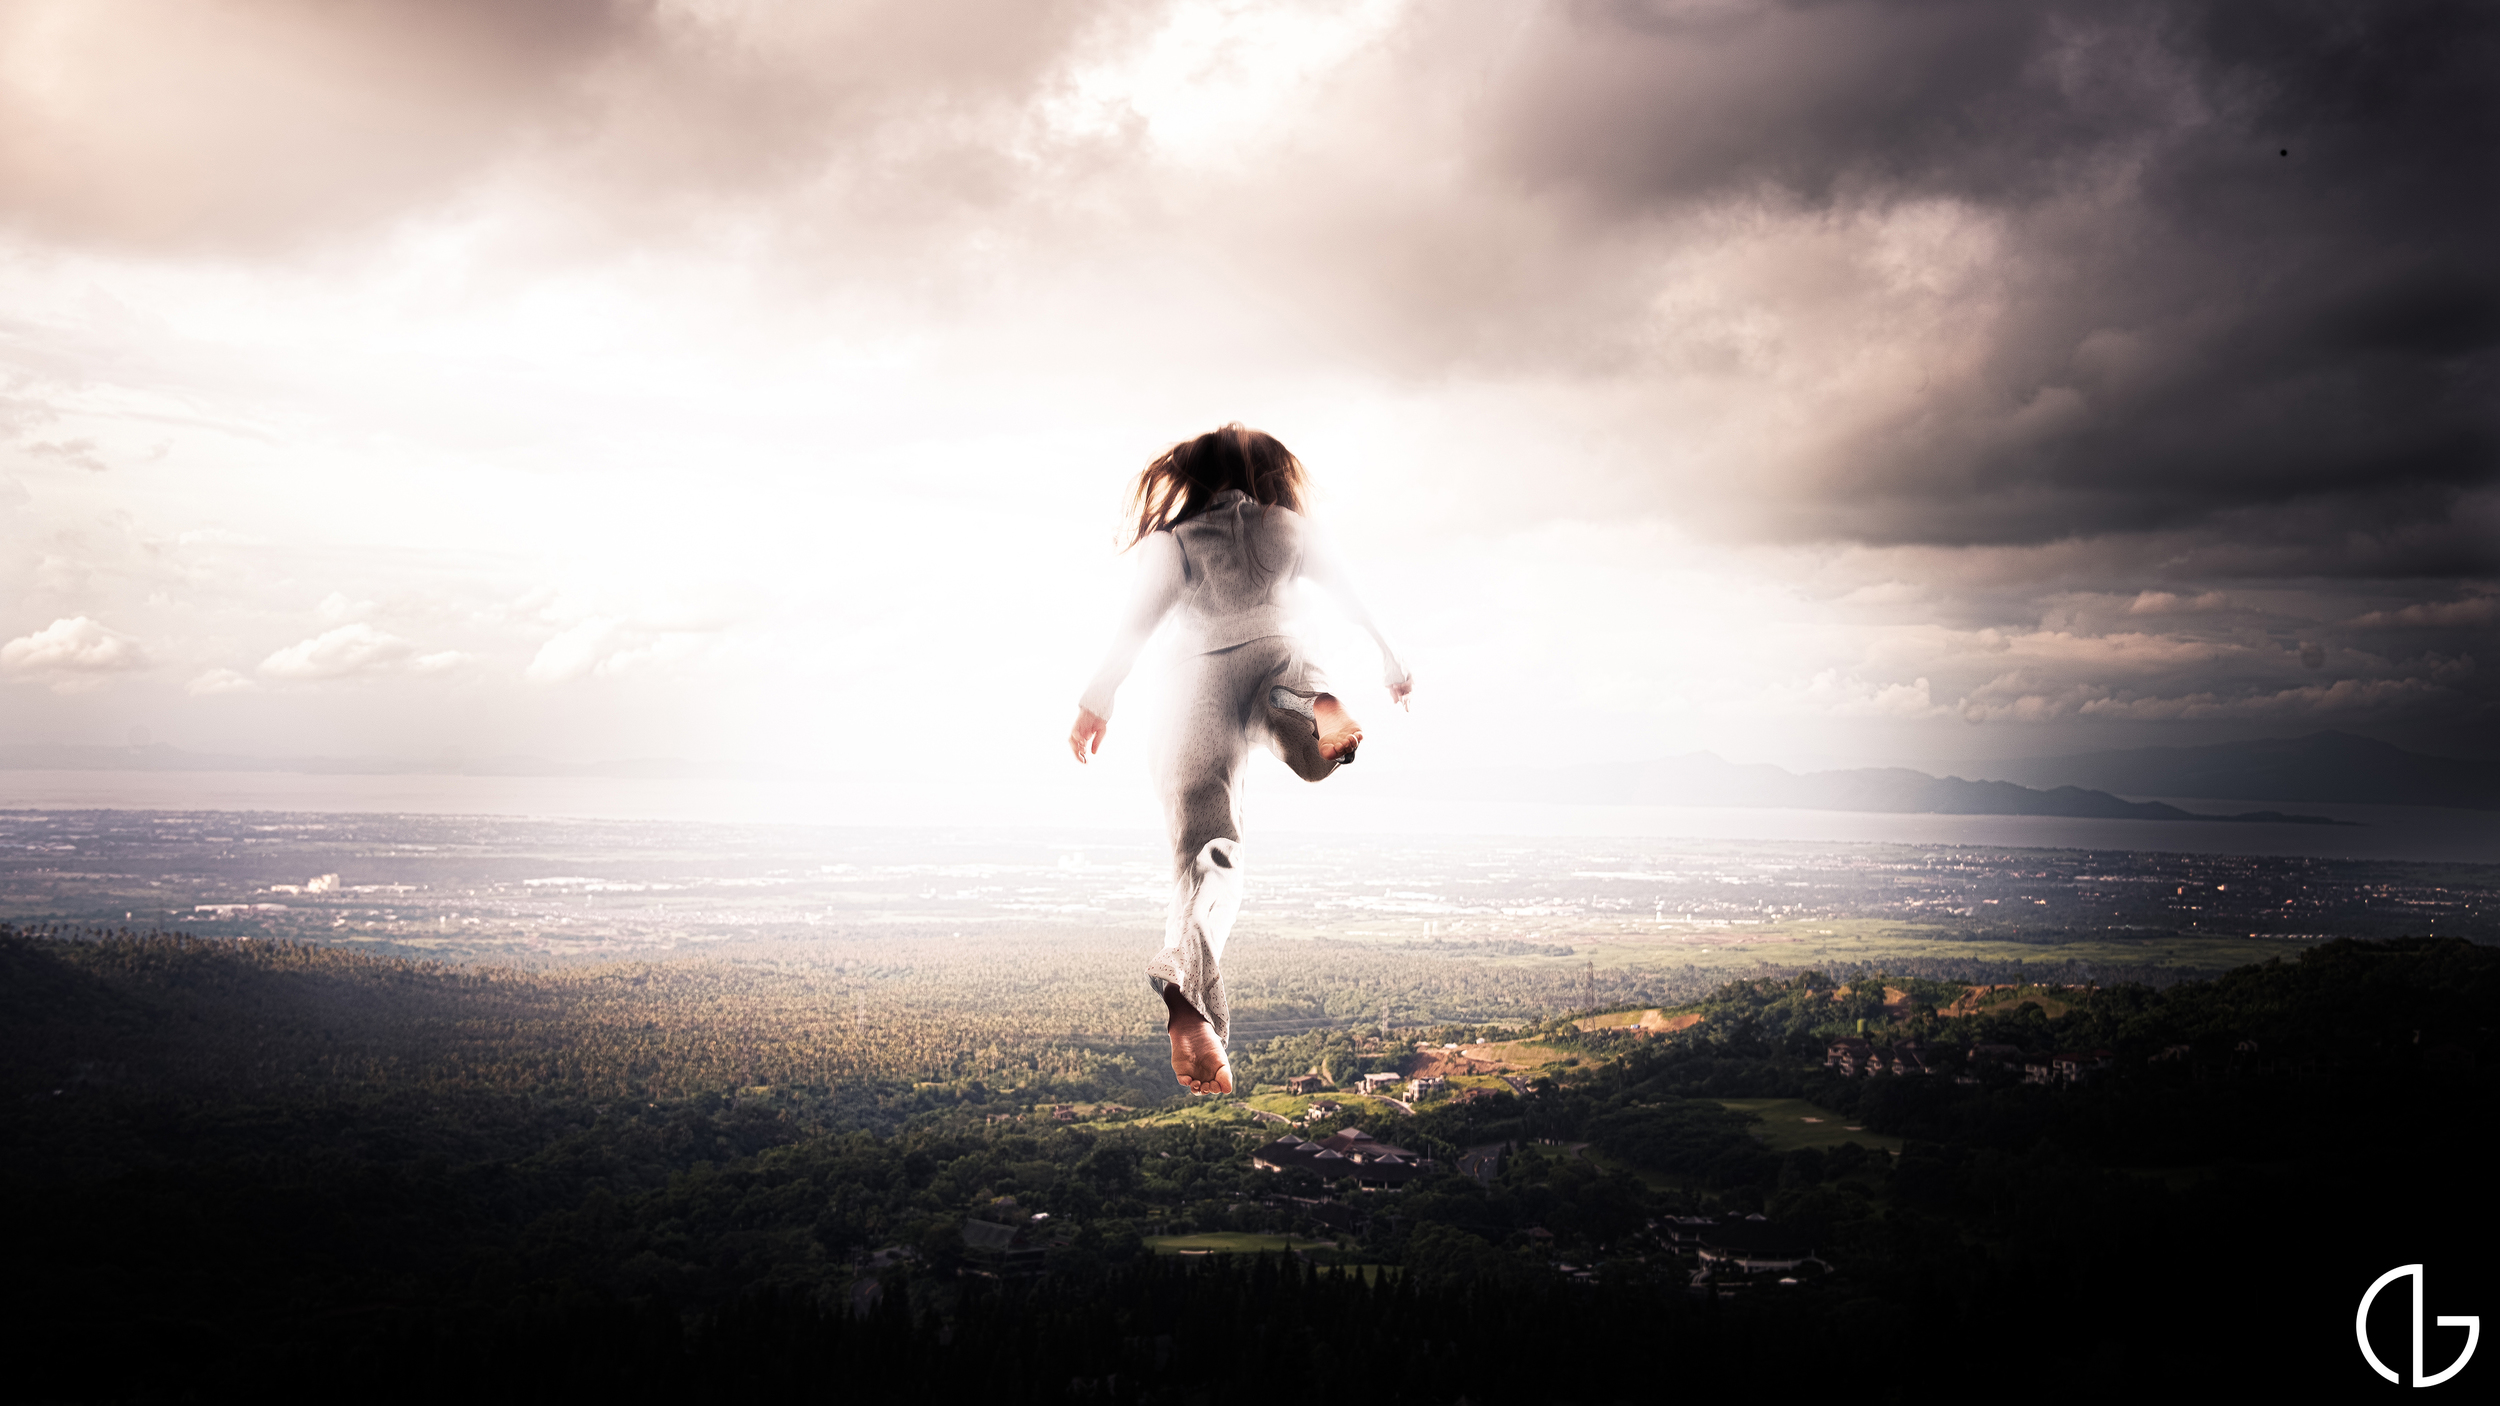
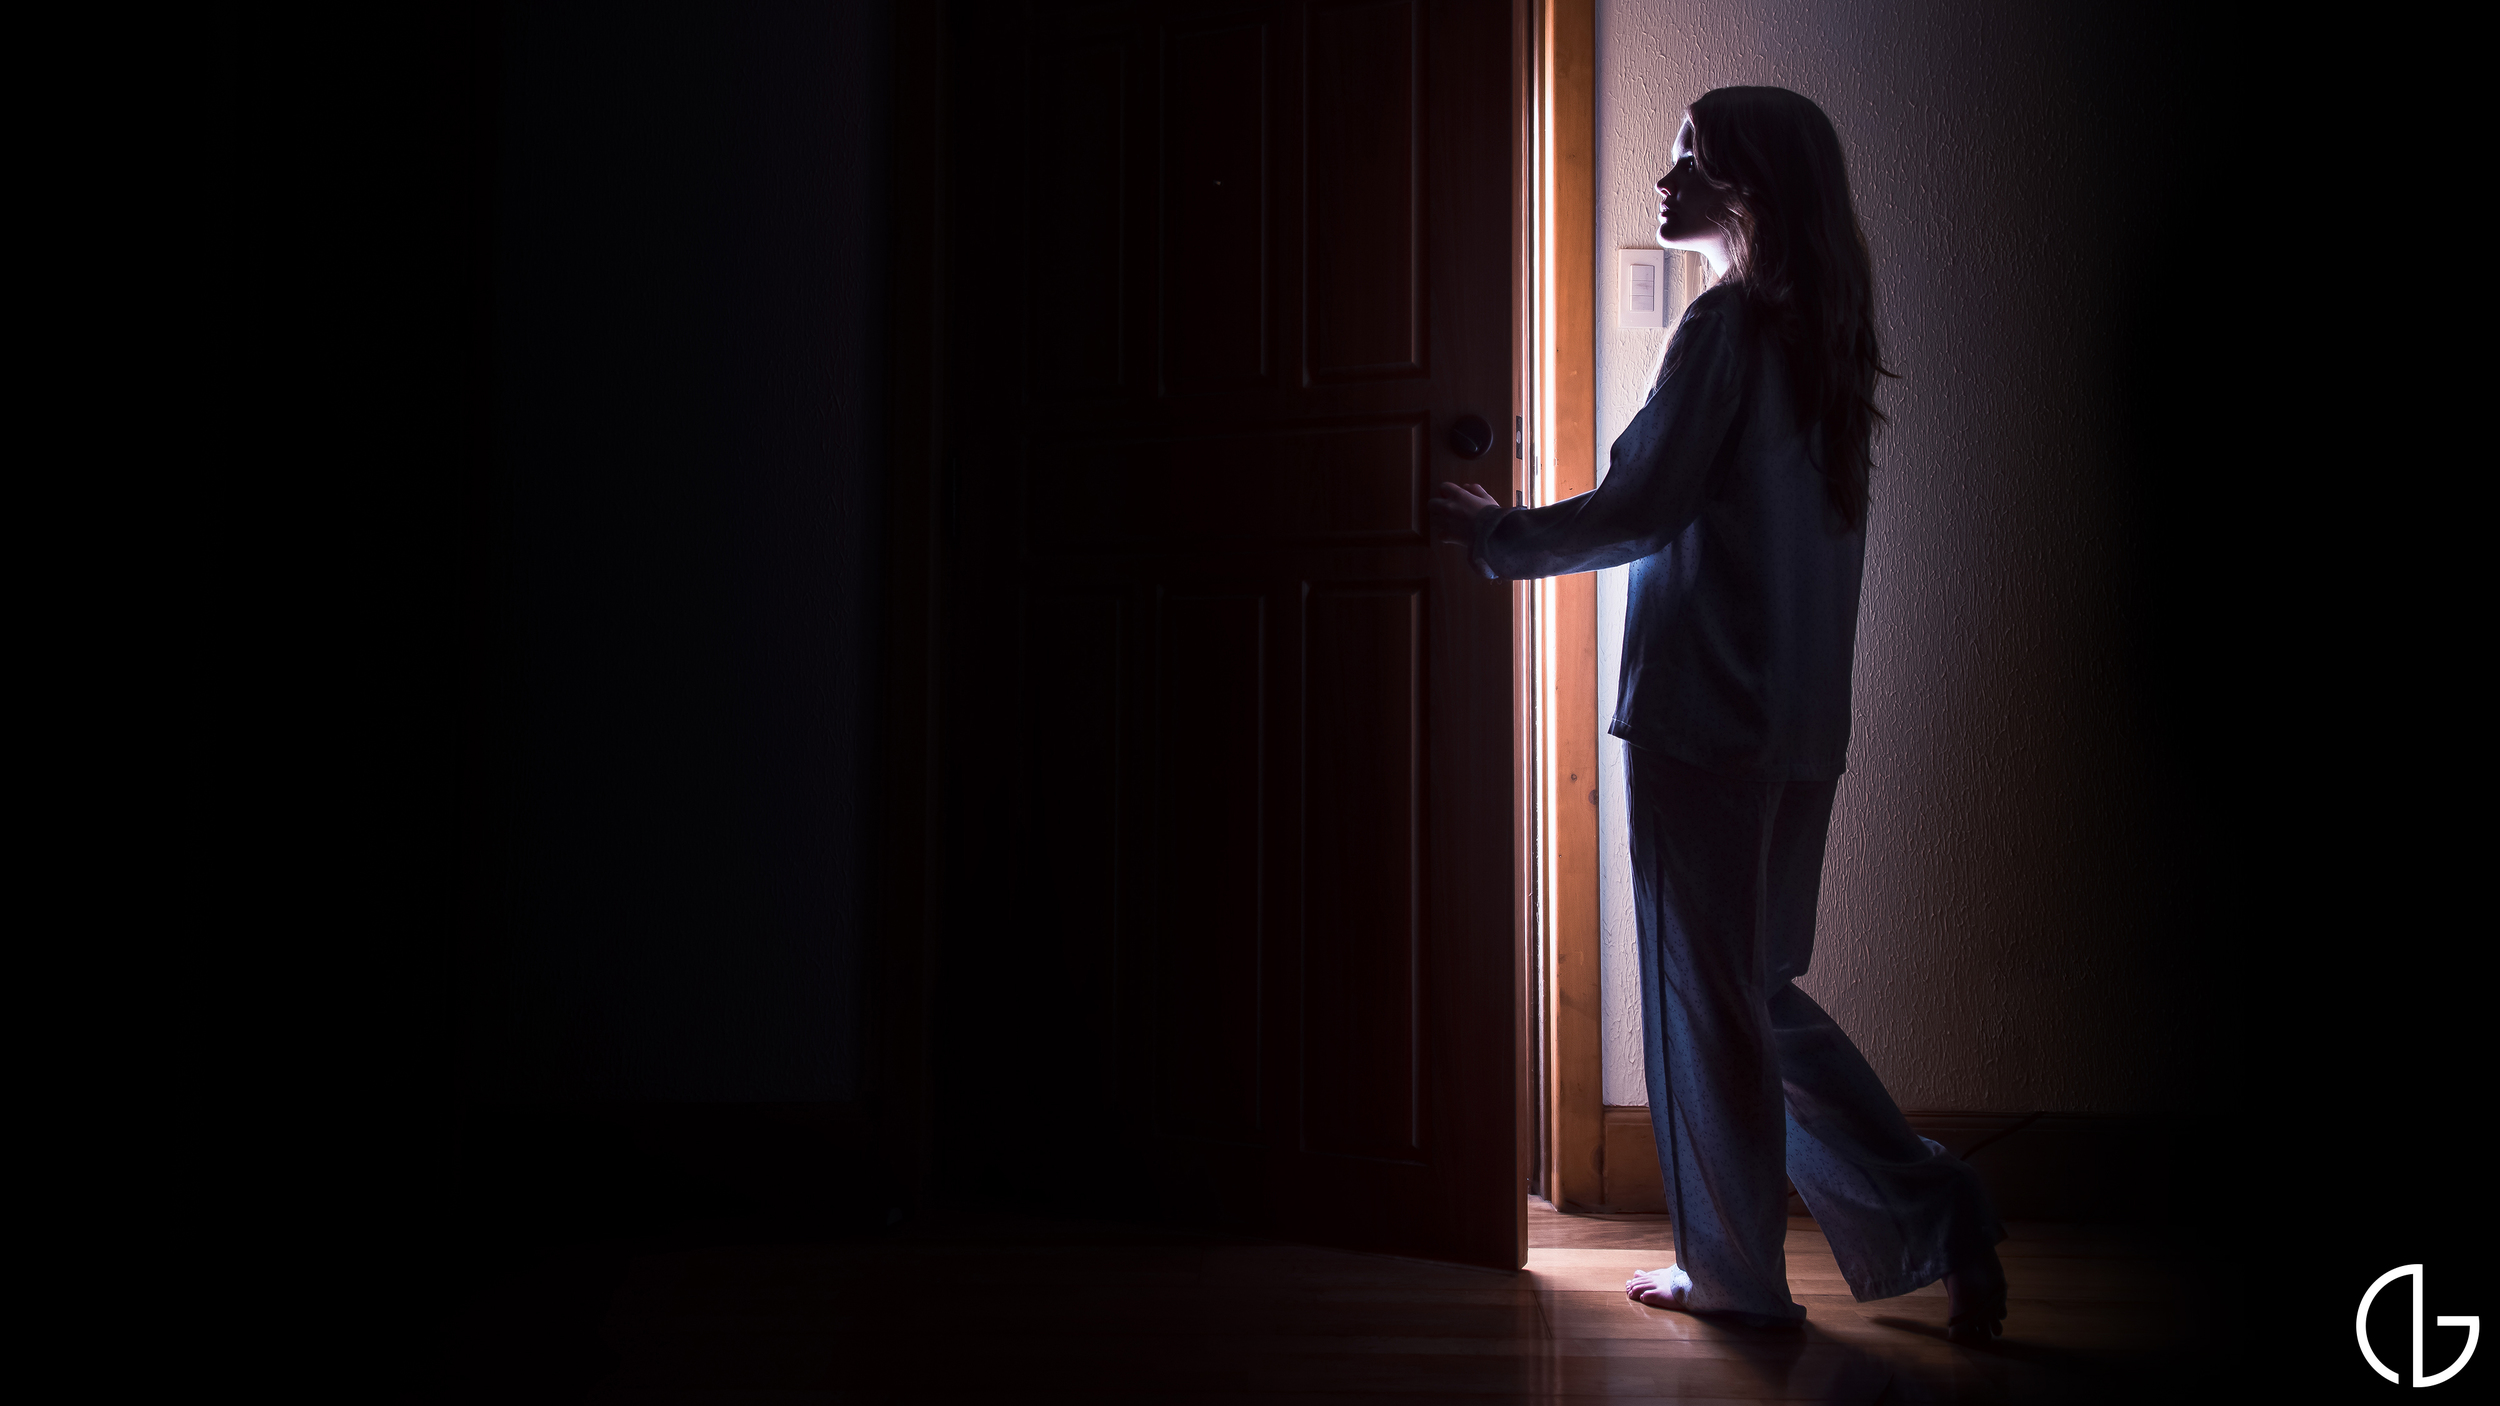
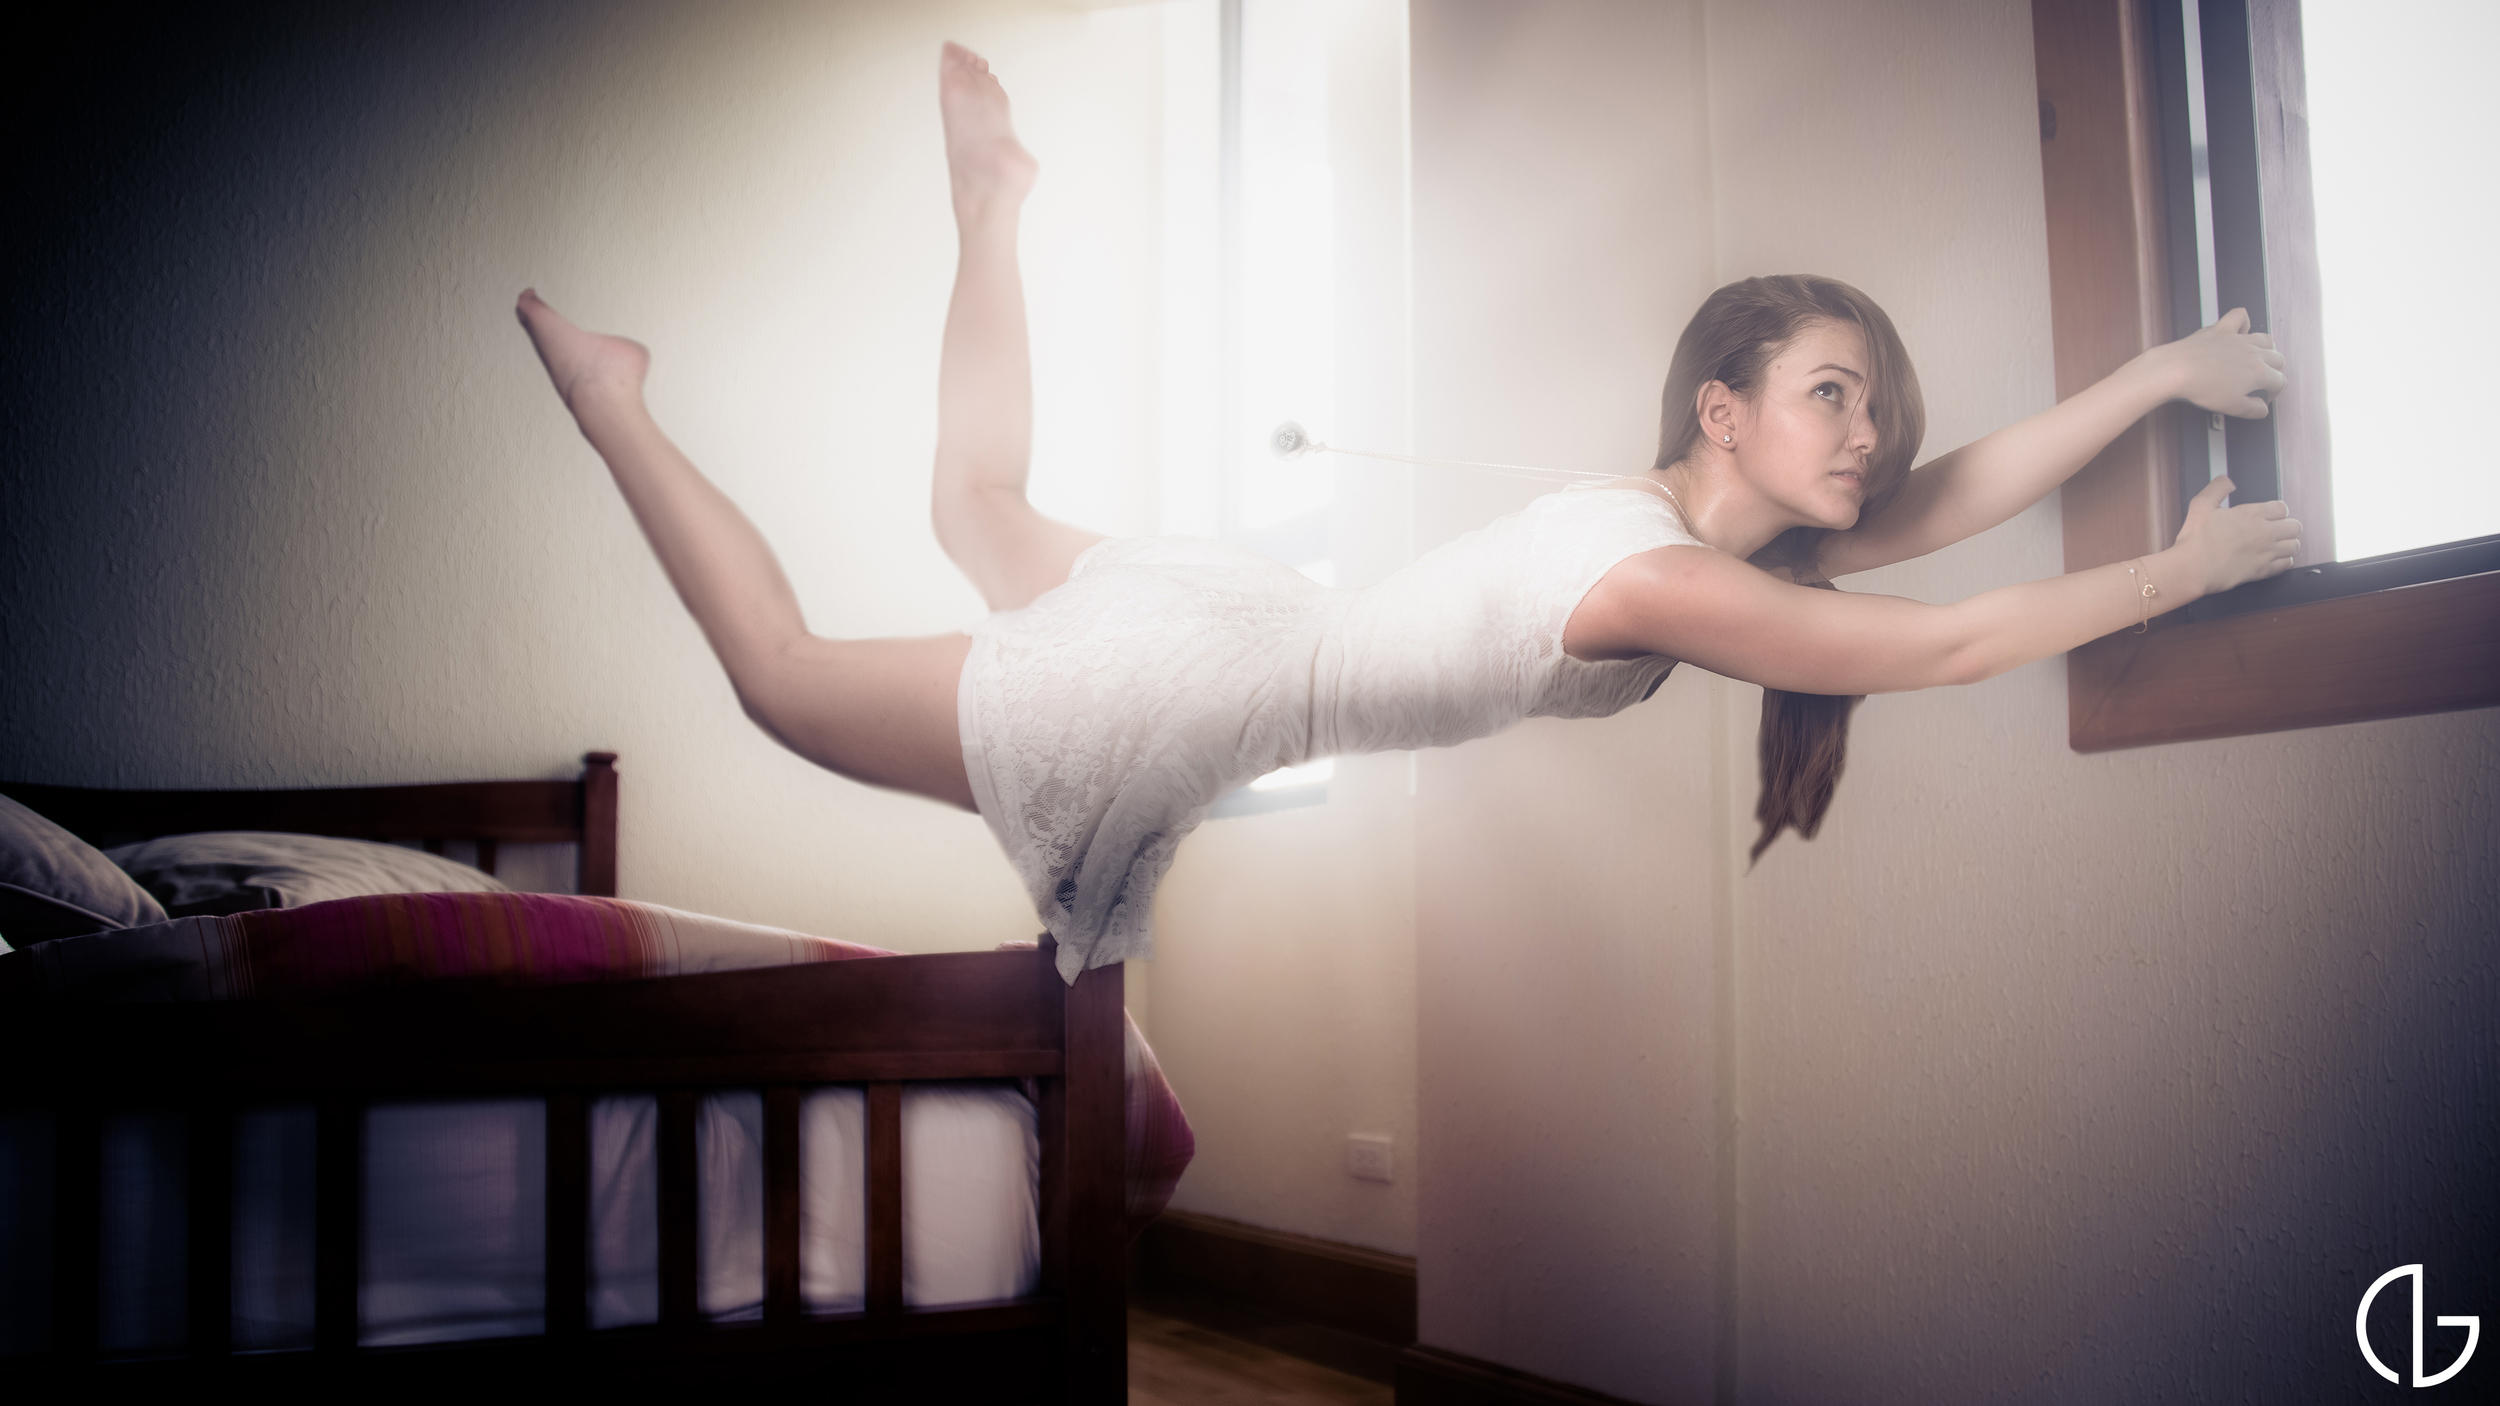
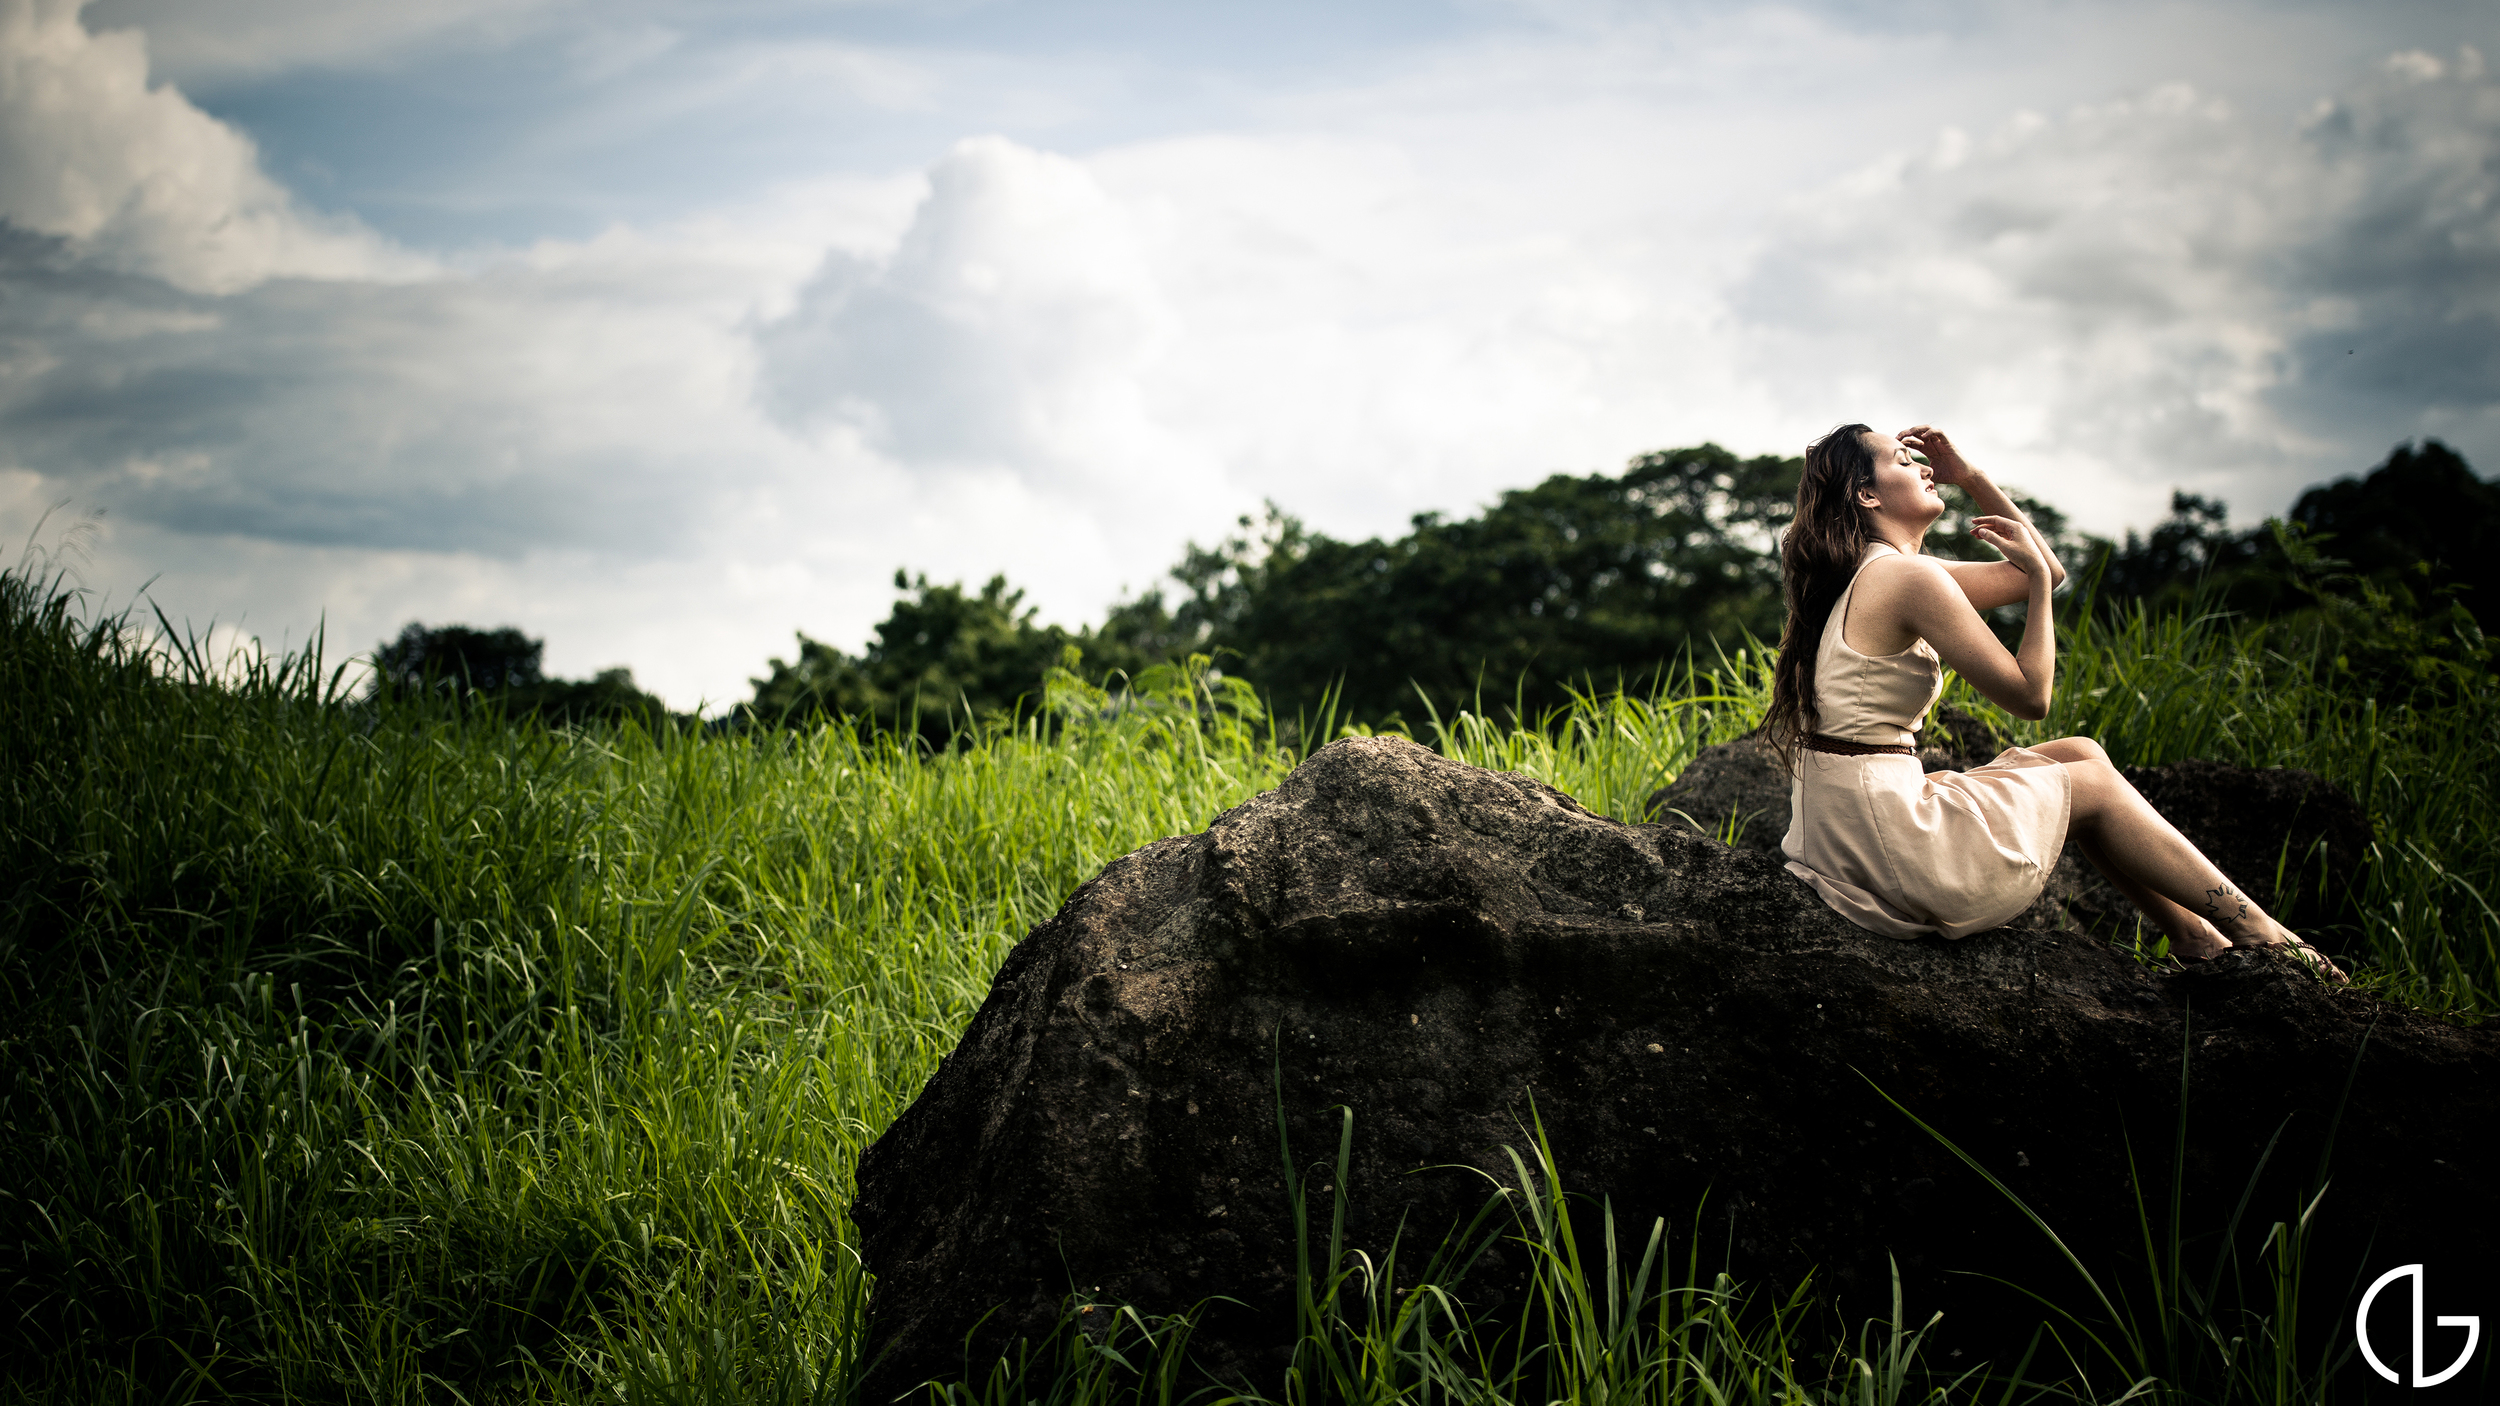
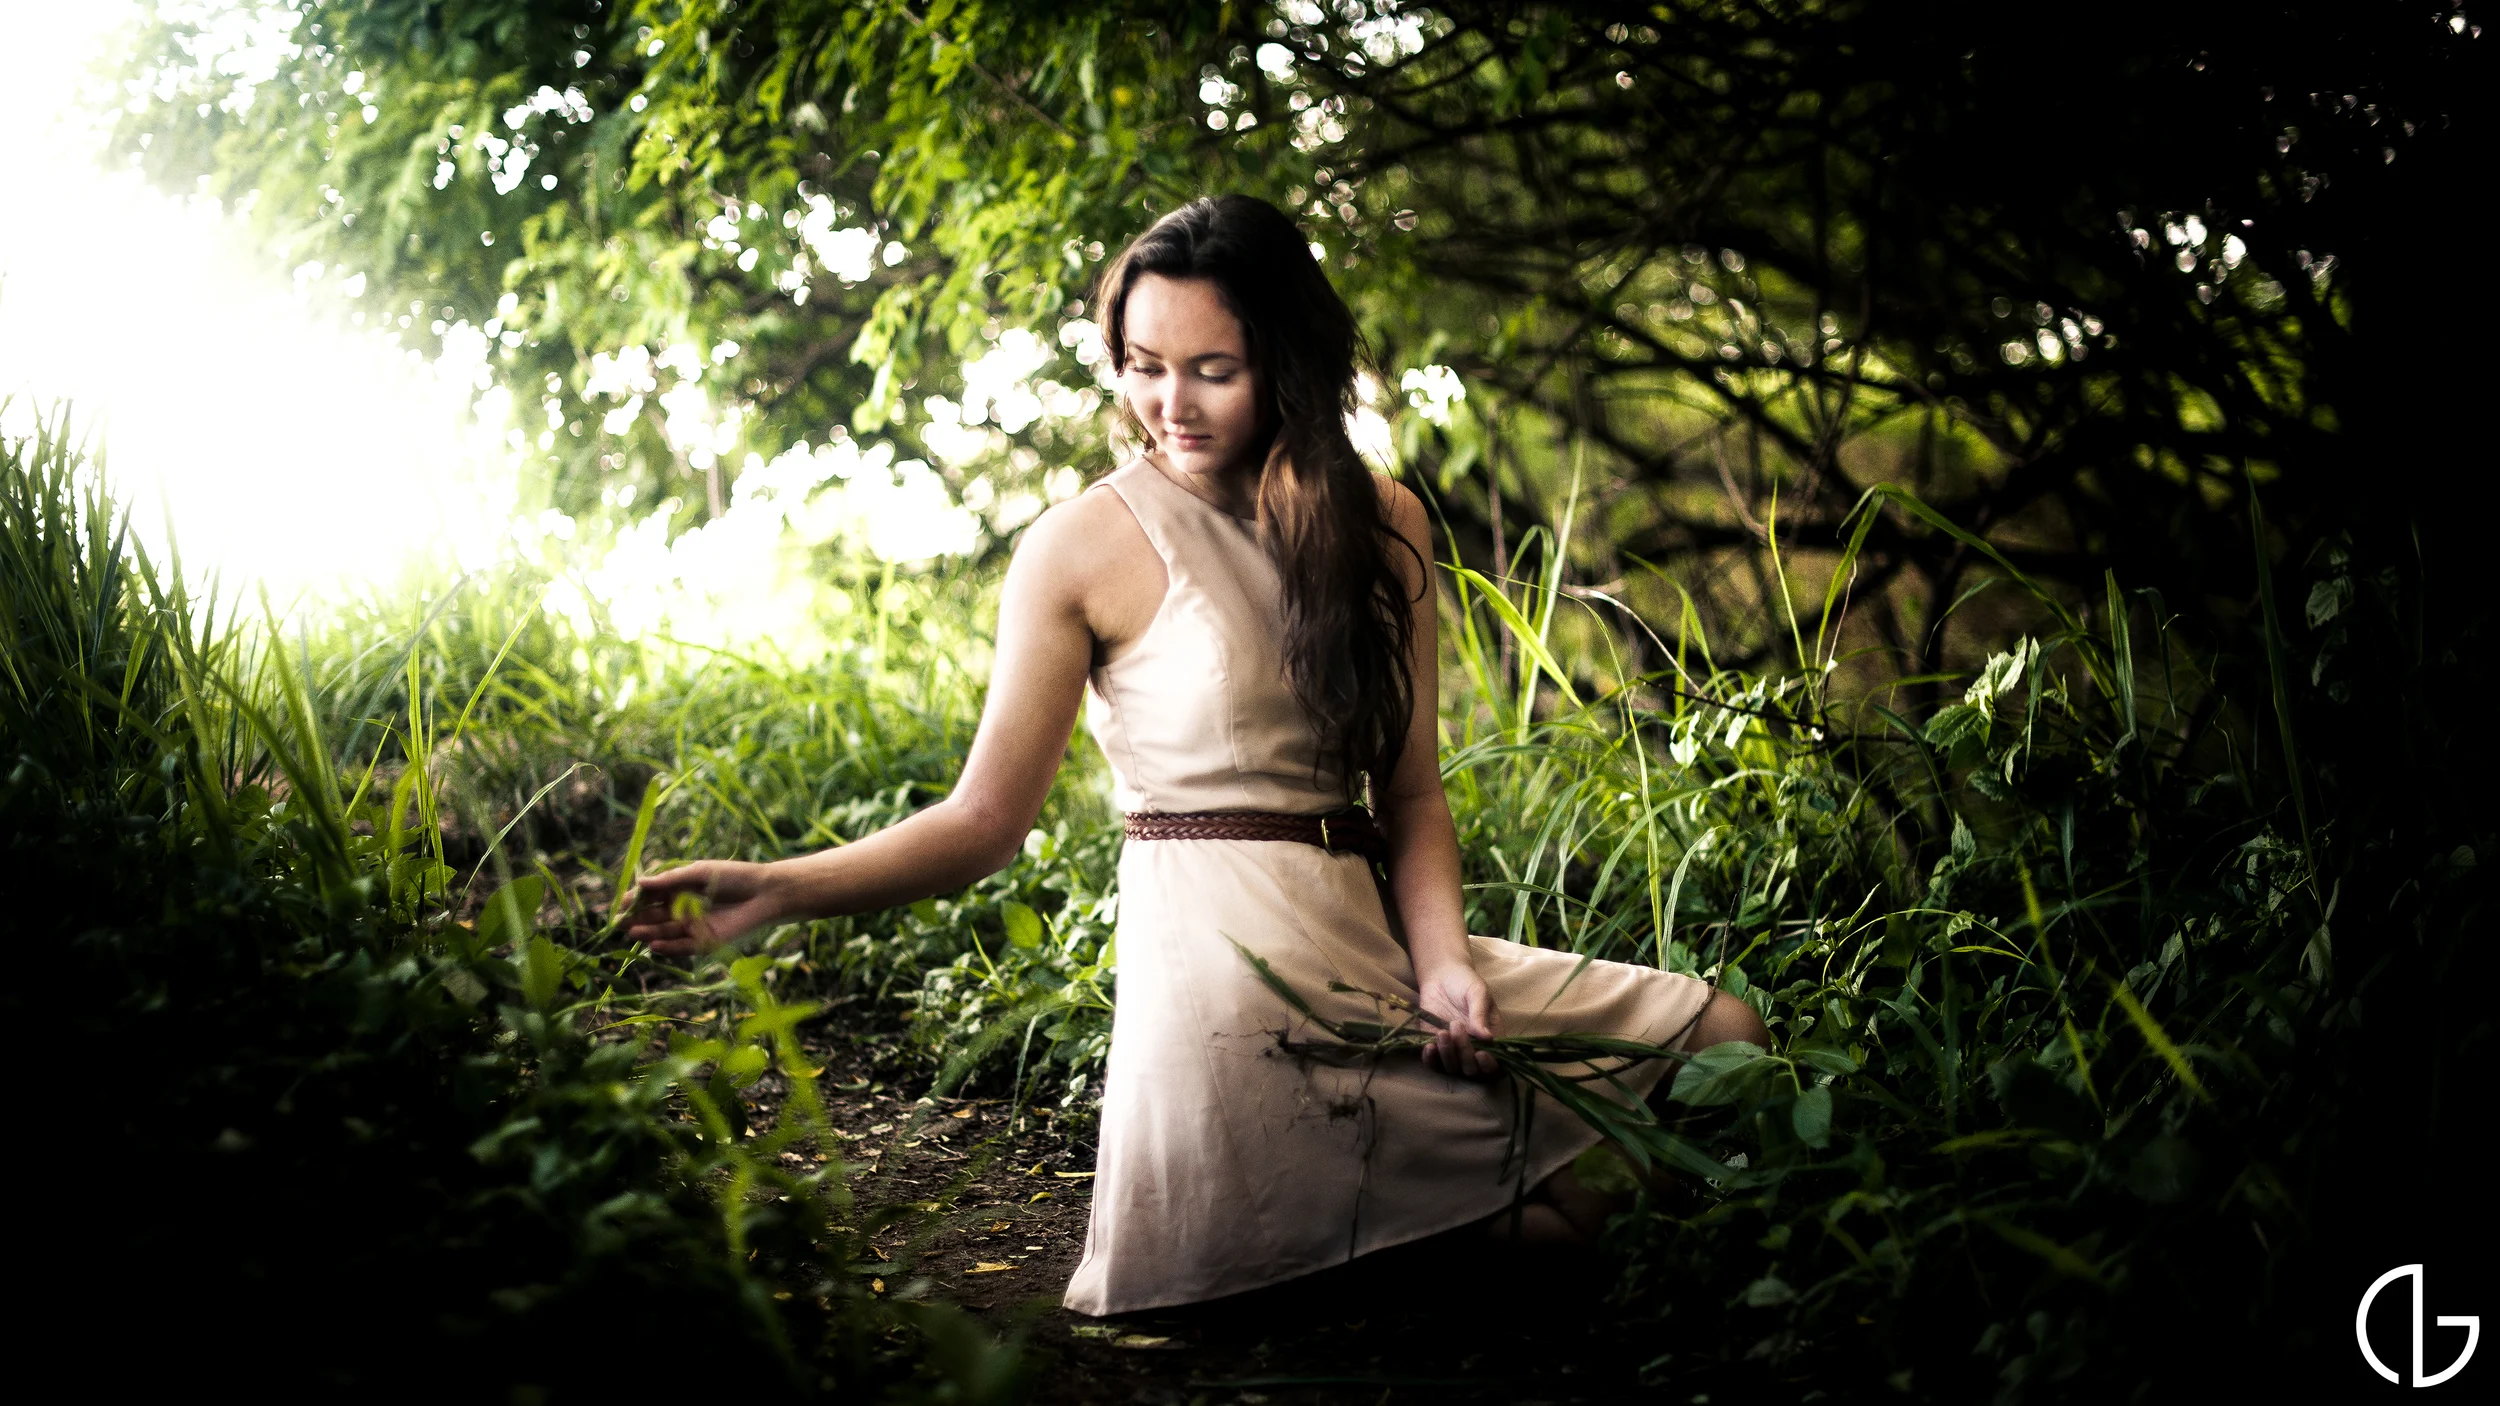
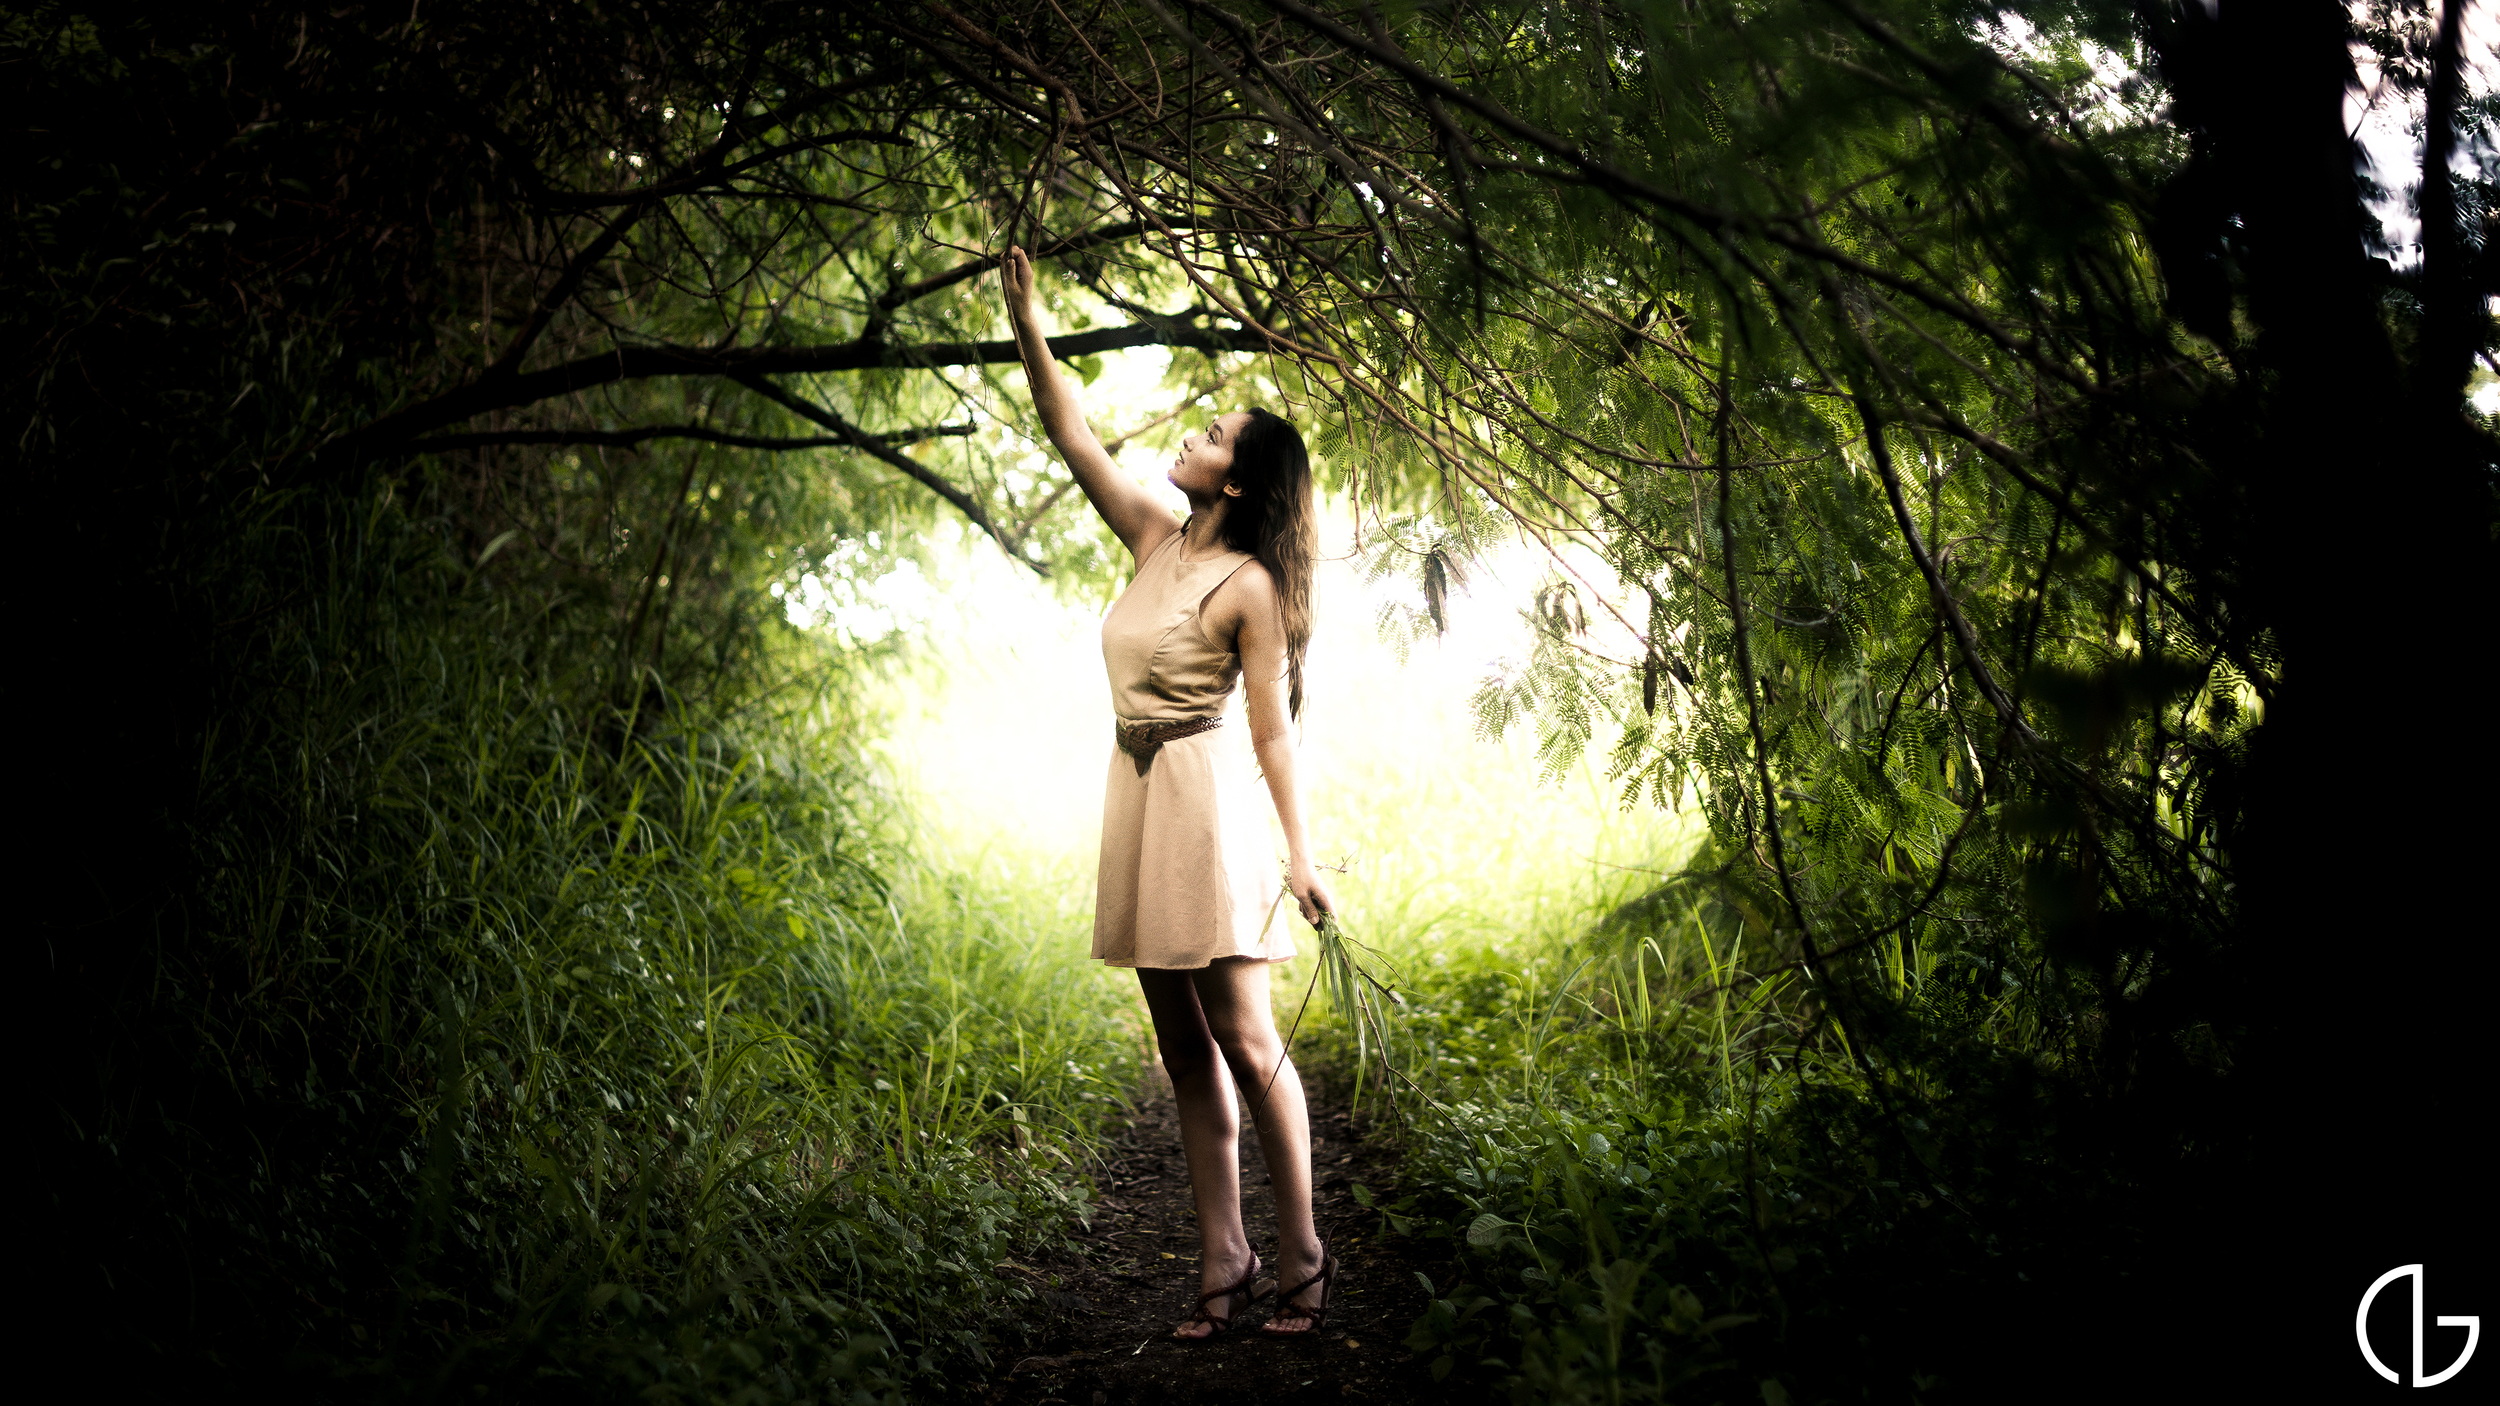
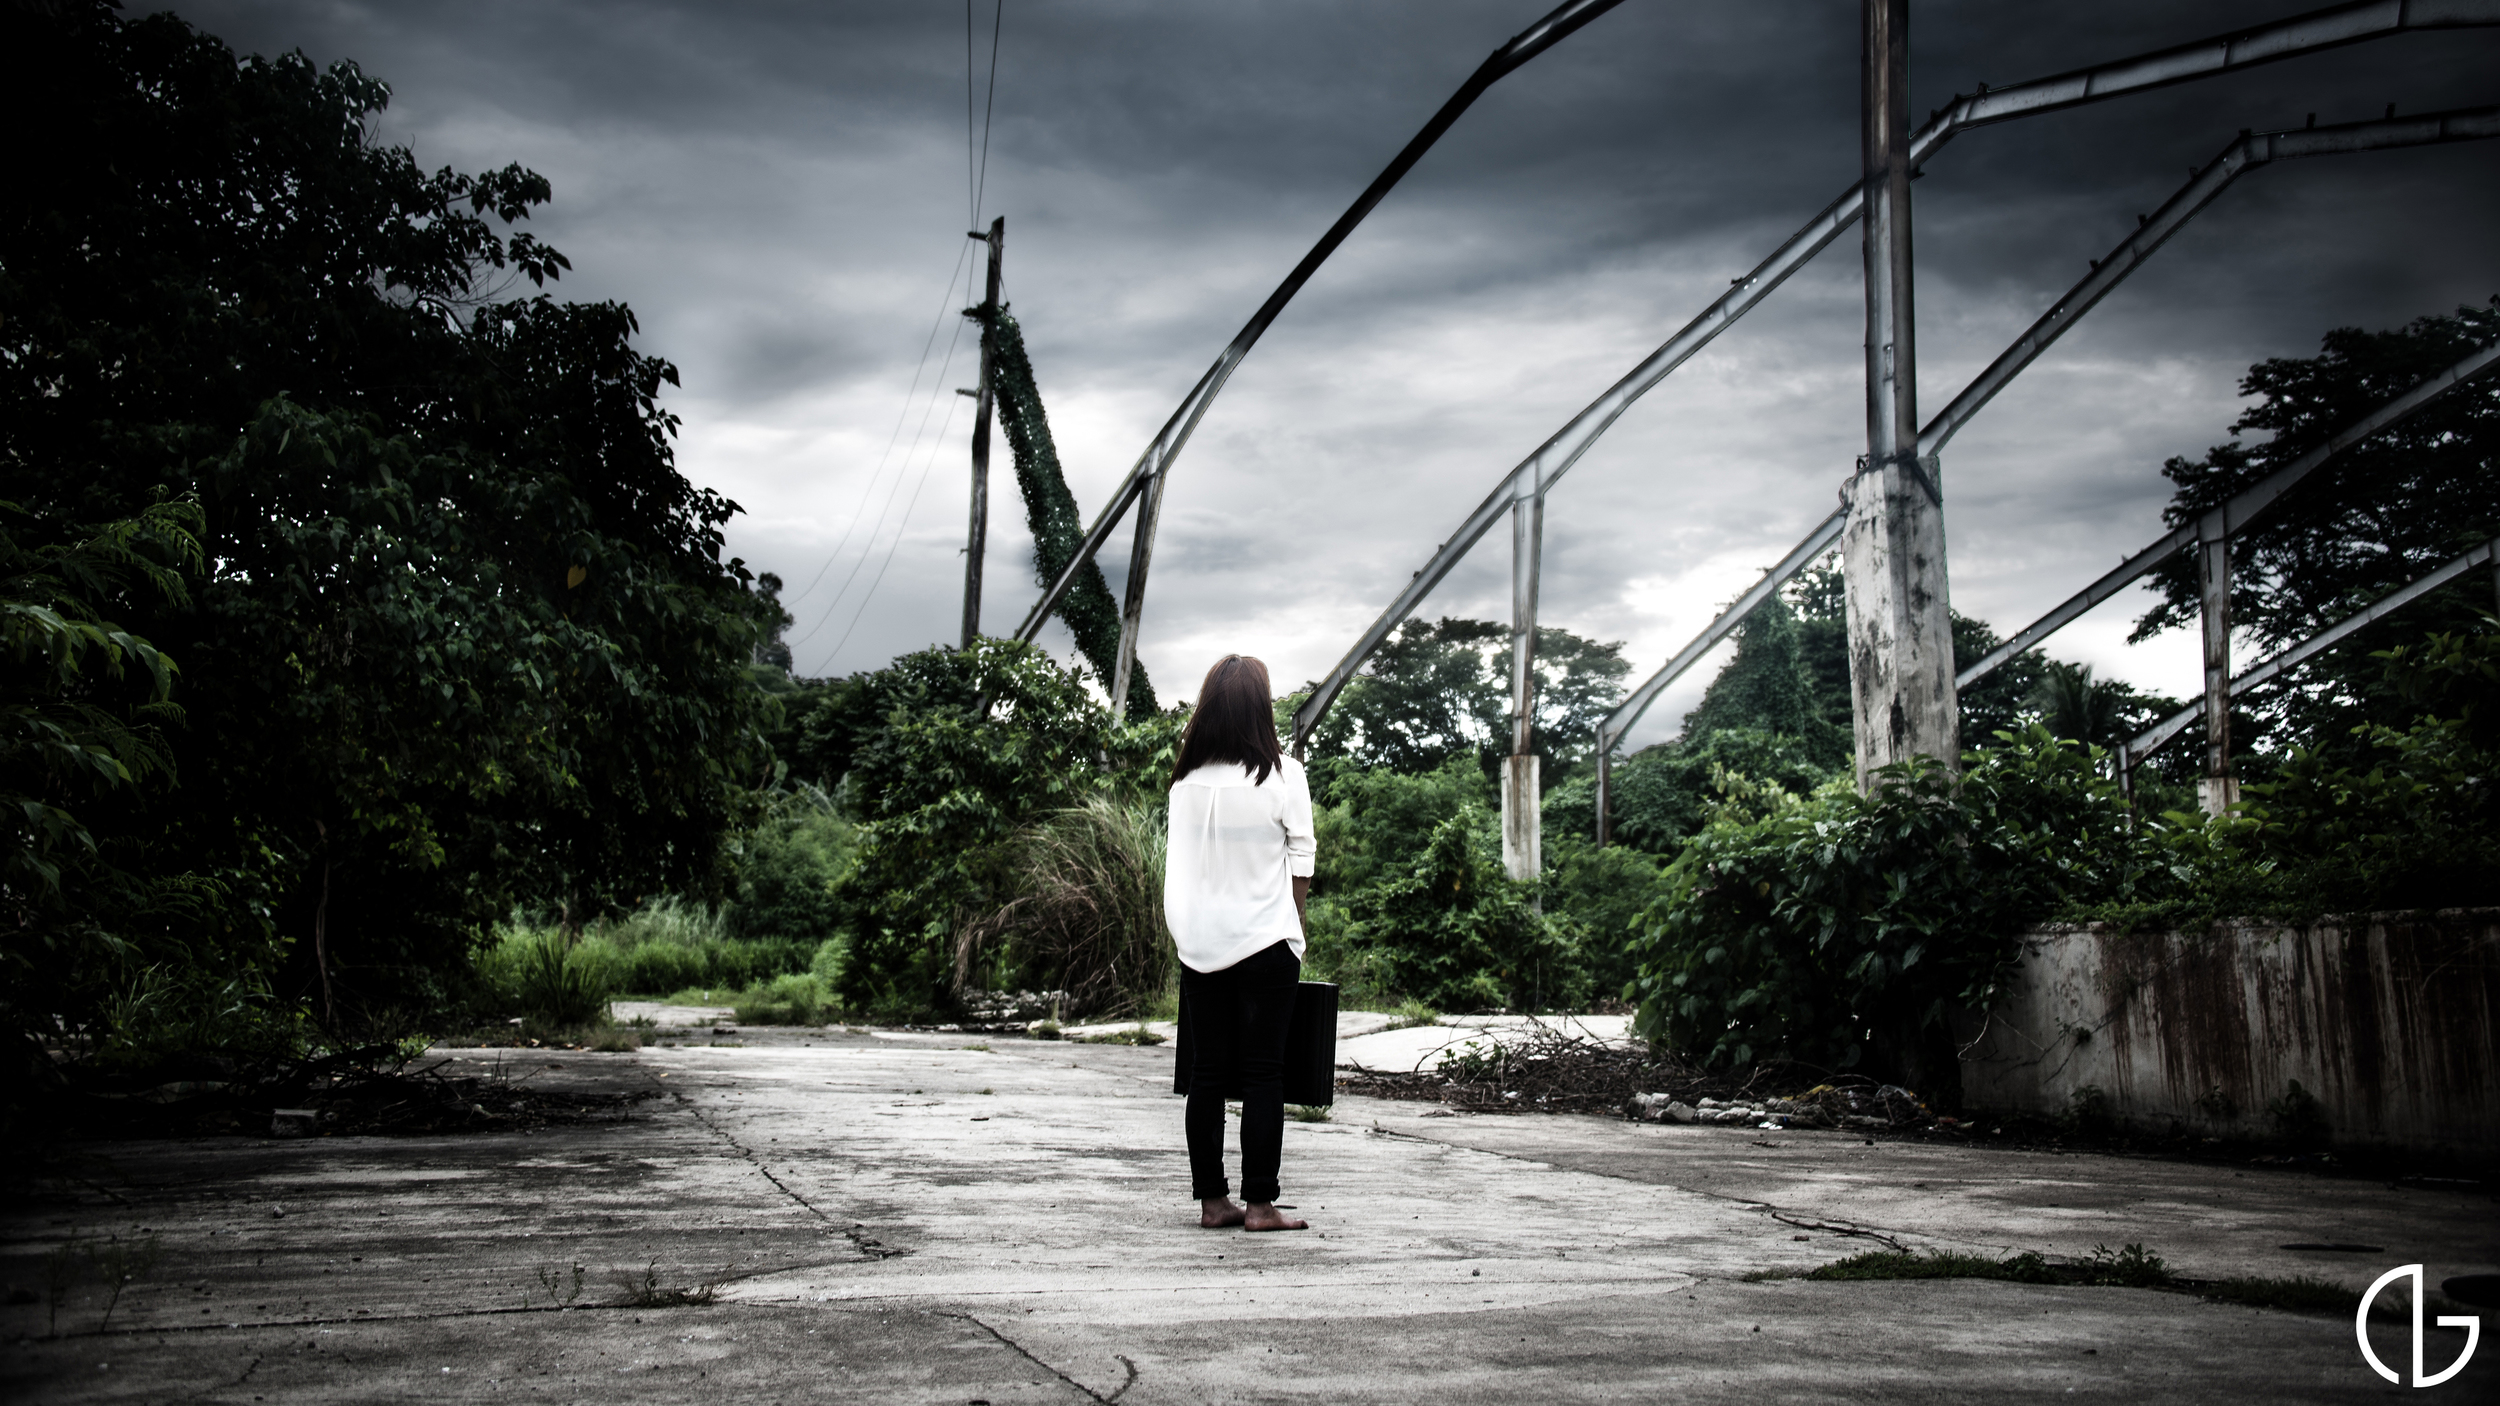
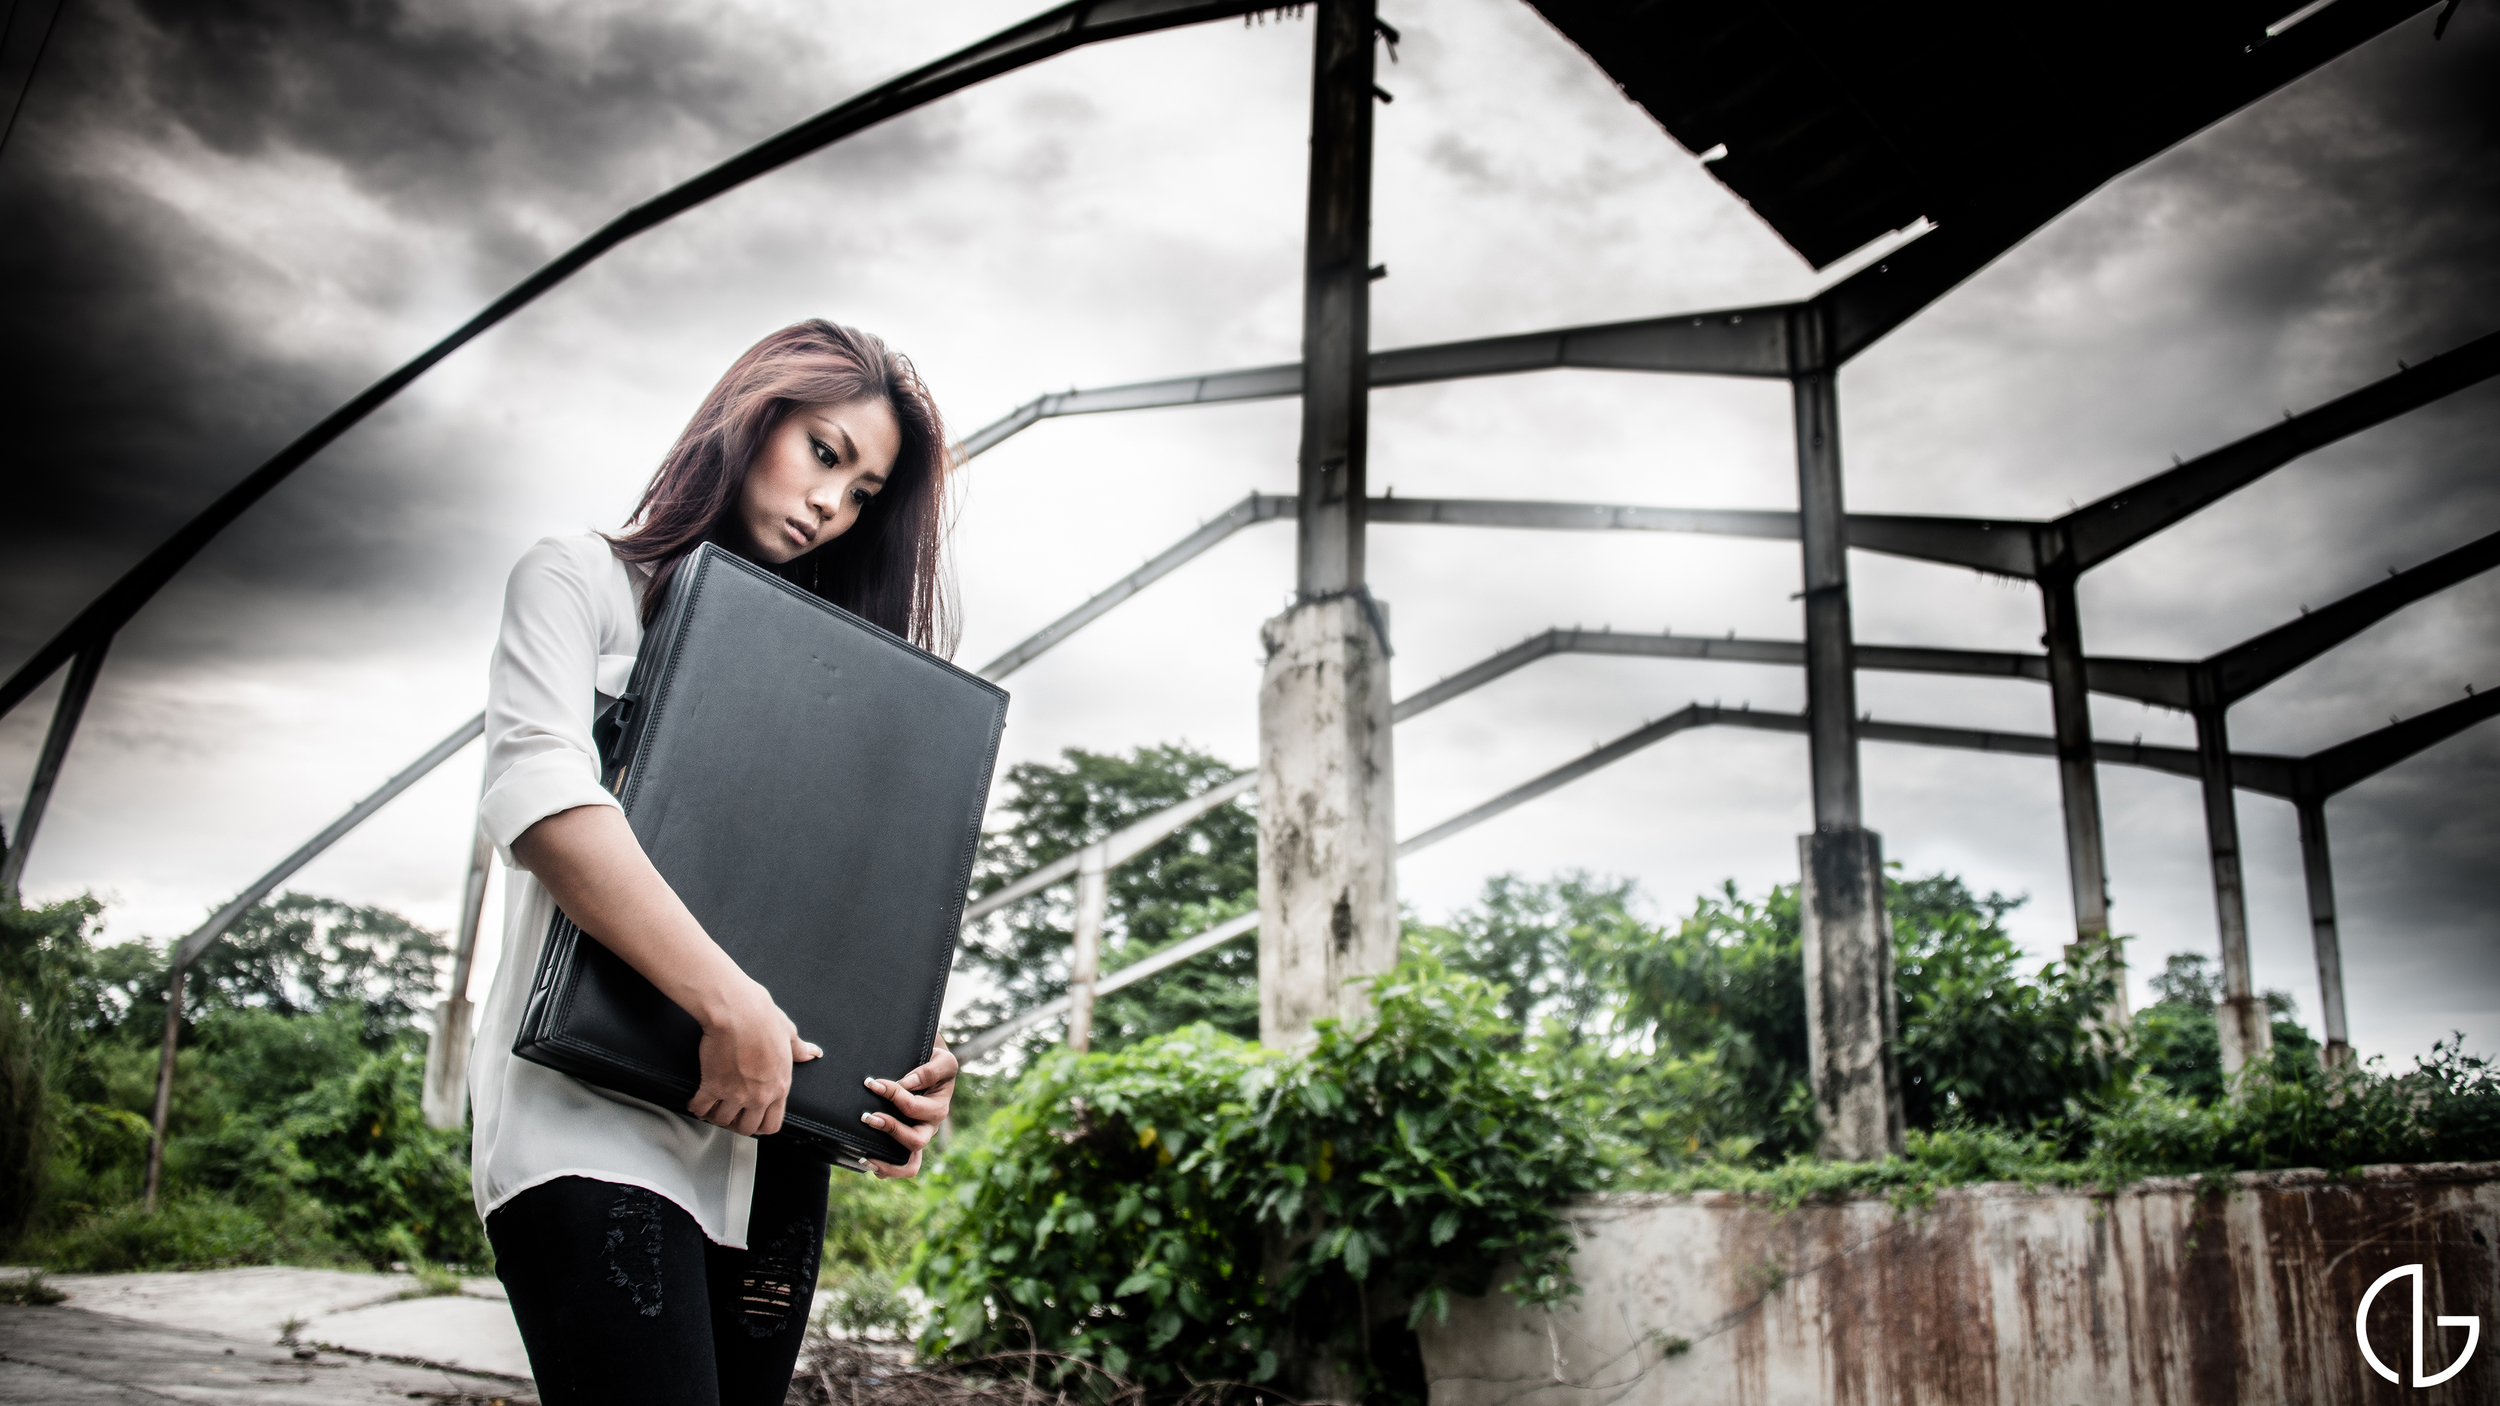
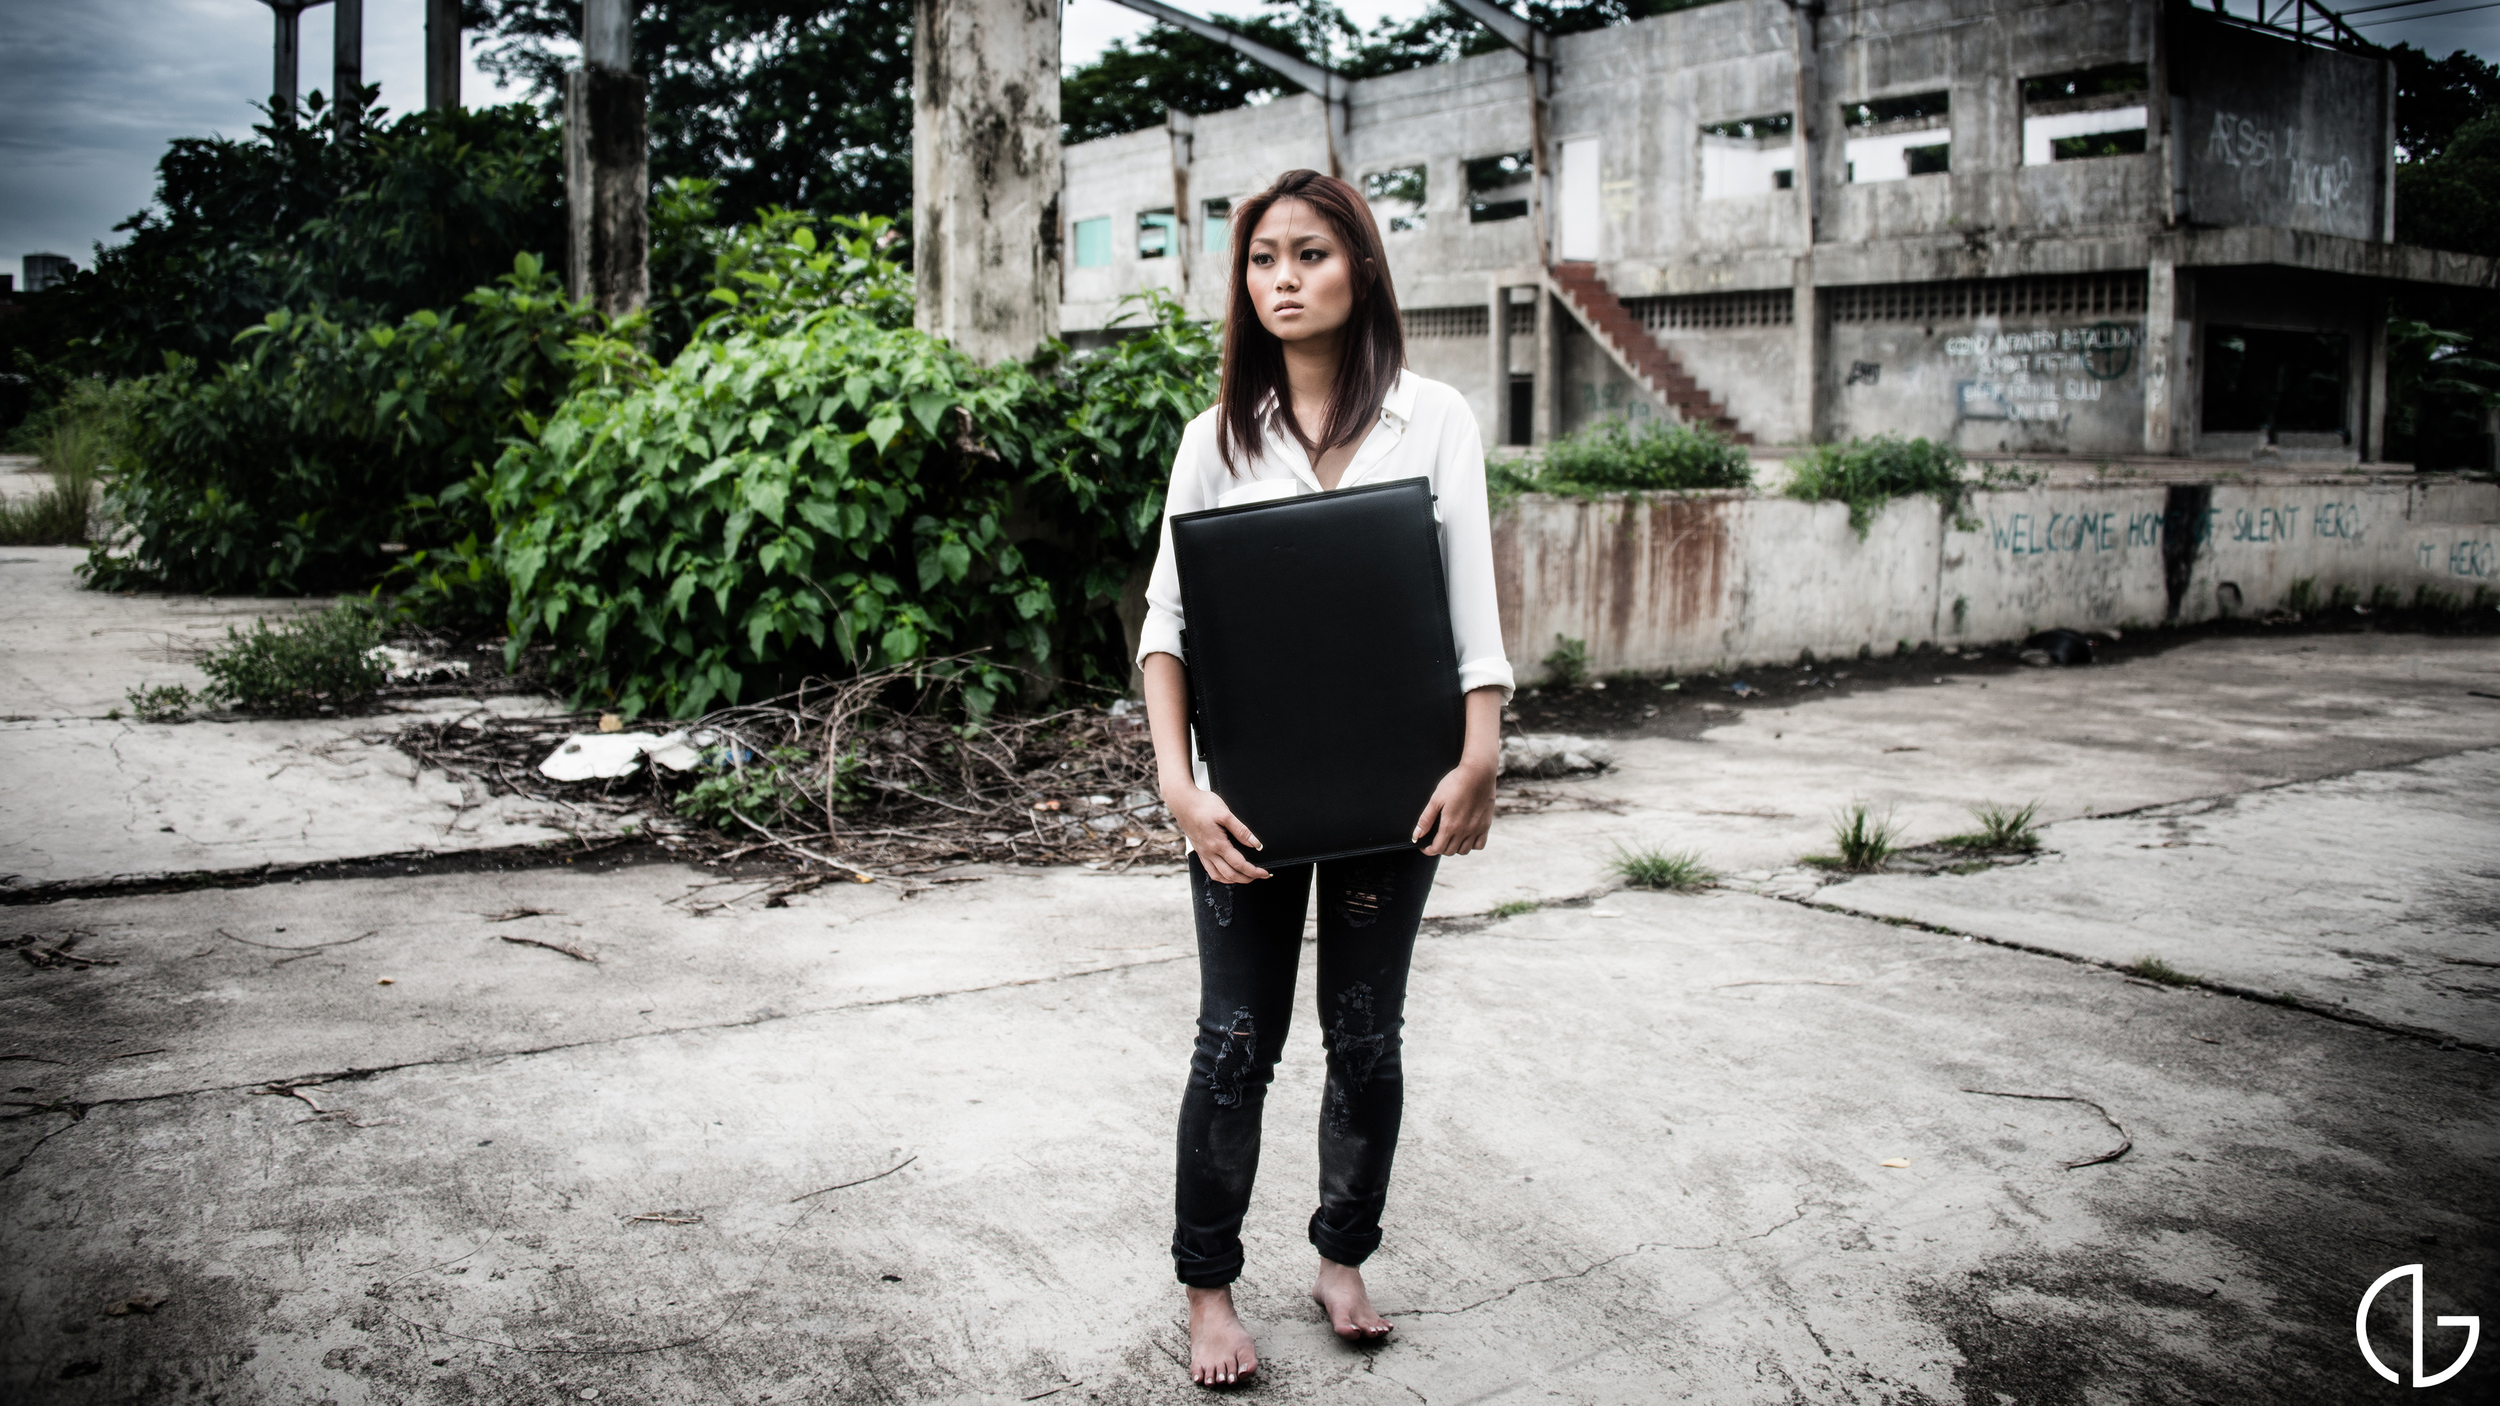
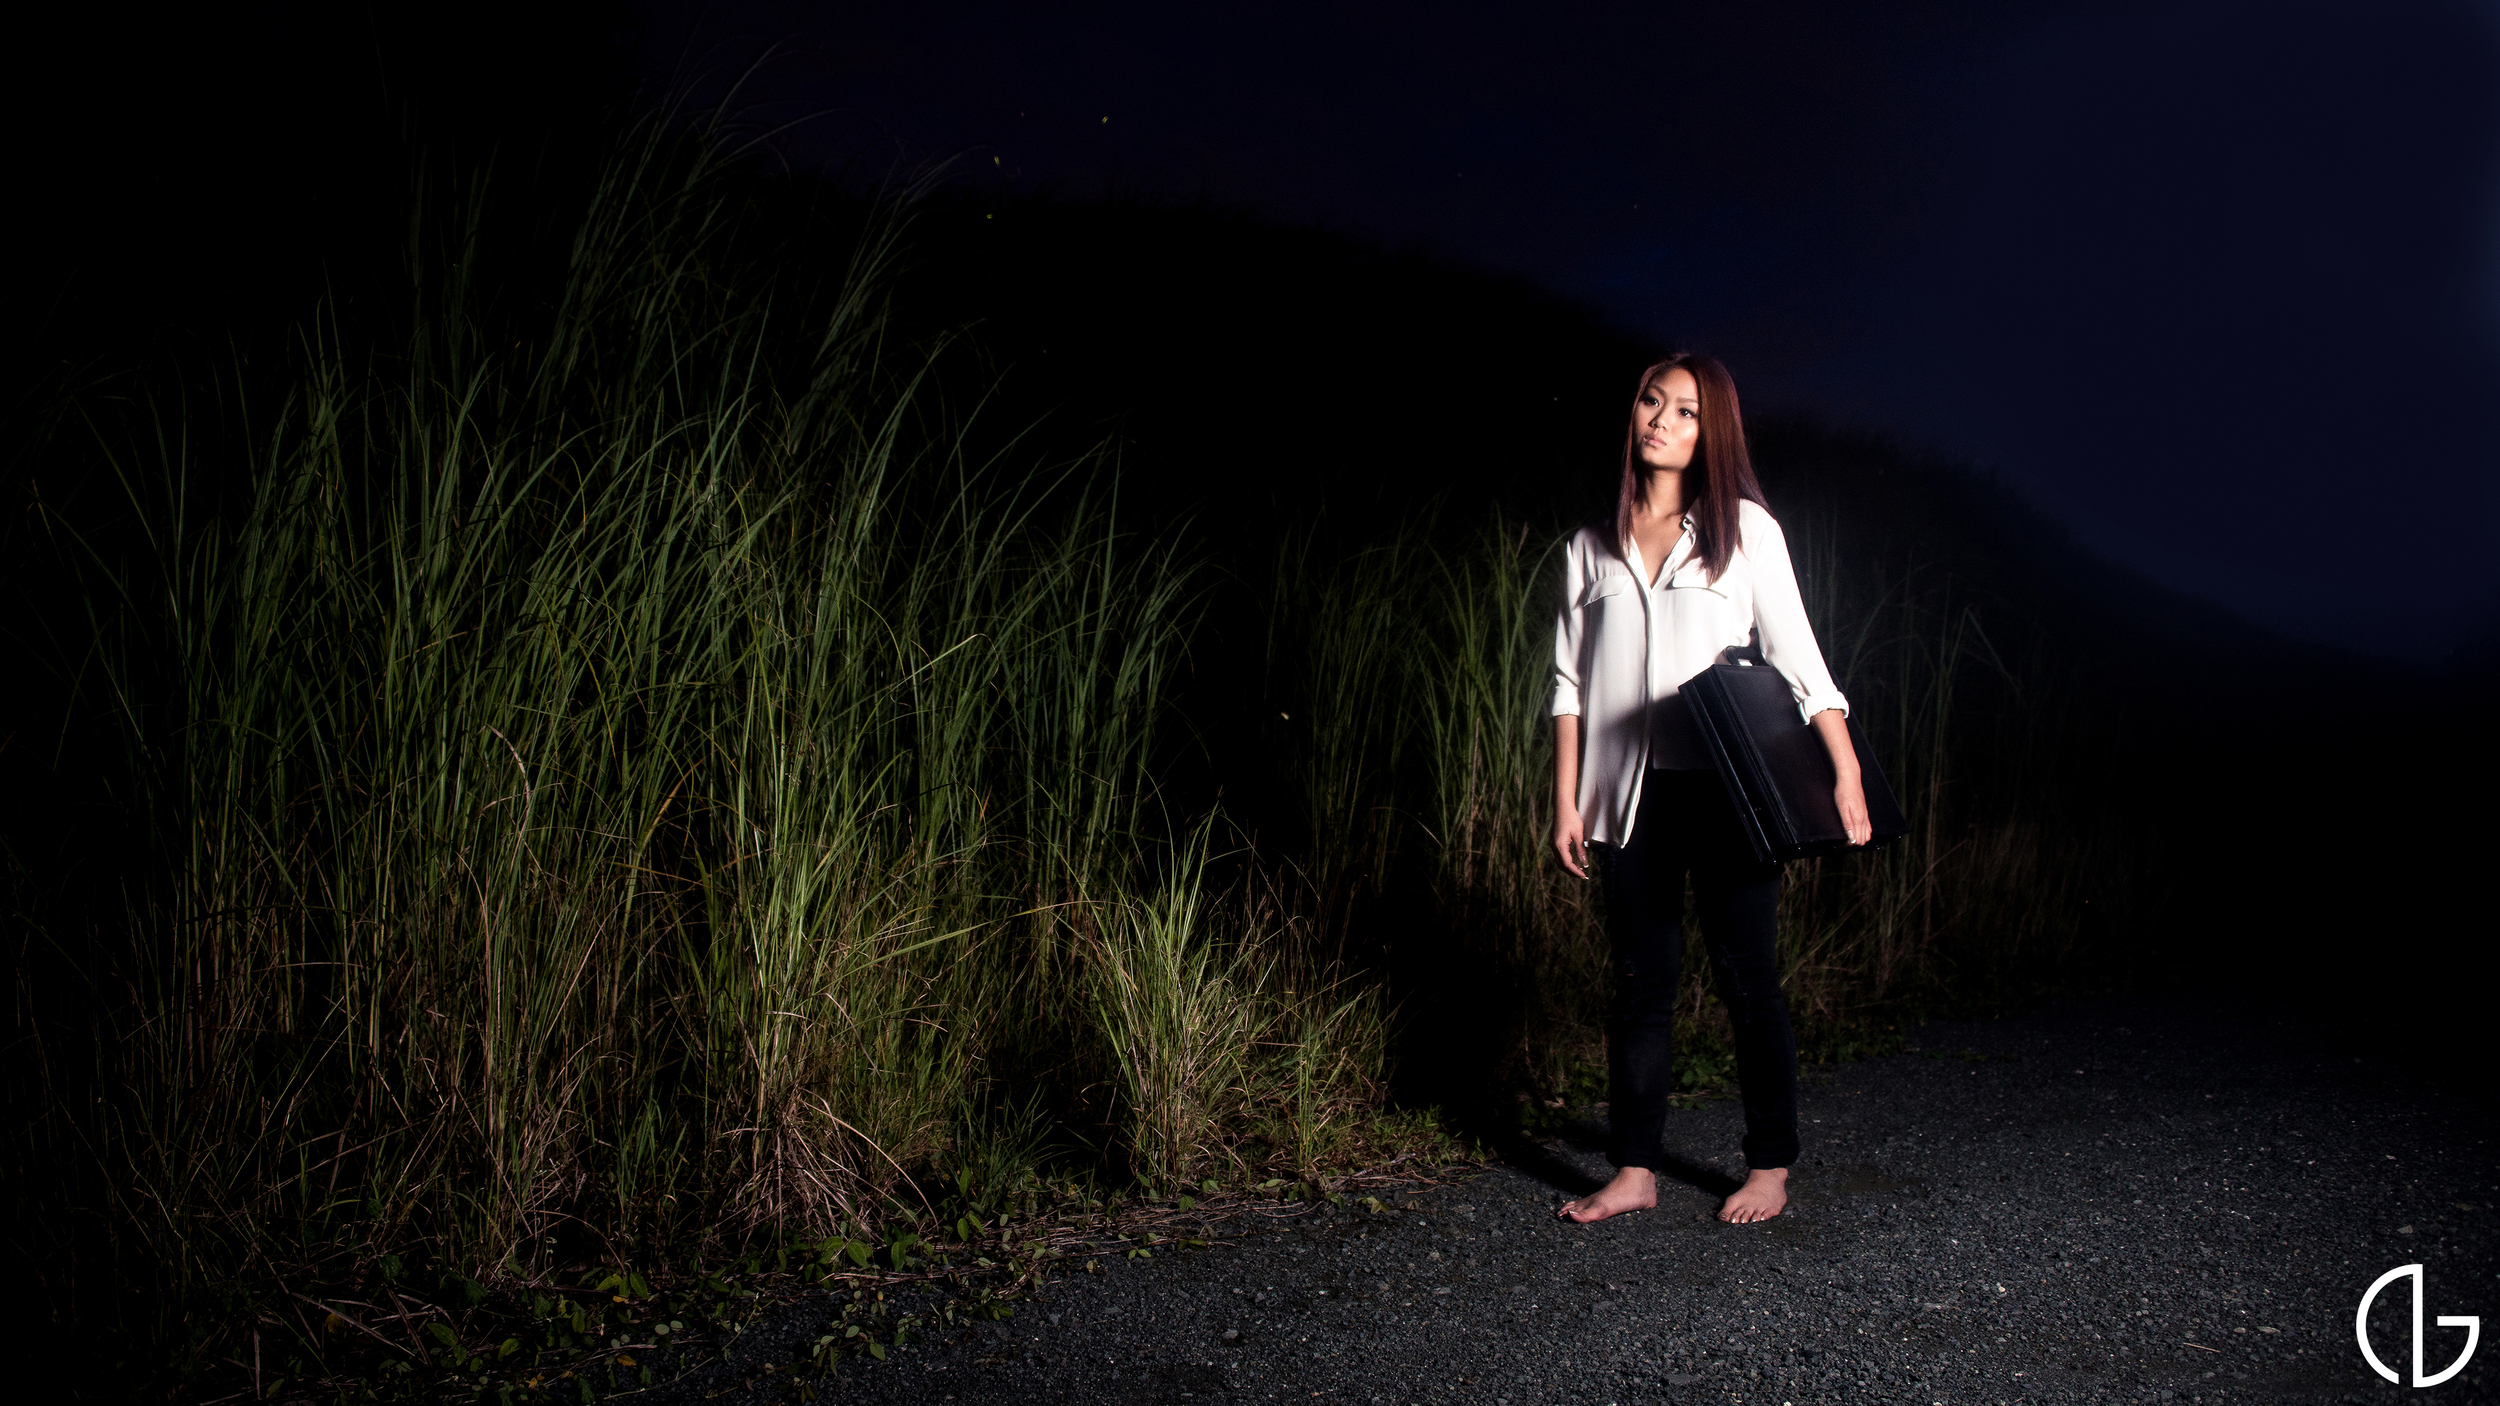
Wide Awake

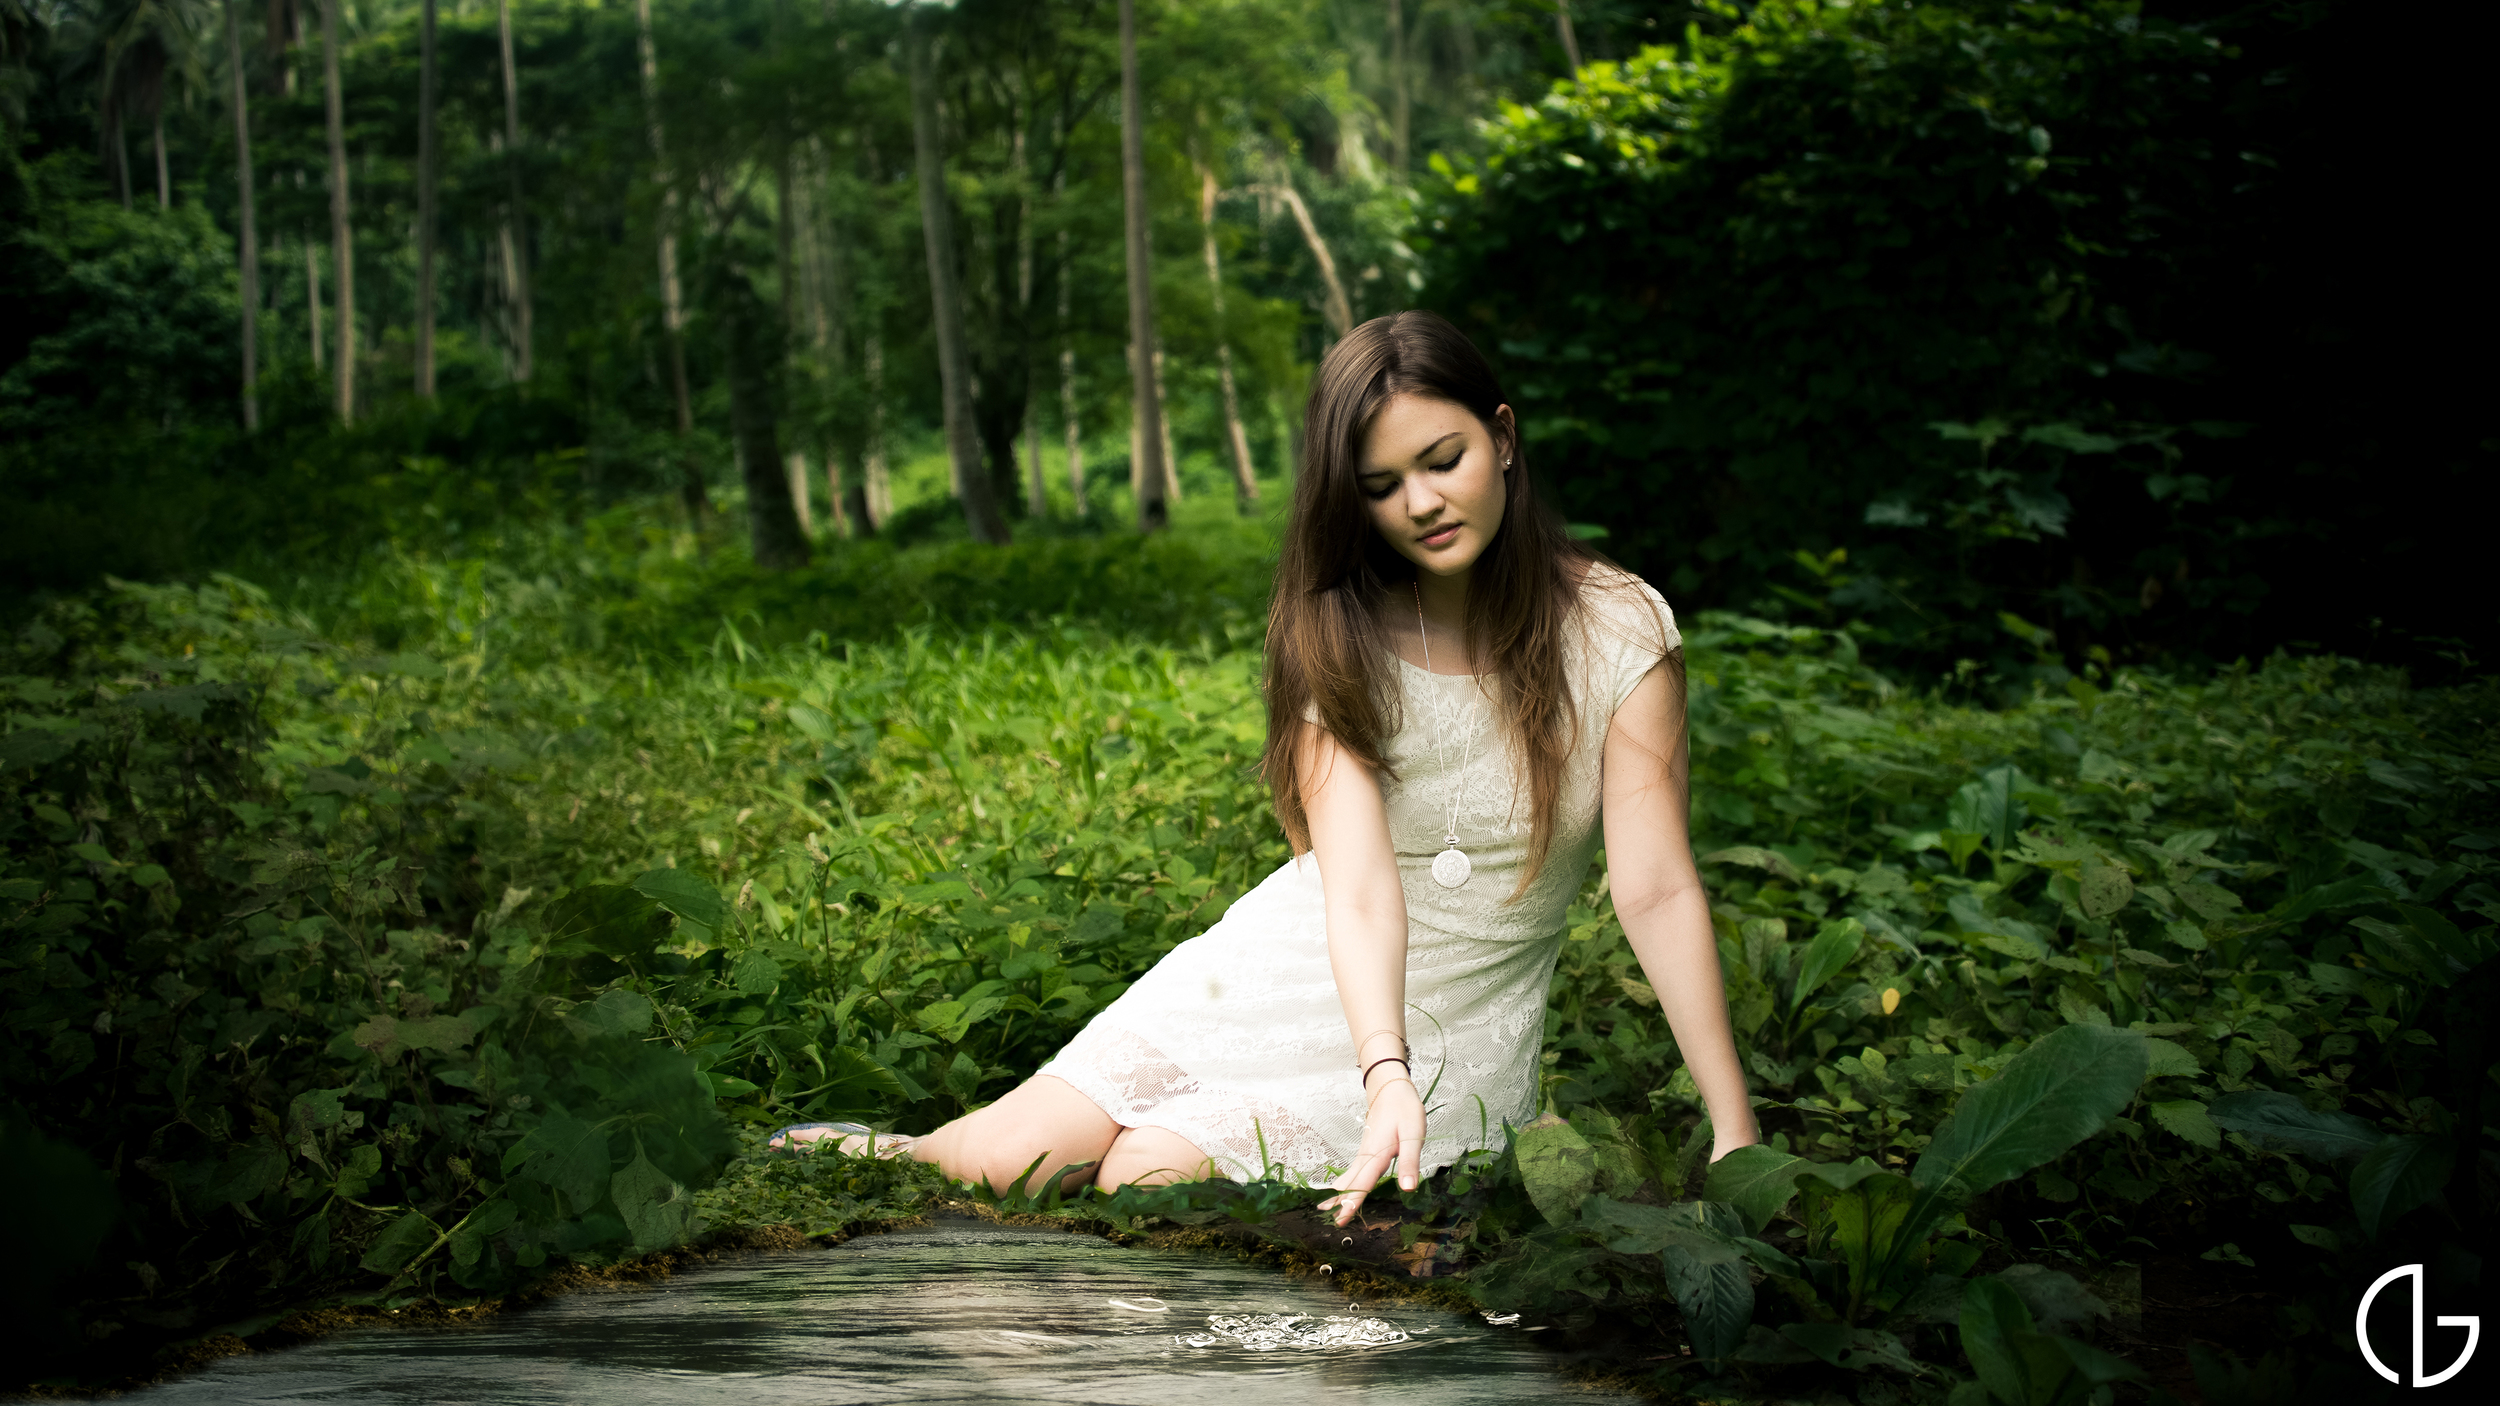
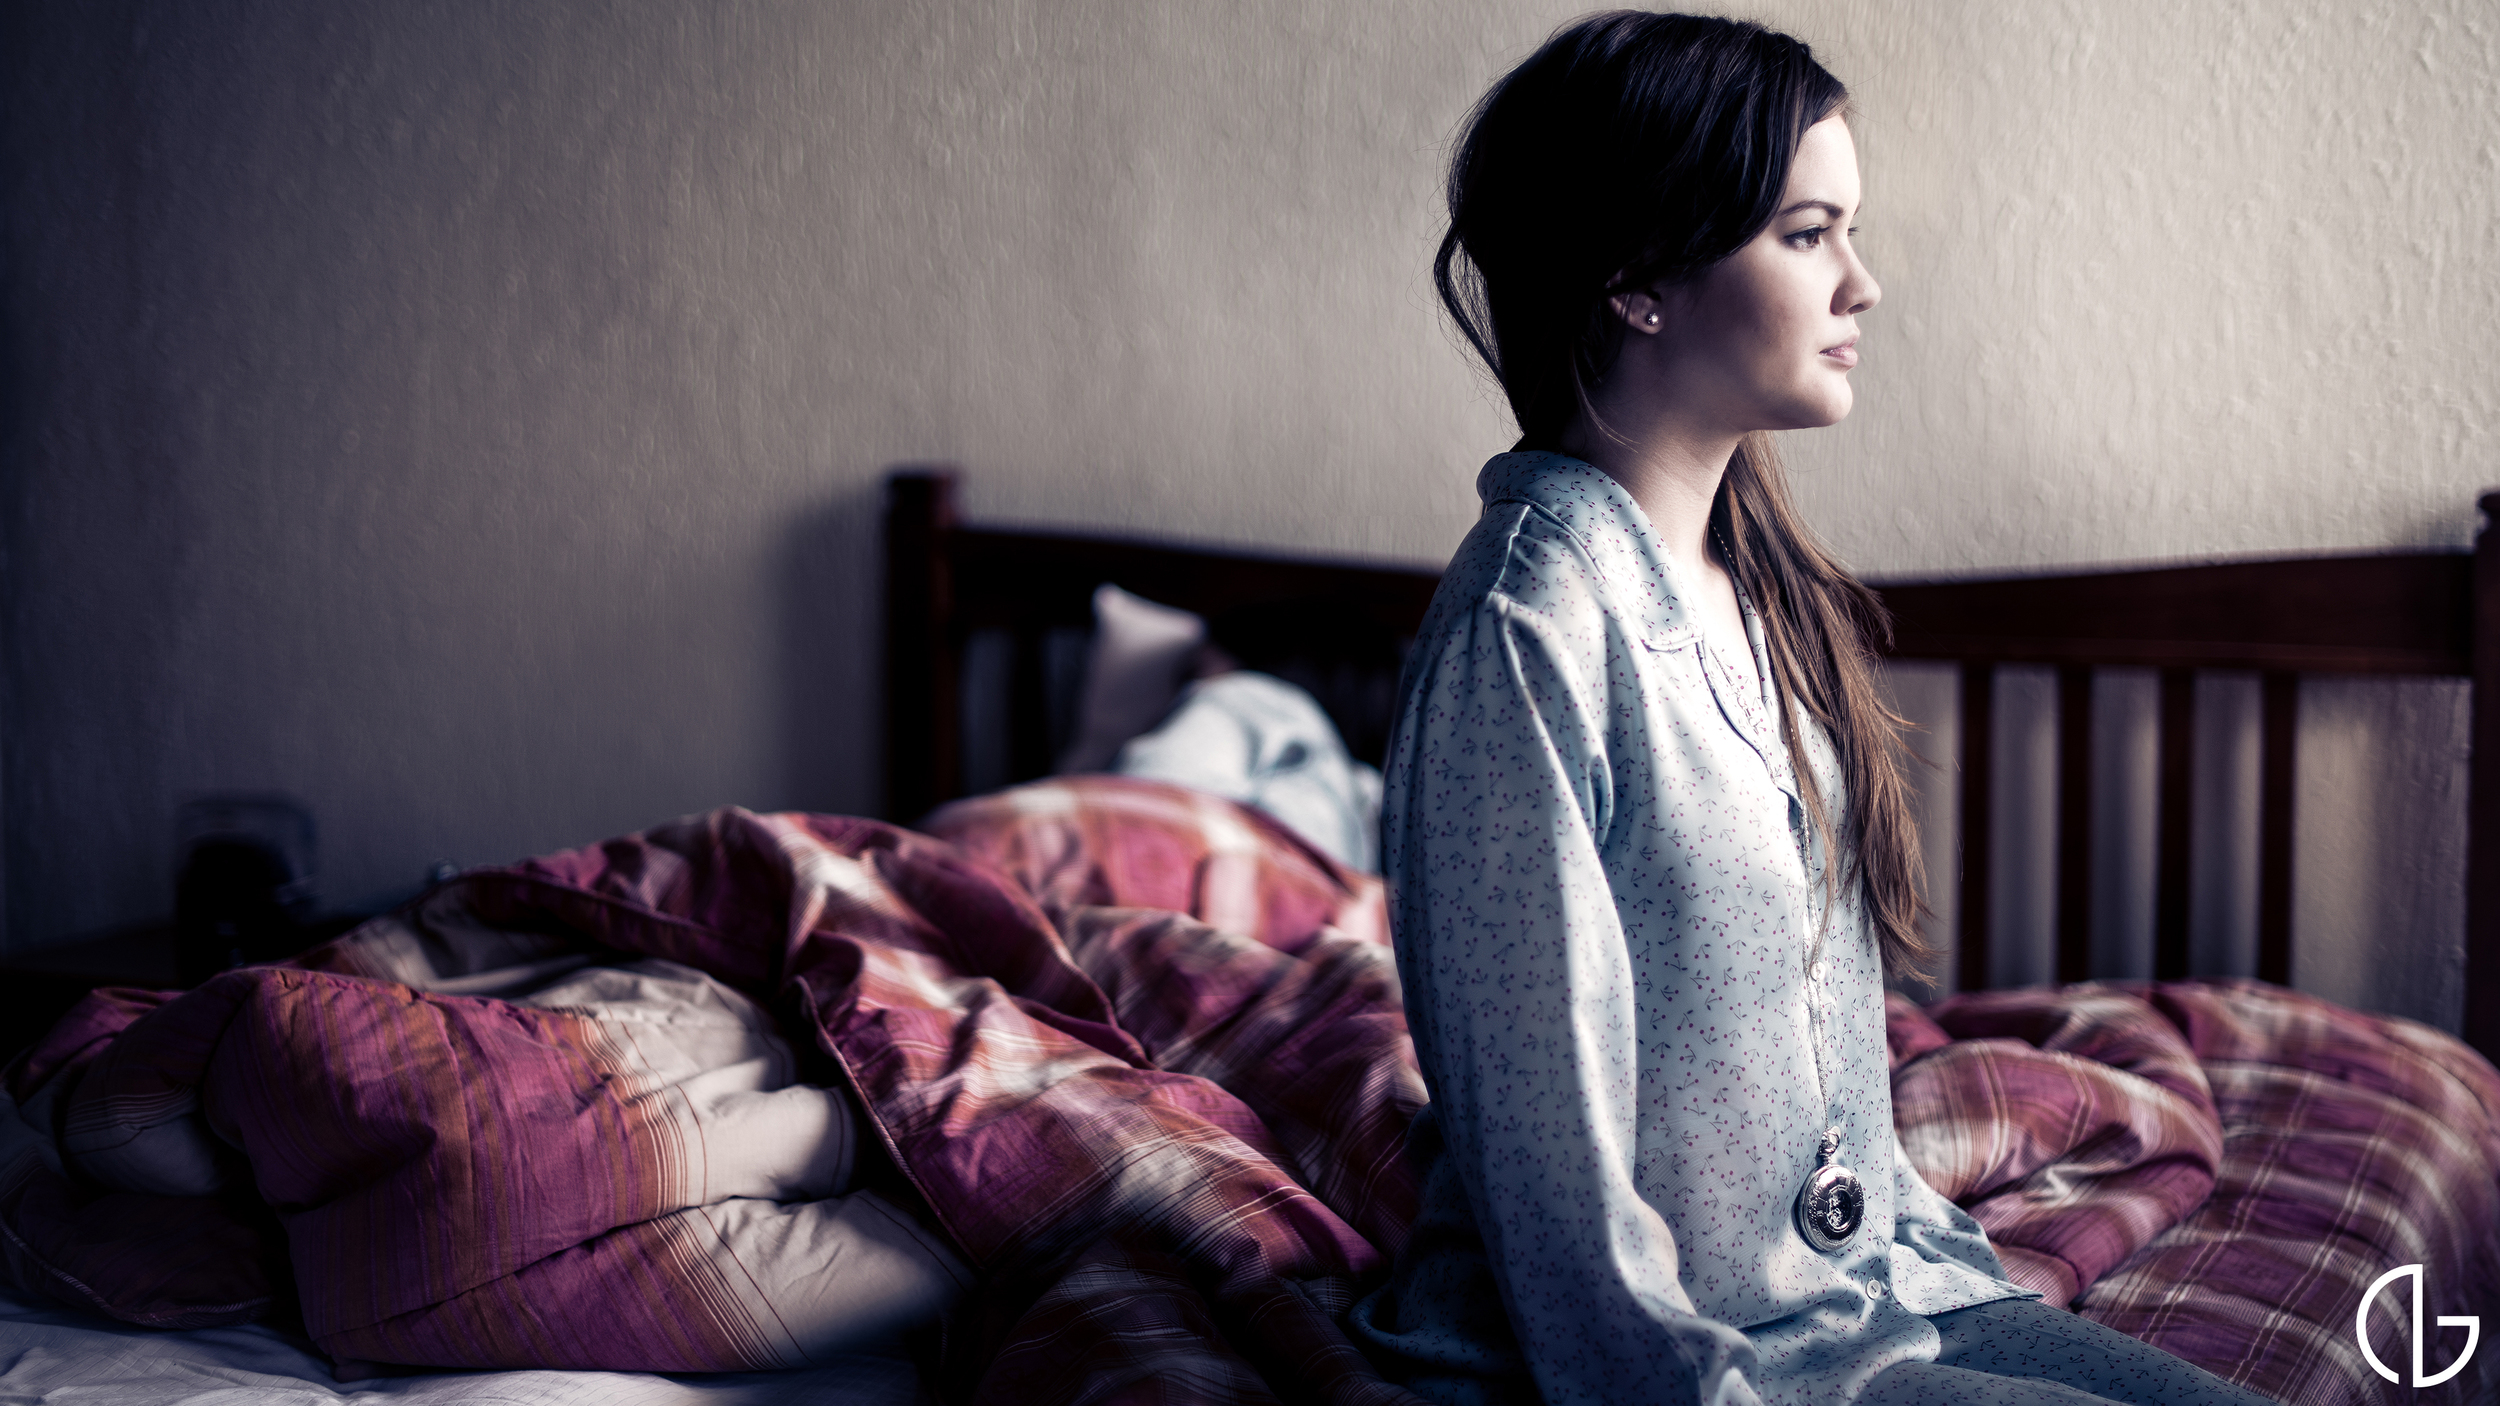
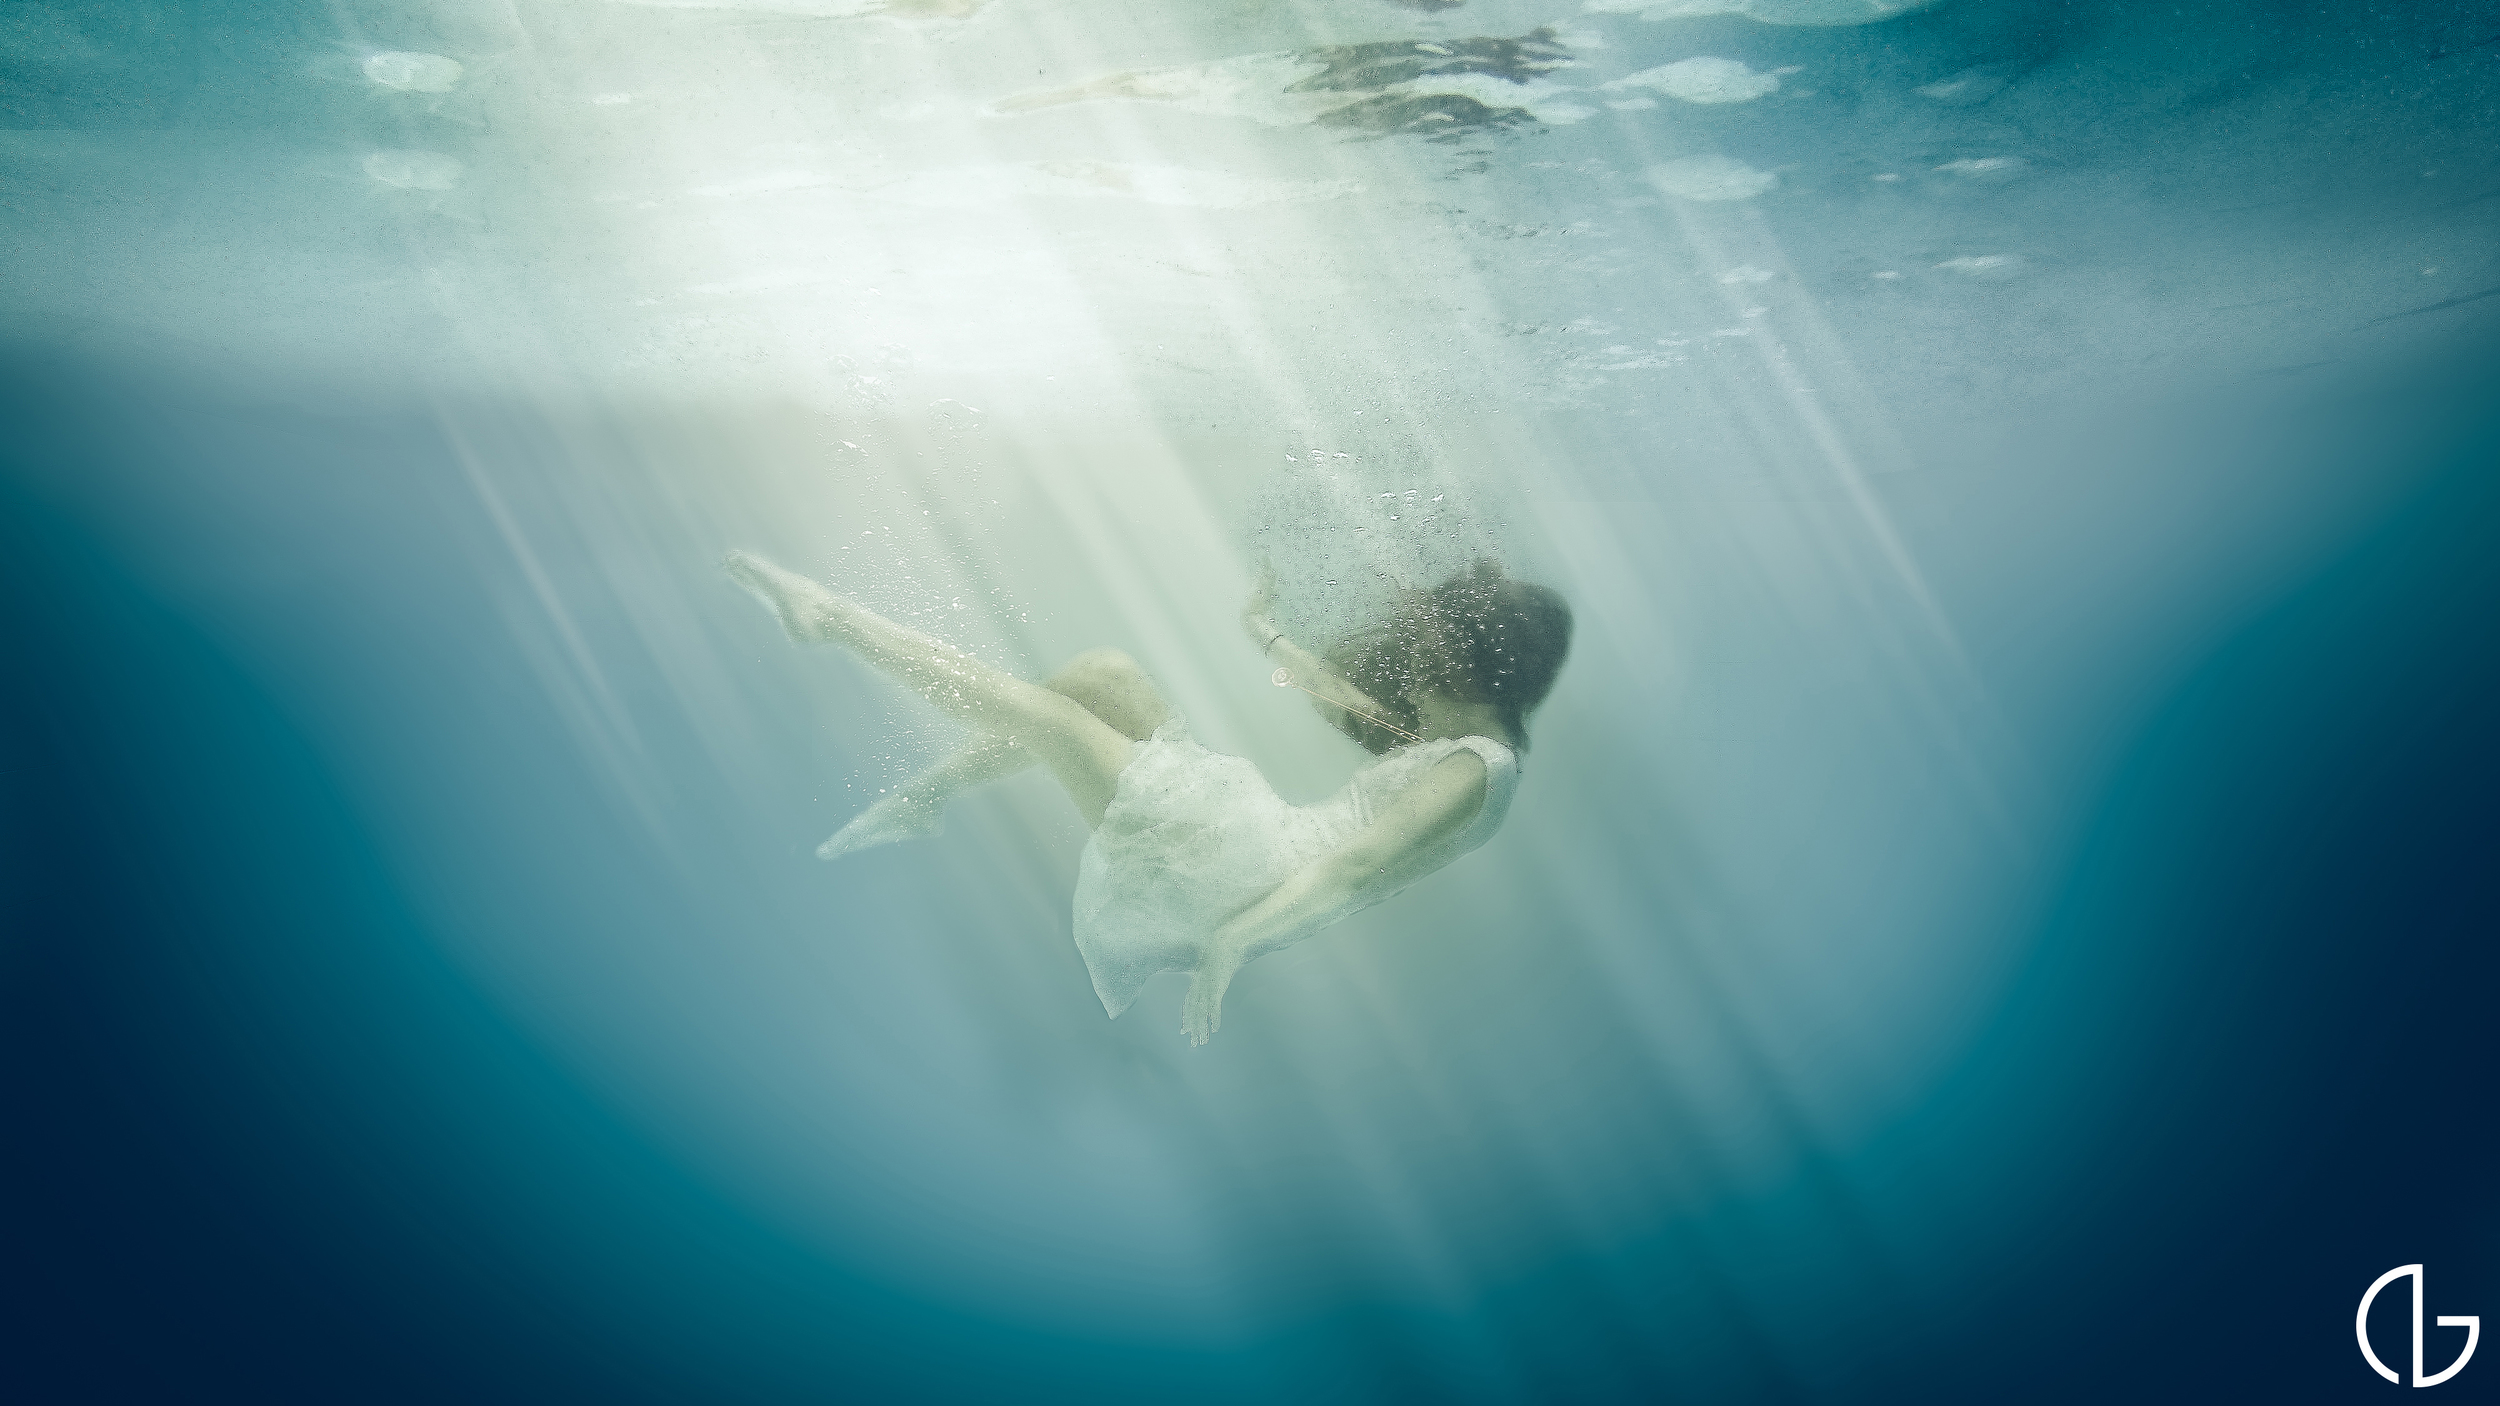
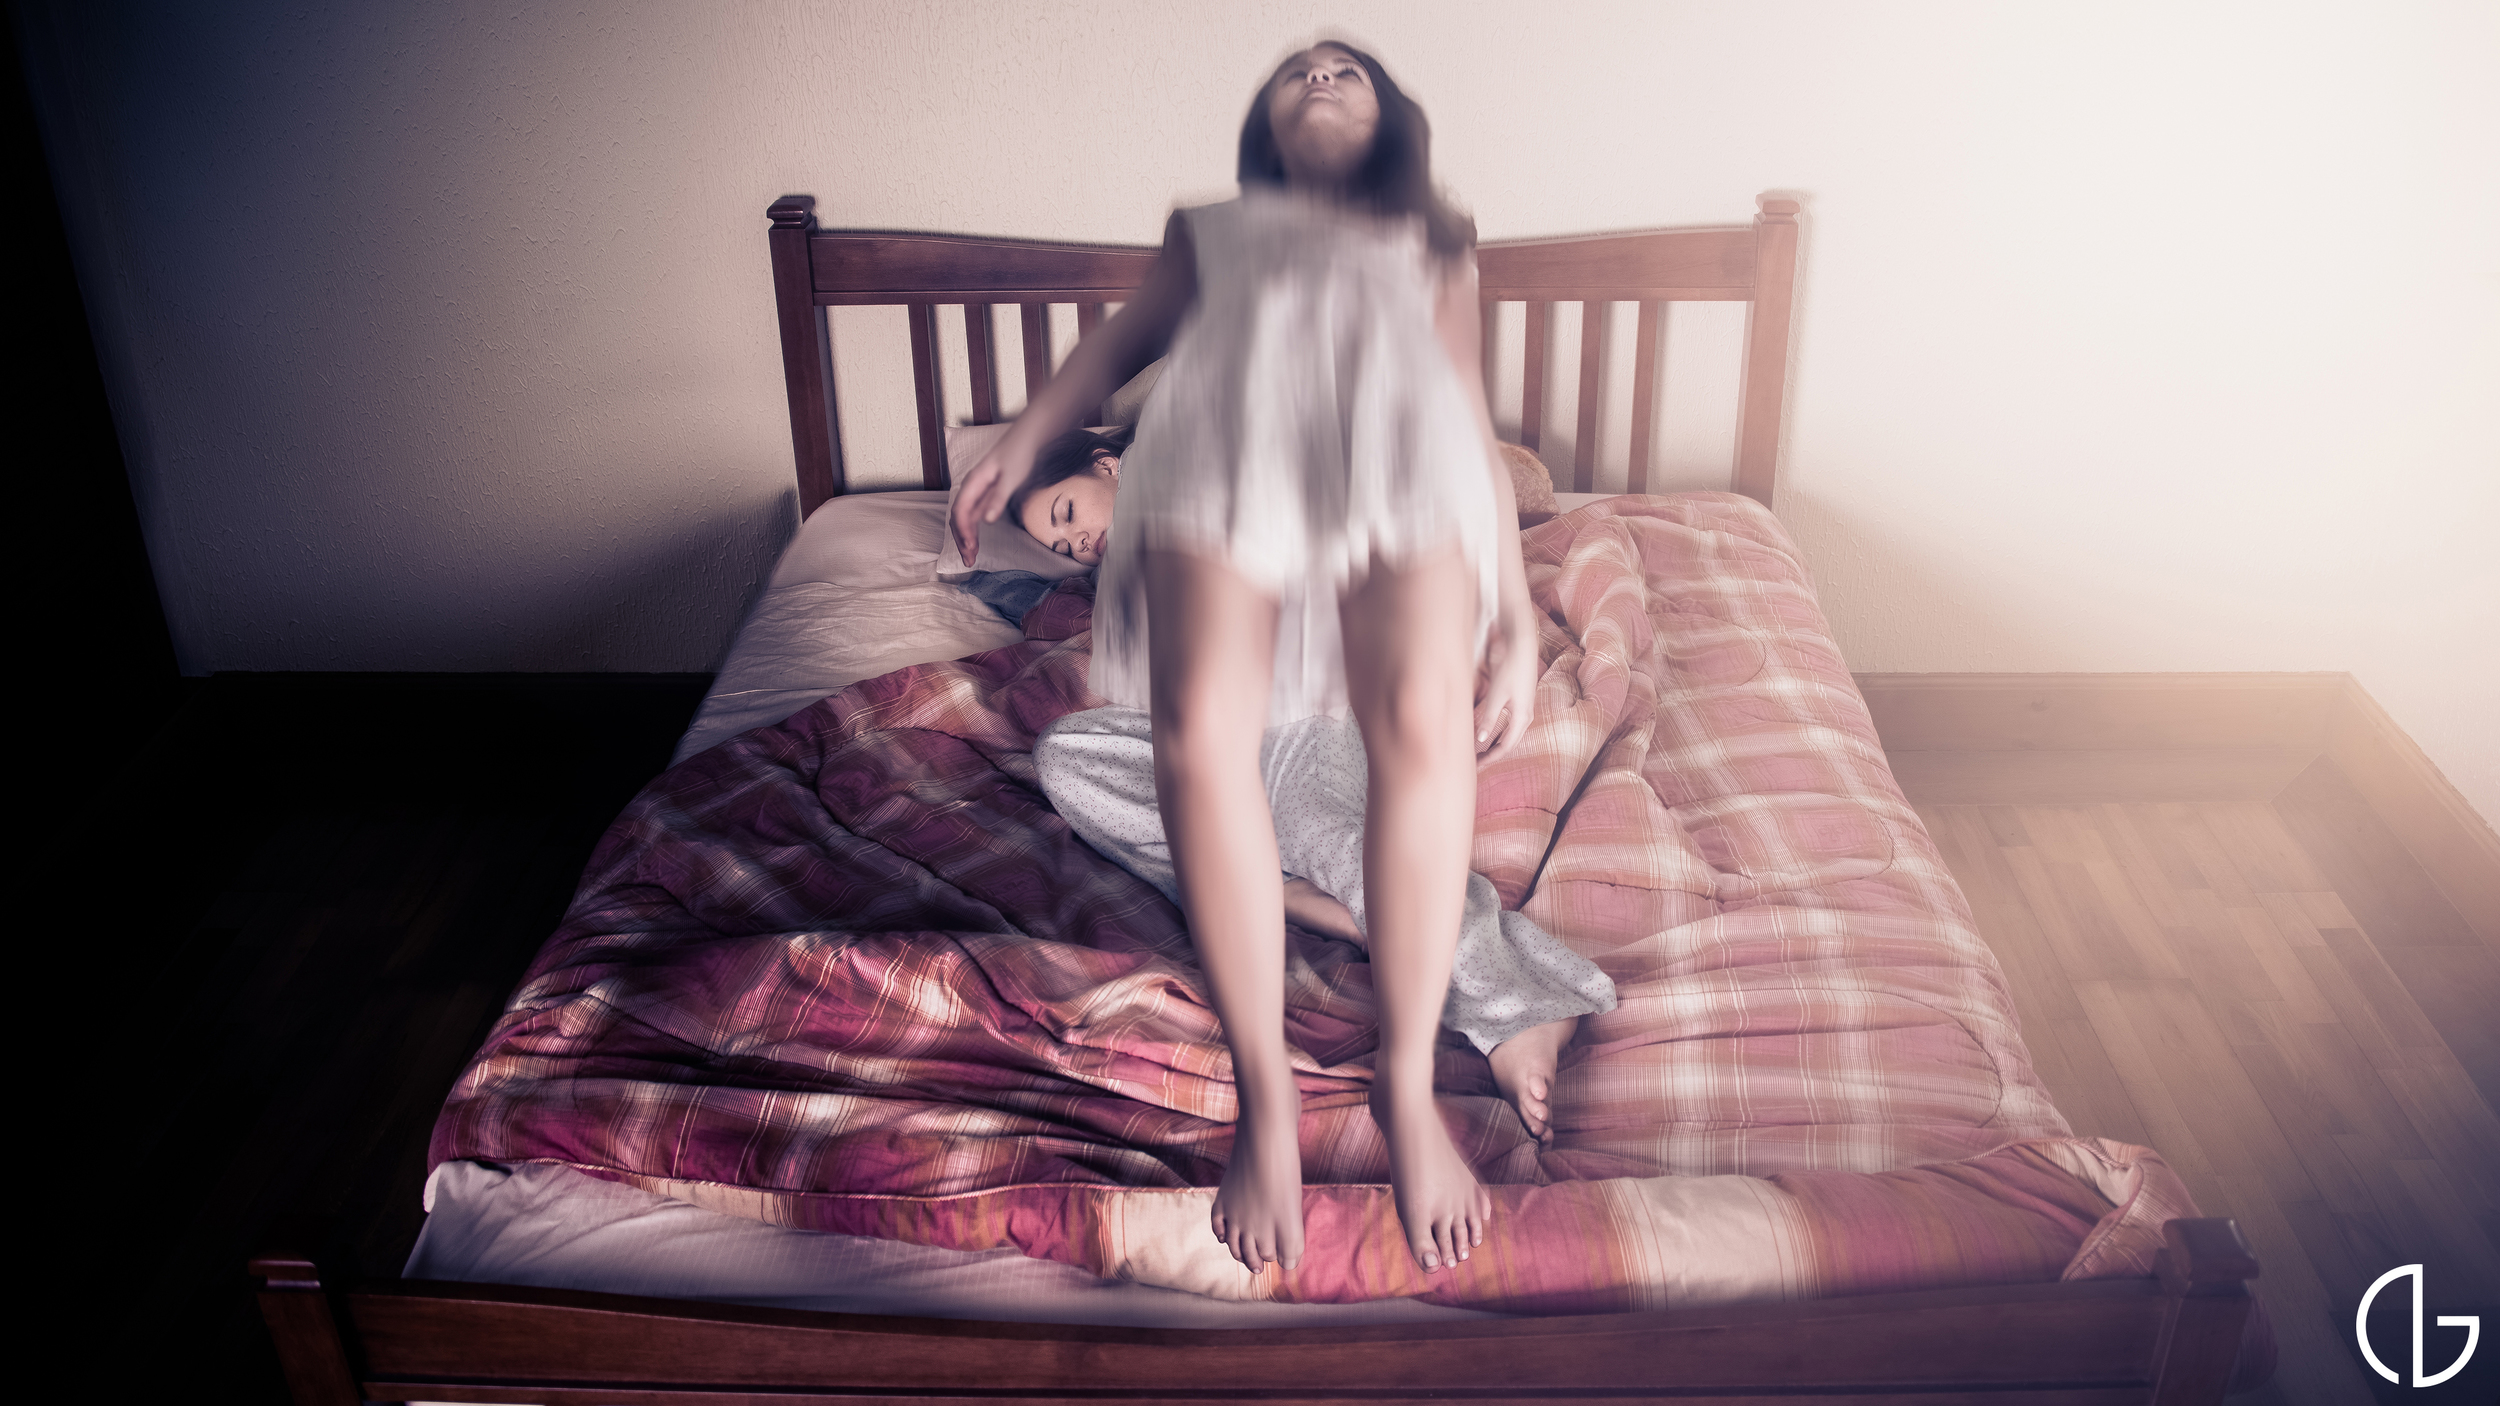
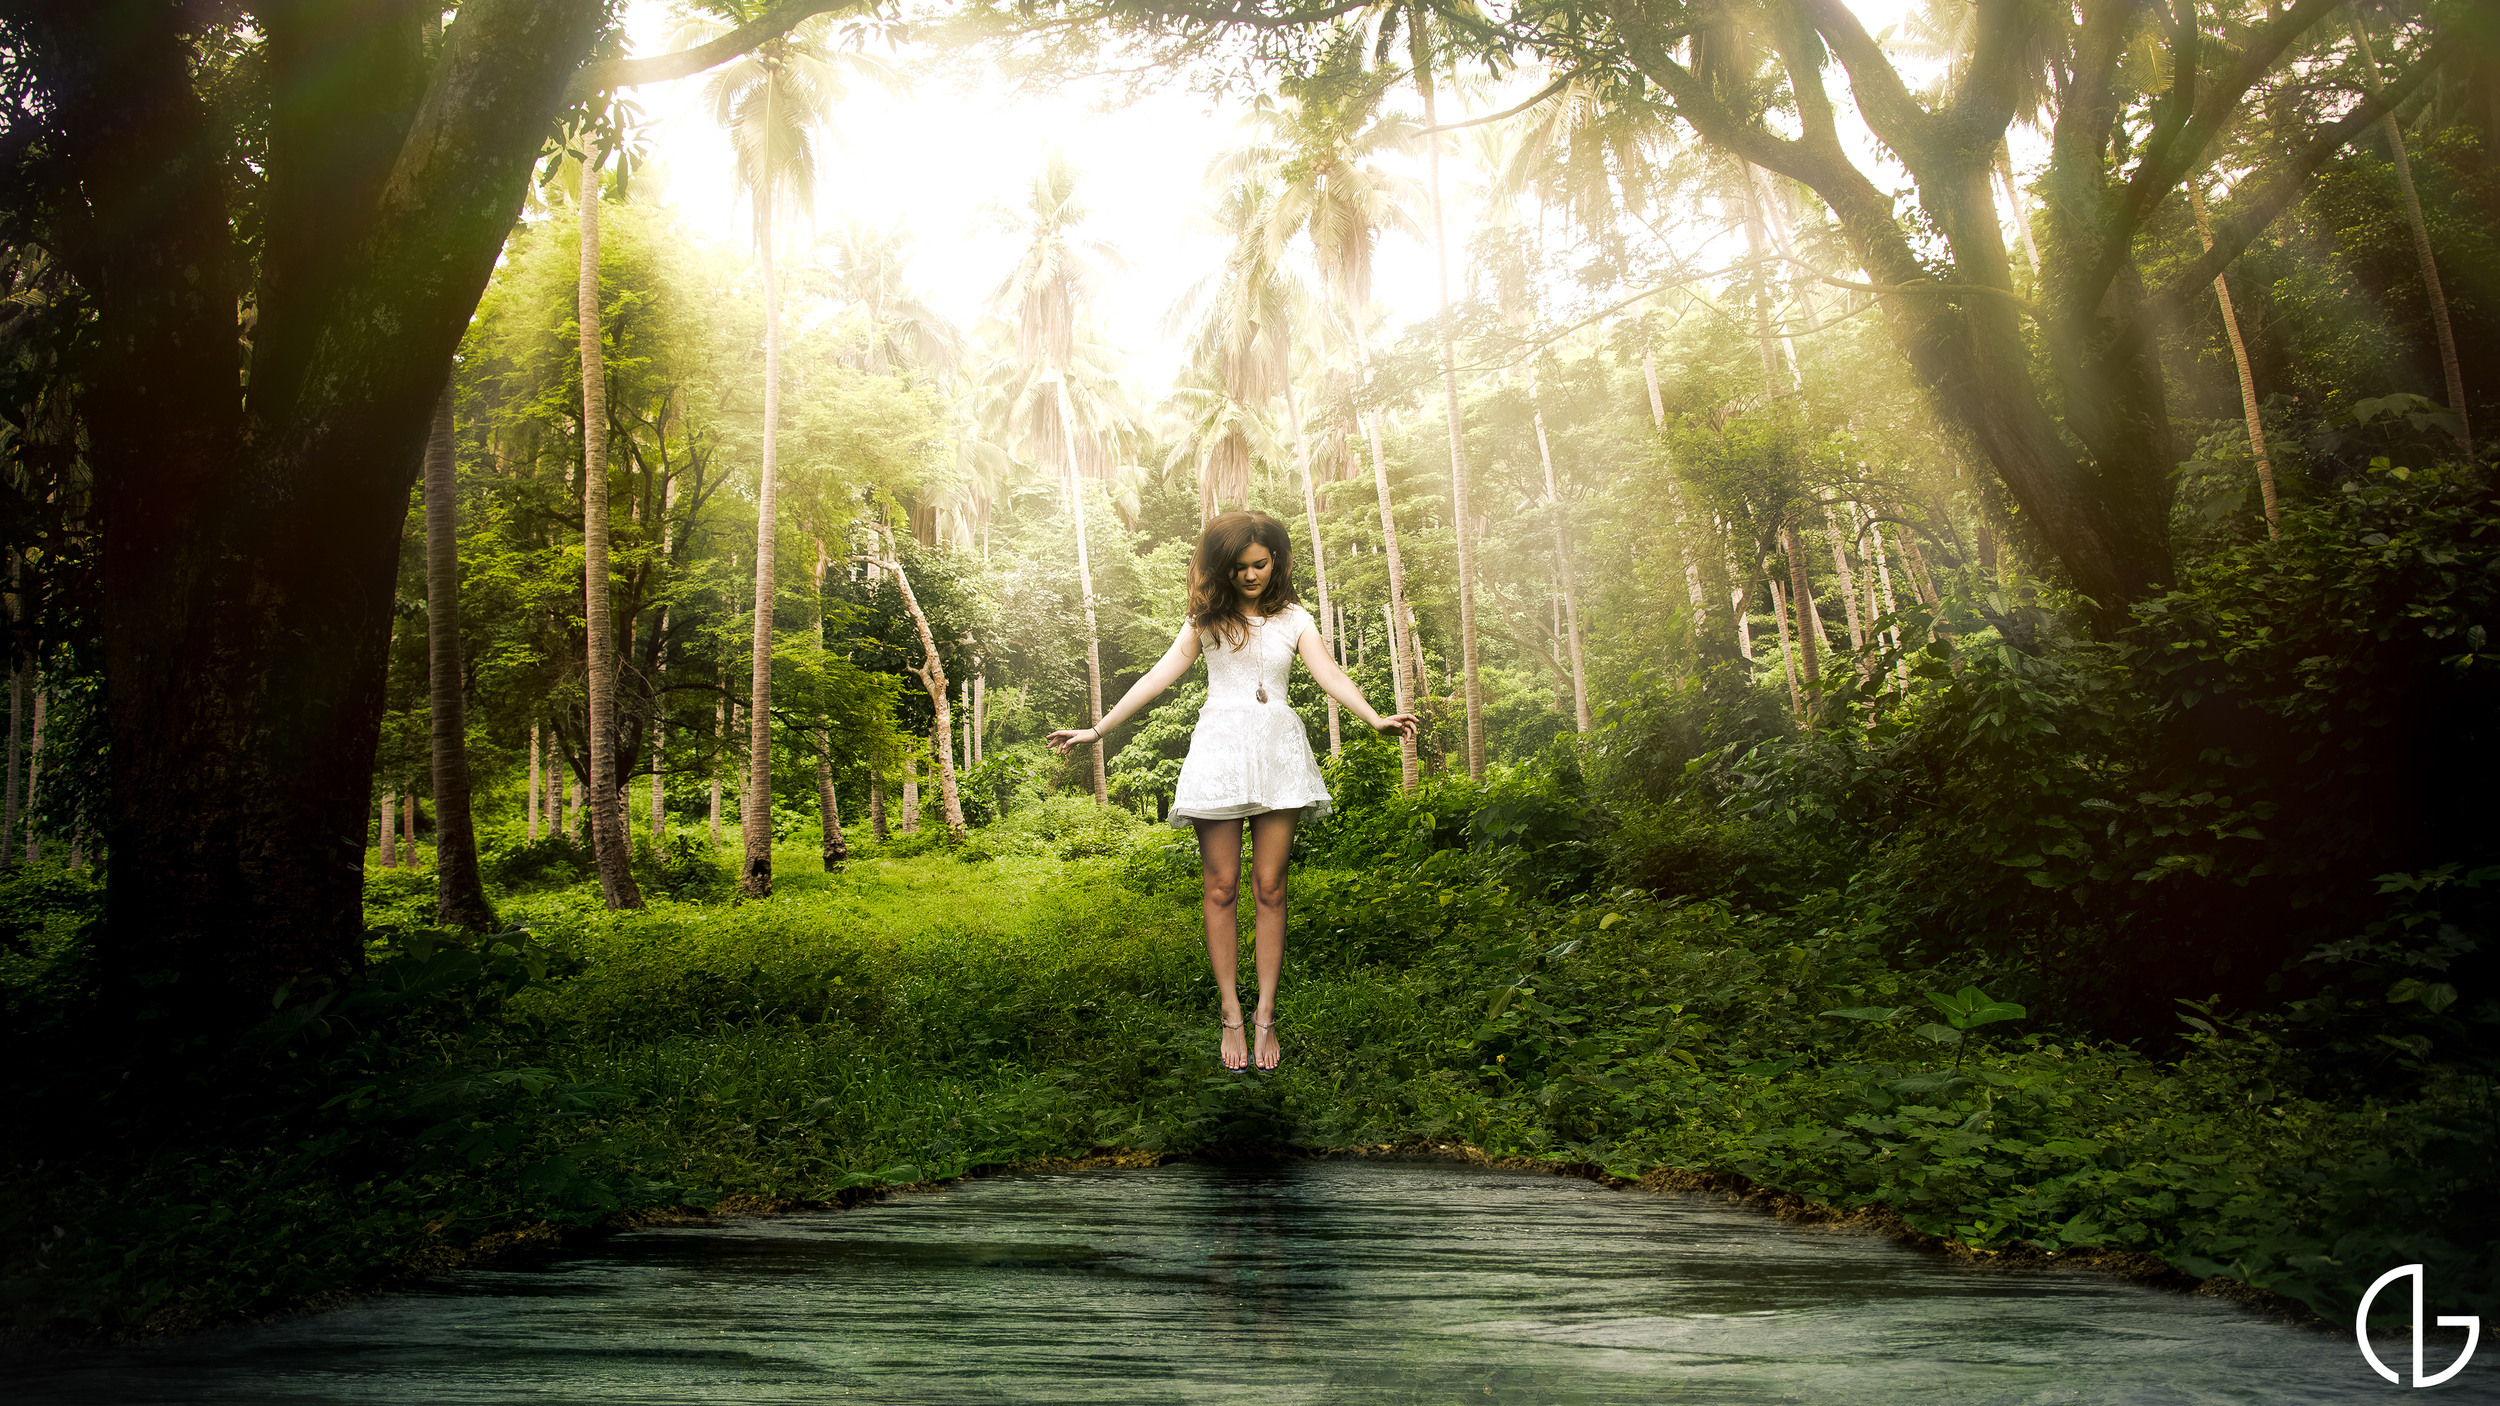
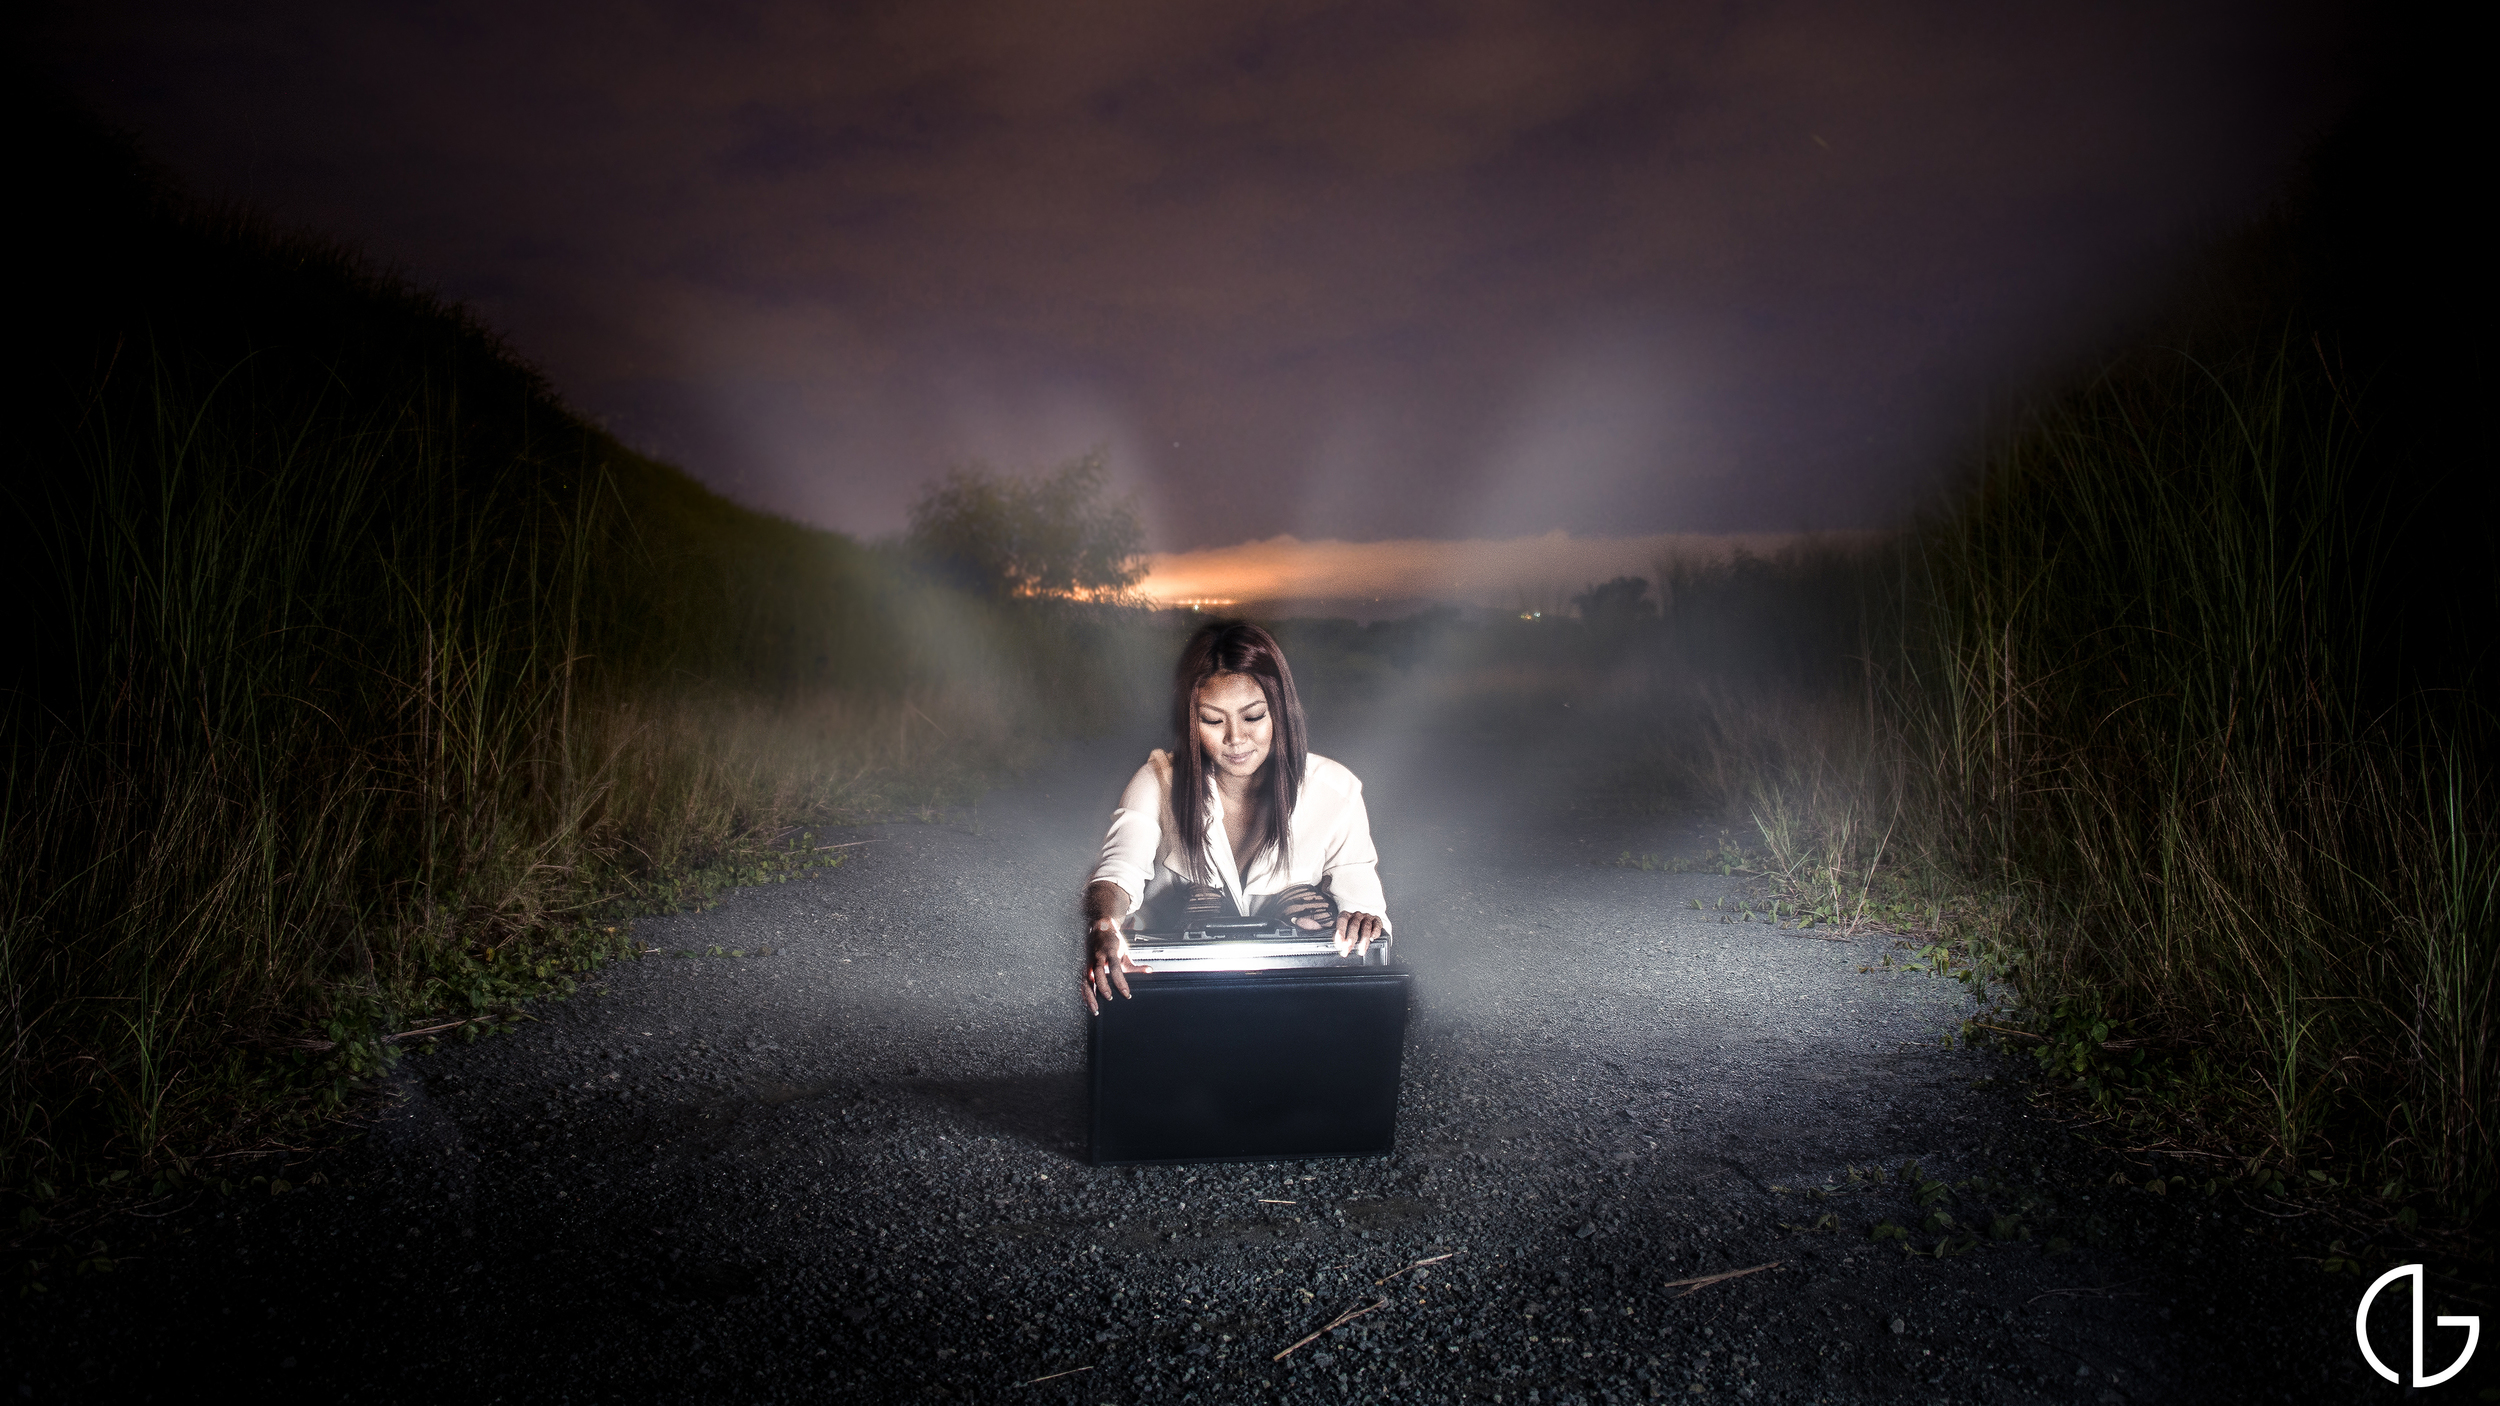
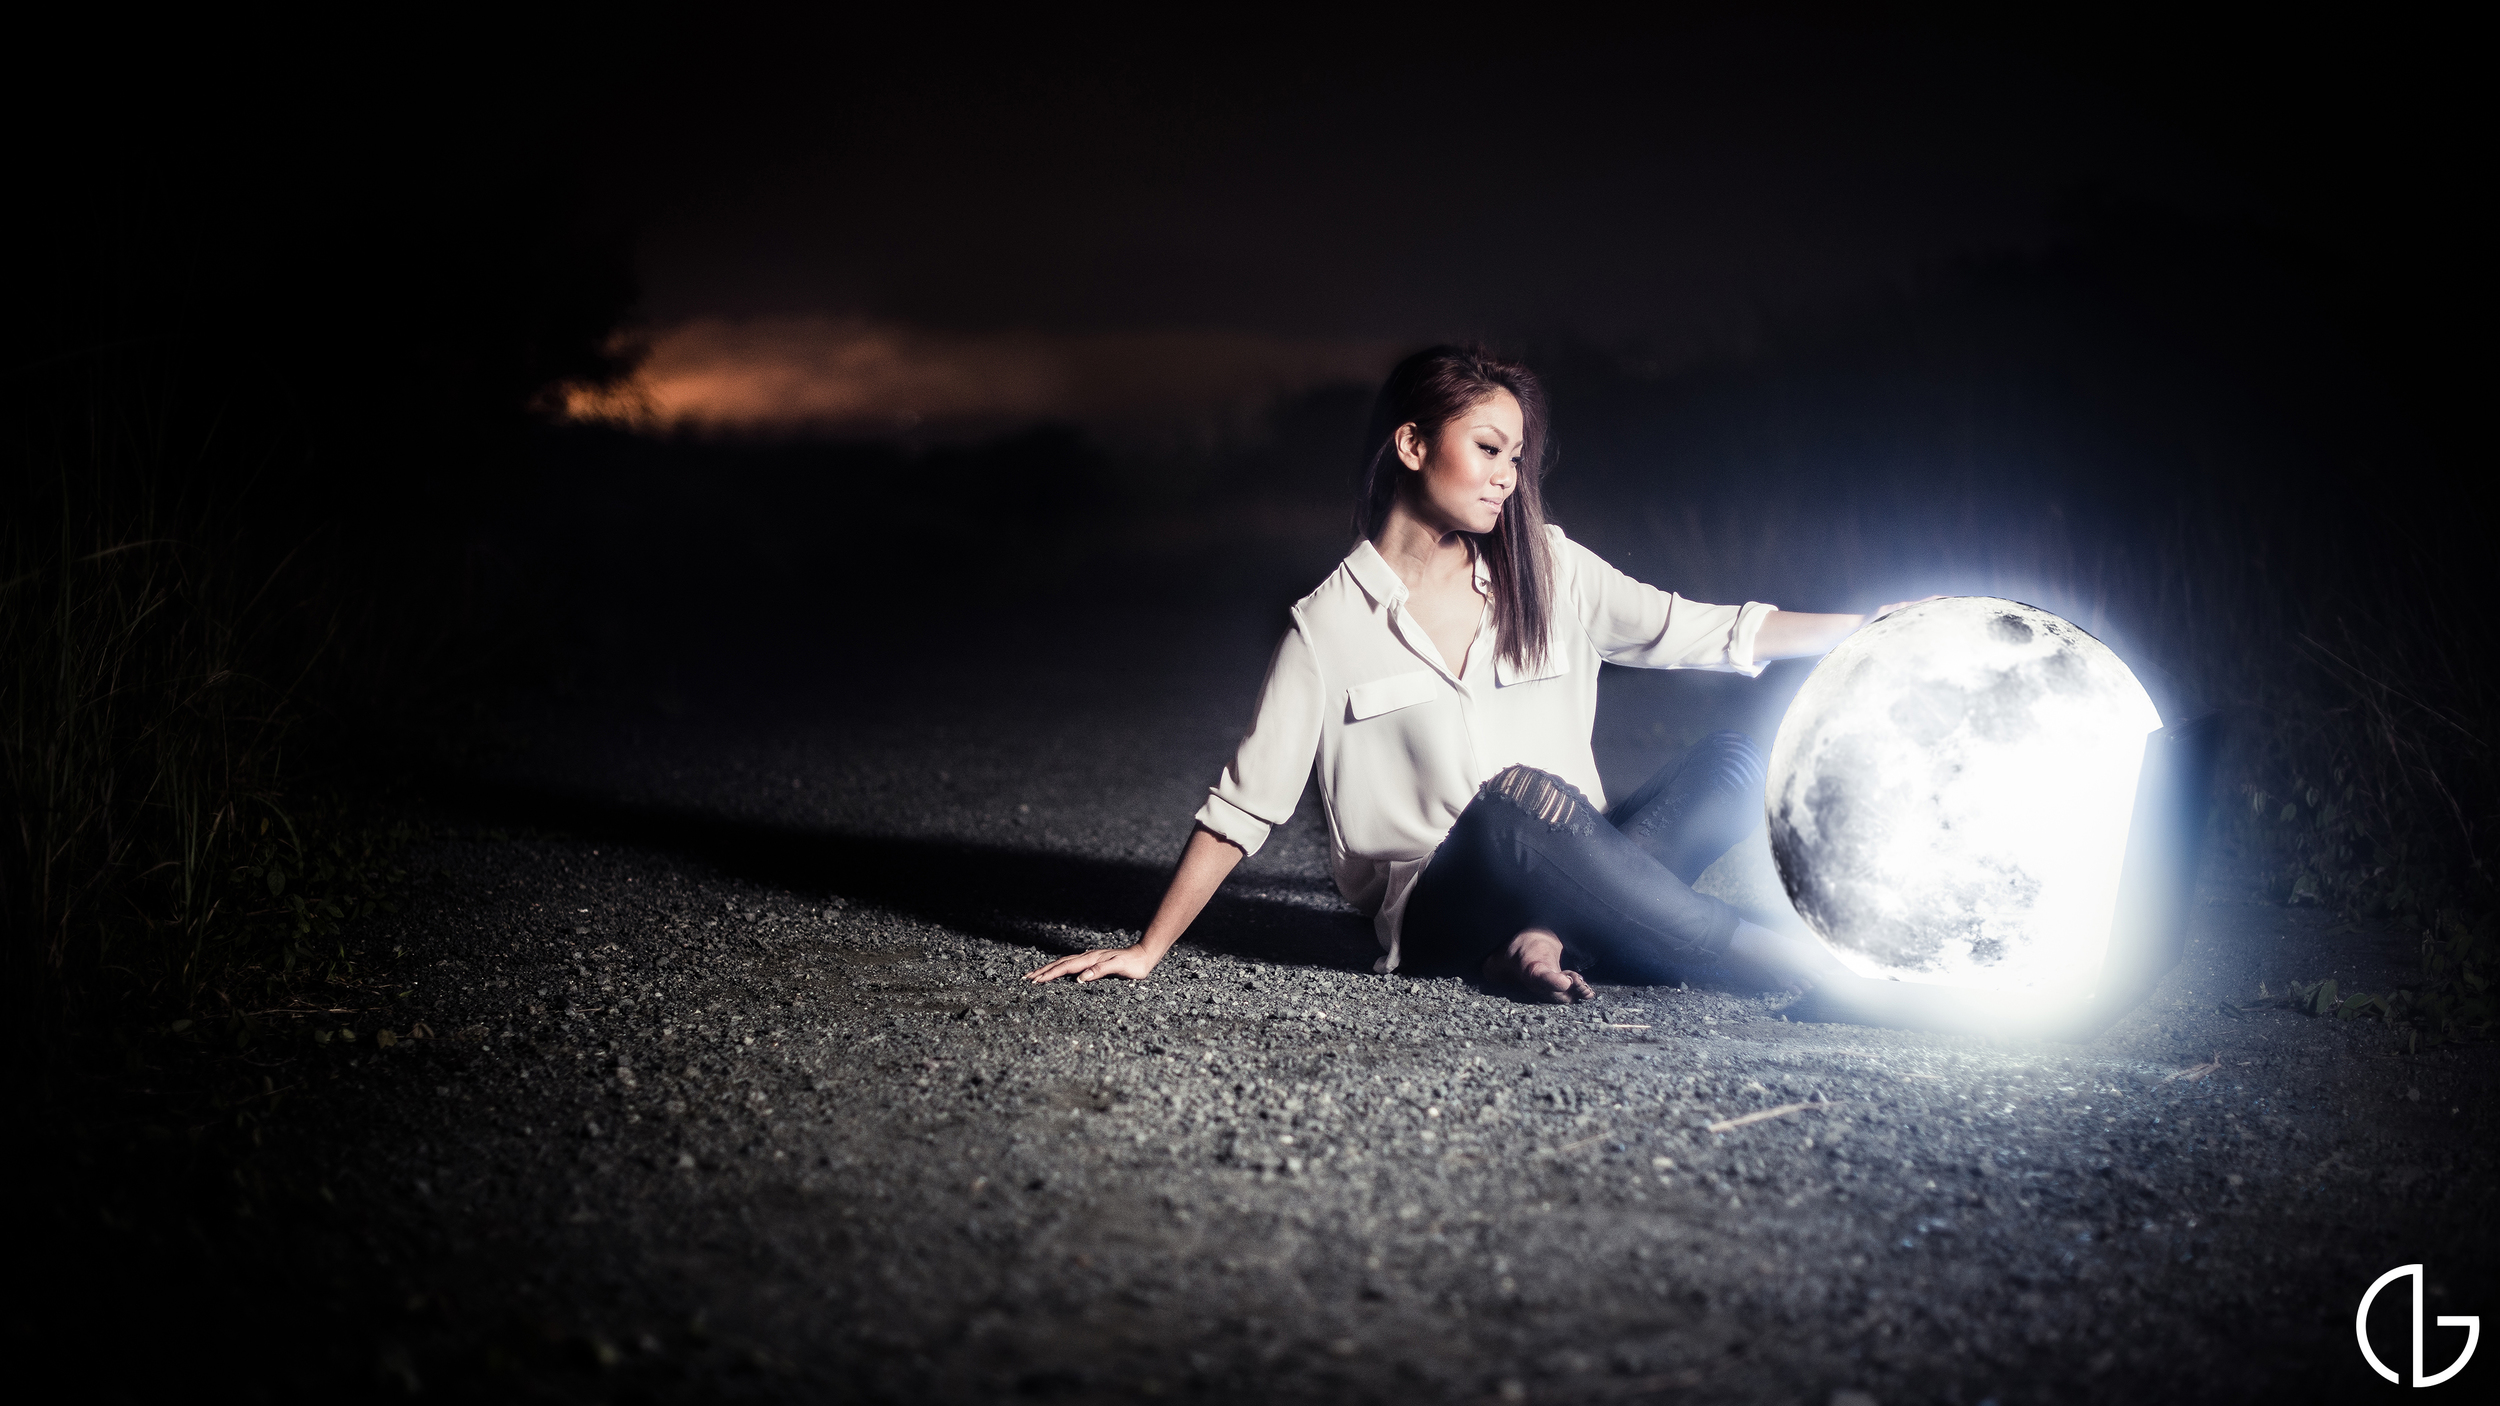
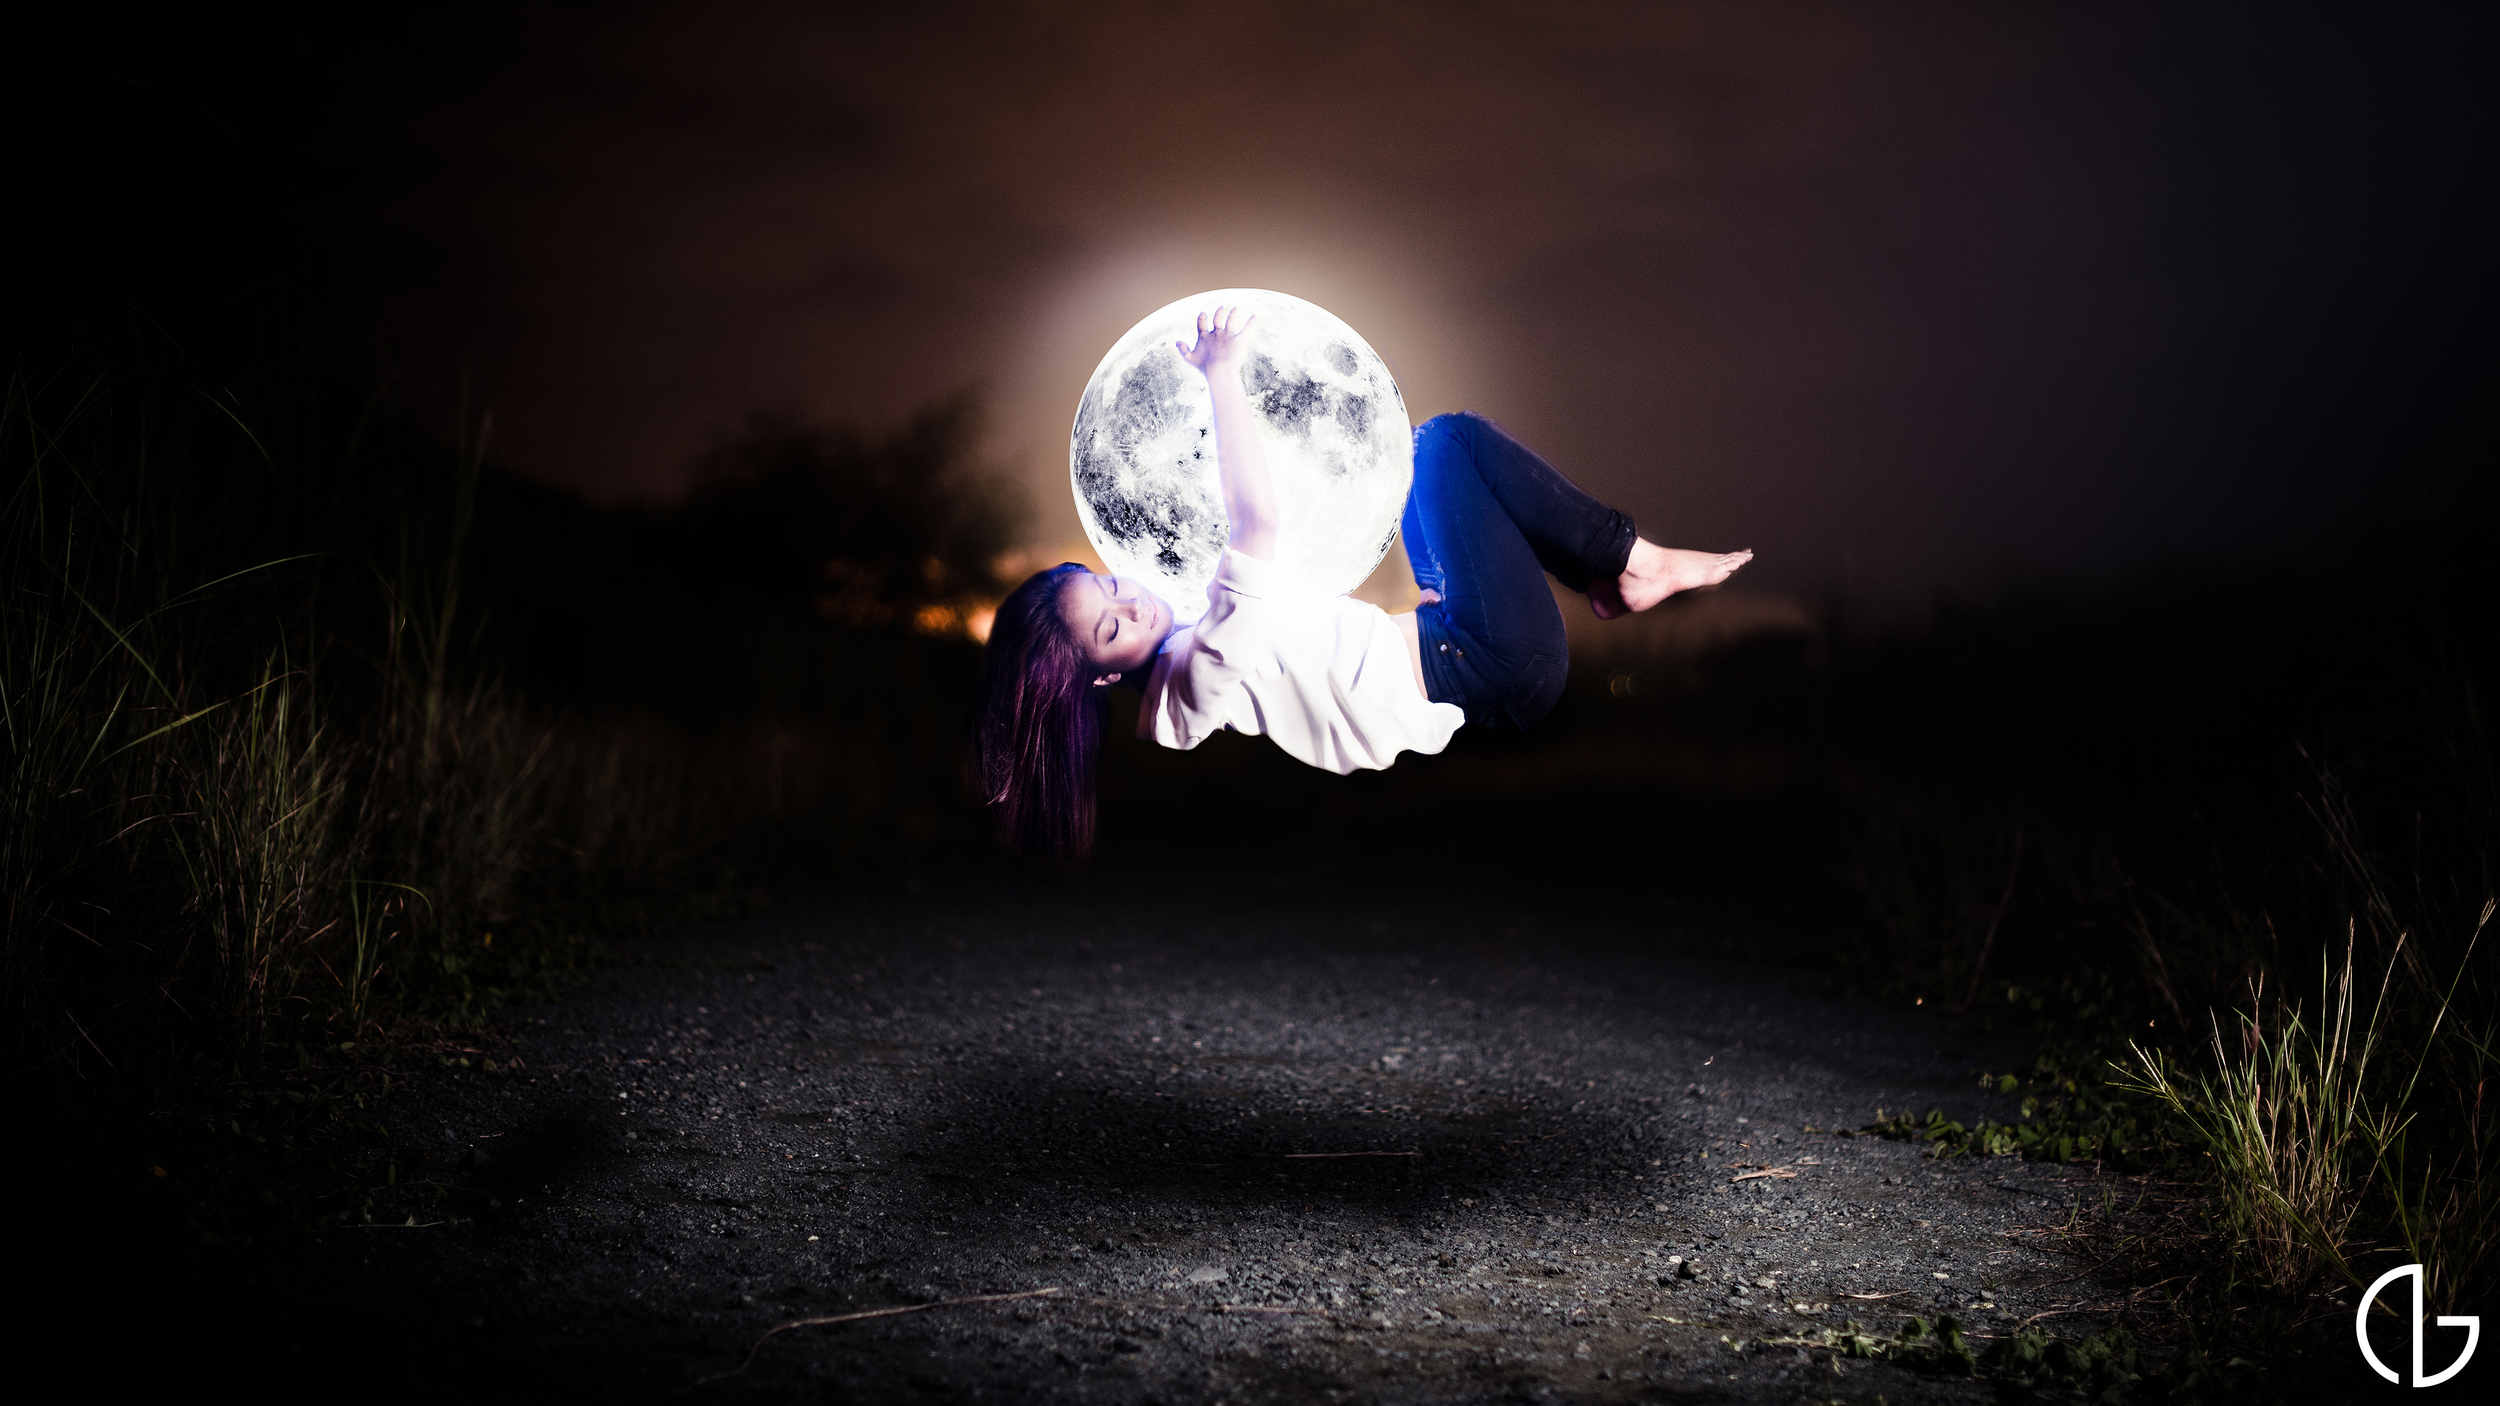
Photography for me was never about capturing moments but making them. I was instantly drawn to directorial photography because I can control every aspect of the photograph. Yet, I am equally attracted to things that I have no control over, like dreams. Dreams are a curious thing. They are ephemeral and seem to be without rules, where laws of physics don’t exist. However, I have noticed one constant: time. Dreams are still bound by time, which connects both realities. We have a finite amount of time no matter the reality. My series “Wide Awake”, explores the idea of dreams and its relation to time. 

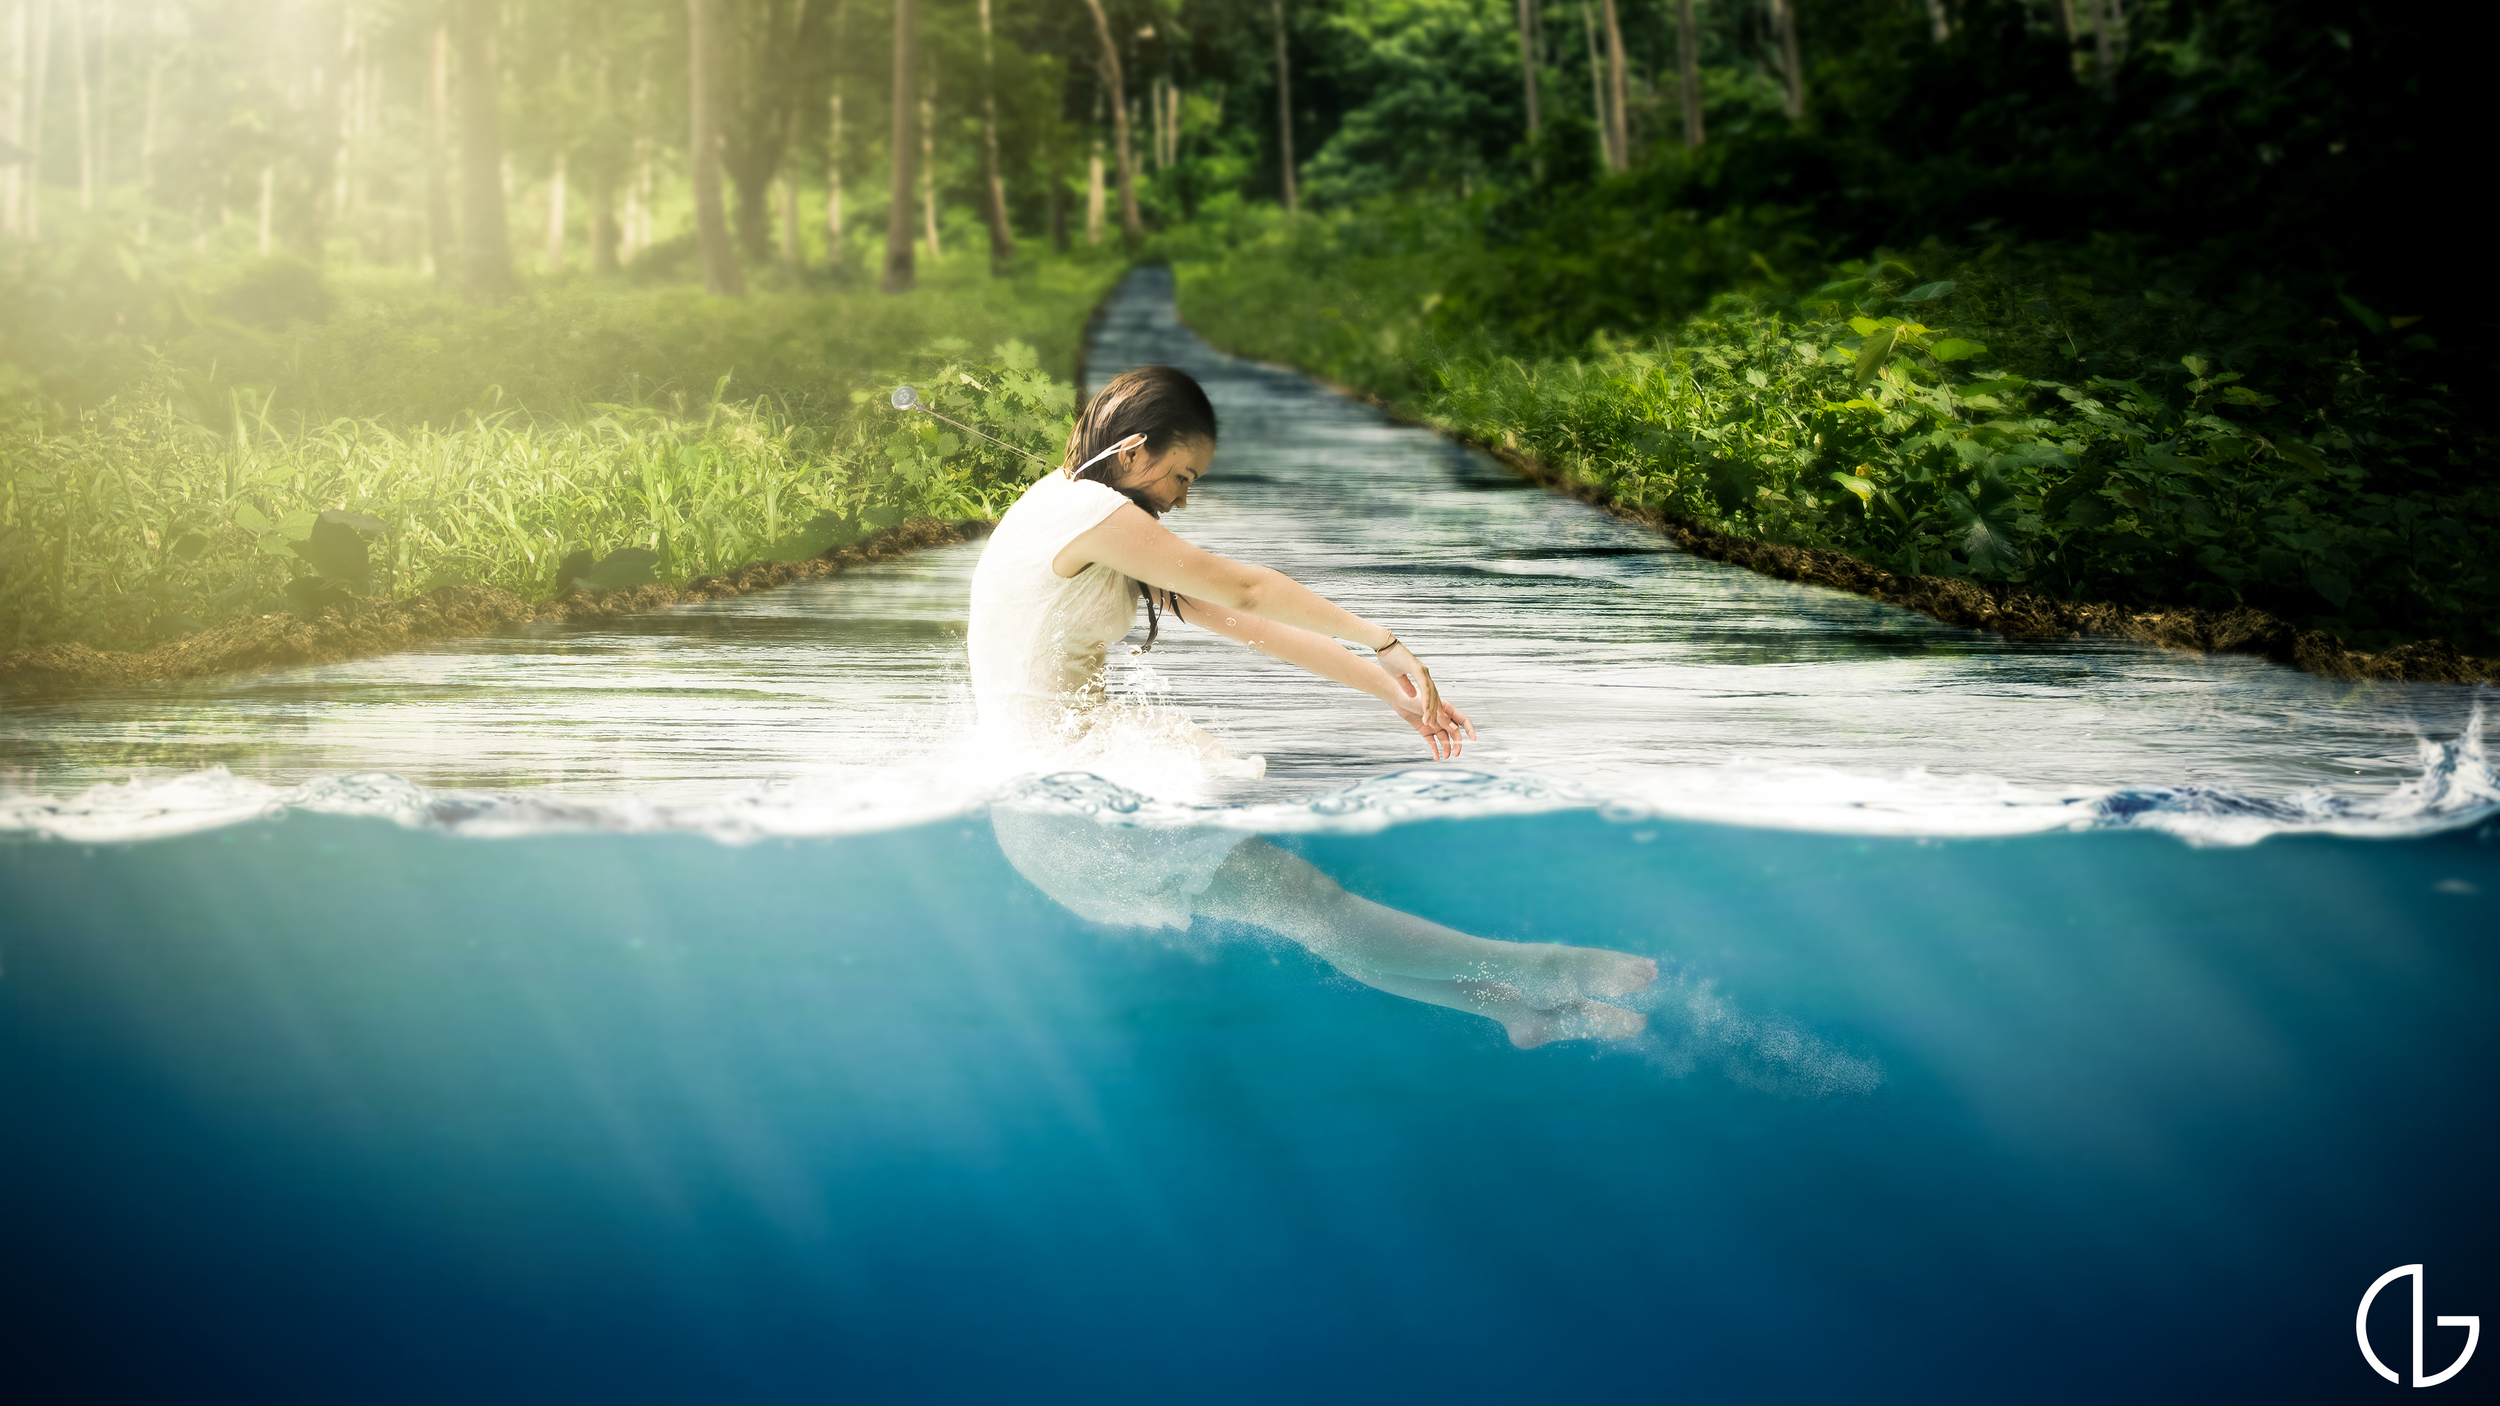
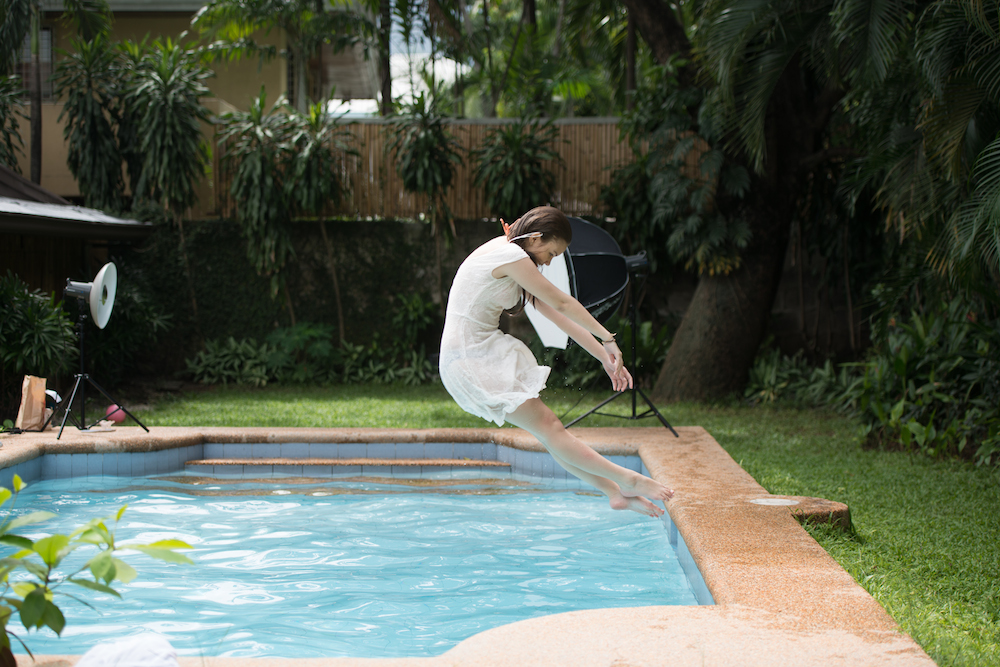
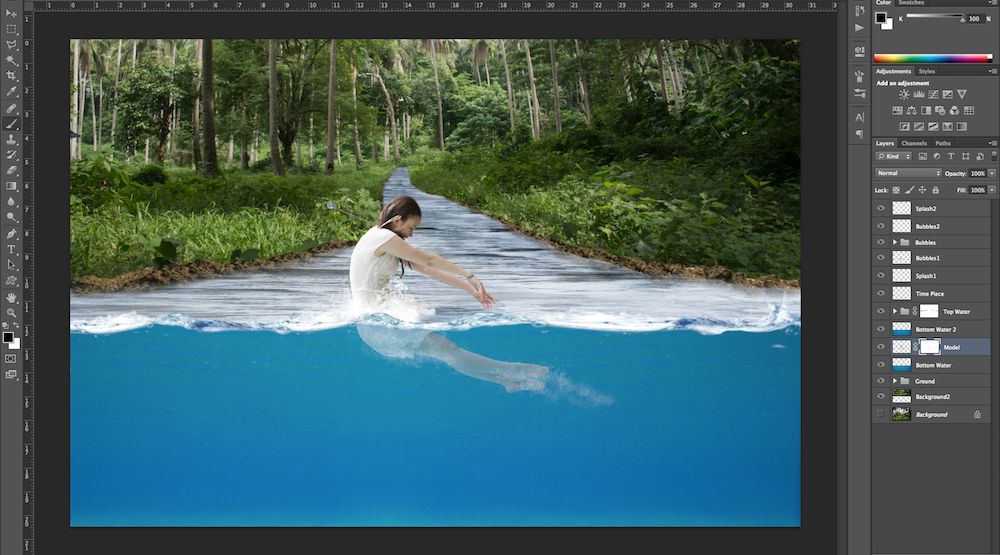
For the image that won PPOTY Student of the Year 2013, I used compositing with different photographs I took over the years, which emphasizes the nature of dreams. Compositing is a technique in which you place different images into one image. For me, the most important mindset when making composites is realism. The image has to seem as if it was a moment captured by the camera. 

01 Collecting the Images

Most of the images used for the final image were photographed by me but not all with the intent of being used for this photograph. It is important to be organized and keep a stock of all the photographs you take at its highest quality so you have them when you need to make composites. 

Untitled-1.jpg

02 Masking the Figures

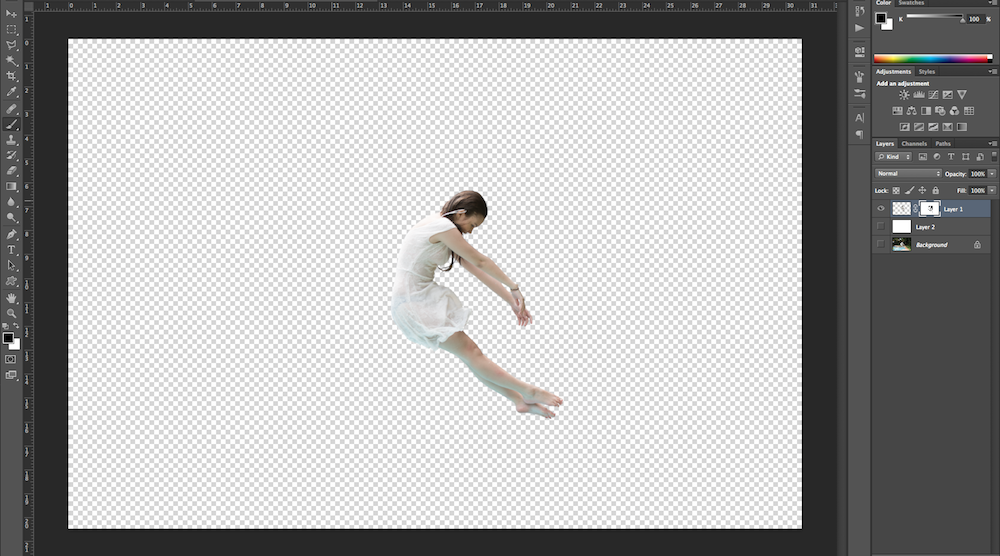
To isolate the figures, I used the masking tool and created a layer mask for every figure. I always zoom in and out to make sure that I define the masks as precisely as I could. To speed up the process, I use a pen tablet. 

03 Assembling the Elements

I usually start with the background and work forward, as it makes it easier for me to place elements easier. When placing elements together, make sure that the light source is coming from the same location and consistent. Make sure that the colors of the elements are also similar and you can manipulate those with the curves tool. When placing elements together, I also employ the same rules of composition as I do when I take a photograph. For this image, I placed the main subject on the center to give it emphasis and impact. 

04 Placing a Light Source

One of my secrets to make composite images realistic is by adding a light source in photoshop. This unites the elements making it more convincing that it is a captured moment. I use the gradient tool set on radial and then play with the opacity until it looks believable. 

05 Adding Reflection

When you use reflective surfaces on composites such as glass and water, make sure that you add reflections as well. Reflections are an easy tool to make audiences “believe” in your image. I often add reflection by duplicating the image then transforming it with the “flip” tool. I then change the opacity and use gaussian blur depending on the situation. 

06 Dodge and Burn

To emphasize the shadows and highlights, I use dodge and burn. I create separate layers increasing and decreasing exposure using the curves tool and then use the mask tool to paint either shadow or highlight. 

07 Adding Blur

I then add blur using the gaussian blur tool to give the image a shallow depth of field. I wanted to further emphasize the main subject by isolation but also make the image more believable. Our eyes do not perceive the world in complete sharpness as they have a specific depth of field. I wanted to recreate that. 

08 Final Touches in Lightroom 

My last step for any image is usually transferring the new image into Lightroom and apply small adjustments. This may be a strange process for most photographers but I feel that applying filters and adjustments on Lightroom really unifies the composite. 

Here is the whole story for "Wide Awake"
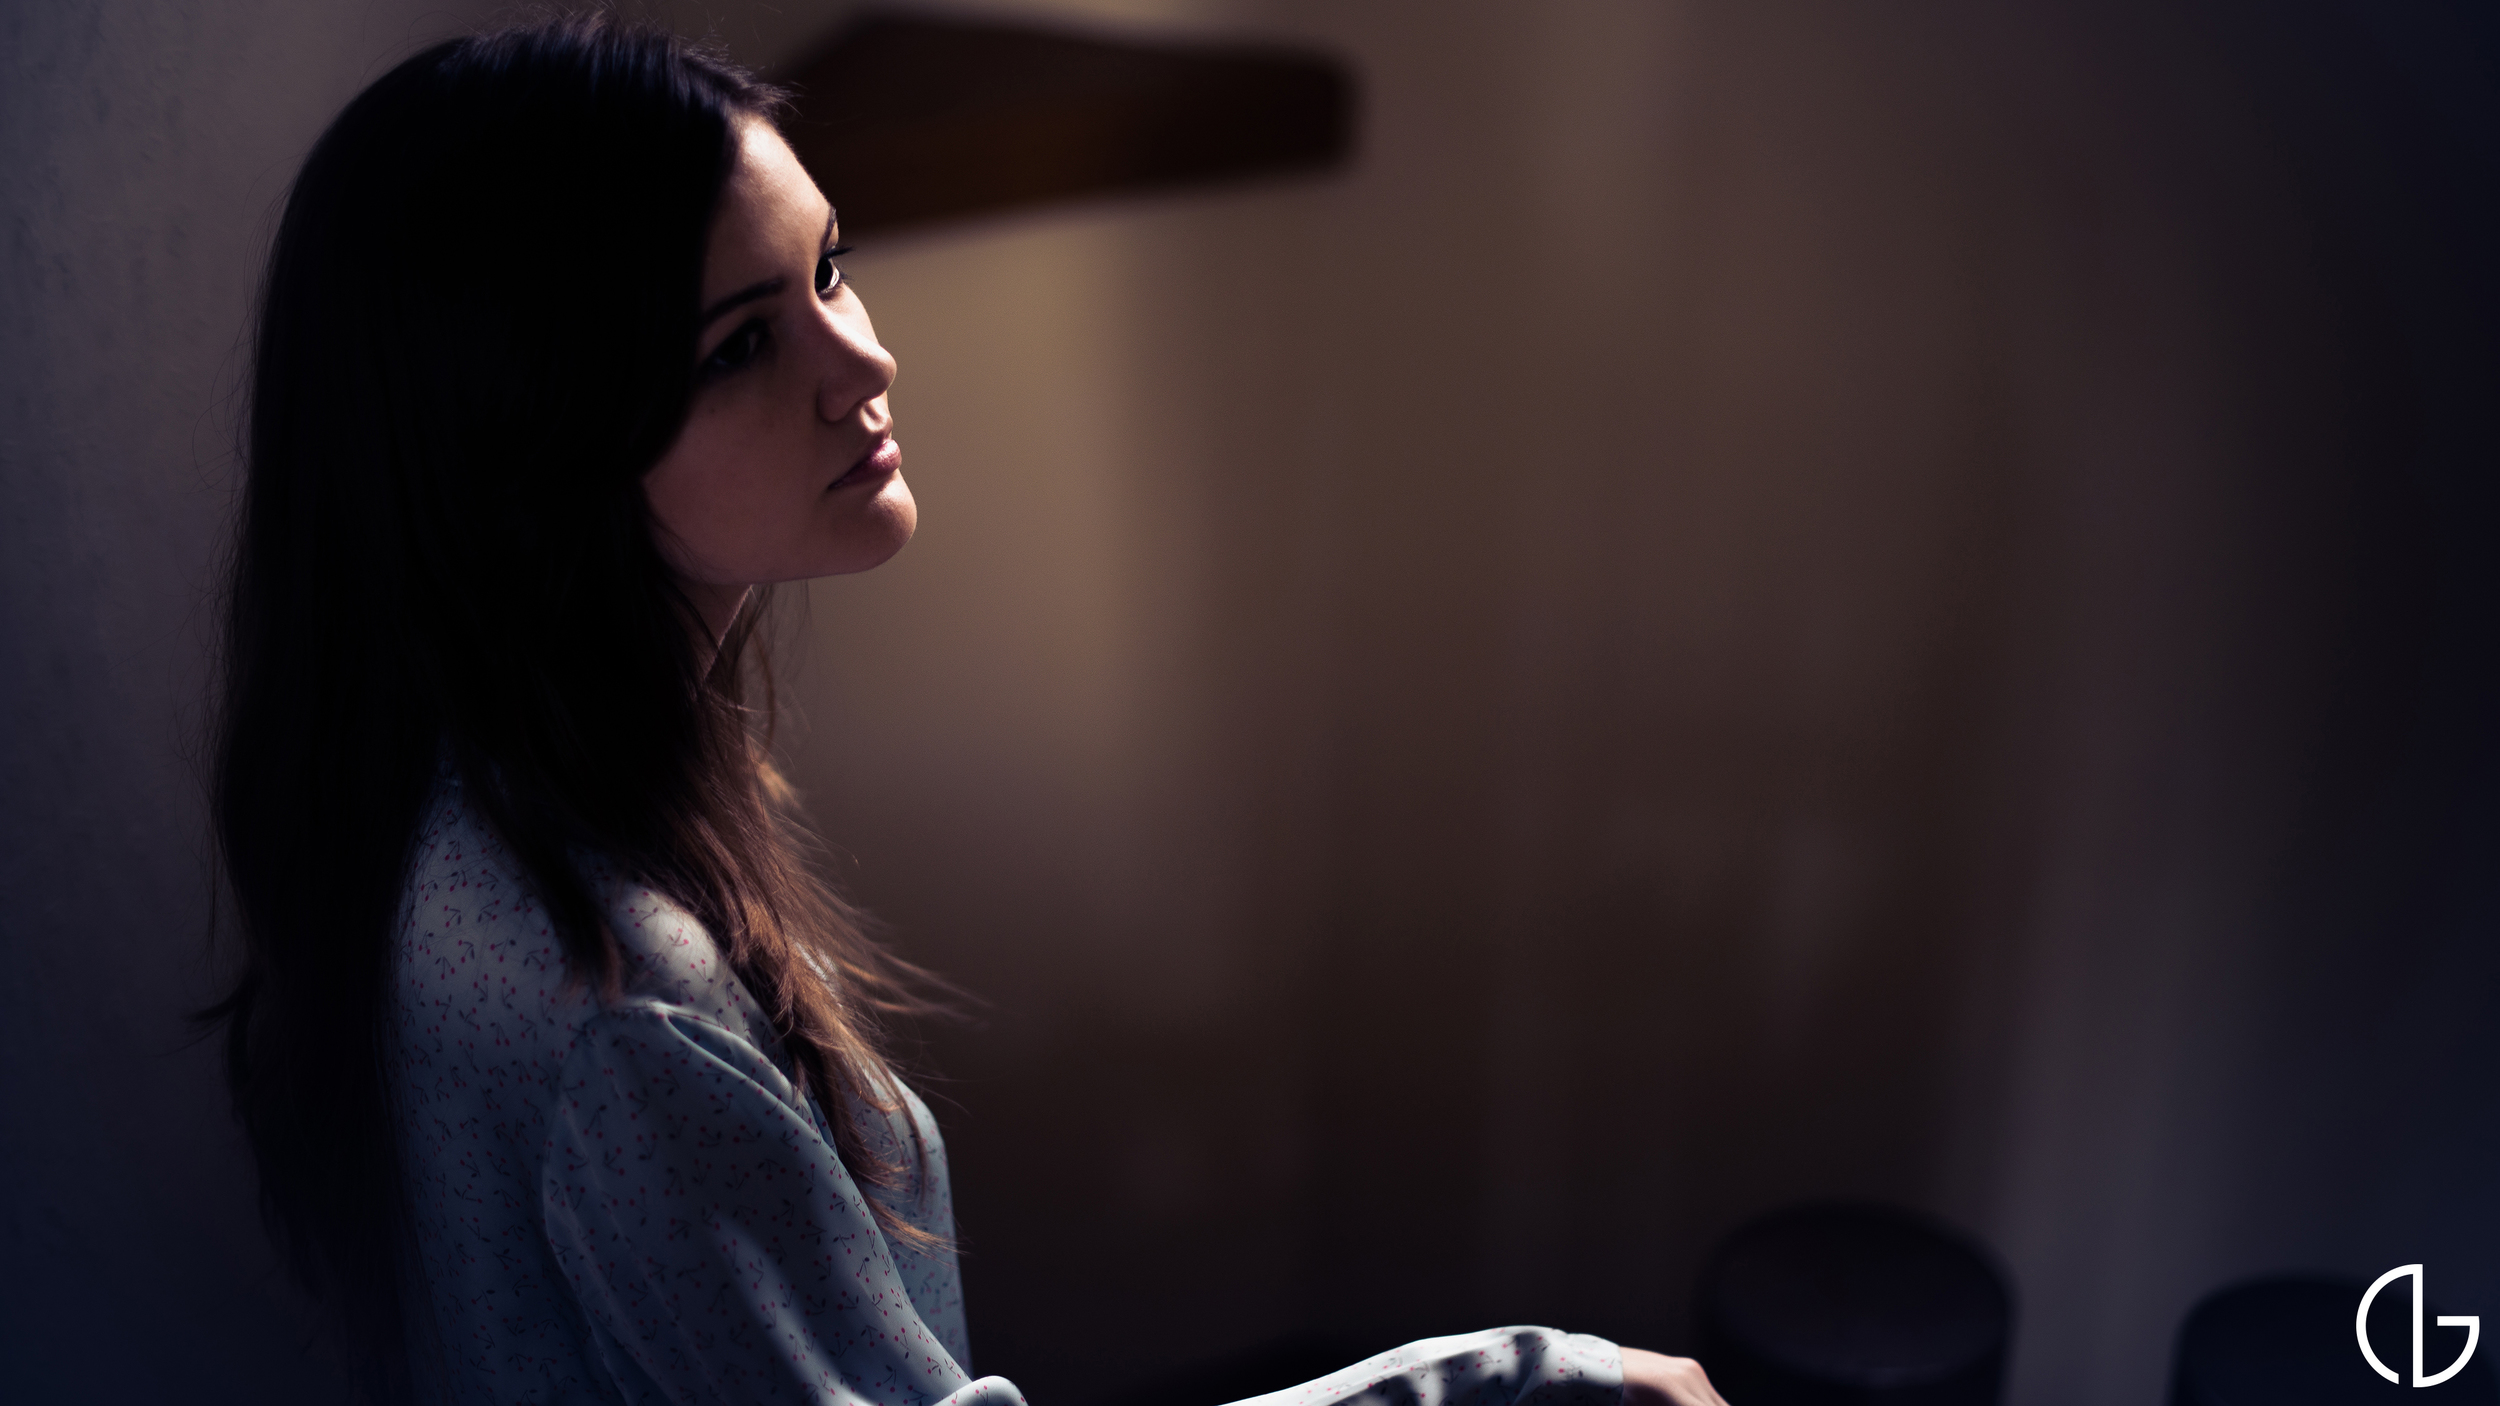
I edited these photos mainly using Adobe Photoshop and Lightroom 4. I also used Portrait Professional Studio for retouching. If you have more questions on how I produced these images, feel free to comment here or post on my wall on facebook.

website | facebook | flickr | behance instagram

Exercise in Futility

This conceptual photoshoot is loosely based on the Greek myth of Sisyphus. He was a king who was punished for chronic deceitfulness by being forced to roll an immense boulder up a hill, only to watch it roll back down, then to repeat this action forever.

I often find myself highly empathetic to Sisyphus and his burden because of societal structures that are forced upon me. May it be school, nutrition, or information, I feel as if I go through daily motions in spite of knowing the outcome, just to see it repeat itself. 

"Exercise in Futility" is my expression of this continuous struggle. I wanted to explore the human experience of resilience in hopes of finding respite.
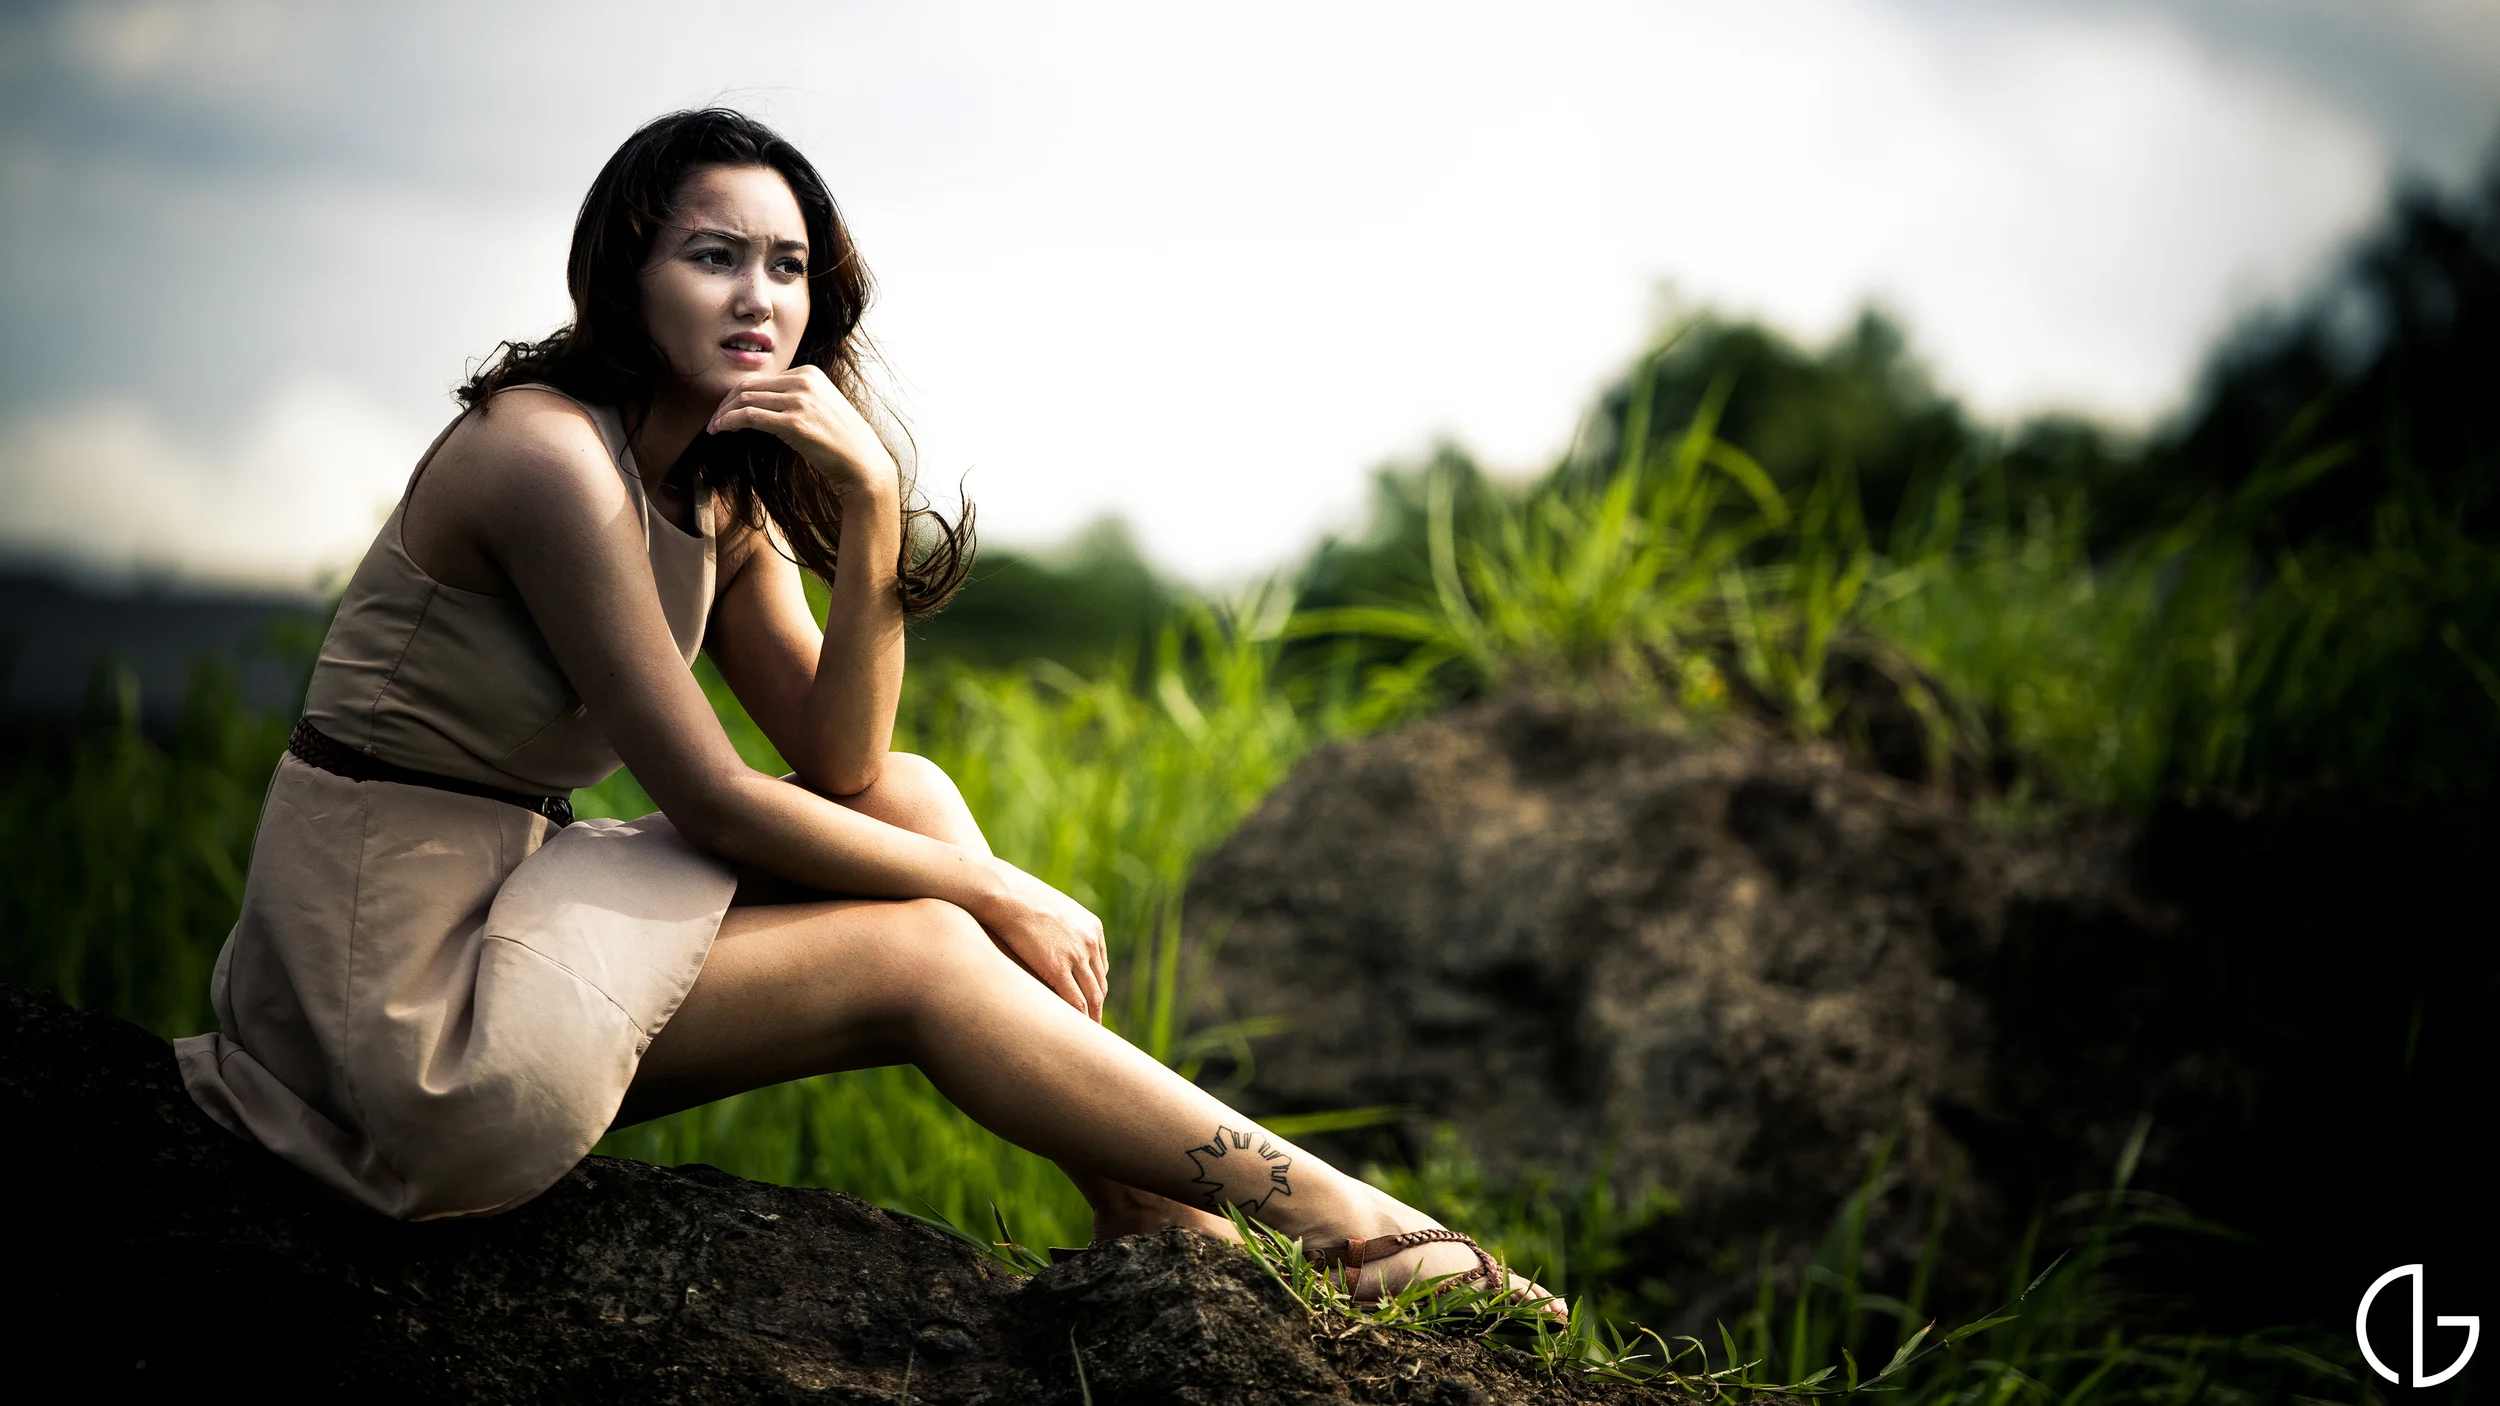
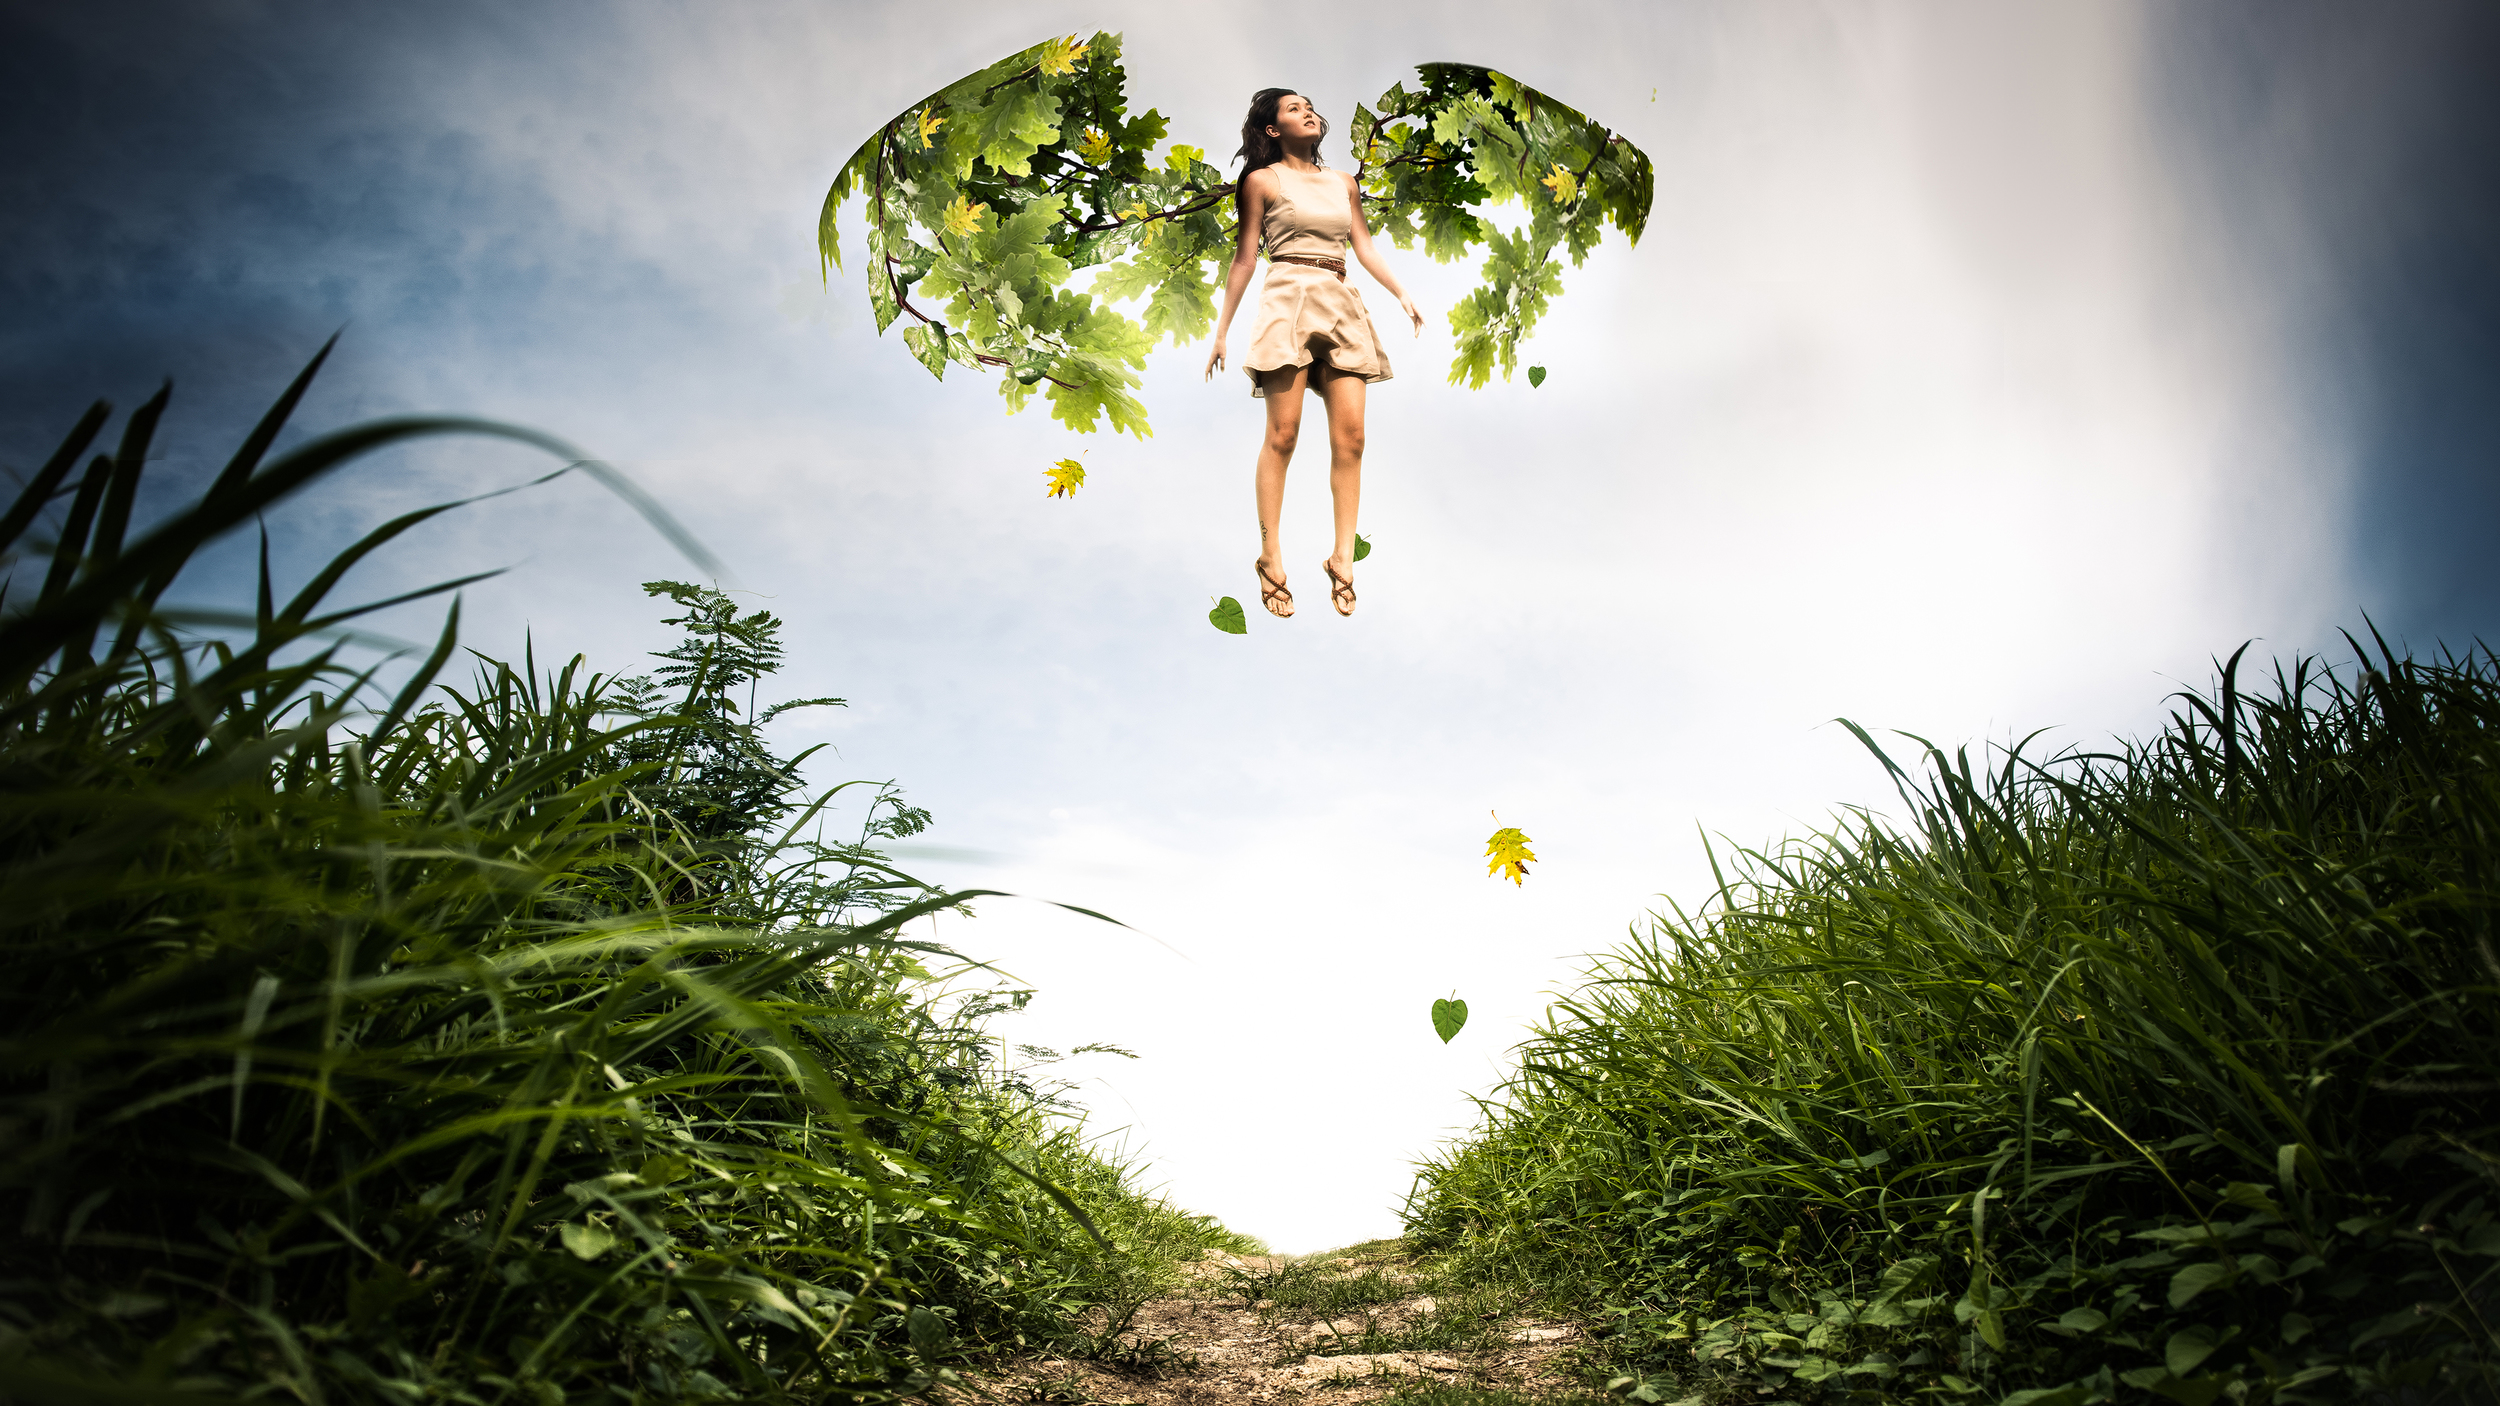
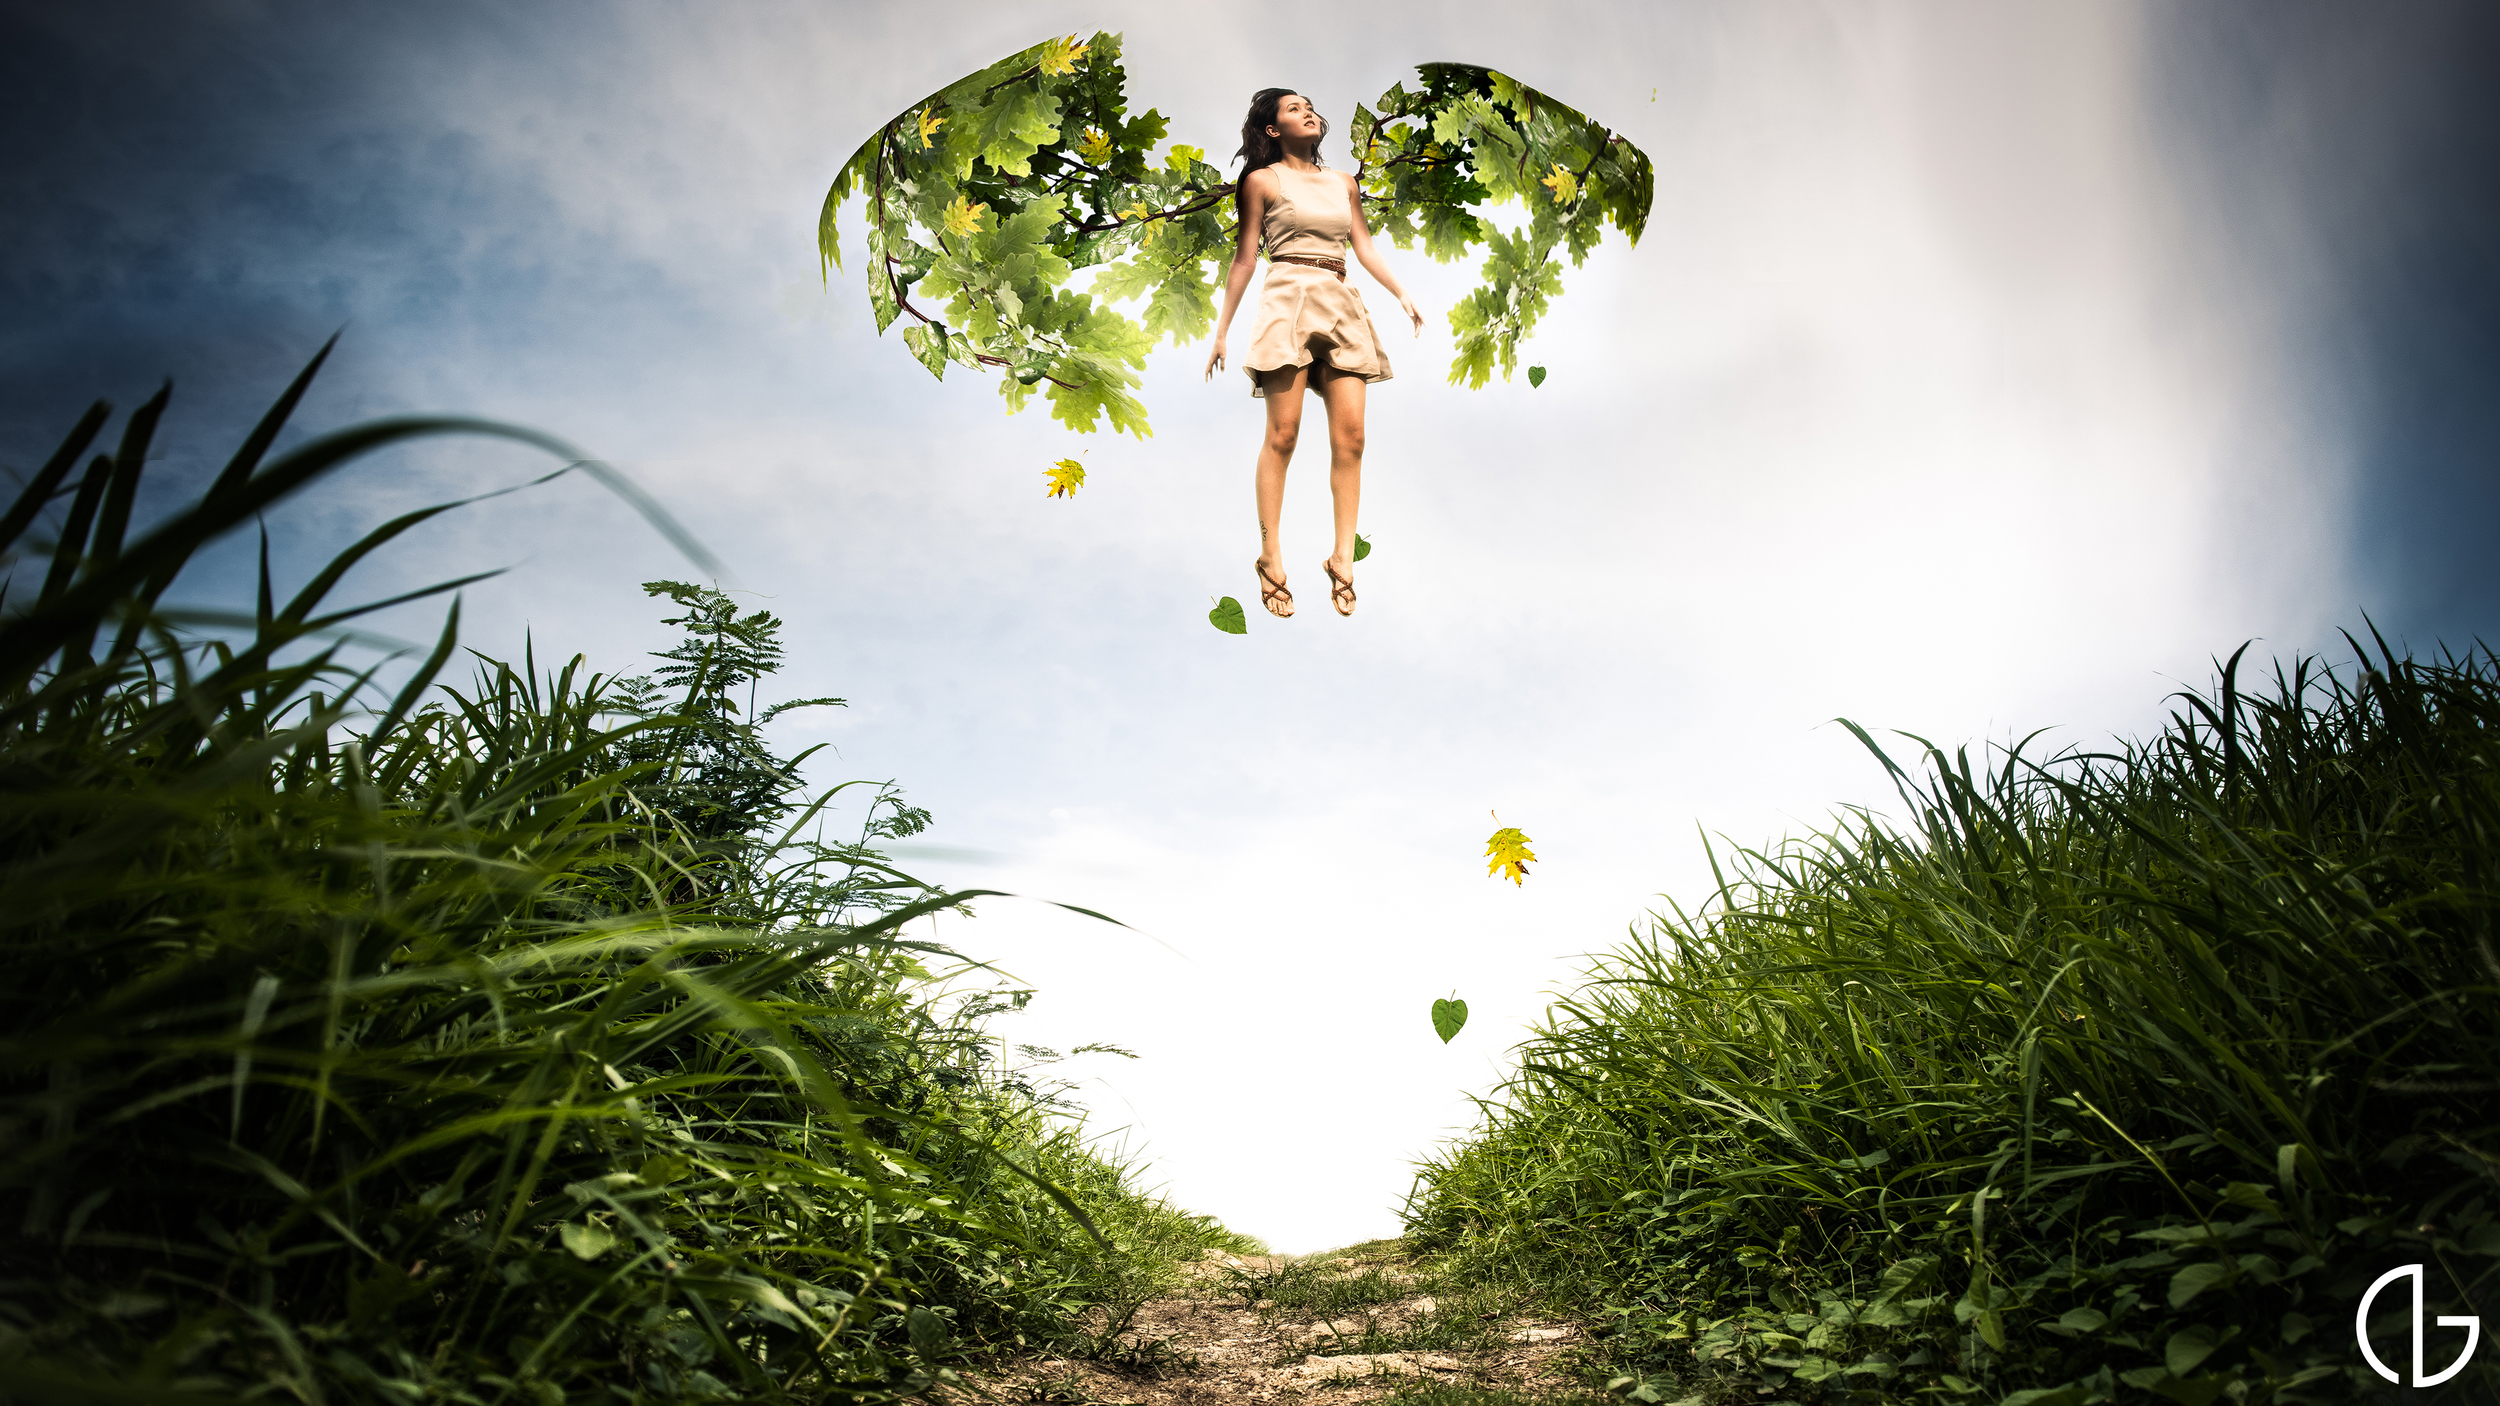
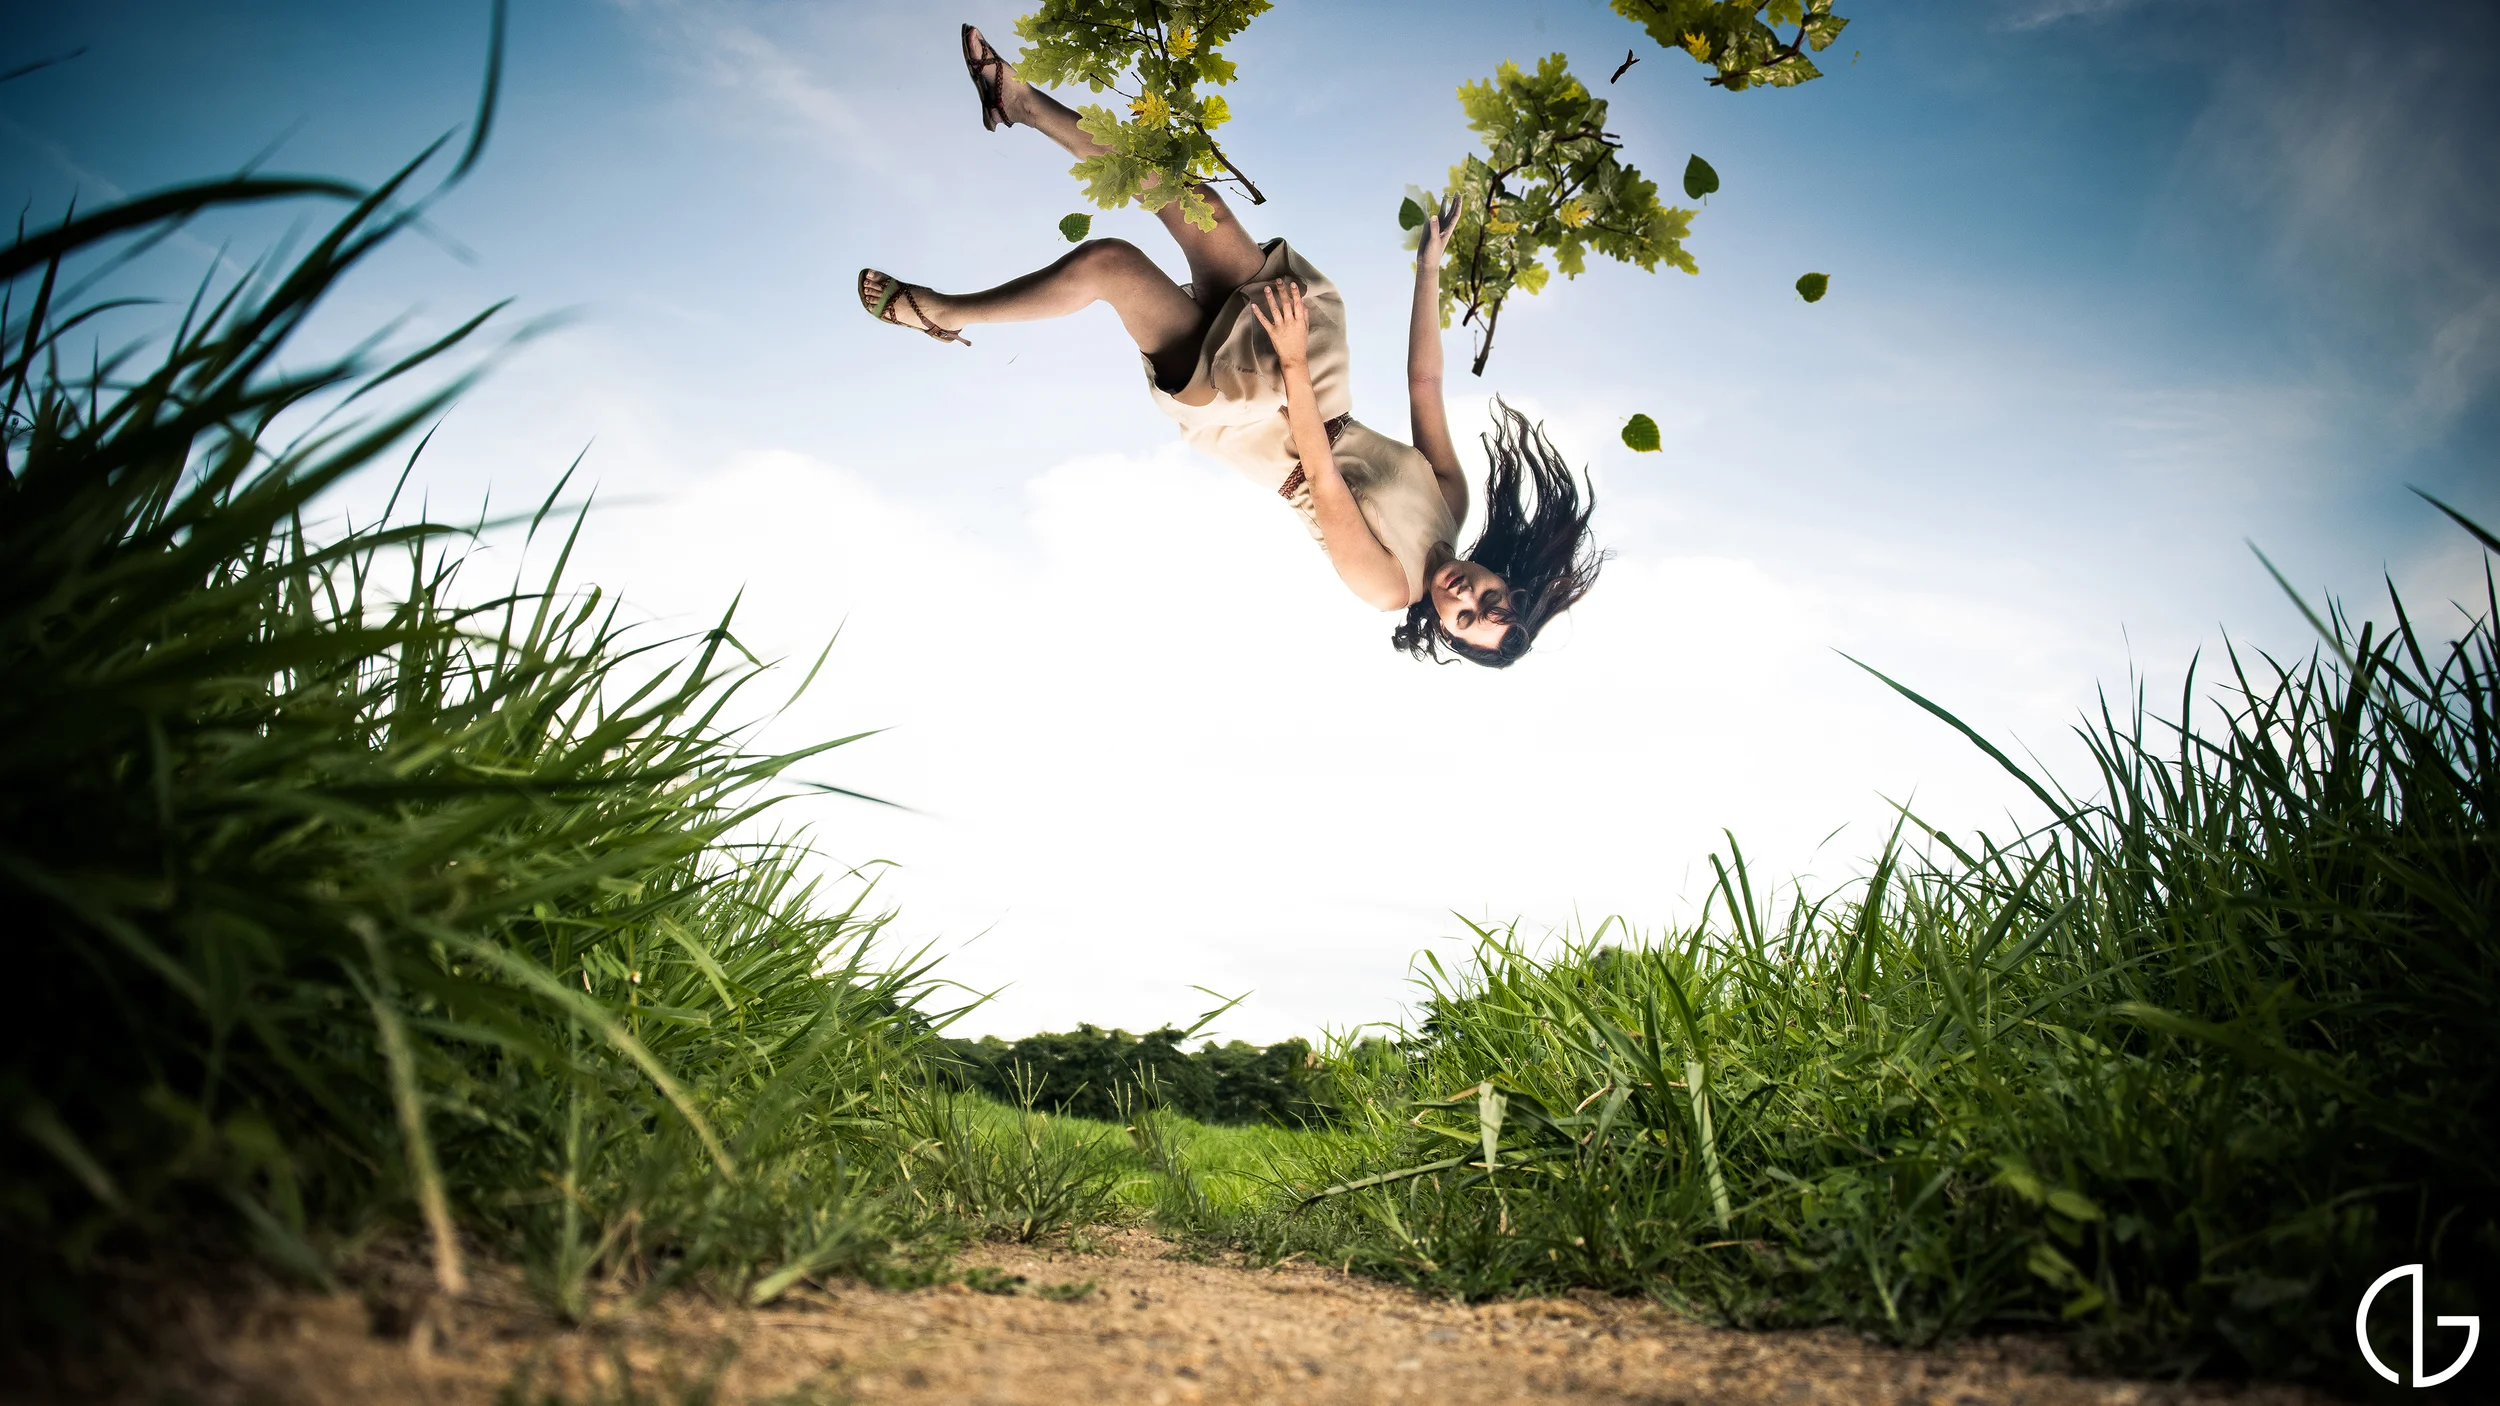
To express this, I created a character who is not satisfied with the world she's in and is then compelled to fly. She then builds wings of her own using the landscape around her. Creating the wings on photoshop was one of the most challenging tasks I have undertaken so far and so I really wanted to share how I did it.

Final Image

Final Image

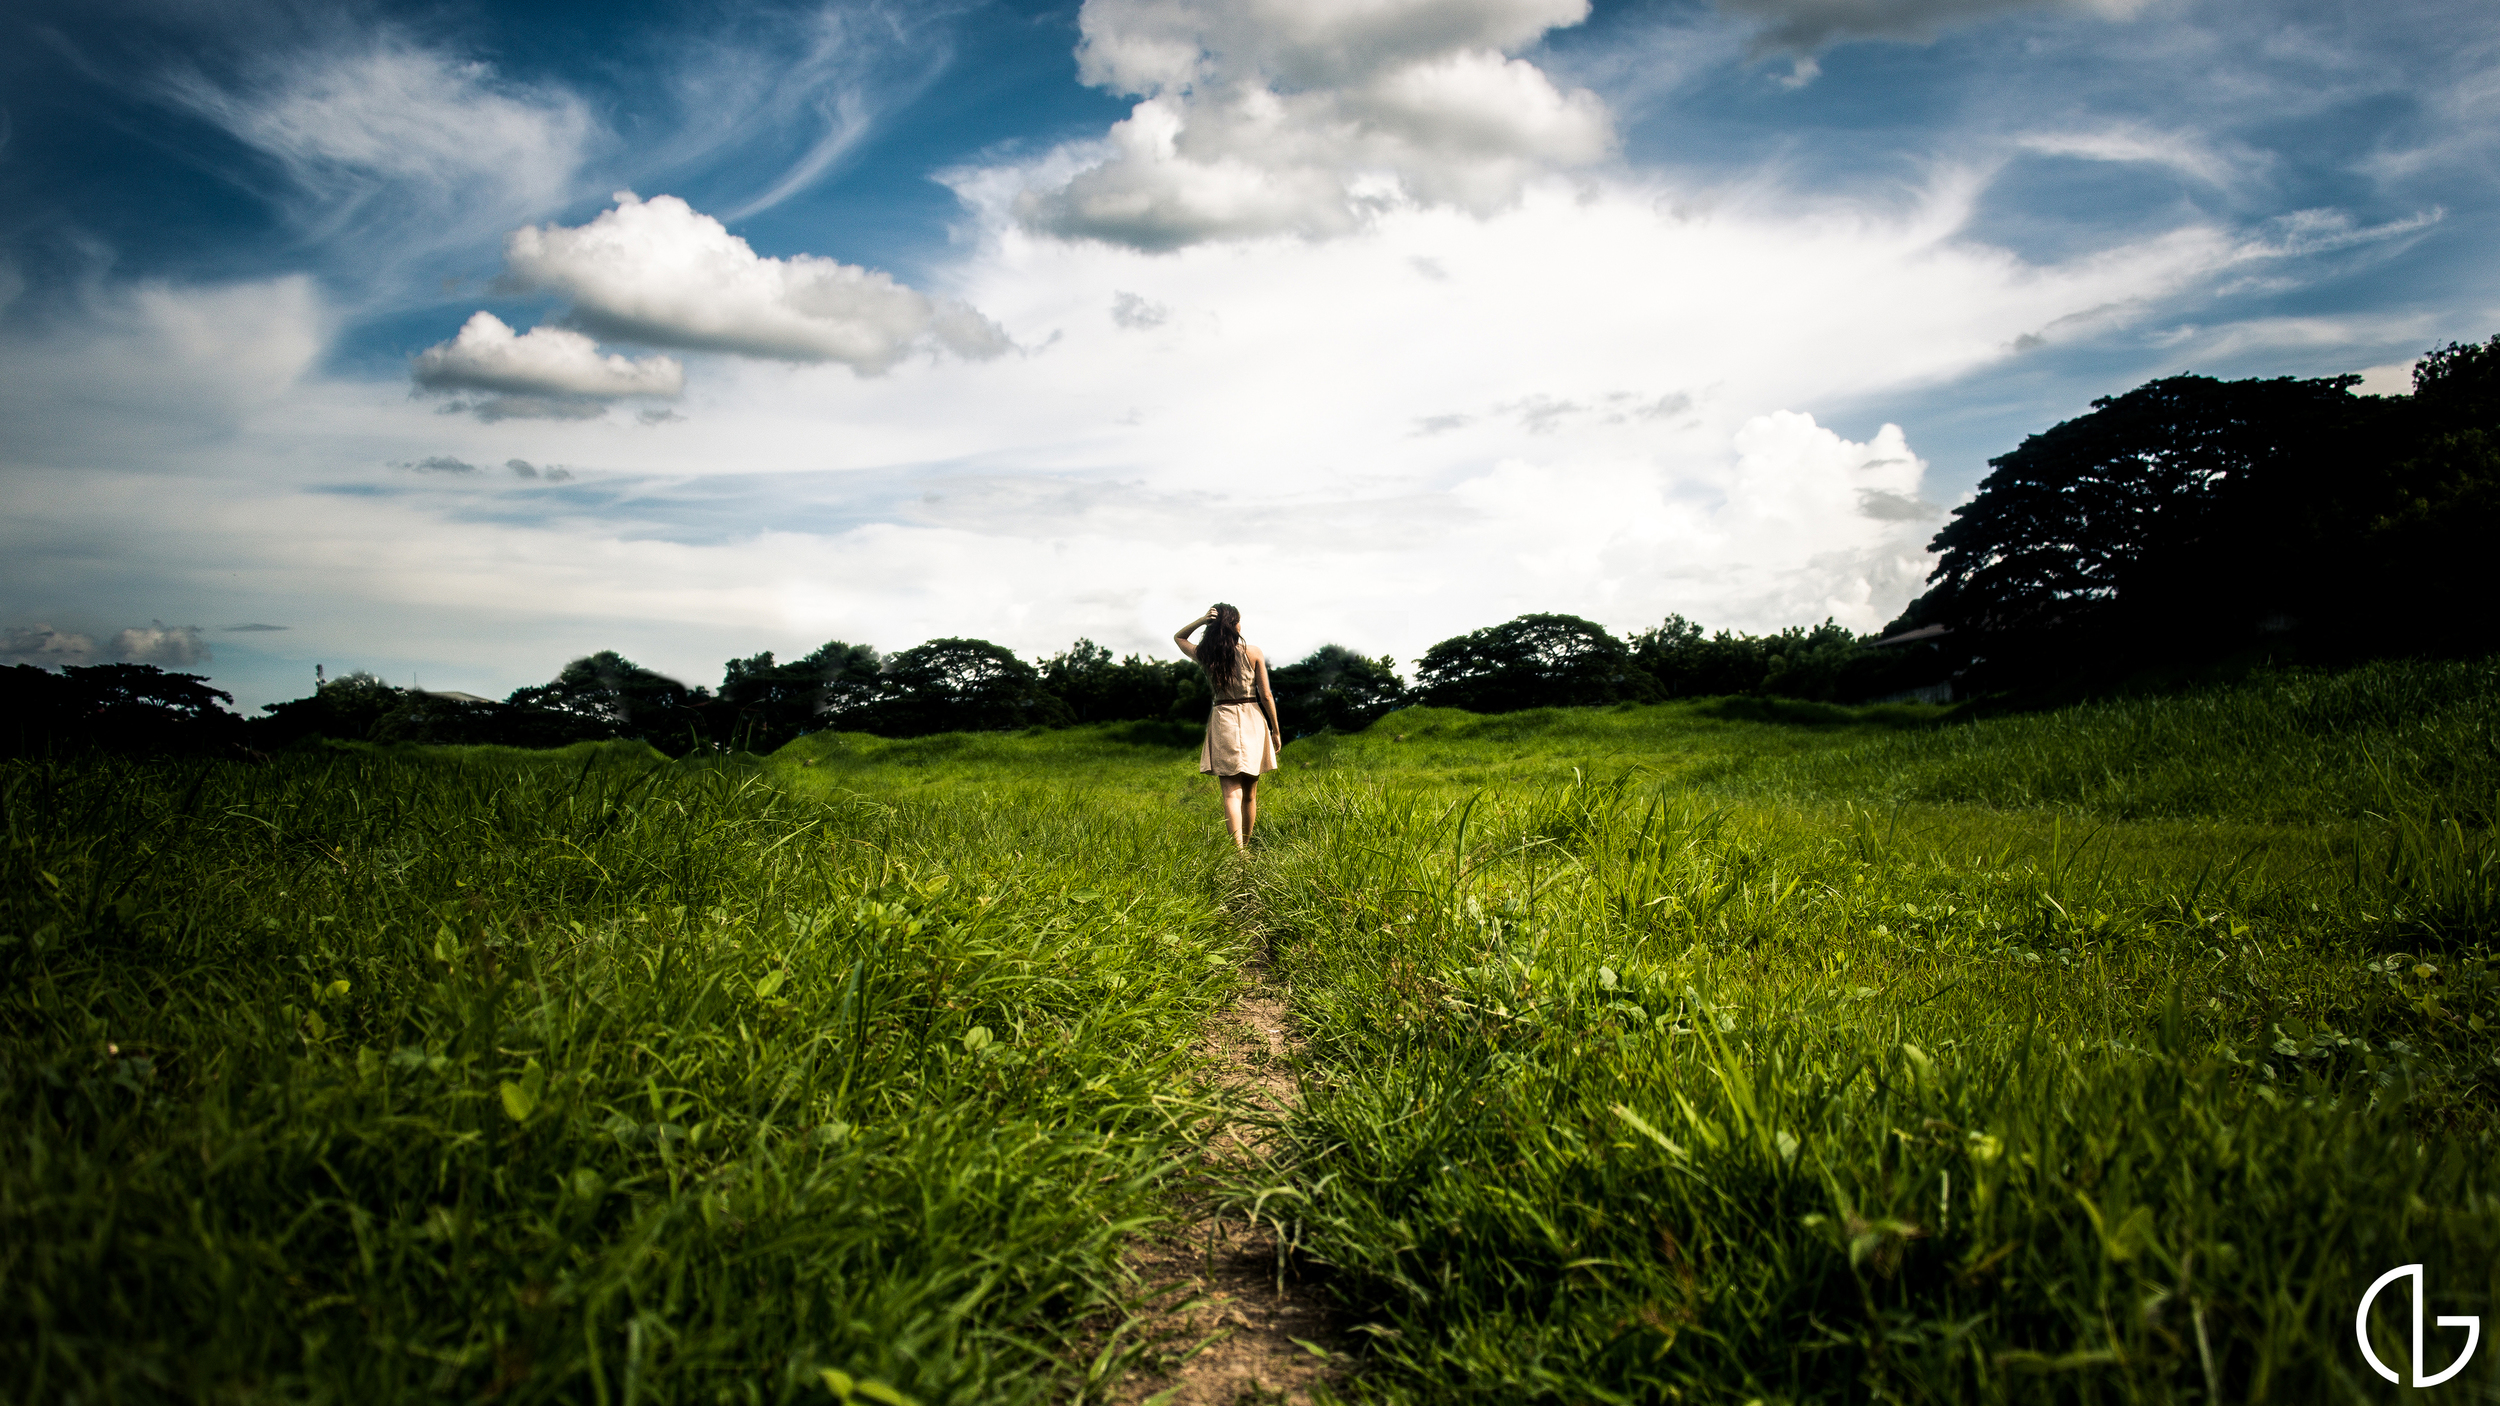
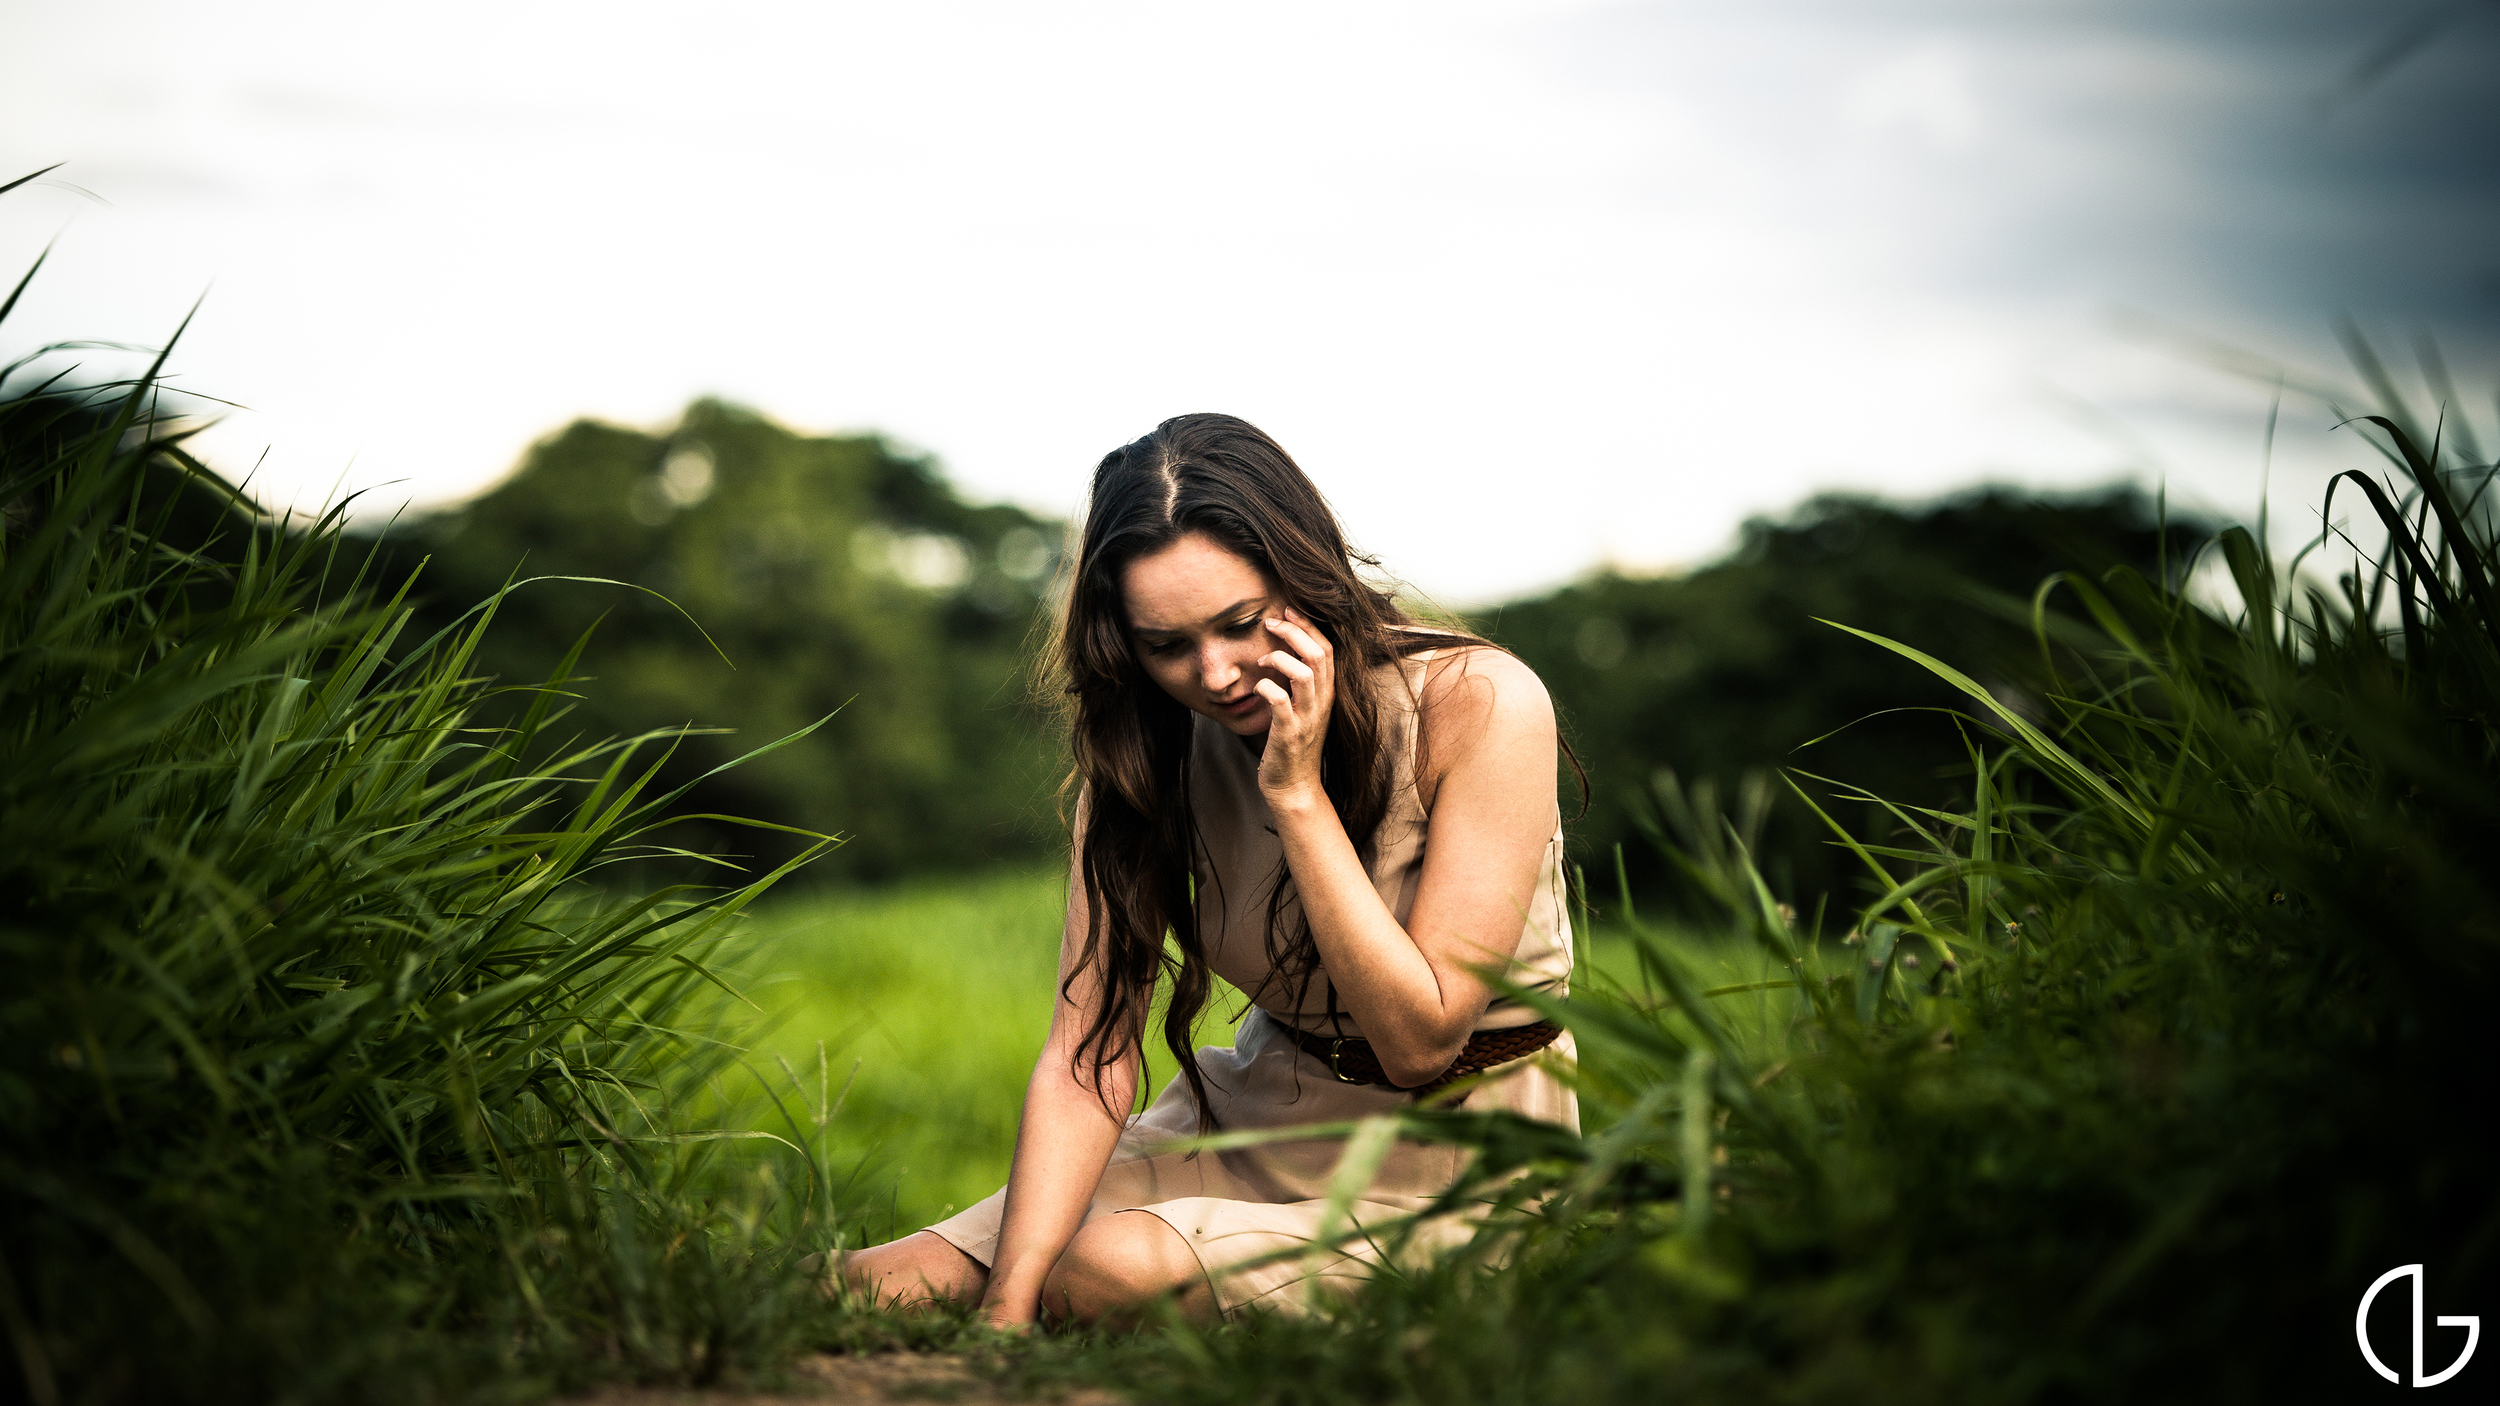
RAW Image

RAW Image

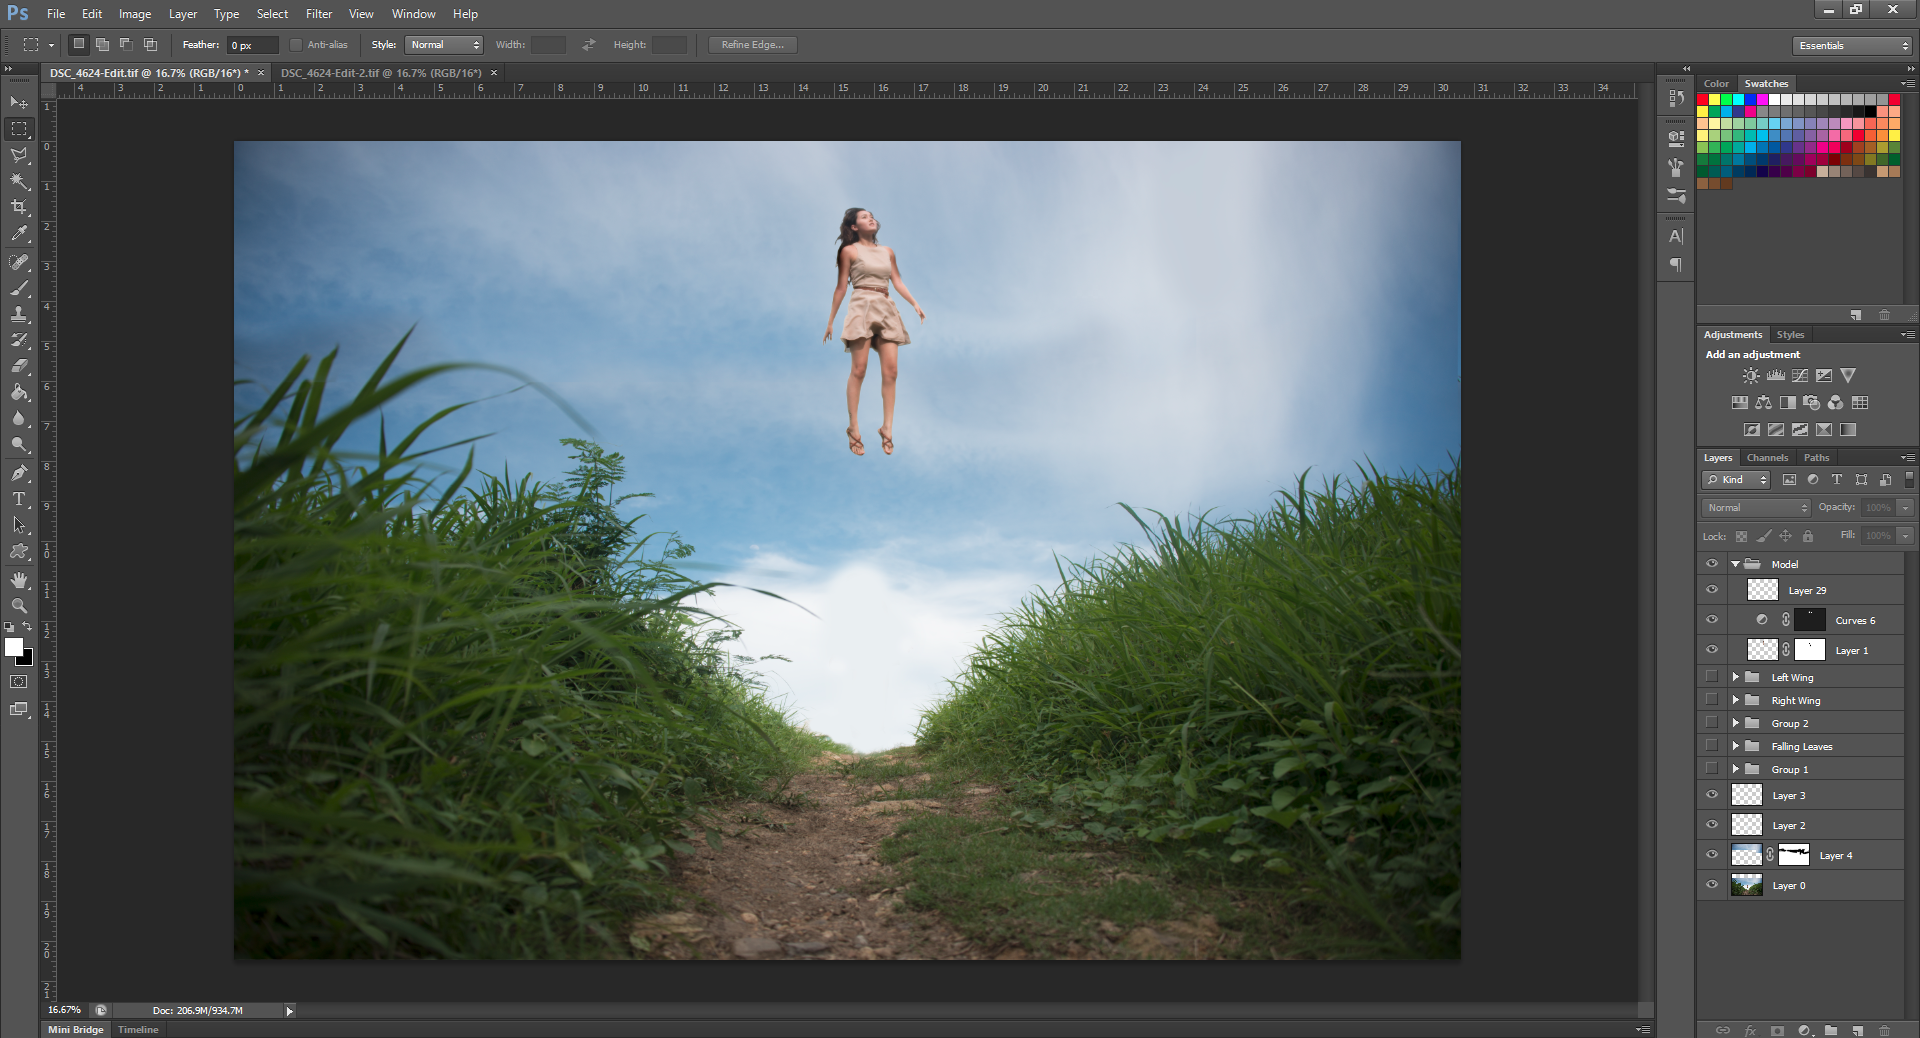
As always, my first step is to isolate the subject by selecting it (with either the pen, wand, or brush tool) and isolating it using a mask. I then placed the subject higher above the ground to make it more believable that she is flying. Photographing the model in the location that I want to use for the image keeps the lighting consistent and therefore believable.

For the wings, I used several images of branches and leaves from my own collection and stock images from the internet. 

Composite of branches

Composite of branches

To create more realism that the wings are responsible for lifting the character, there has to be motion. I referred to birds and looked how they flapped their wings when they are taking off. To create that motion, I used the warp tool on Photoshop.

Using the Warp tool in Photoshop

Using the Warp tool in Photoshop

When placing all of the elements together, make sure that the lighting and shadows are consistent. Make sure you are aware of all the light sources in the image. Also keep in mind how your added composite images affect the overall photograph.

Final composite image

Final composite image

The last step for this image was taking it into Lightroom. As I have previously mentioned in my older posts, I always refer to Lightroom for the final stages of making a photograph. When I have finished placing all of the elements and creating the composite, Lightroom enables me to add filters and effects that affect the whole image which adds unity and therefore adds realism.

Final touches in Lightroom

Final touches in Lightroom

  Here is the whole story of Exercise in Futility:

I edited these photos mainly using Adobe Photoshop and Lightroom 4. I also used Portrait Professional Studio for retouching. If you have more questions on how I produced these images, feel free to comment here or post on my wall on facebook.

website | facebook | flickr | behance instagram

Final Belonging

This conceptual photograph series explores the universal concept of death. Especially in this generation where the belief of isolation is increasing, I am even more interested in seeing what connects all of us together. No matter what we lose or what happens to us, we will always have one last belonging.

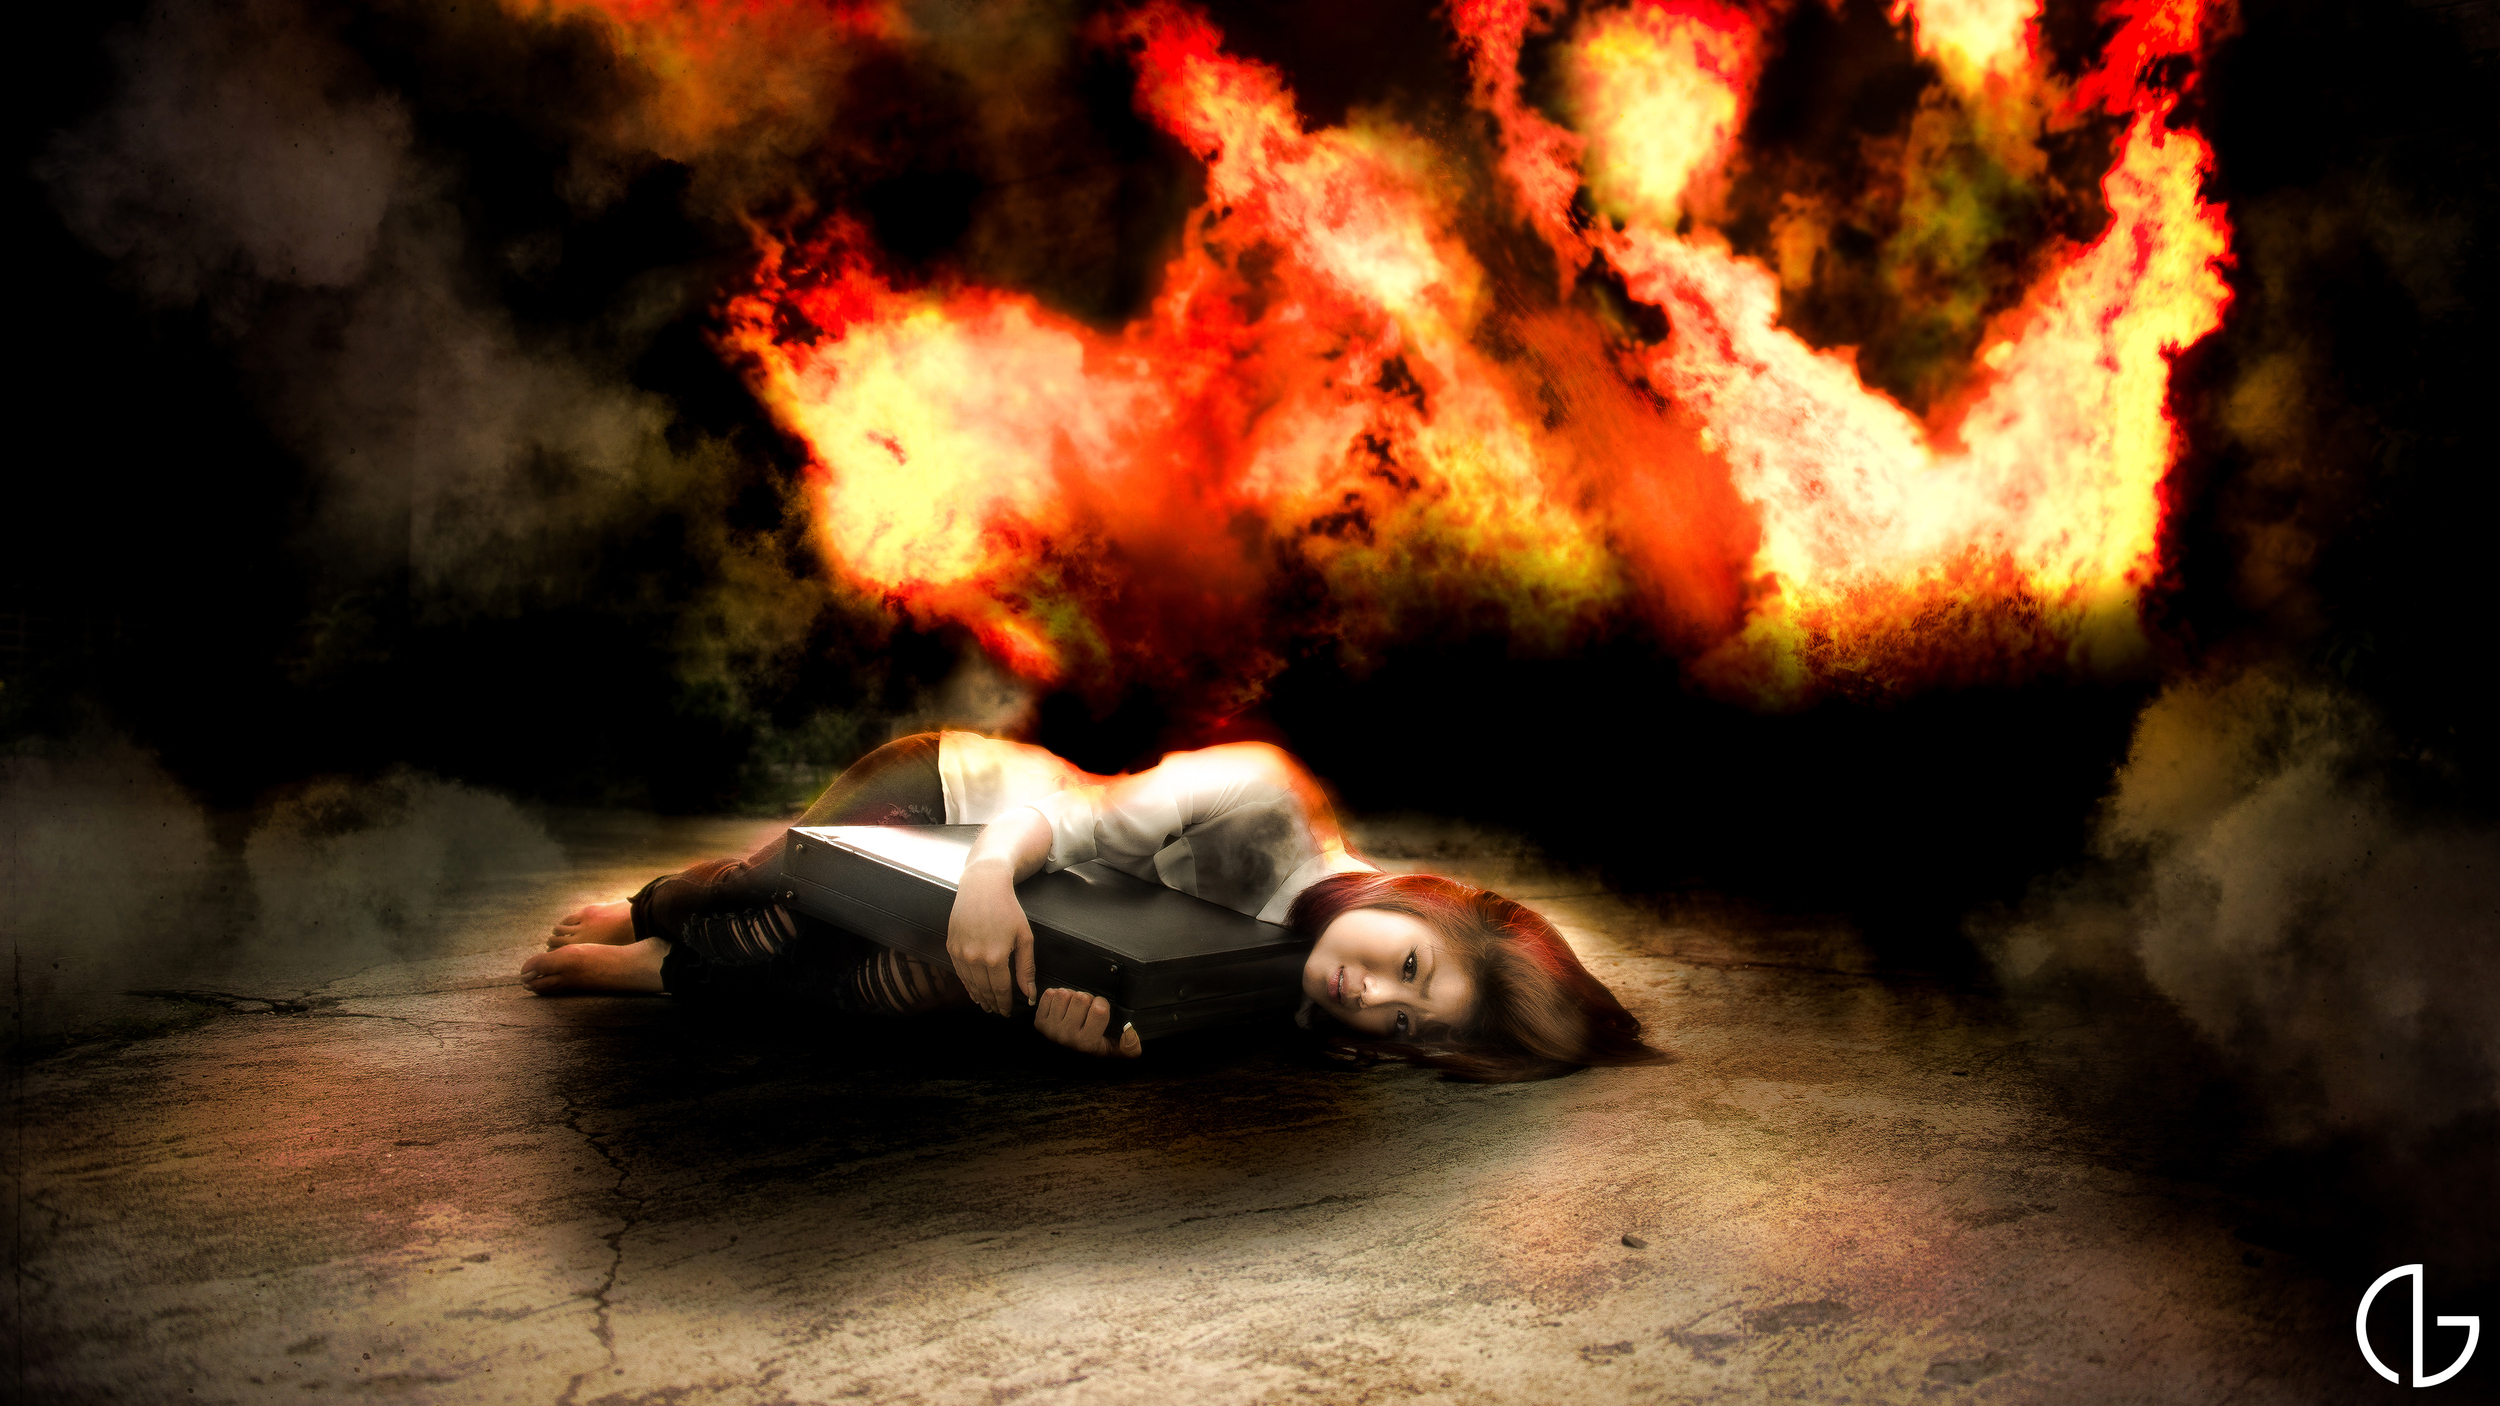
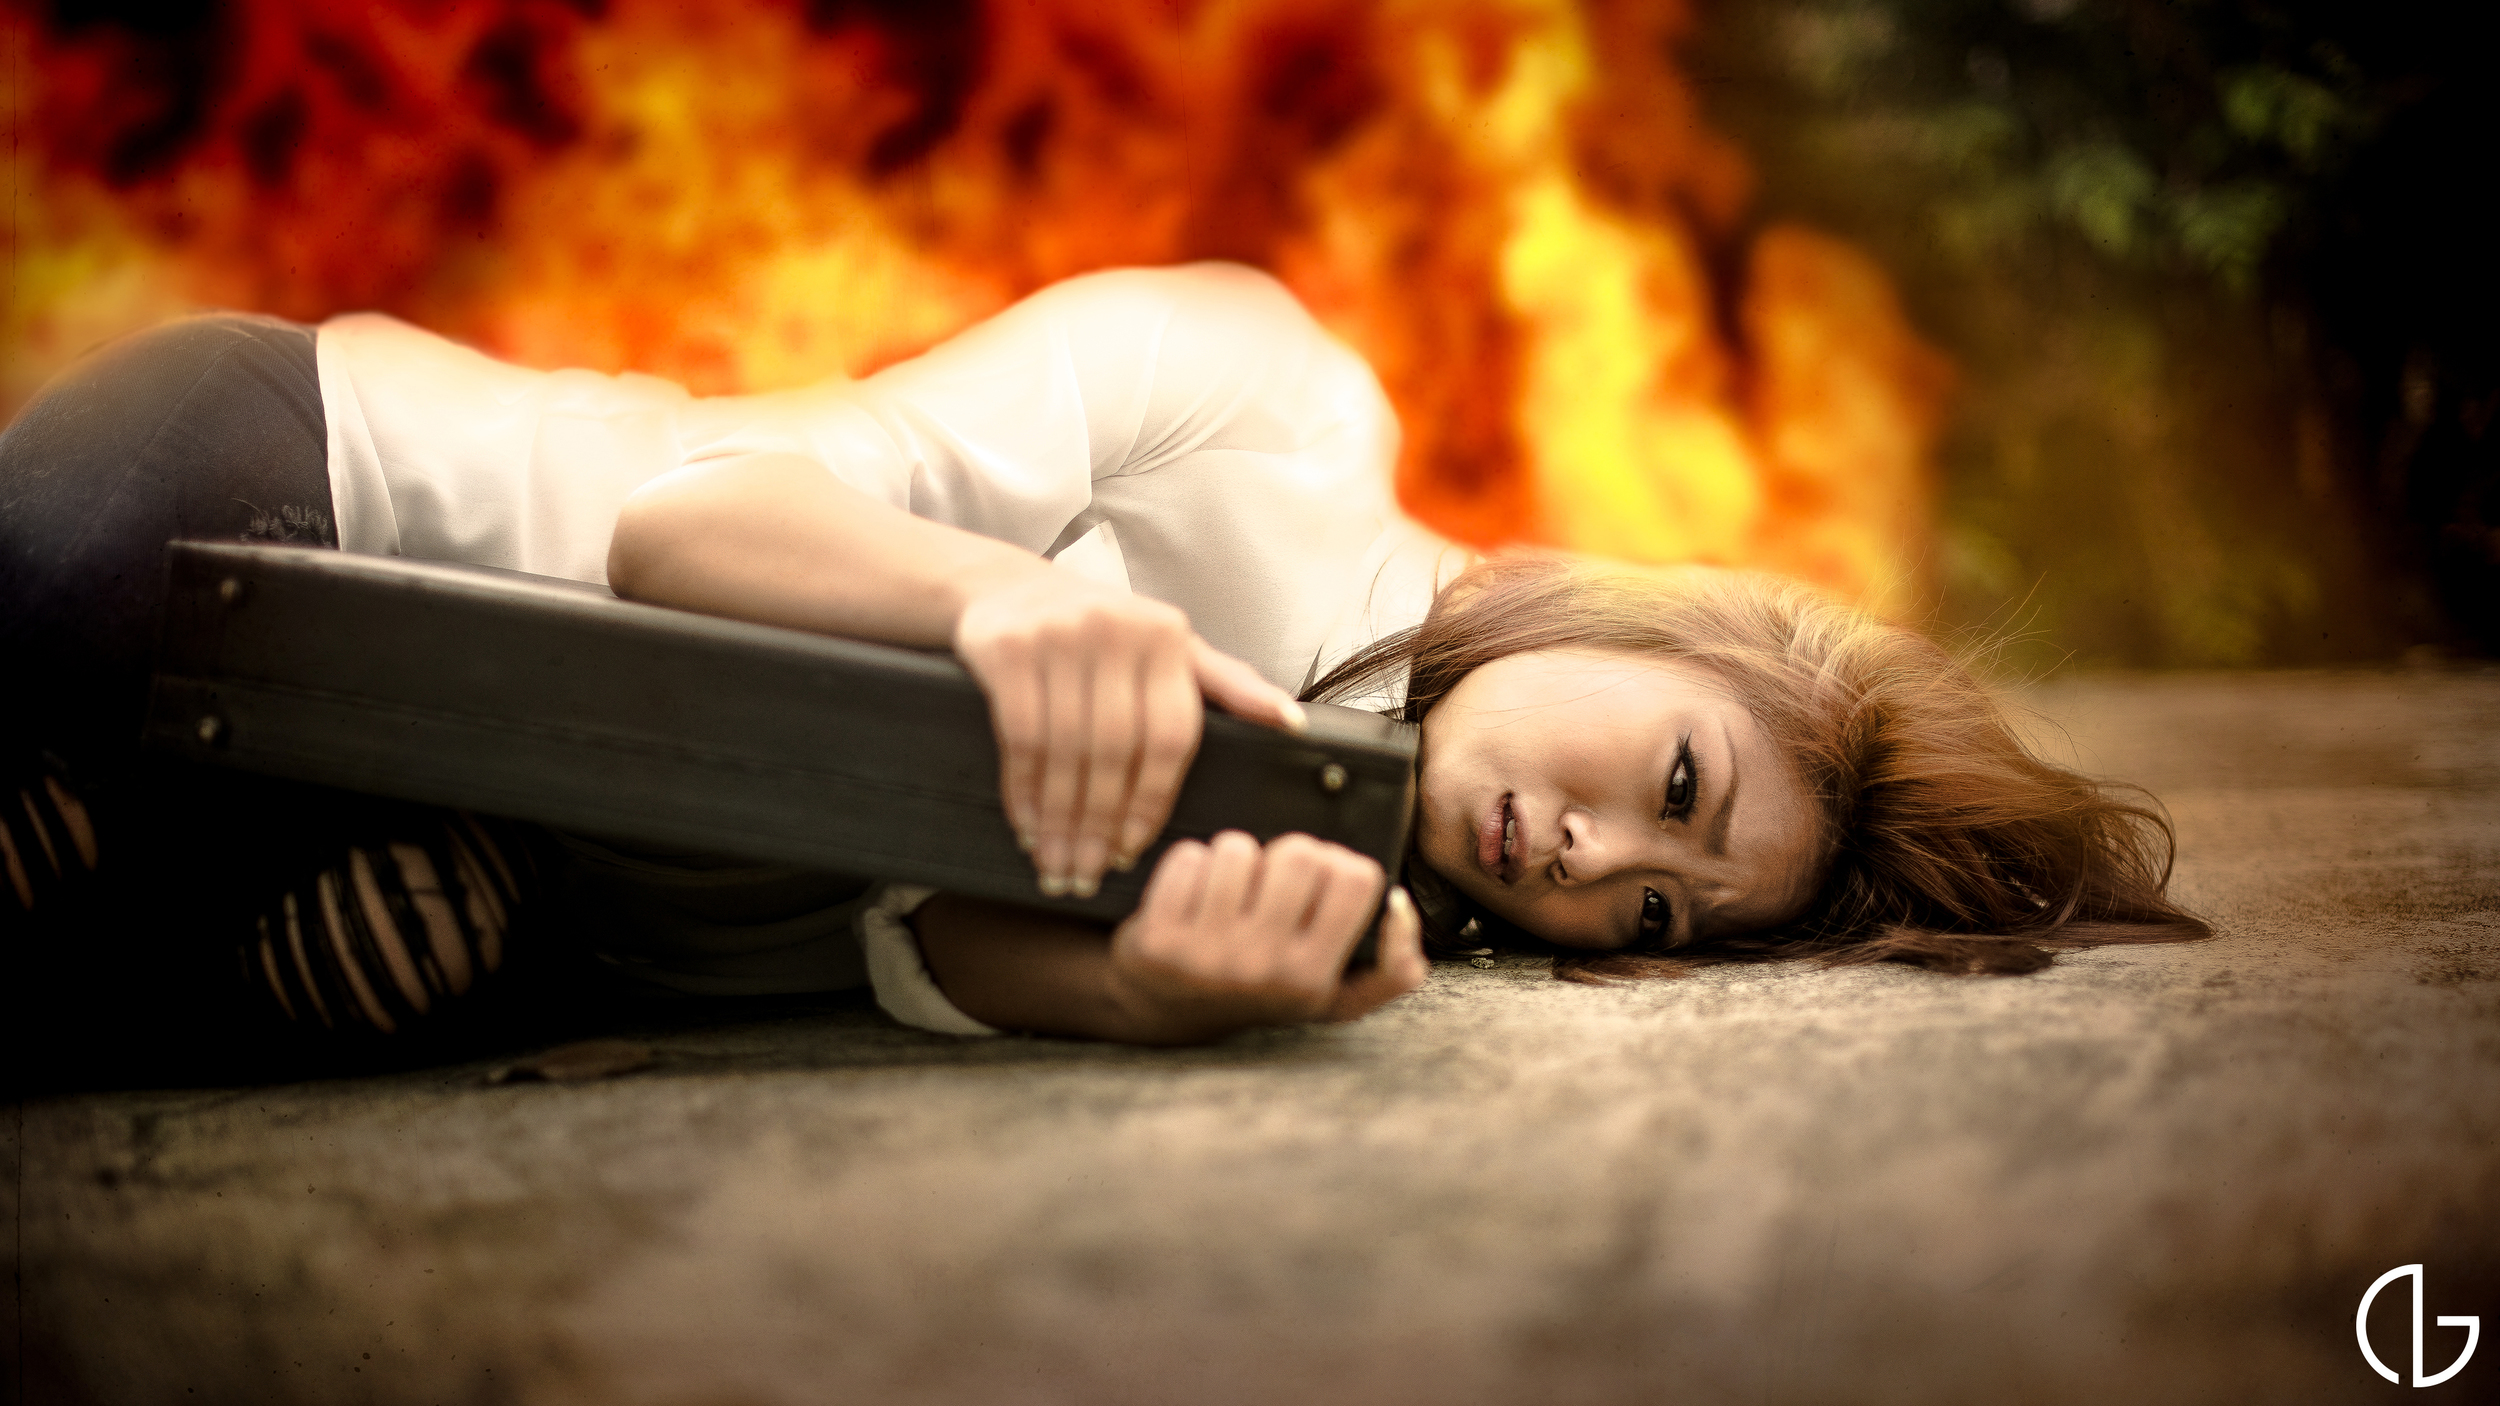
To fully express this concept, I wanted the character to go through suffering and leave them with one final belonging. Using fire, a bag, and the moon as metaphors, I was able to investigate the idea of death and how to accept it. 

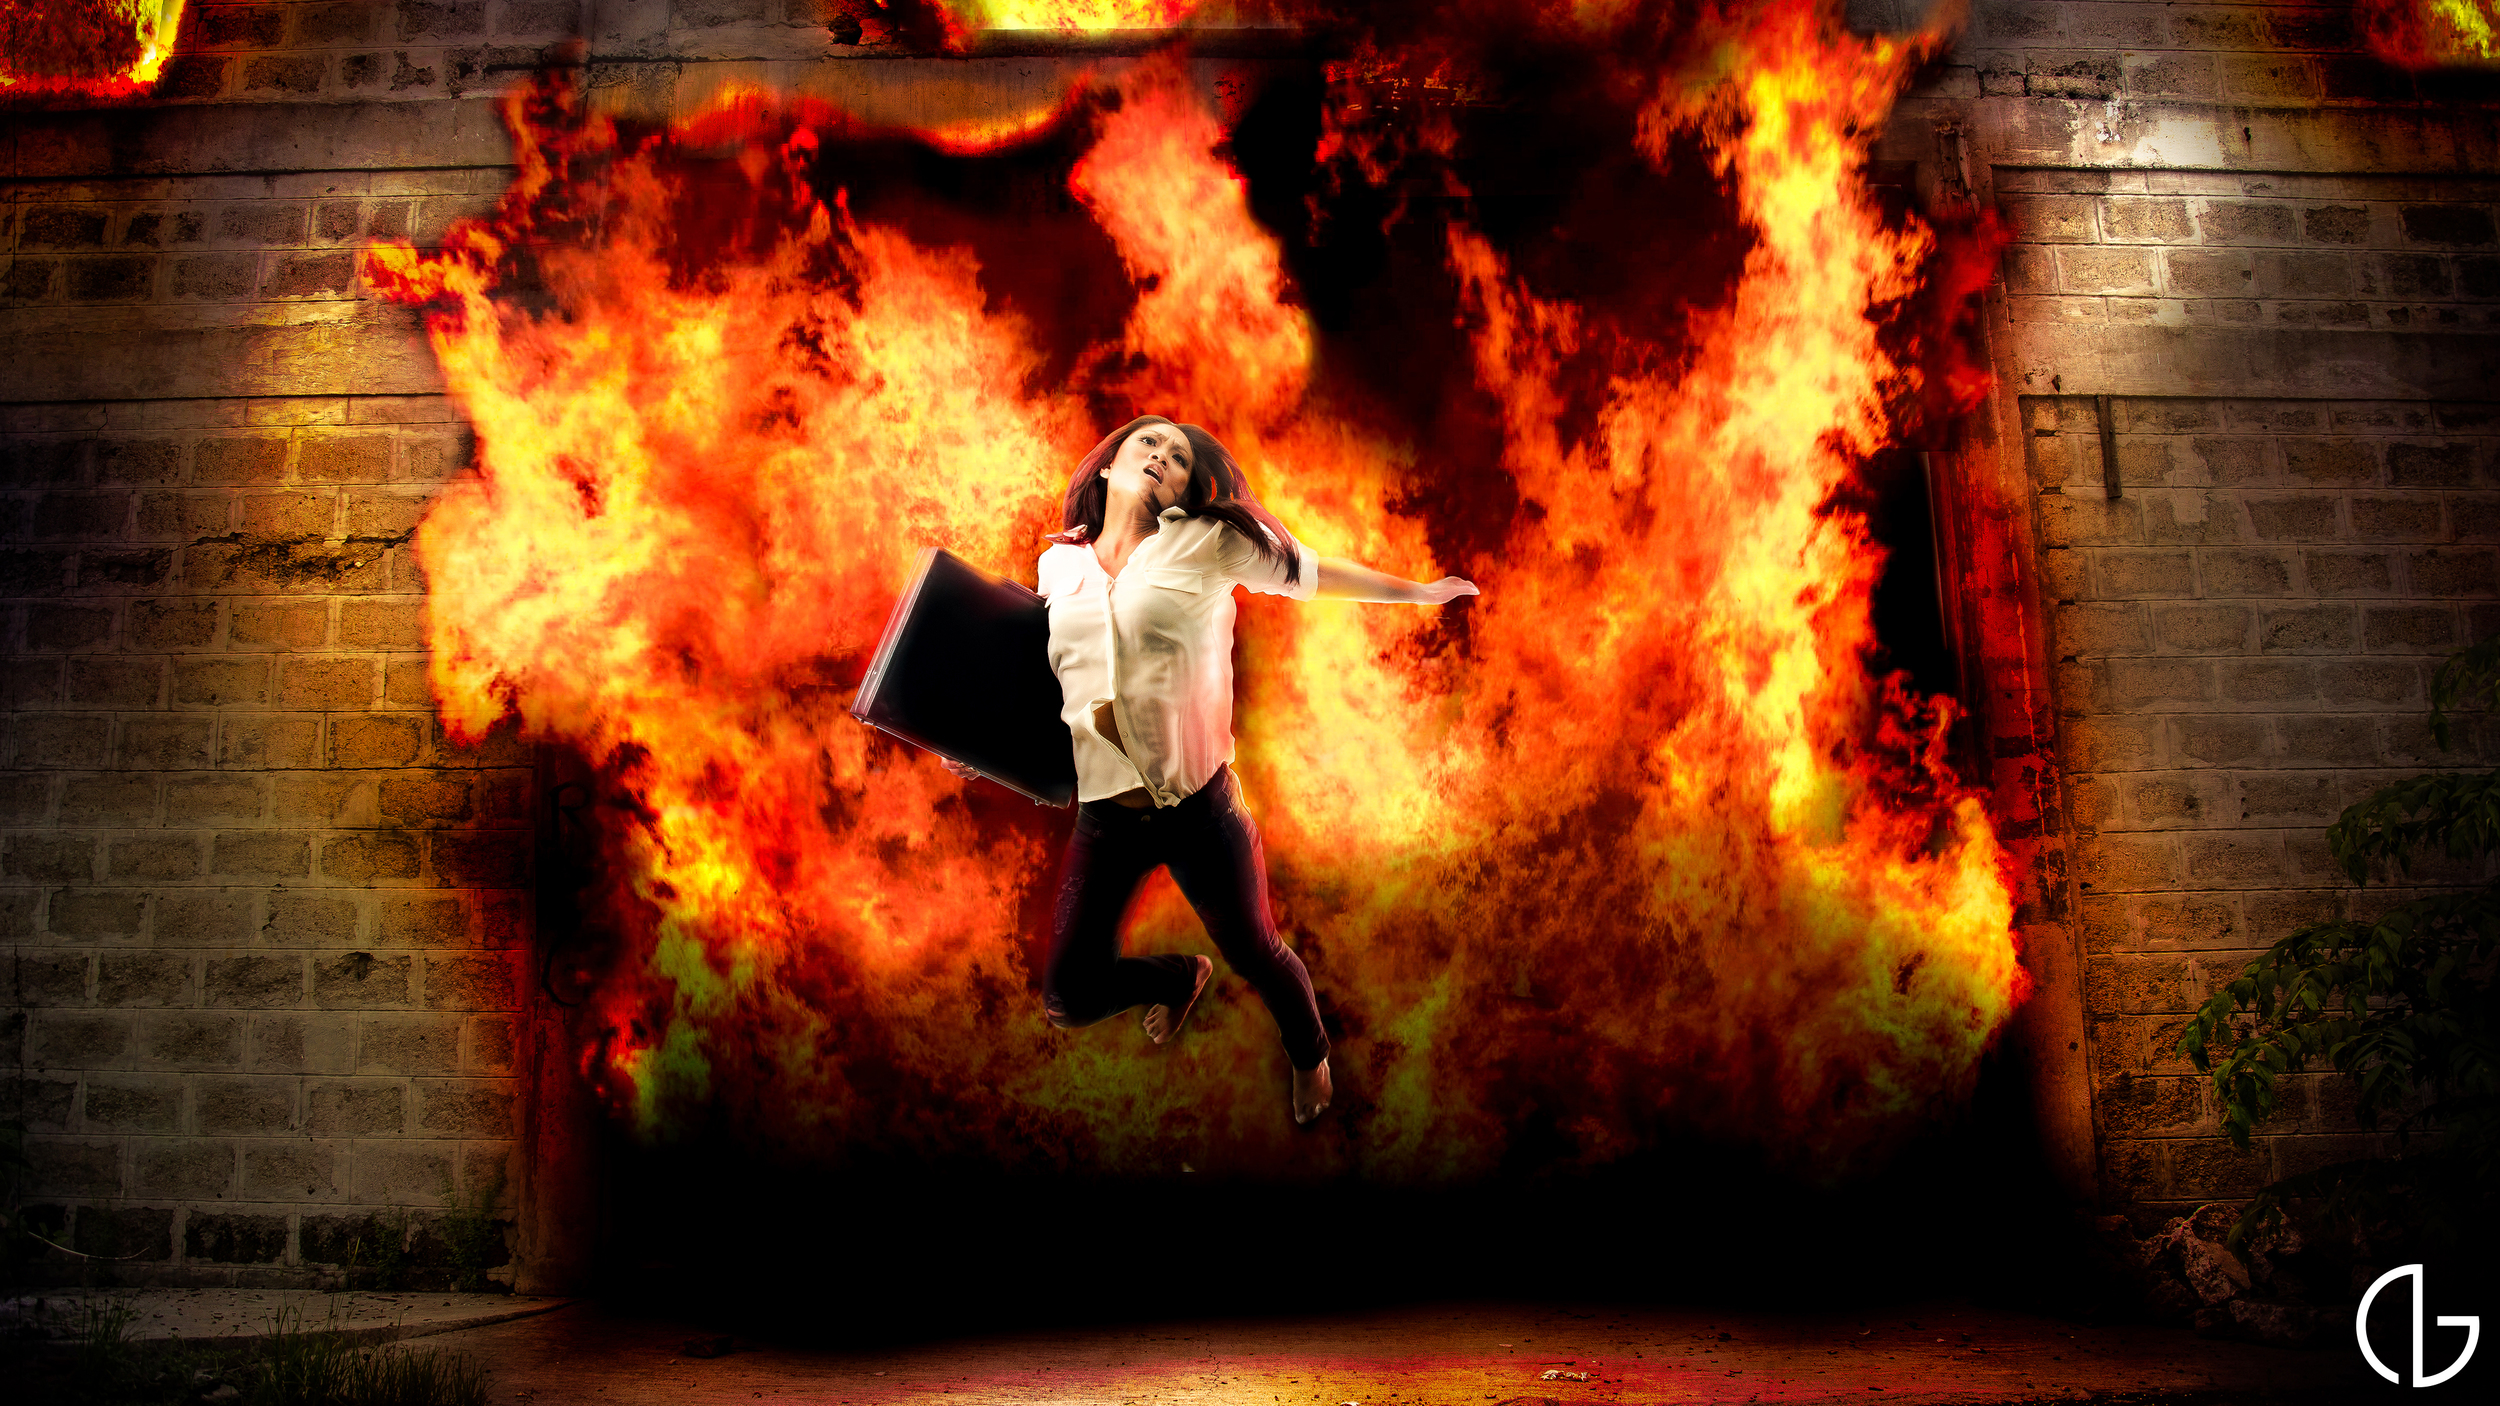
The most challenging image from the series is when the character is enveloped with flames. Flames are always hard to work with because they are hard to make realistic. This is my first attempt and I still have quite a lot of learning but I wish to share what I did in hopes that you can learn something out of it as well.

Final image

Final image

Here is a behind the scenes photograph of my lighting setup for this shot. I had a strobe placed right behind her to get the rim effect I wanted to make the fire more realistic. 

BTS photographed by Julian van Heeswijck

BTS photographed by Julian van Heeswijck

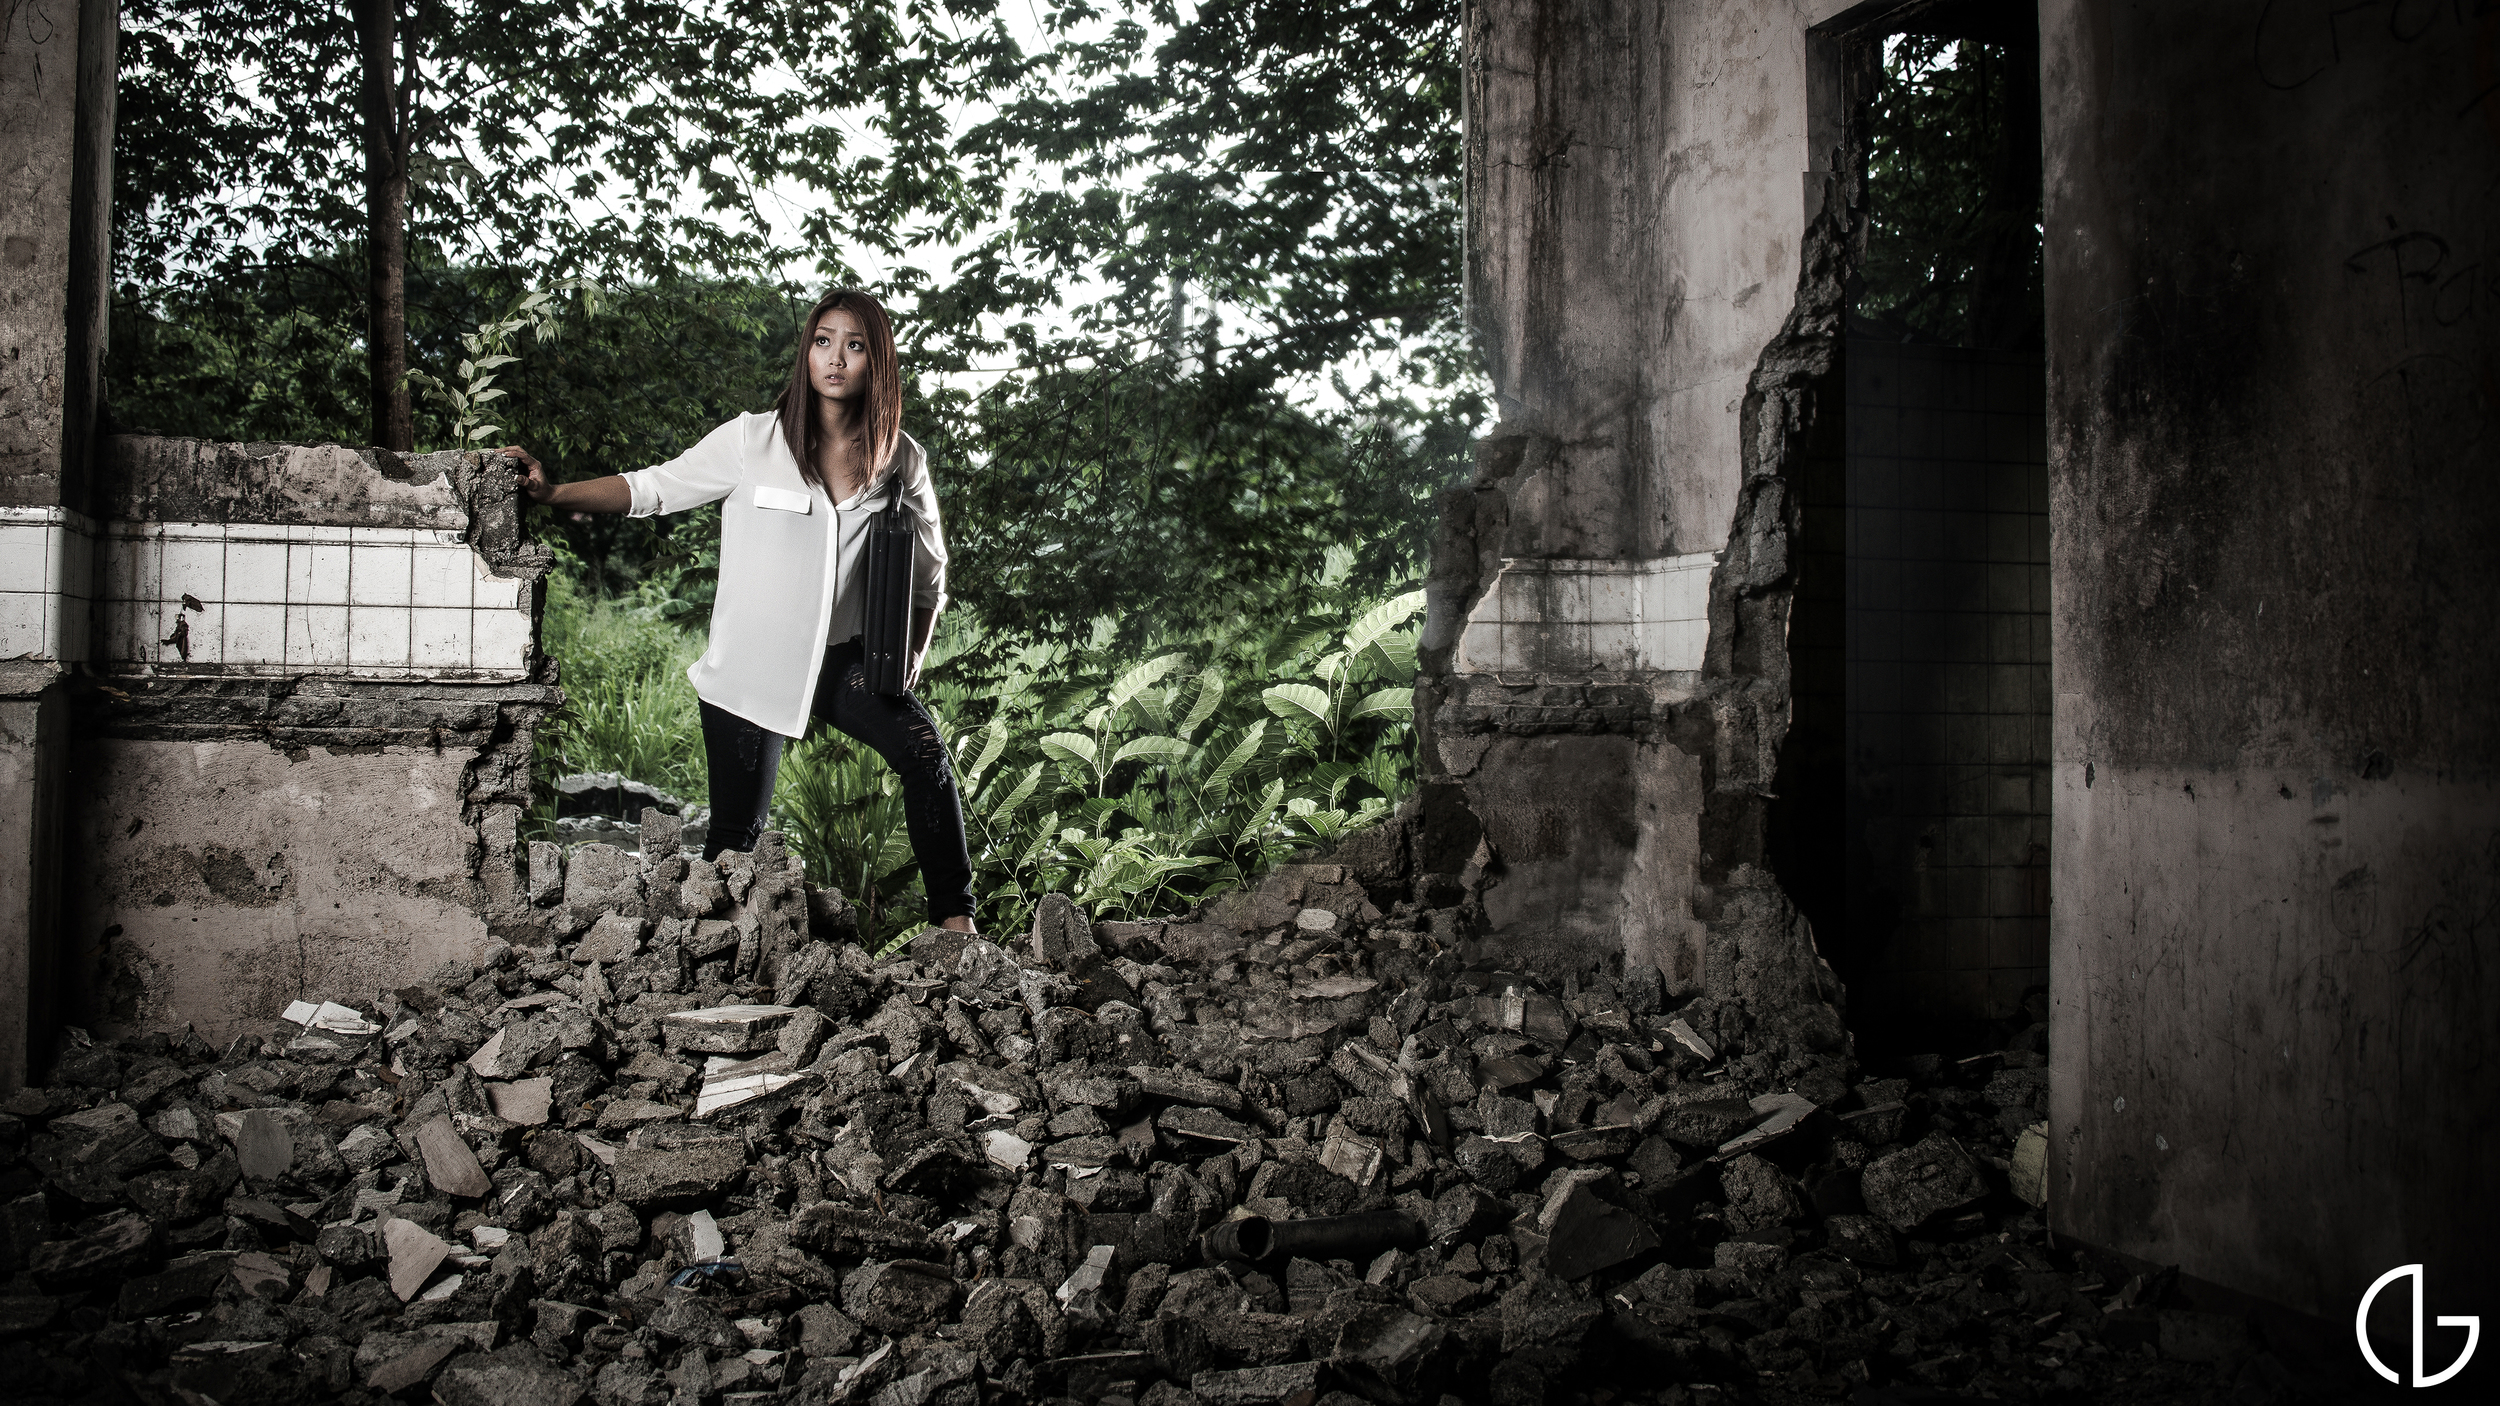
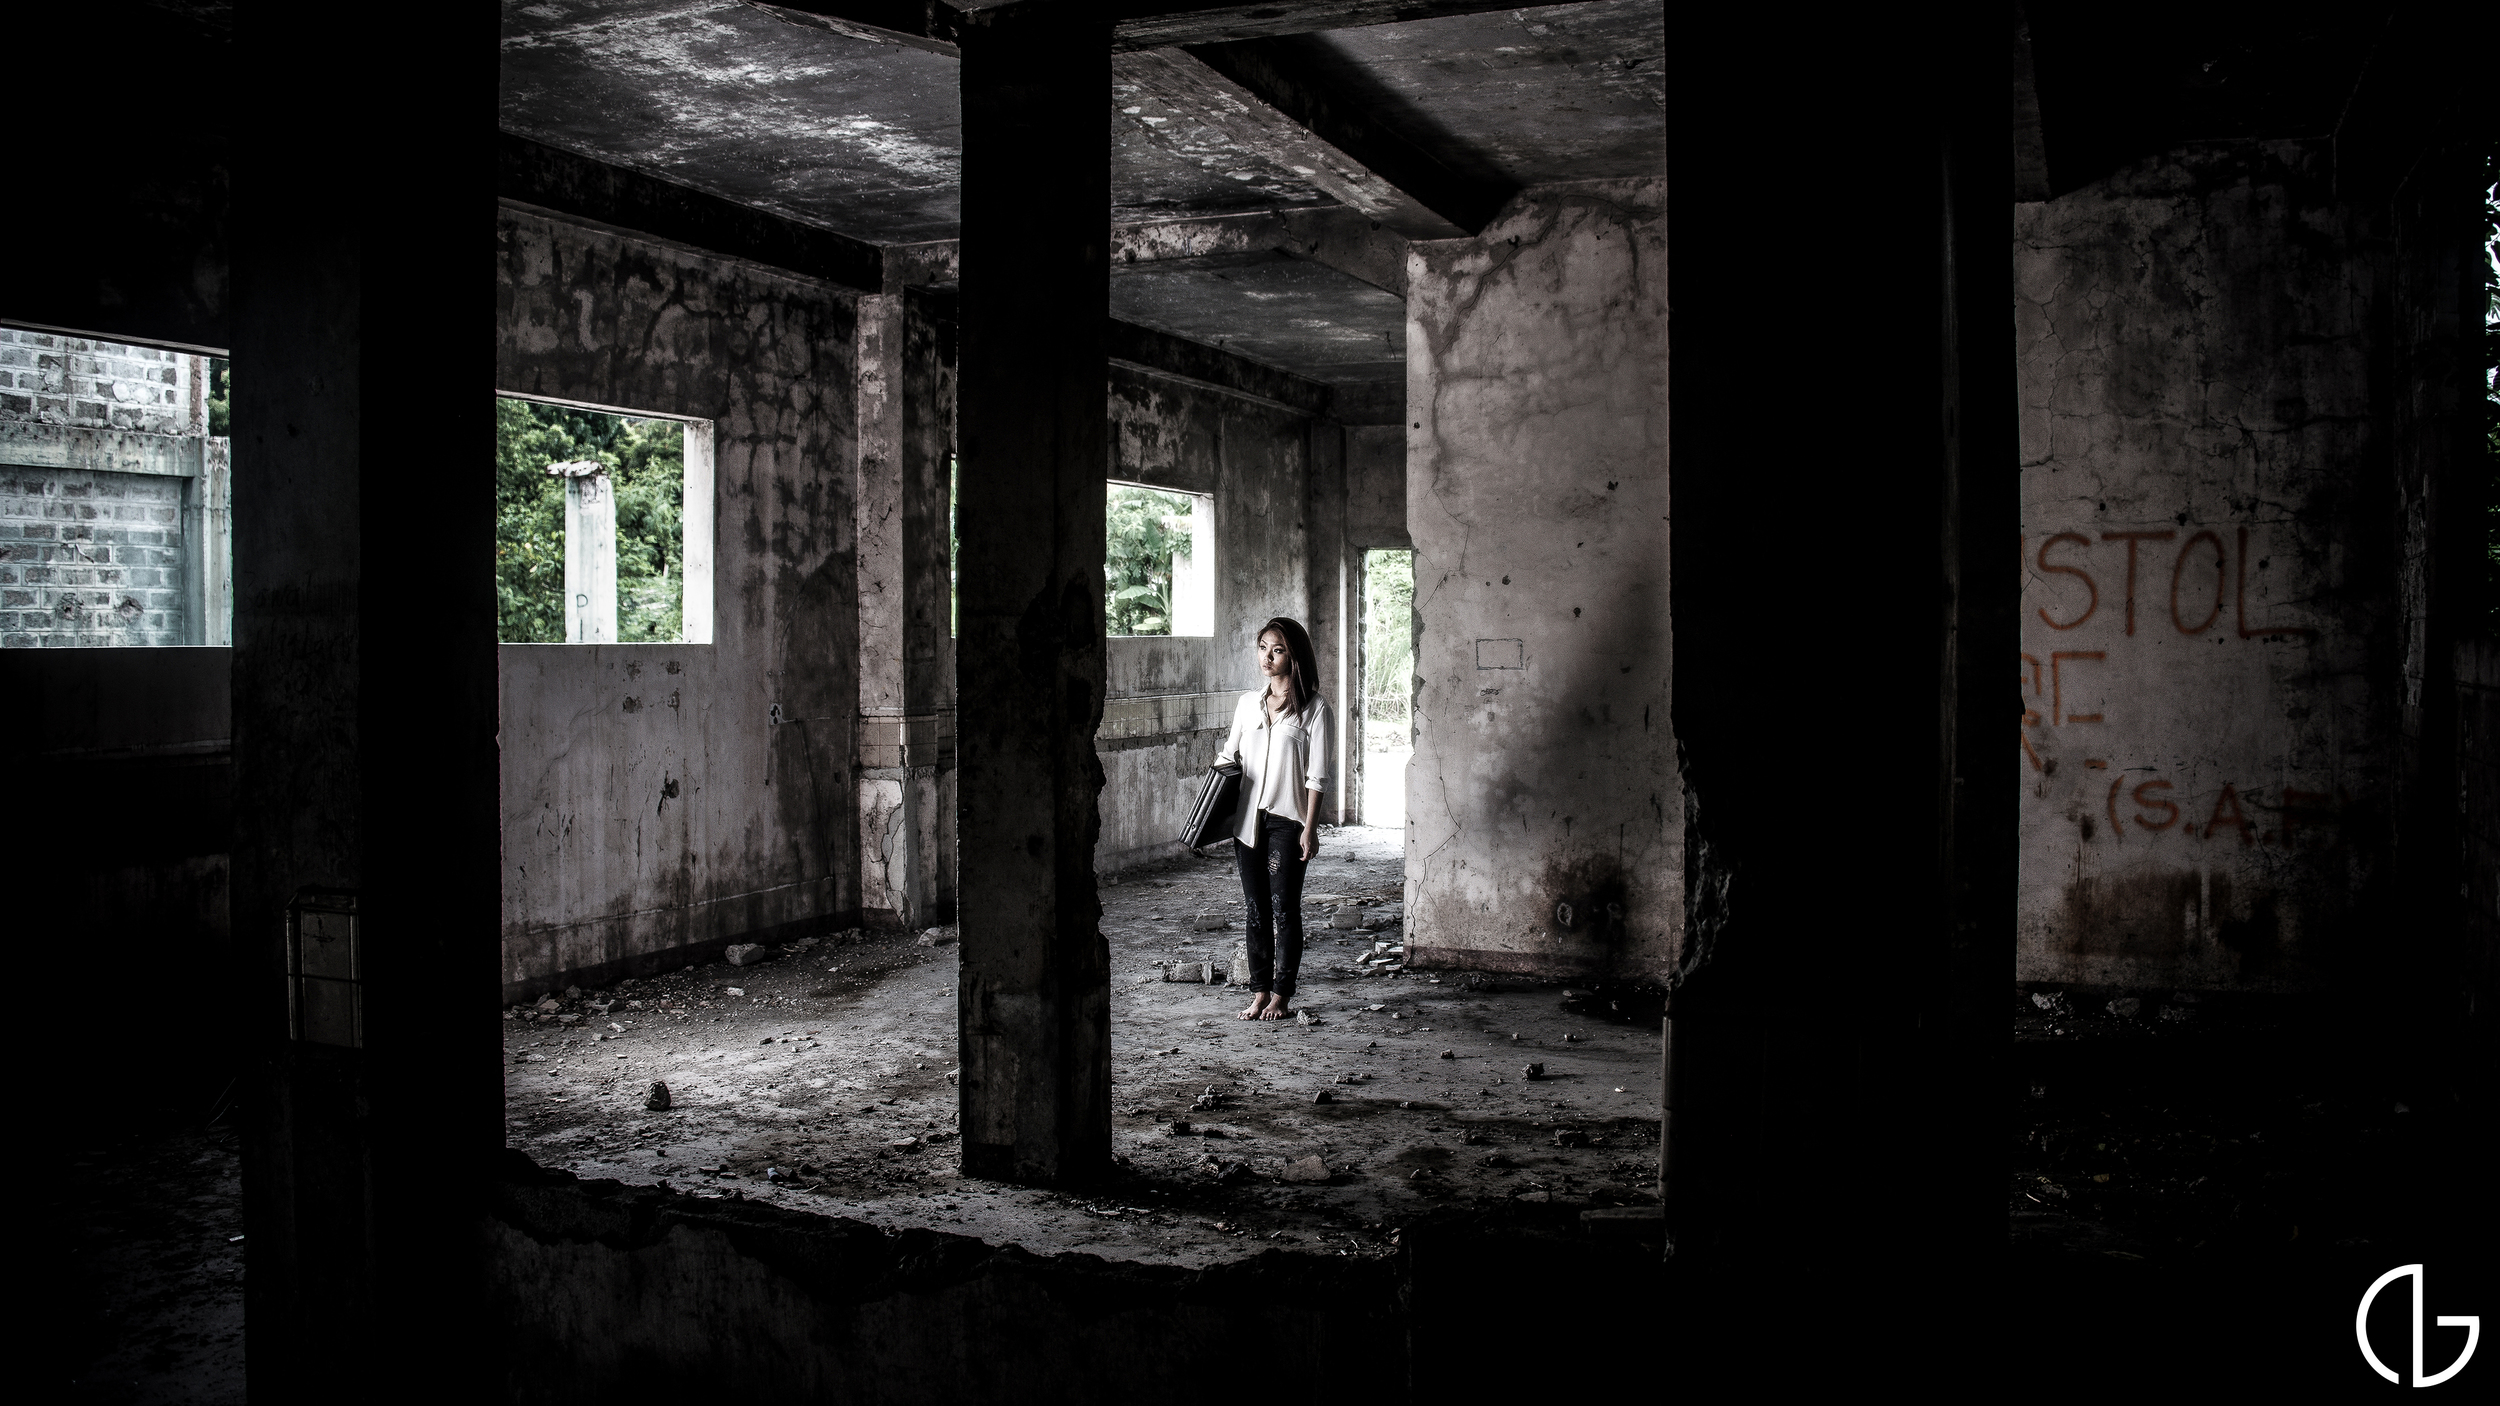
RAW image

RAW image

RAW image

RAW image

Taking a photograph of both the background with and without the model enables me to have more control when composting and editing the photograph. I can easily isolate the background first and edit the environment, then place the model afterwards for realism. The first step for this composite was to place several stock images of fire.

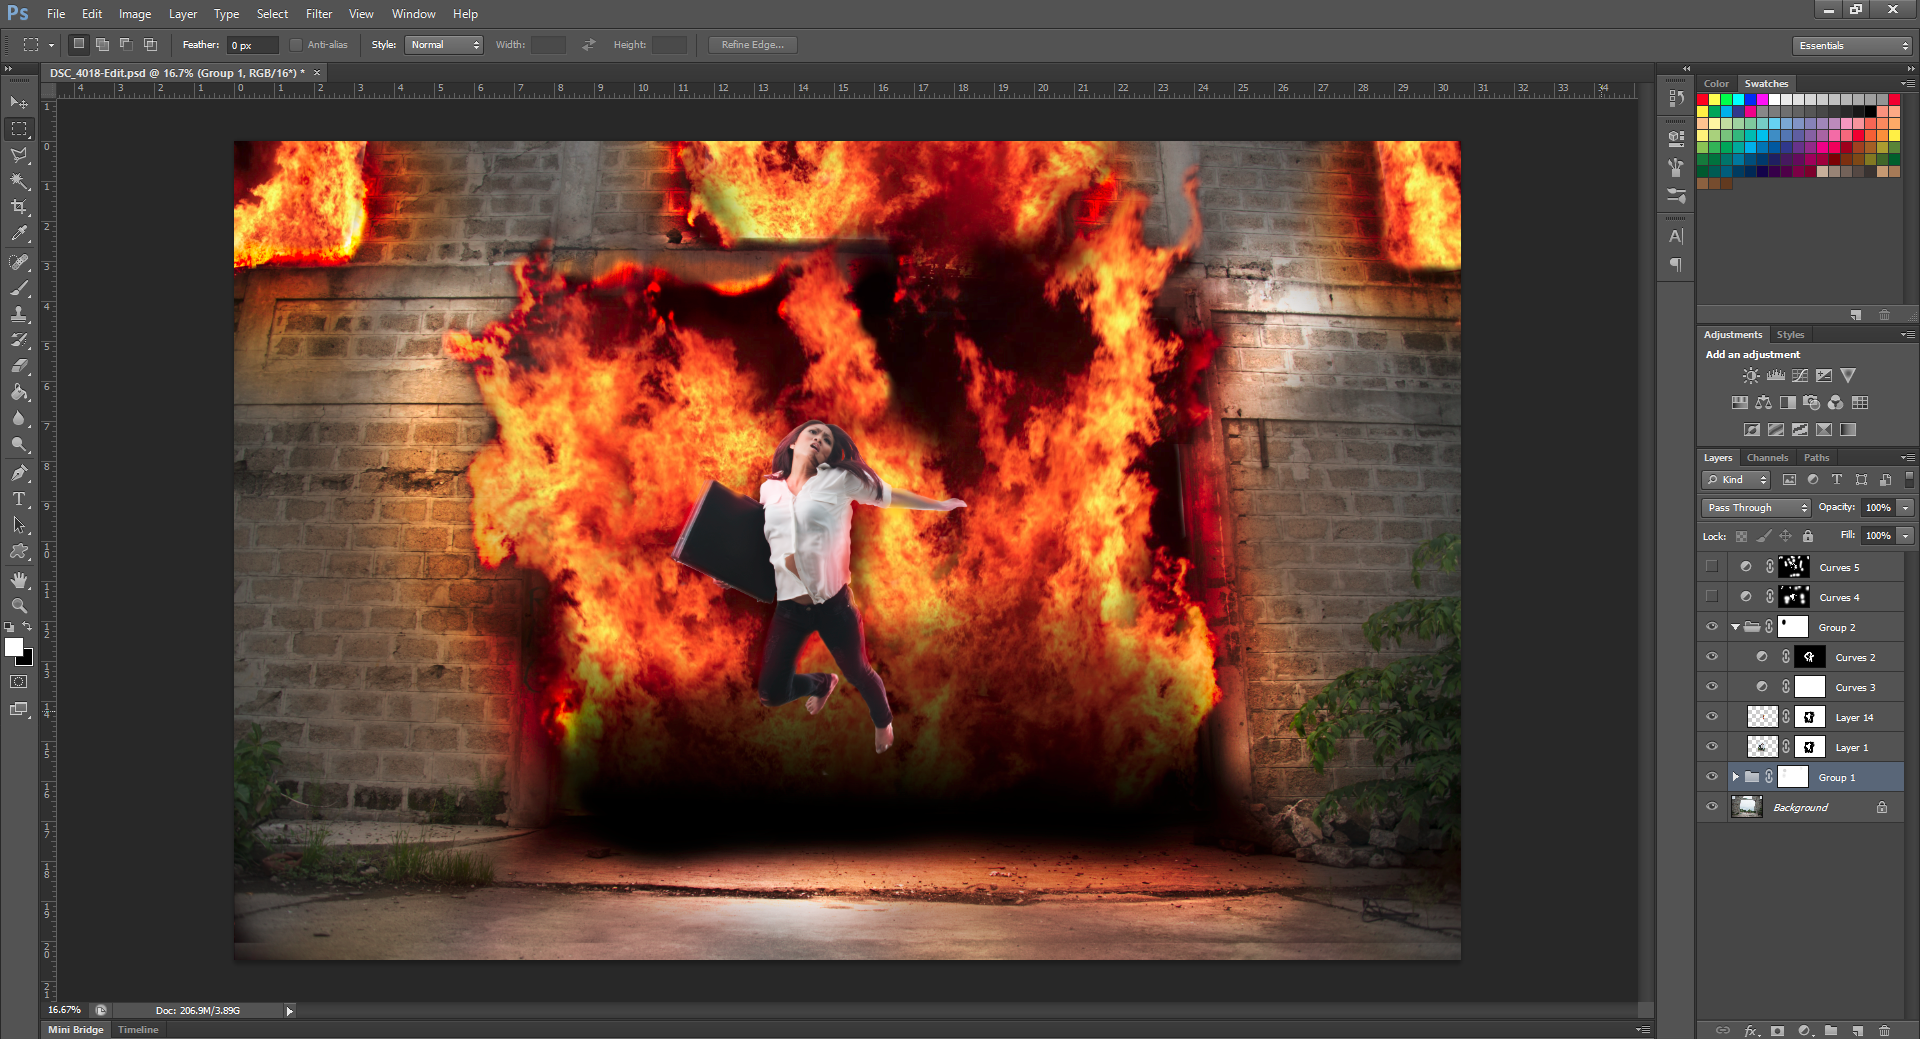
When adding elements such as lights and fire, make sure that it affects the existing image as naturally as possible. For this instance, the fire adds areas of highlight and shadows. I used two layers using curves with one brighter and the other darker, then used the masking tool and the brush to create bright and dark areas.

Just like before, you want to make sure that the fire adds areas of realistic highlights and shadows. Fire creates a warm glow and I did this by using different colored brushes (different reds and oranges from the fire) with 0 hardness and a low opacity. Using low opacity, build up the layer slowly to give it more depth. 

The next step was to place the model. As you can see with the image below, the color tone of the model doesn't suit the background. Several adjustments have to be made to make it more realistic.

Just like previously, I added highlights with the color of the fire at the outline of the character to create a rim lighting effect. This decreases the created space between the model and the fire and adds realism.

The next step is simply dodging and burning the model to get more accurate lighting. For this, I create two separate layers of curves, one brighter and the other darker. I then simply use the brush in the mask to make areas brighter or darker without damaging the photograph. This gives me the flexibility to go back and do minor changes if I wish to do so.

The last step for this image was taking it into Lightroom. As I have previously mentioned in my older posts, I always refer to Lightroom for the final stages of making a photograph. When I have finished placing all of the elements and creating the composite, Lightroom enables me to add filters and effects that affect the whole image which adds unity and therefore adds realism.

Final adjustments on Lightroom

Final adjustments on Lightroom

Here is the whole story of Final Belonging:

I edited these photos mainly using Adobe Photoshop and Lightroom 4. I also used Portrait Professional Studio for retouching. If you have more questions on how I produced these images, feel free to comment here or post on my wall on facebook.


Dancing with a Shadow

Both photographs and dance have an innate capability to tell and convey stories and ideas, as with any kind of art form. I have always wanted to portray a story through dance and photographs. Being able to fuse both art forms have always intrigued me because of the many factors involved. How does one art portray another in tandem and with accuracy? I want to explore these ideas. Therefore I asked my dancer friends Marissa Mes and Rafa Siguion-Reyna to model for me. Marissa was part of the final competitors in So You Think You Can Dance in Holland.

The concept for this series was the idea of “letting go”. Letting go of a loved one is always a difficult ordeal. However, it doesn’t mean that you have to let go of everything. One thing you can keep are the great memories that you have of them.

For the shadows of the models in the background, I used a similar technique from one of my older composites. I first took a photo of the models doing the lift together and then a separate one with them reenacting the lift by themselves. I then created a silhouette of the dancers together and used that as the shadow behind the solo dancer. 

For this post, I wanted to focus on how I was able to completely simulate a backlit and ethereal effect using photoshop. This is the original photo taken without any post-processing. I originally wanted a lot of backlight for this series but lacked the amount of natural sunlight due to the cloudy weather.

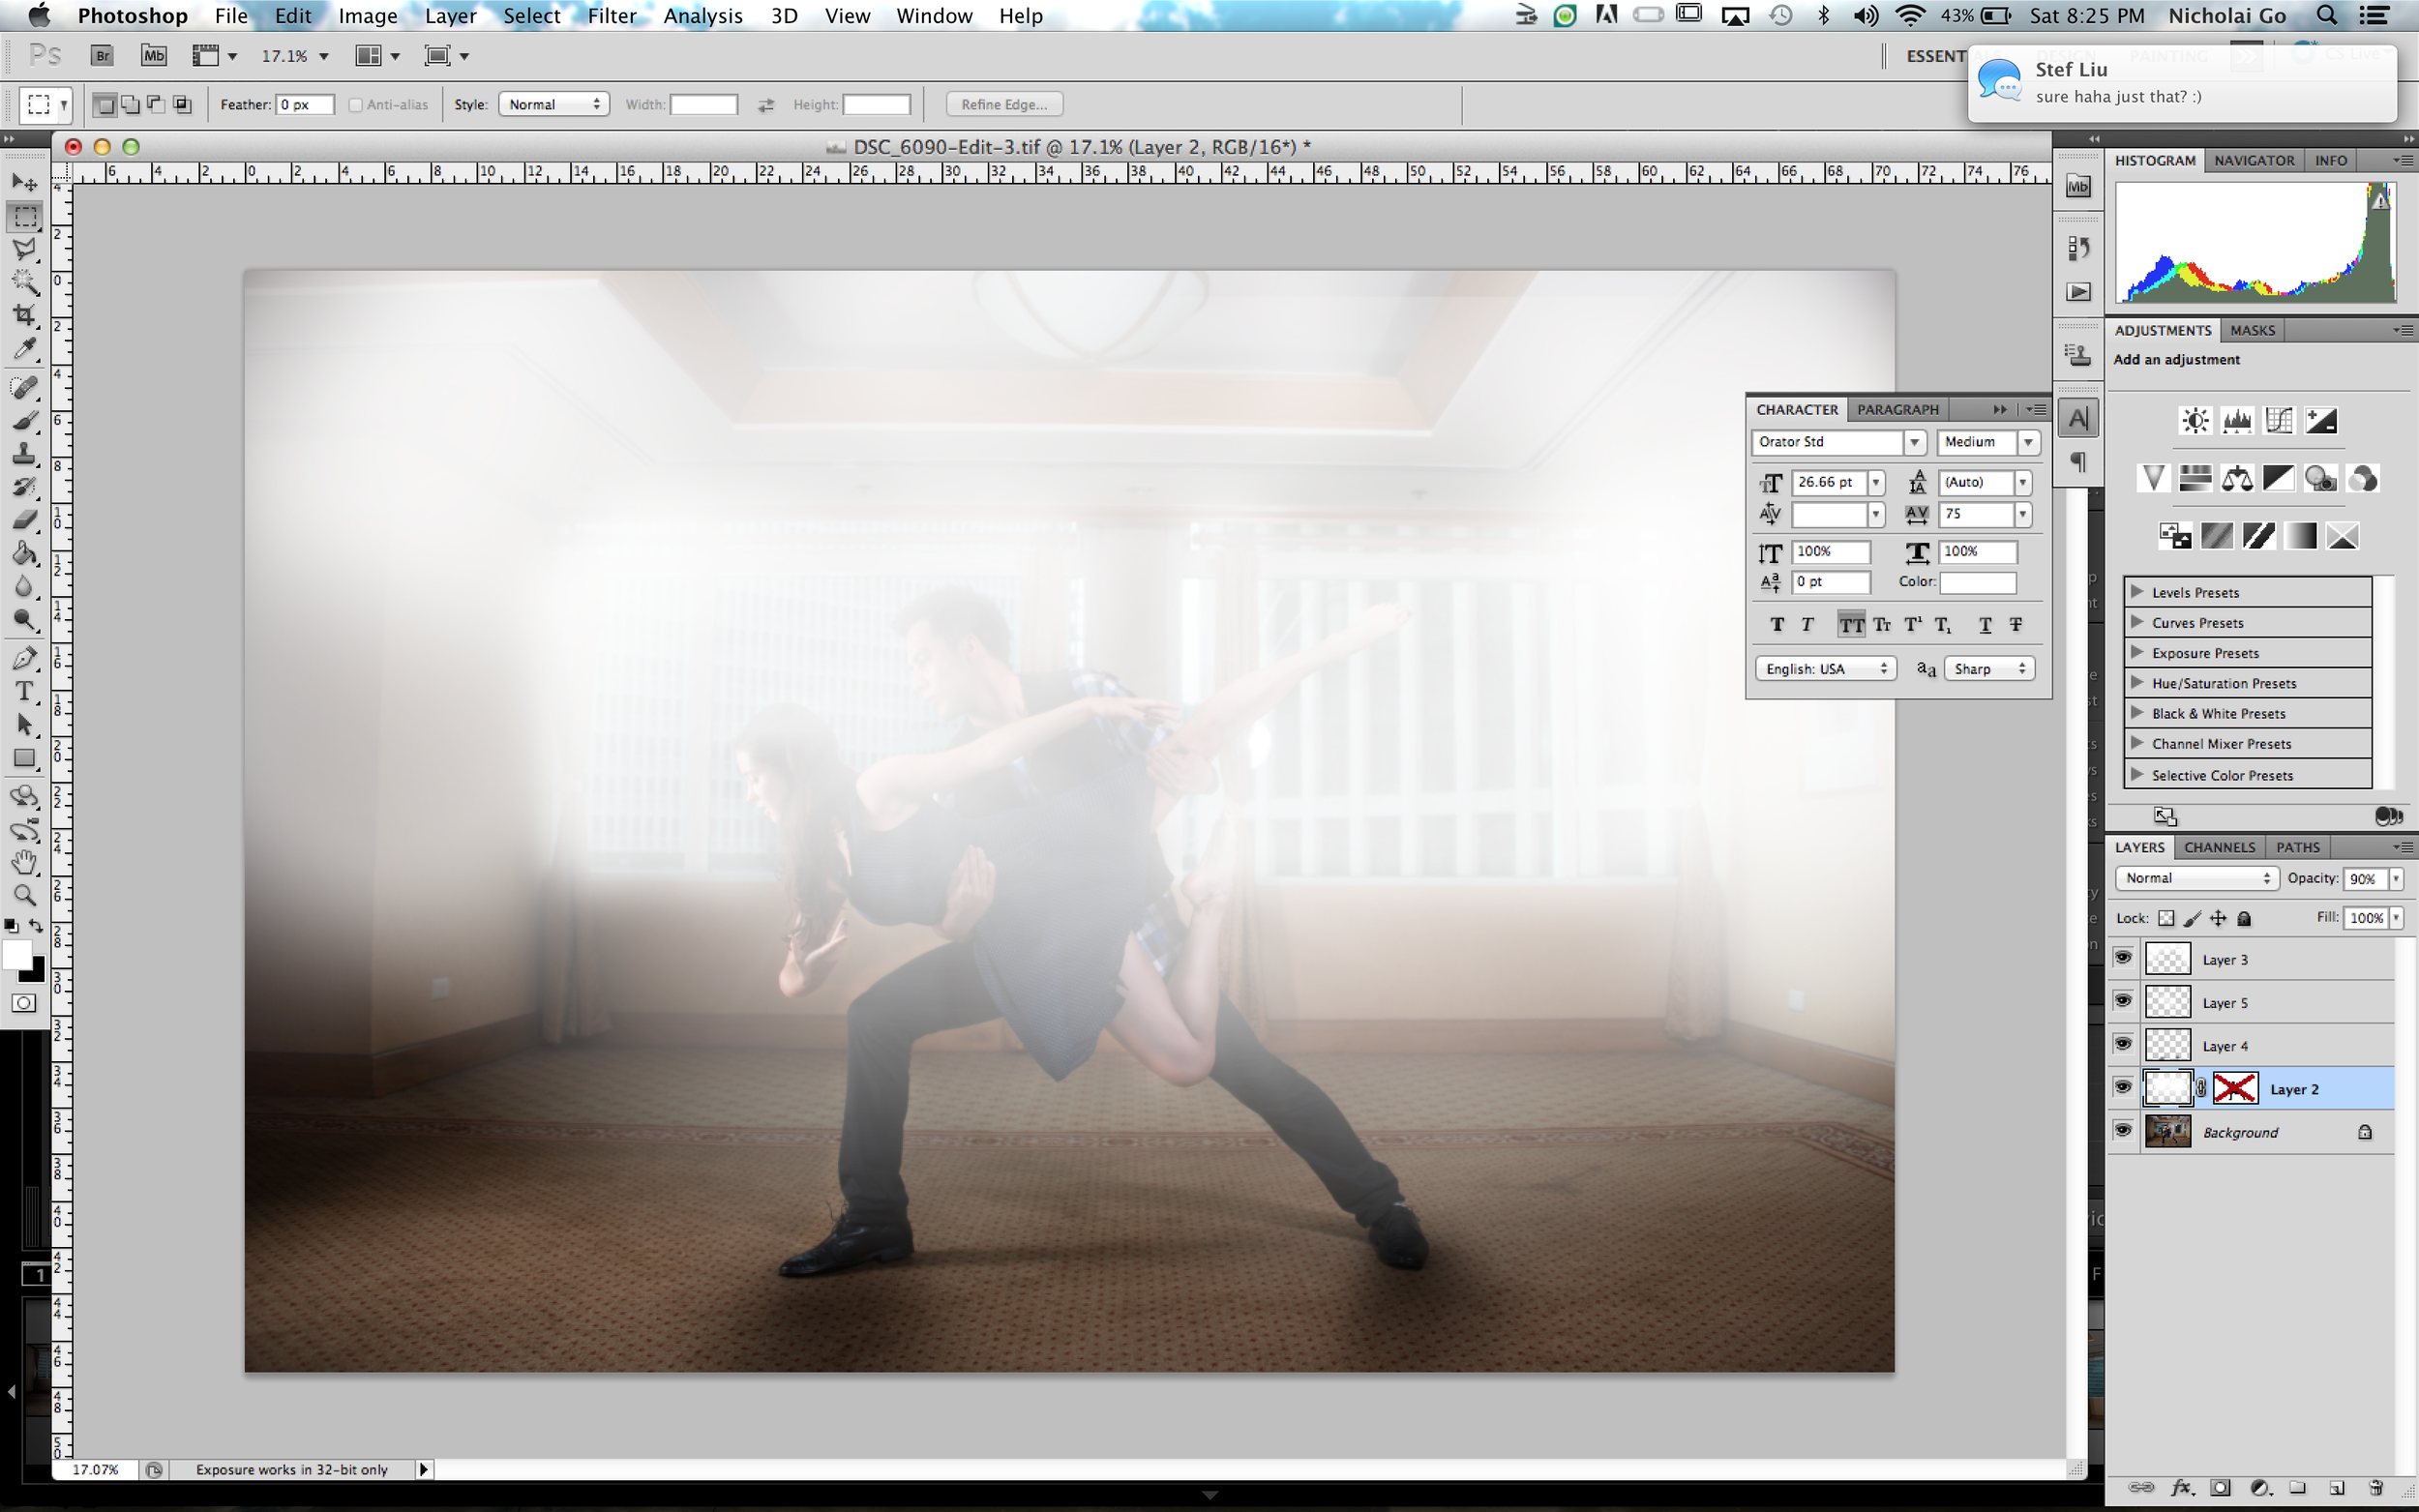
In Photoshop, I simply created a new layer and used white colored large soft round brushes (0% hardness) with 40% opacity and built it up. I used the color white because I would have more control of its color in Lightroom which would be the last step.

I also added shadows to give it a more realistic look. For this, I added another layer and used the lasso tool to create a rough shape of the shadow then used the radial gradient tool and used the soles of the feet as the center. I finished it up with the Gaussian Blur tool and decreased its opacity.

I then used the masking tool as you can see on the screen shot, to start removing the white on the subjects. I used the round brush with 100% hardness in the inner side of the models then changed it to around 40% hardness around the edges. This simulates a rim light effect to make it look more natural.

Finally, the last step is editing the colors and the contrast using Lightroom. I gave it a warm color to further simulate the light effect. I also increased the clarity of the subjects using the adjustment brush, isolating the effect from the background. Here is the final image:

I edited these photos mainly using Adobe Photoshop and Lightroom 4. I also used Portrait Professional Studio for retouching. If you have more questions on how I produced these images, feel free to comment here or post on my wall on facebook.

website | facebook | flickr | behance instagram