Both photographs and dance have an innate capability to tell and convey stories and ideas, as with any kind of art form. I have always wanted to portray a story through dance and photographs. Being able to fuse both art forms have always intrigued me because of the many factors involved. How does one art portray another in tandem and with accuracy? I want to explore these ideas. Therefore I asked my dancer friends Marissa Mes and Rafa Siguion-Reyna to model for me. Marissa was part of the final competitors in So You Think You Can Dance in Holland.
The concept for this series was the idea of “letting go”. Letting go of a loved one is always a difficult ordeal. However, it doesn’t mean that you have to let go of everything. One thing you can keep are the great memories that you have of them.
For the shadows of the models in the background, I used a similar technique from one of my older composites. I first took a photo of the models doing the lift together and then a separate one with them reenacting the lift by themselves. I then created a silhouette of the dancers together and used that as the shadow behind the solo dancer.
For this post, I wanted to focus on how I was able to completely simulate a backlit and ethereal effect using photoshop. This is the original photo taken without any post-processing. I originally wanted a lot of backlight for this series but lacked the amount of natural sunlight due to the cloudy weather.

In Photoshop, I simply created a new layer and used white colored large soft round brushes (0% hardness) with 40% opacity and built it up. I used the color white because I would have more control of its color in Lightroom which would be the last step.

I also added shadows to give it a more realistic look. For this, I added another layer and used the lasso tool to create a rough shape of the shadow then used the radial gradient tool and used the soles of the feet as the center. I finished it up with the Gaussian Blur tool and decreased its opacity.
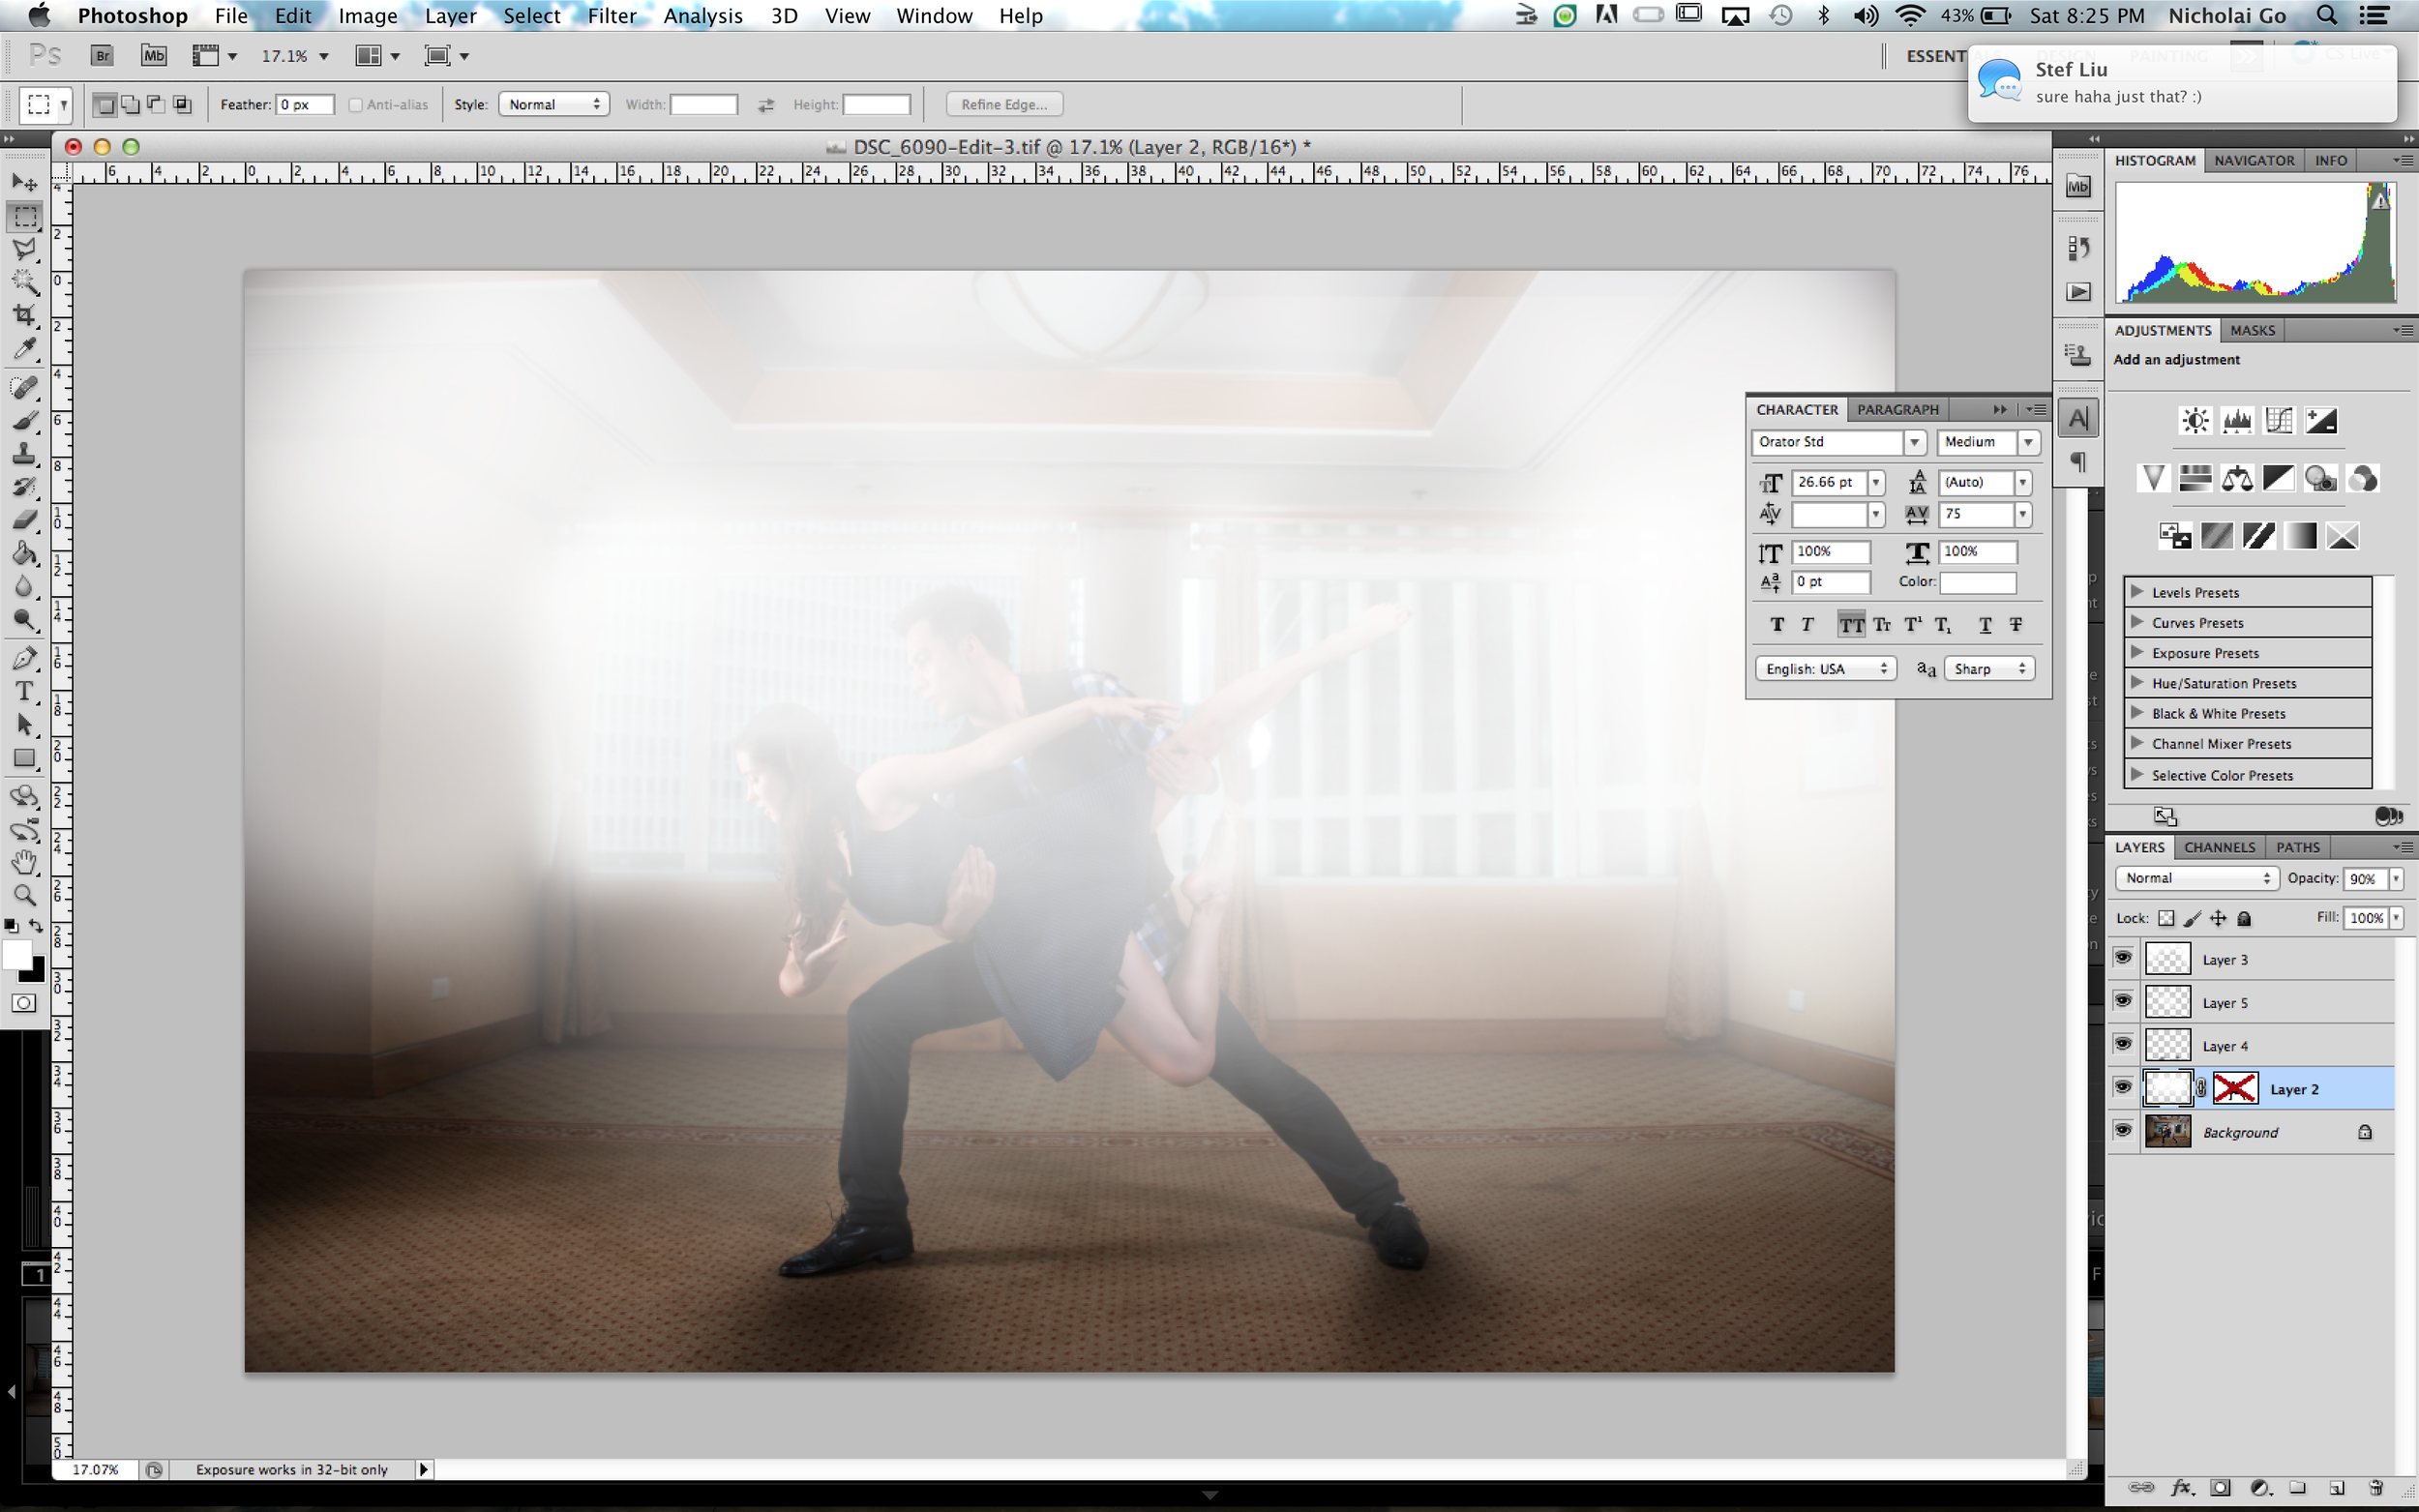
I then used the masking tool as you can see on the screen shot, to start removing the white on the subjects. I used the round brush with 100% hardness in the inner side of the models then changed it to around 40% hardness around the edges. This simulates a rim light effect to make it look more natural.

Finally, the last step is editing the colors and the contrast using Lightroom. I gave it a warm color to further simulate the light effect. I also increased the clarity of the subjects using the adjustment brush, isolating the effect from the background. Here is the final image:


