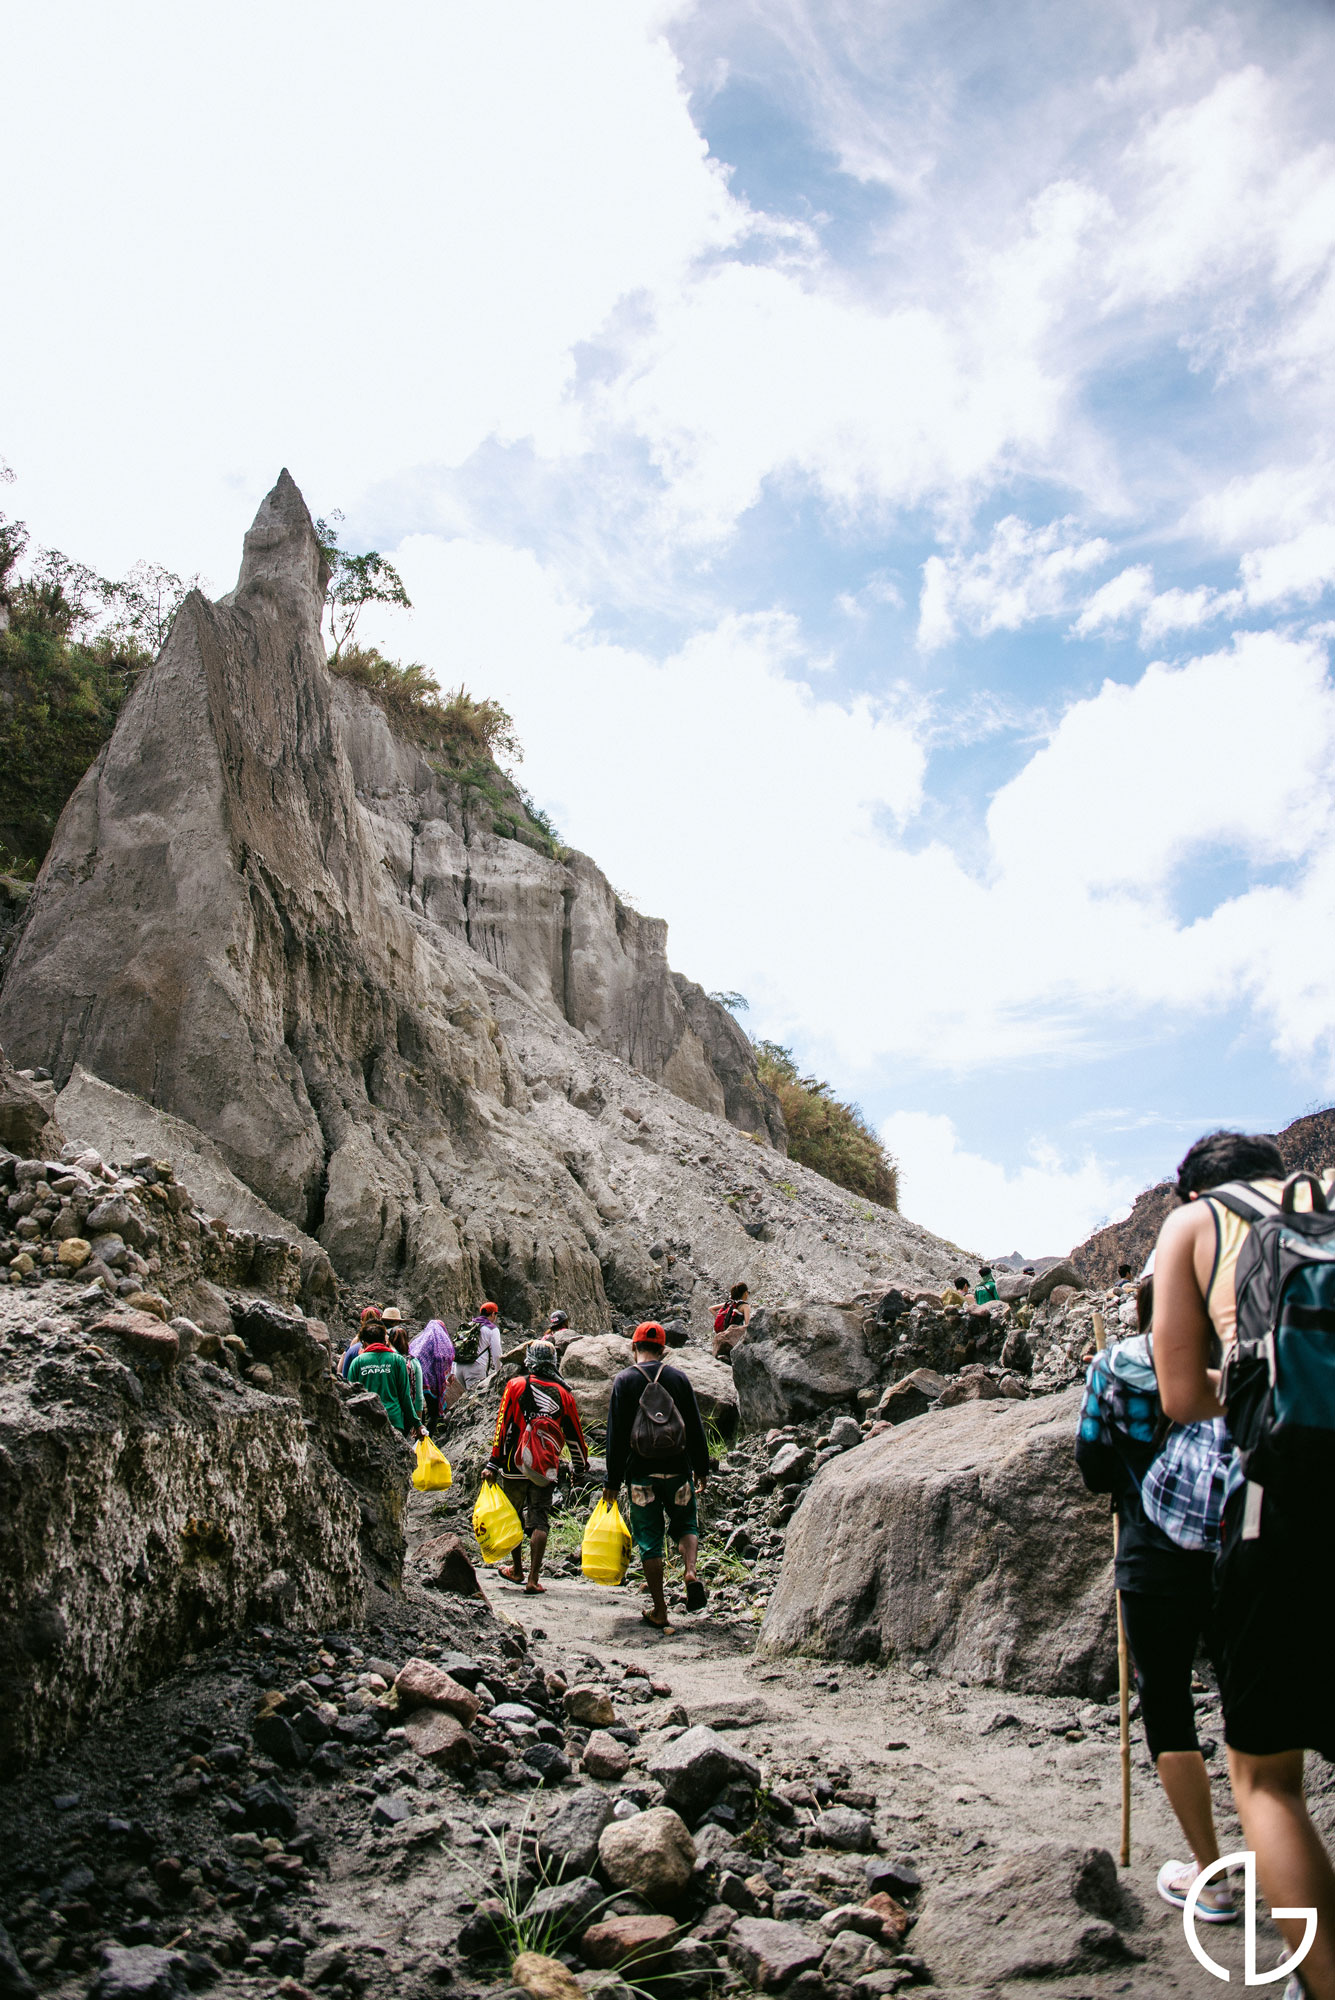
I always spend my spring break in the Philippines but I rarely spend it outside Manila. This year, I decided that I really want to explore the many natural assets that Philippines has to offer. A few friends and I decided that Mt. Pinatubo would be a good introduction to the wonders of the Philippines. For this blogpost, I will share how I tried to capture it's beauty and some preventive measures to protect your equipment.
My kit for the trip included my D800 with its battery pack, Nikon 28-300mm f/3.5-5.6 VRII, and the 50mm f/1.4. For occasions like this, I tend to pack only the essentials to keep it as light as possible. I opted for the battery pack because I didn't want to worry about having to change the battery. I was also able to use the new bag I received for Christmas from my relatives: the Thule Perspektiv Messenger Bag. I have had a lot of messenger bags in the past but I have to say that this one really makes carrying about 10 pounds of equipment a pleasure.
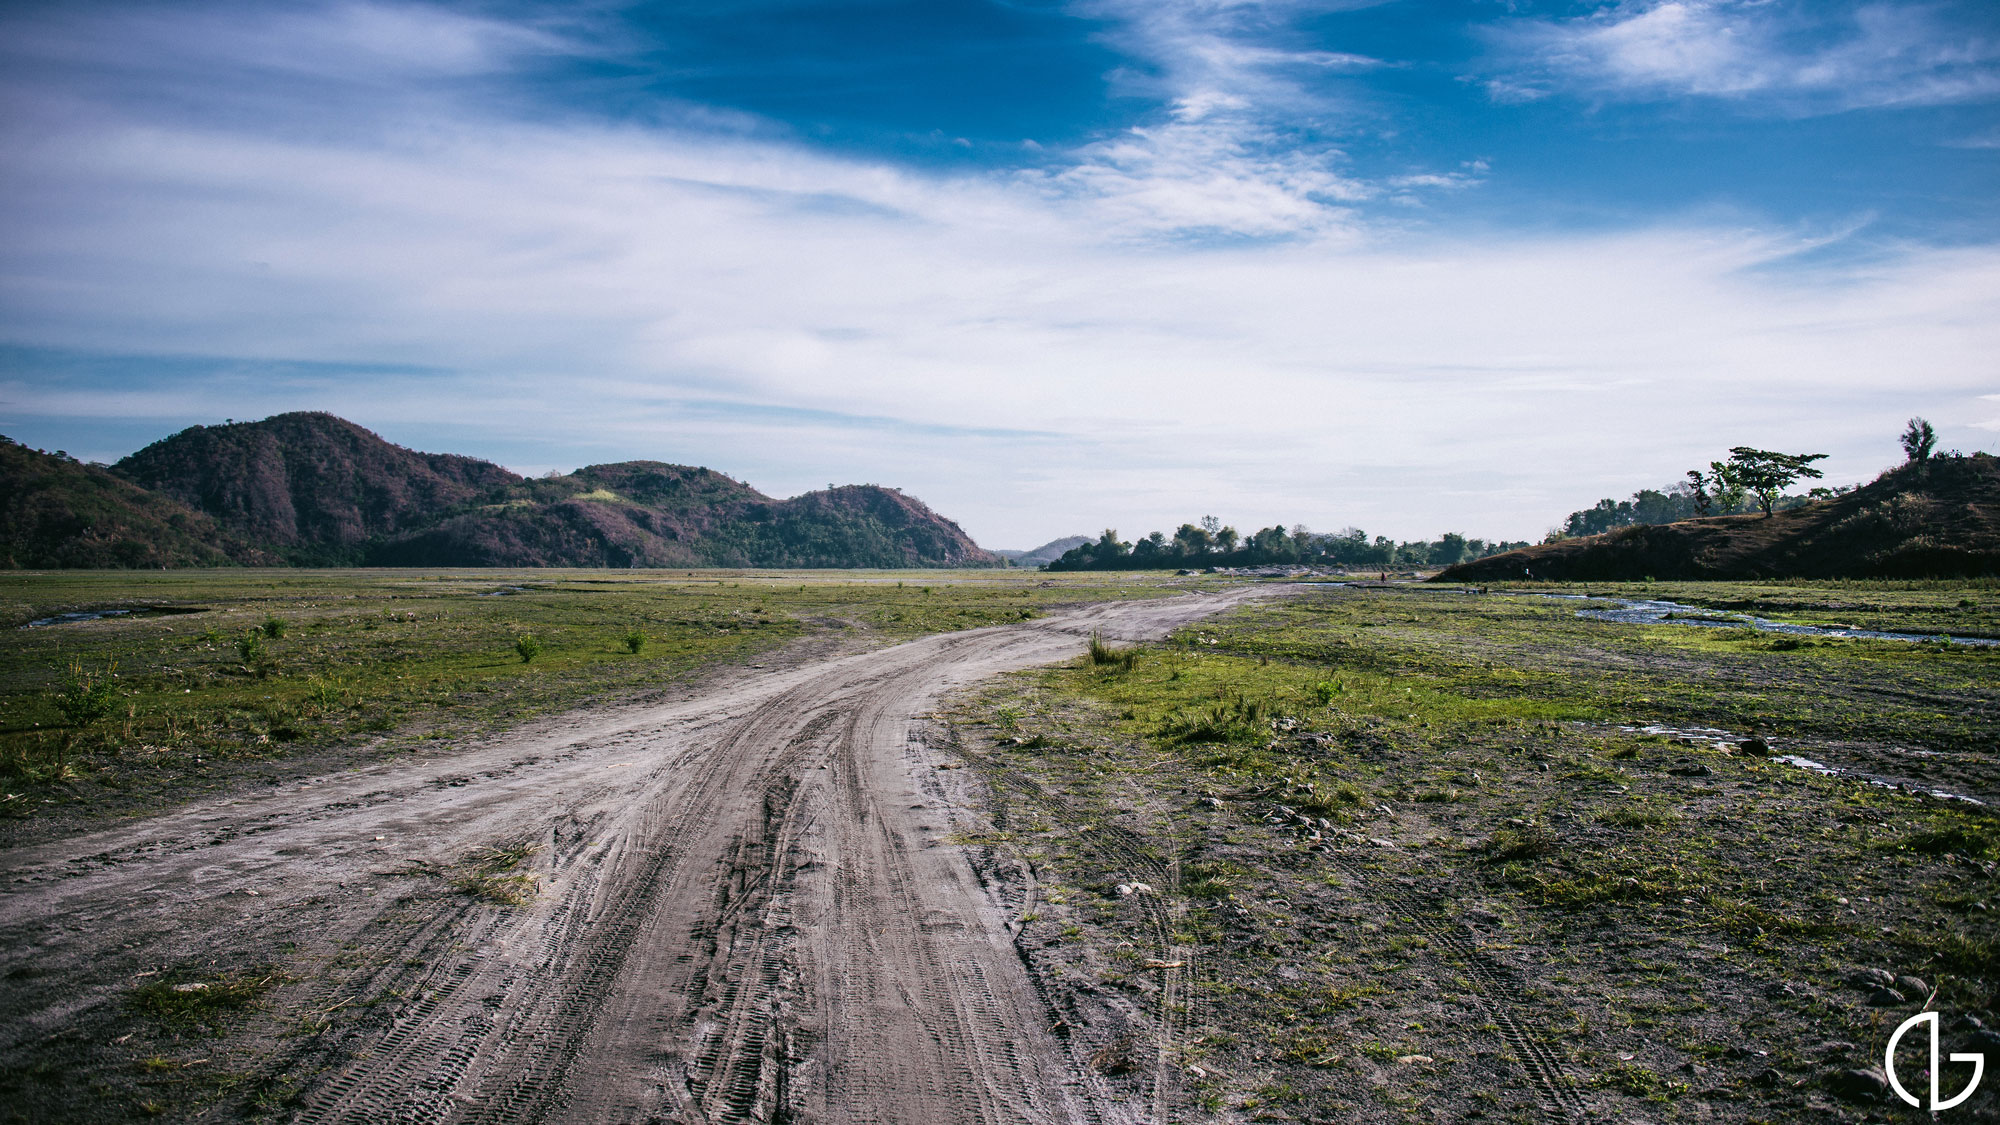
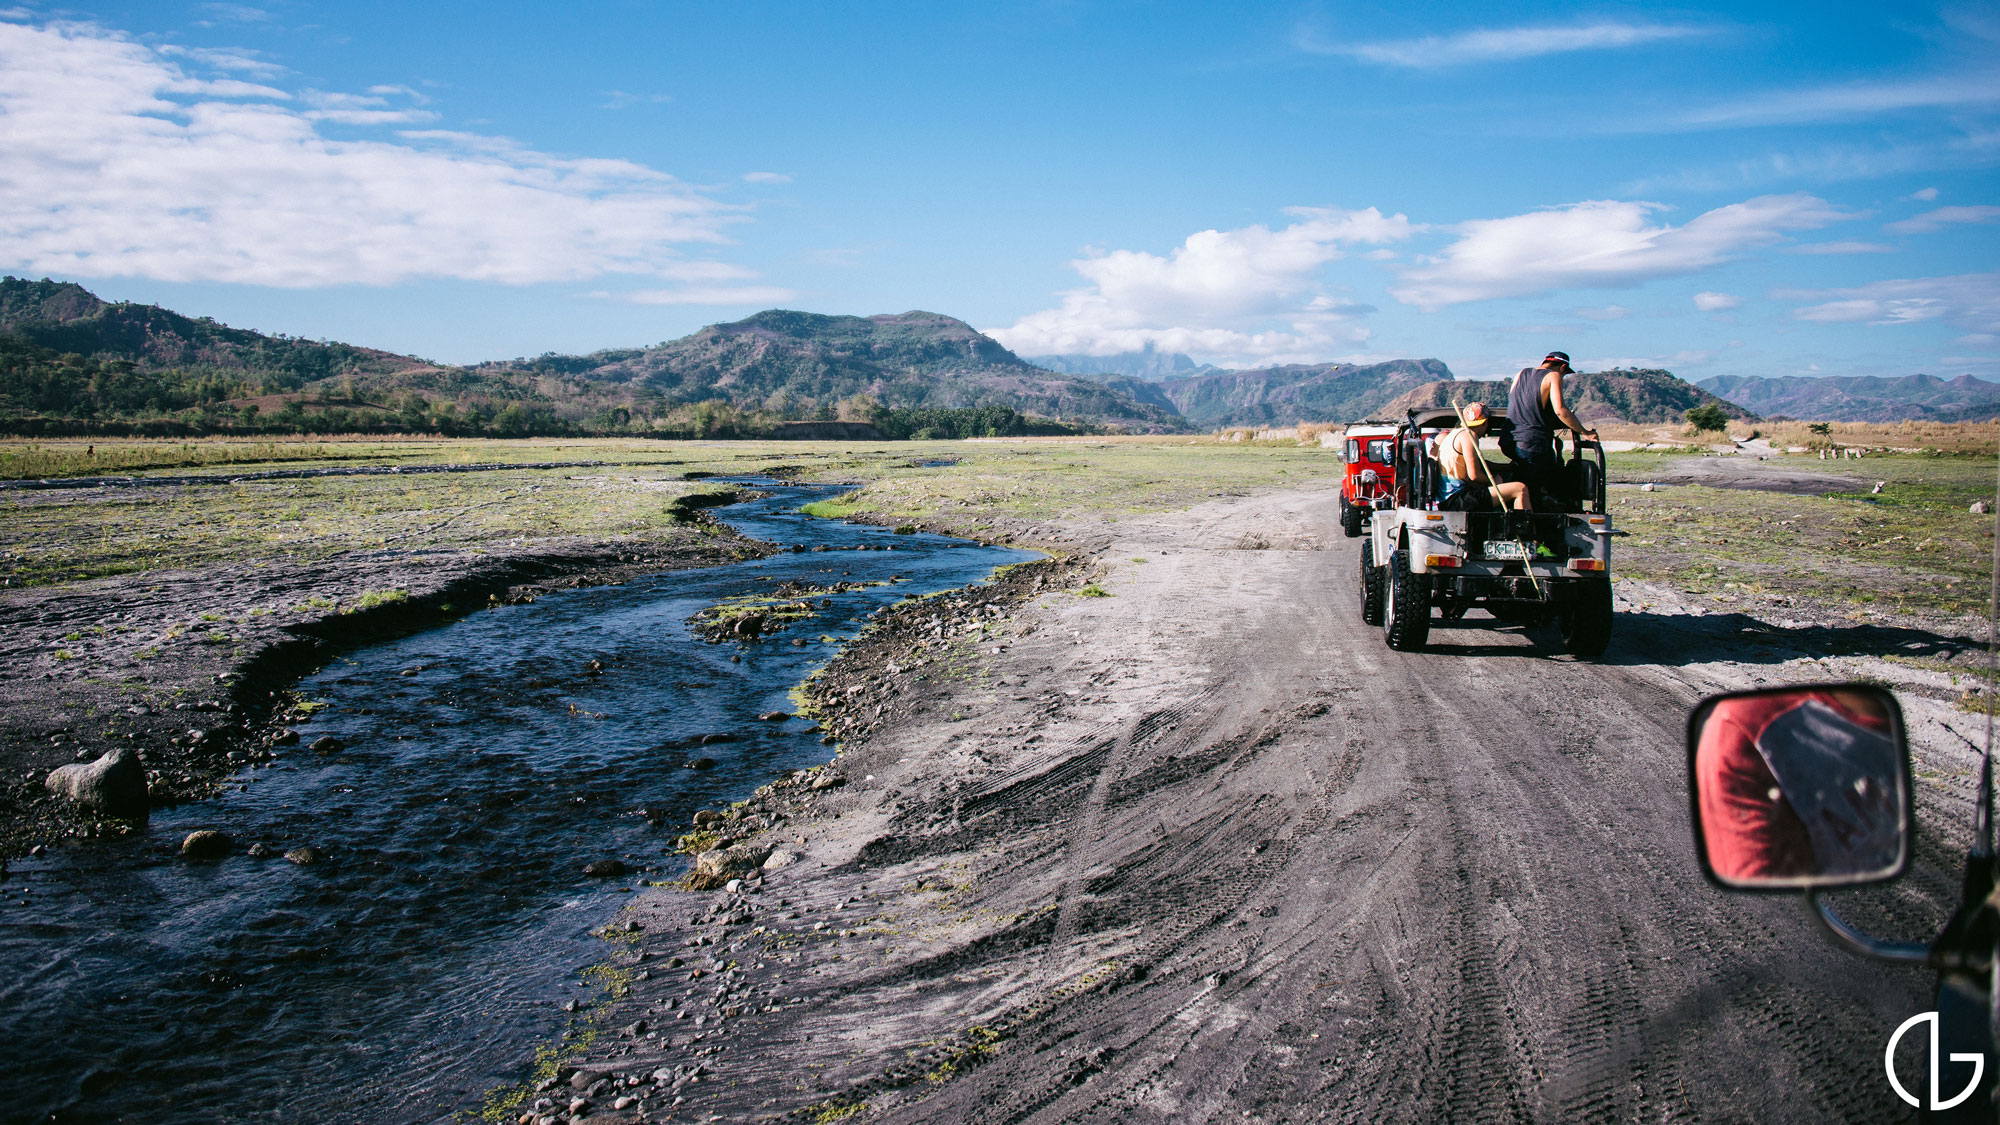
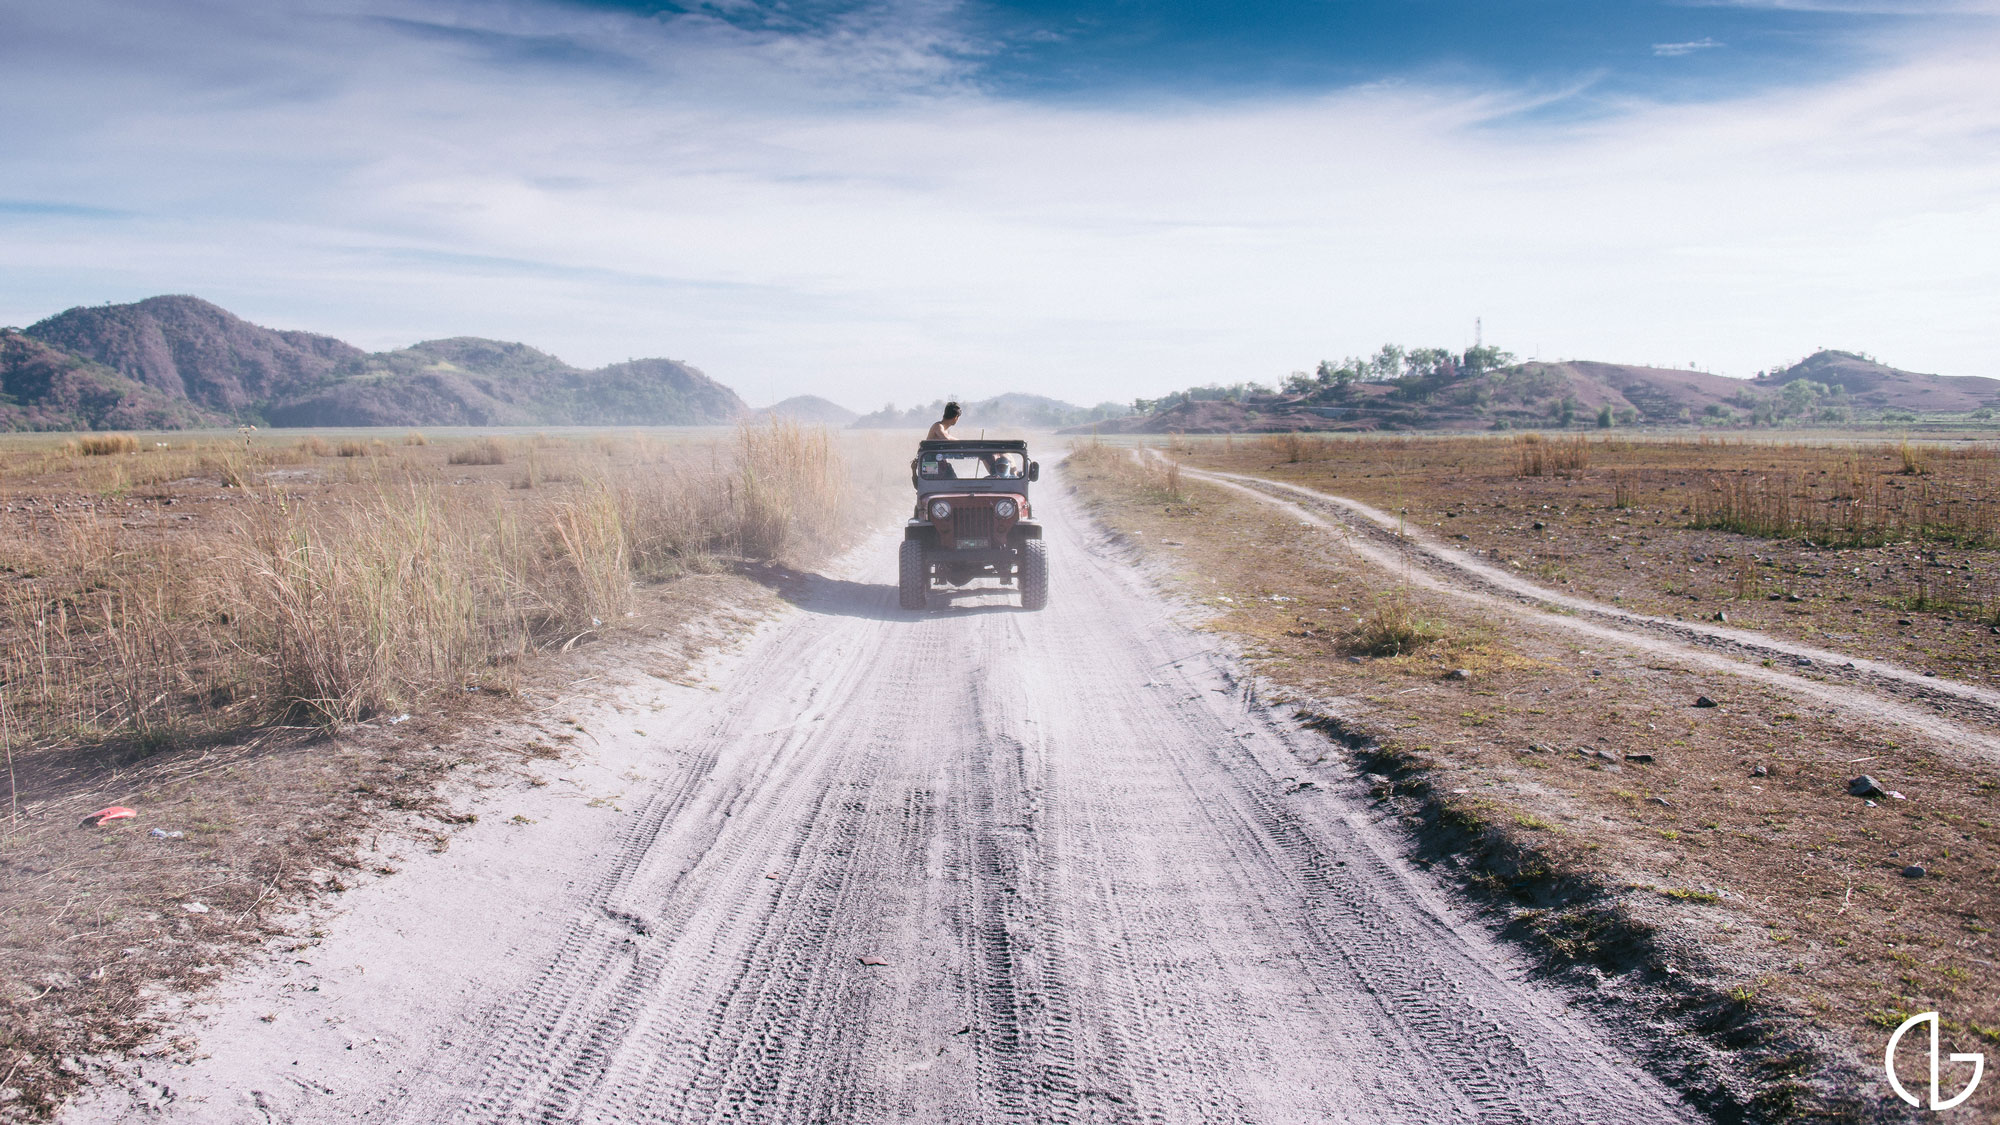
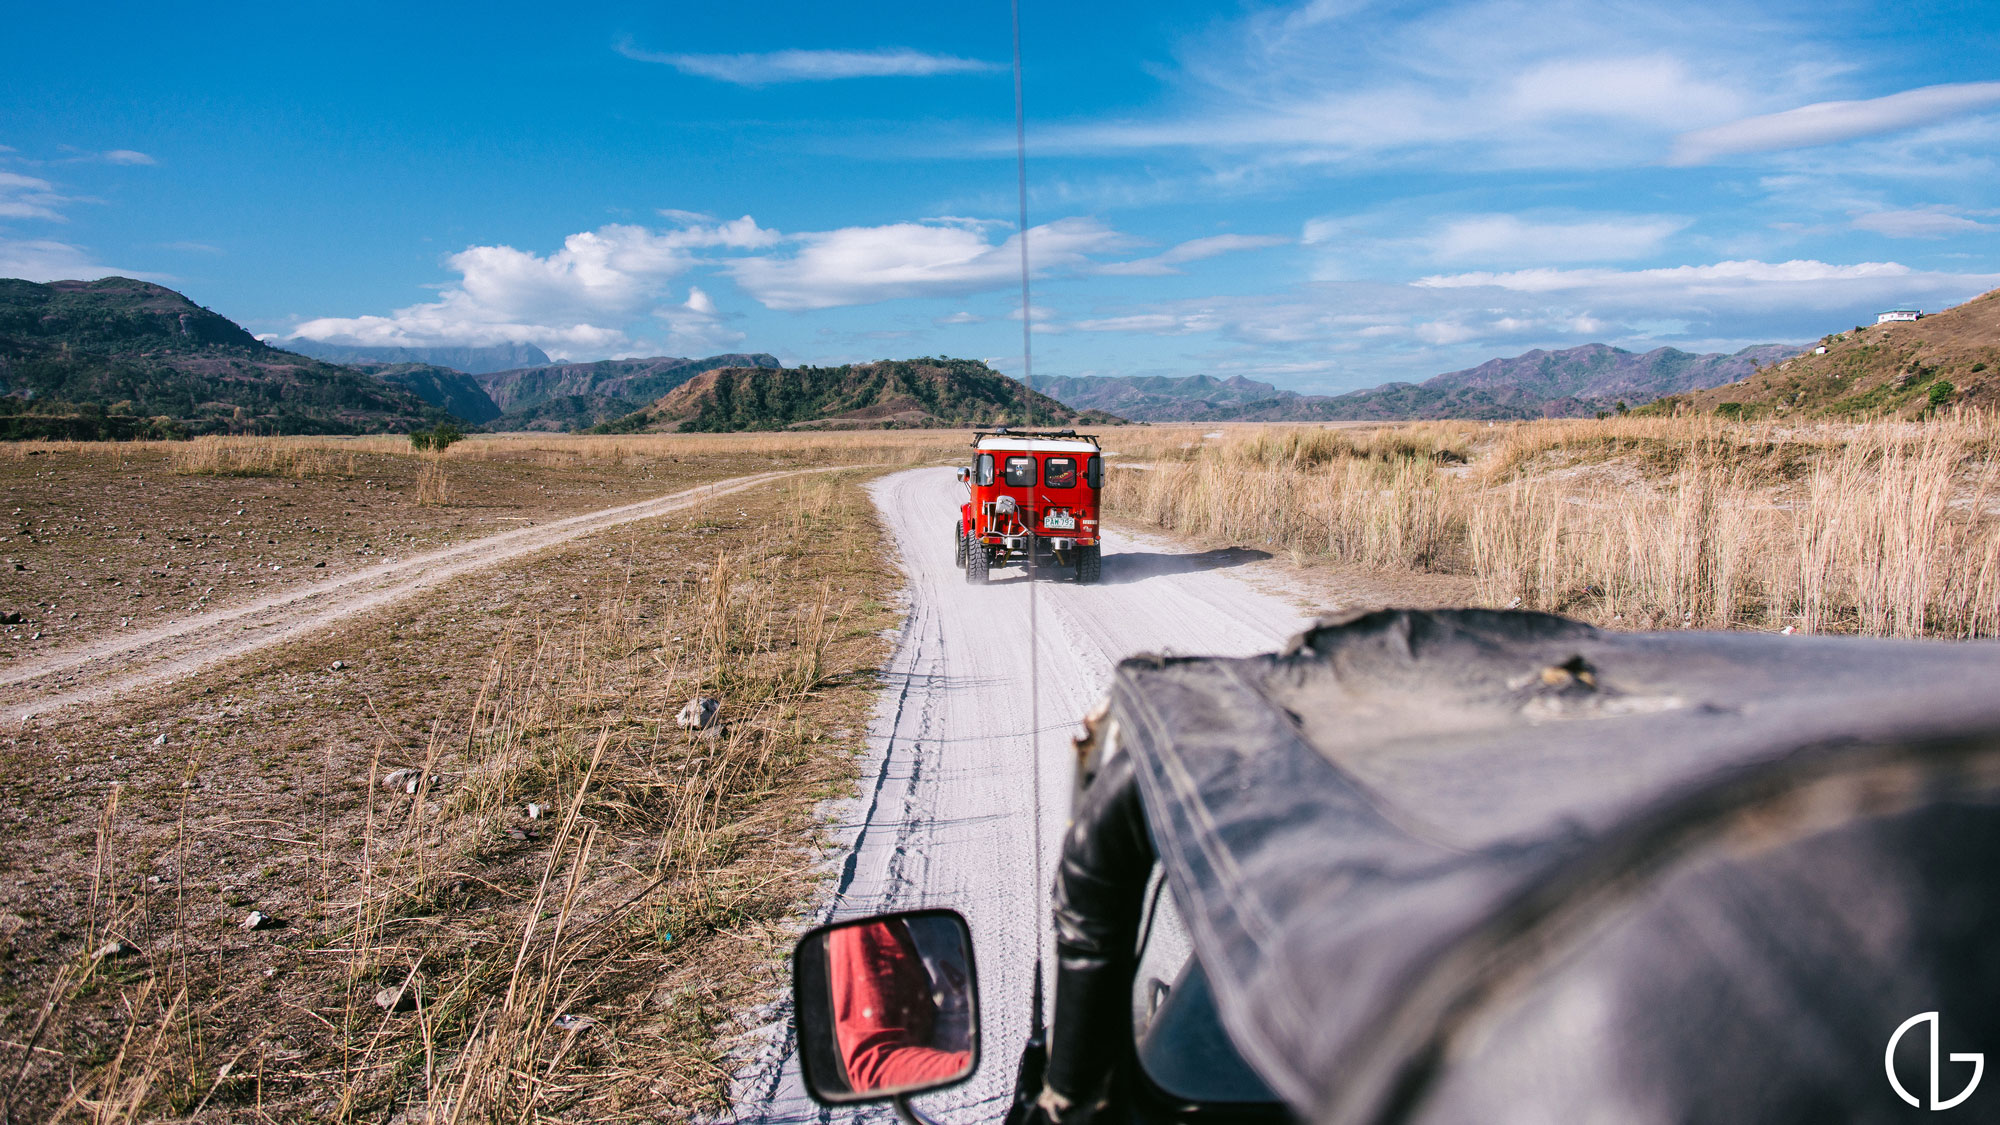
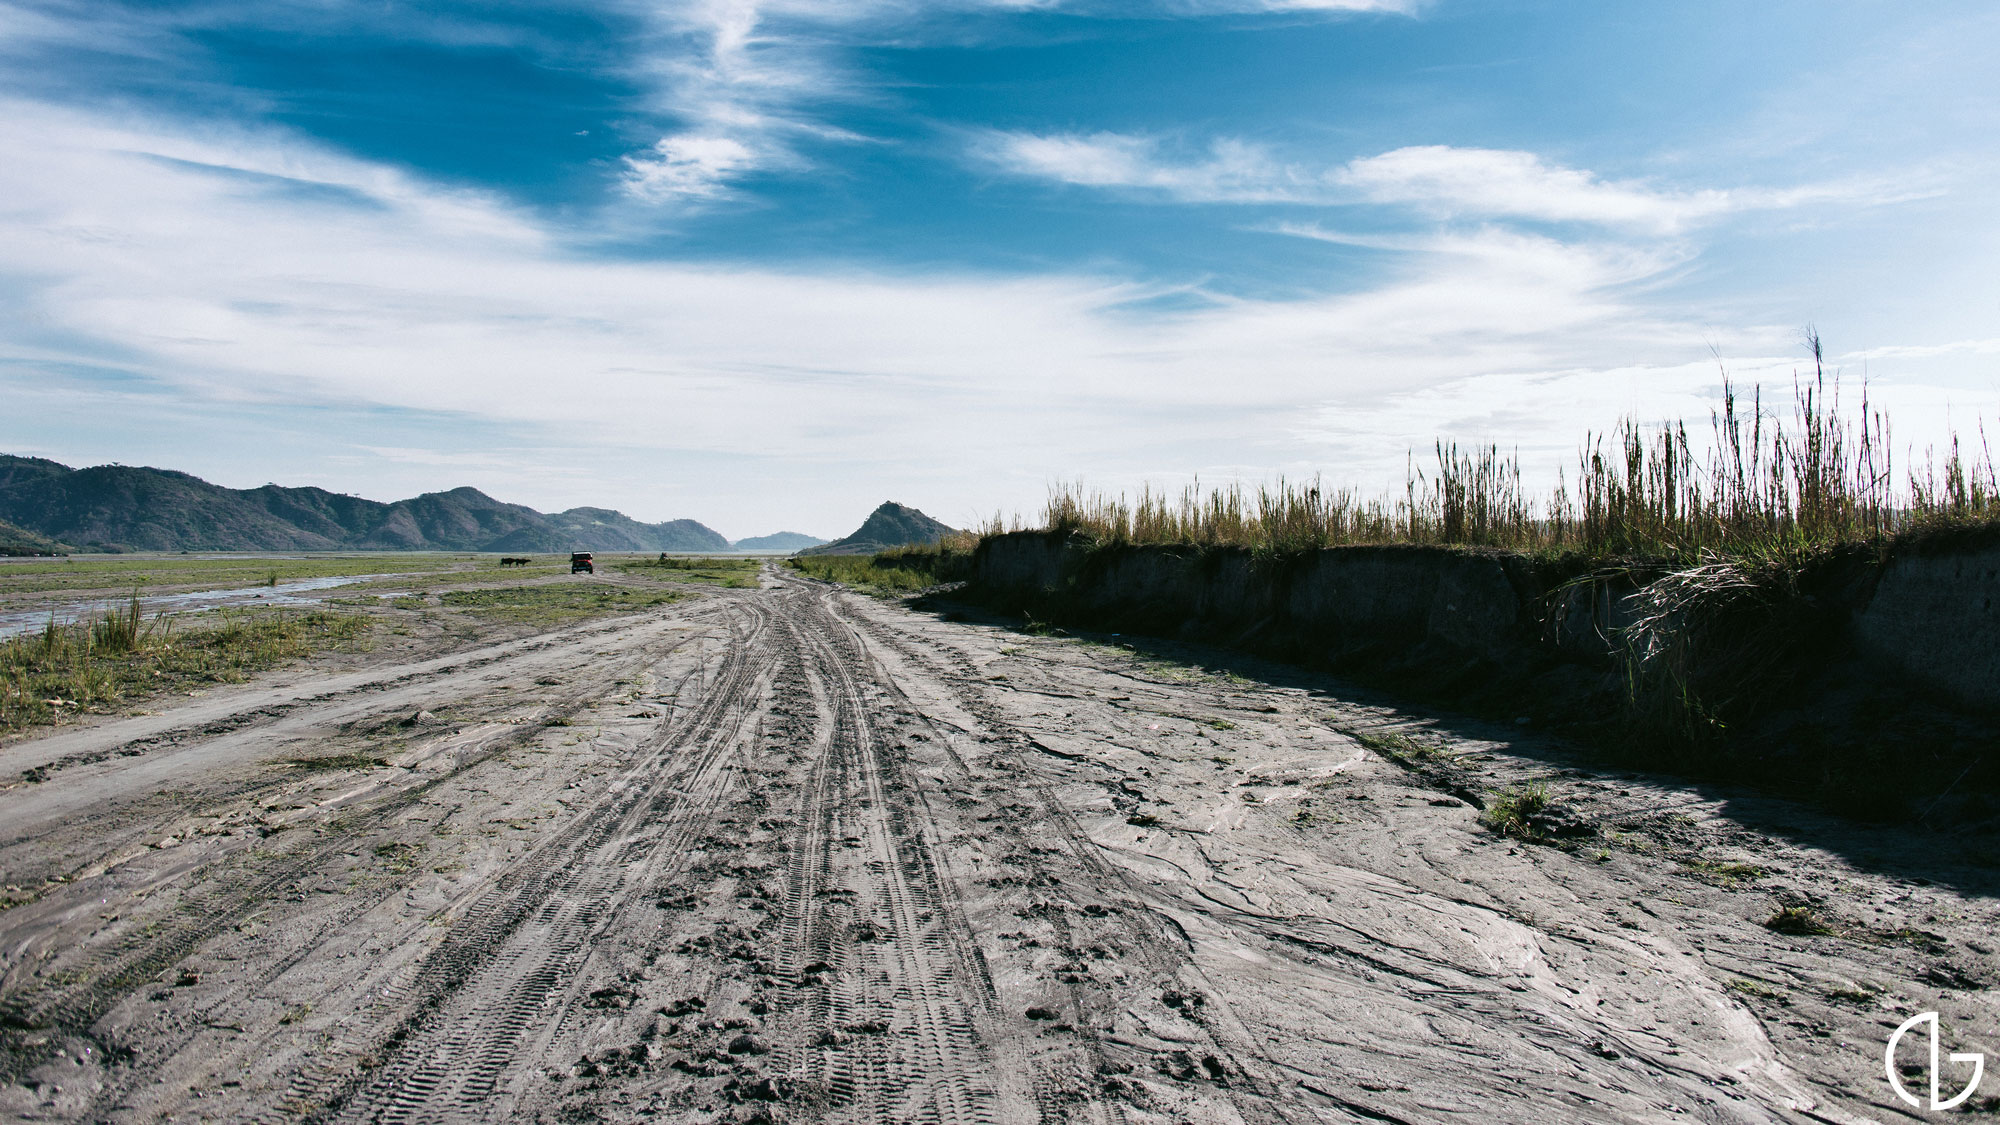
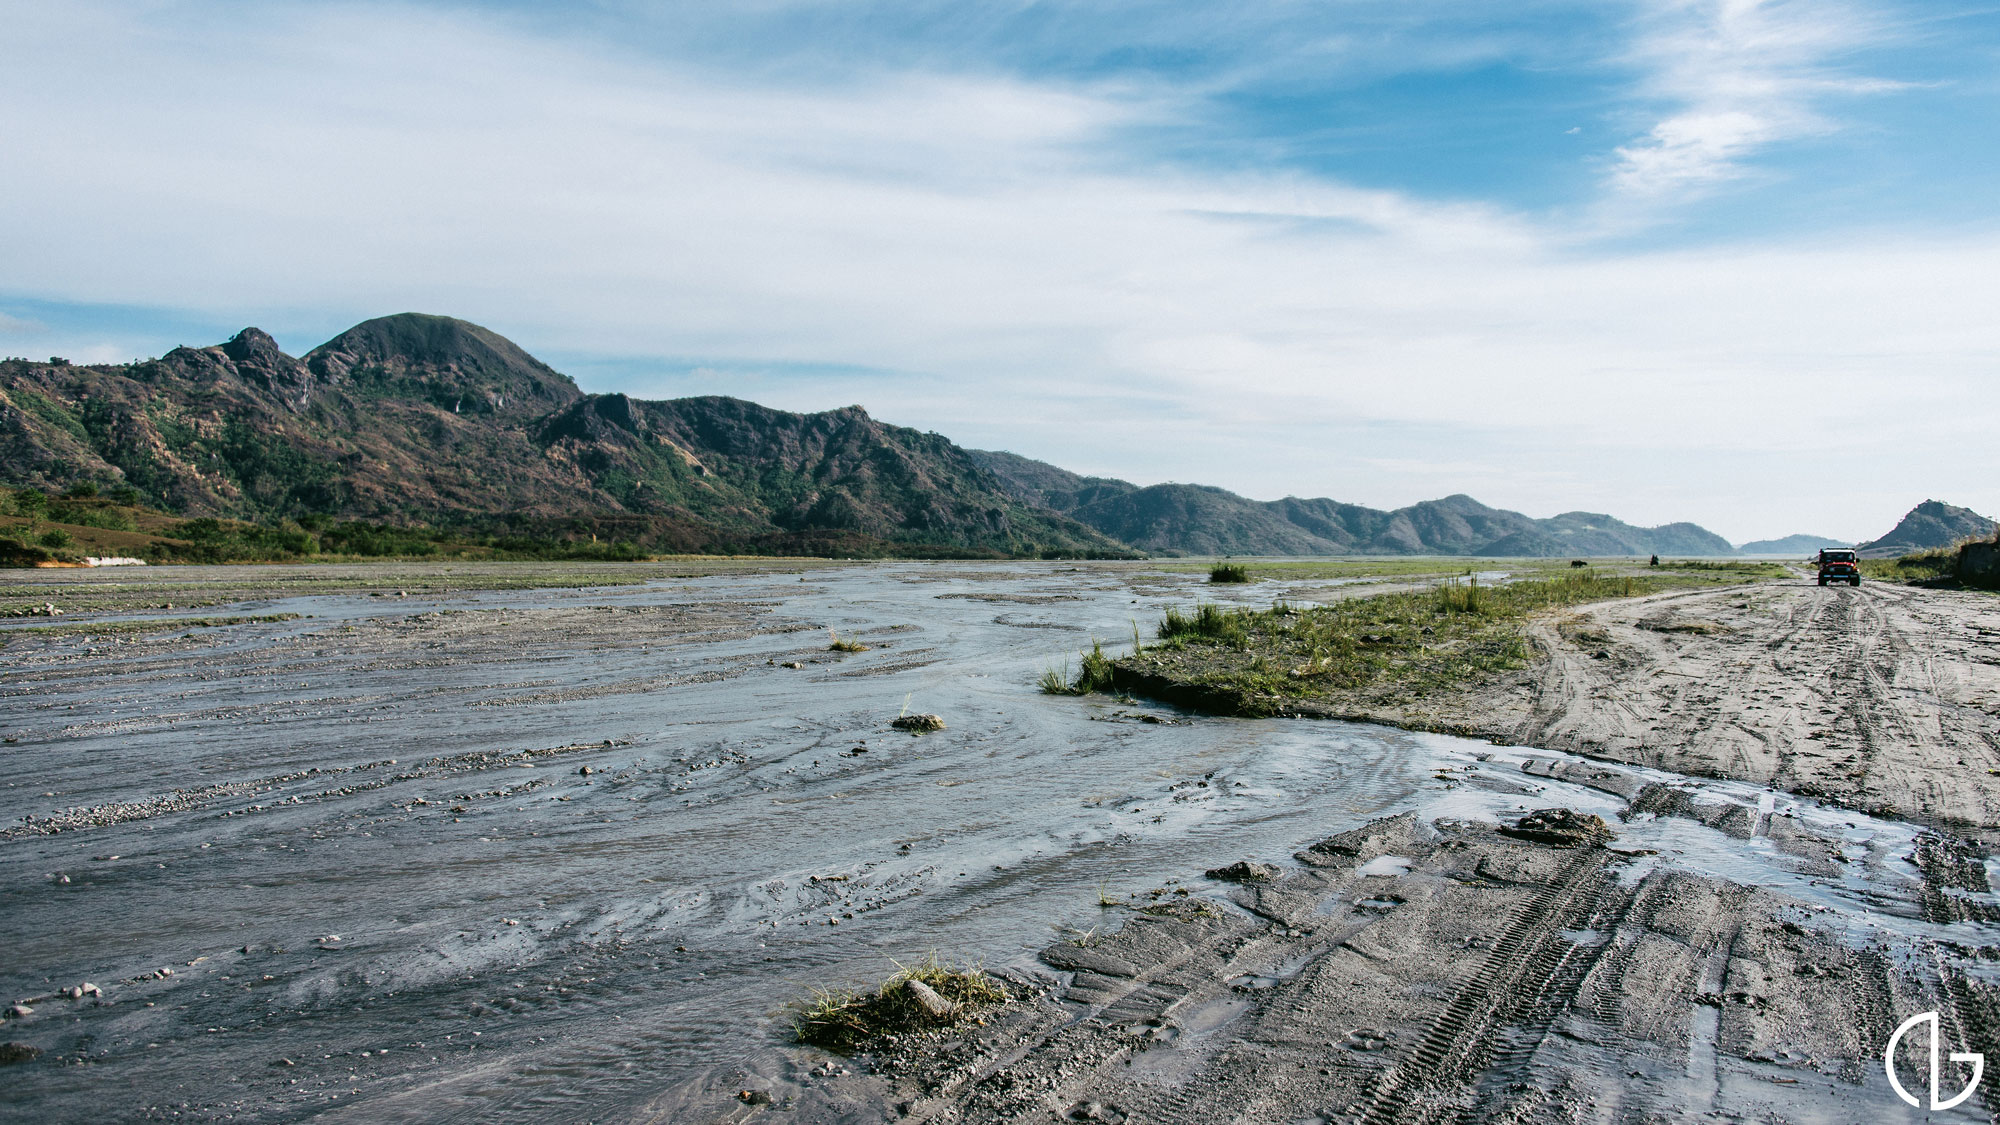
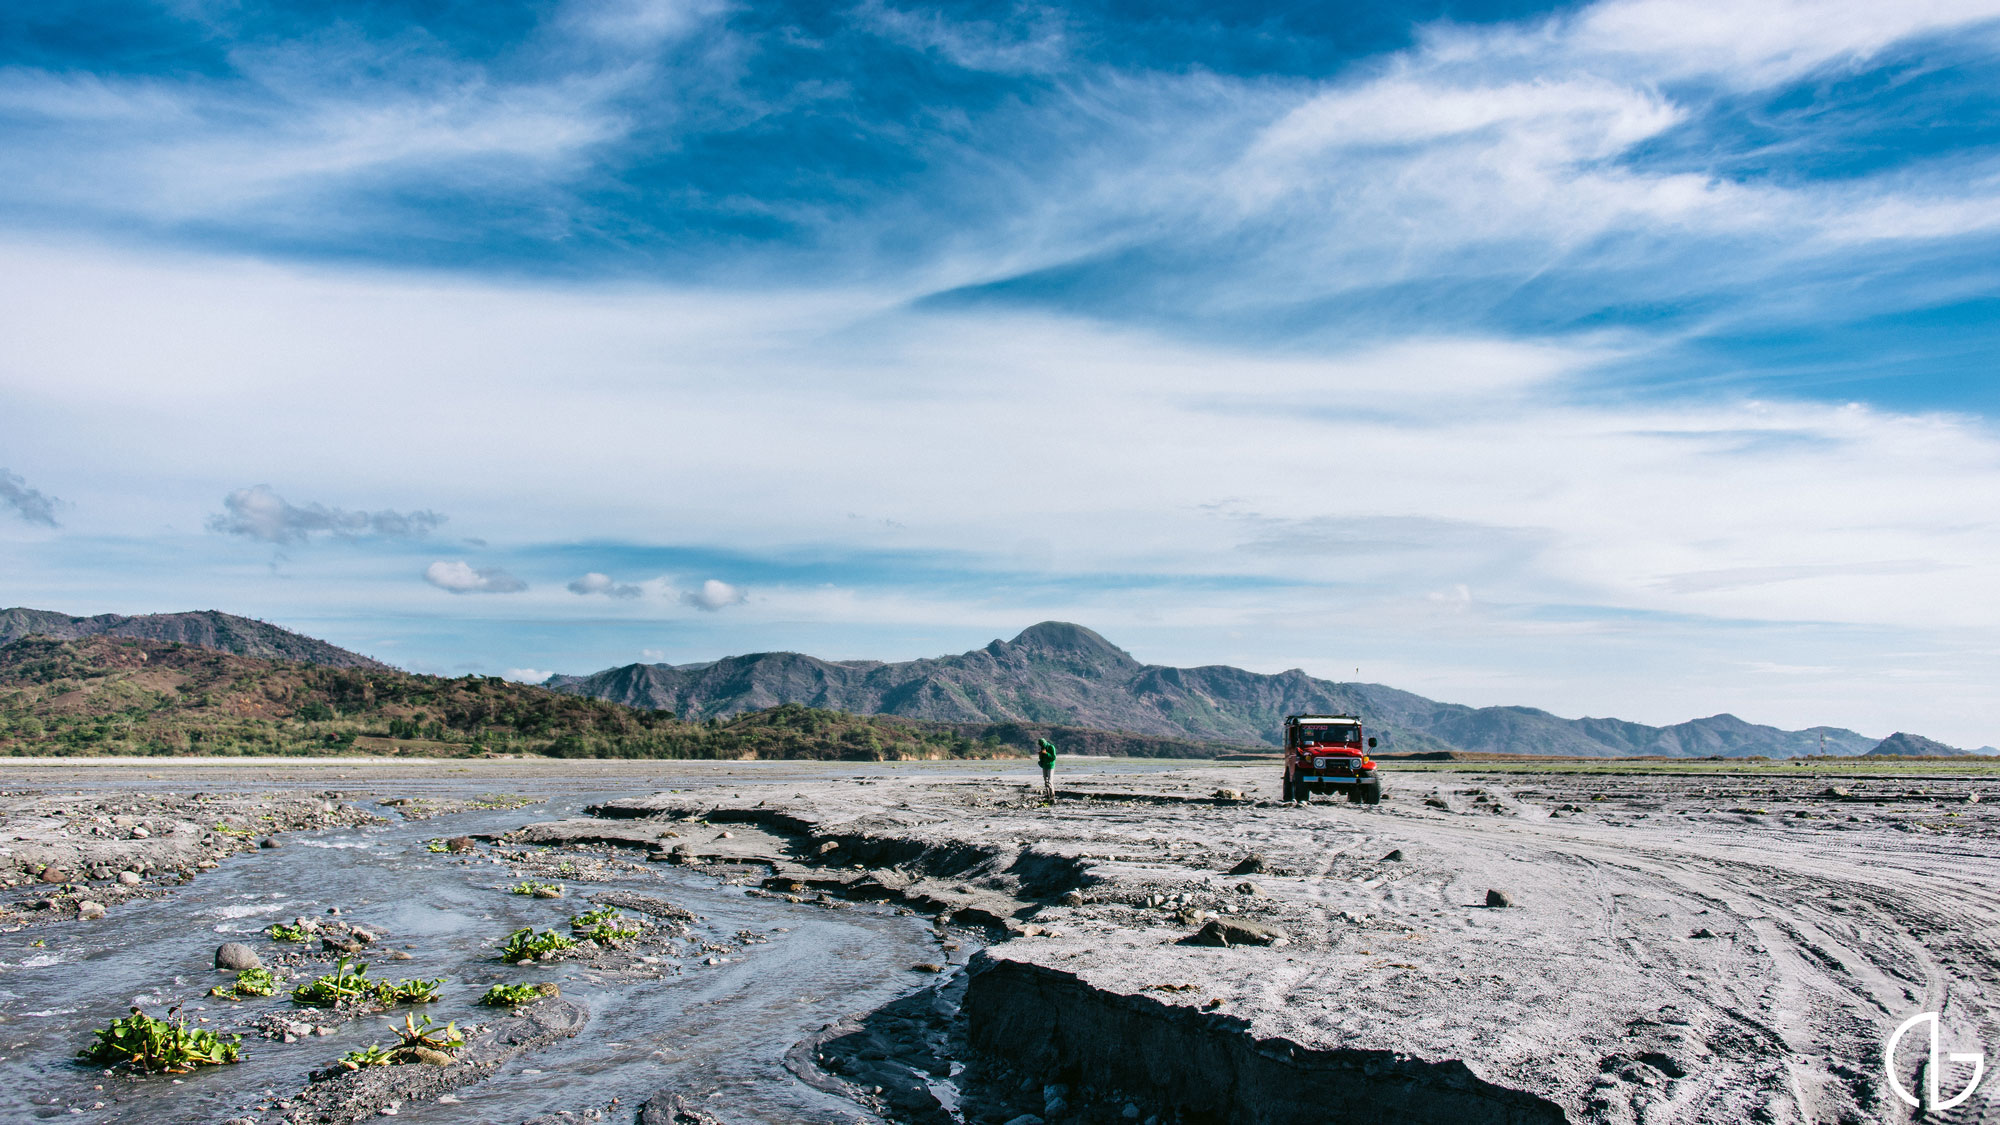
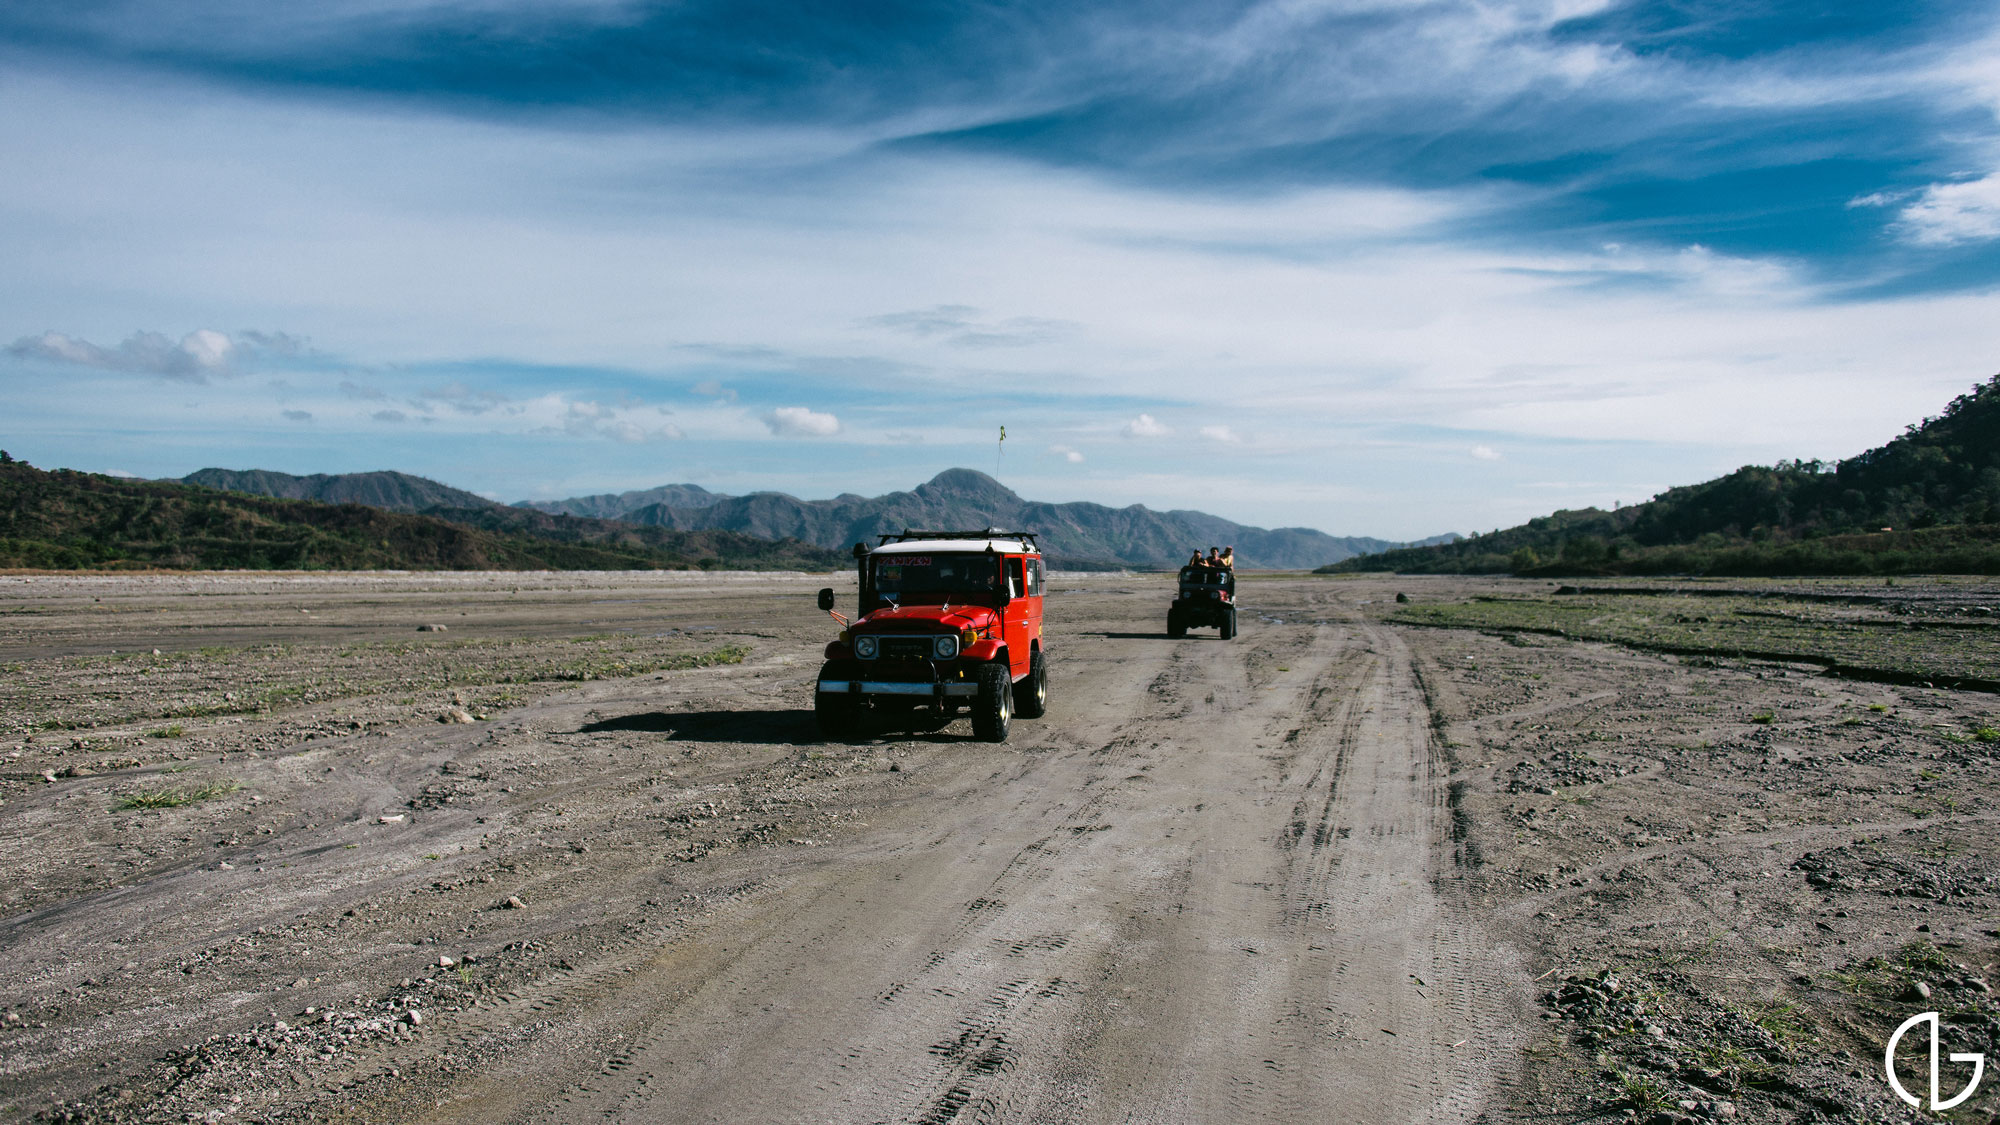
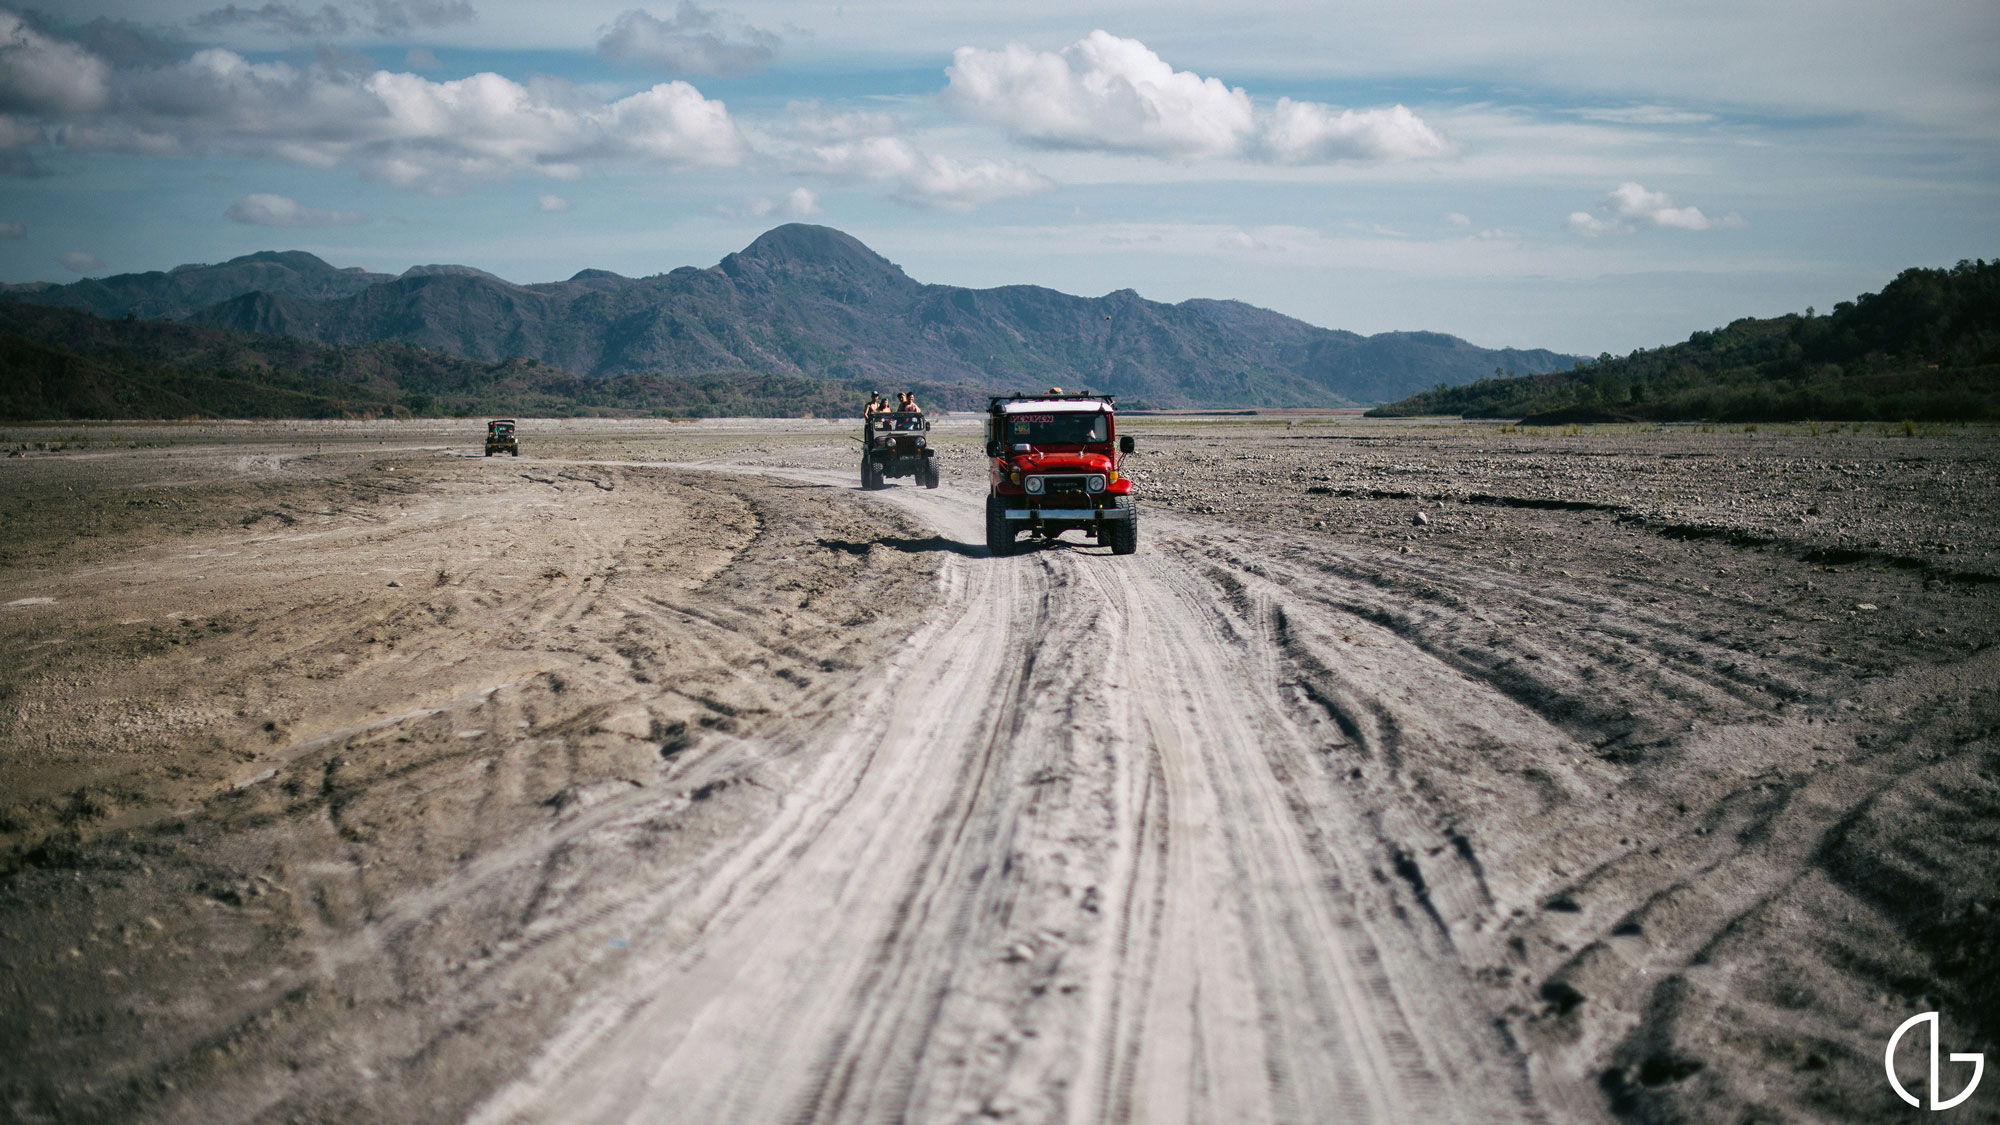
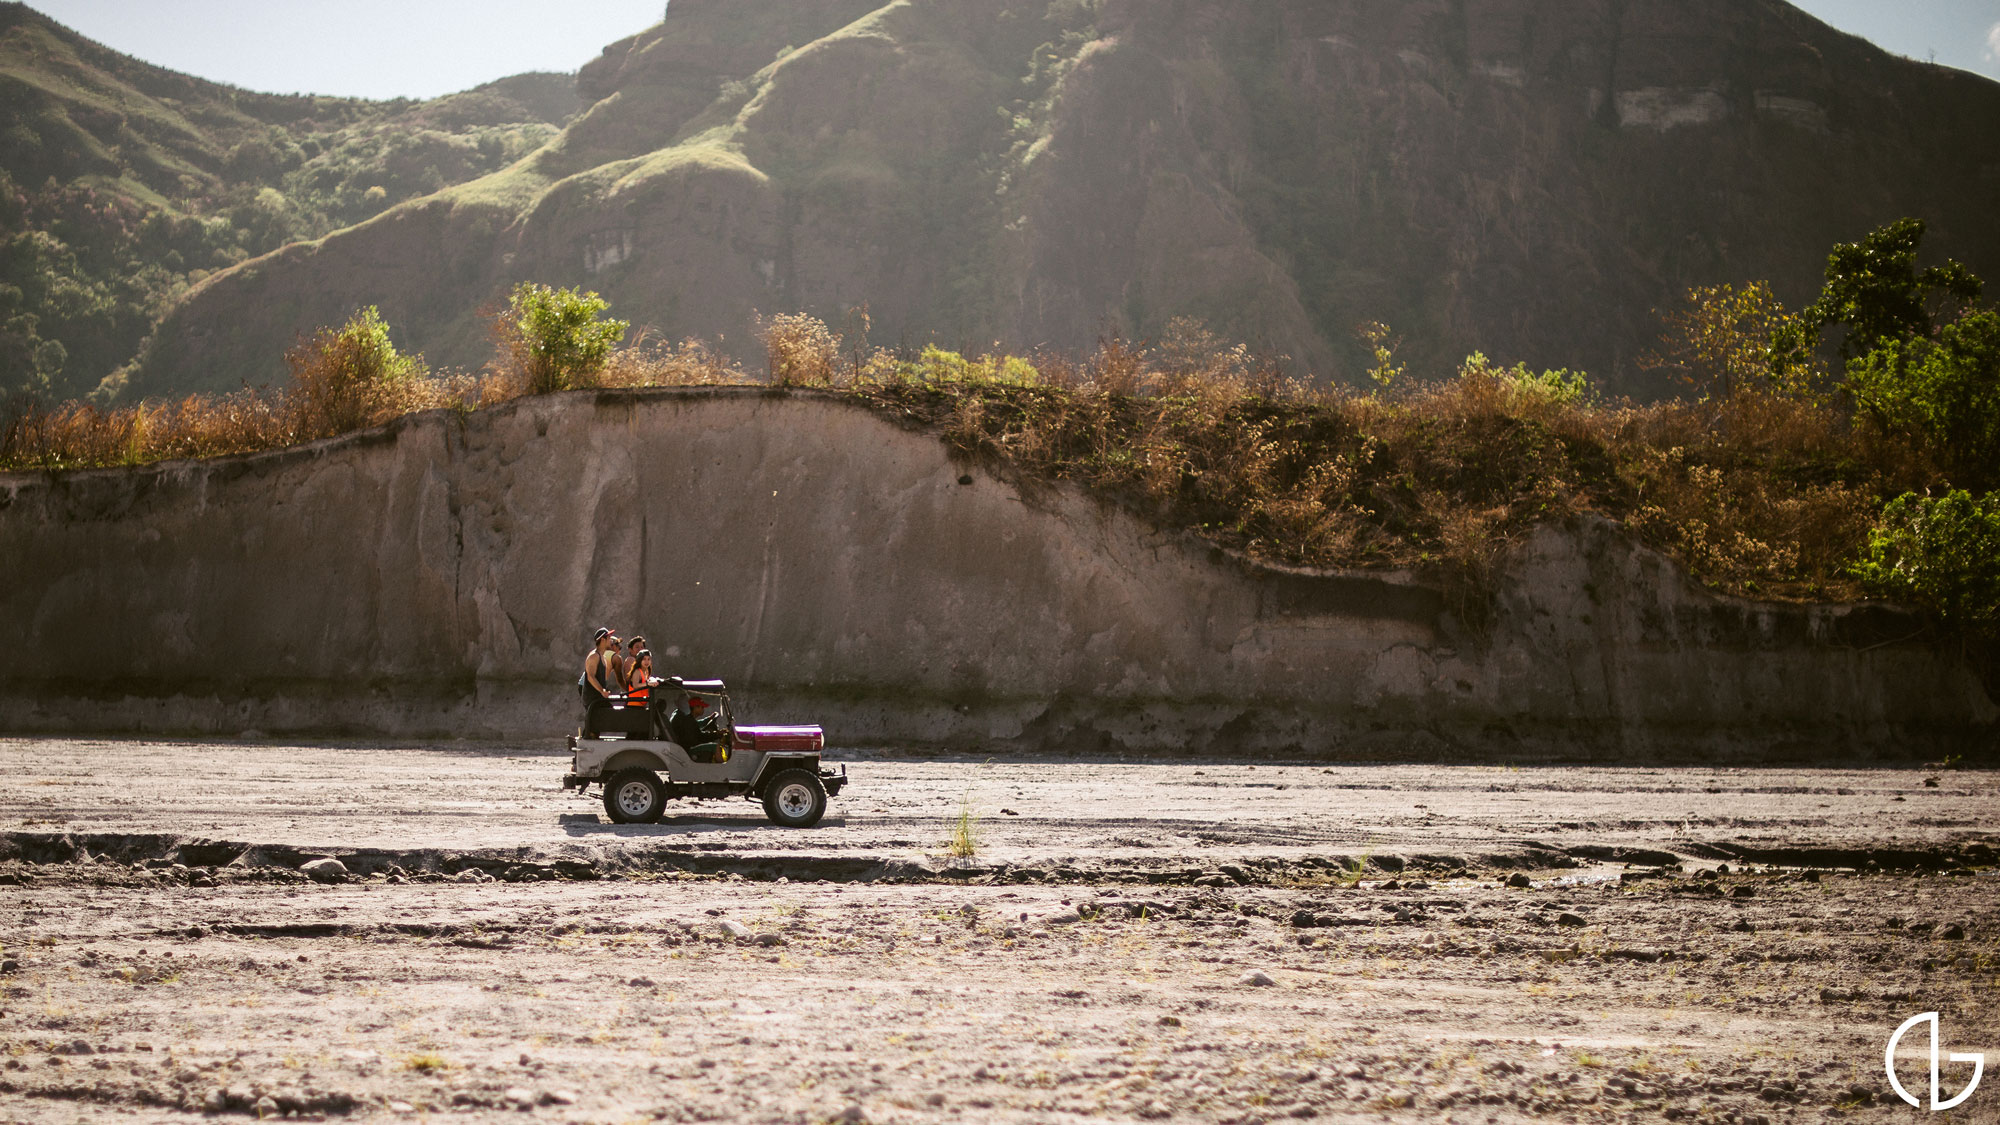
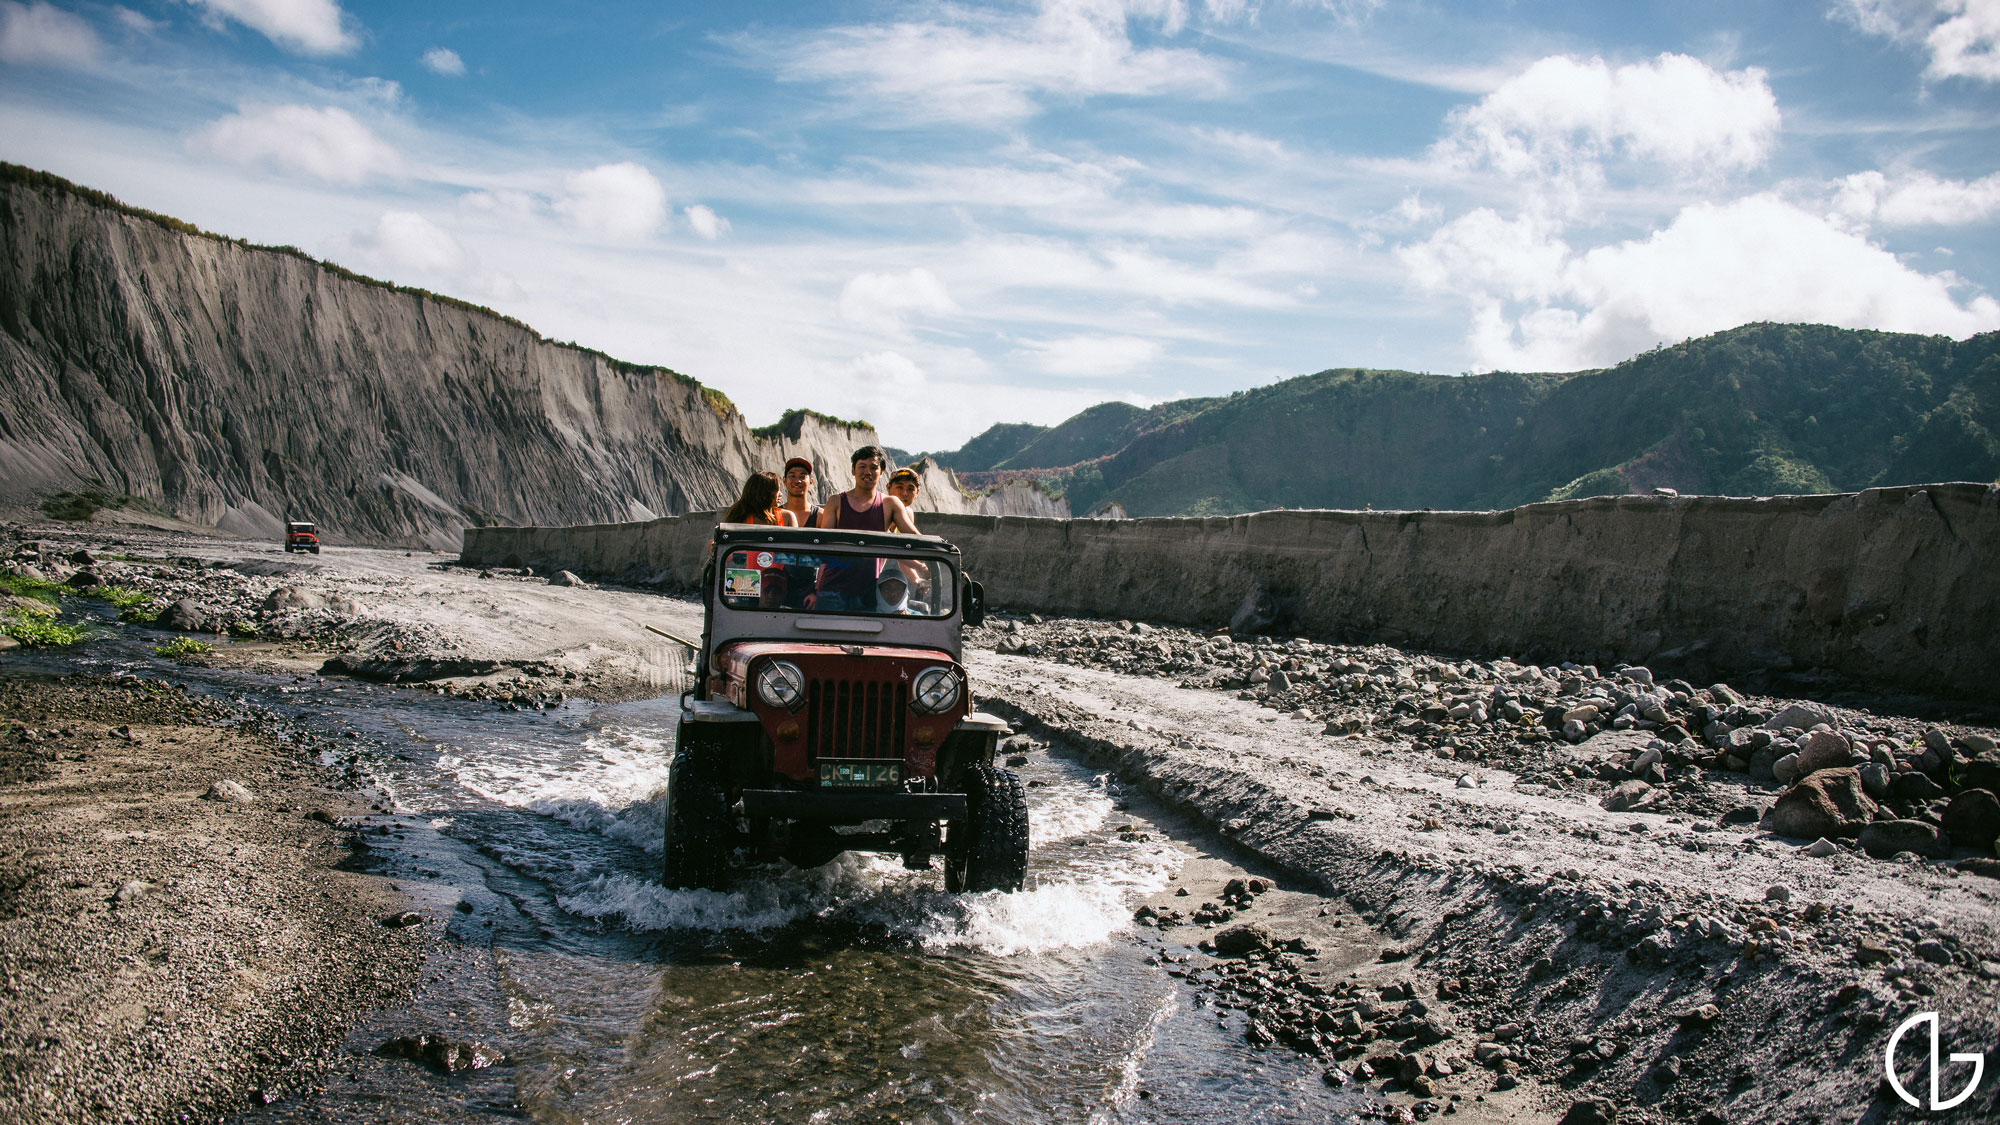
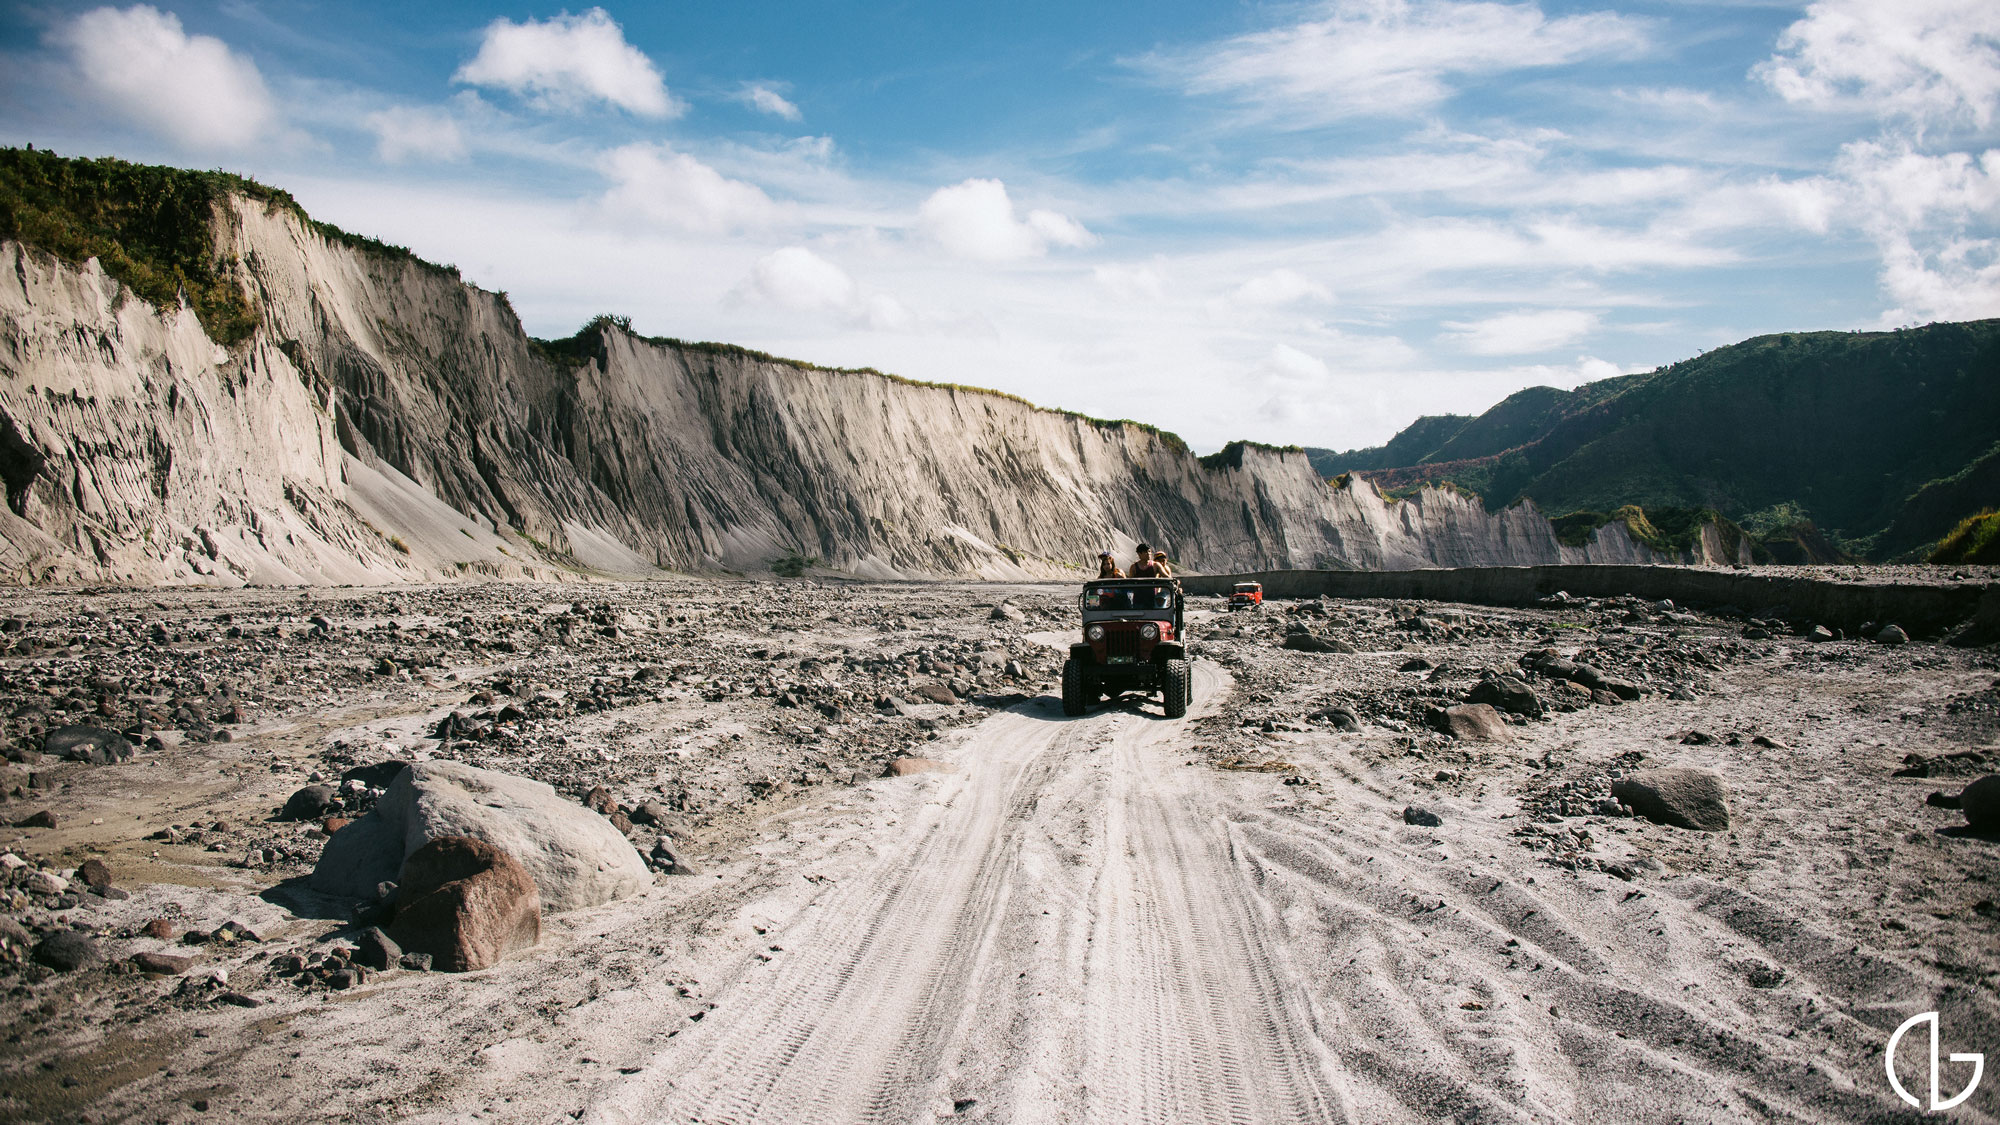
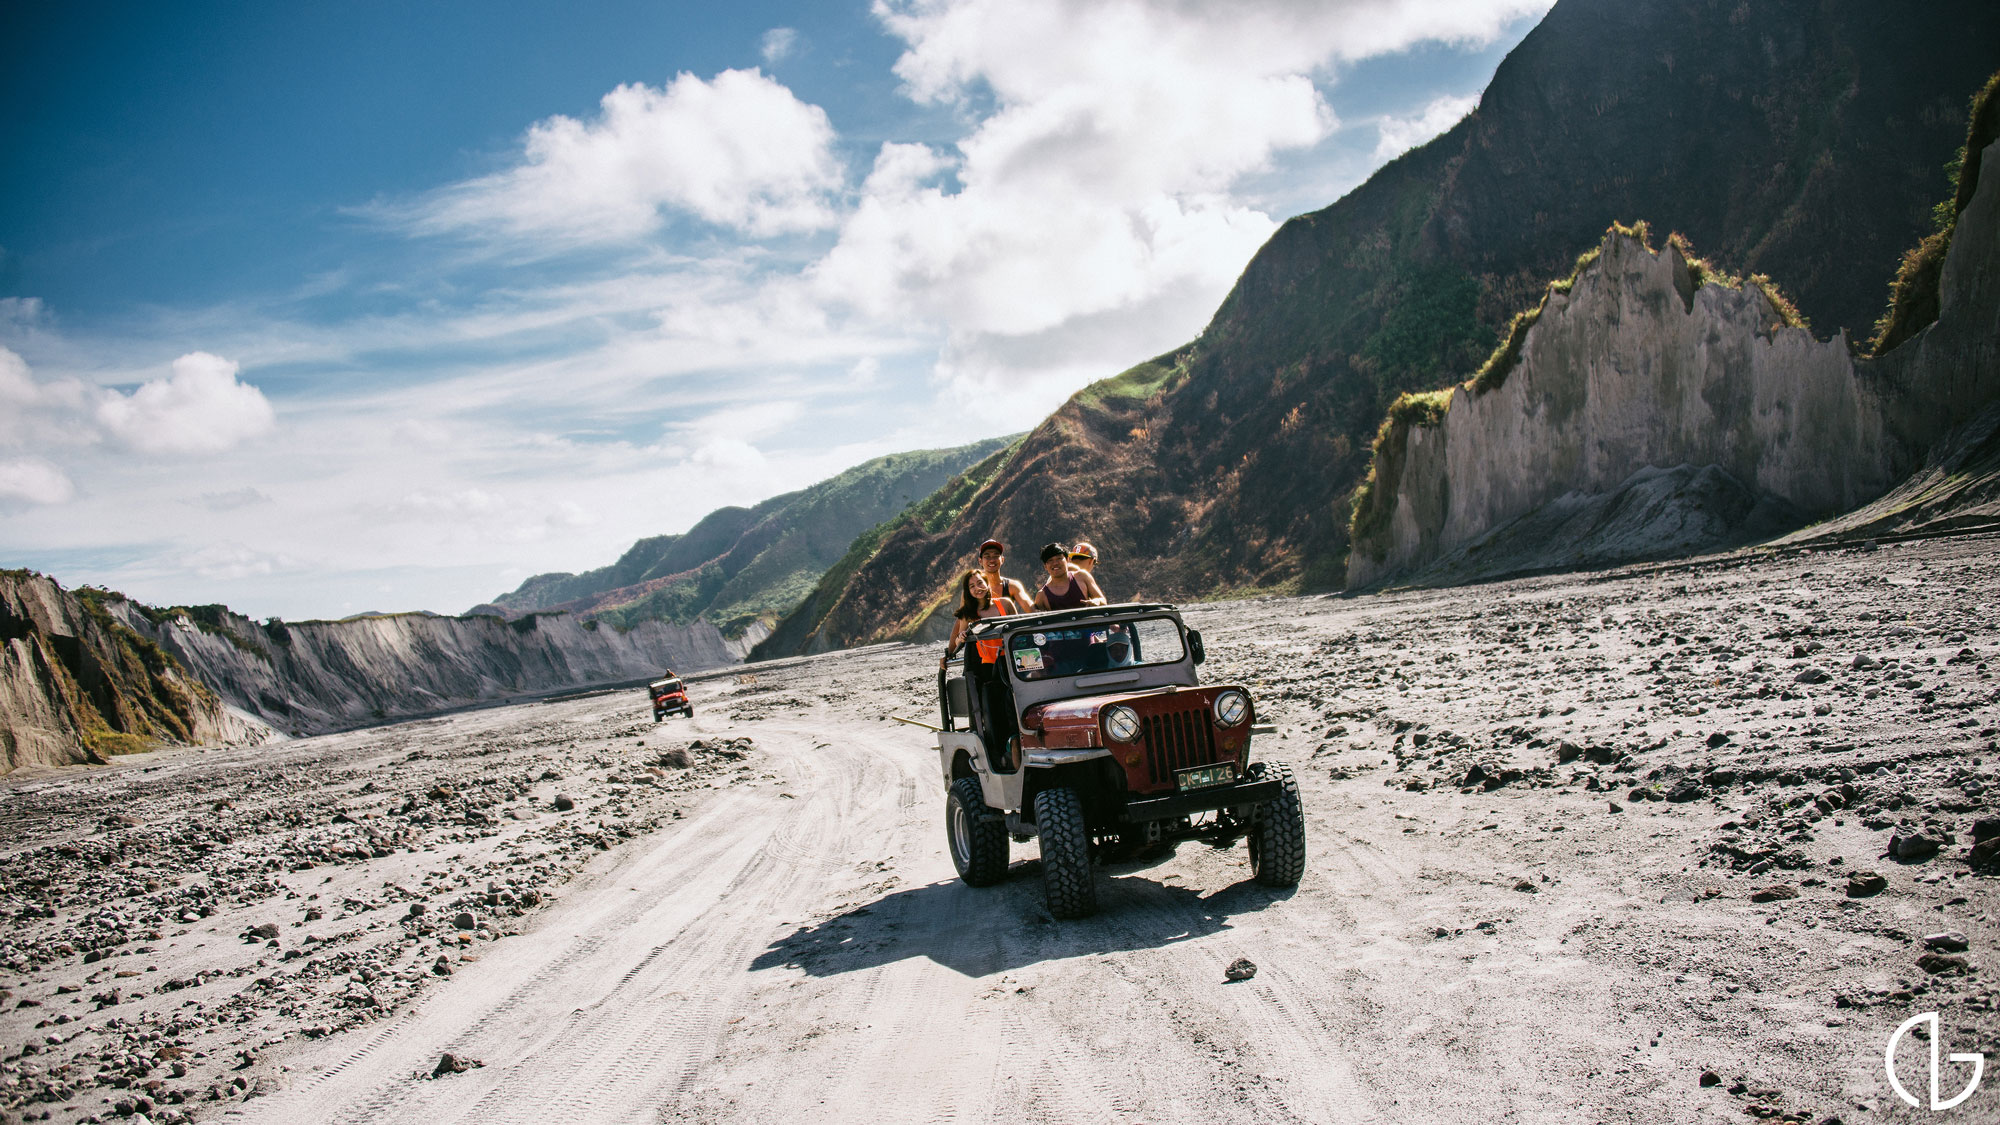
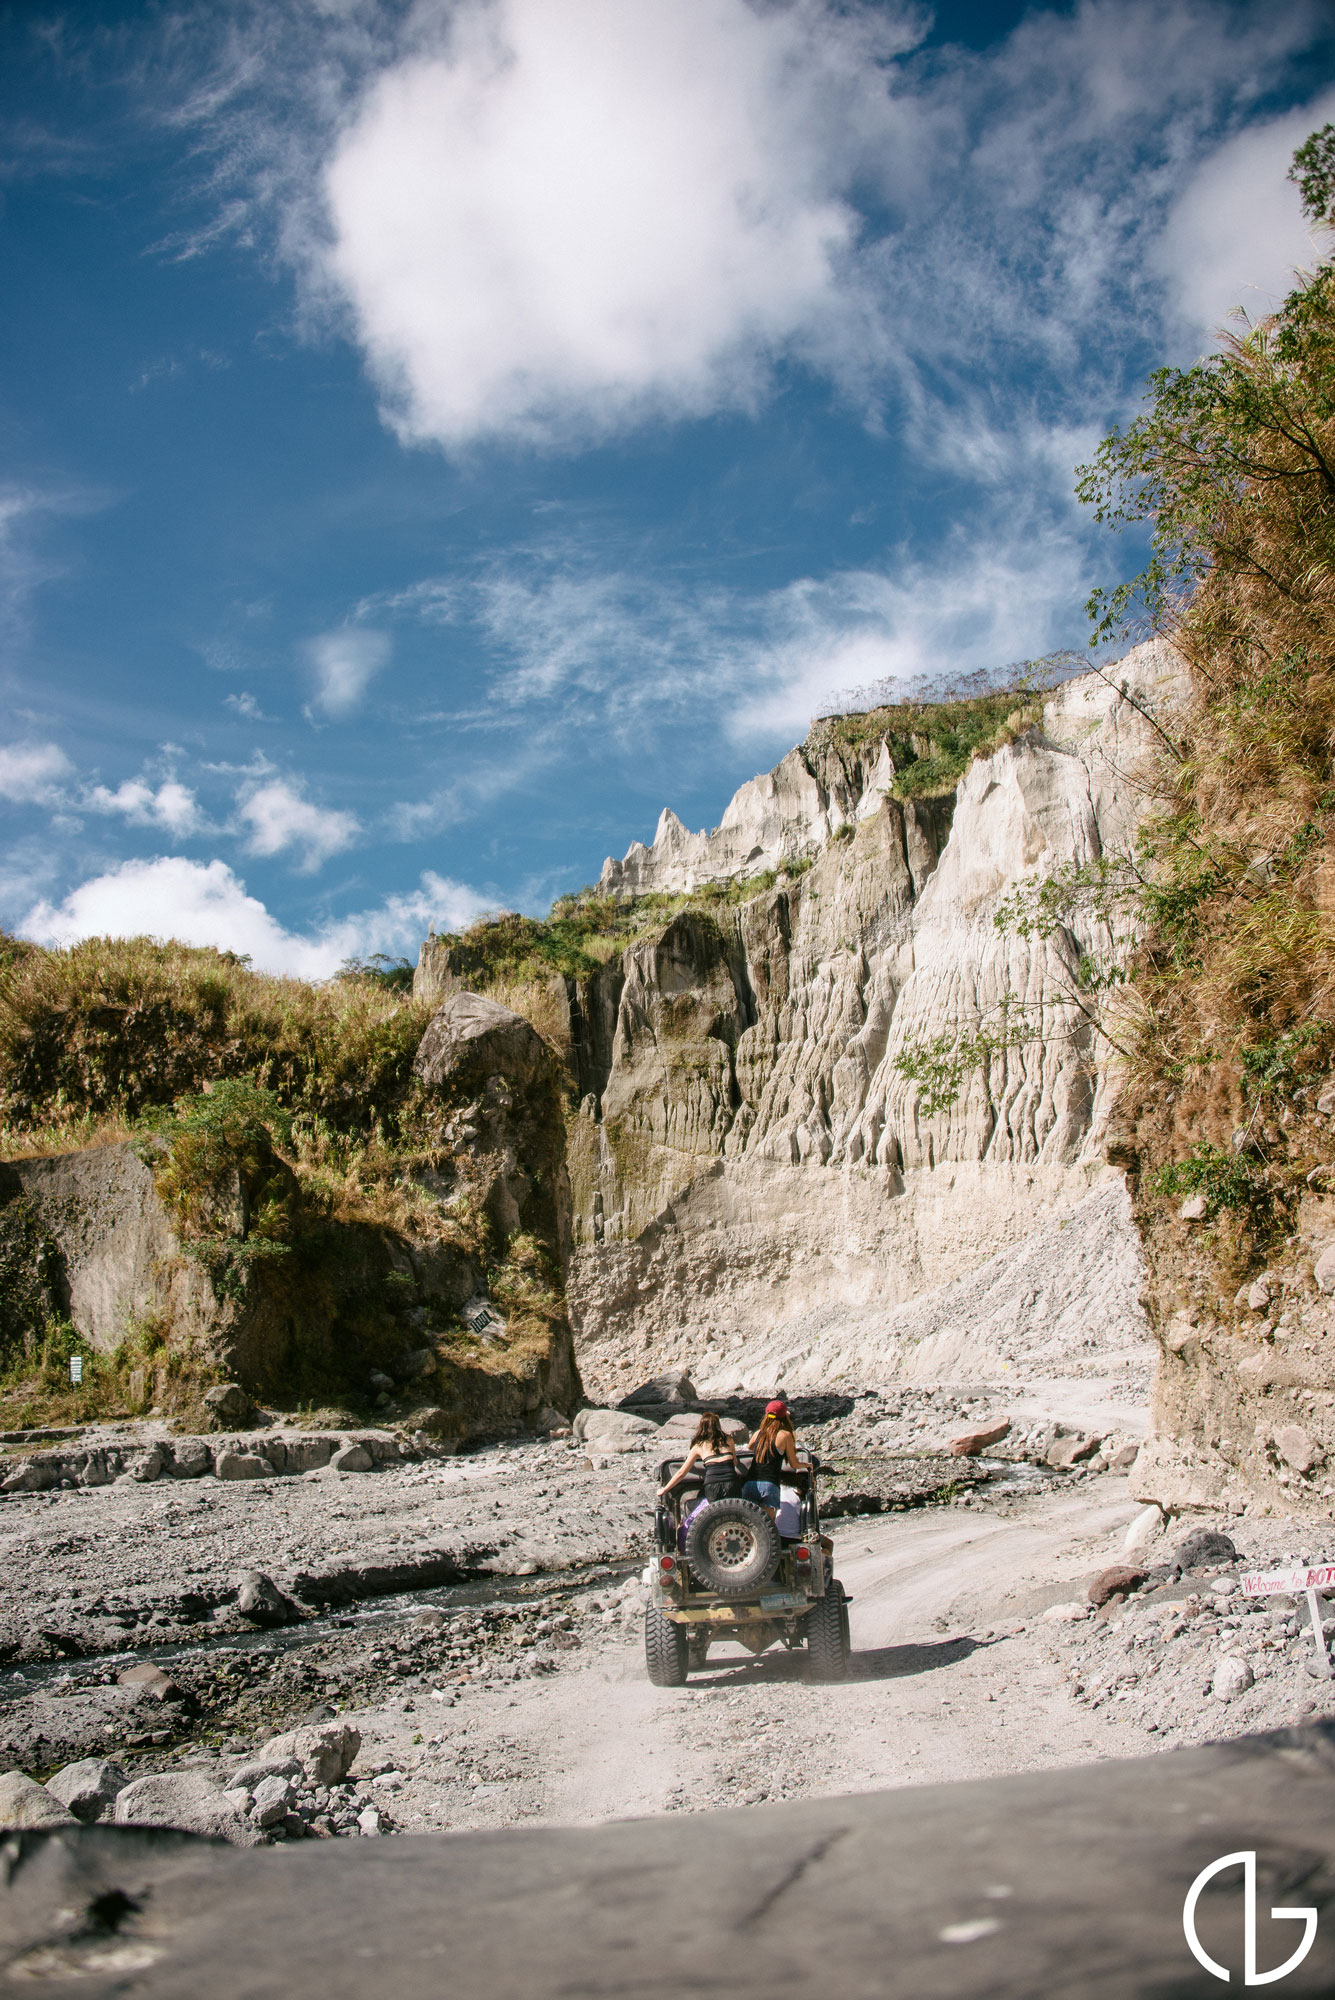
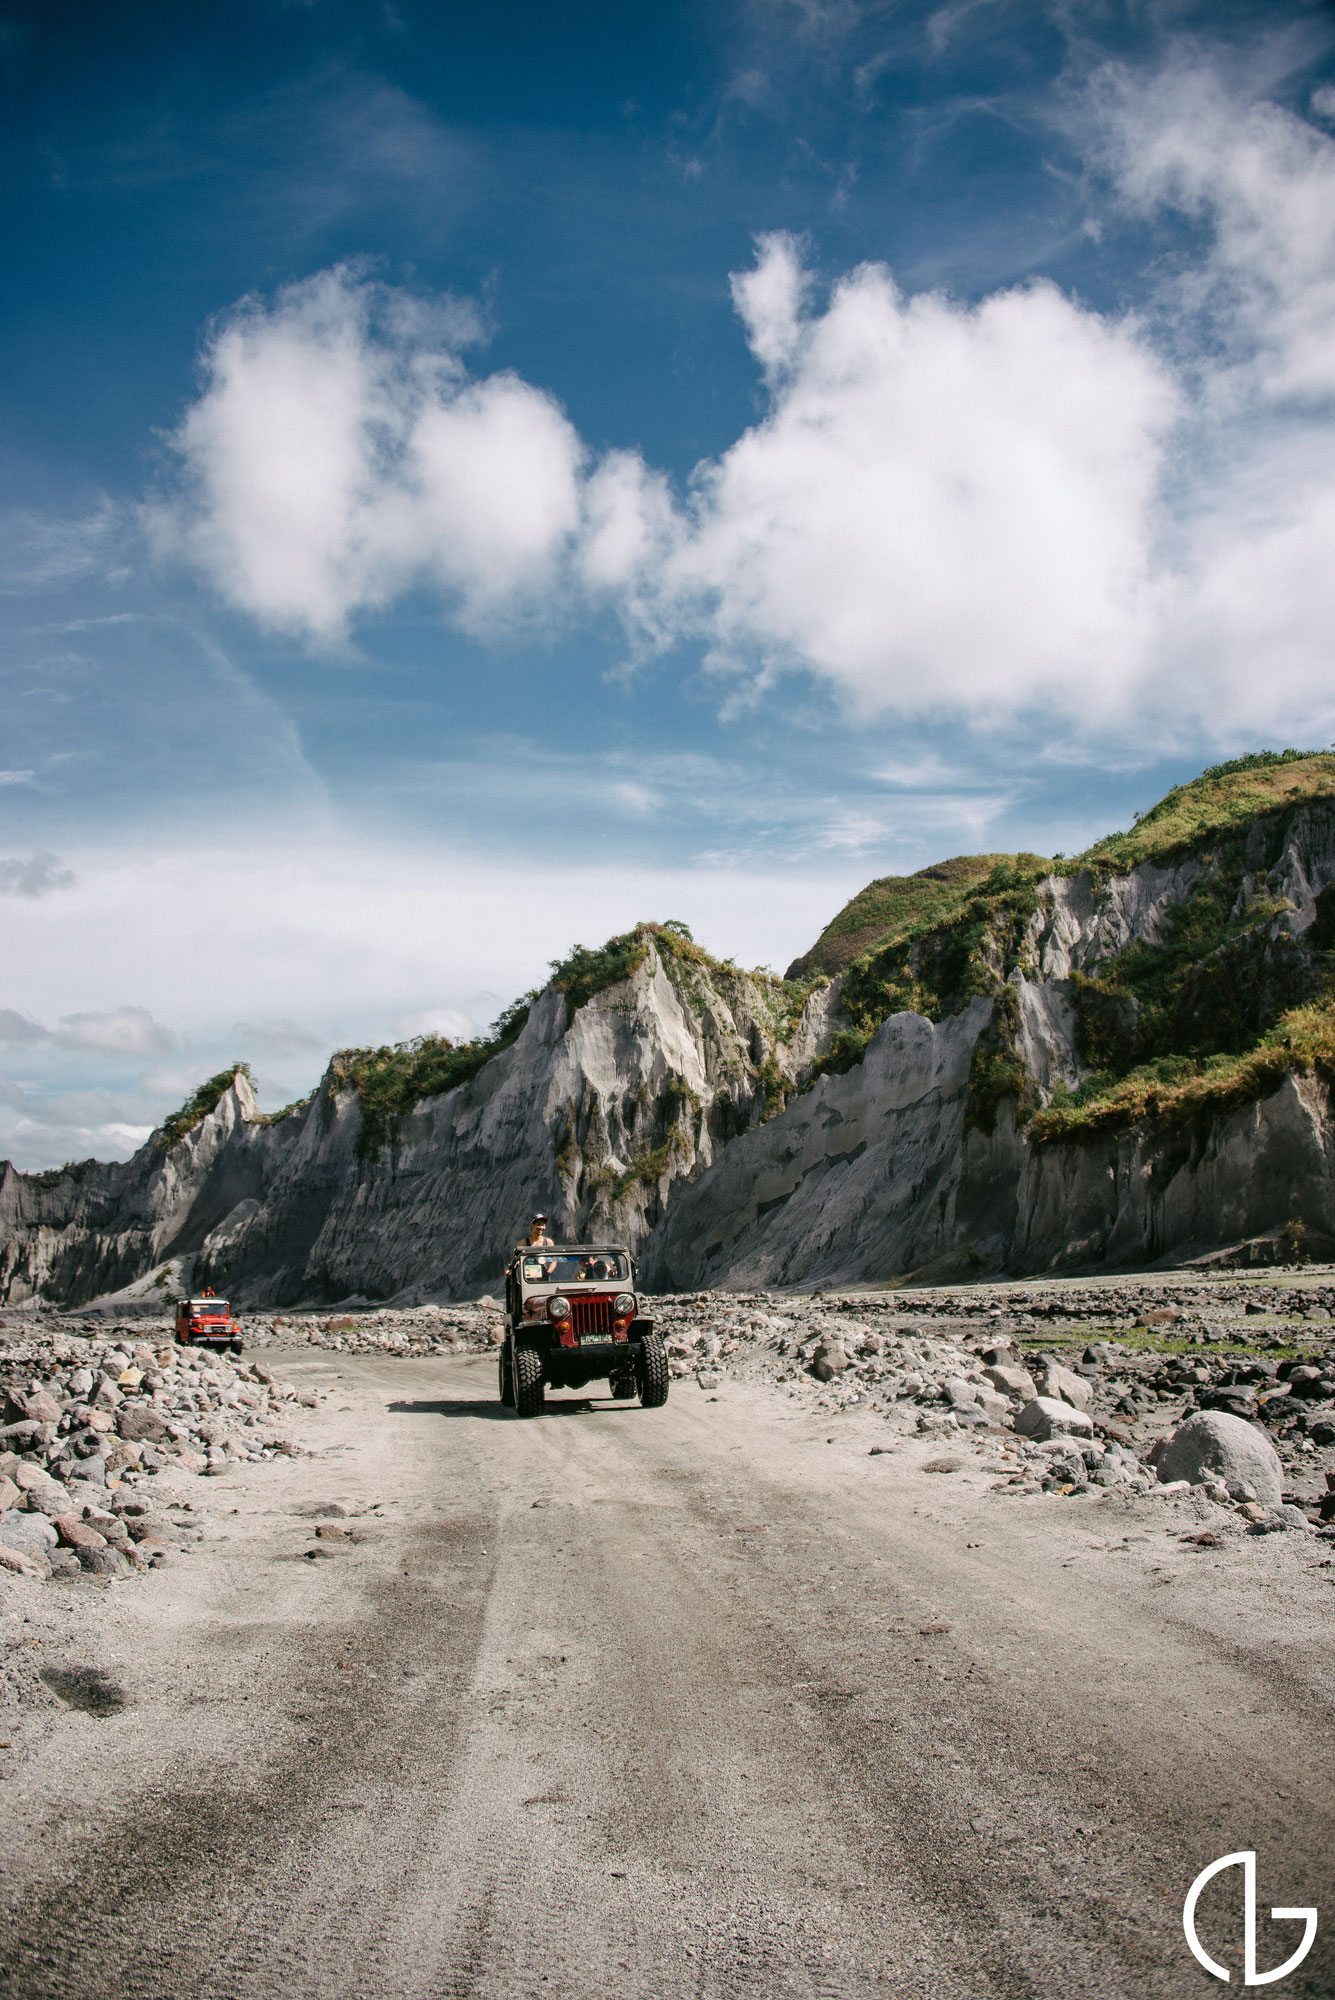
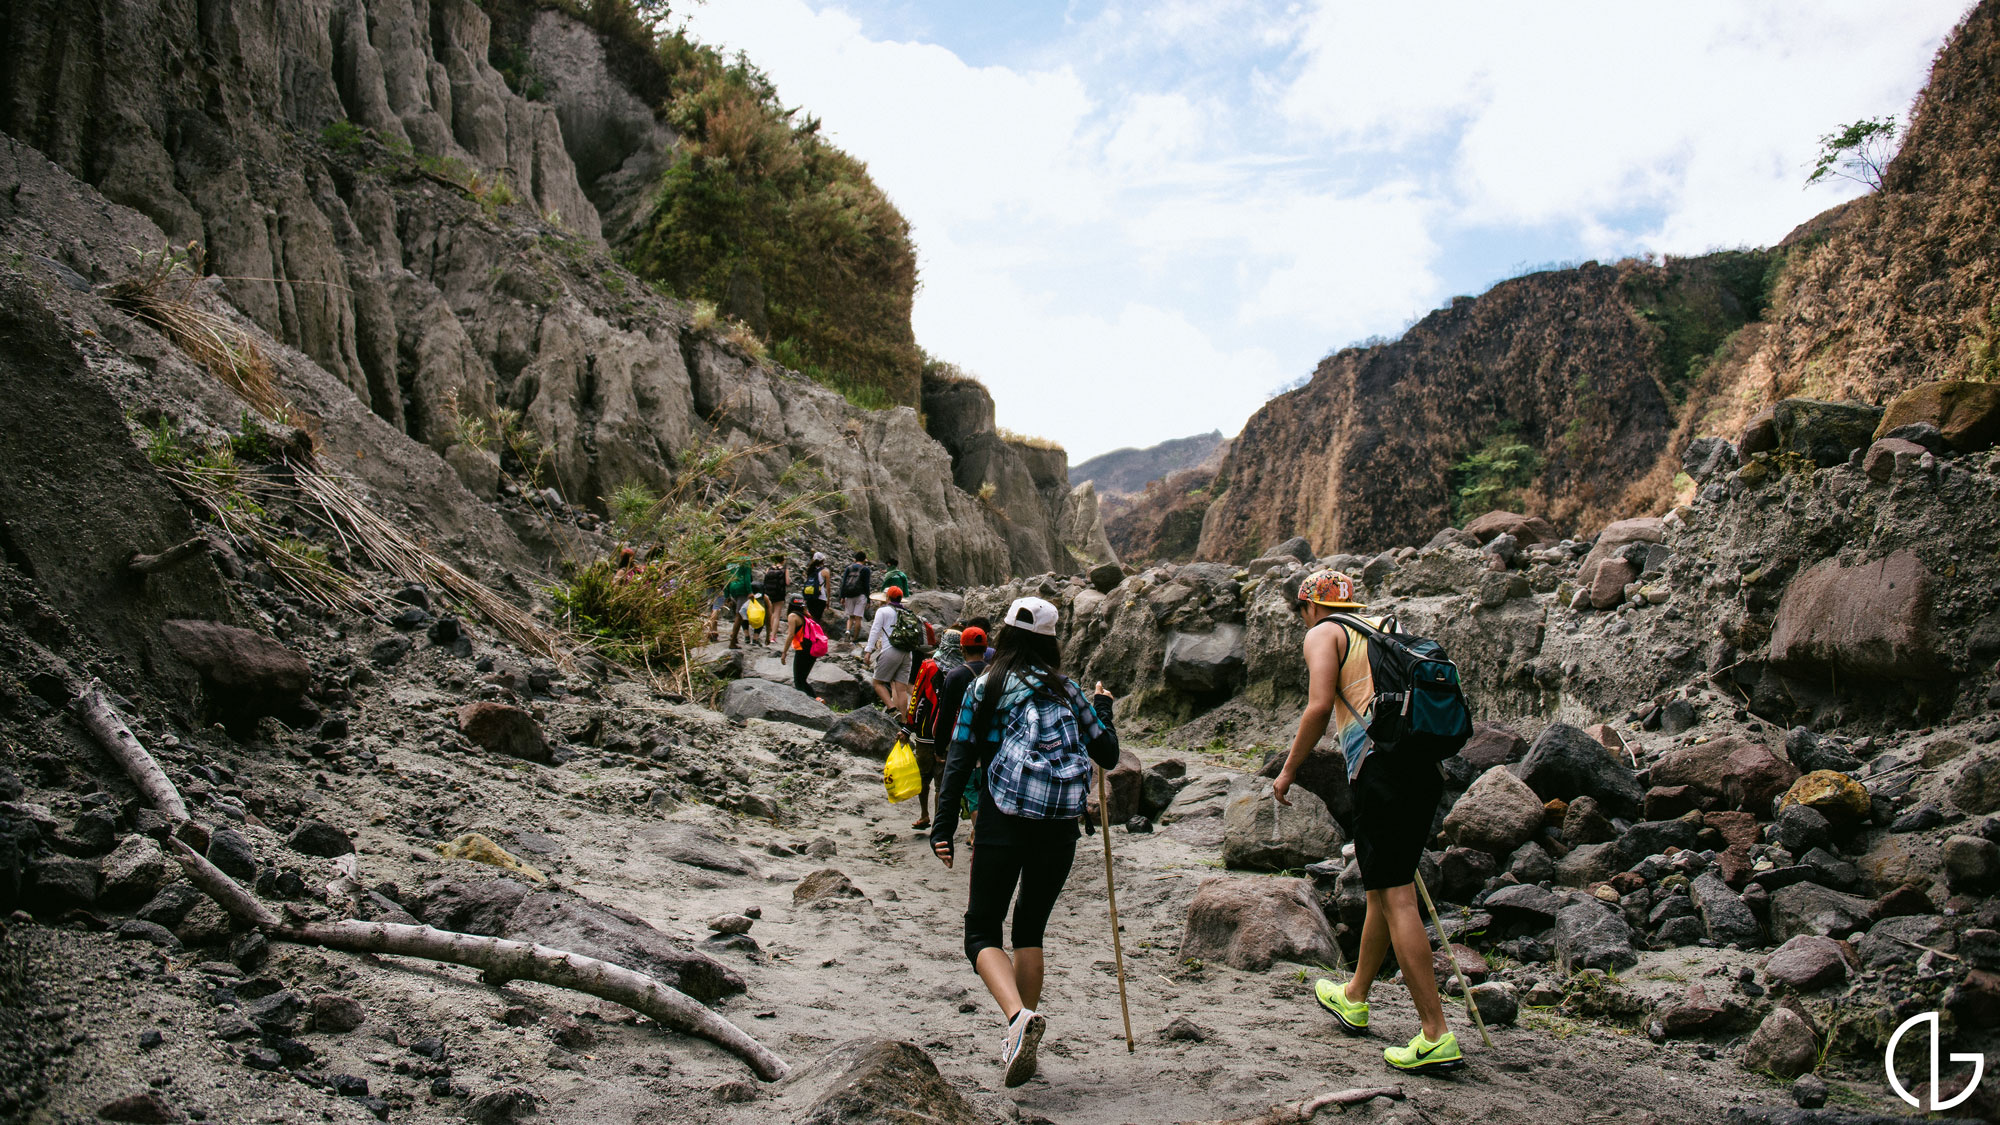
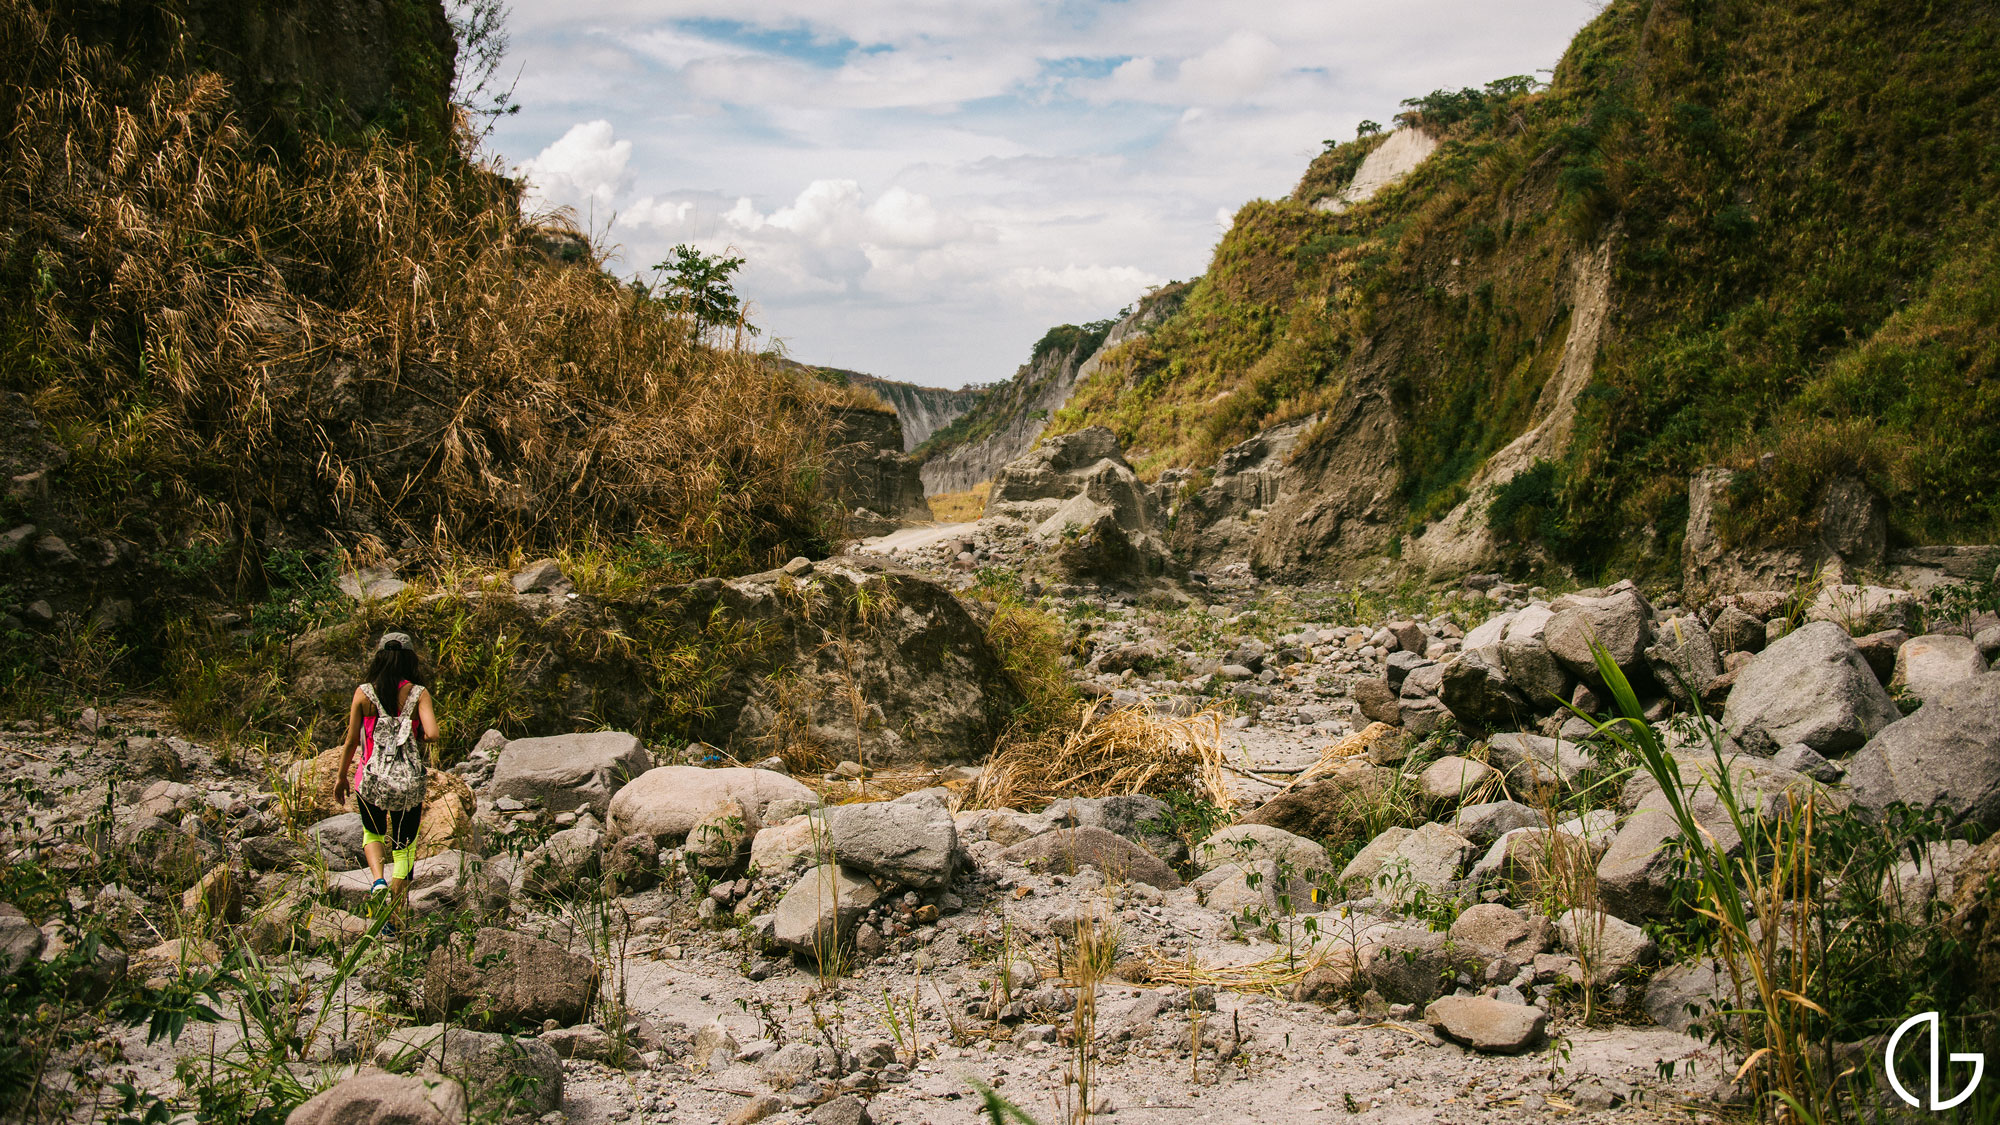
Mt. Pinatubo was about a 3 hour drive from Manila. We left at around 3 in the morning and made it to the area at around 7 AM after picking people up and getting a little lost along the way. When we arrived to the location, they took us all on 4x4's for about an hour a half to where you start your trek.

The 4x4 was extremely bumpy so it was very difficult to take photographs while on it. It was very hard to look through the eye piece and the camera shake was very high. To accommodate for the shake, I opted for a high shutter speed and used Auto-ISO. I rarely use Auto-ISO because I don't usually use anything beyond 200 ISO but because of the constant lighting changes and the inability to constantly change the shutter speed, I found it necessary.

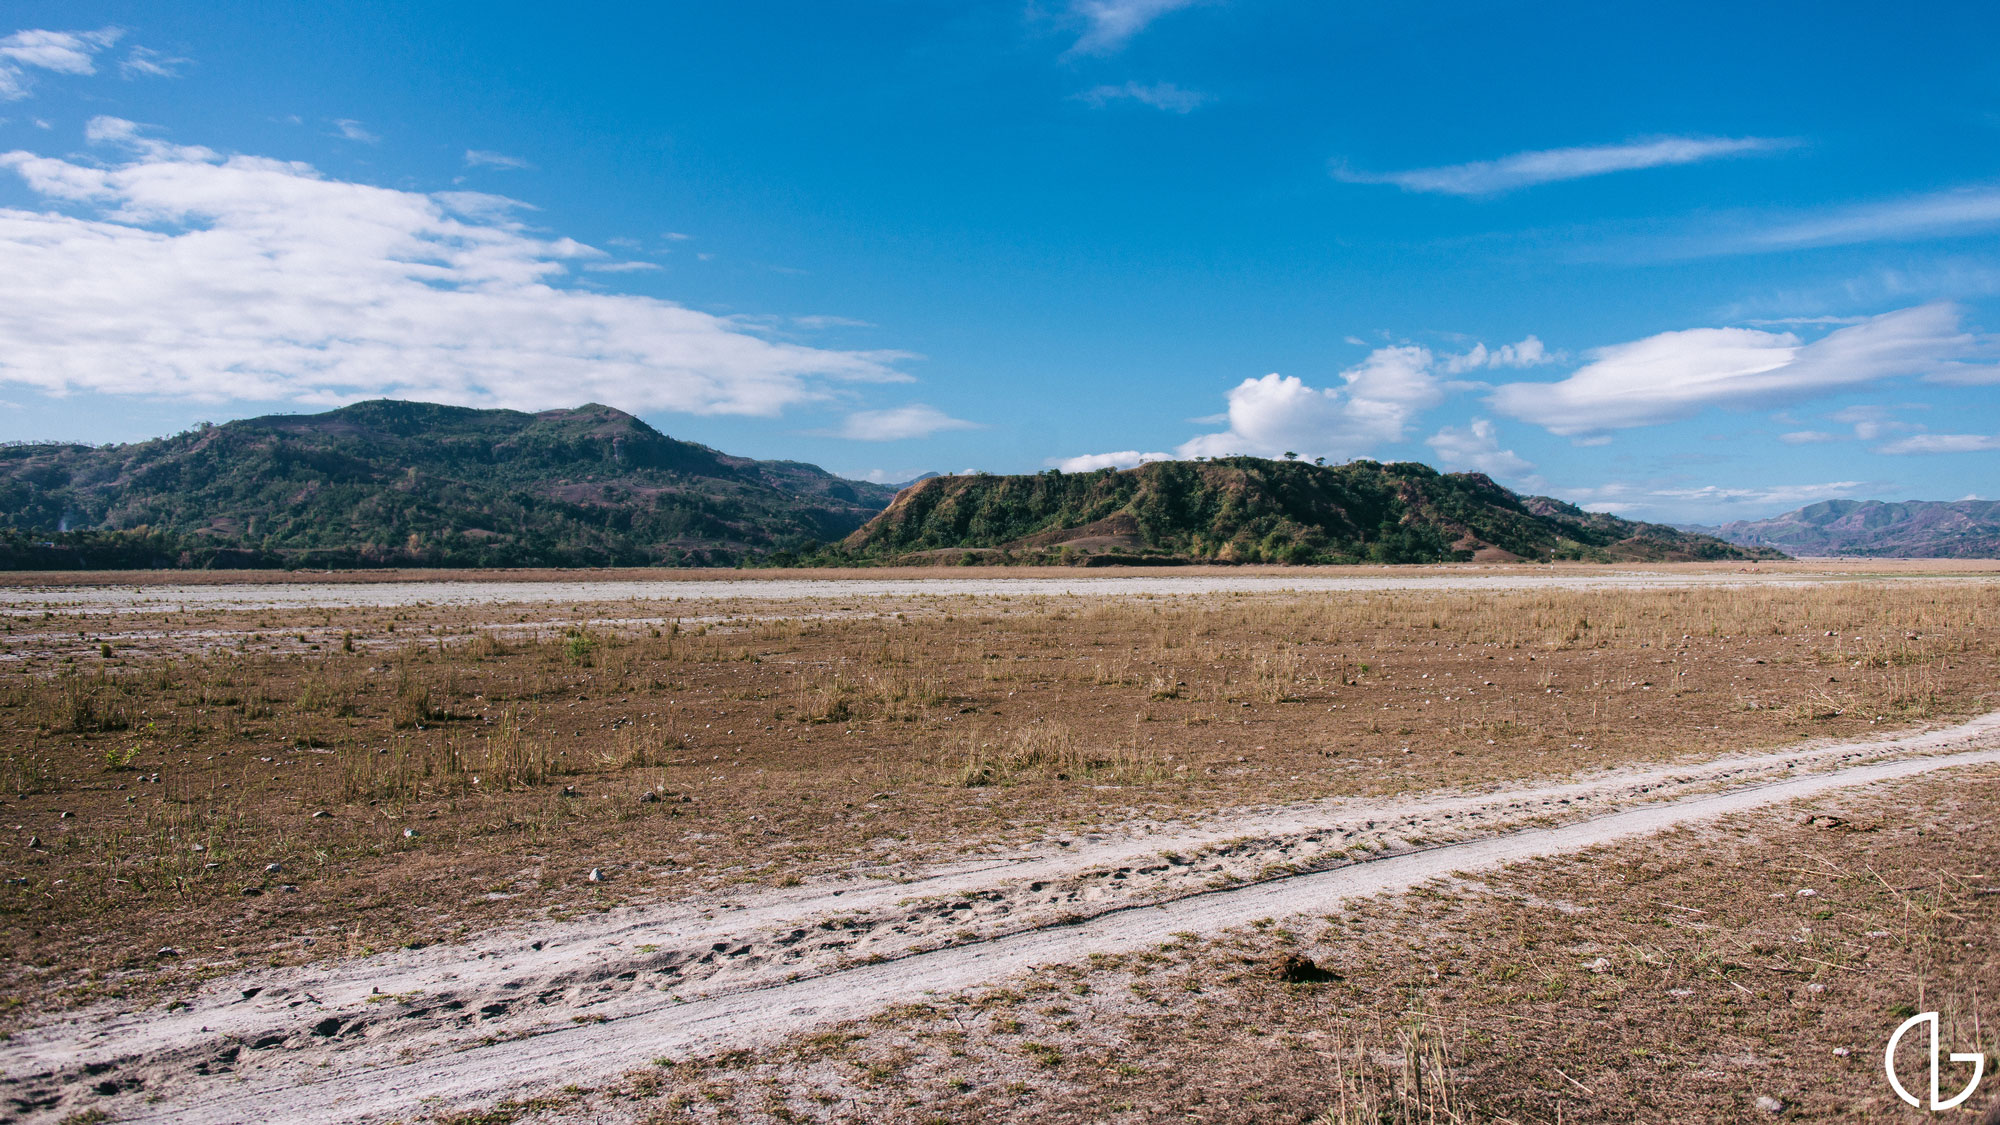
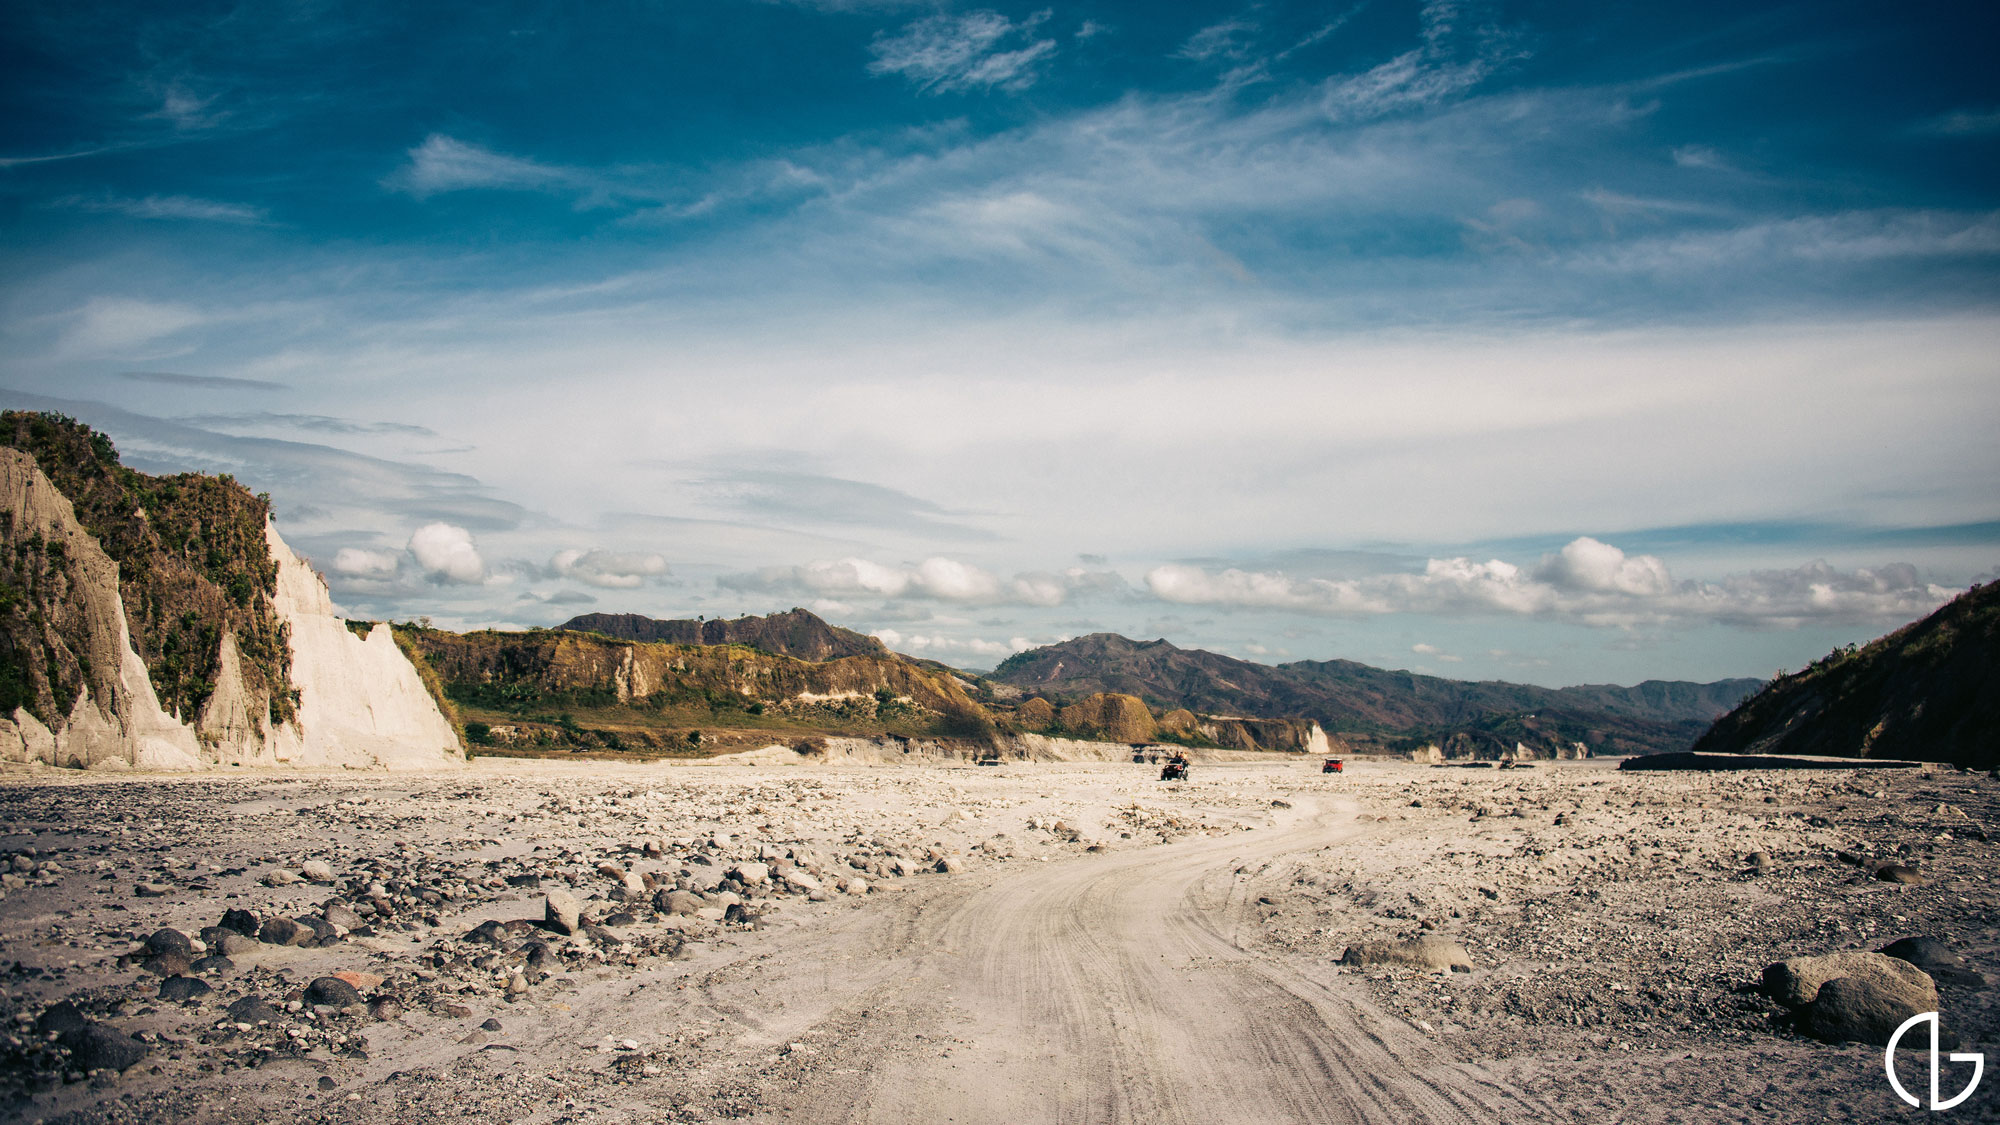
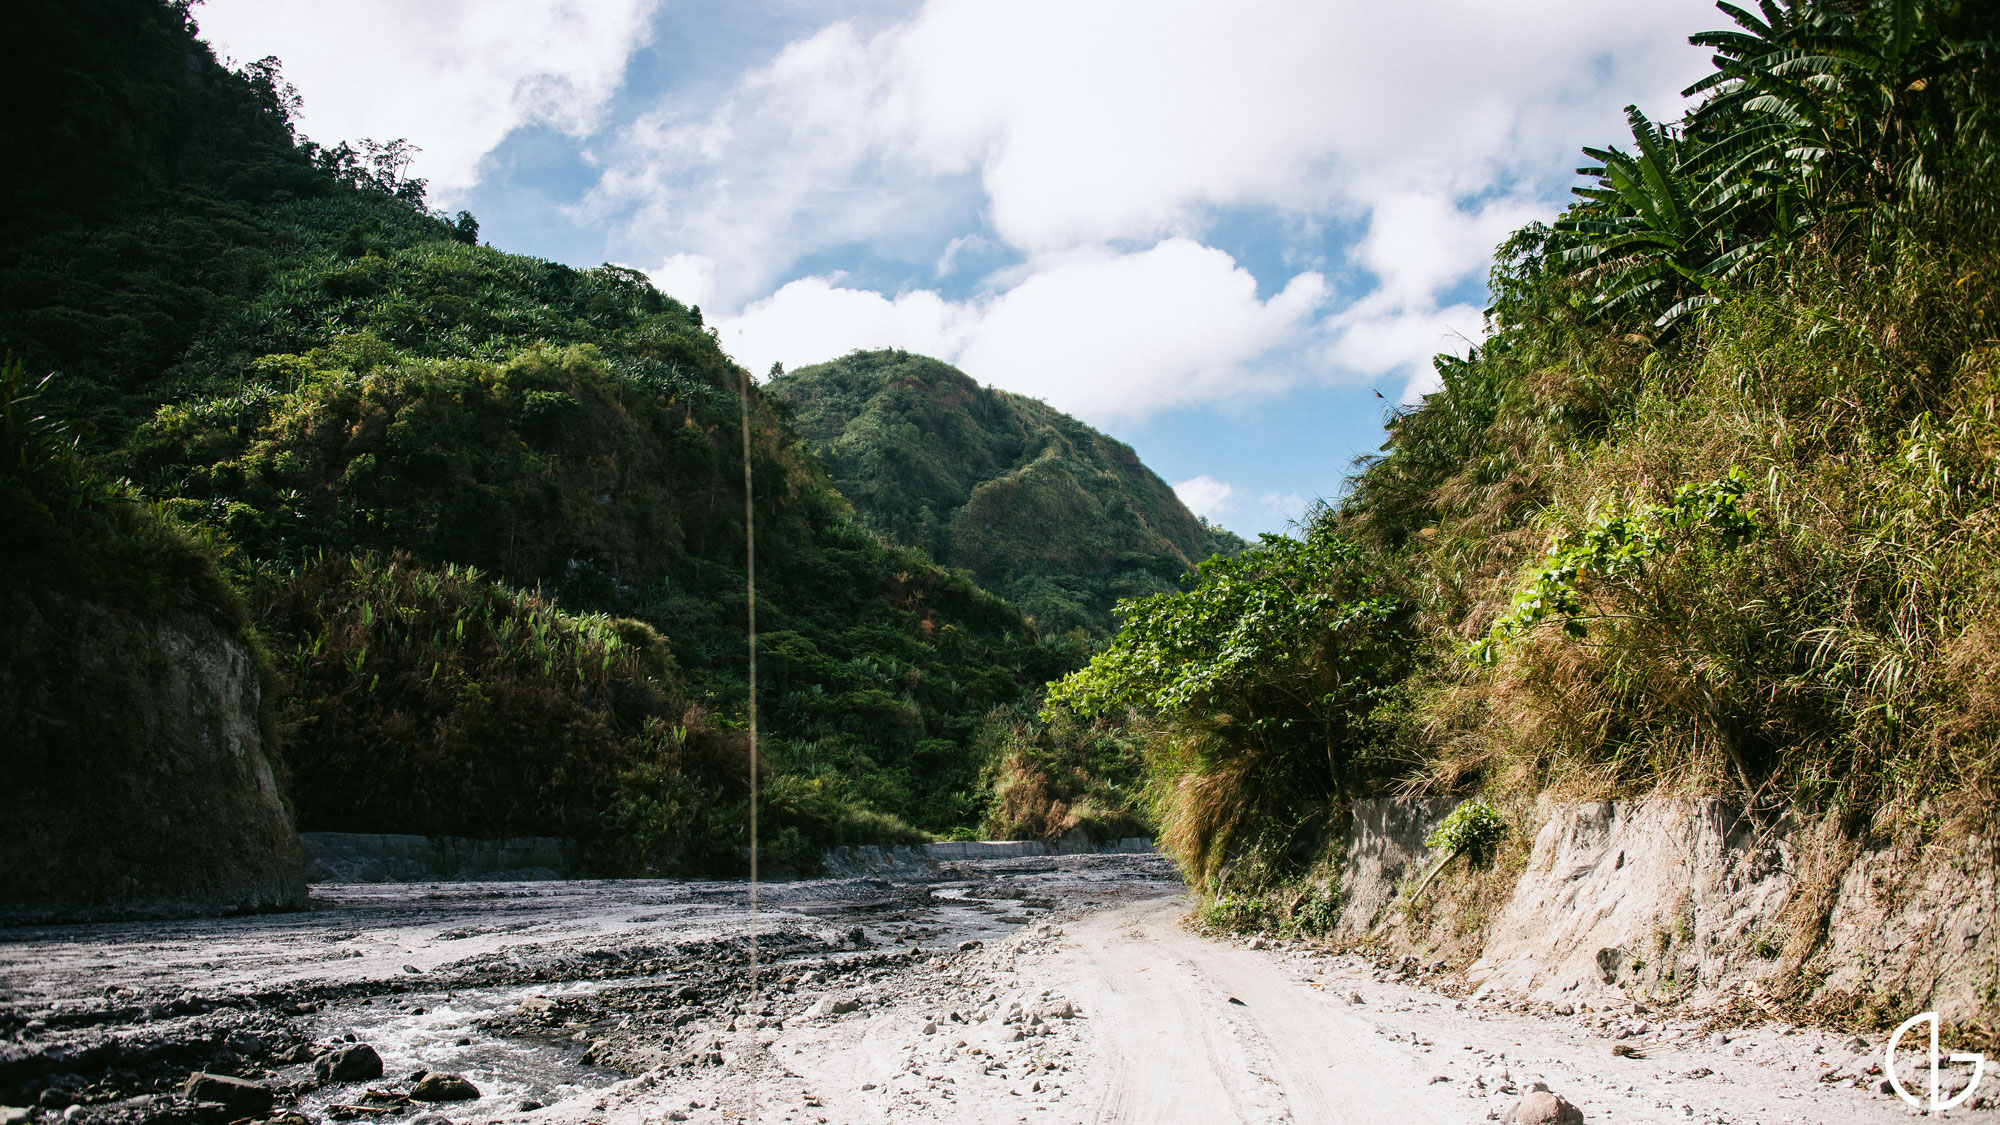
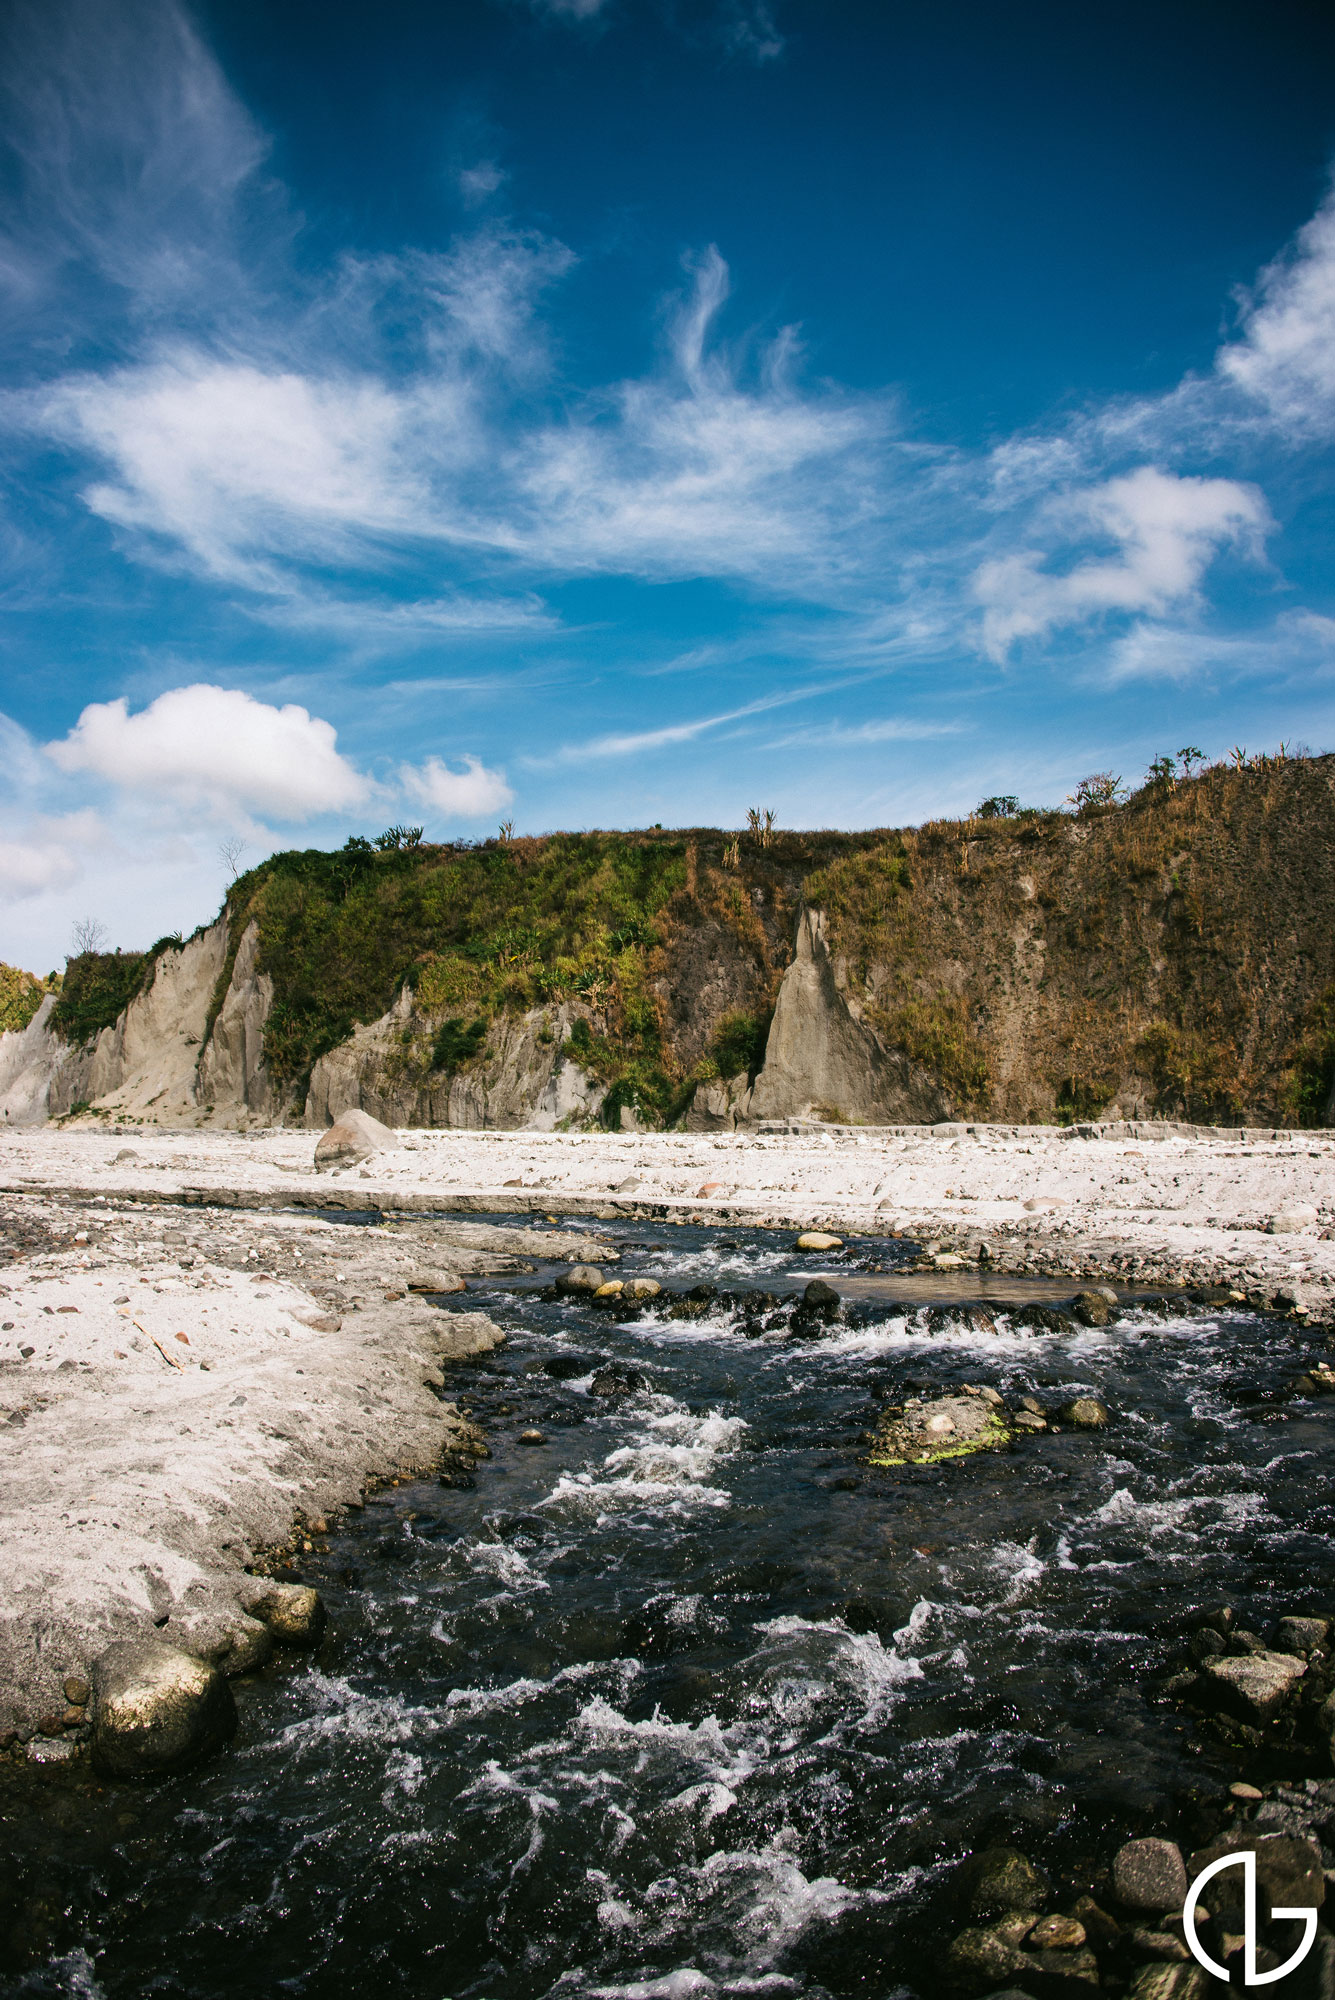
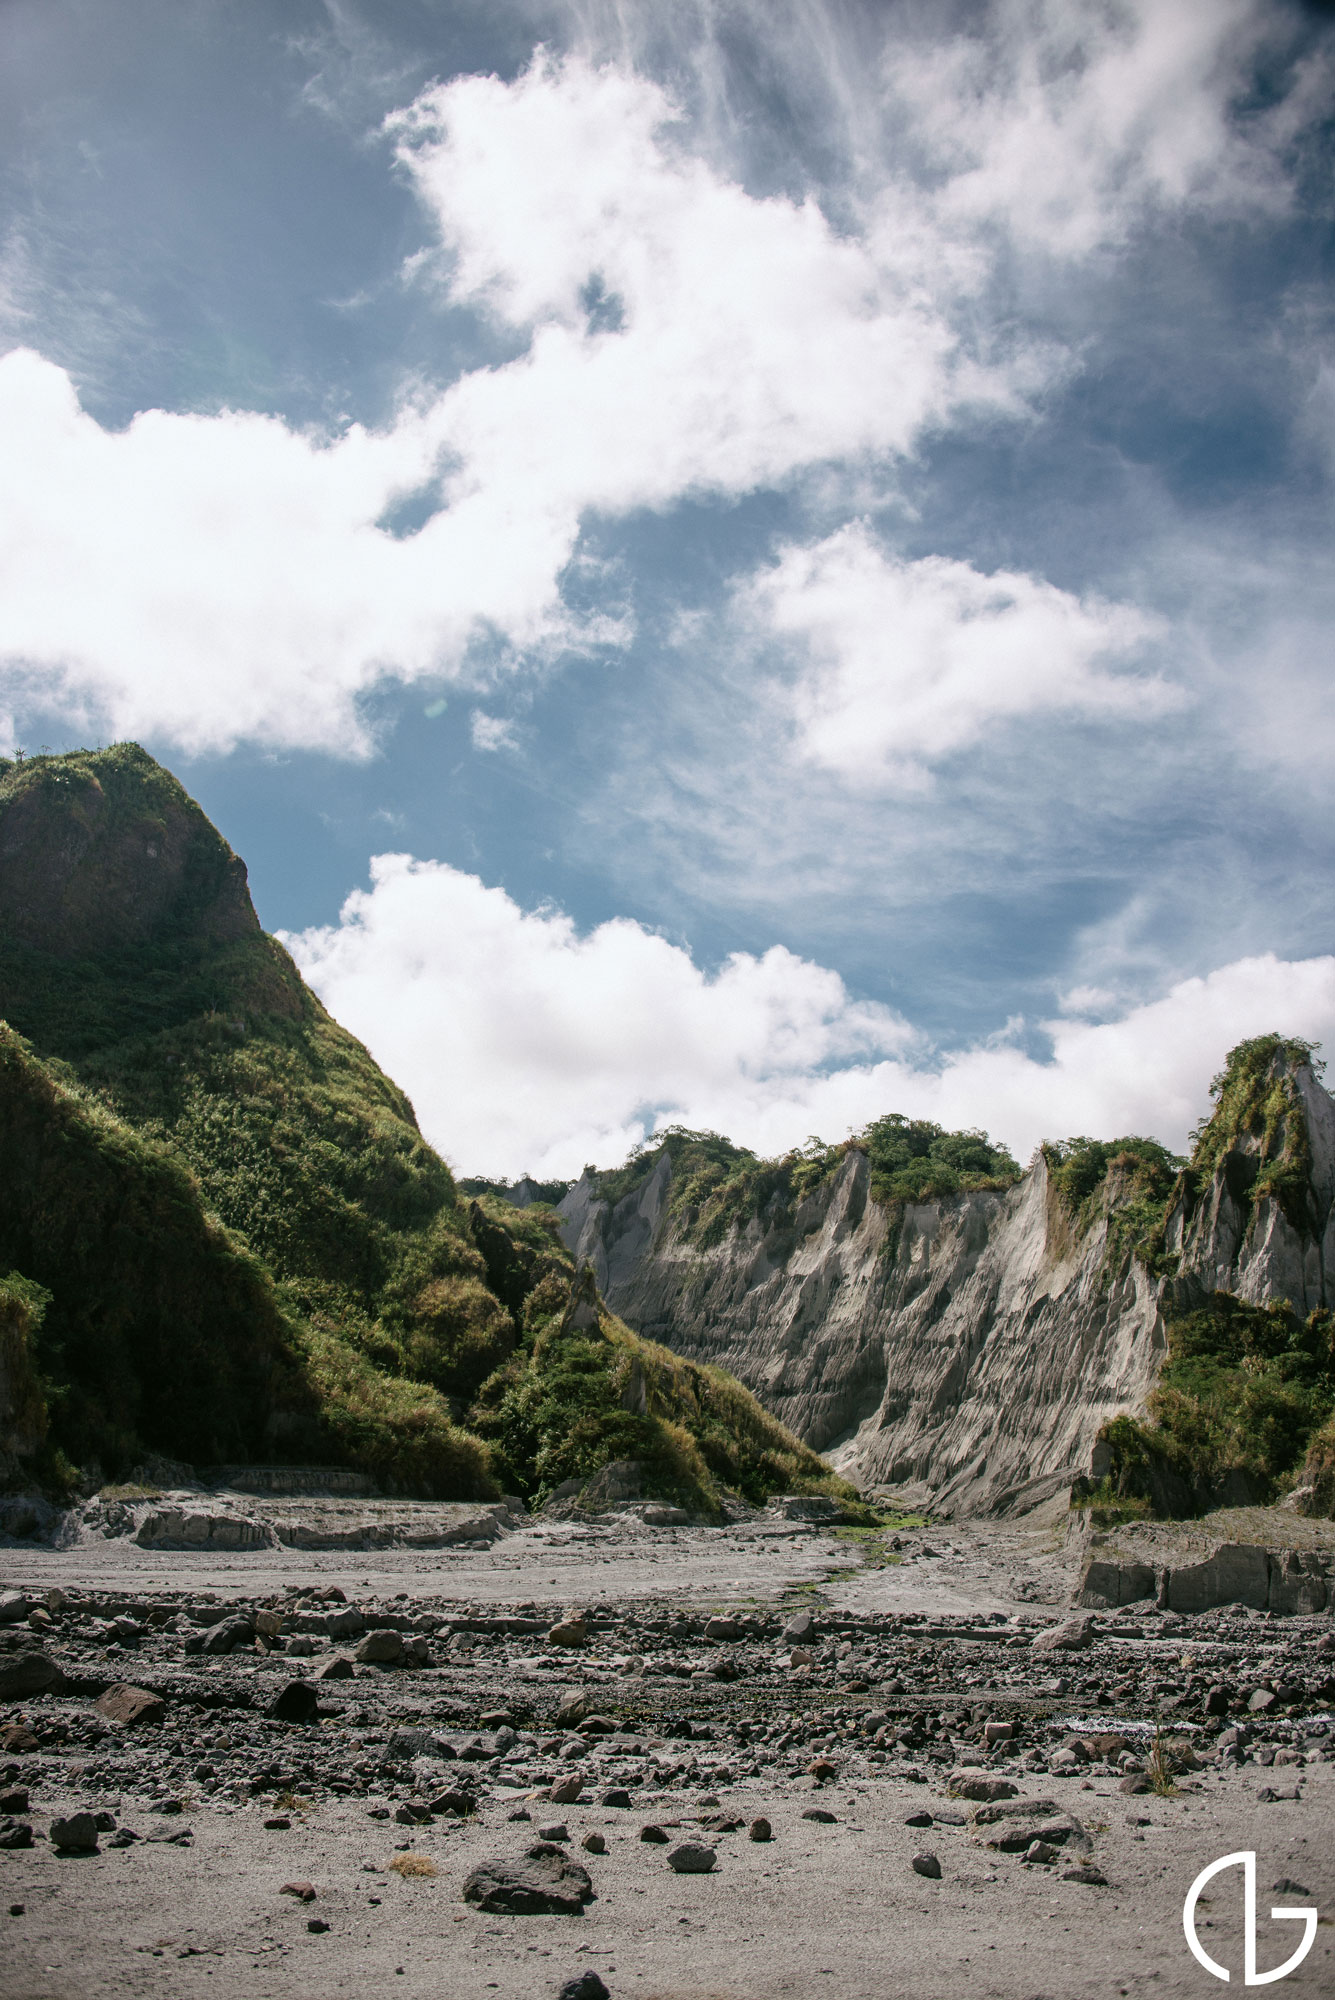
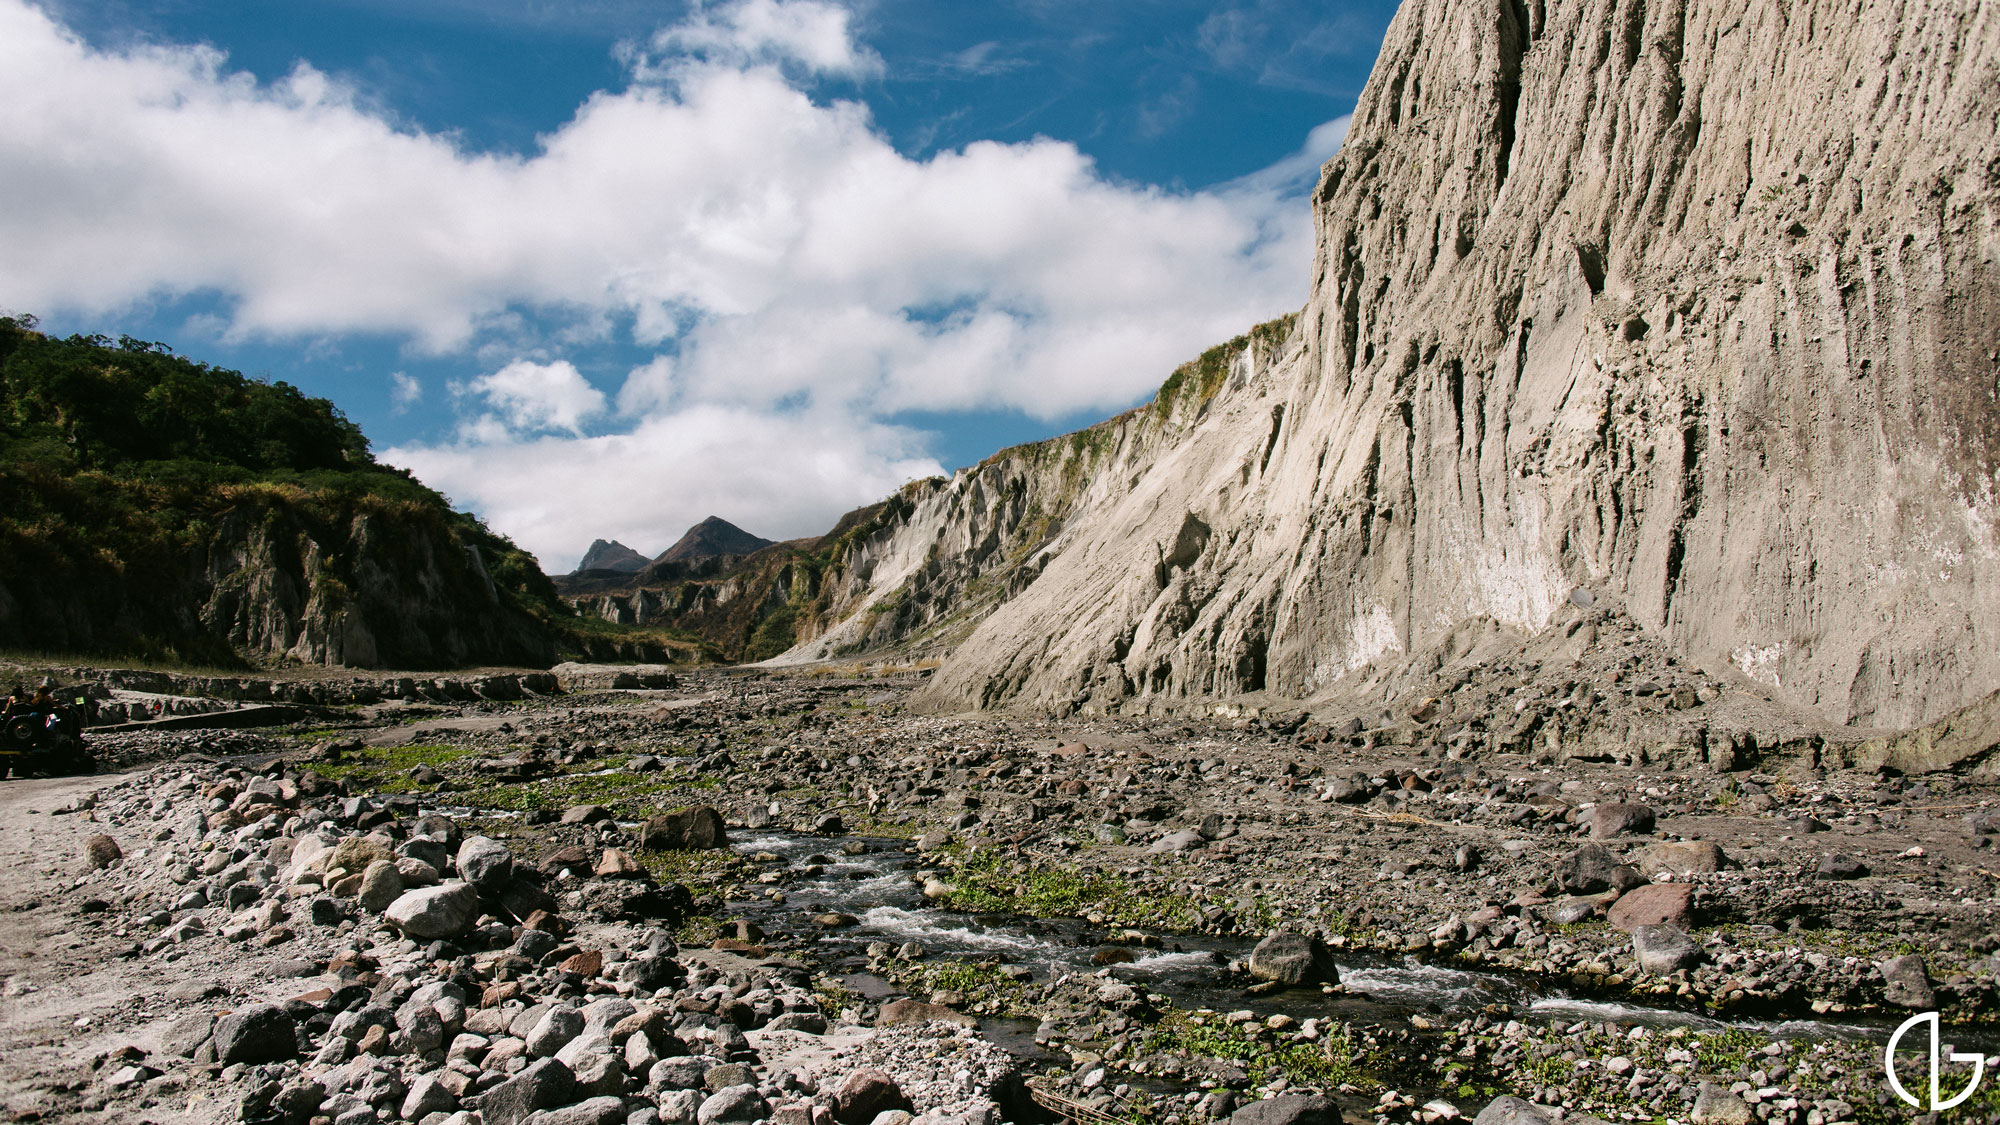
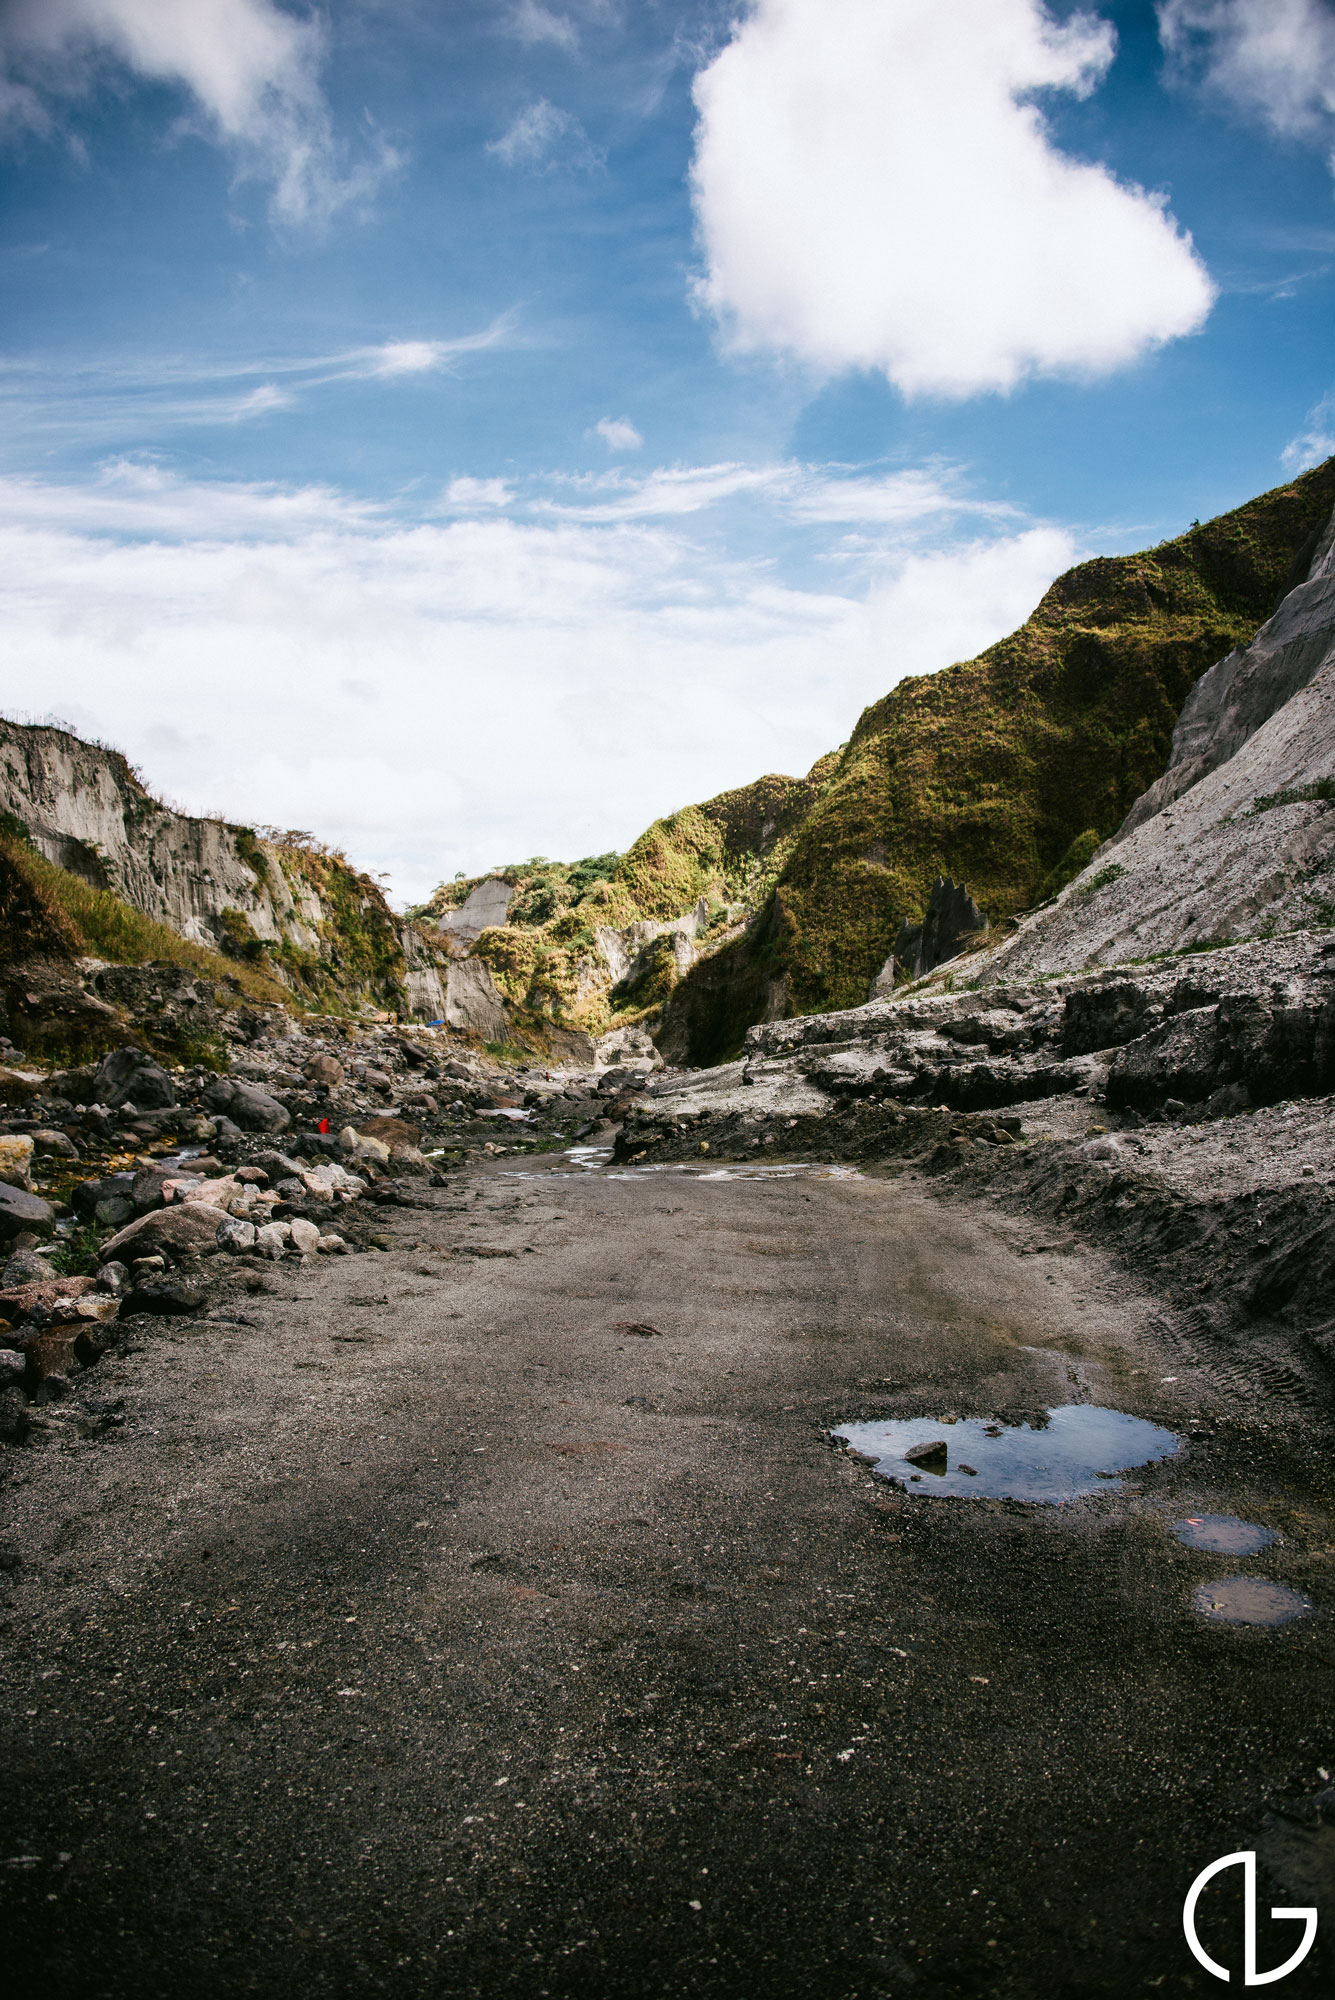
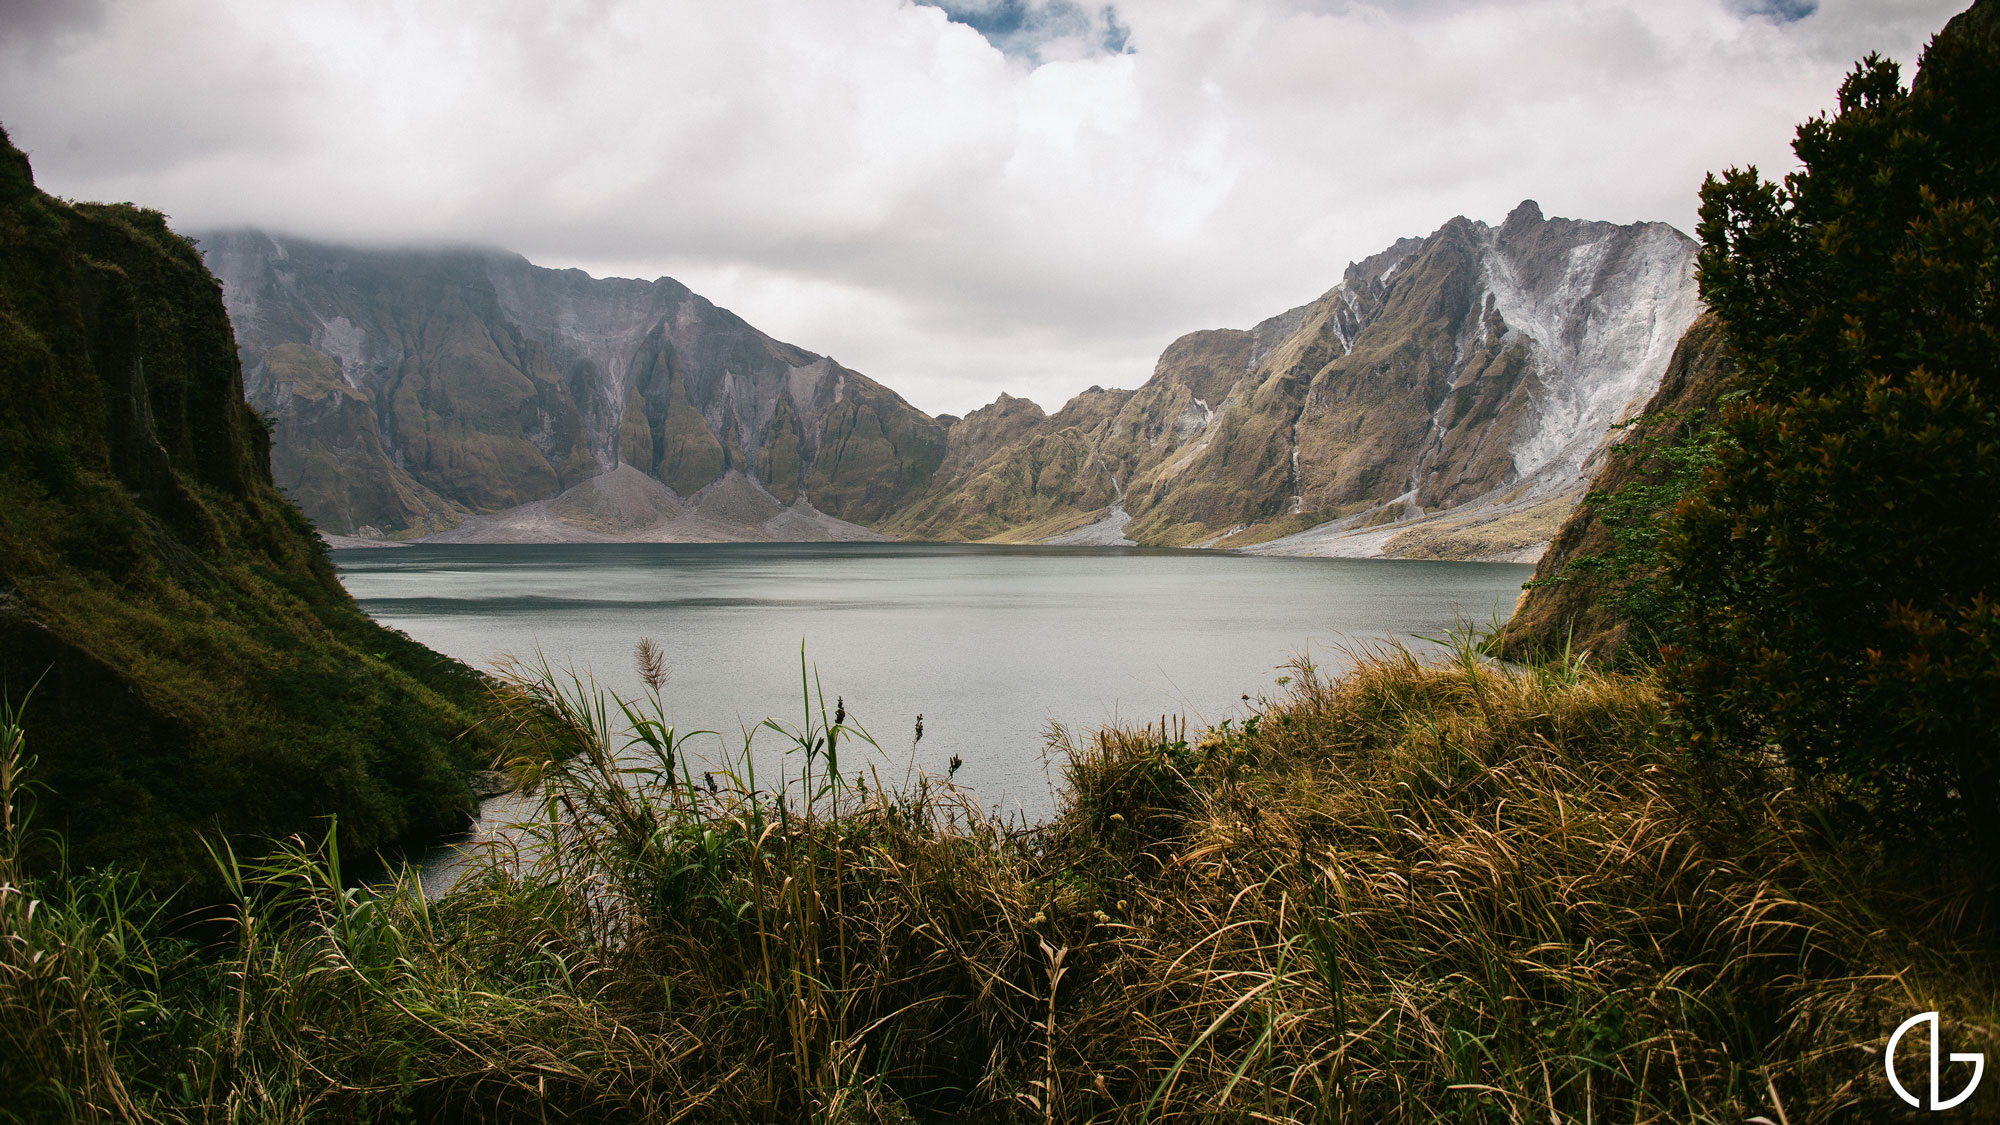
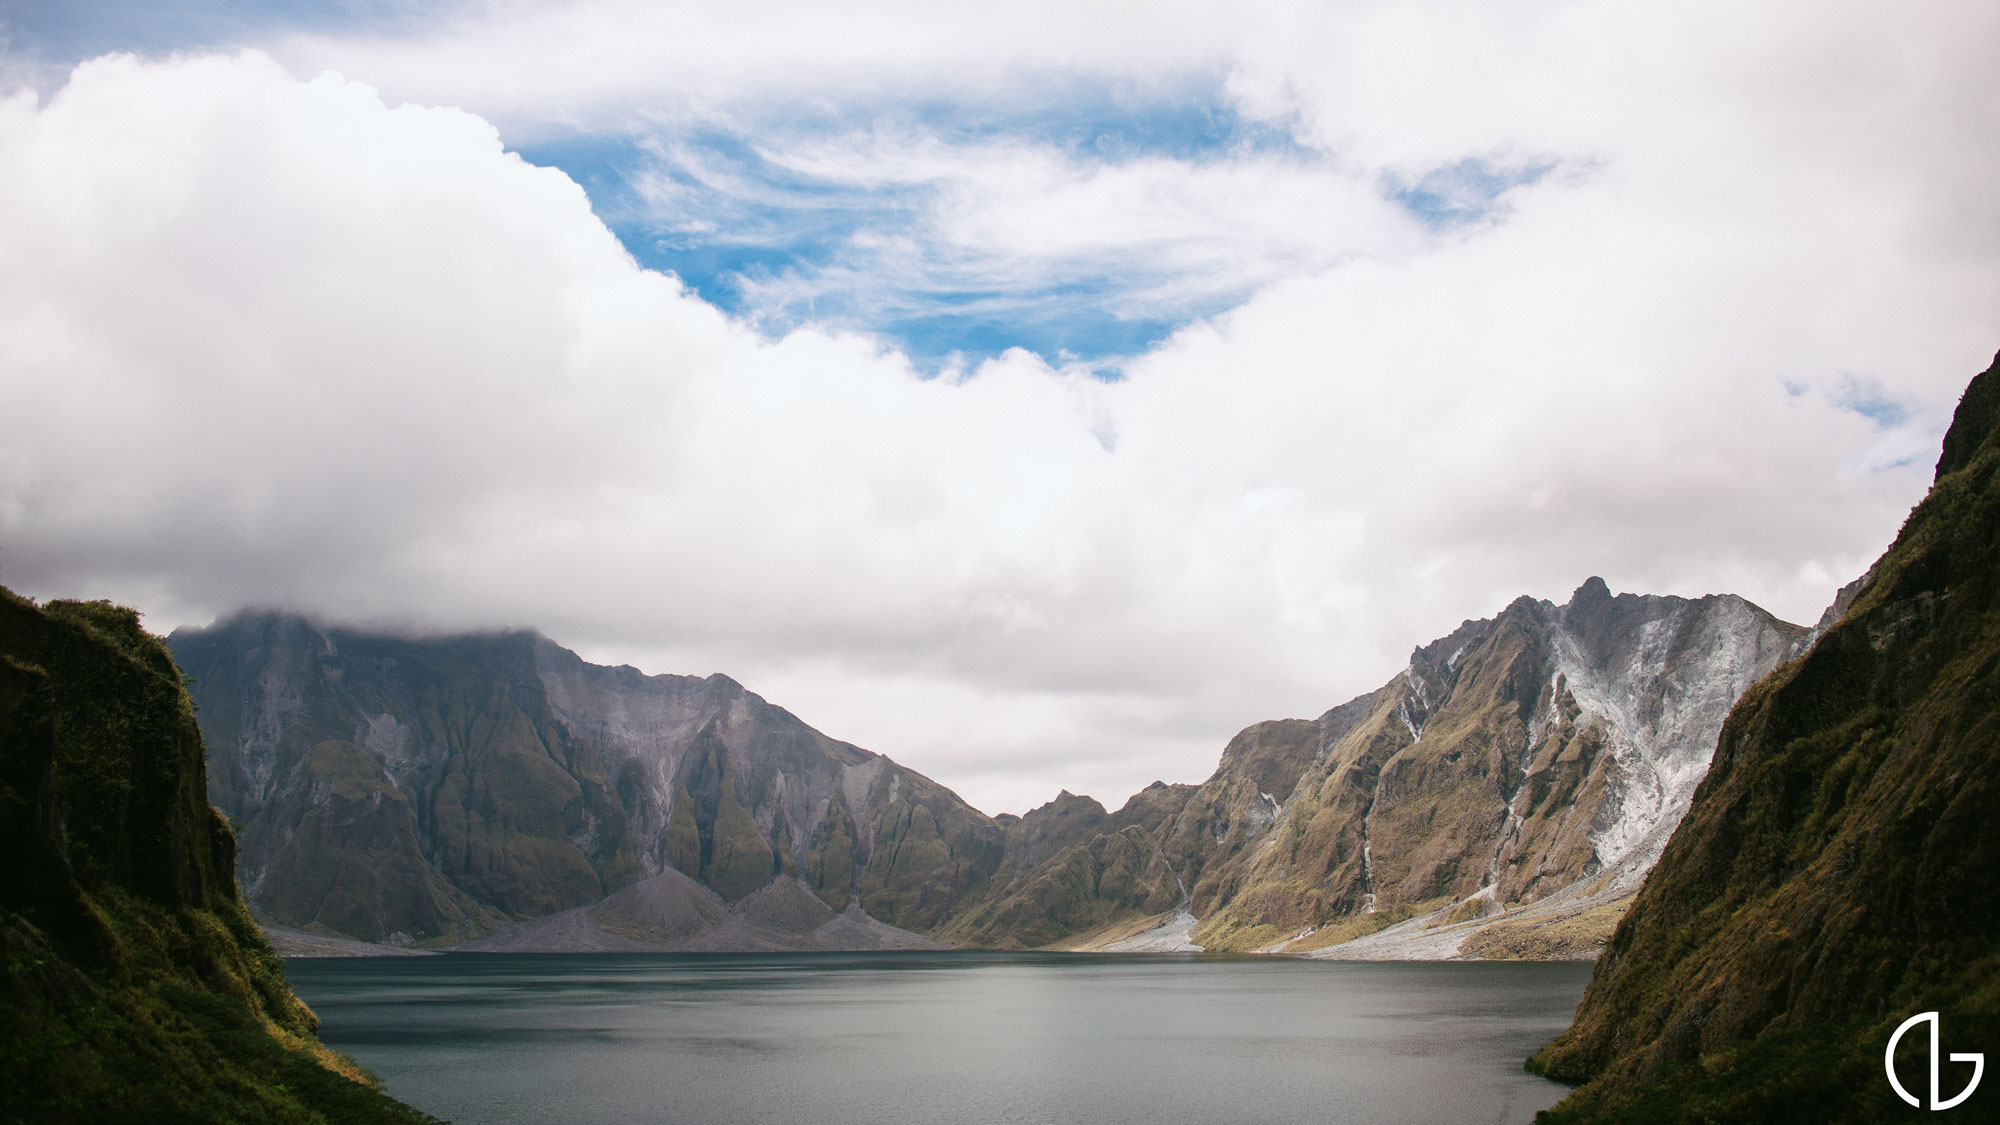
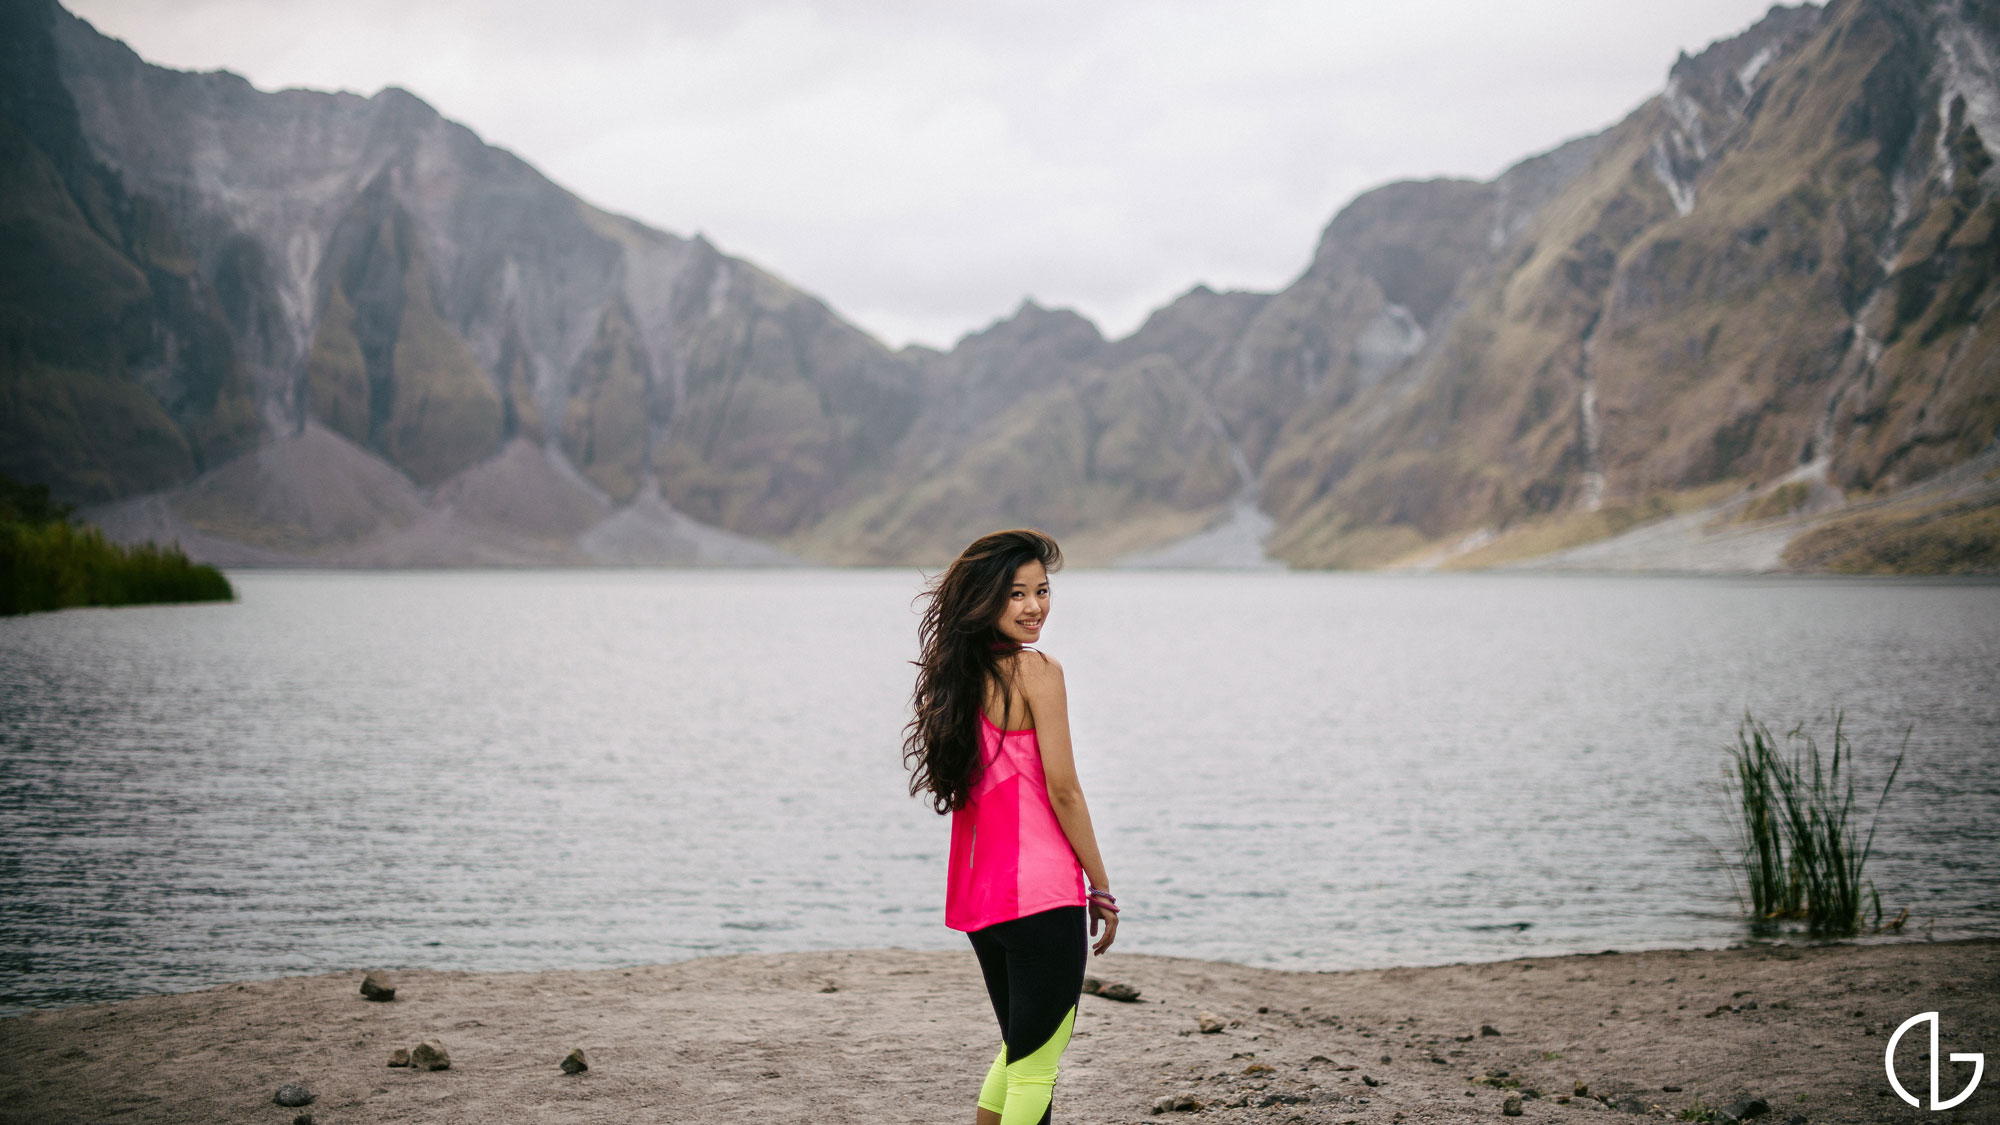
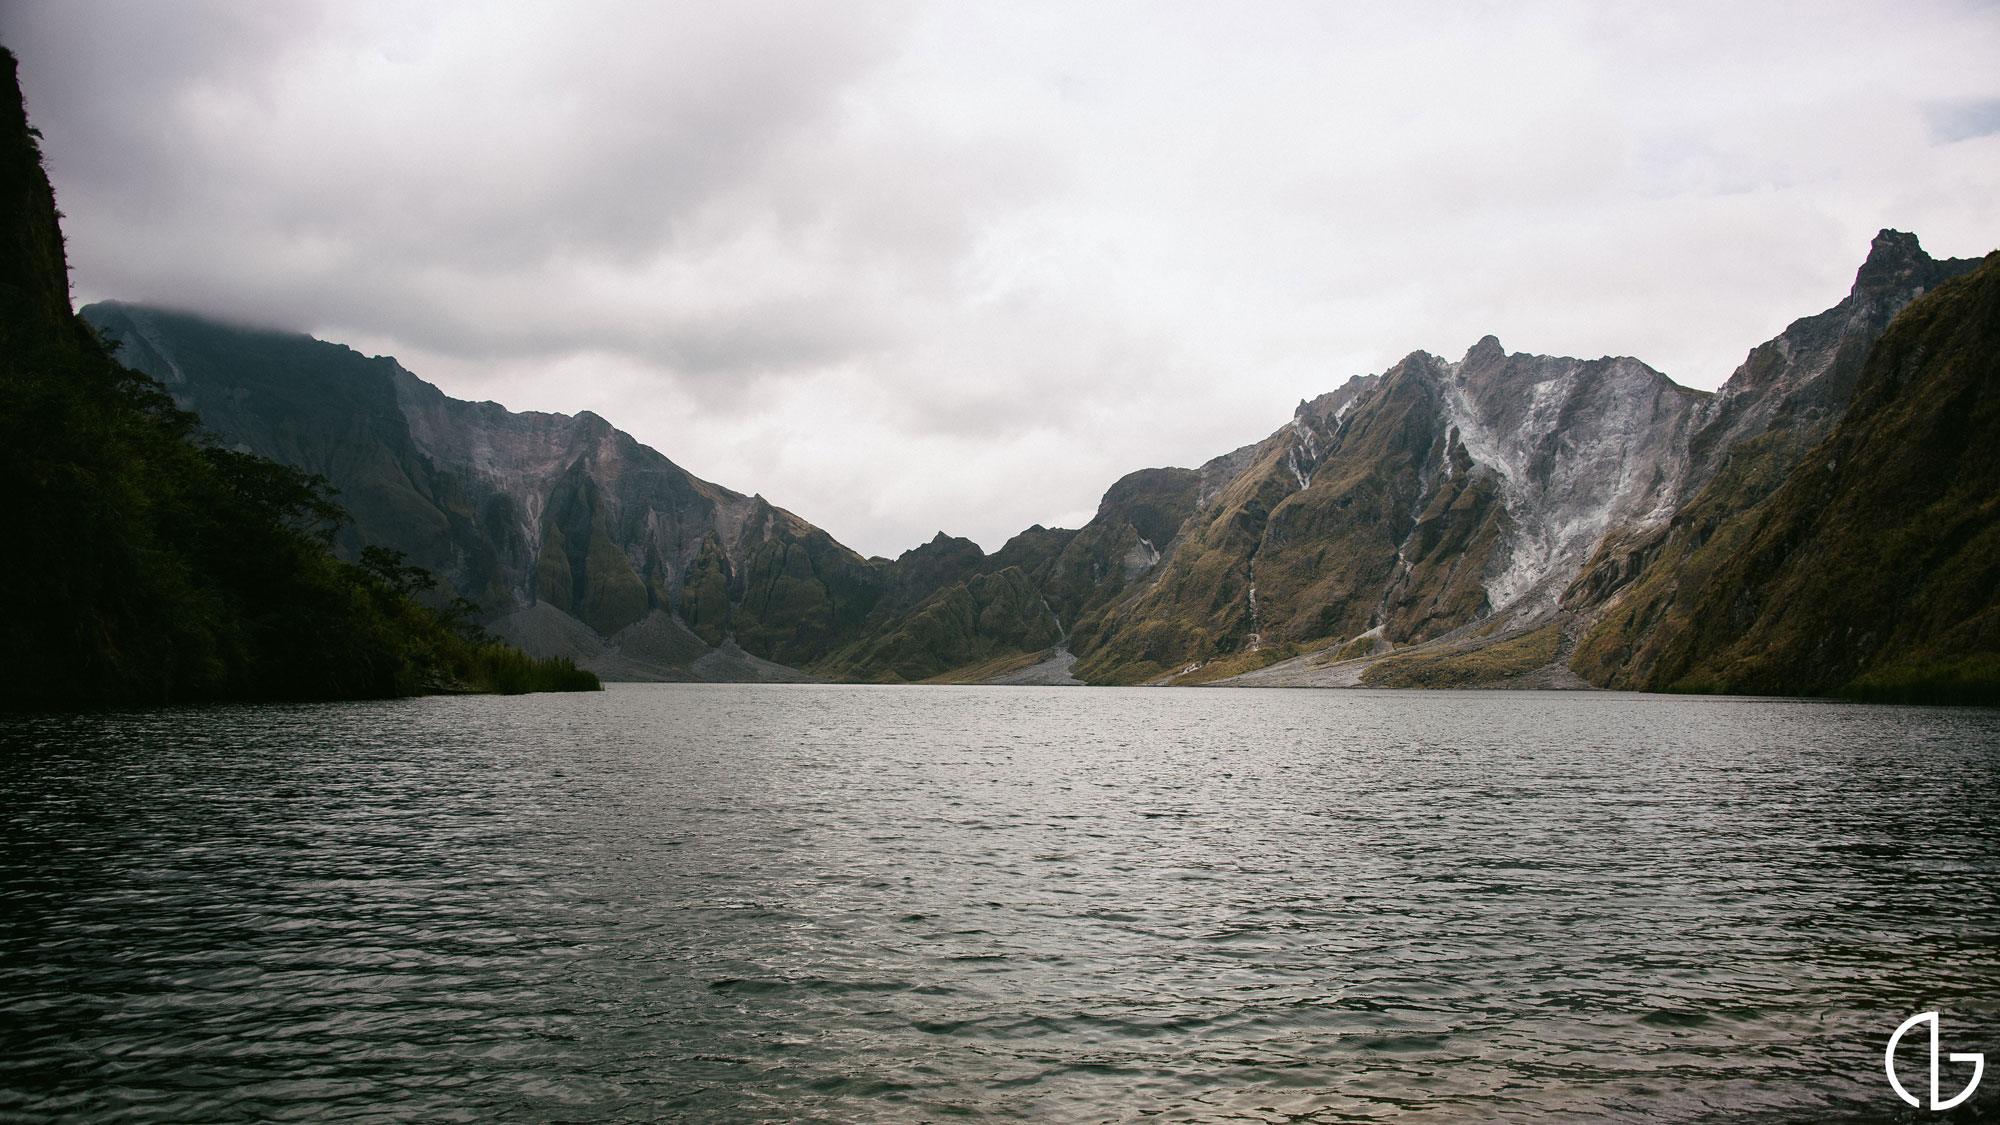
The view was overwhelmingly beautiful, especially when we finally arrived to the crater.

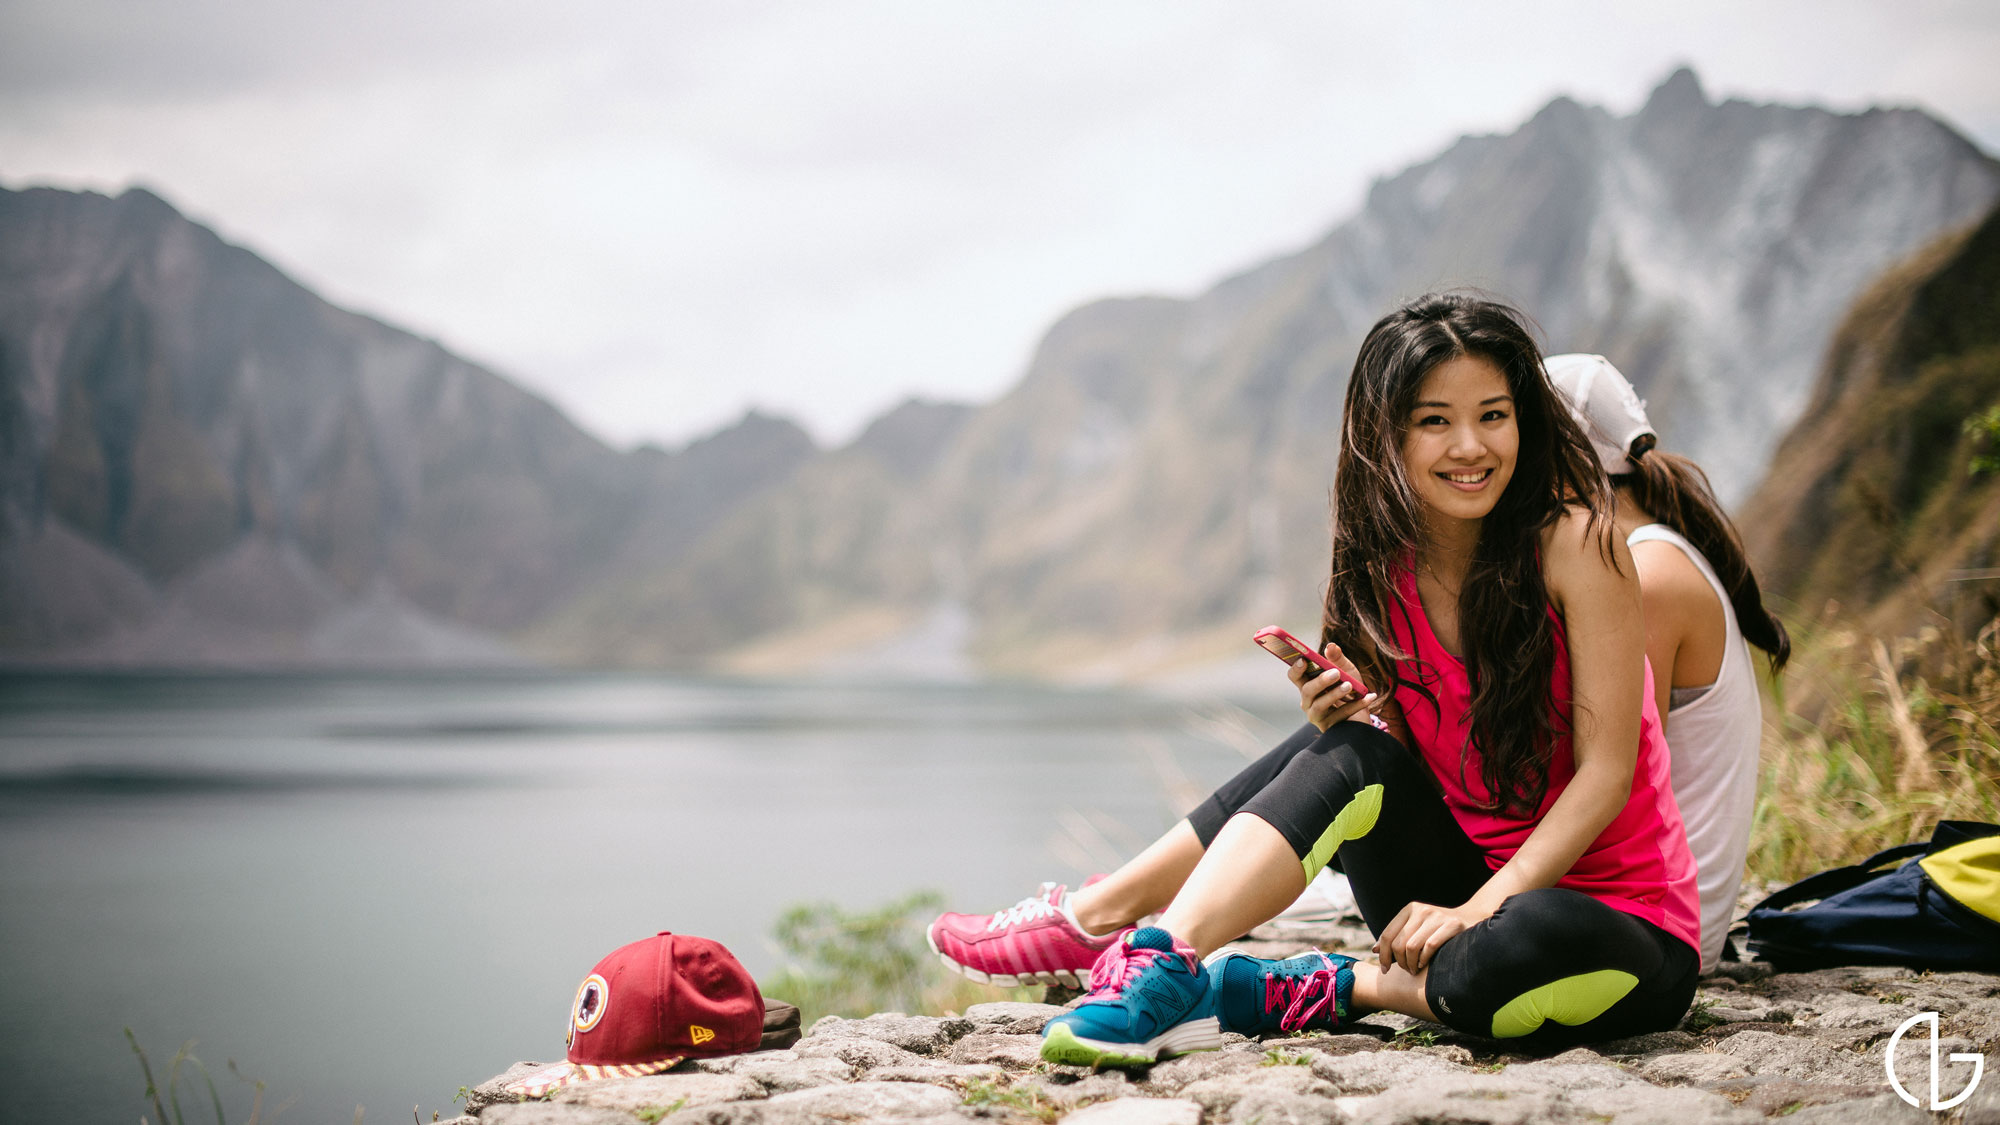
We spent half of our time commuting from Manila and back but it was worth it. I encourage everyone to make this trip at least once in their lives. It gives you a deep appreciation of nature and time.
Lastly, make sure to completely clean your camera after a trip like this because of all the dust that might have gotten in.
The complete set of photographs from the trip: