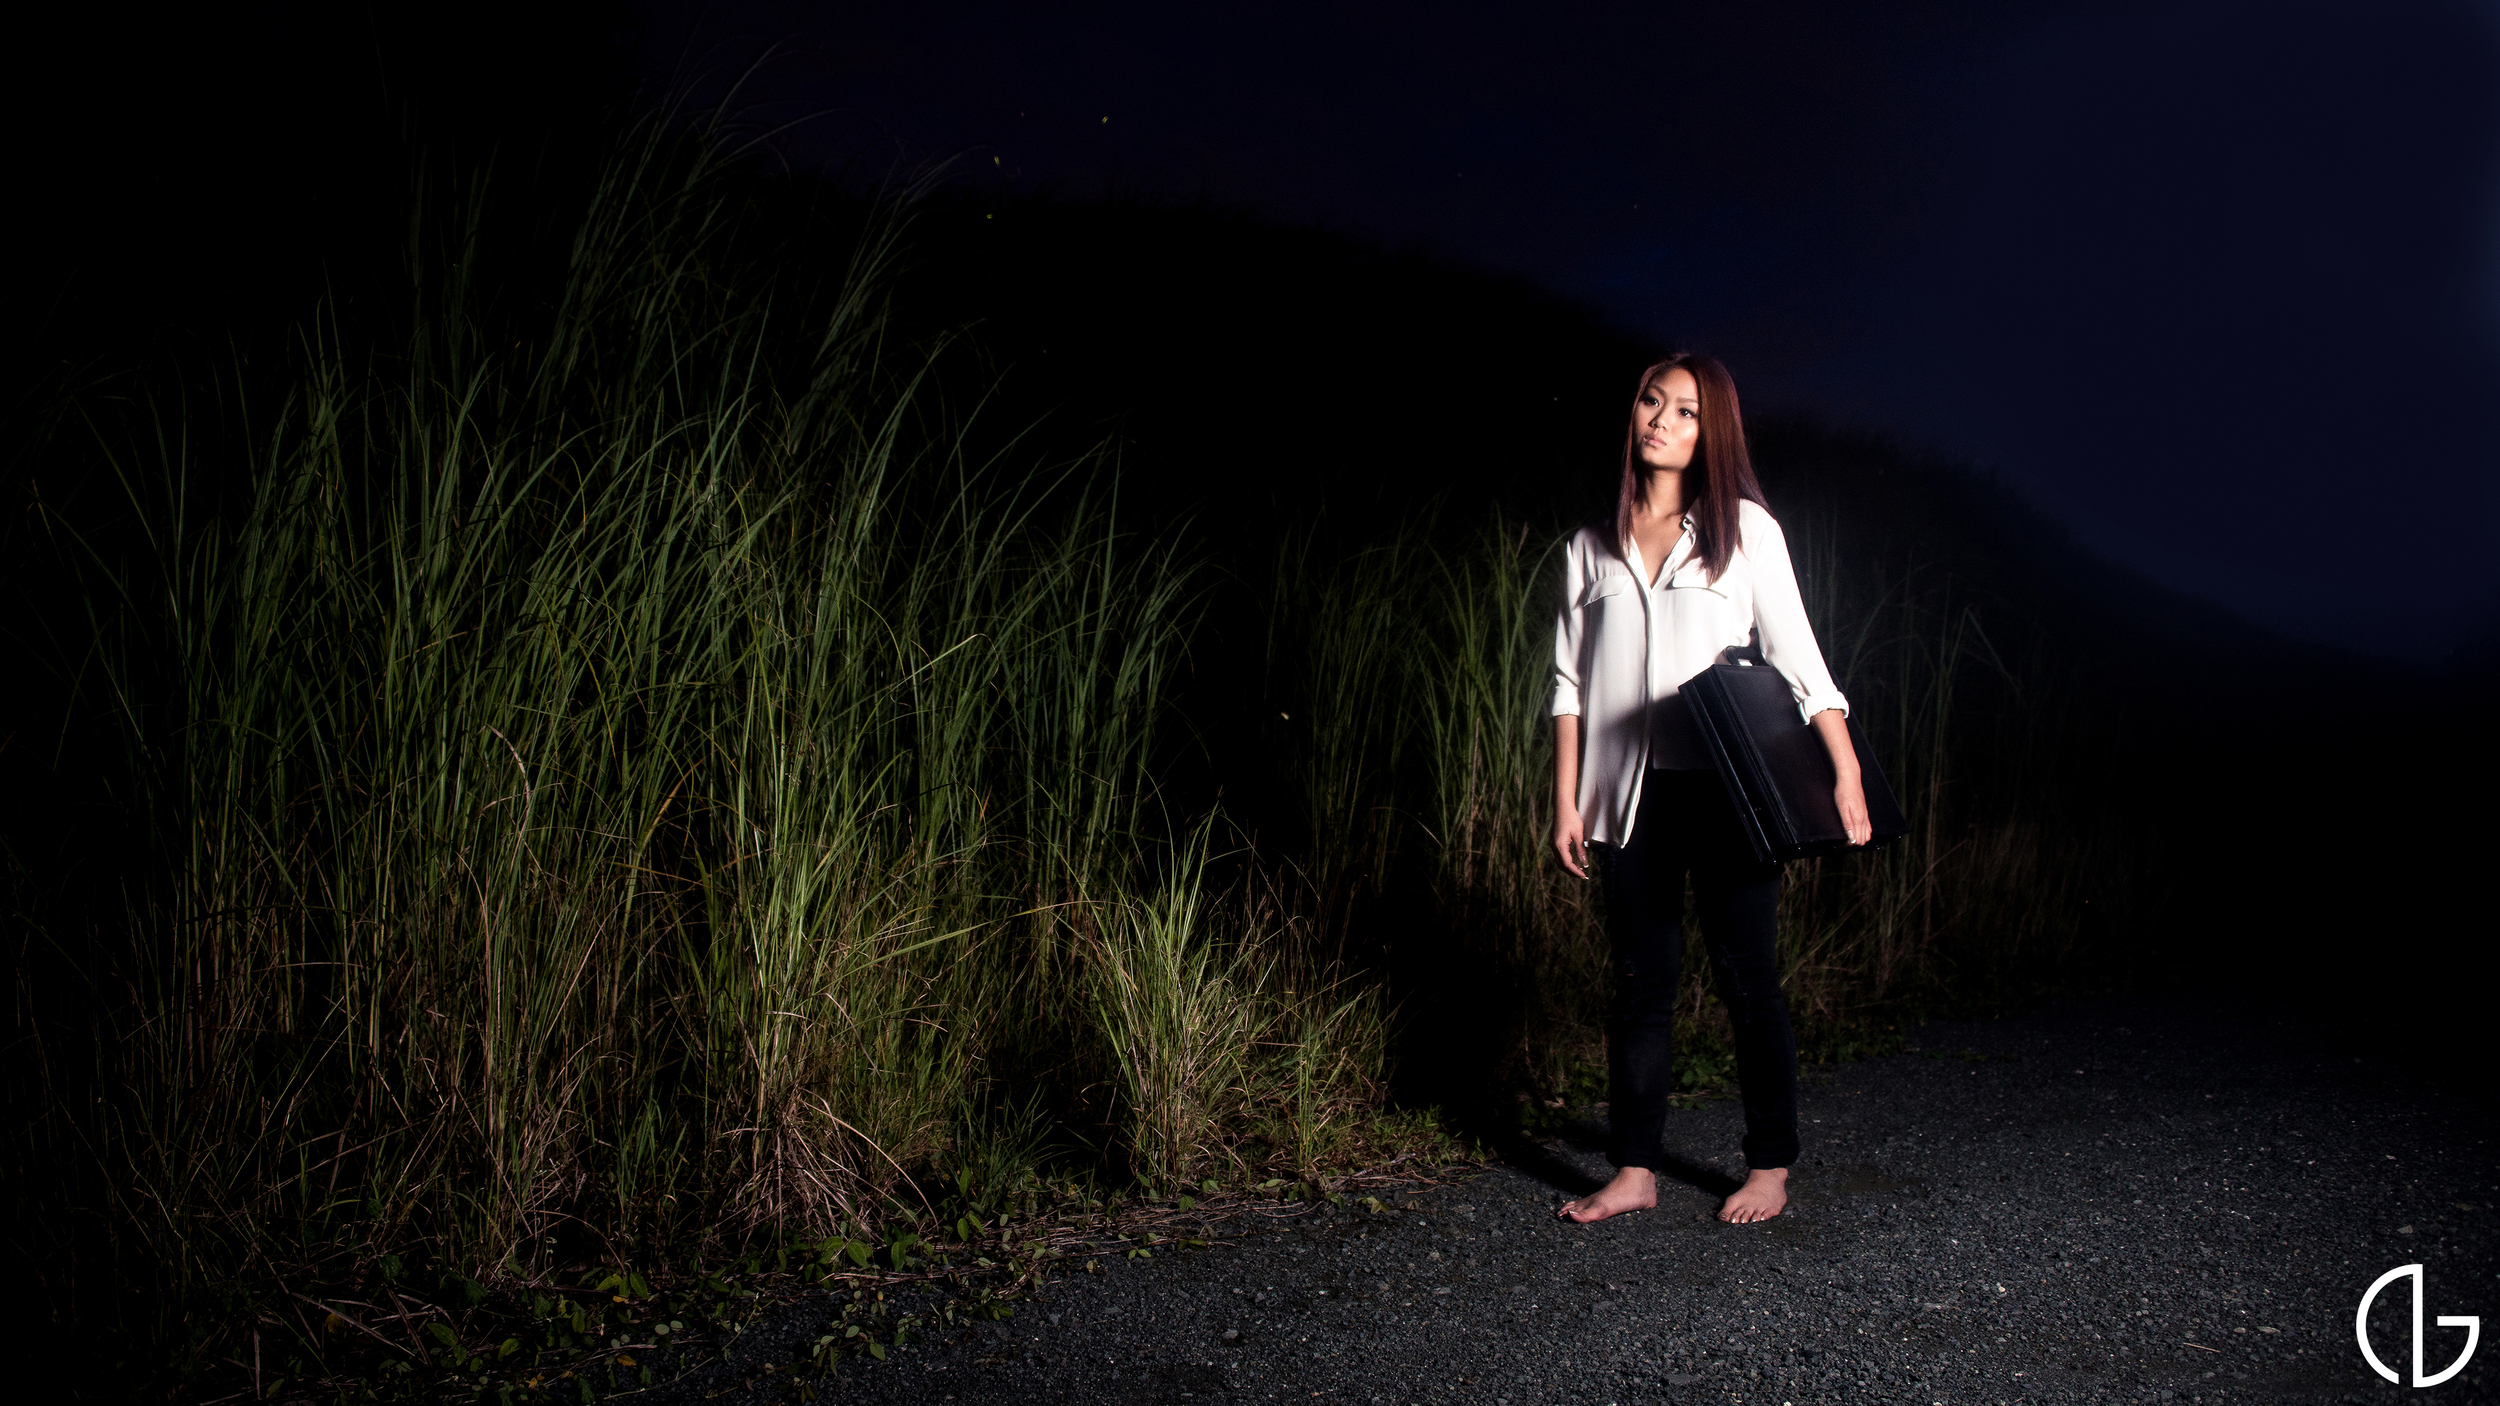
This conceptual photograph series explores the universal concept of death. Especially in this generation where the belief of isolation is increasing, I am even more interested in seeing what connects all of us together. No matter what we lose or what happens to us, we will always have one last belonging.
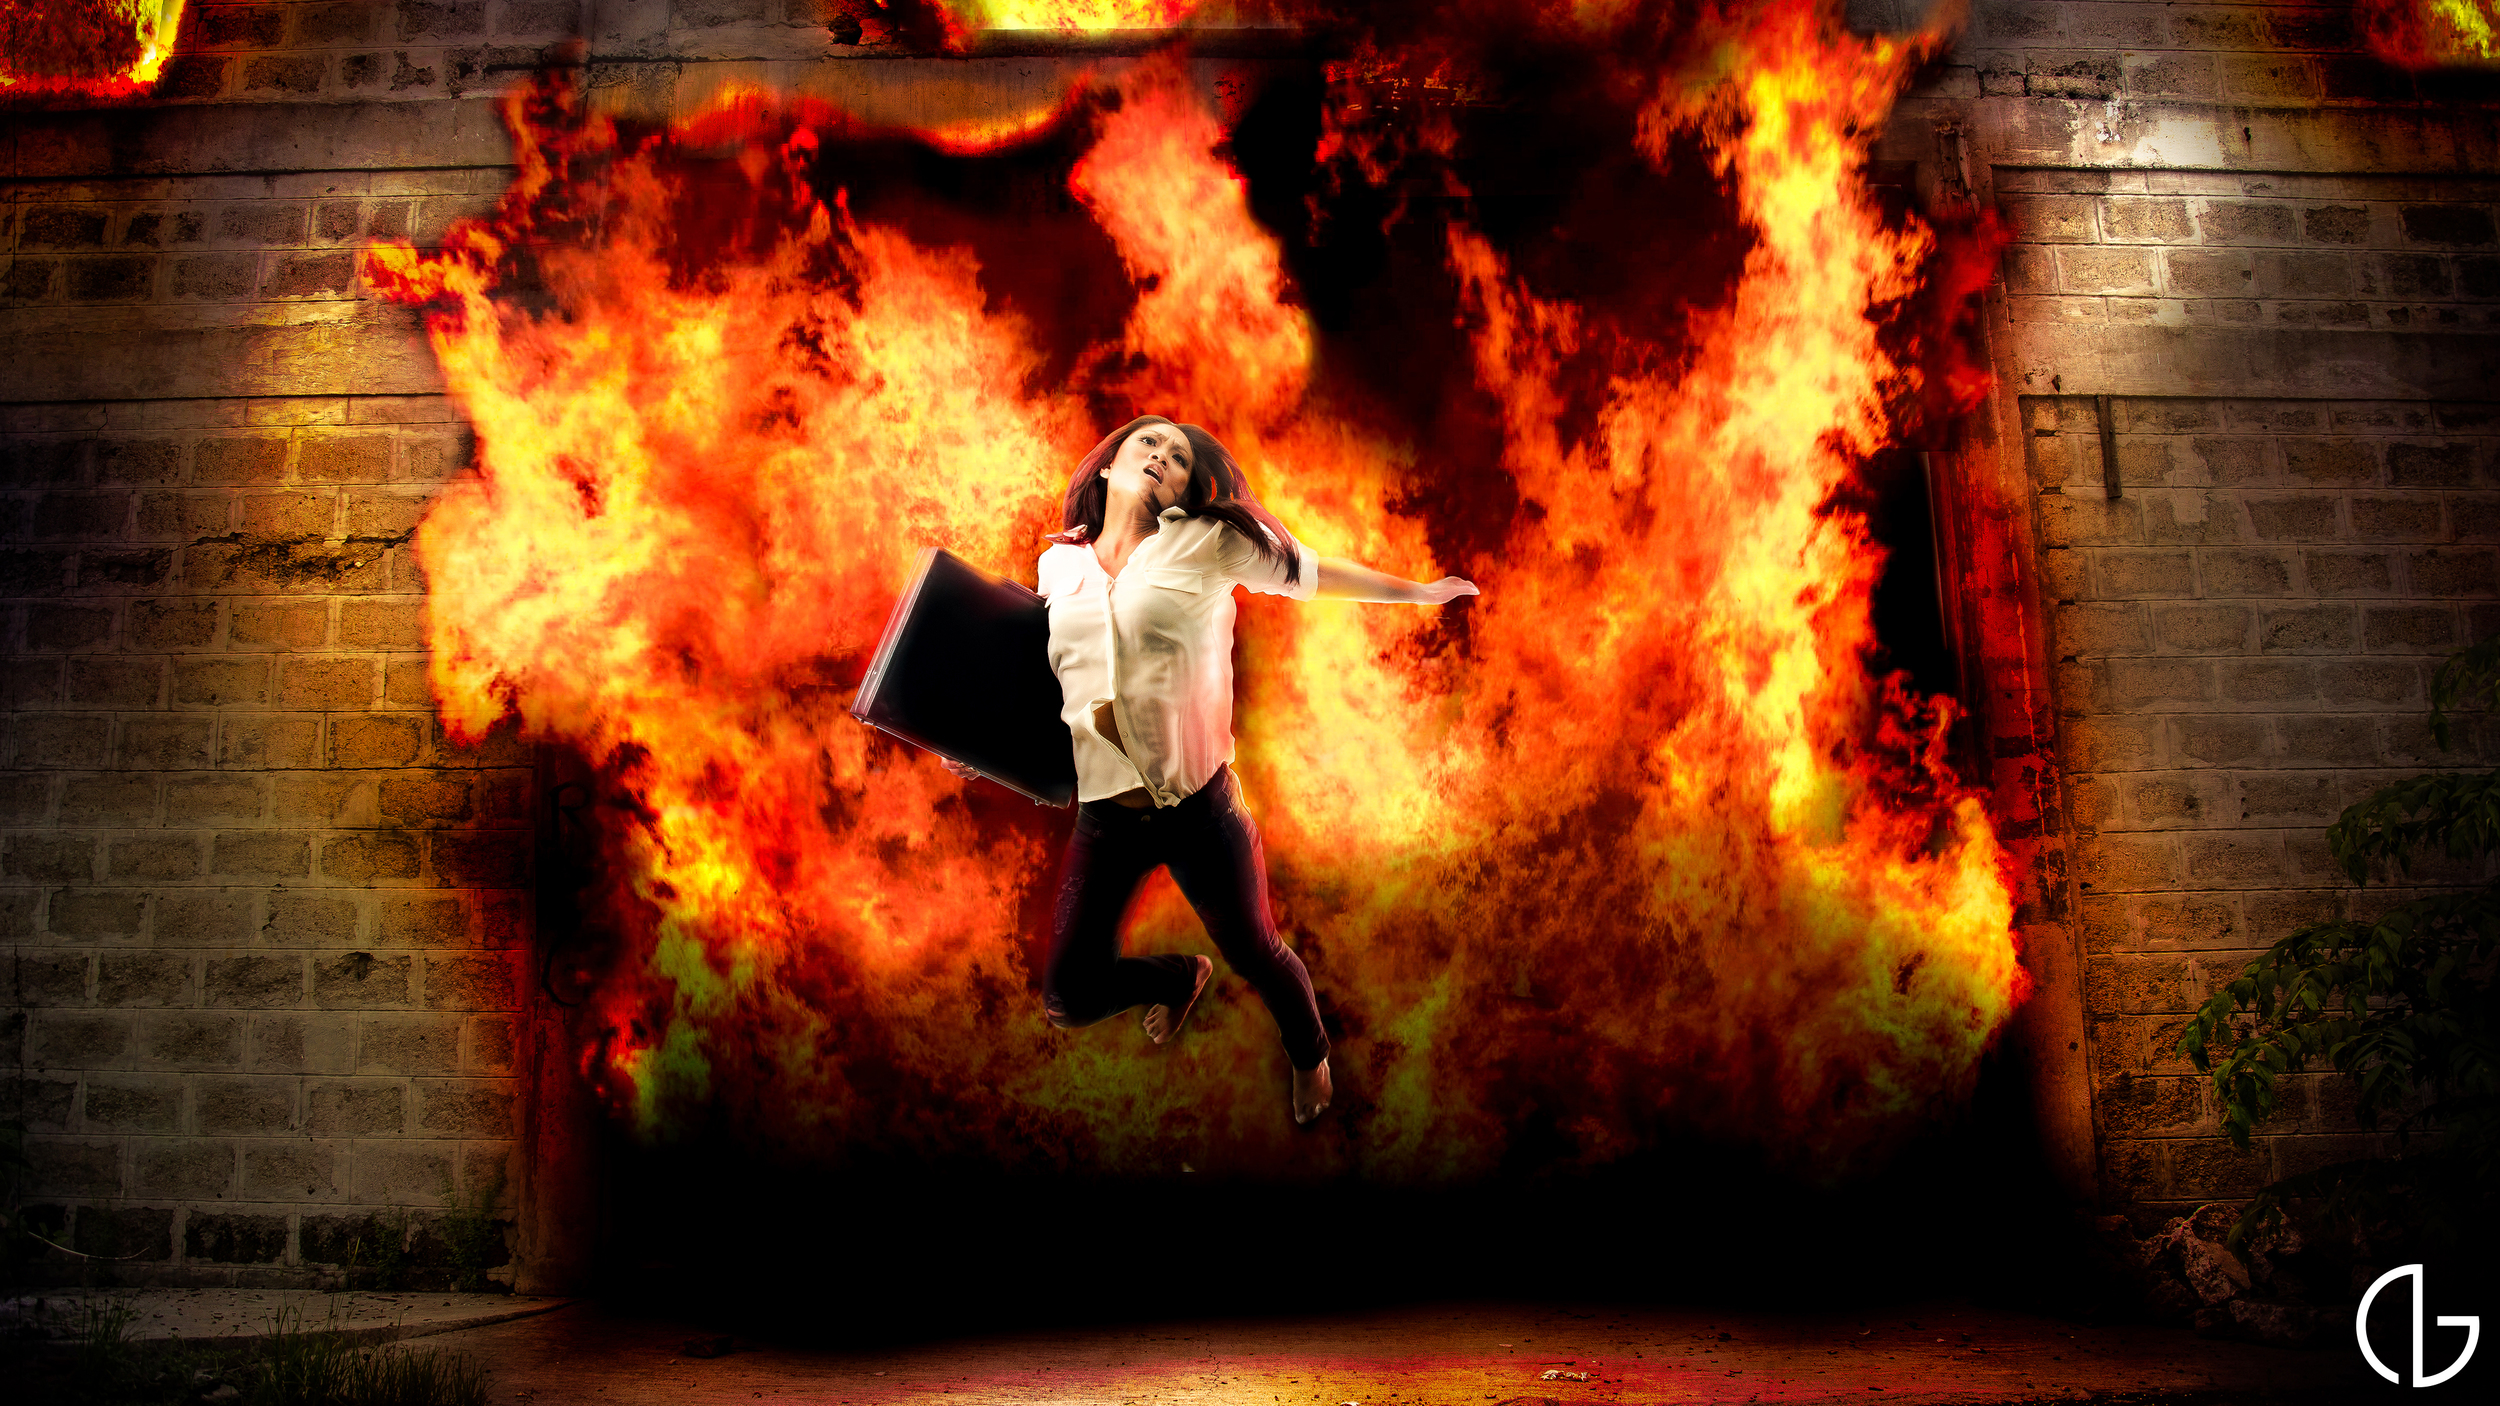
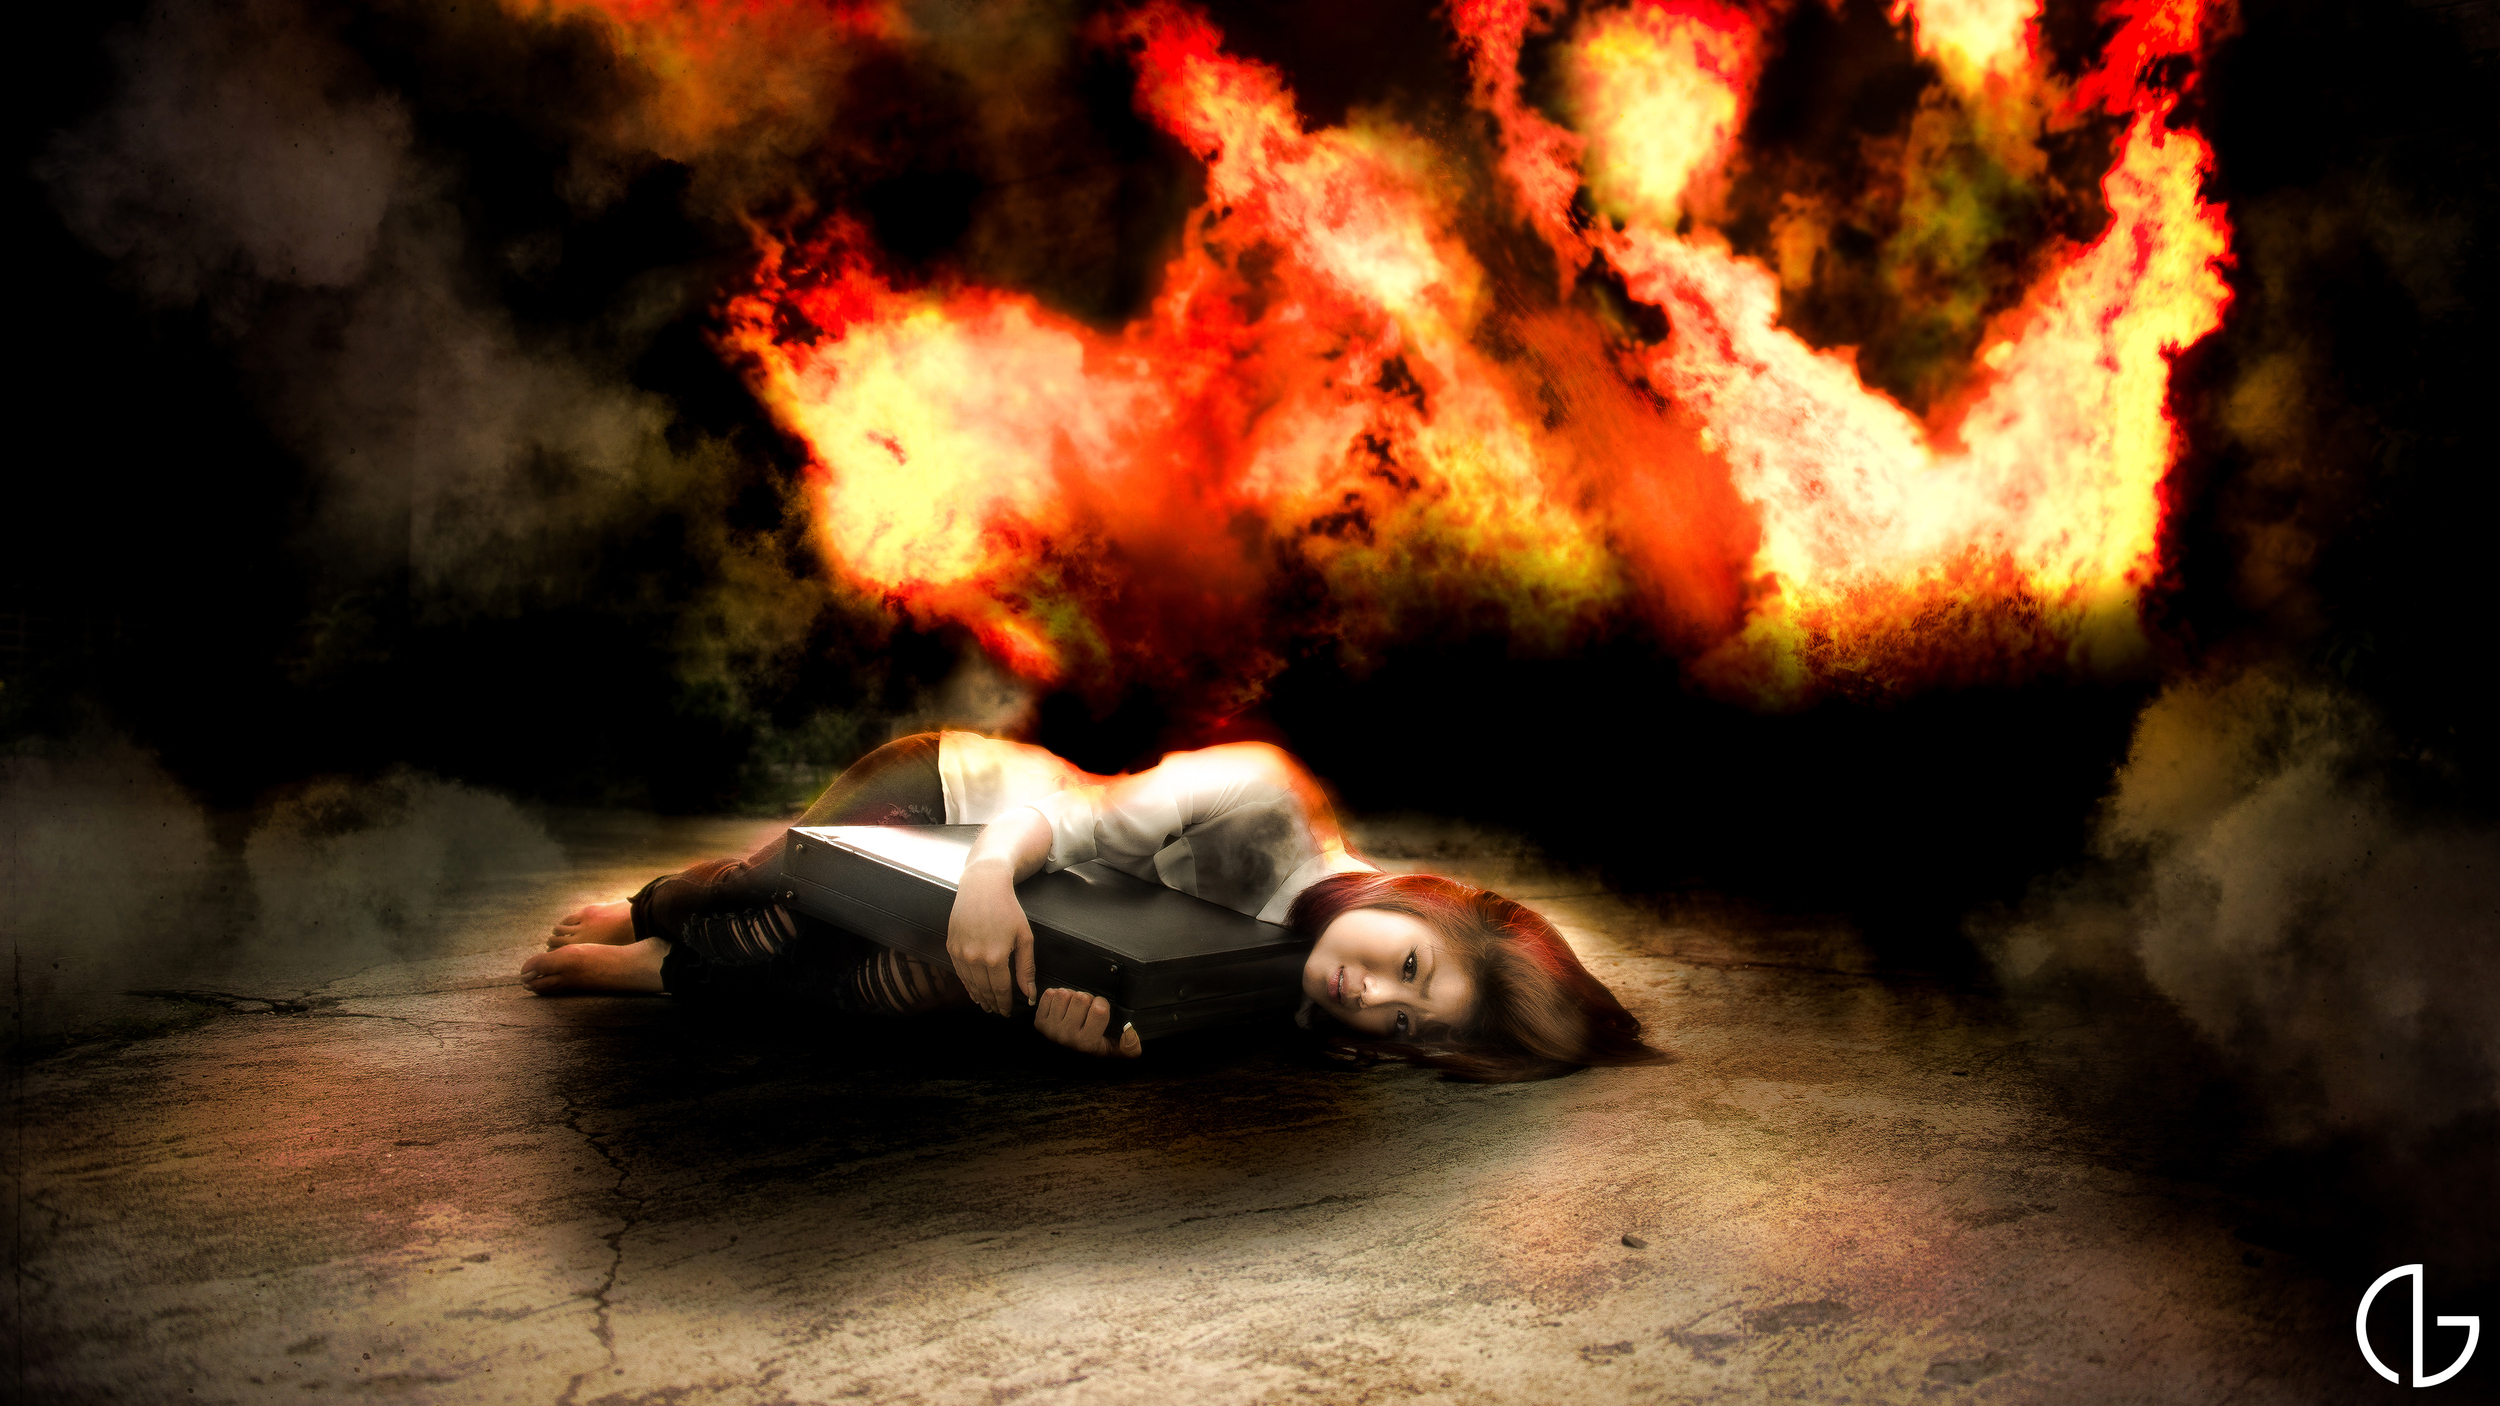
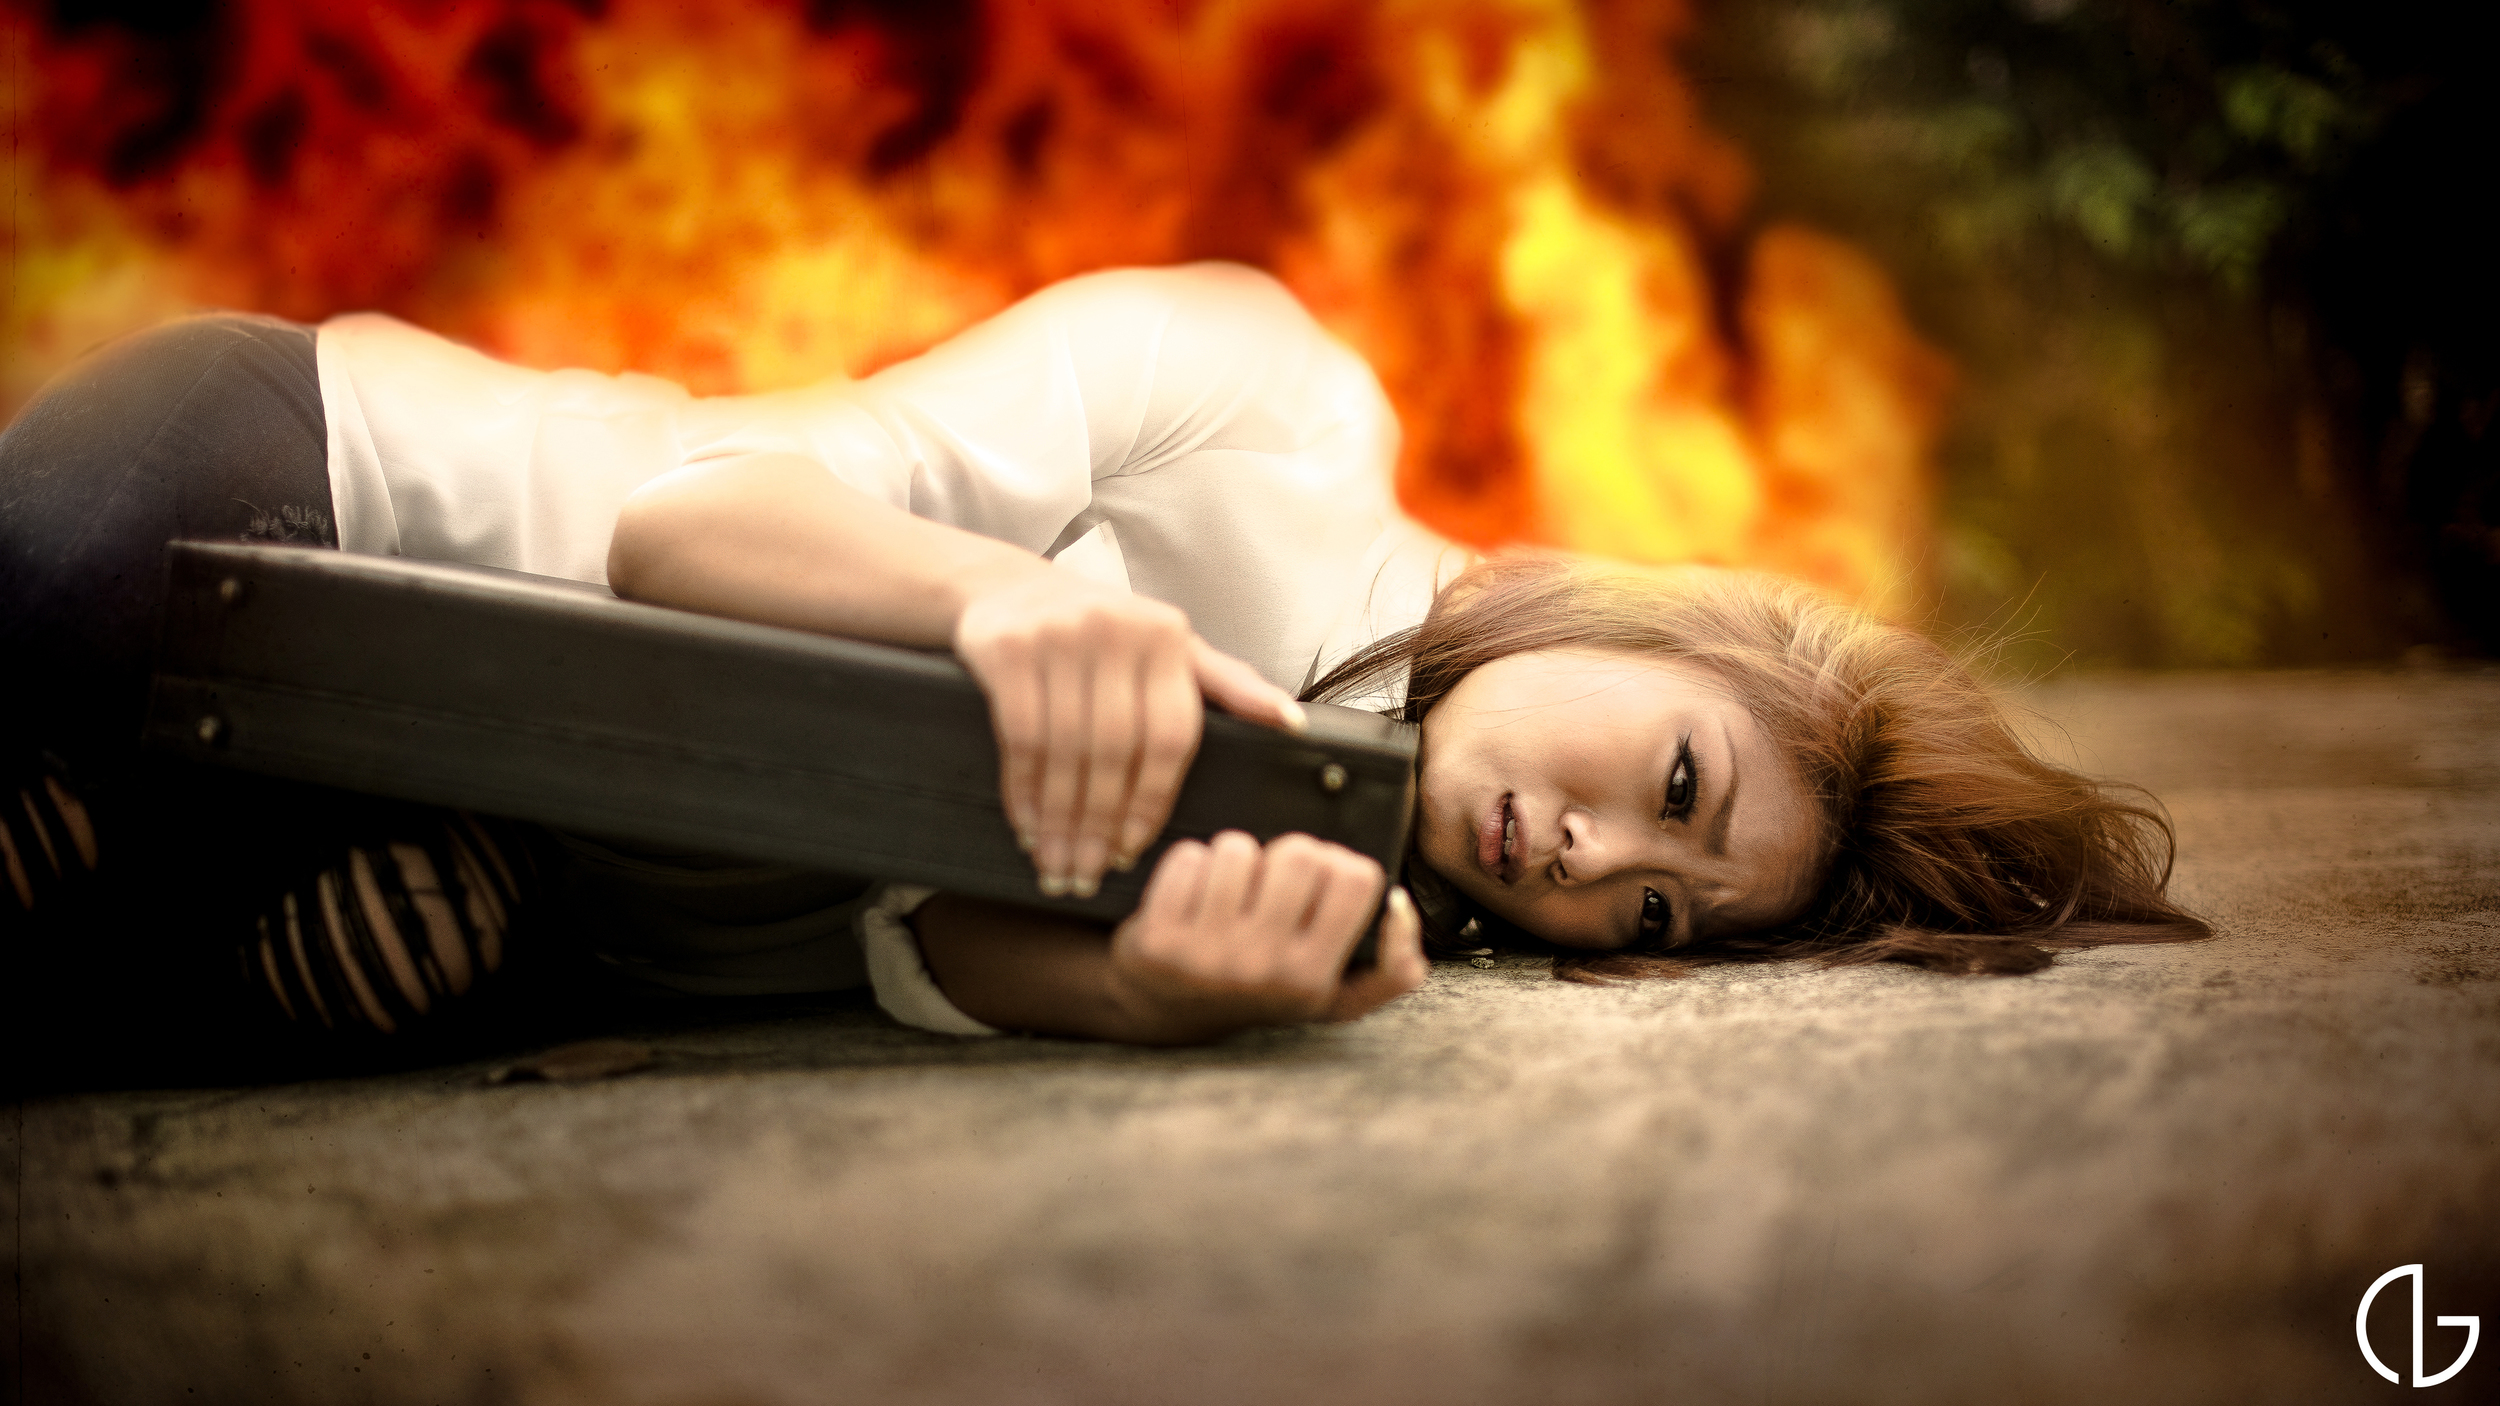
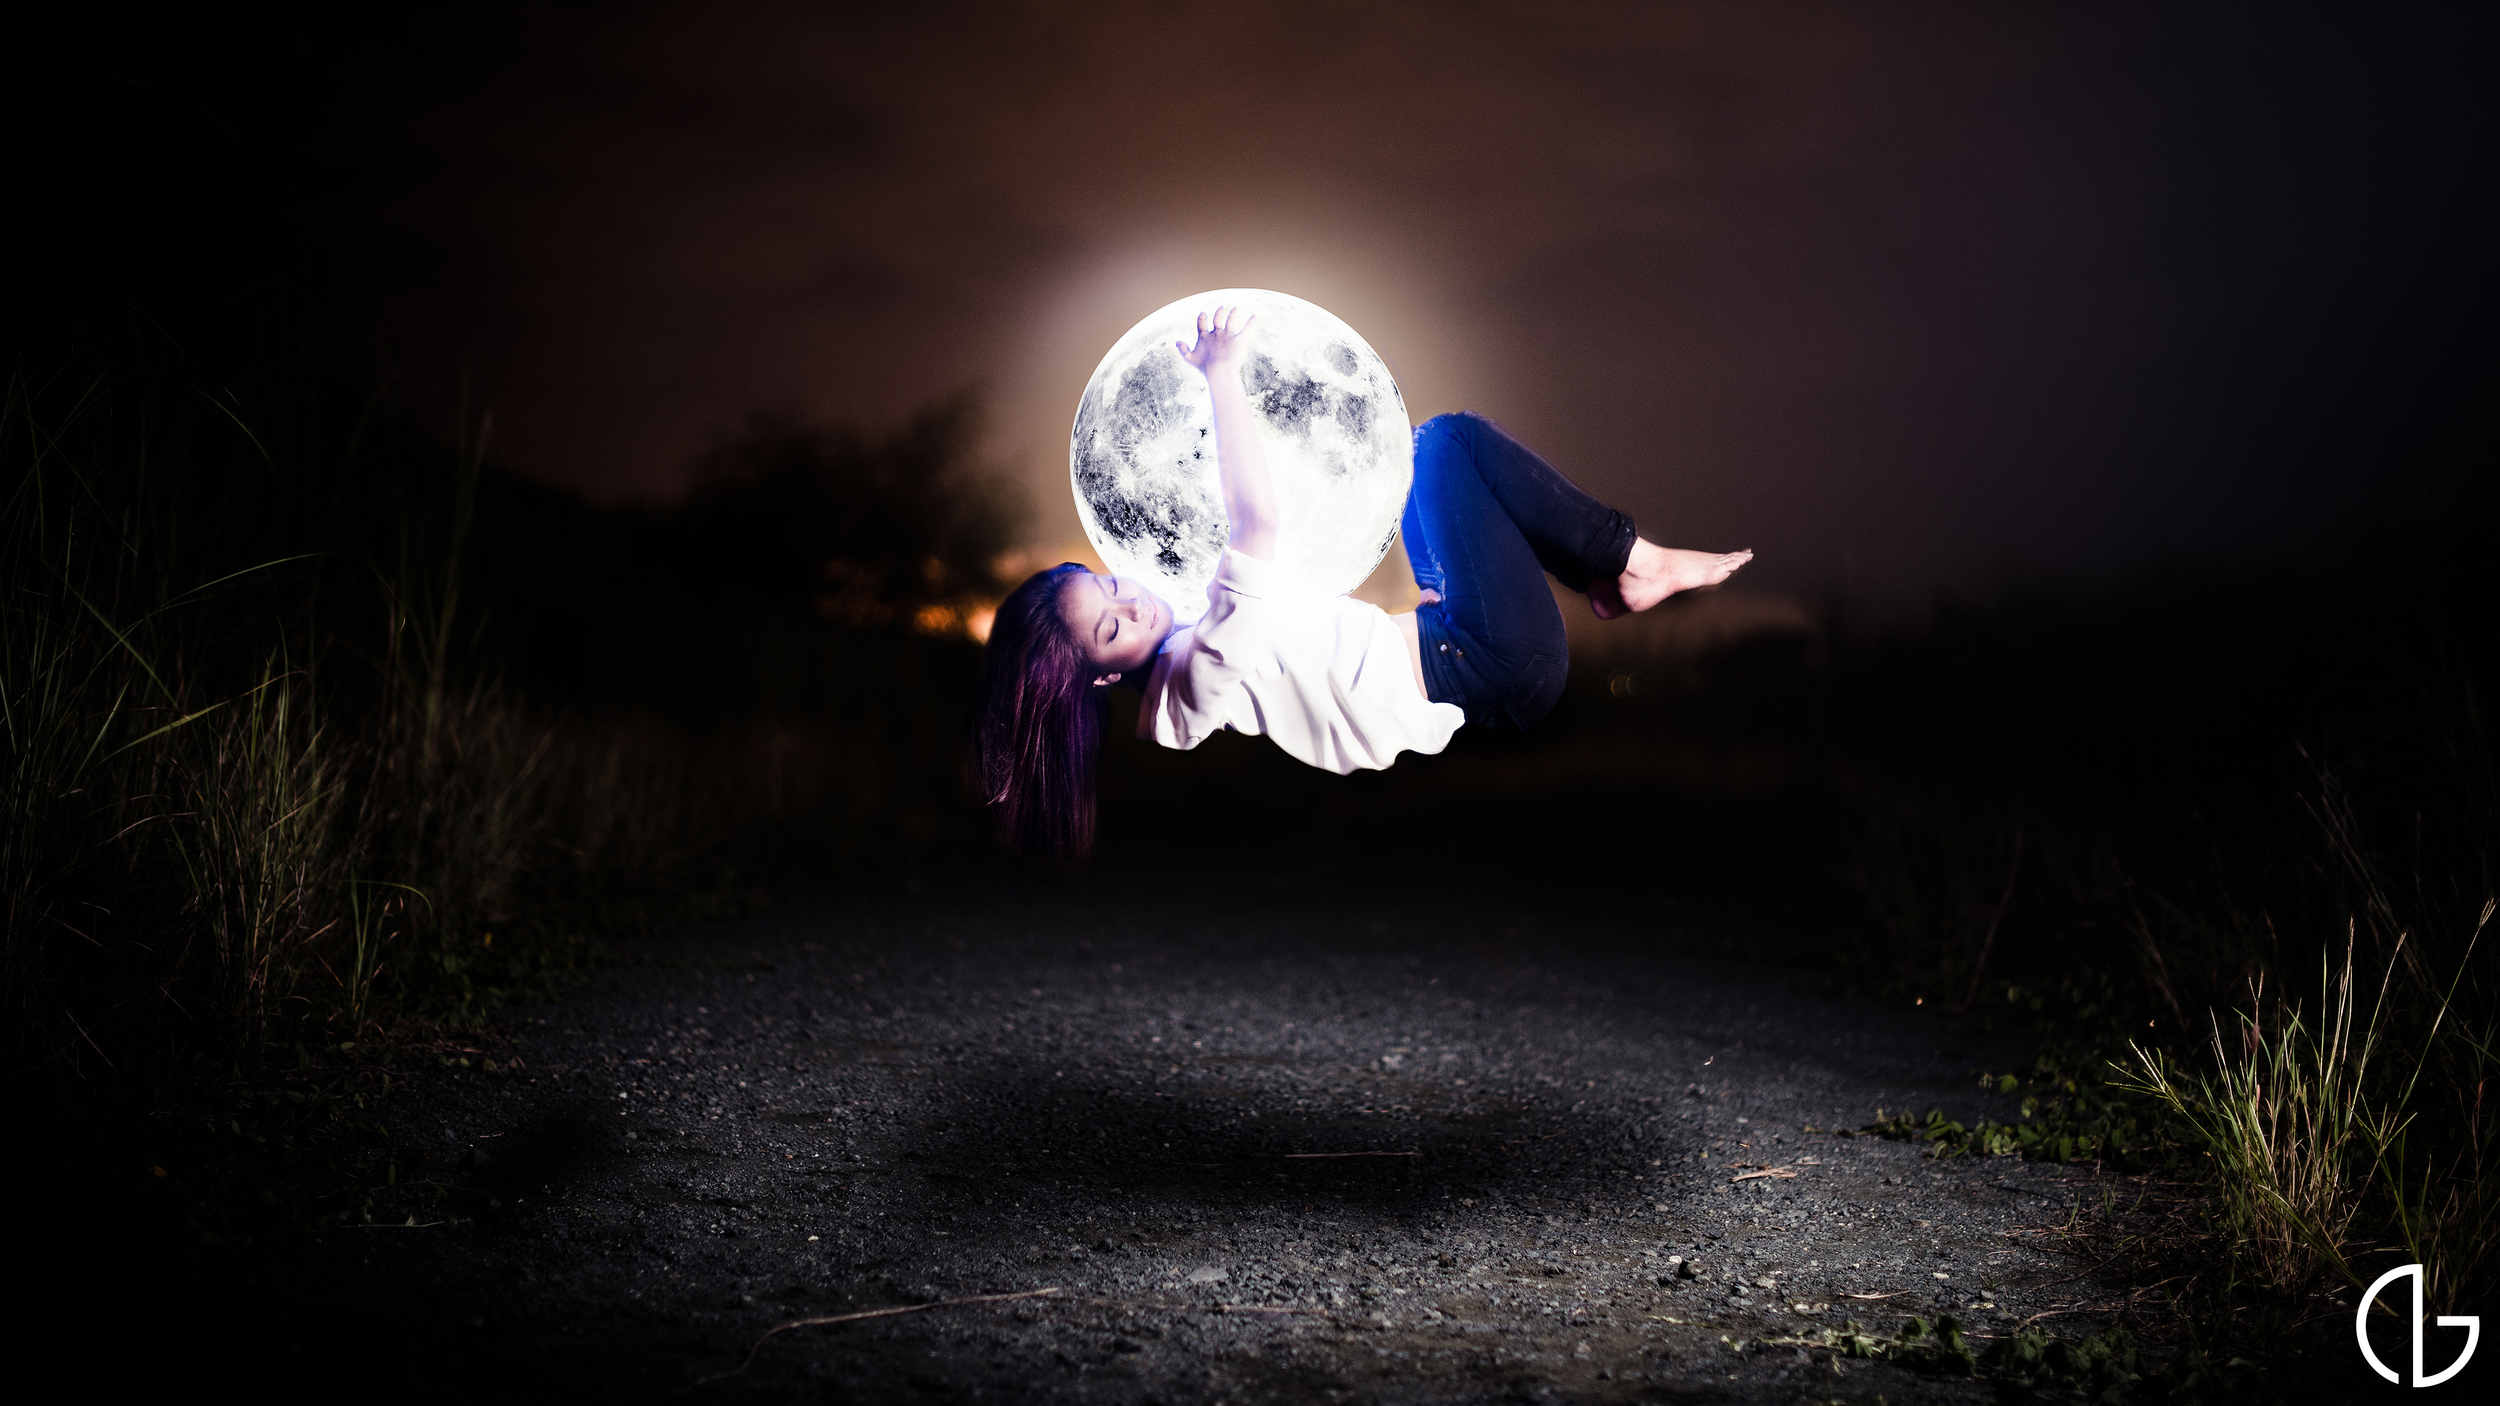
To fully express this concept, I wanted the character to go through suffering and leave them with one final belonging. Using fire, a bag, and the moon as metaphors, I was able to investigate the idea of death and how to accept it.
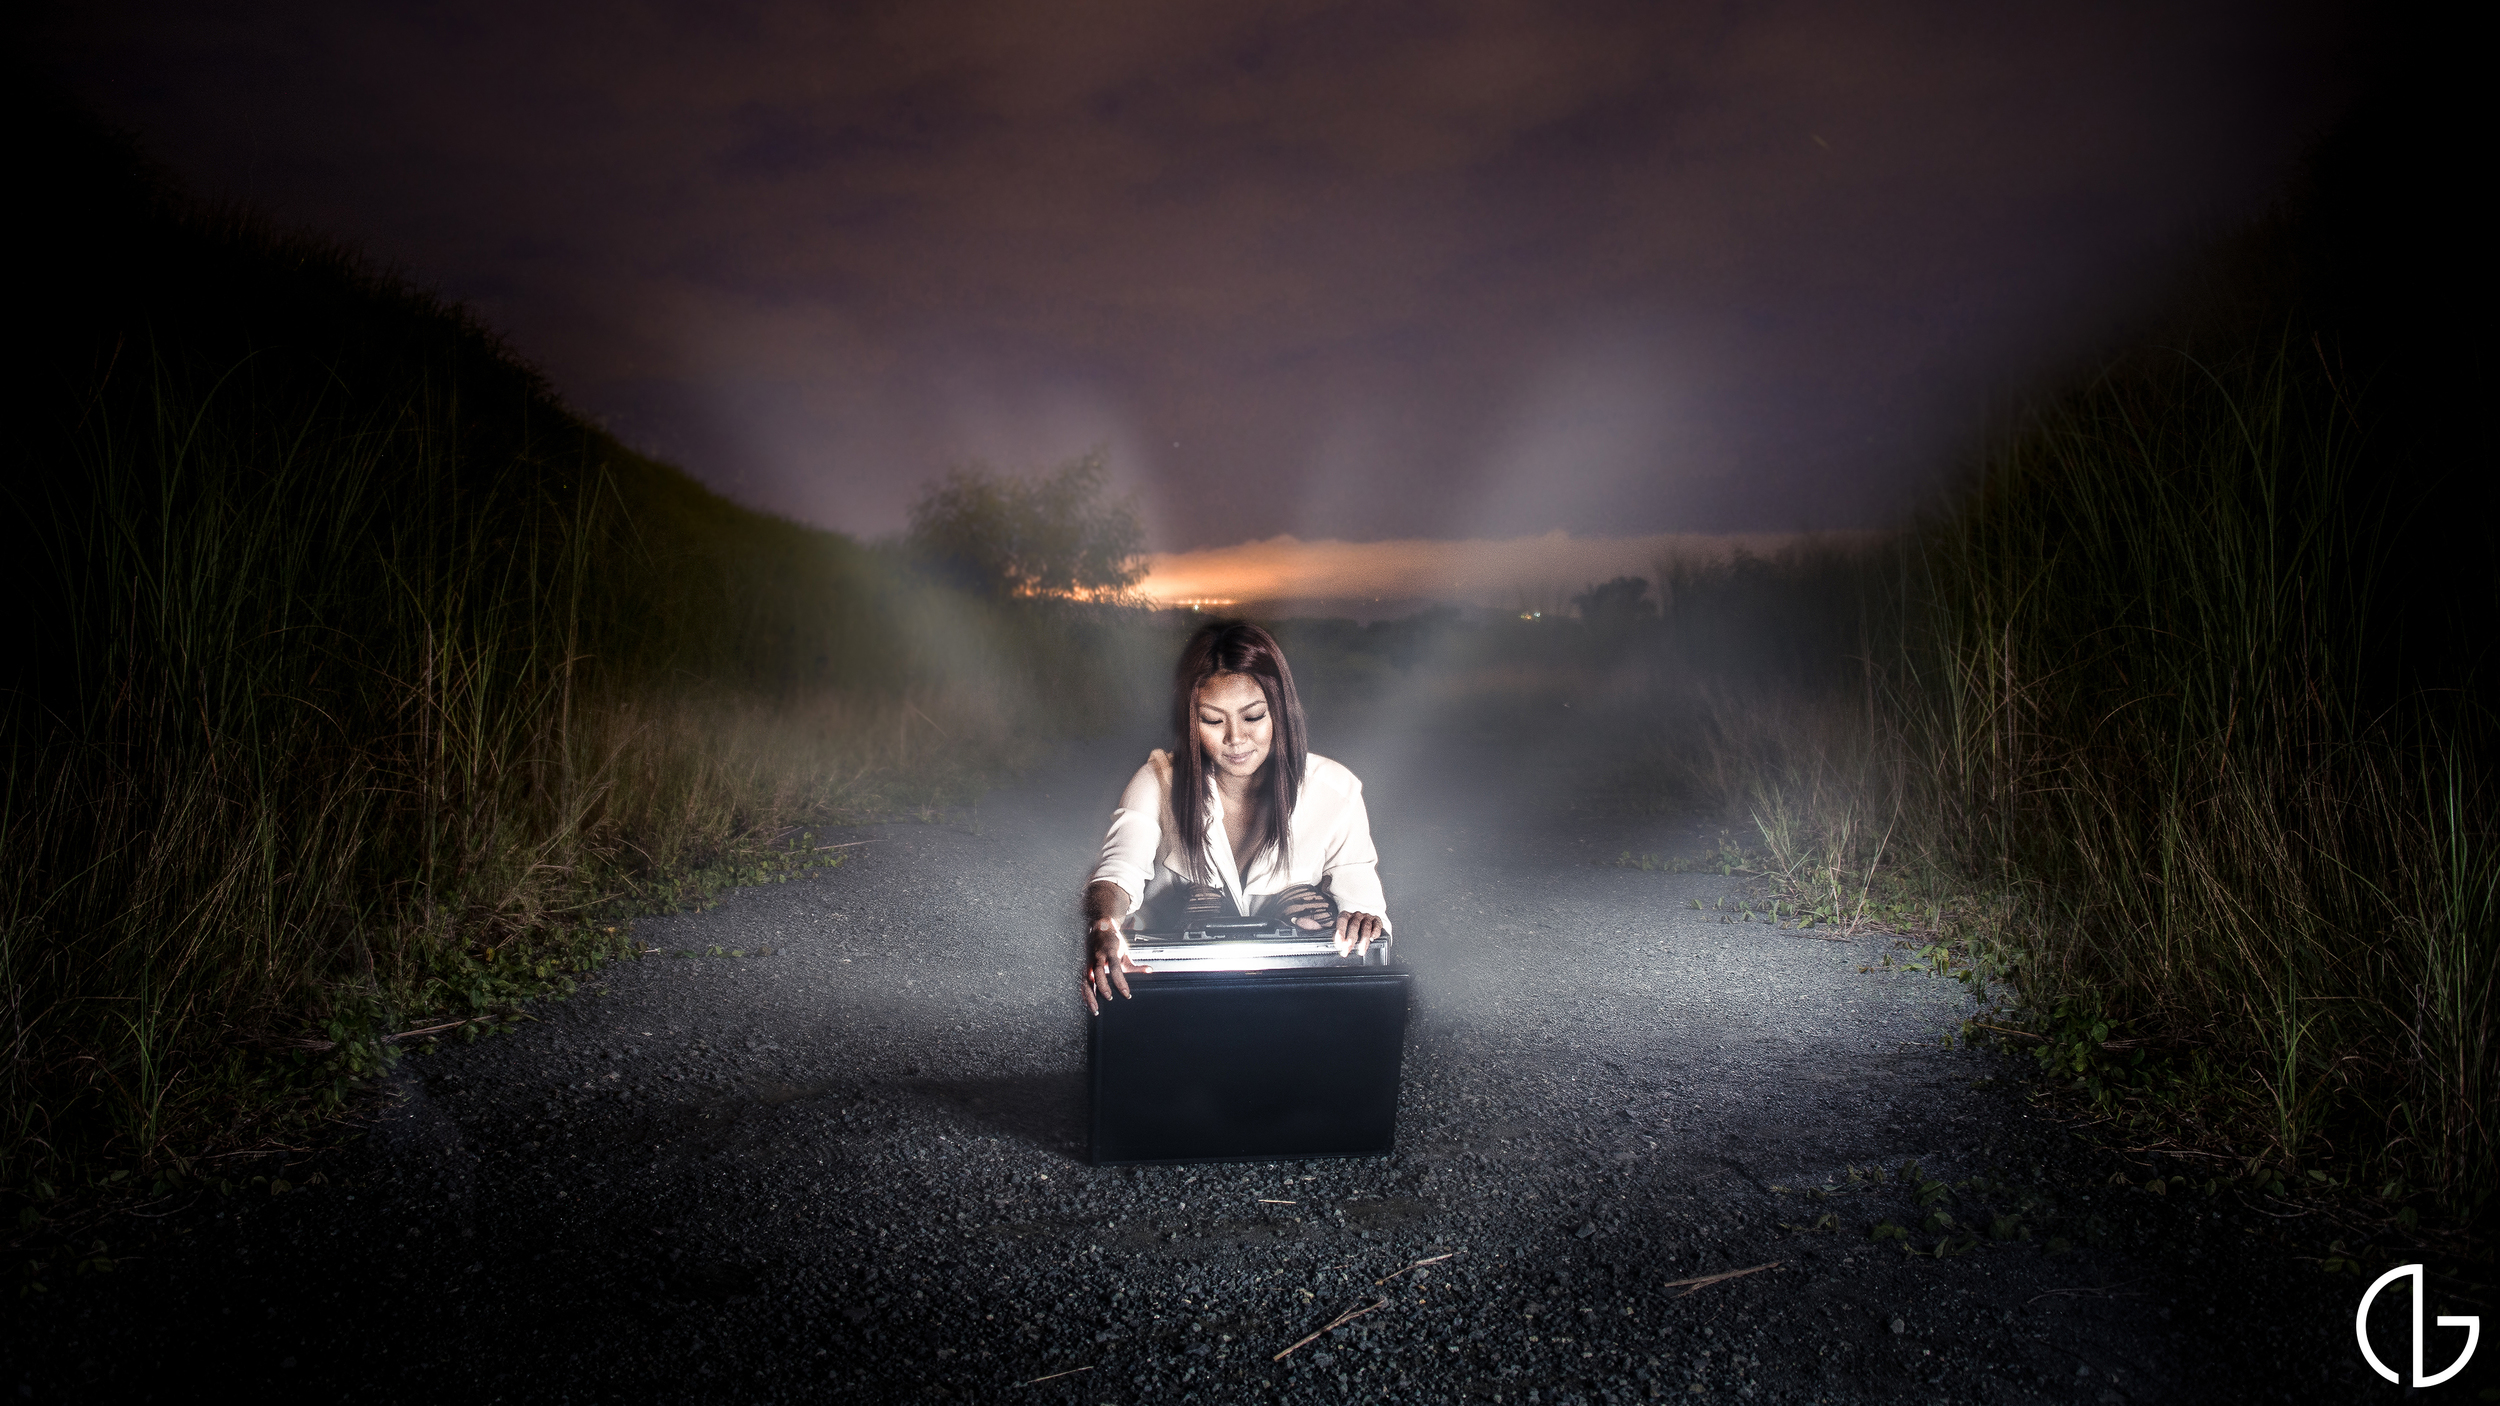
The most challenging image from the series is when the character is enveloped with flames. Flames are always hard to work with because they are hard to make realistic. This is my first attempt and I still have quite a lot of learning but I wish to share what I did in hopes that you can learn something out of it as well.

Final image
Here is a behind the scenes photograph of my lighting setup for this shot. I had a strobe placed right behind her to get the rim effect I wanted to make the fire more realistic.

BTS photographed by Julian van Heeswijck

RAW image

RAW image
Taking a photograph of both the background with and without the model enables me to have more control when composting and editing the photograph. I can easily isolate the background first and edit the environment, then place the model afterwards for realism. The first step for this composite was to place several stock images of fire.

When adding elements such as lights and fire, make sure that it affects the existing image as naturally as possible. For this instance, the fire adds areas of highlight and shadows. I used two layers using curves with one brighter and the other darker, then used the masking tool and the brush to create bright and dark areas.

Just like before, you want to make sure that the fire adds areas of realistic highlights and shadows. Fire creates a warm glow and I did this by using different colored brushes (different reds and oranges from the fire) with 0 hardness and a low opacity. Using low opacity, build up the layer slowly to give it more depth.

The next step was to place the model. As you can see with the image below, the color tone of the model doesn't suit the background. Several adjustments have to be made to make it more realistic.

Just like previously, I added highlights with the color of the fire at the outline of the character to create a rim lighting effect. This decreases the created space between the model and the fire and adds realism.
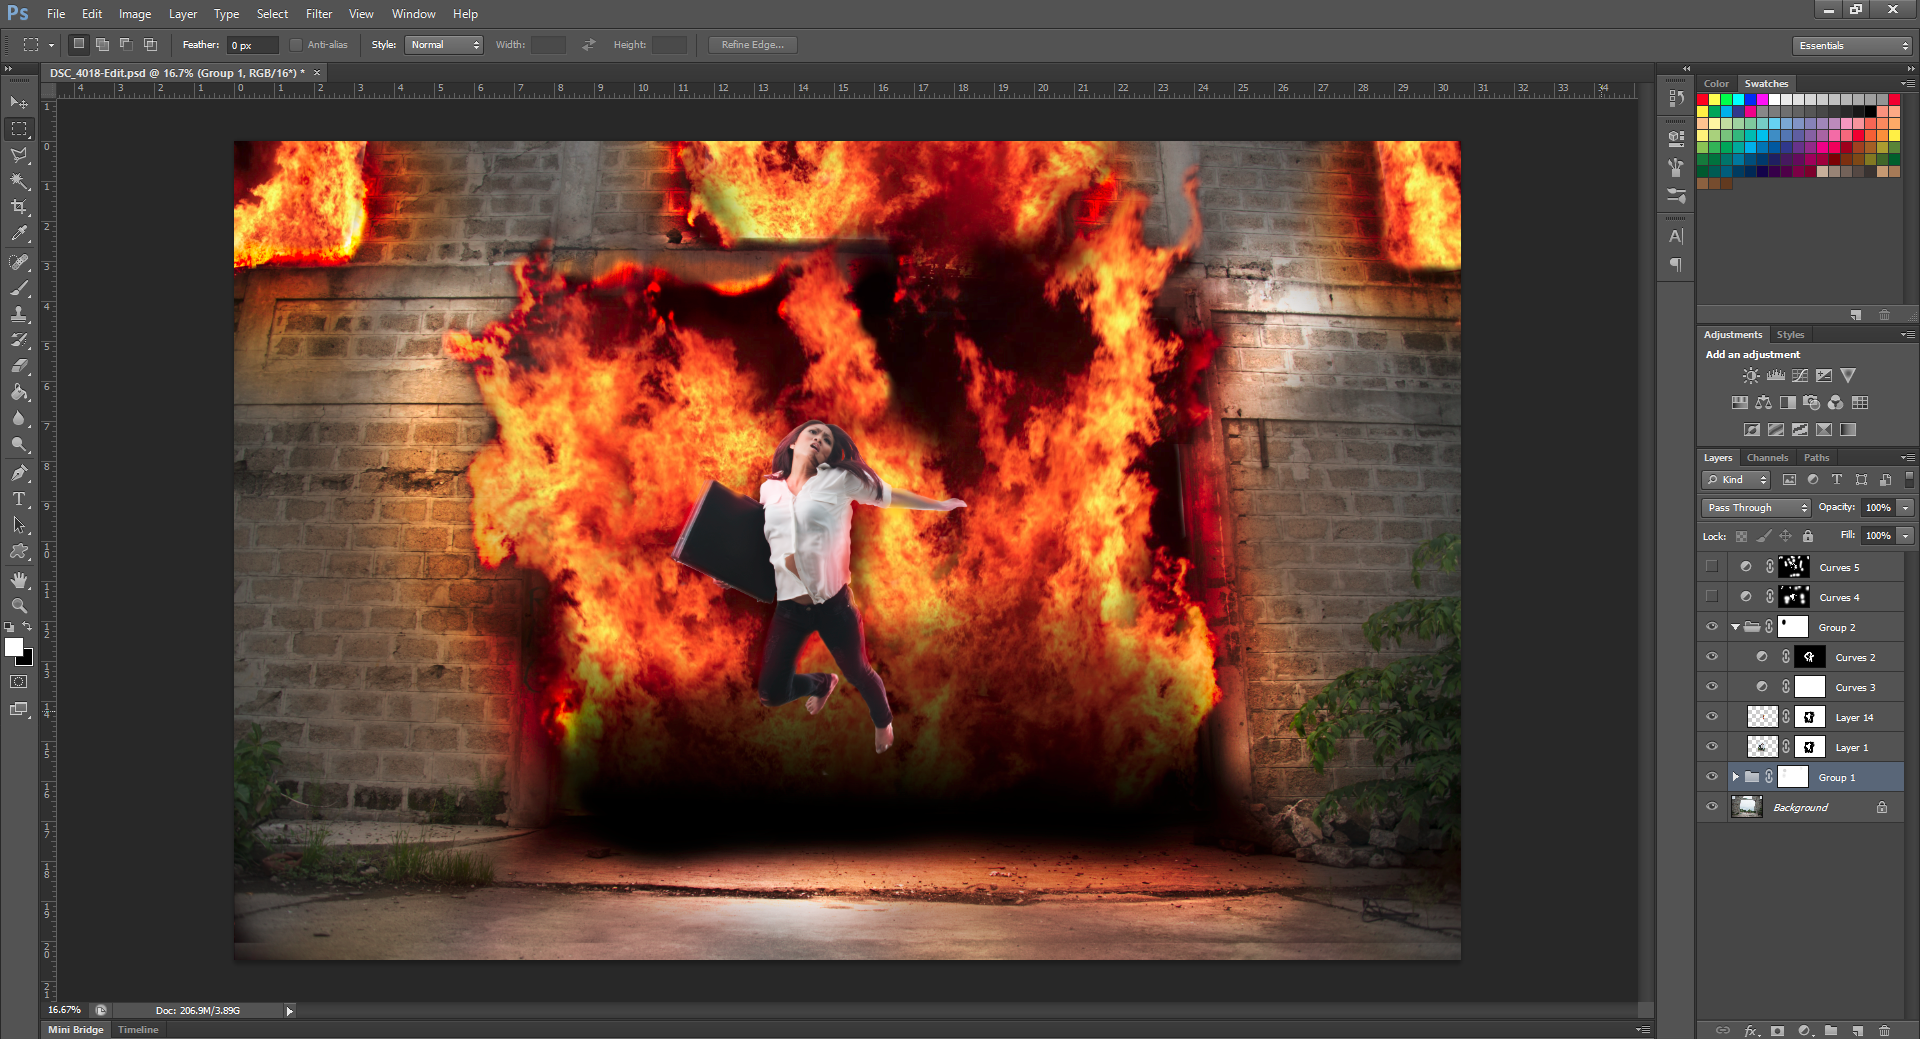
The next step is simply dodging and burning the model to get more accurate lighting. For this, I create two separate layers of curves, one brighter and the other darker. I then simply use the brush in the mask to make areas brighter or darker without damaging the photograph. This gives me the flexibility to go back and do minor changes if I wish to do so.

The last step for this image was taking it into Lightroom. As I have previously mentioned in my older posts, I always refer to Lightroom for the final stages of making a photograph. When I have finished placing all of the elements and creating the composite, Lightroom enables me to add filters and effects that affect the whole image which adds unity and therefore adds realism.

Final adjustments on Lightroom
Here is the whole story of Final Belonging:


I edited these photos mainly using Adobe Photoshop and Lightroom 4. I also used Portrait Professional Studio for retouching. If you have more questions on how I produced these images, feel free to comment here or post on my wall on facebook.