Wide Awake

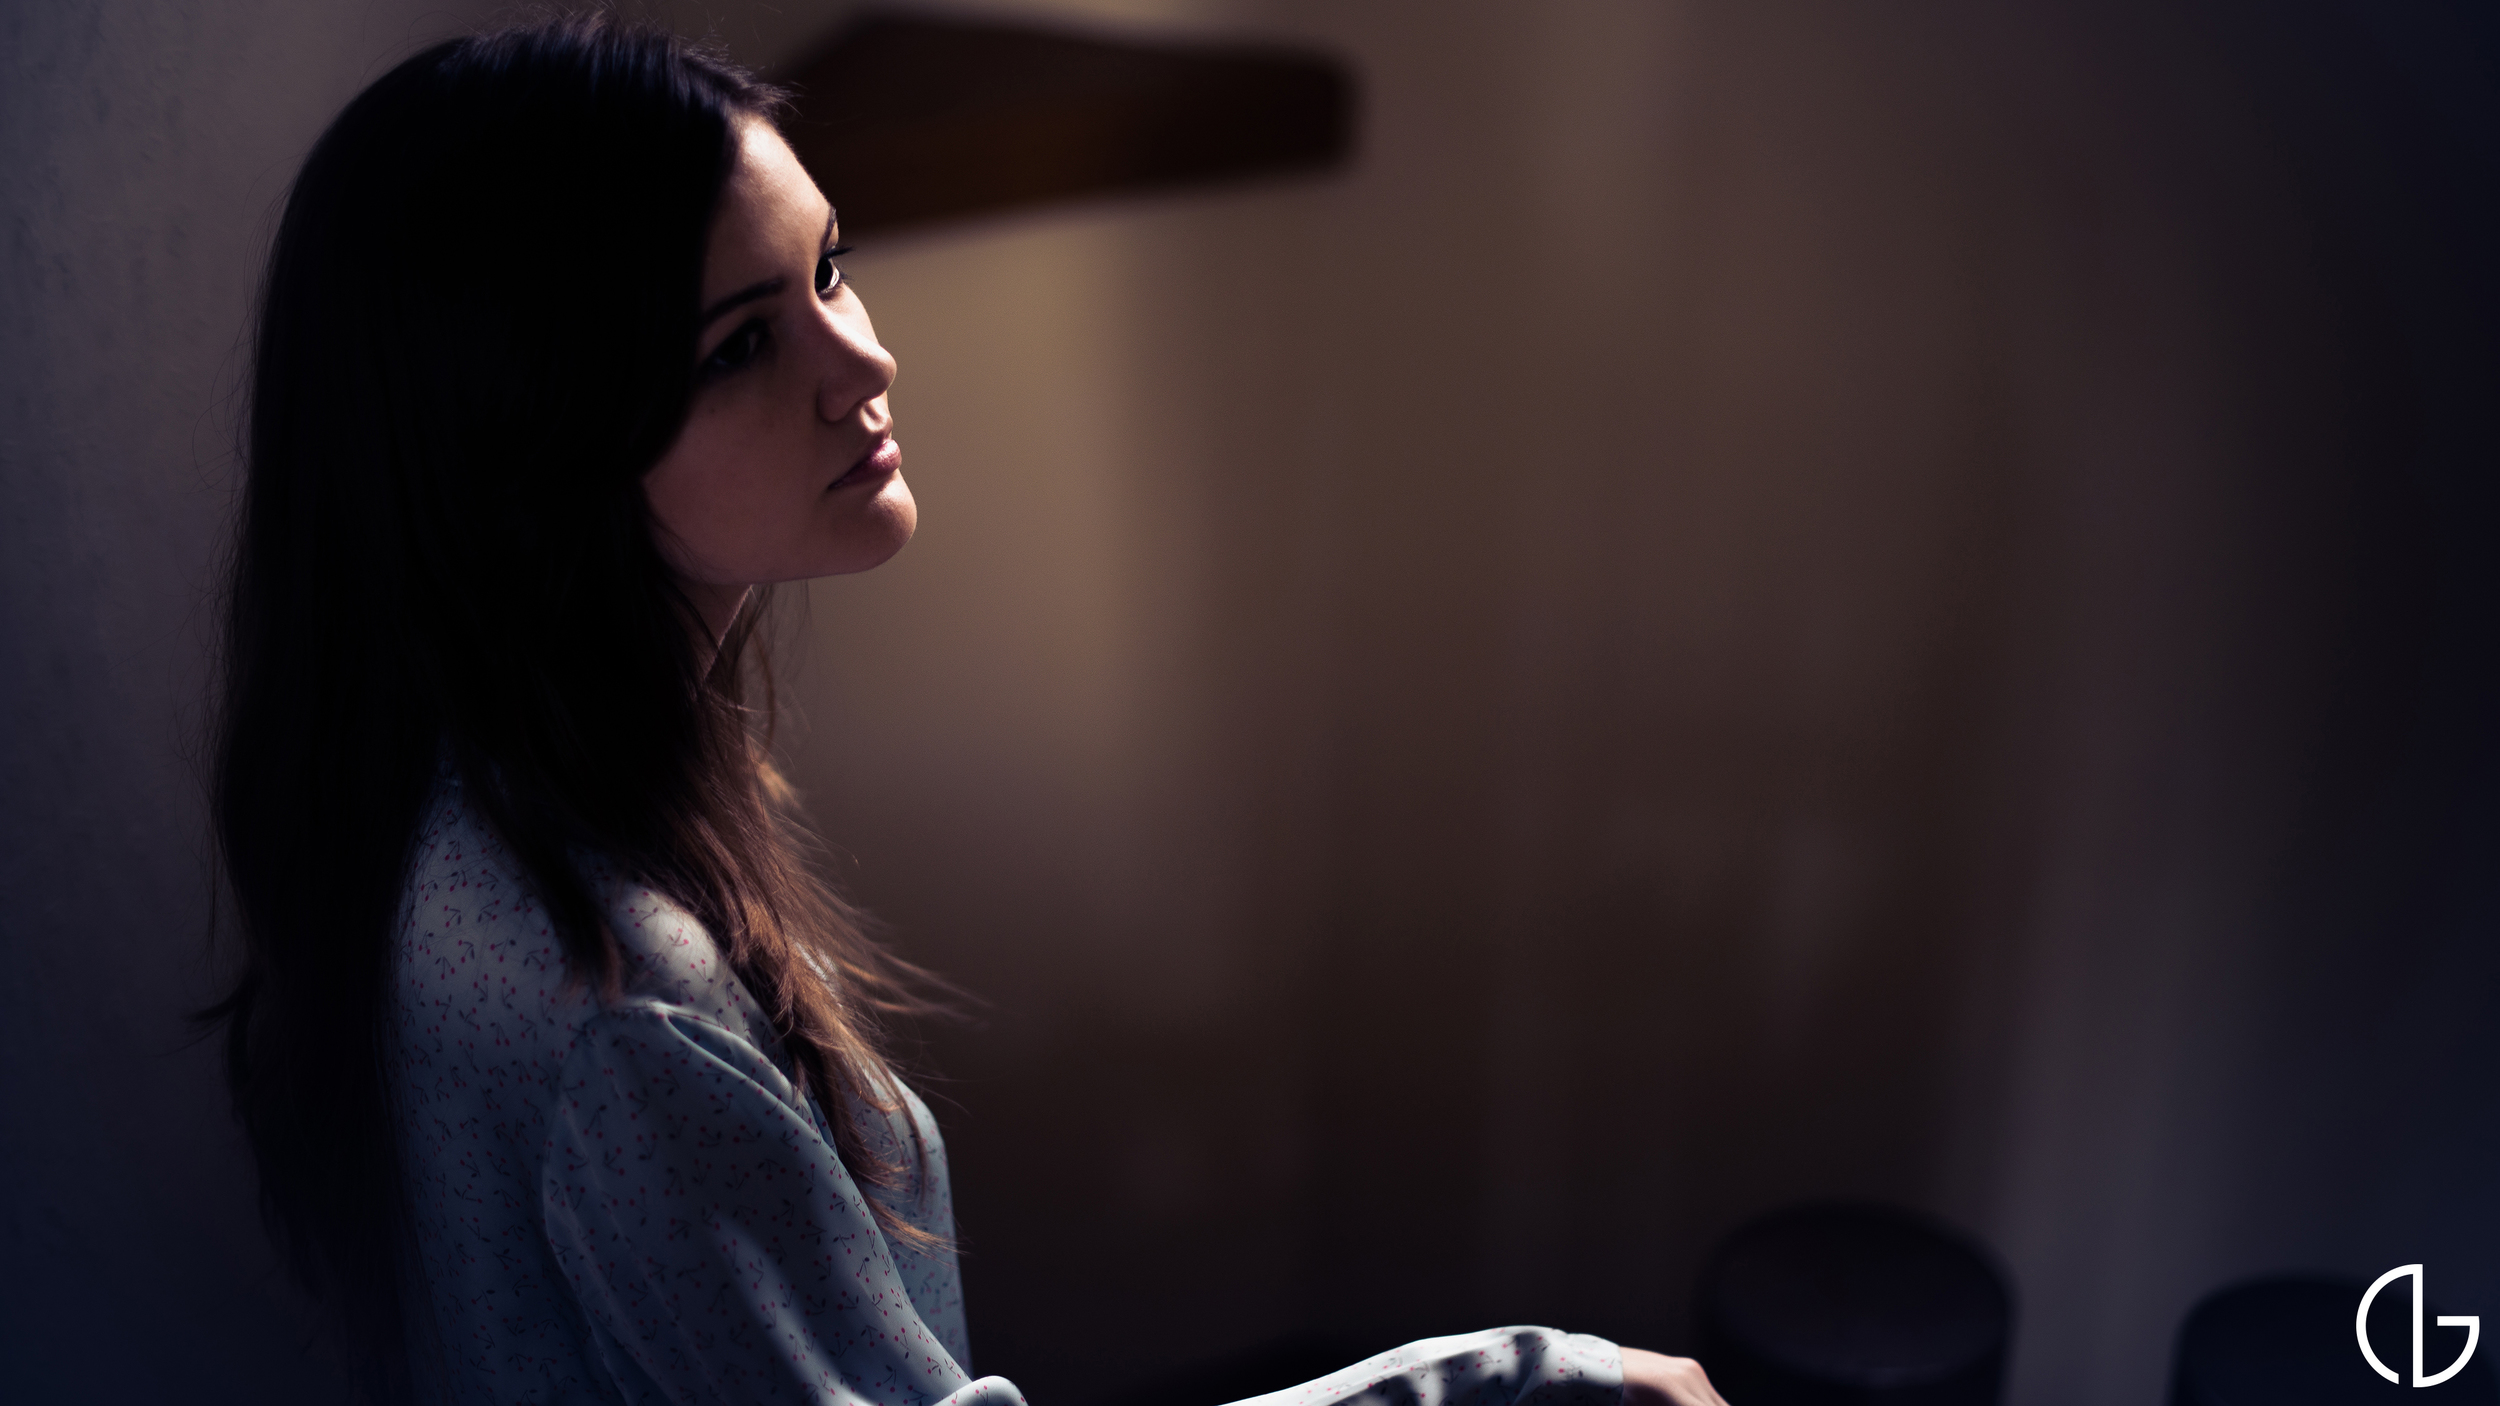
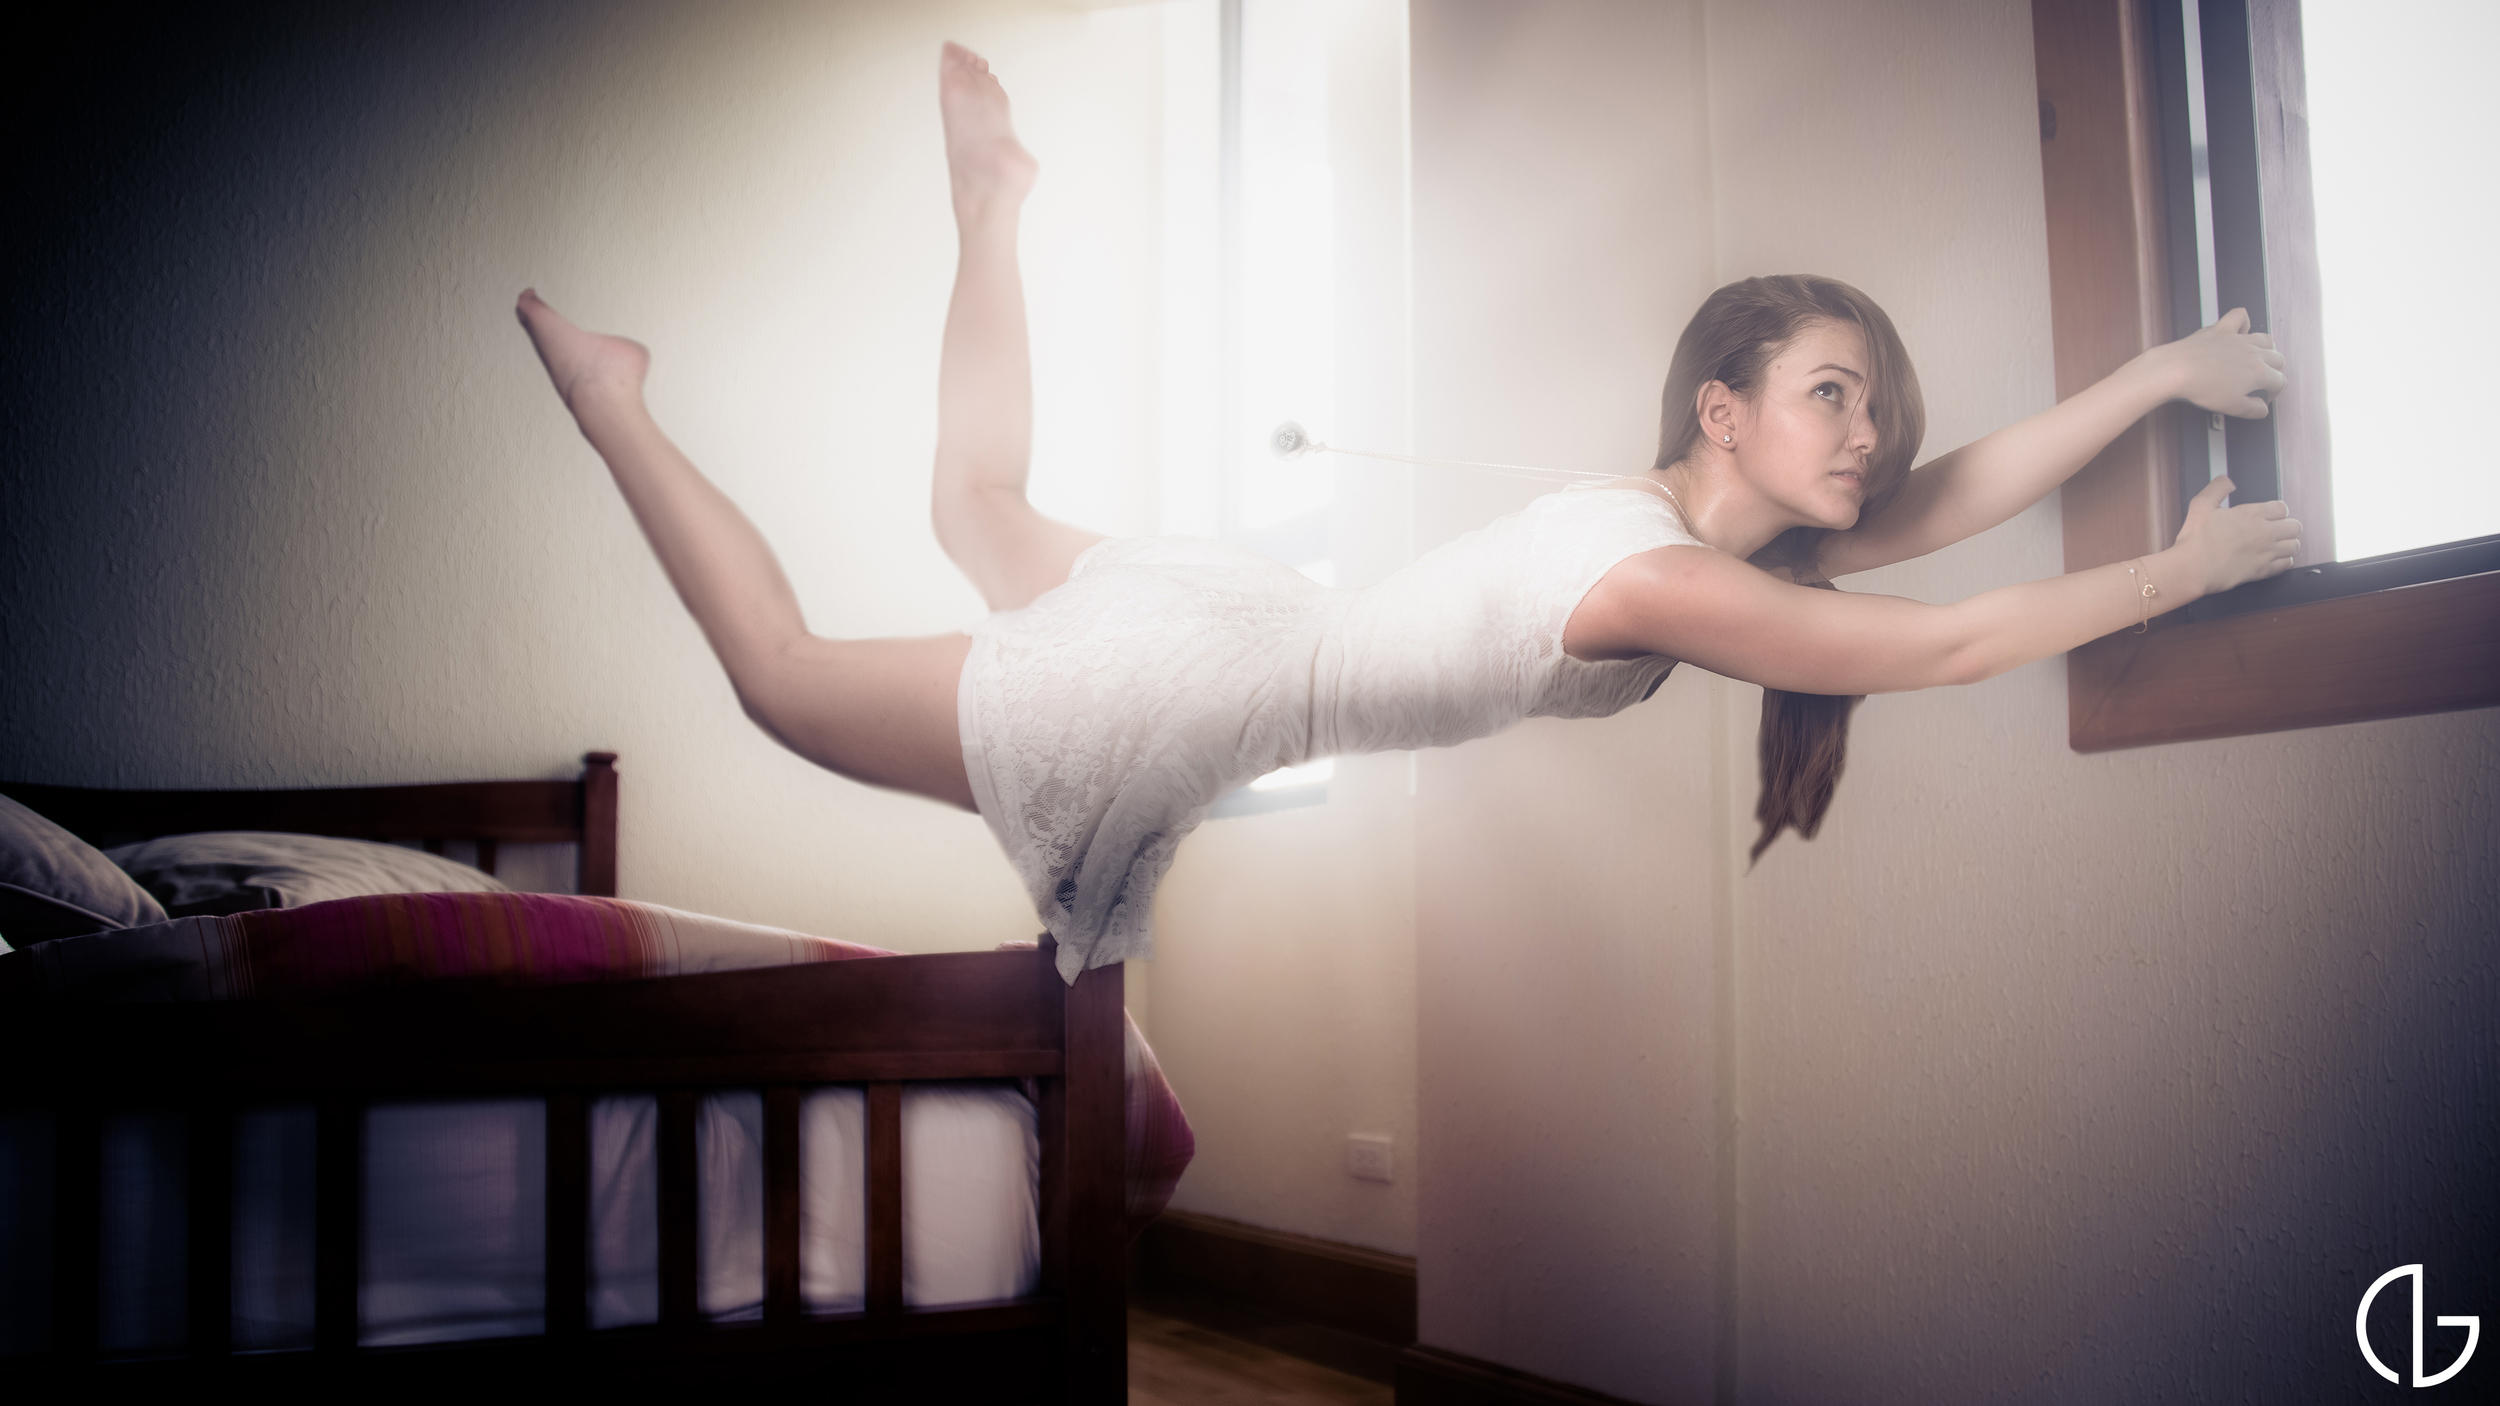
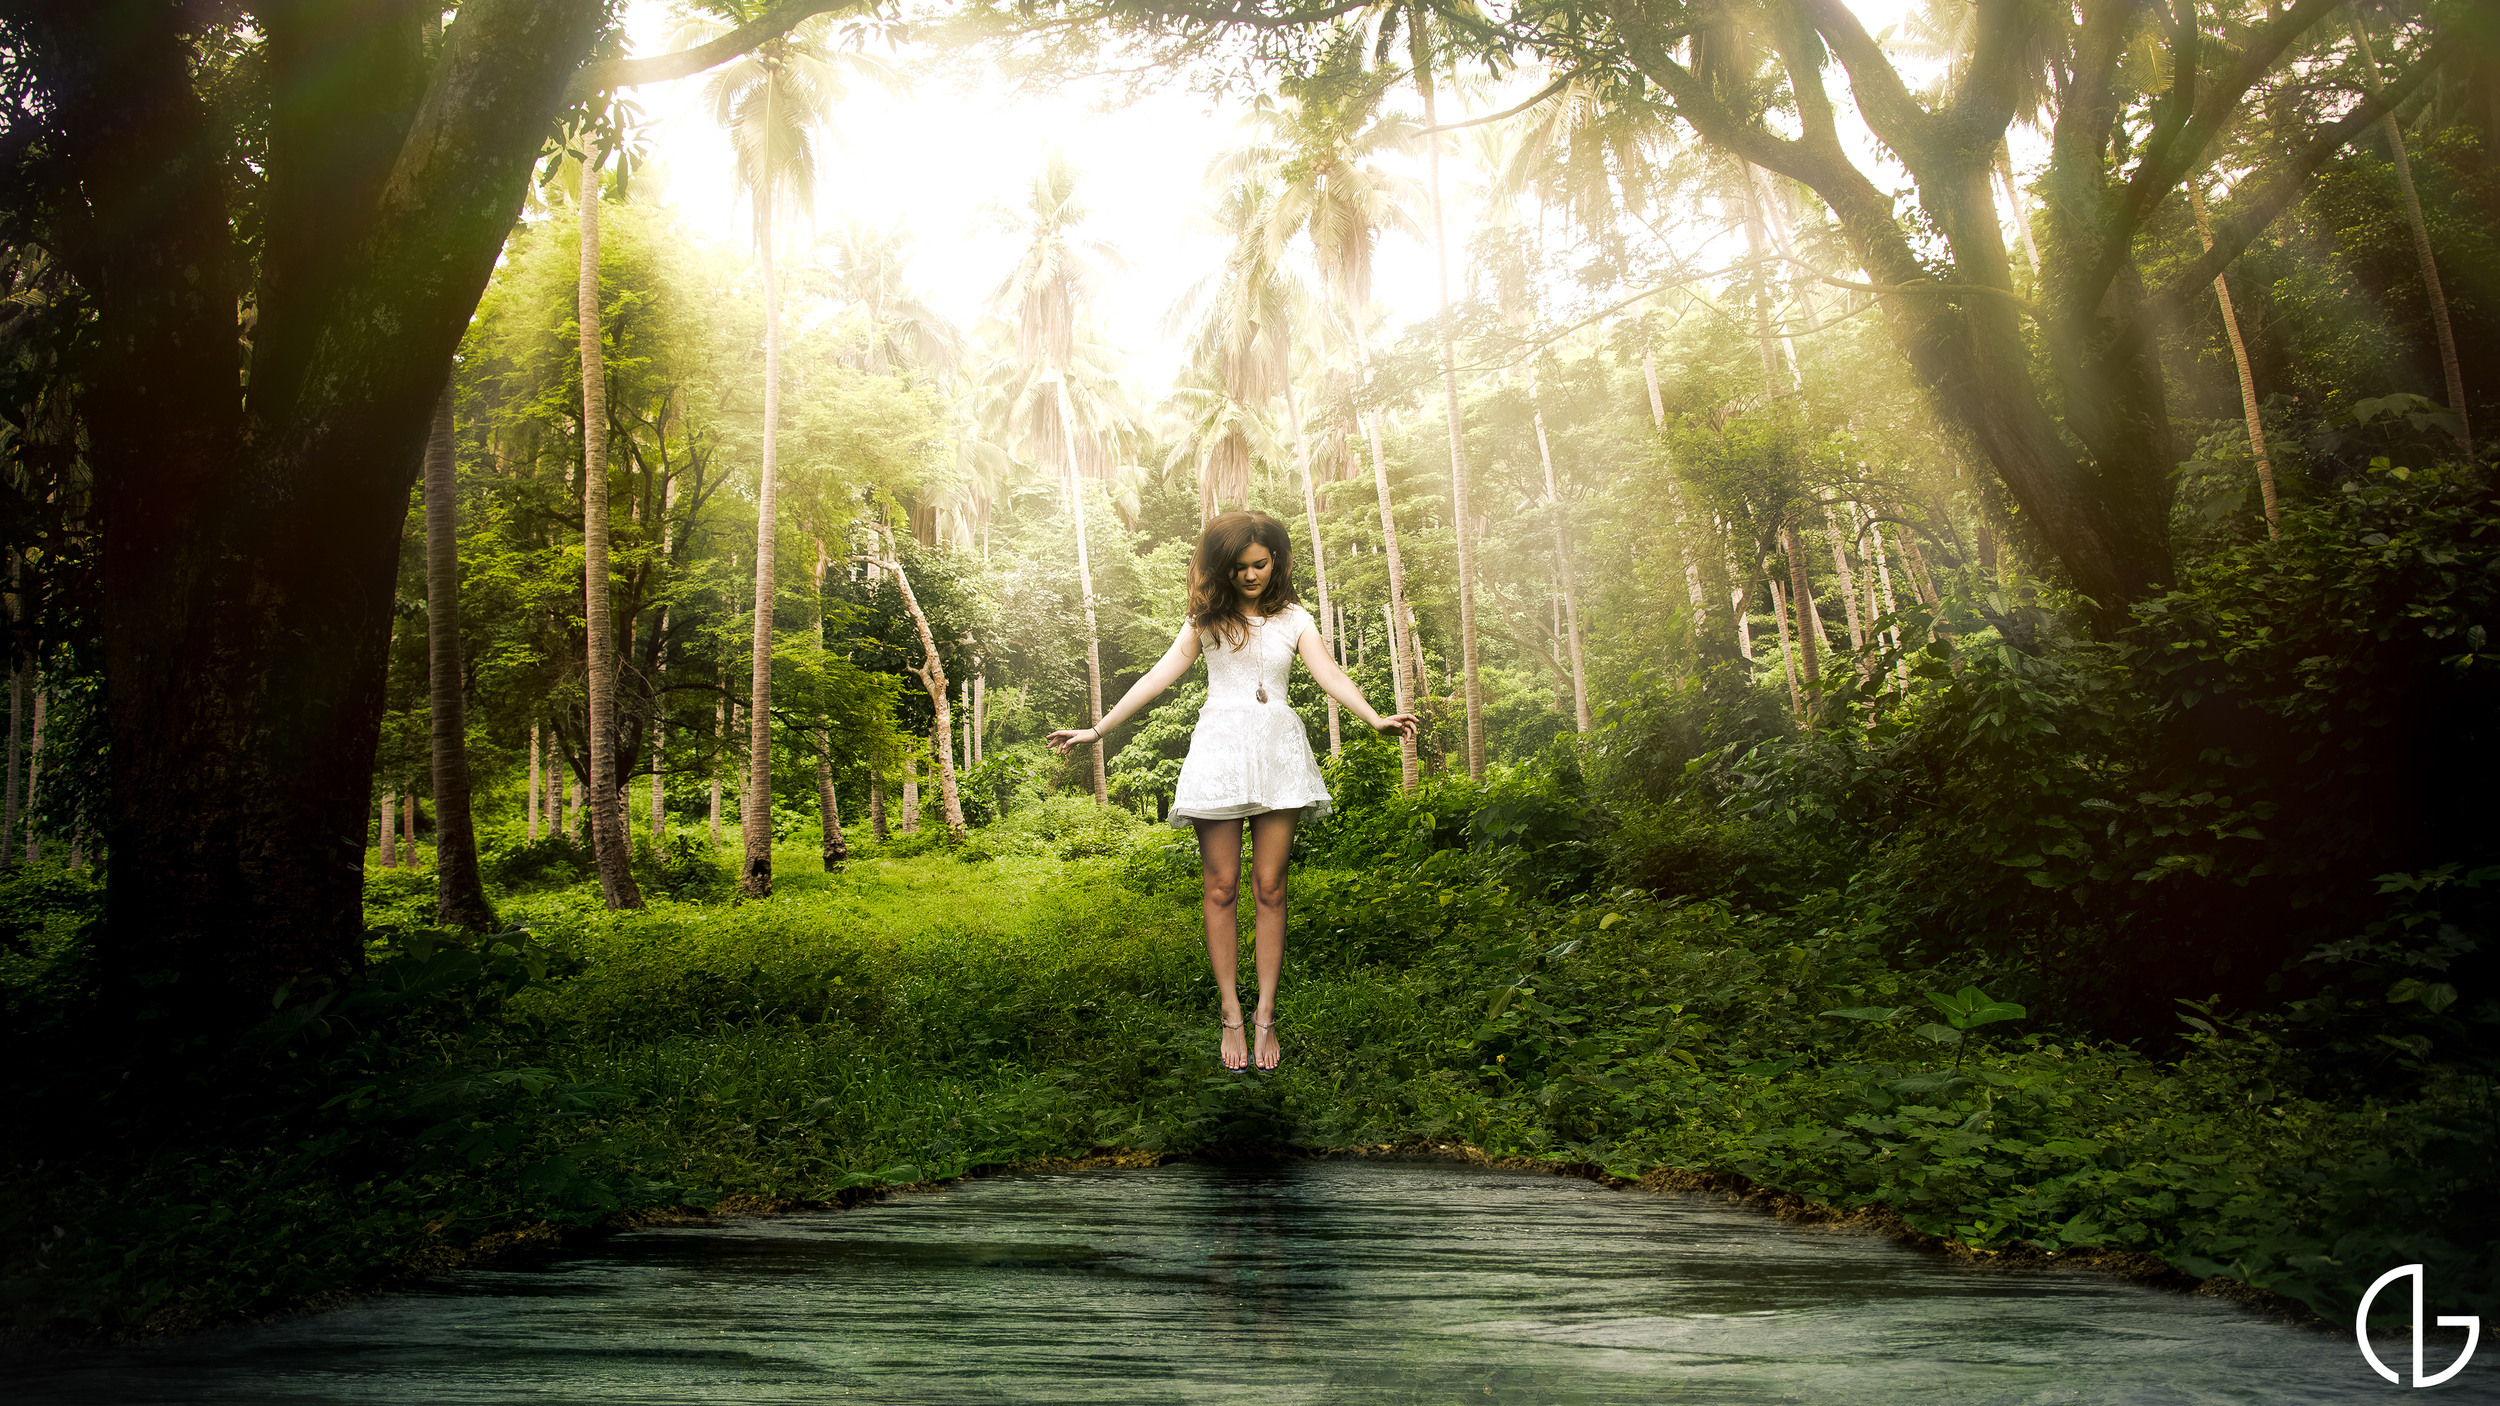
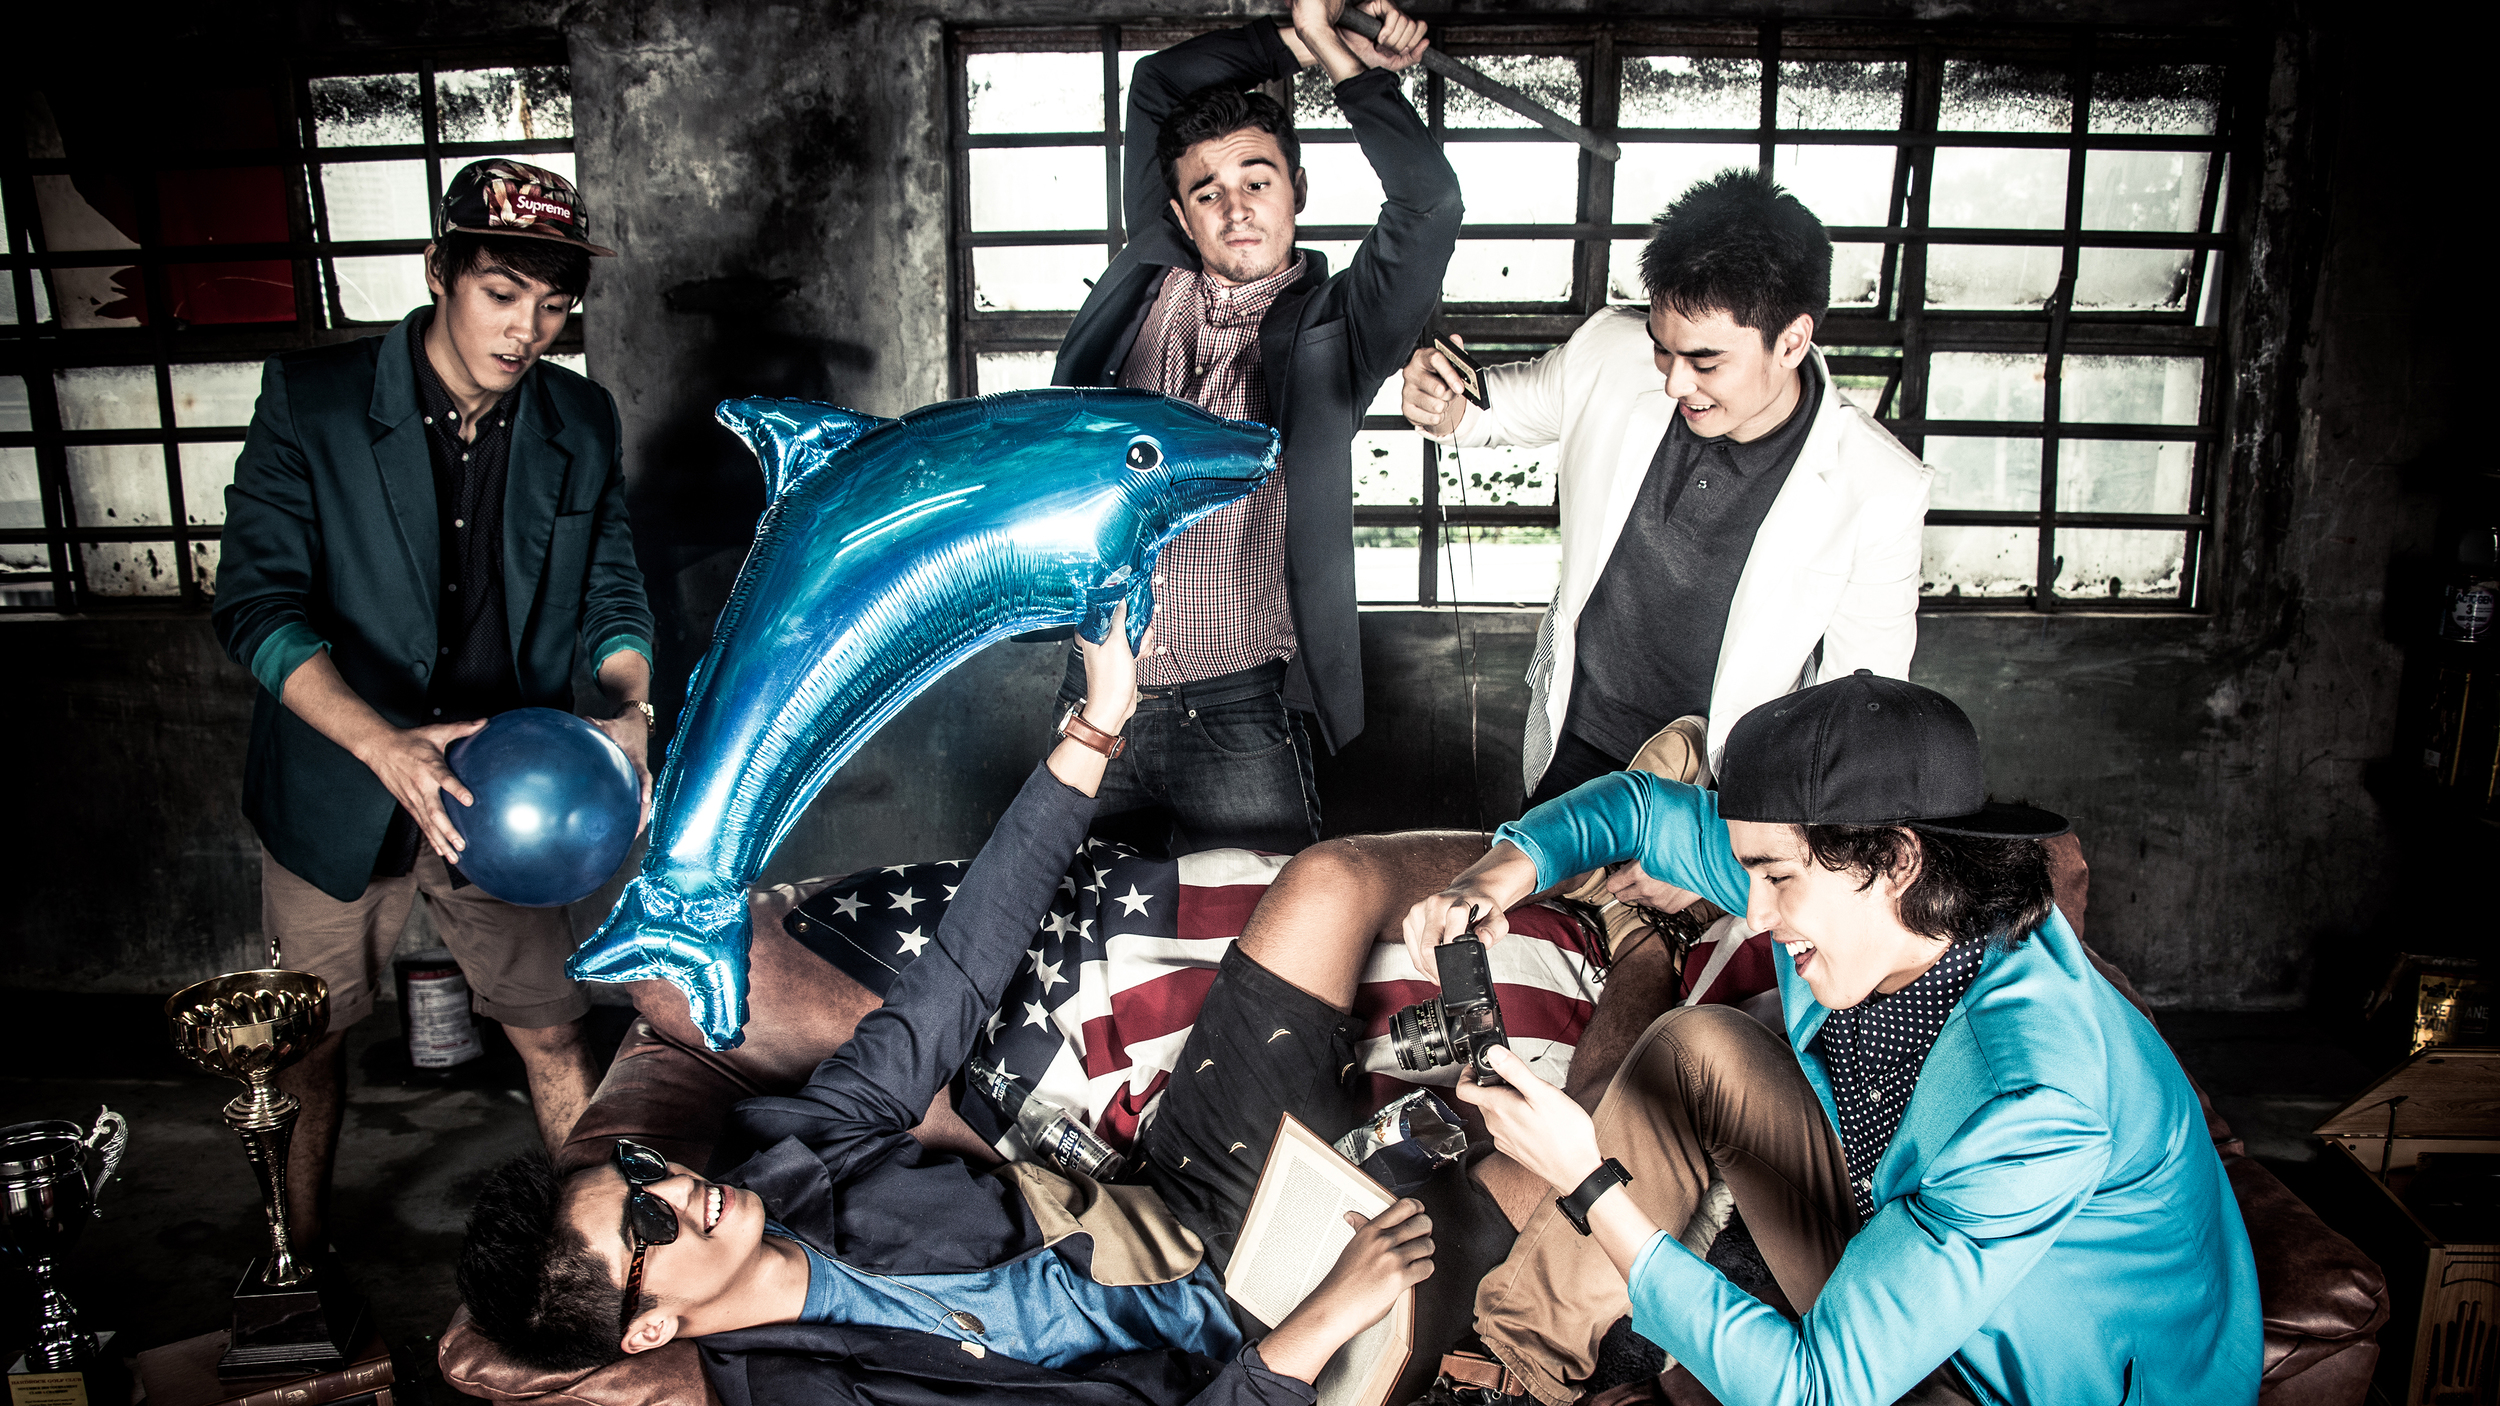
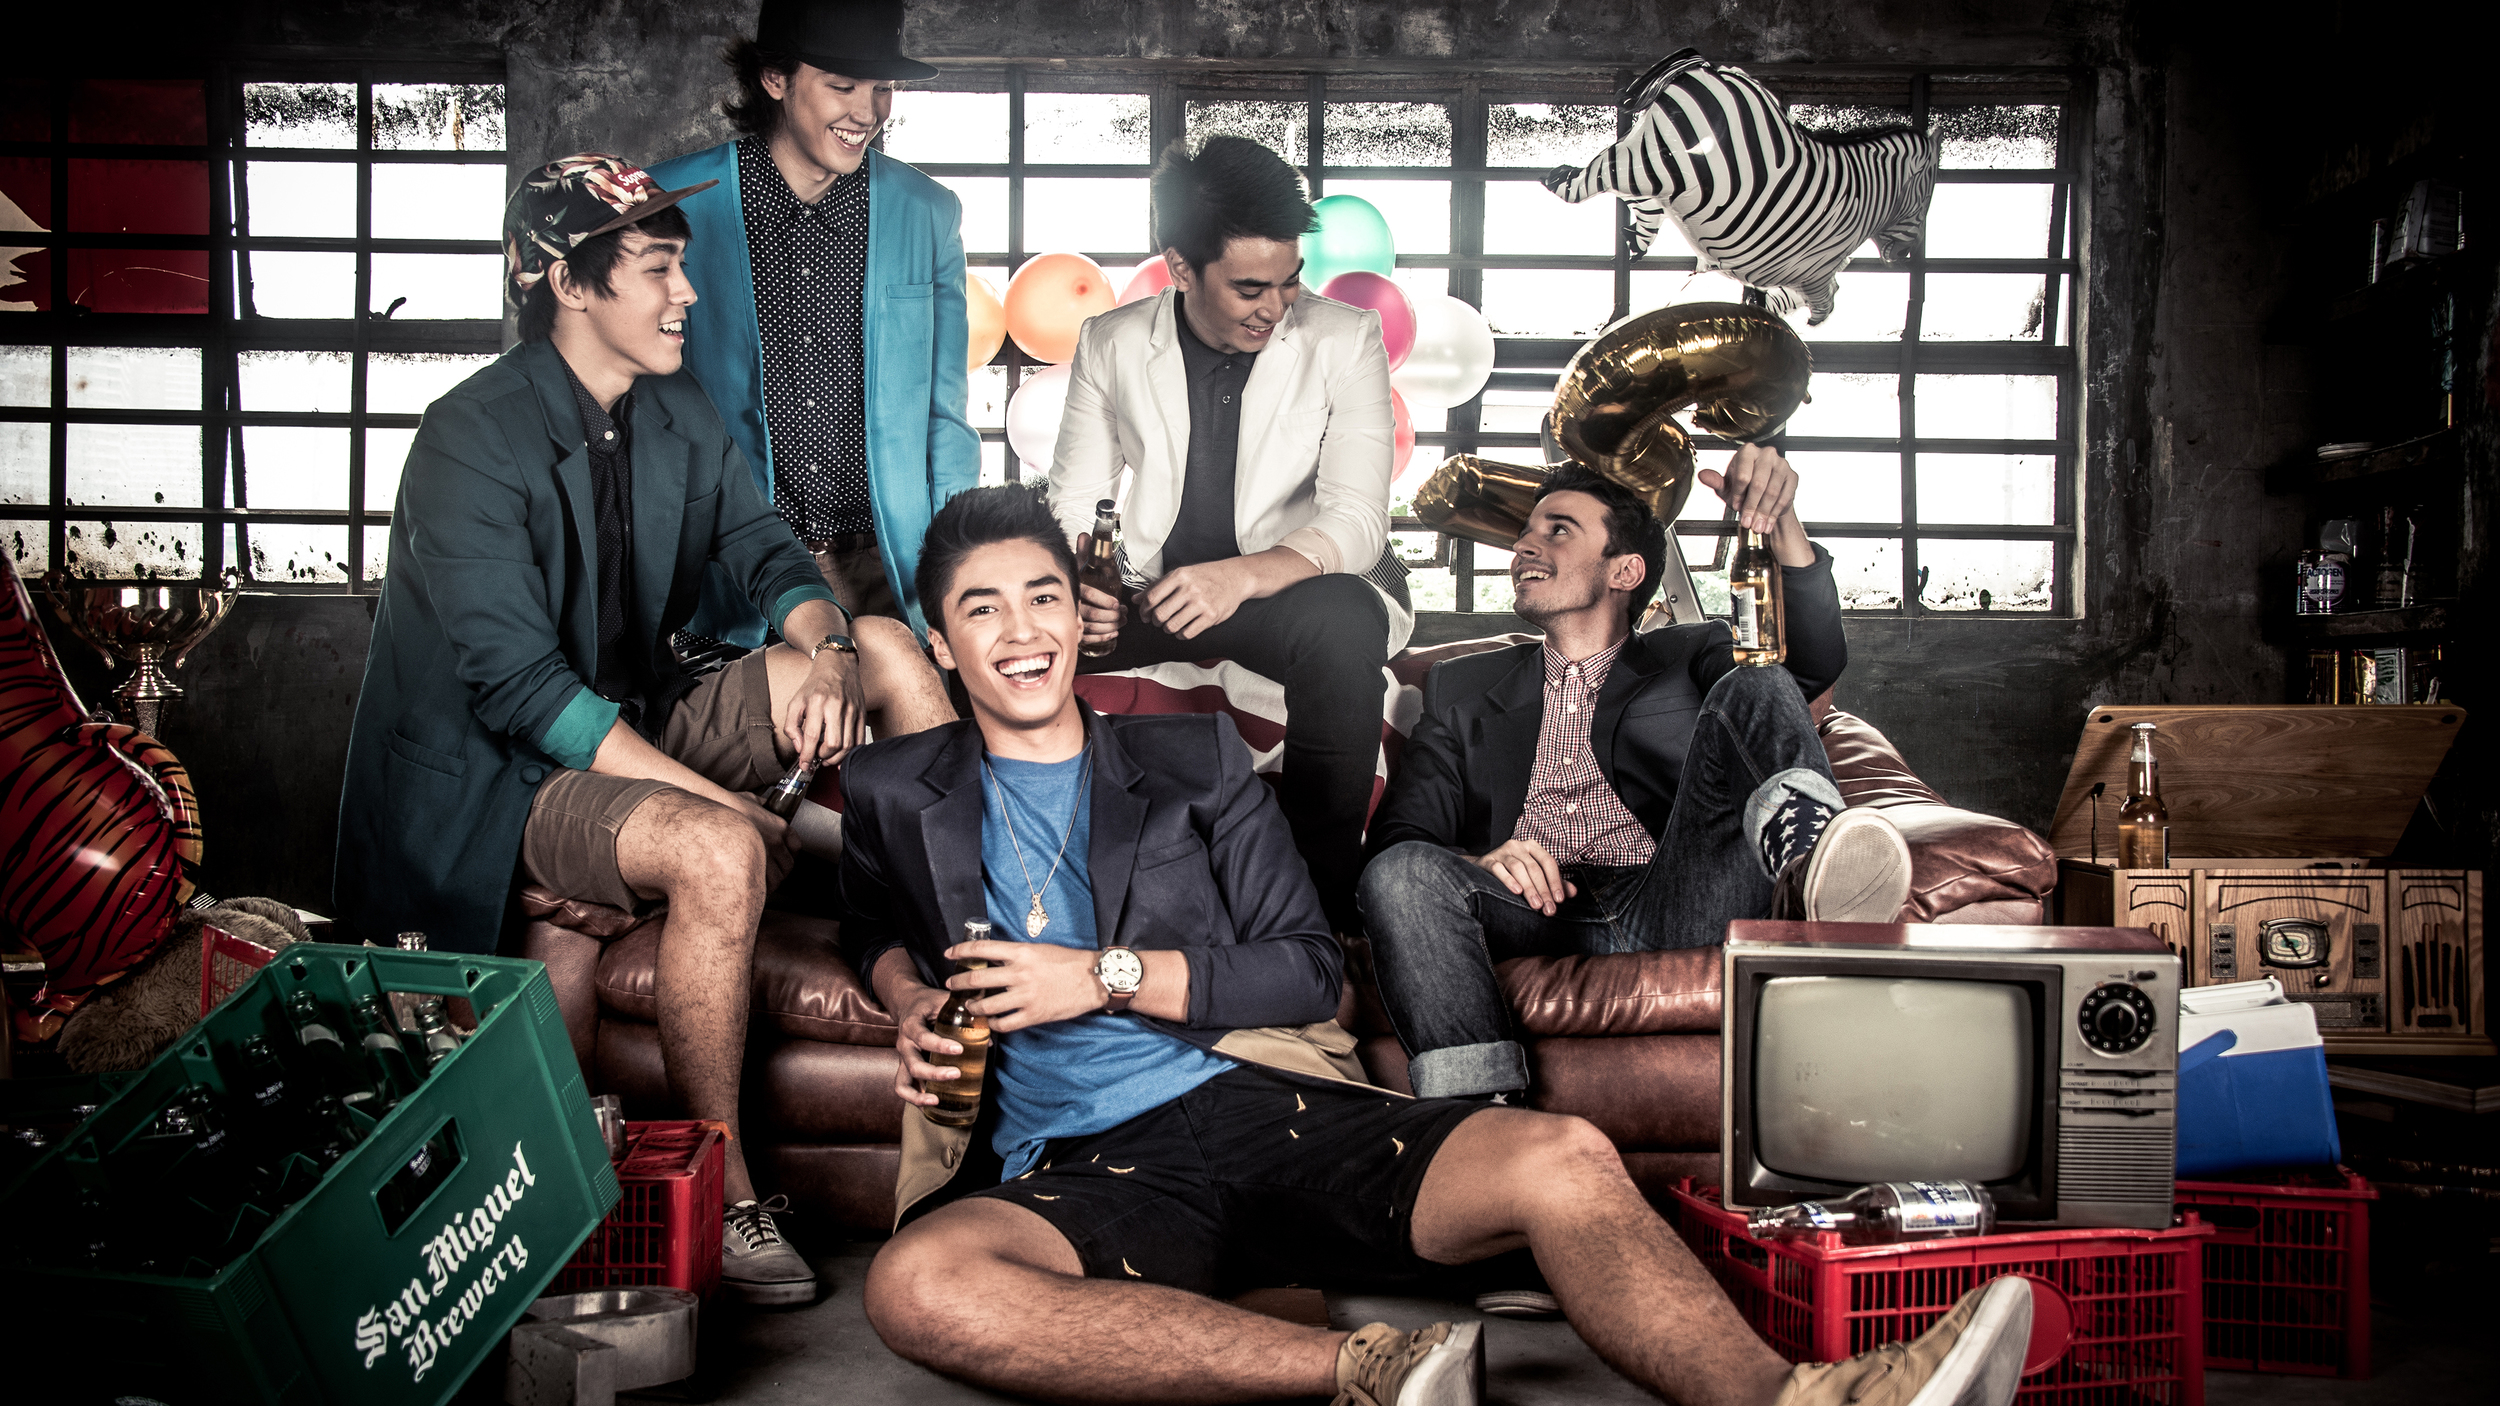
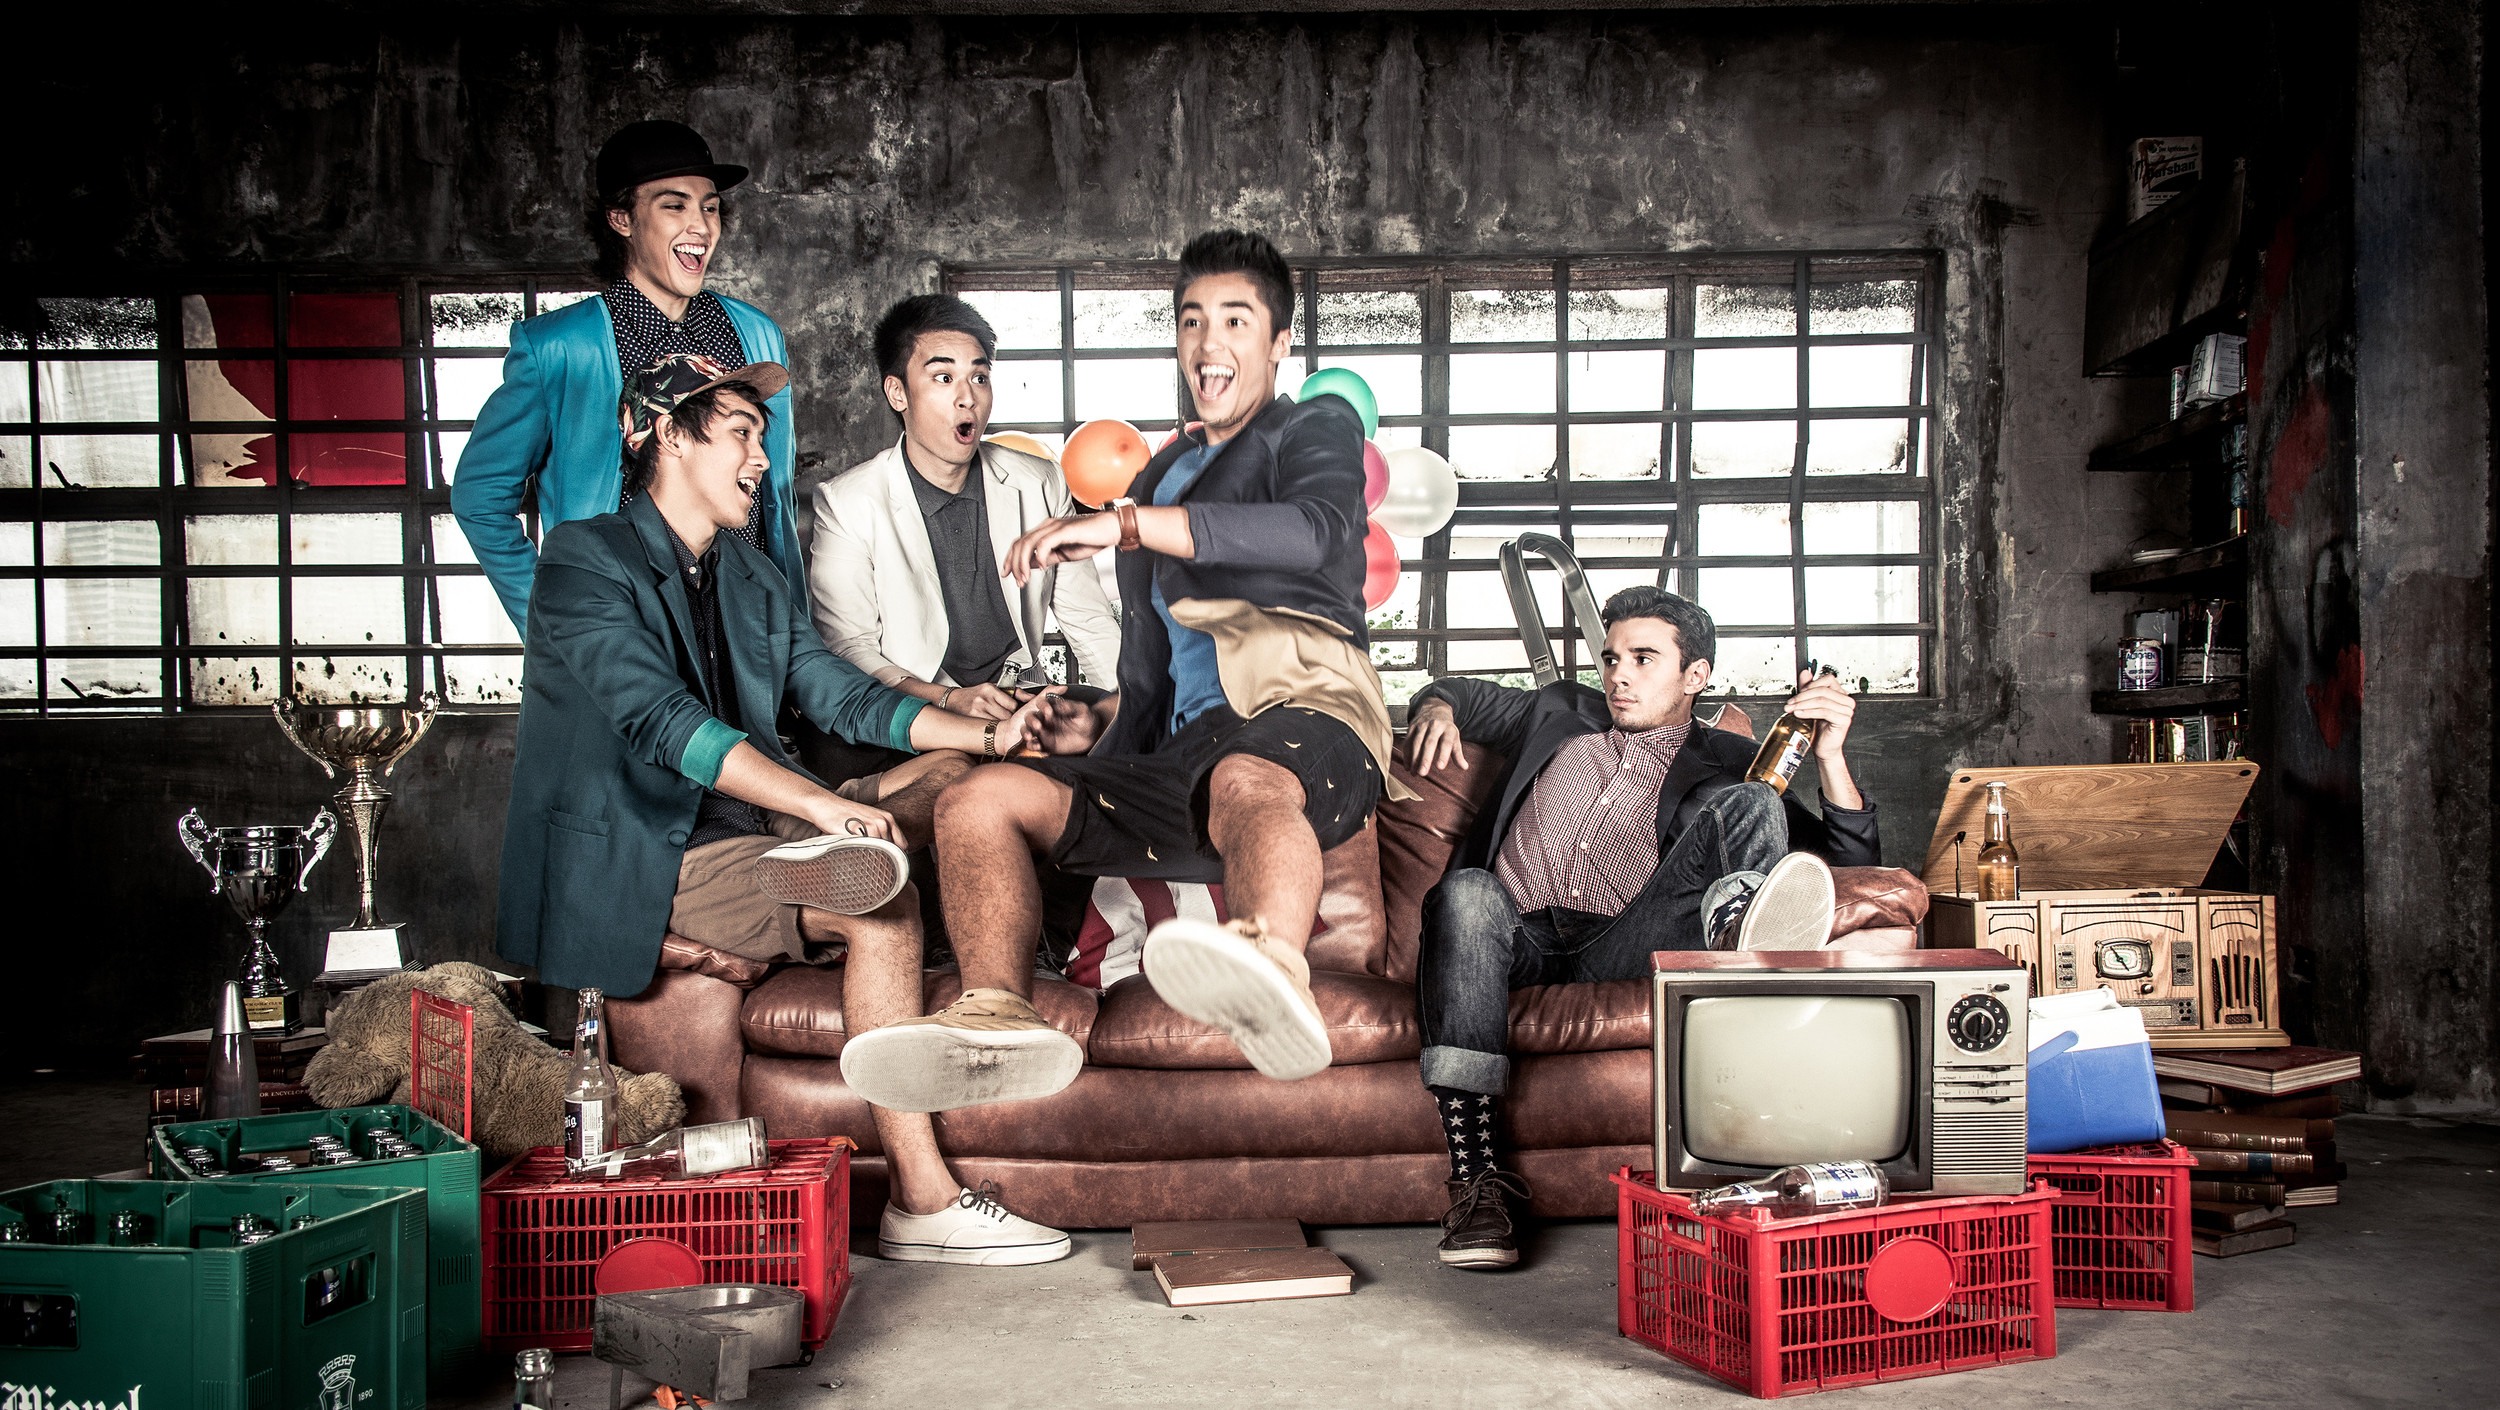
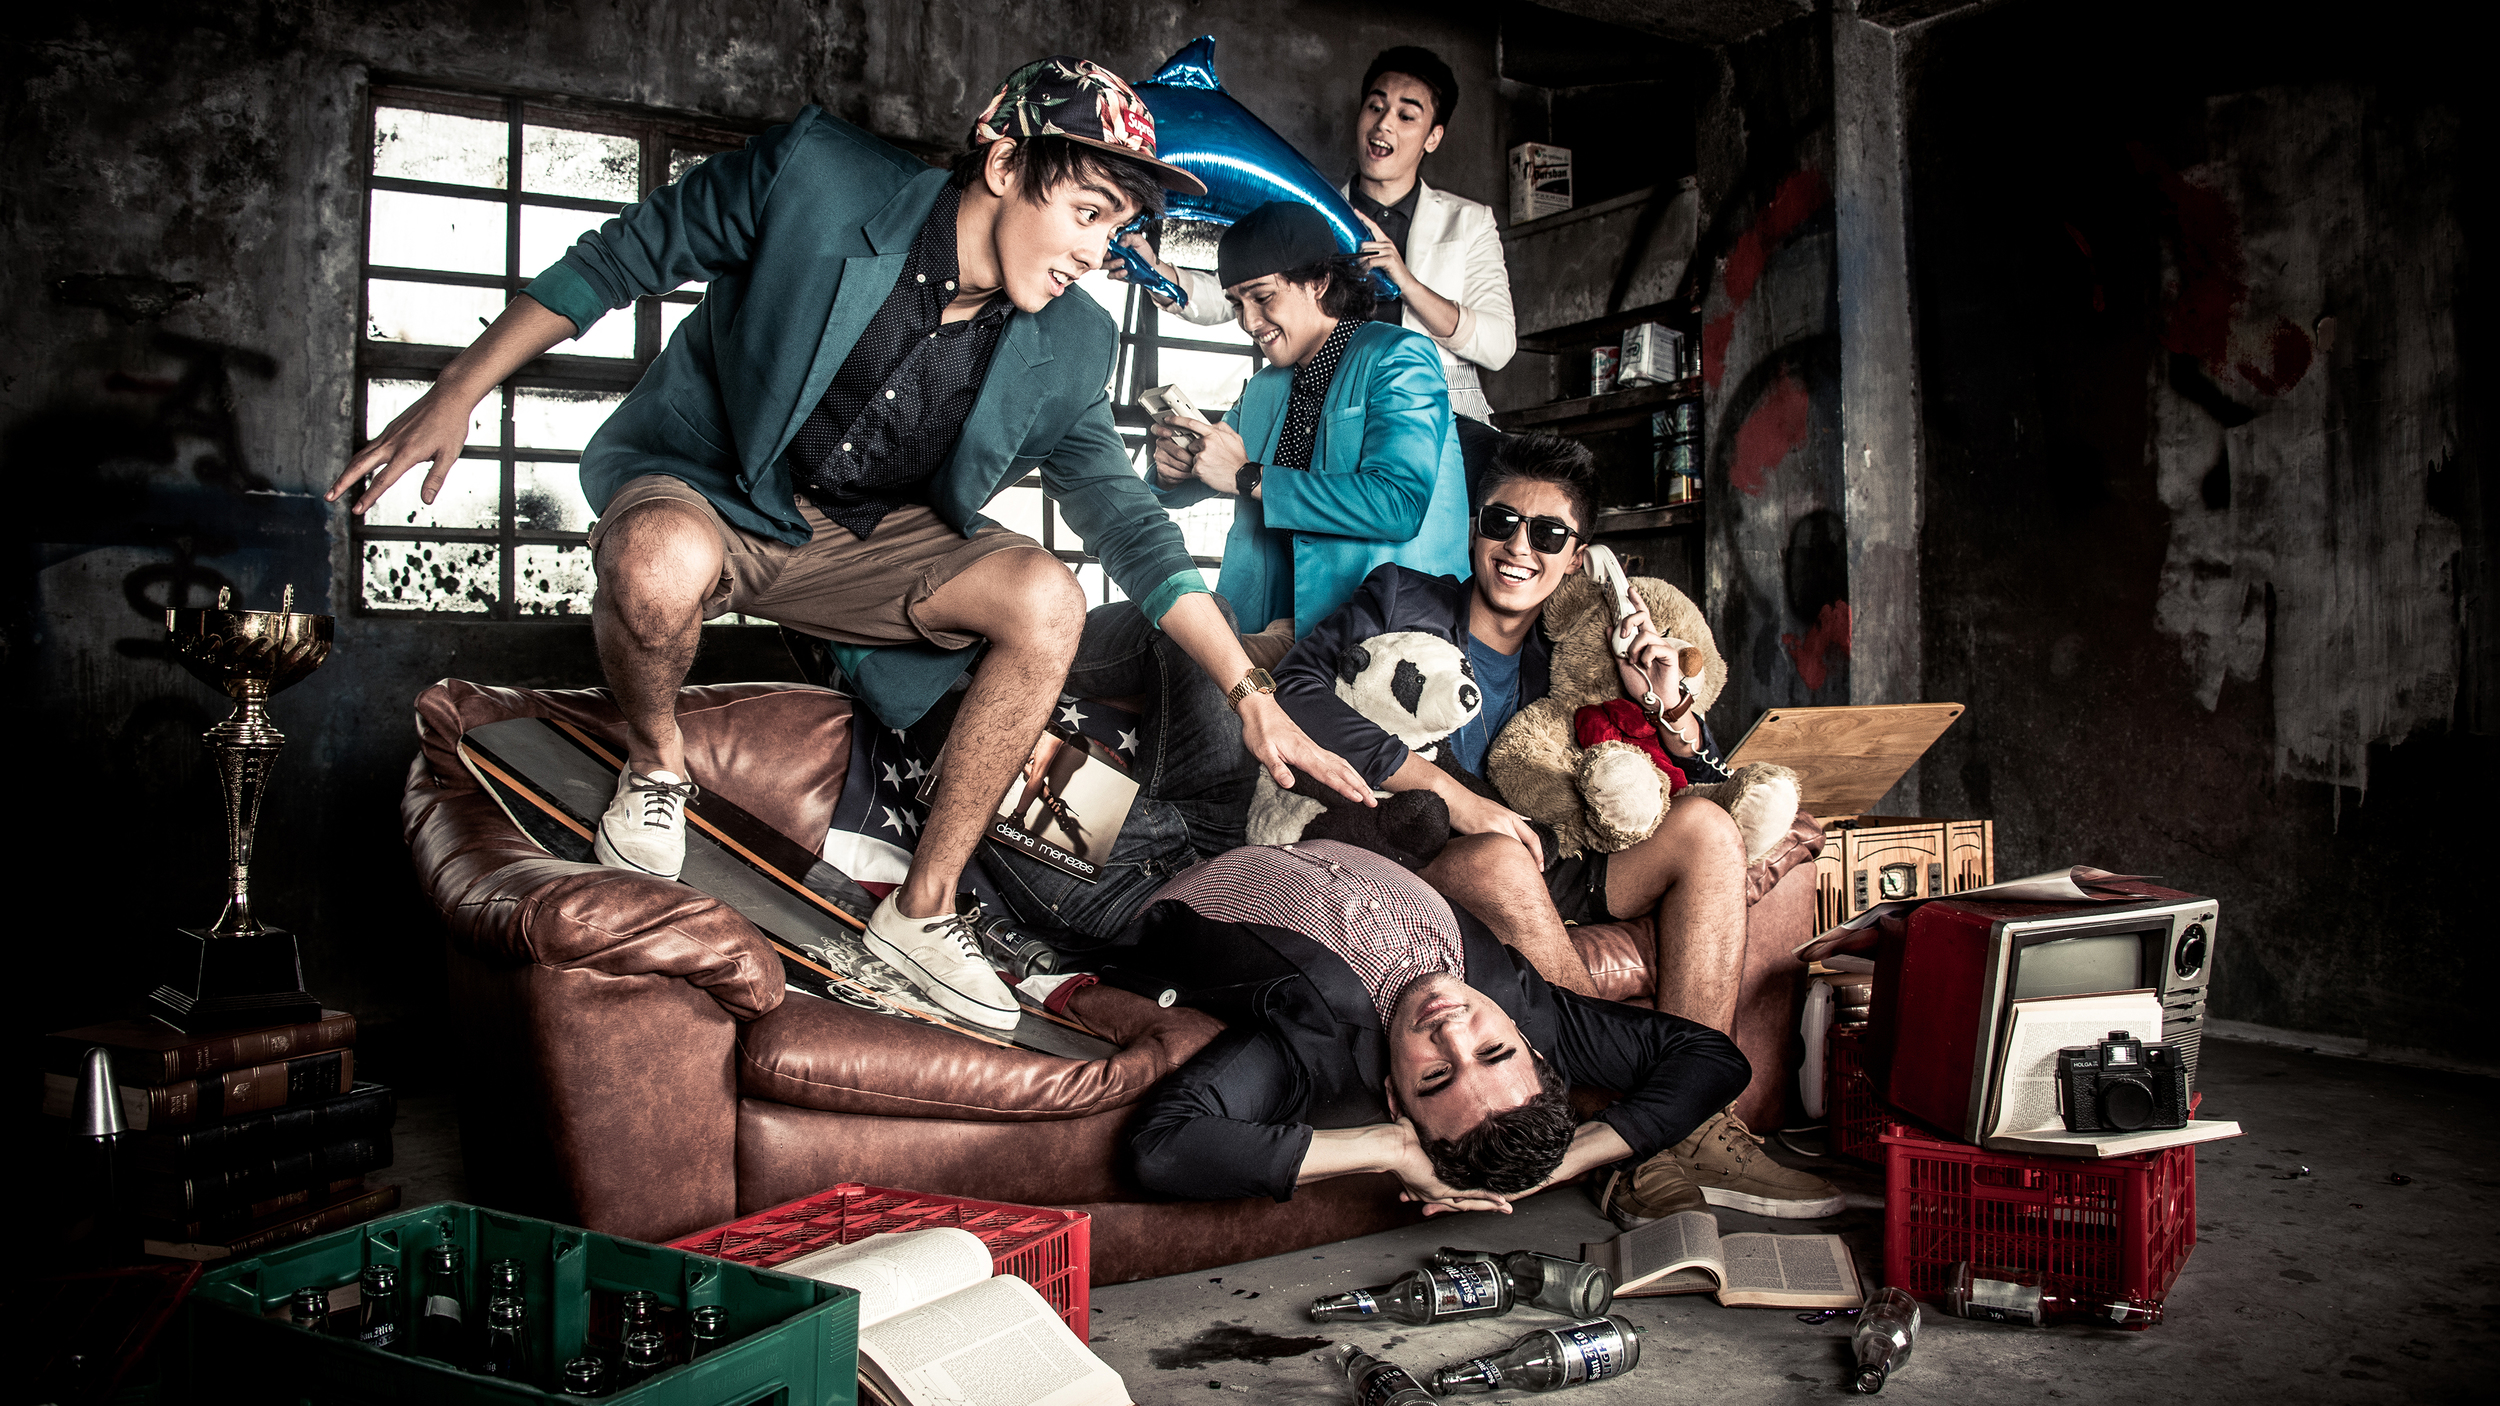
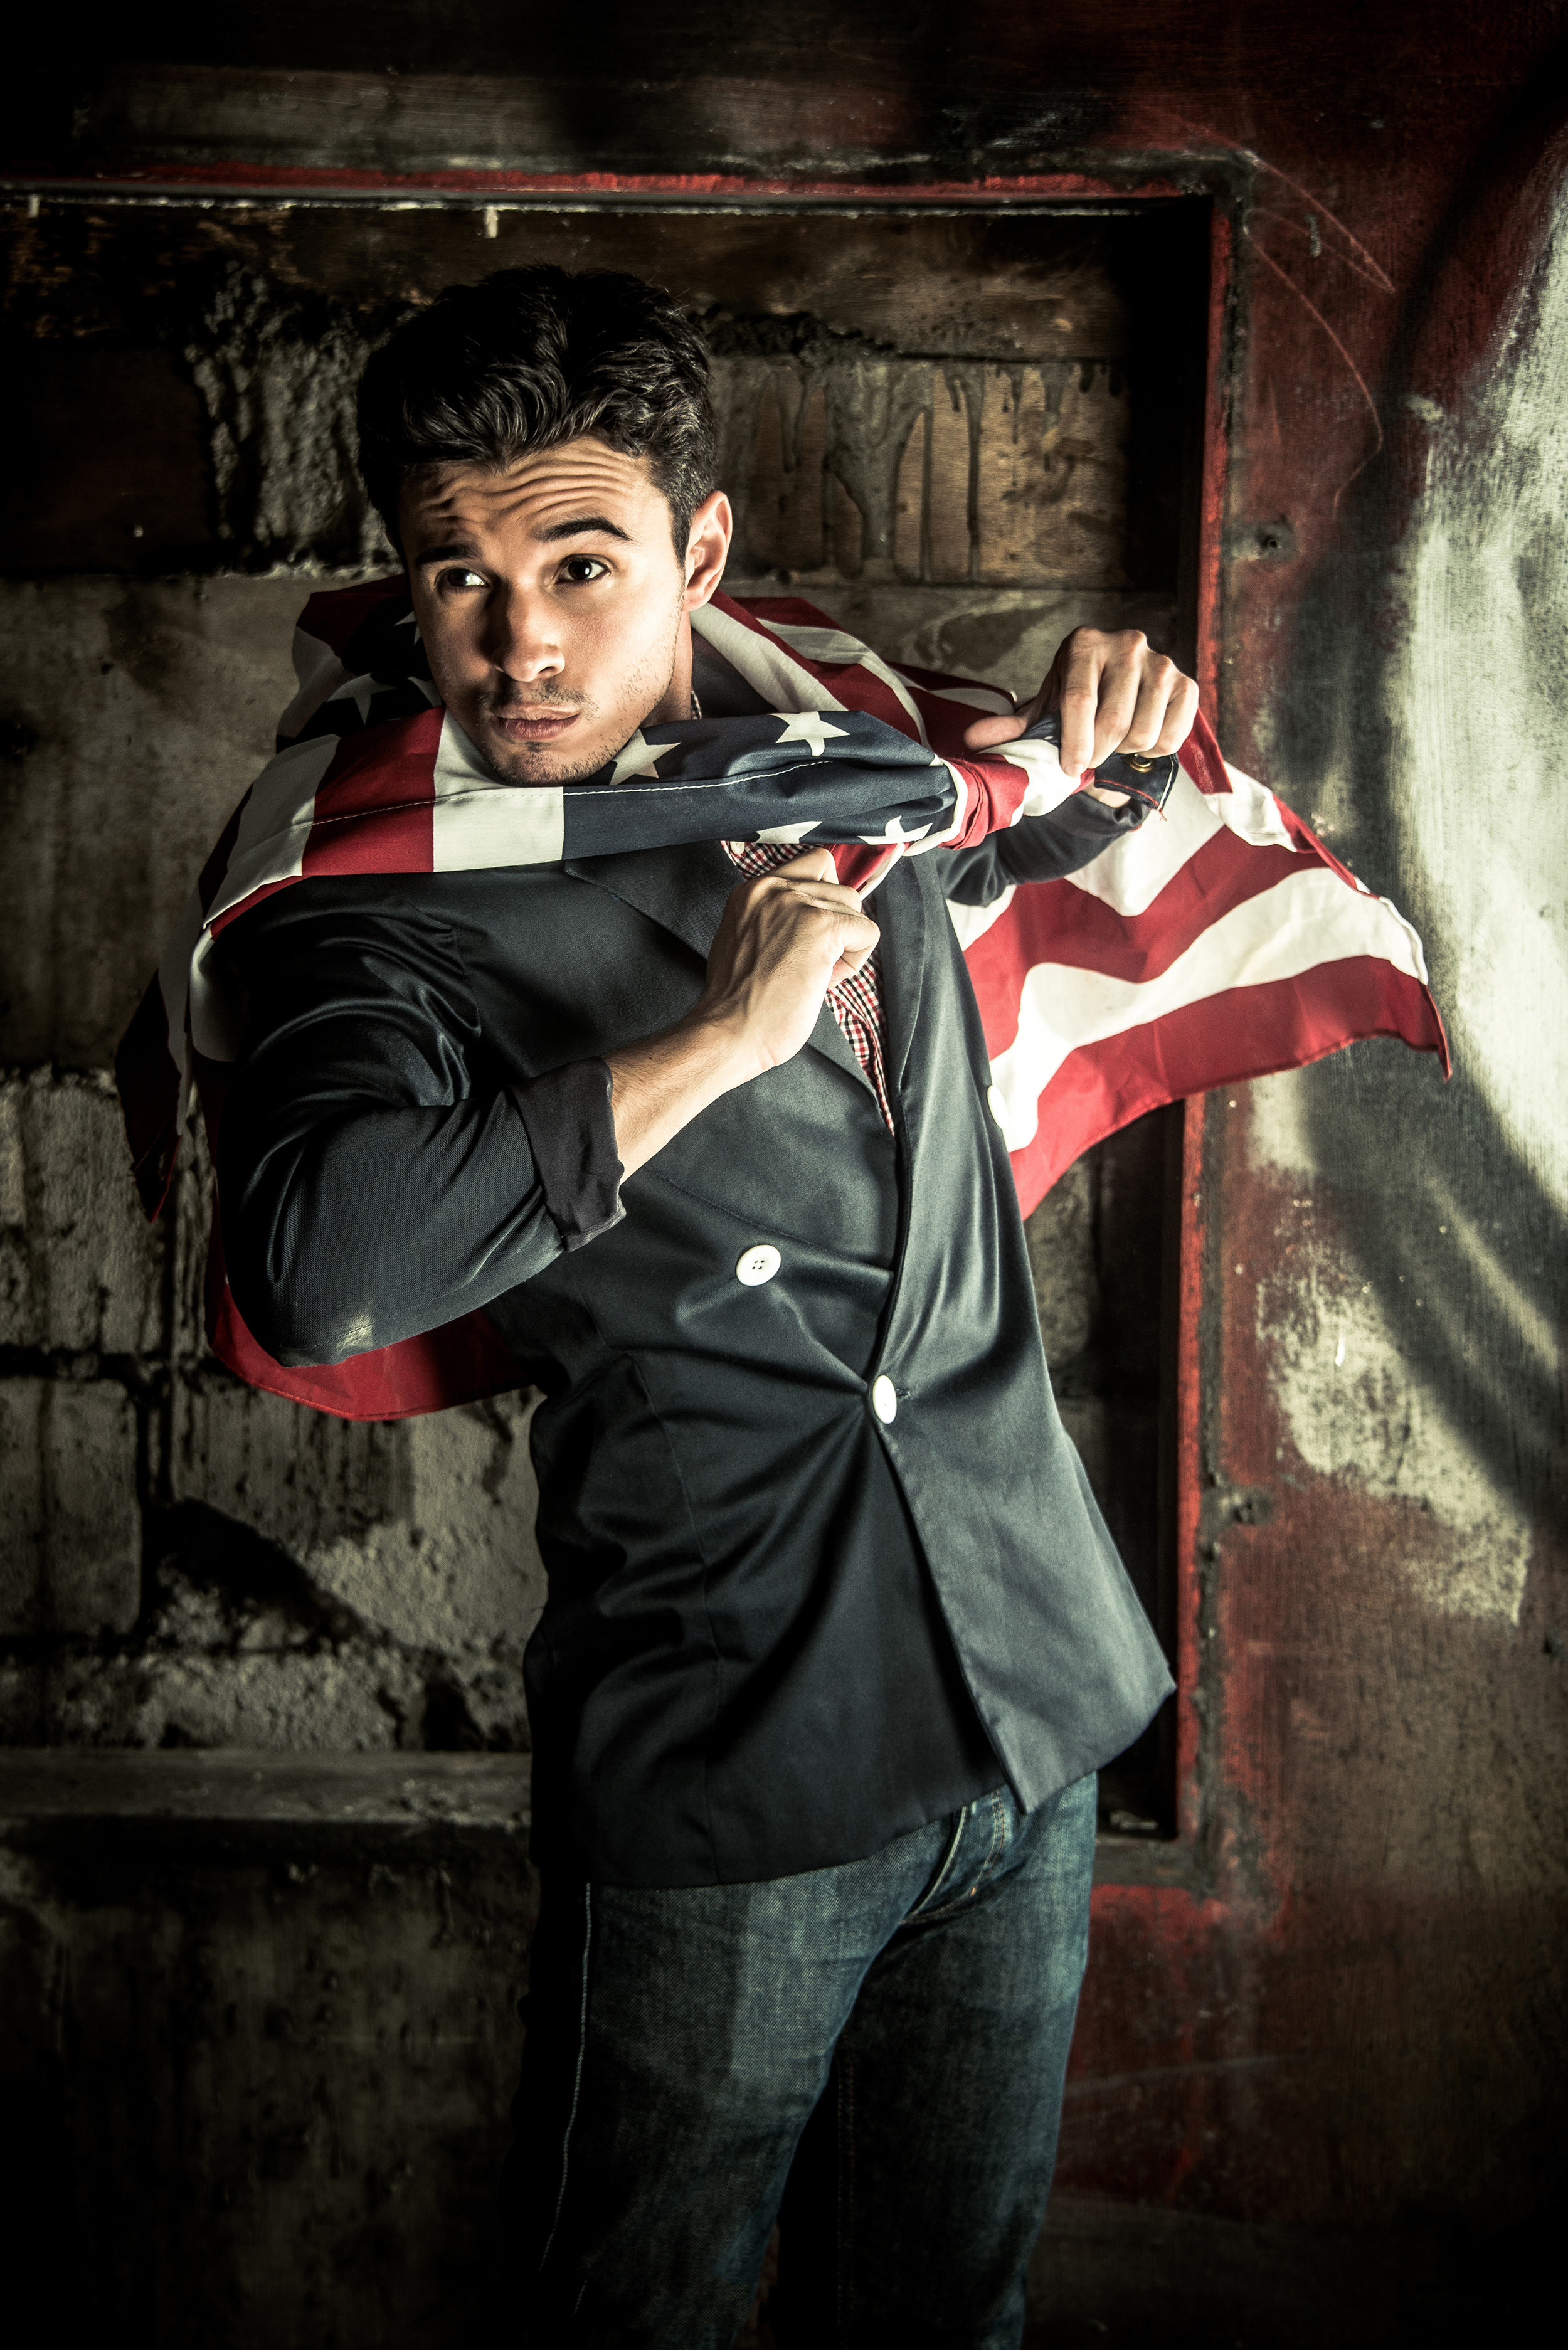
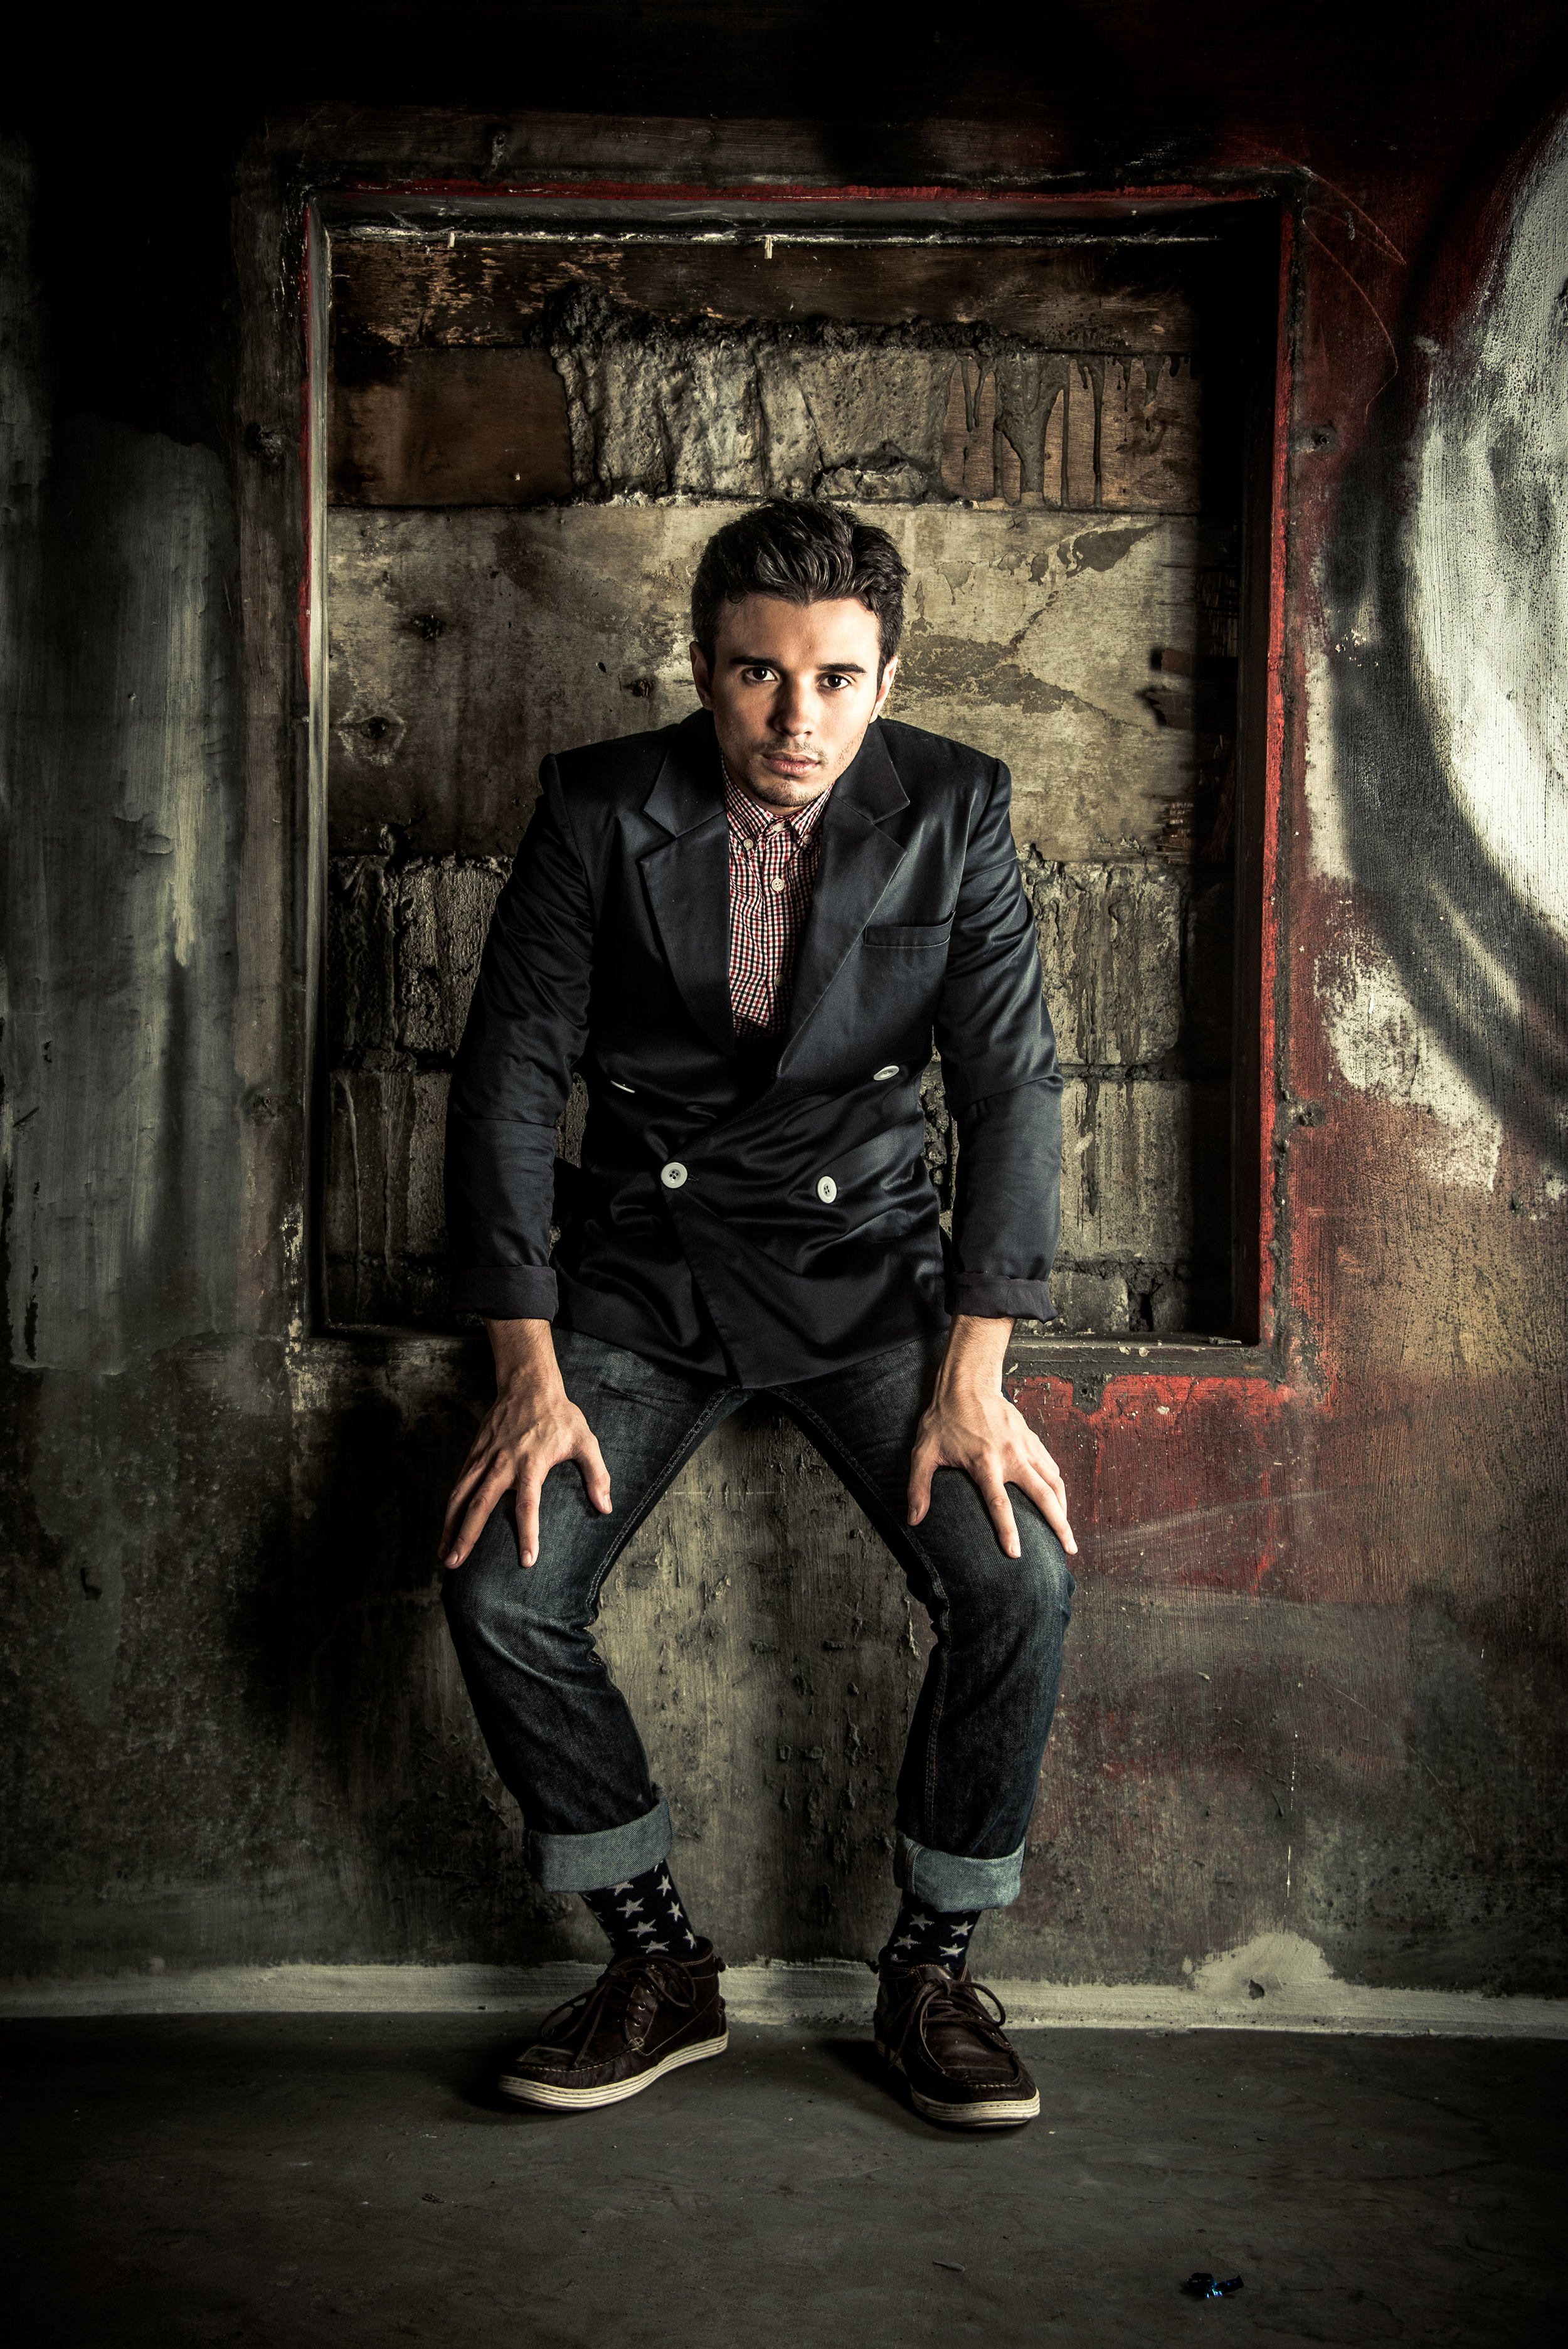
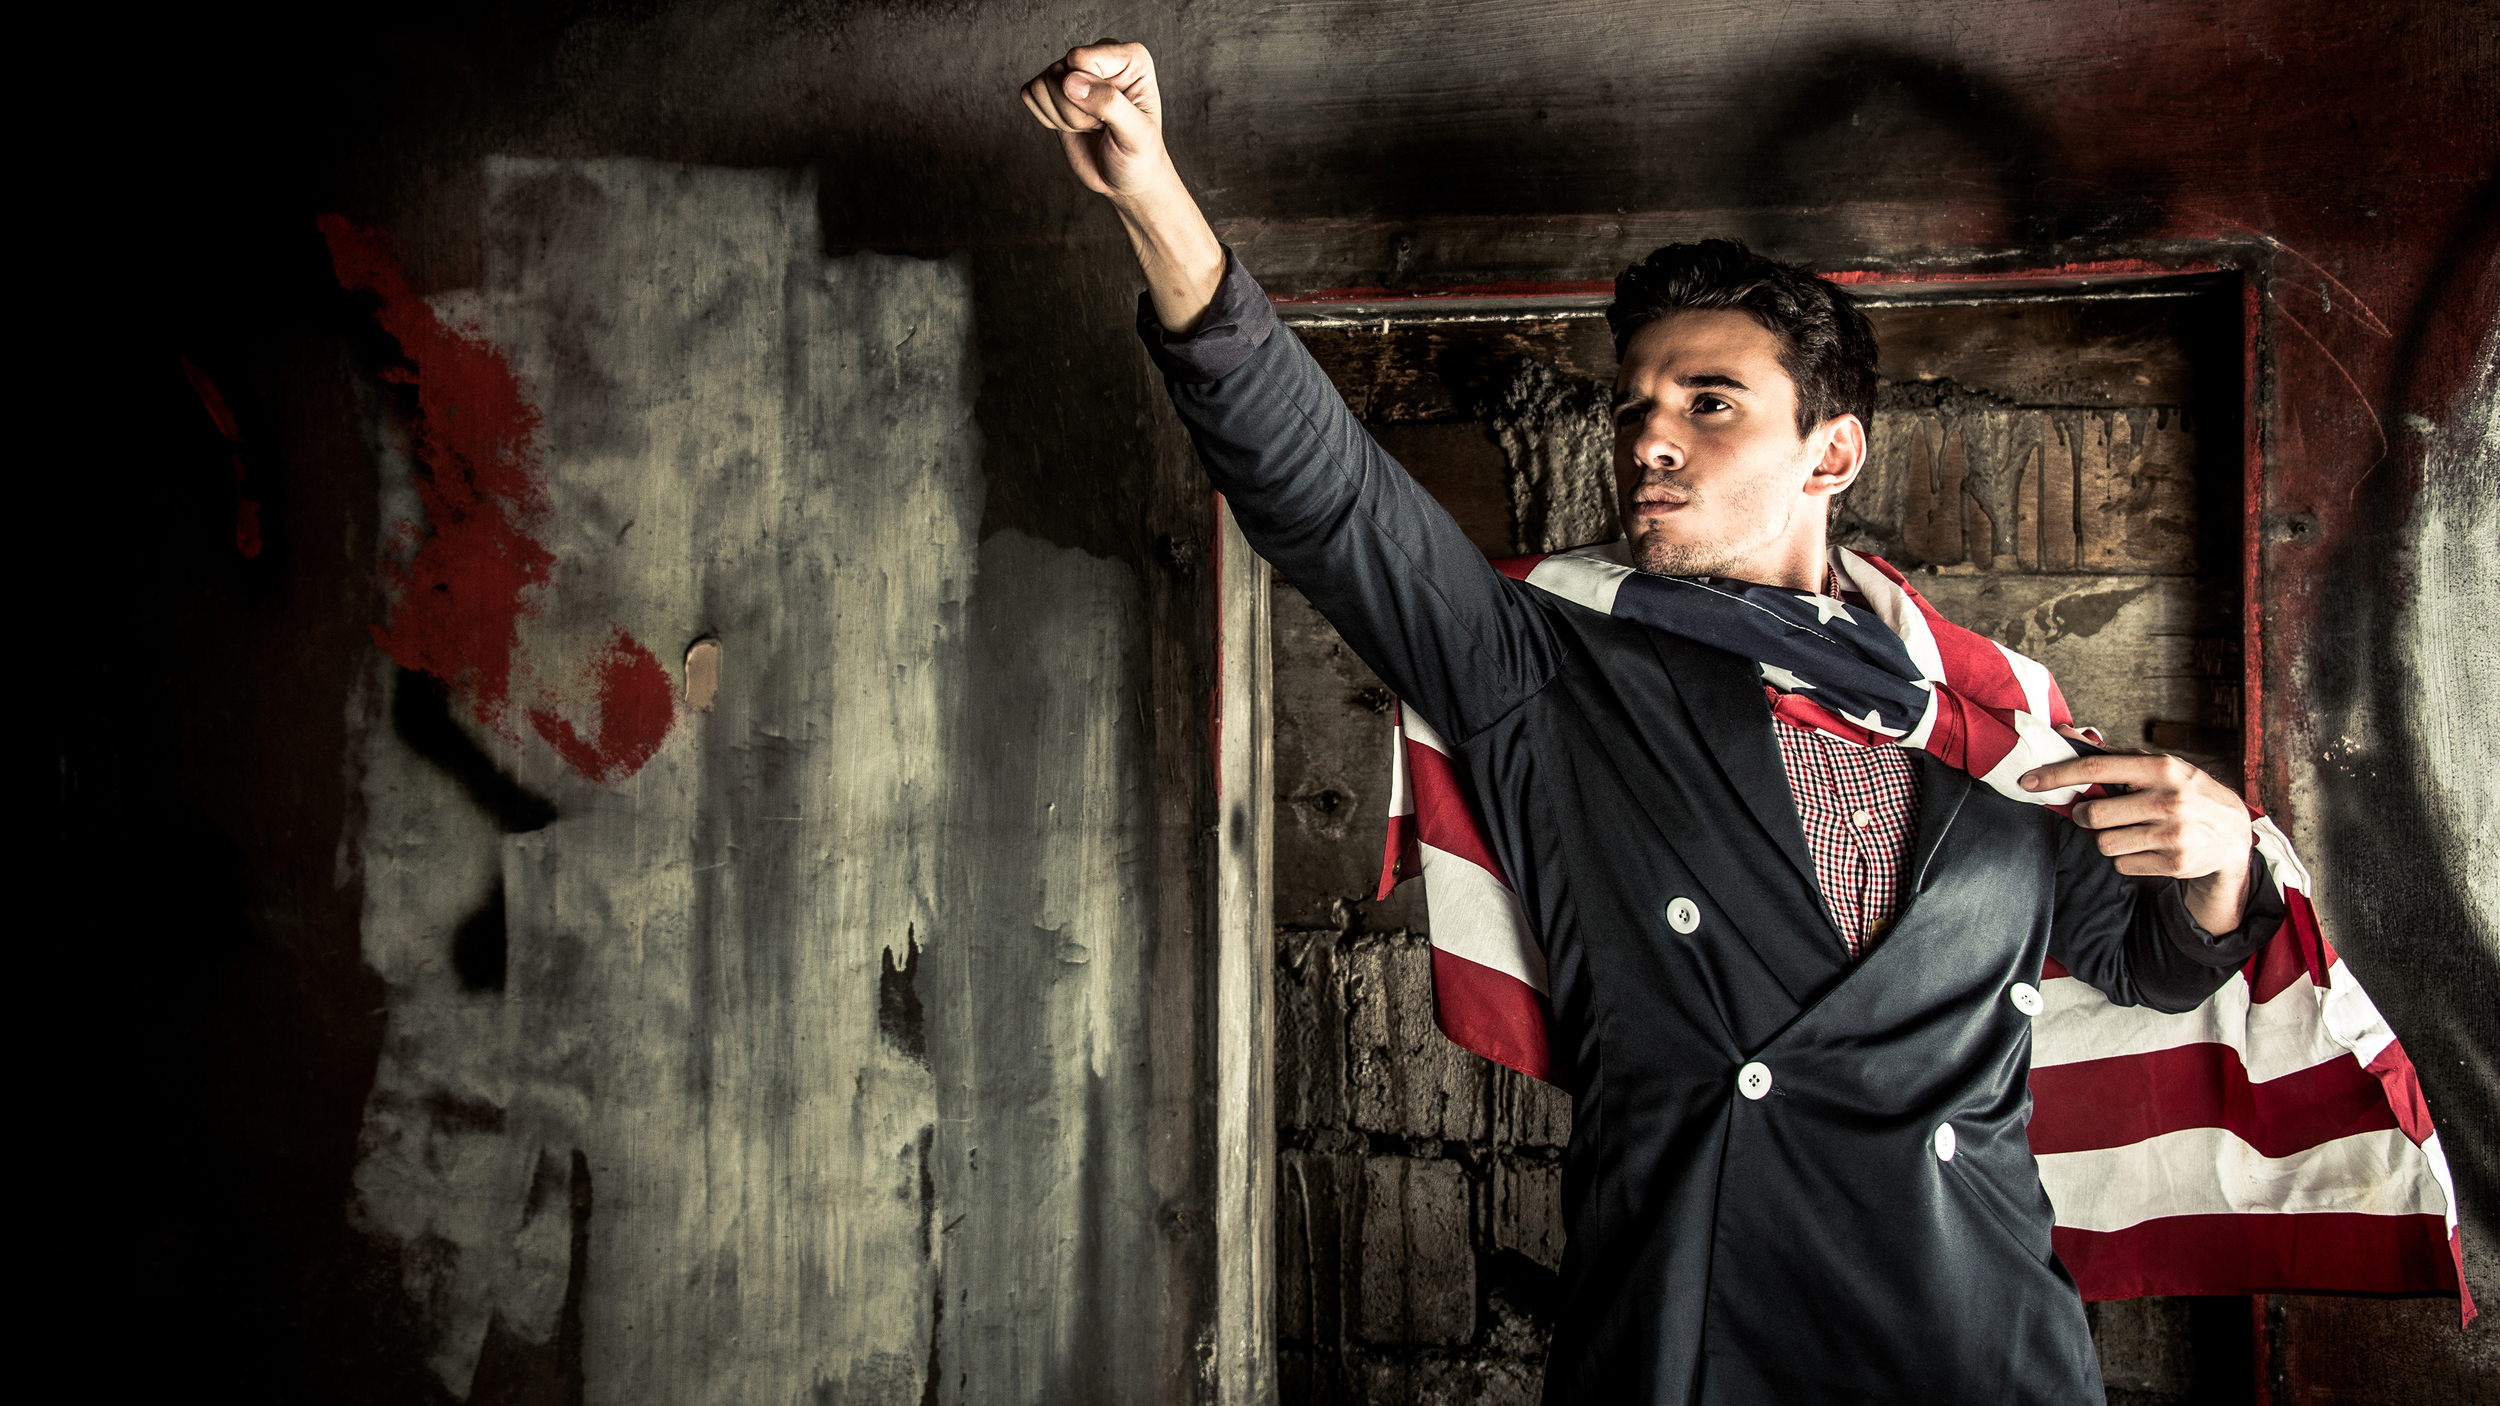
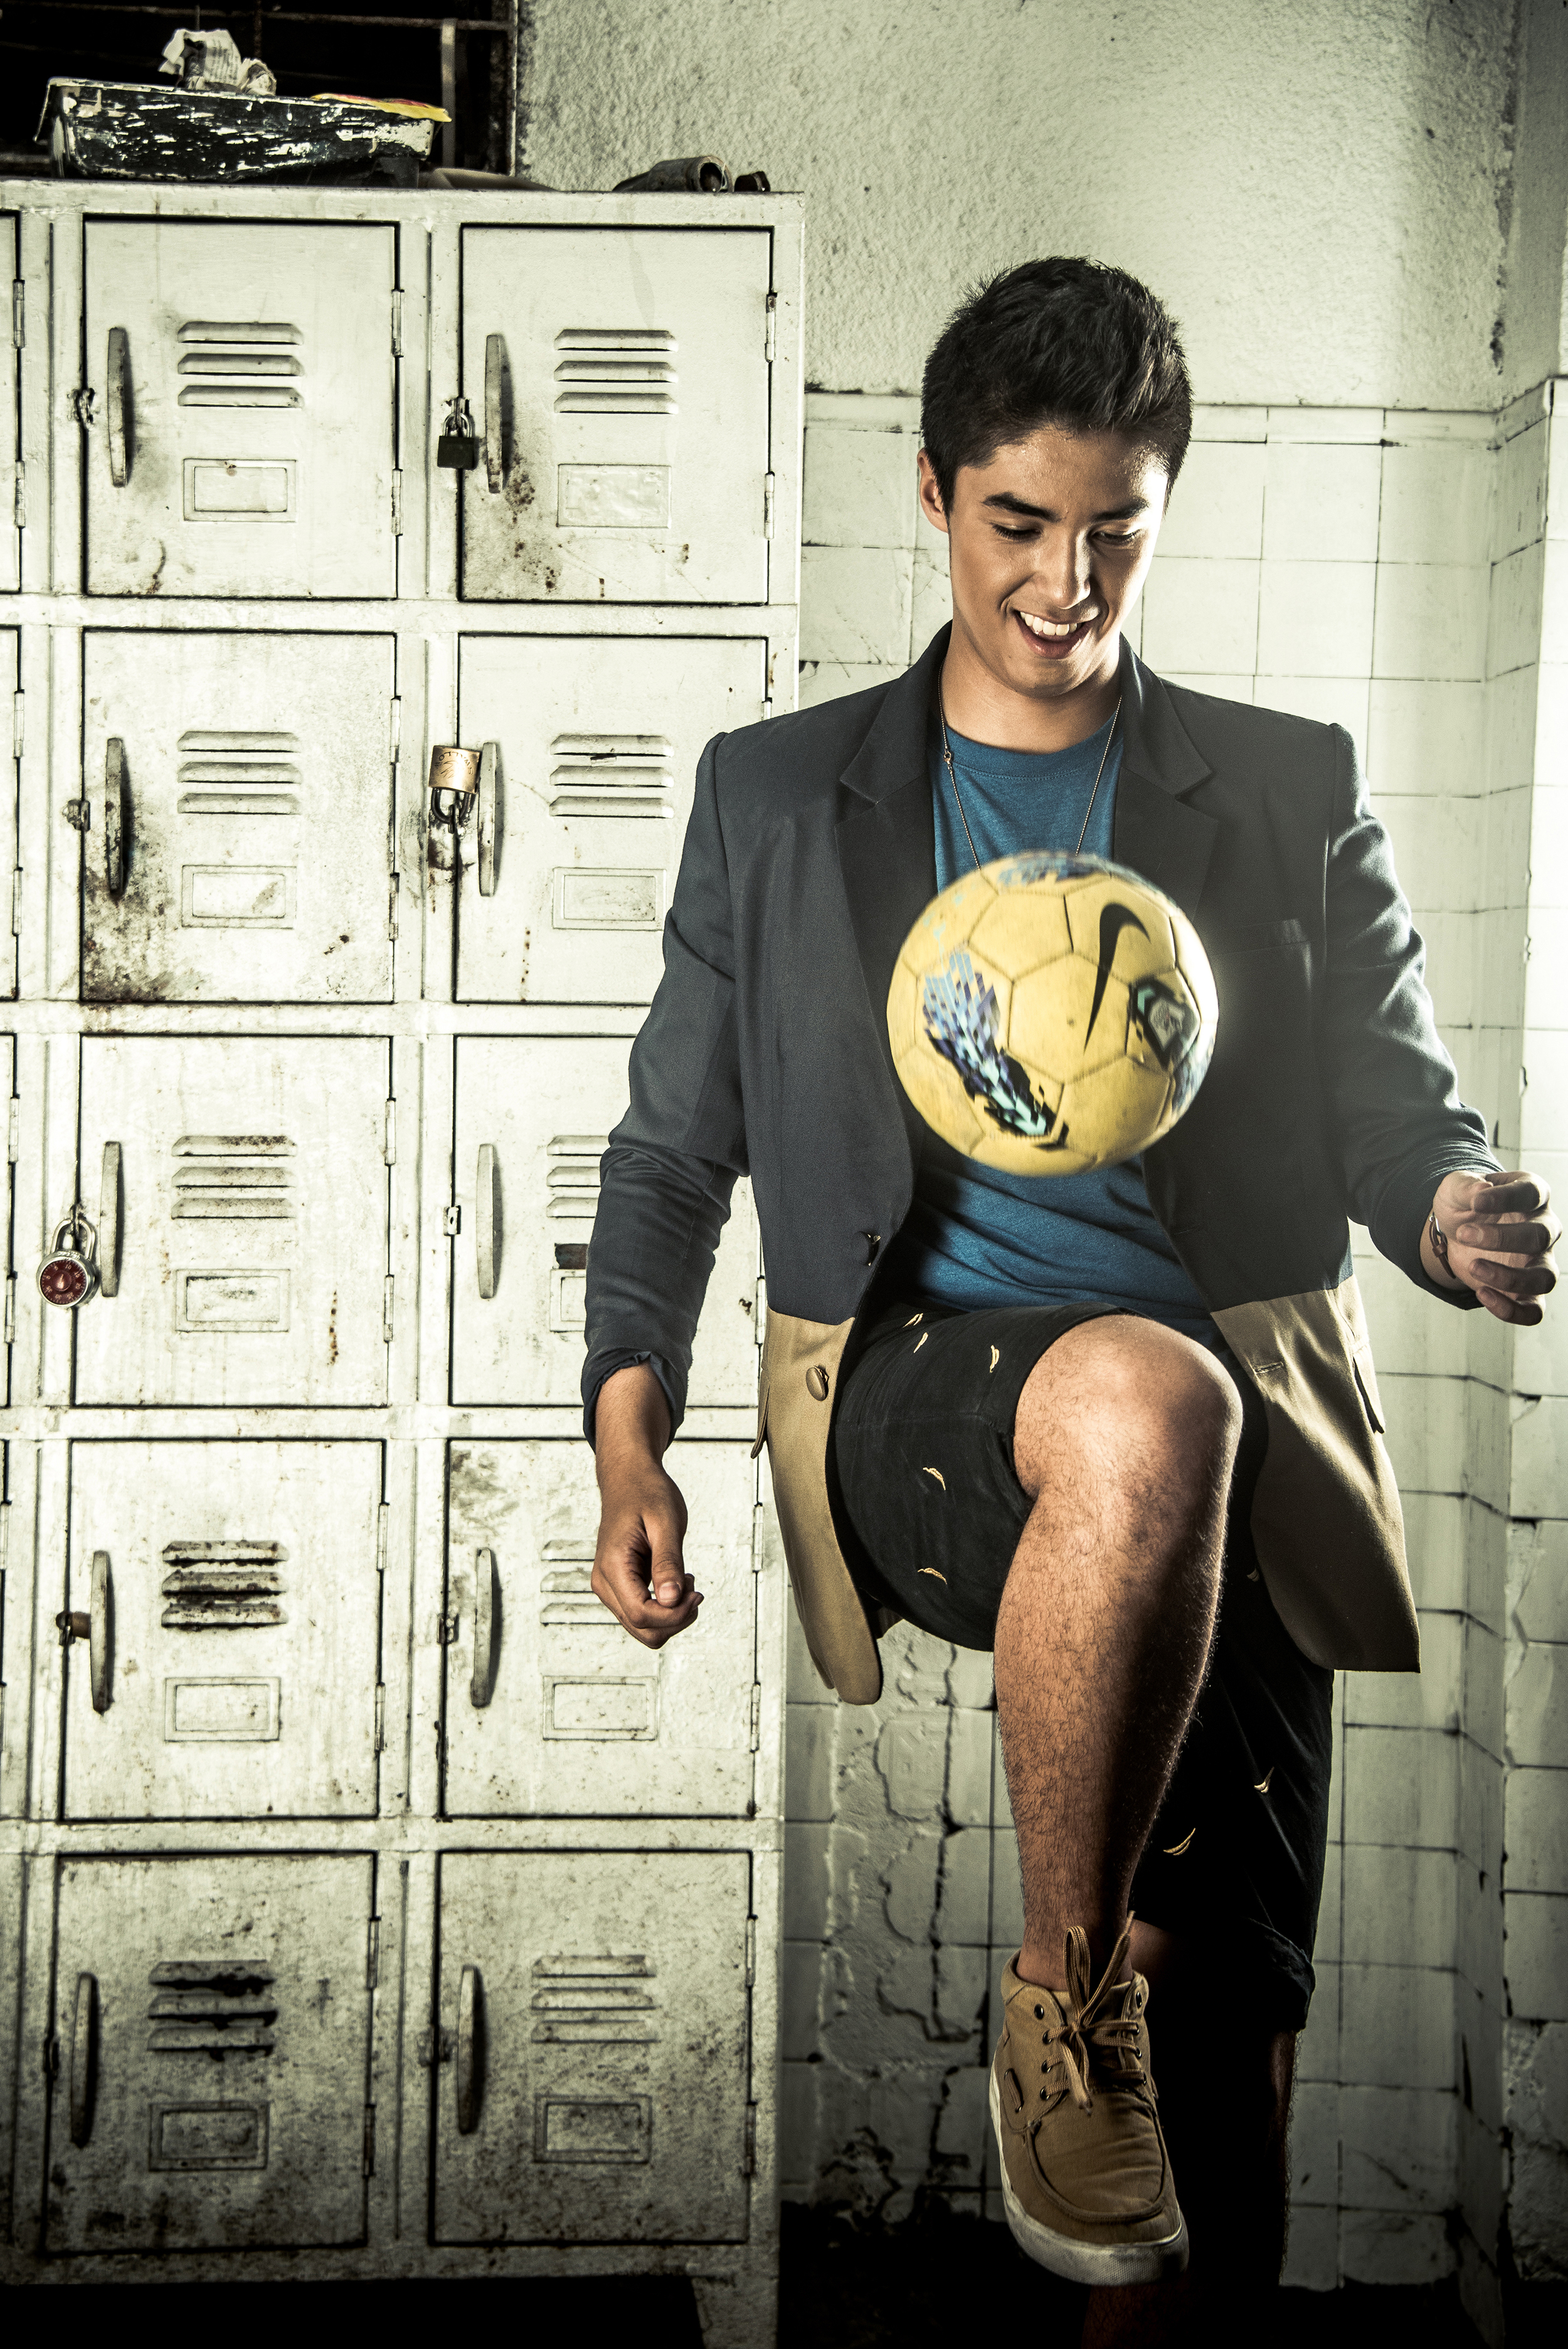
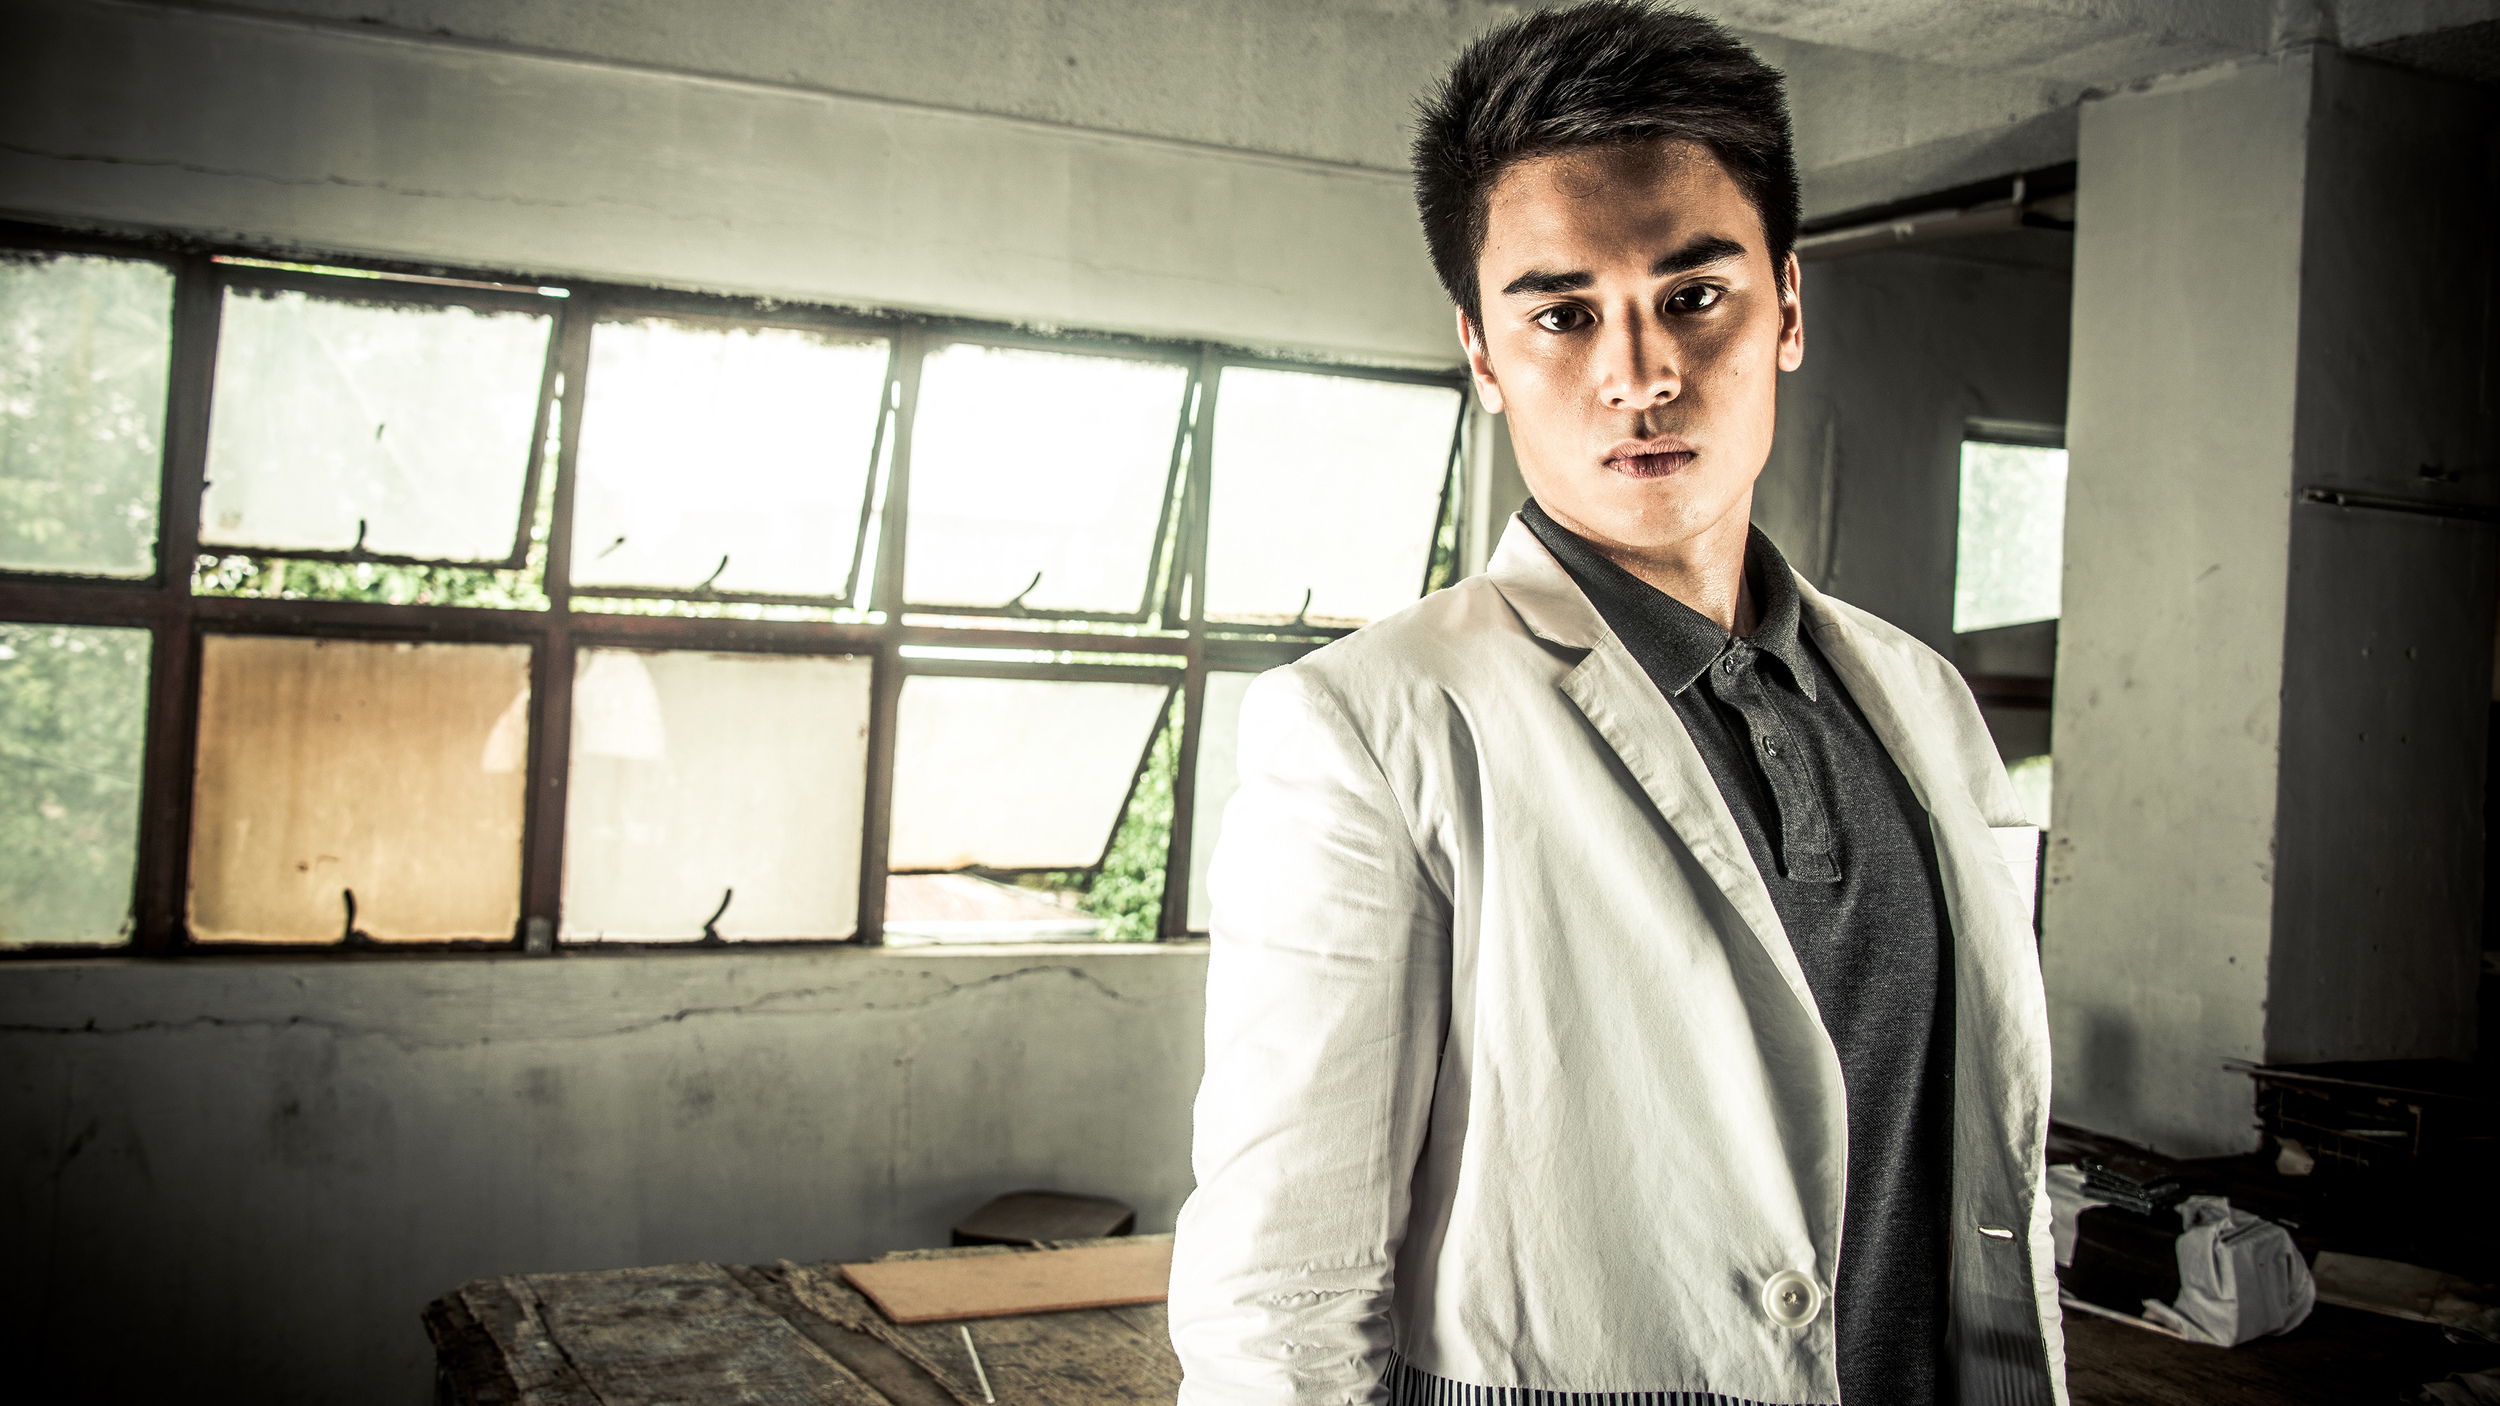
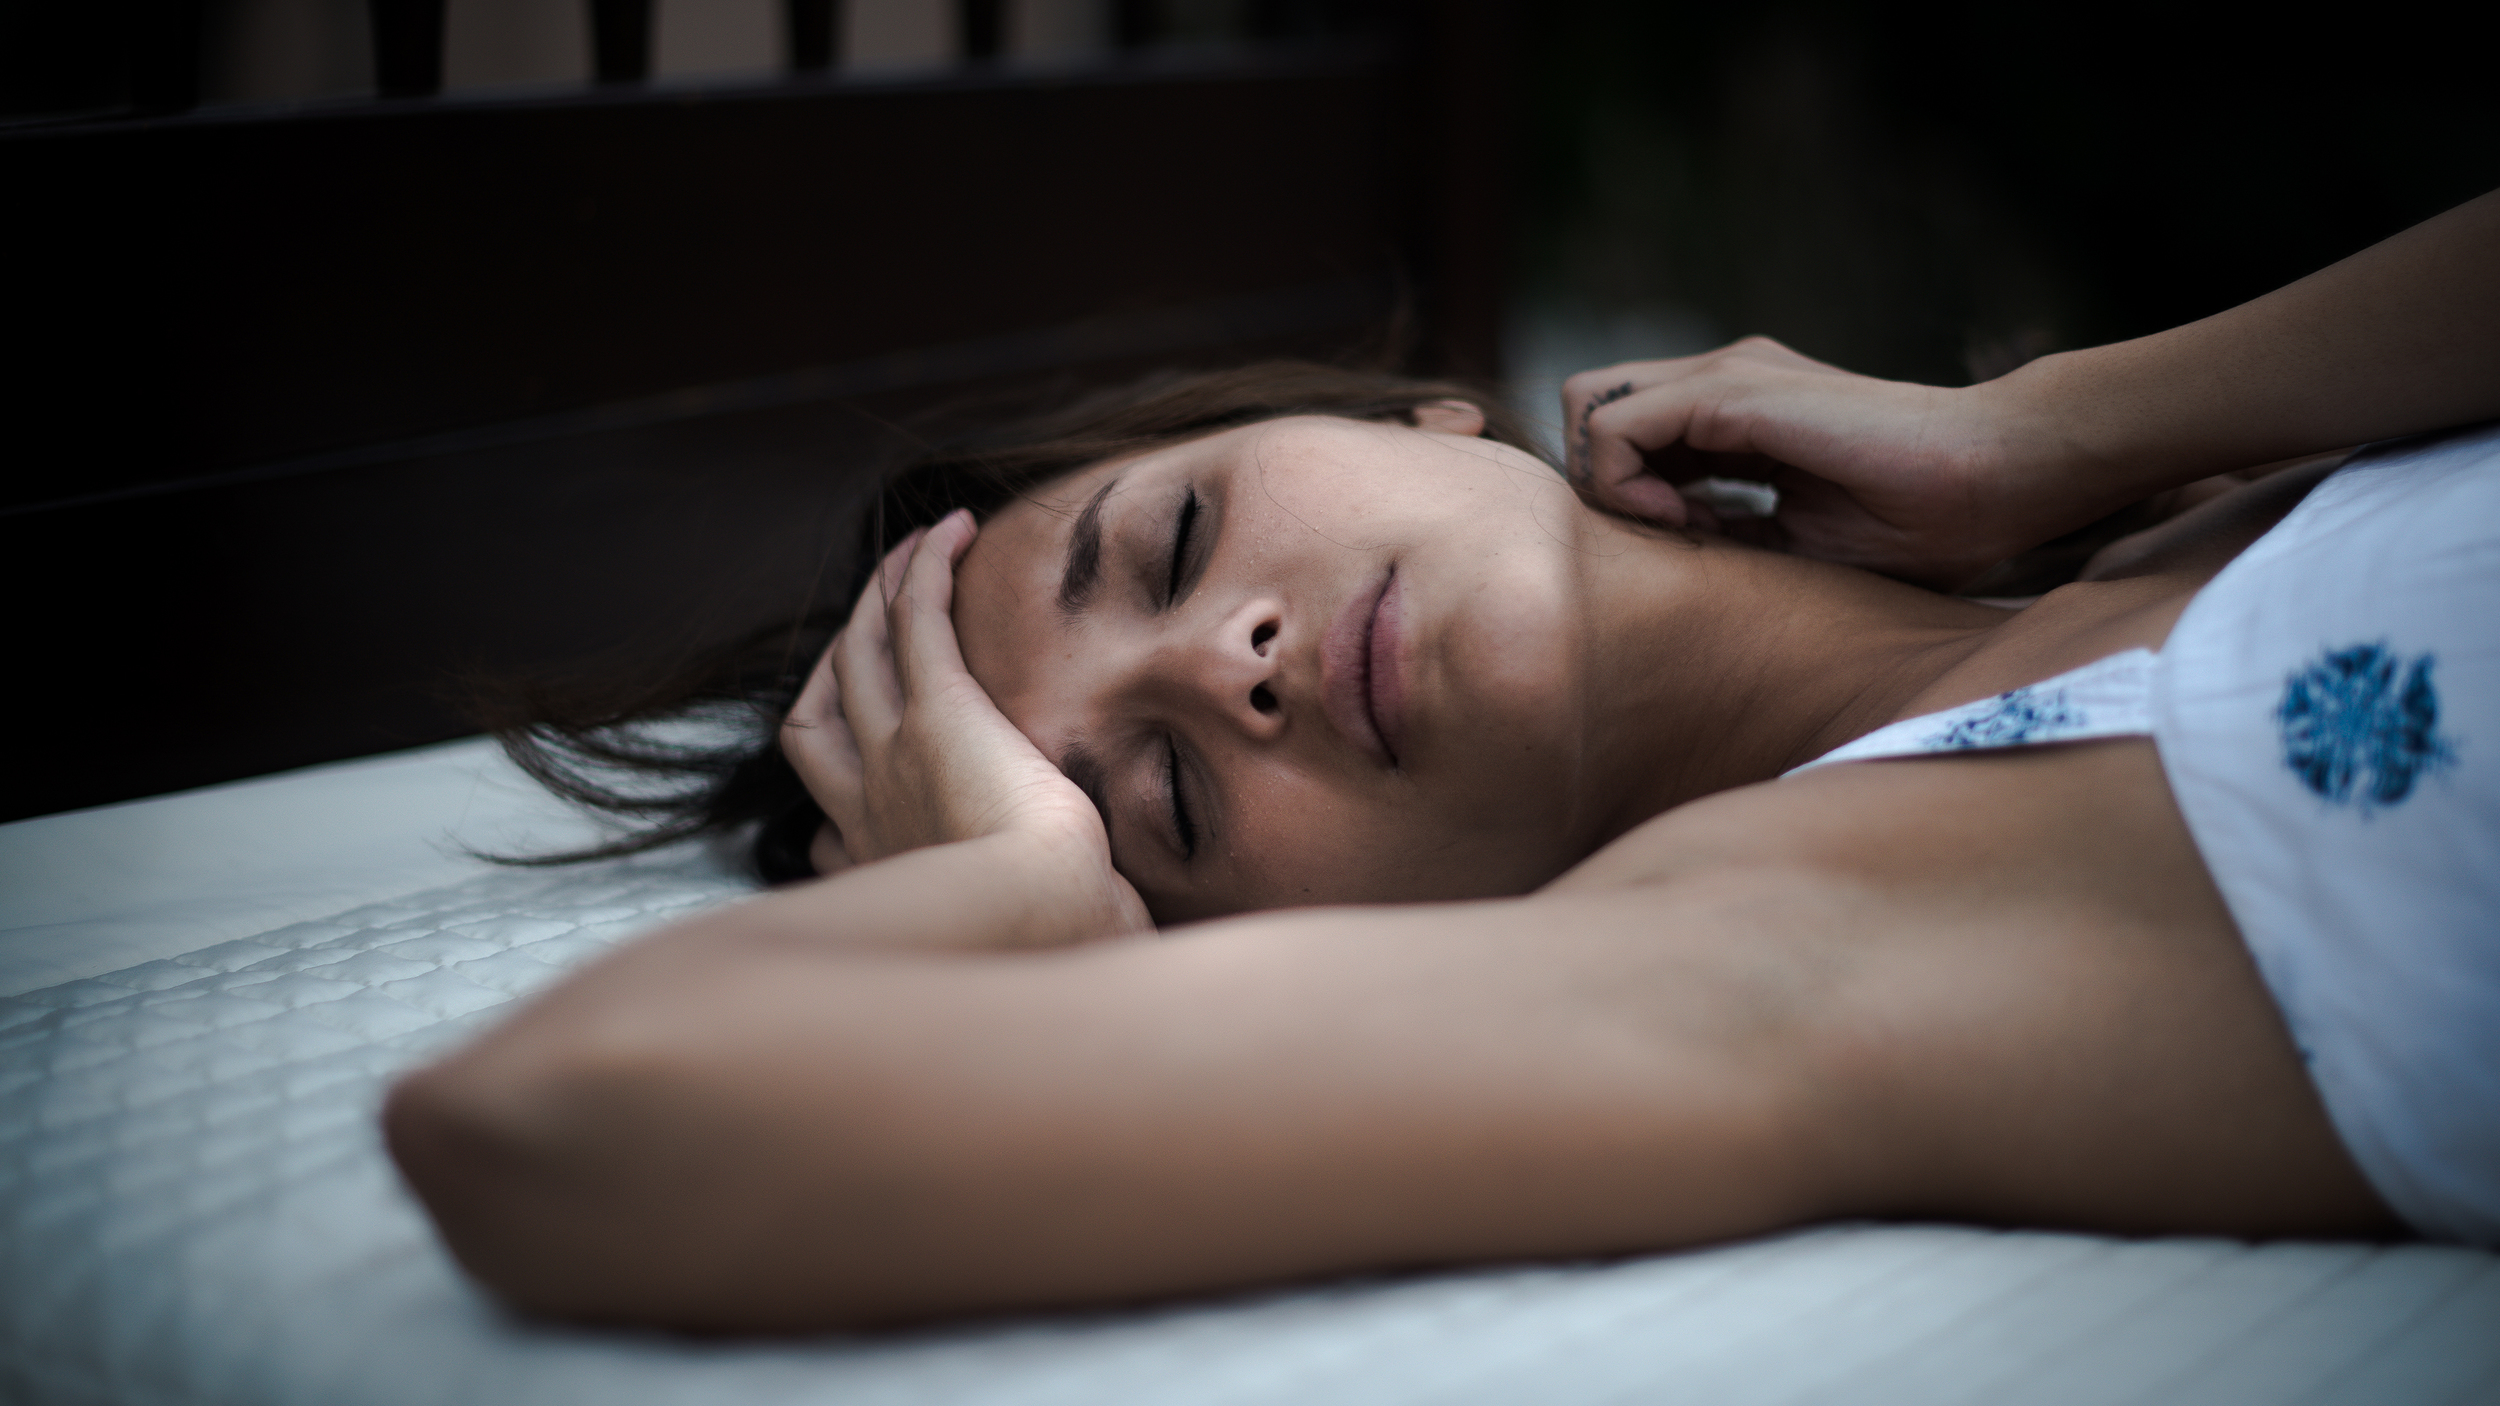
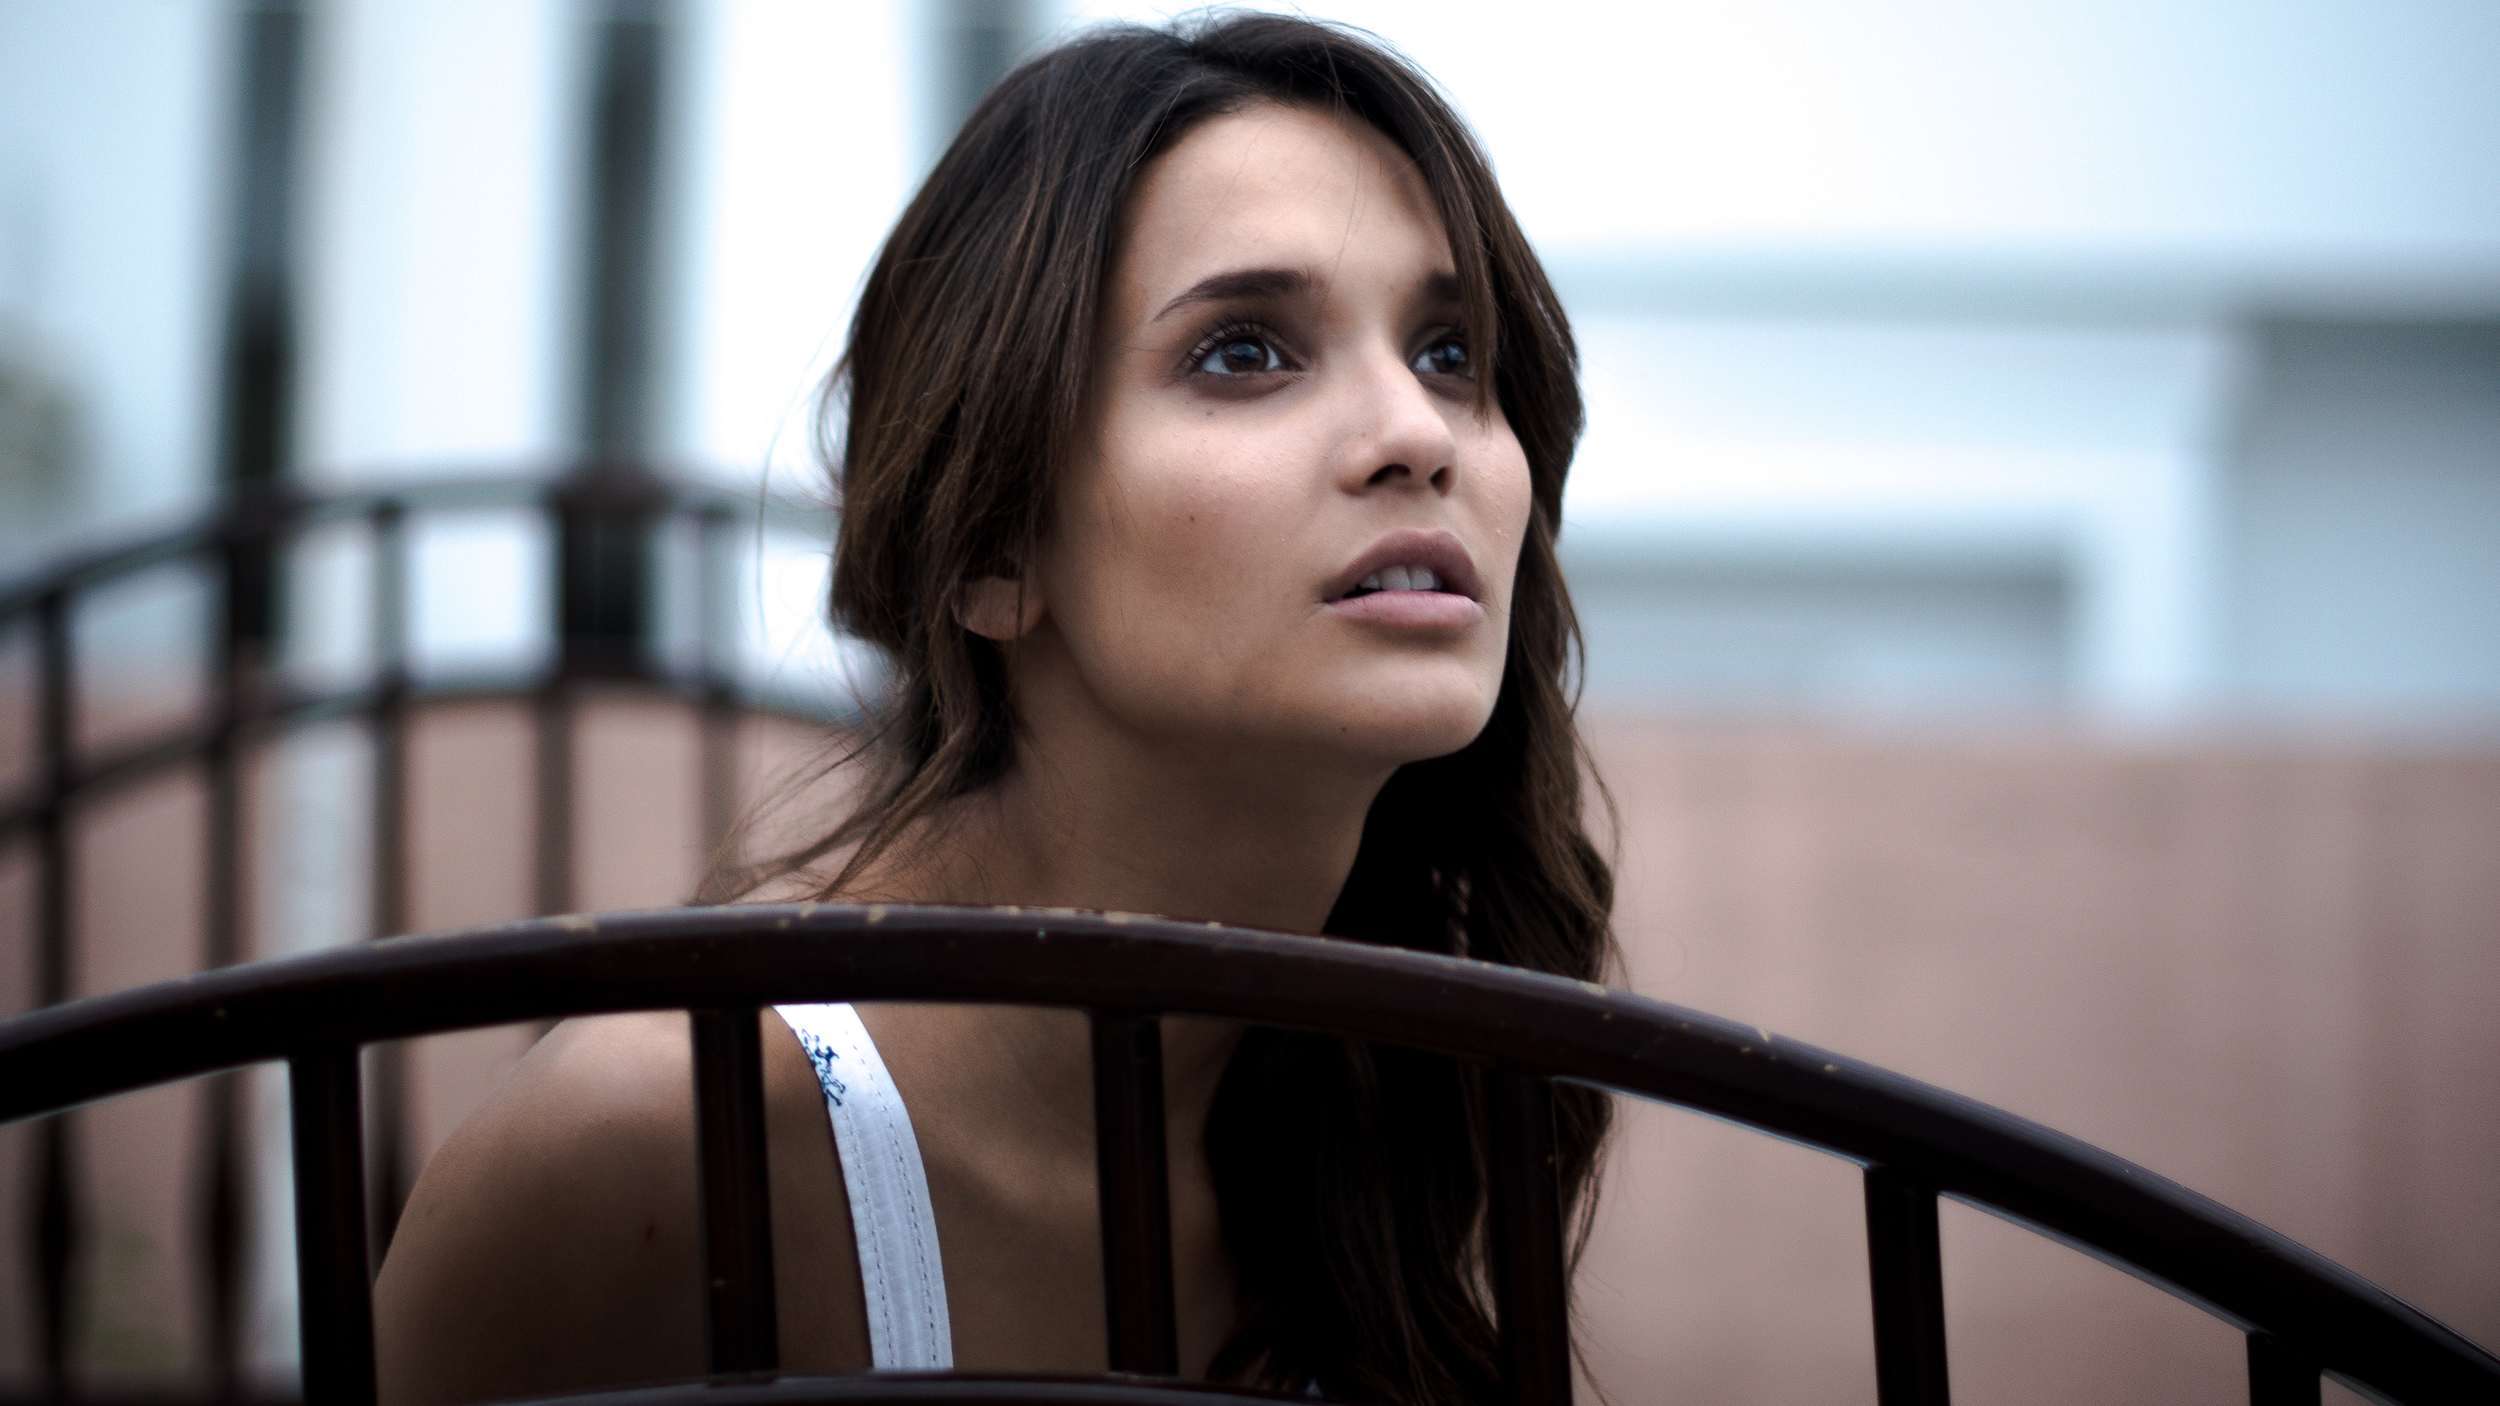
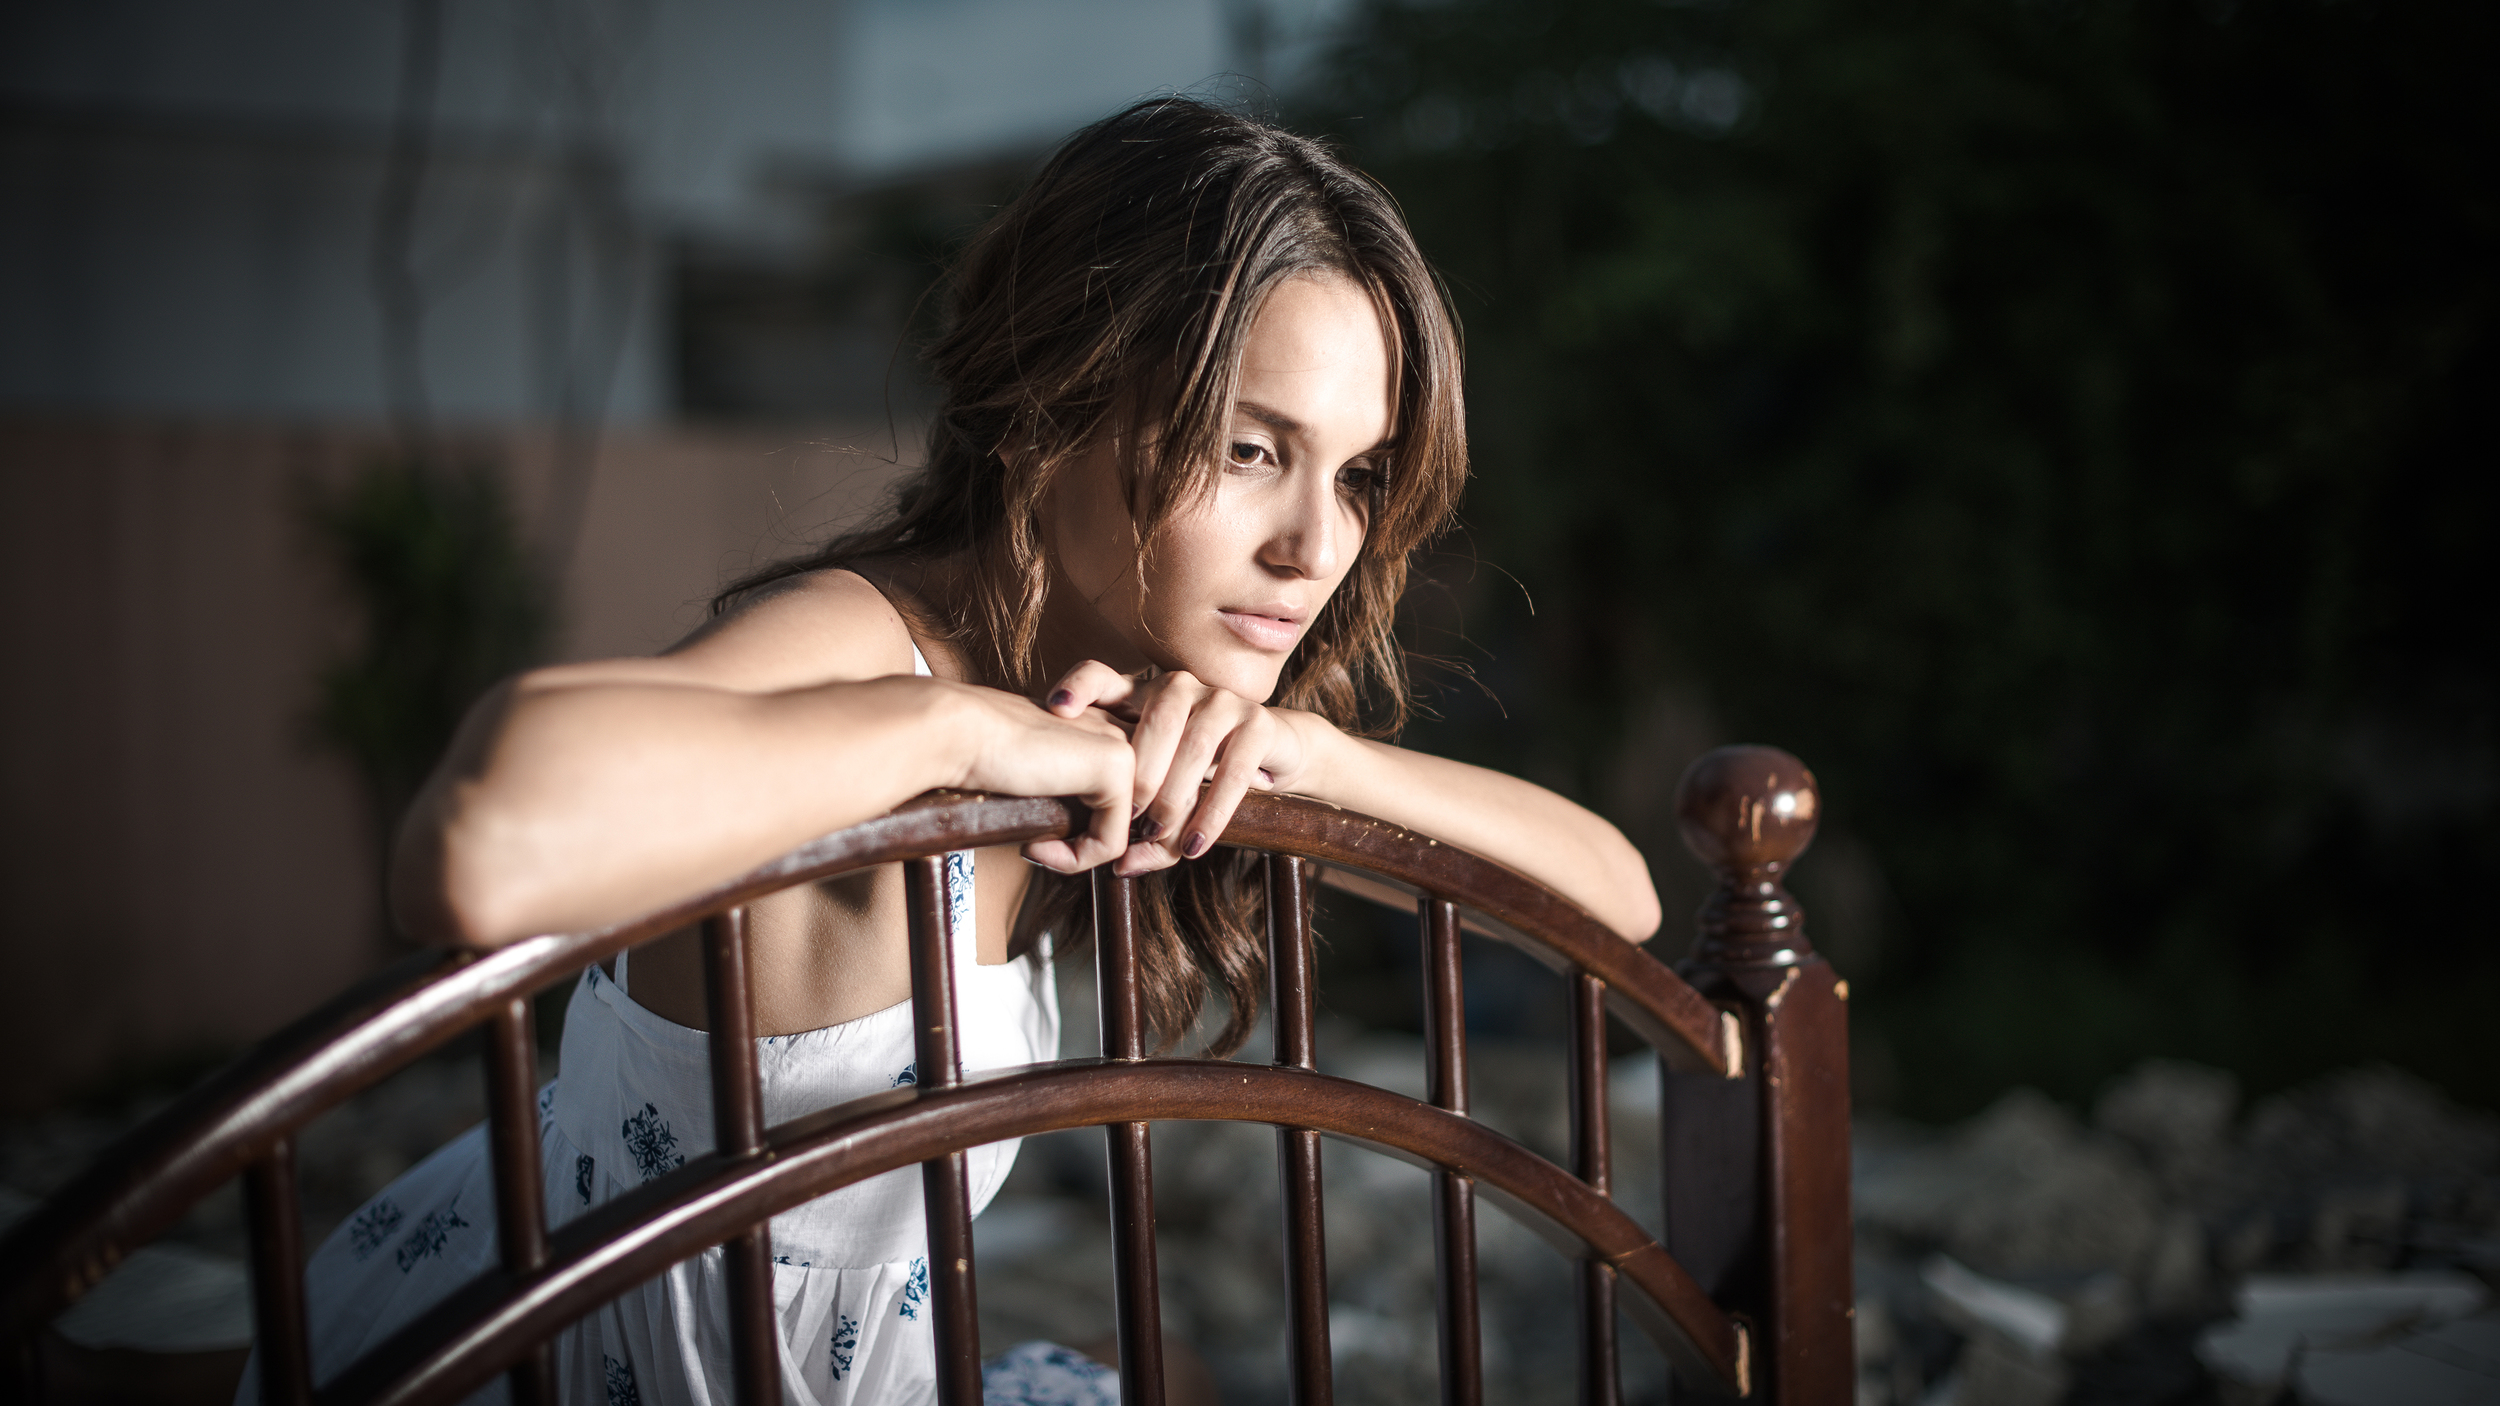
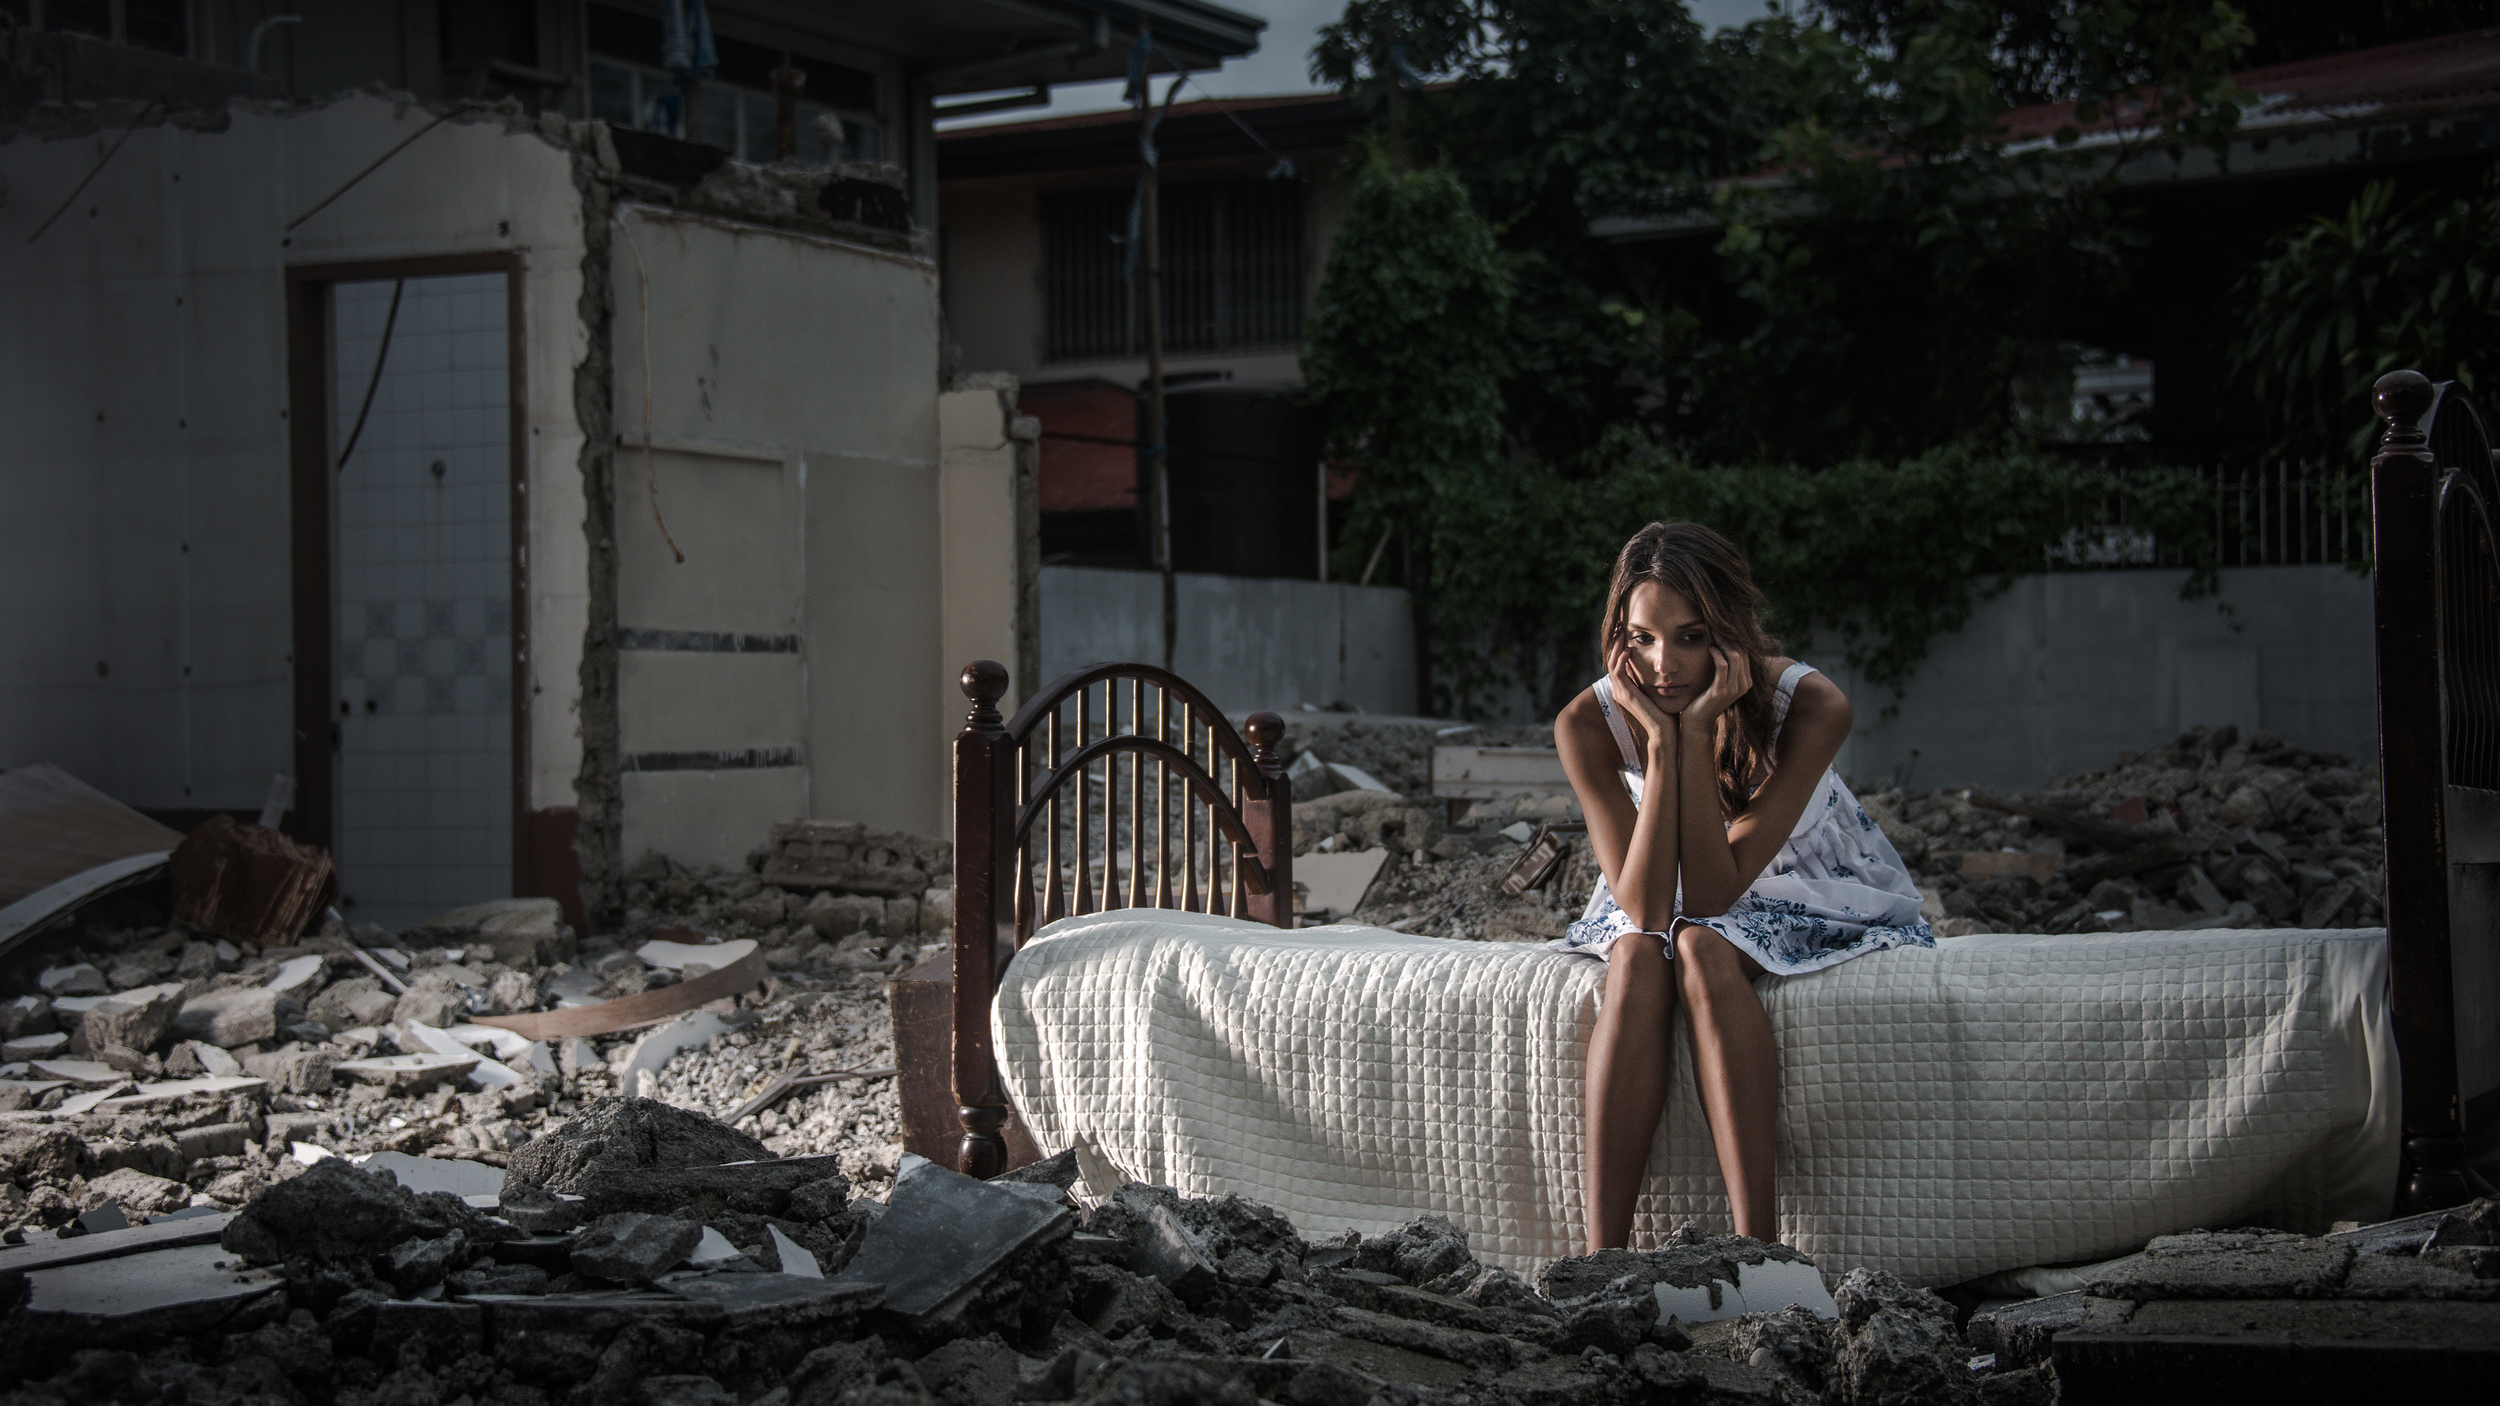
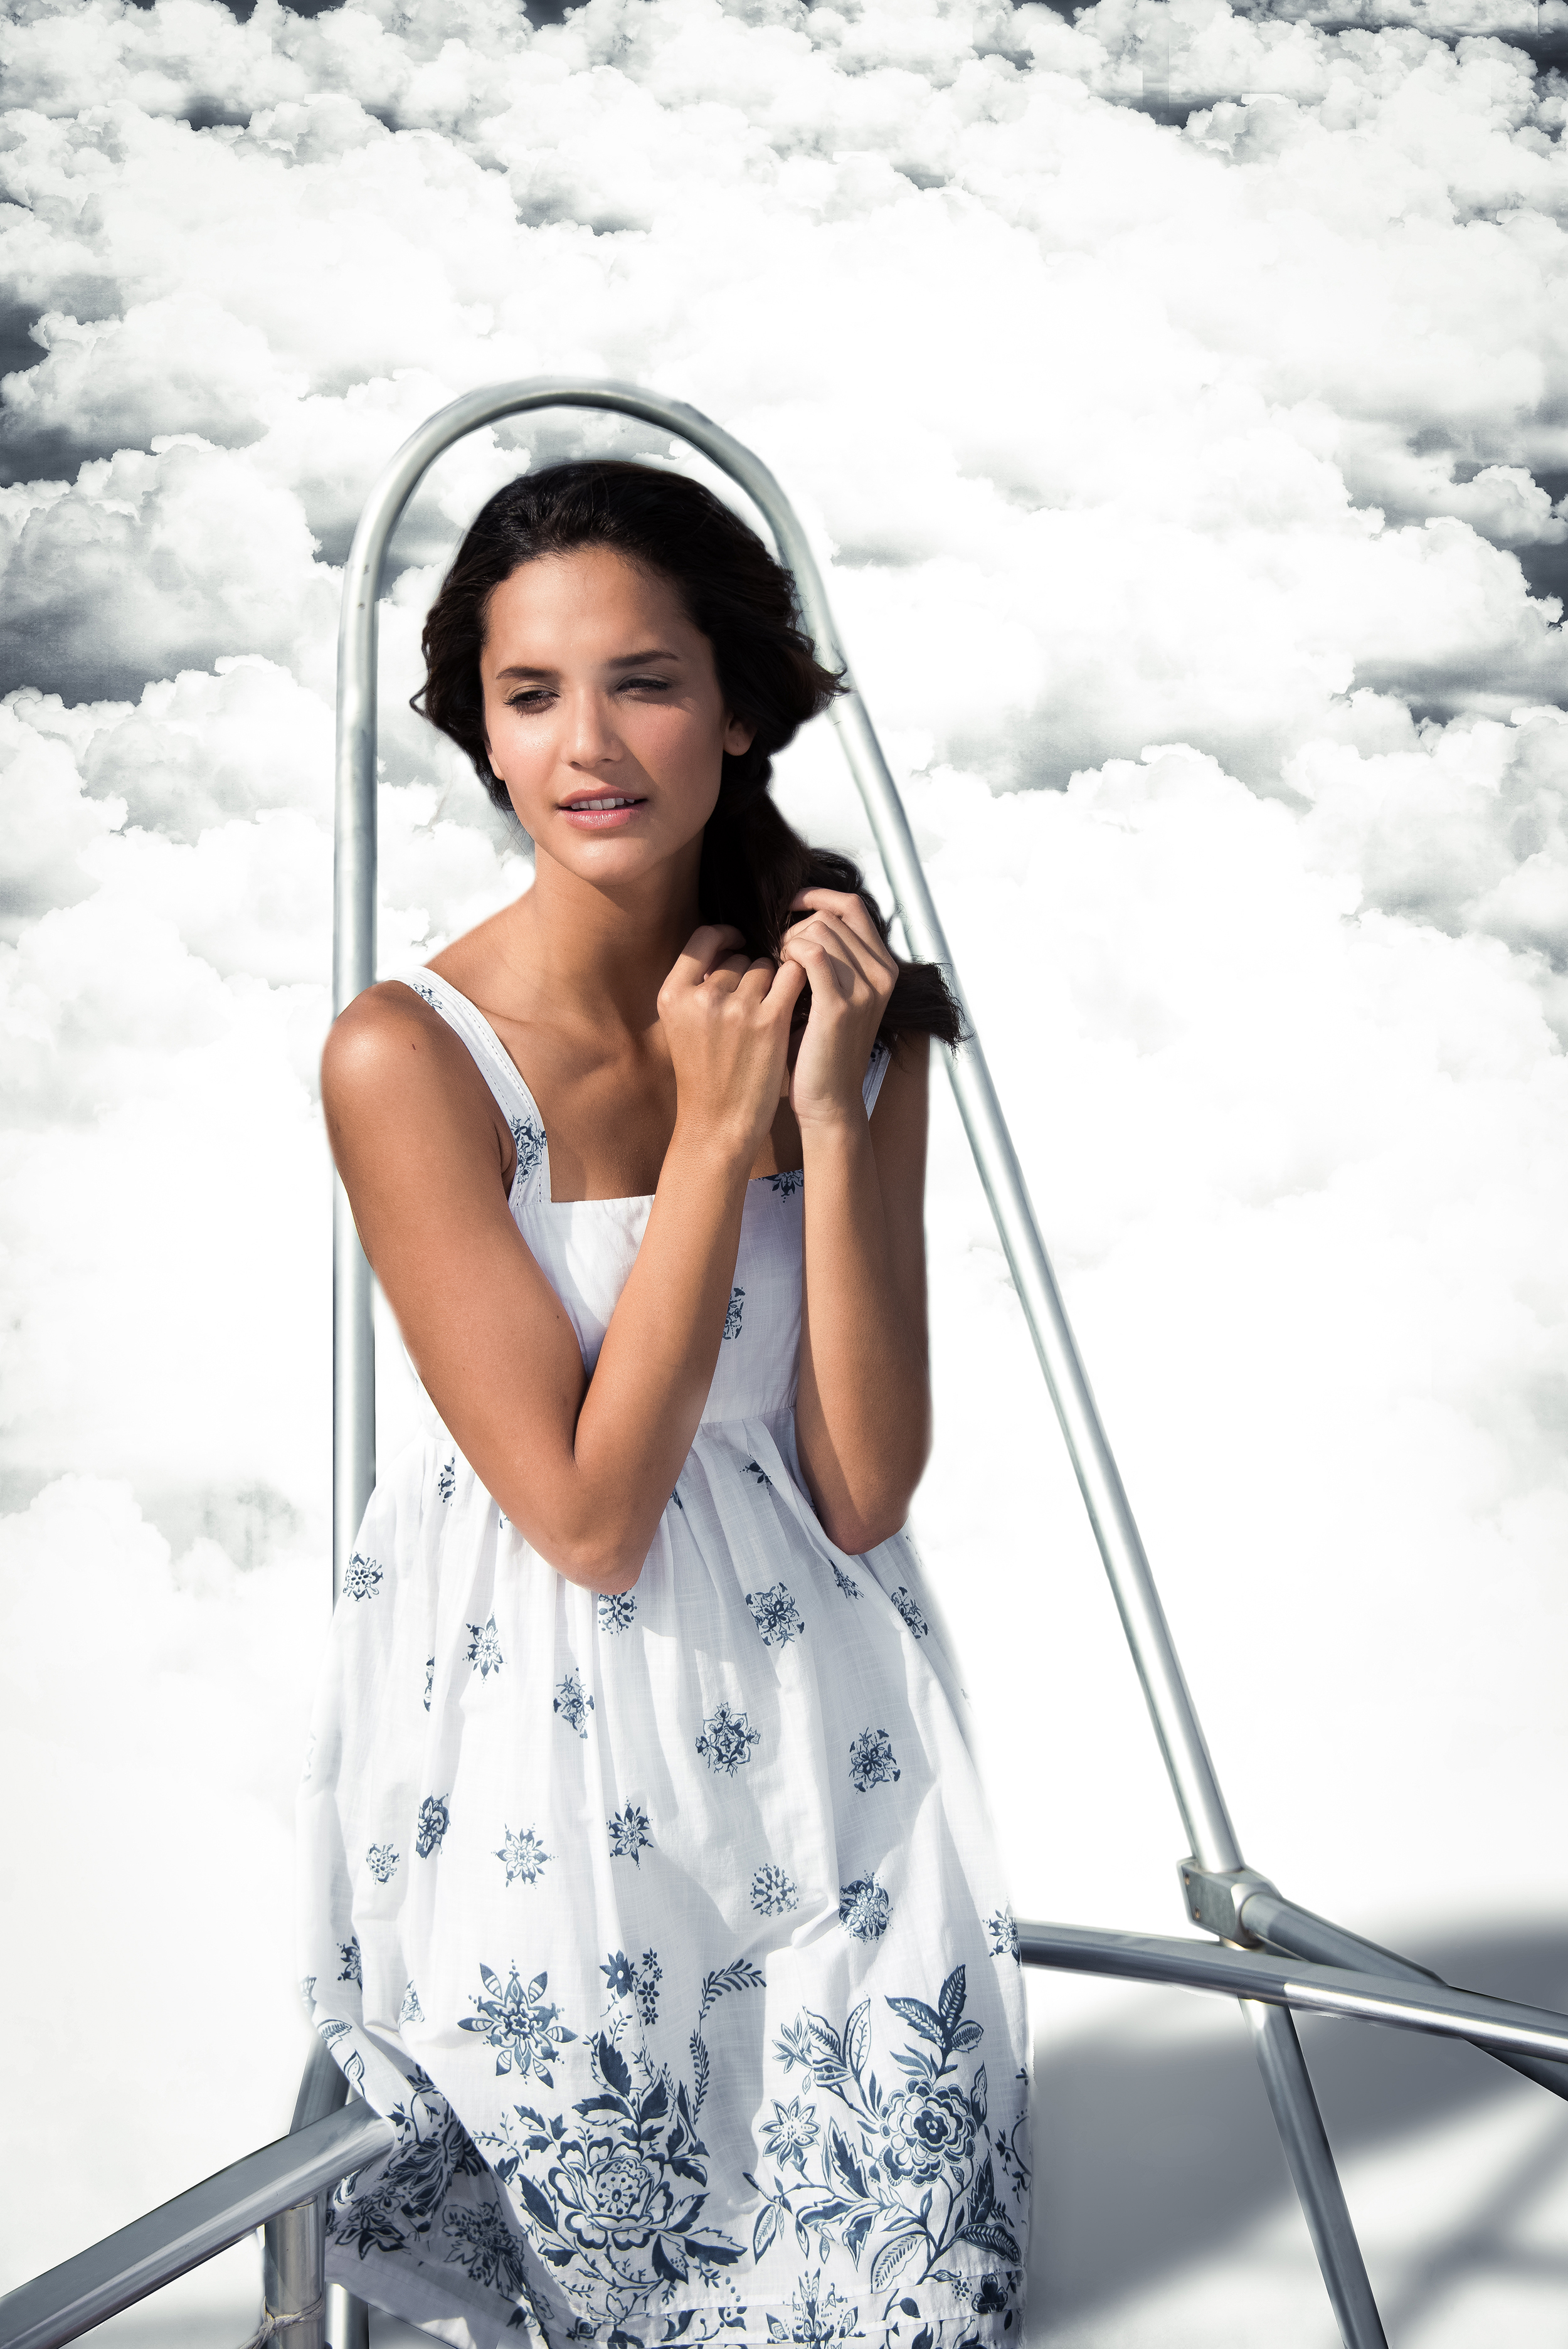
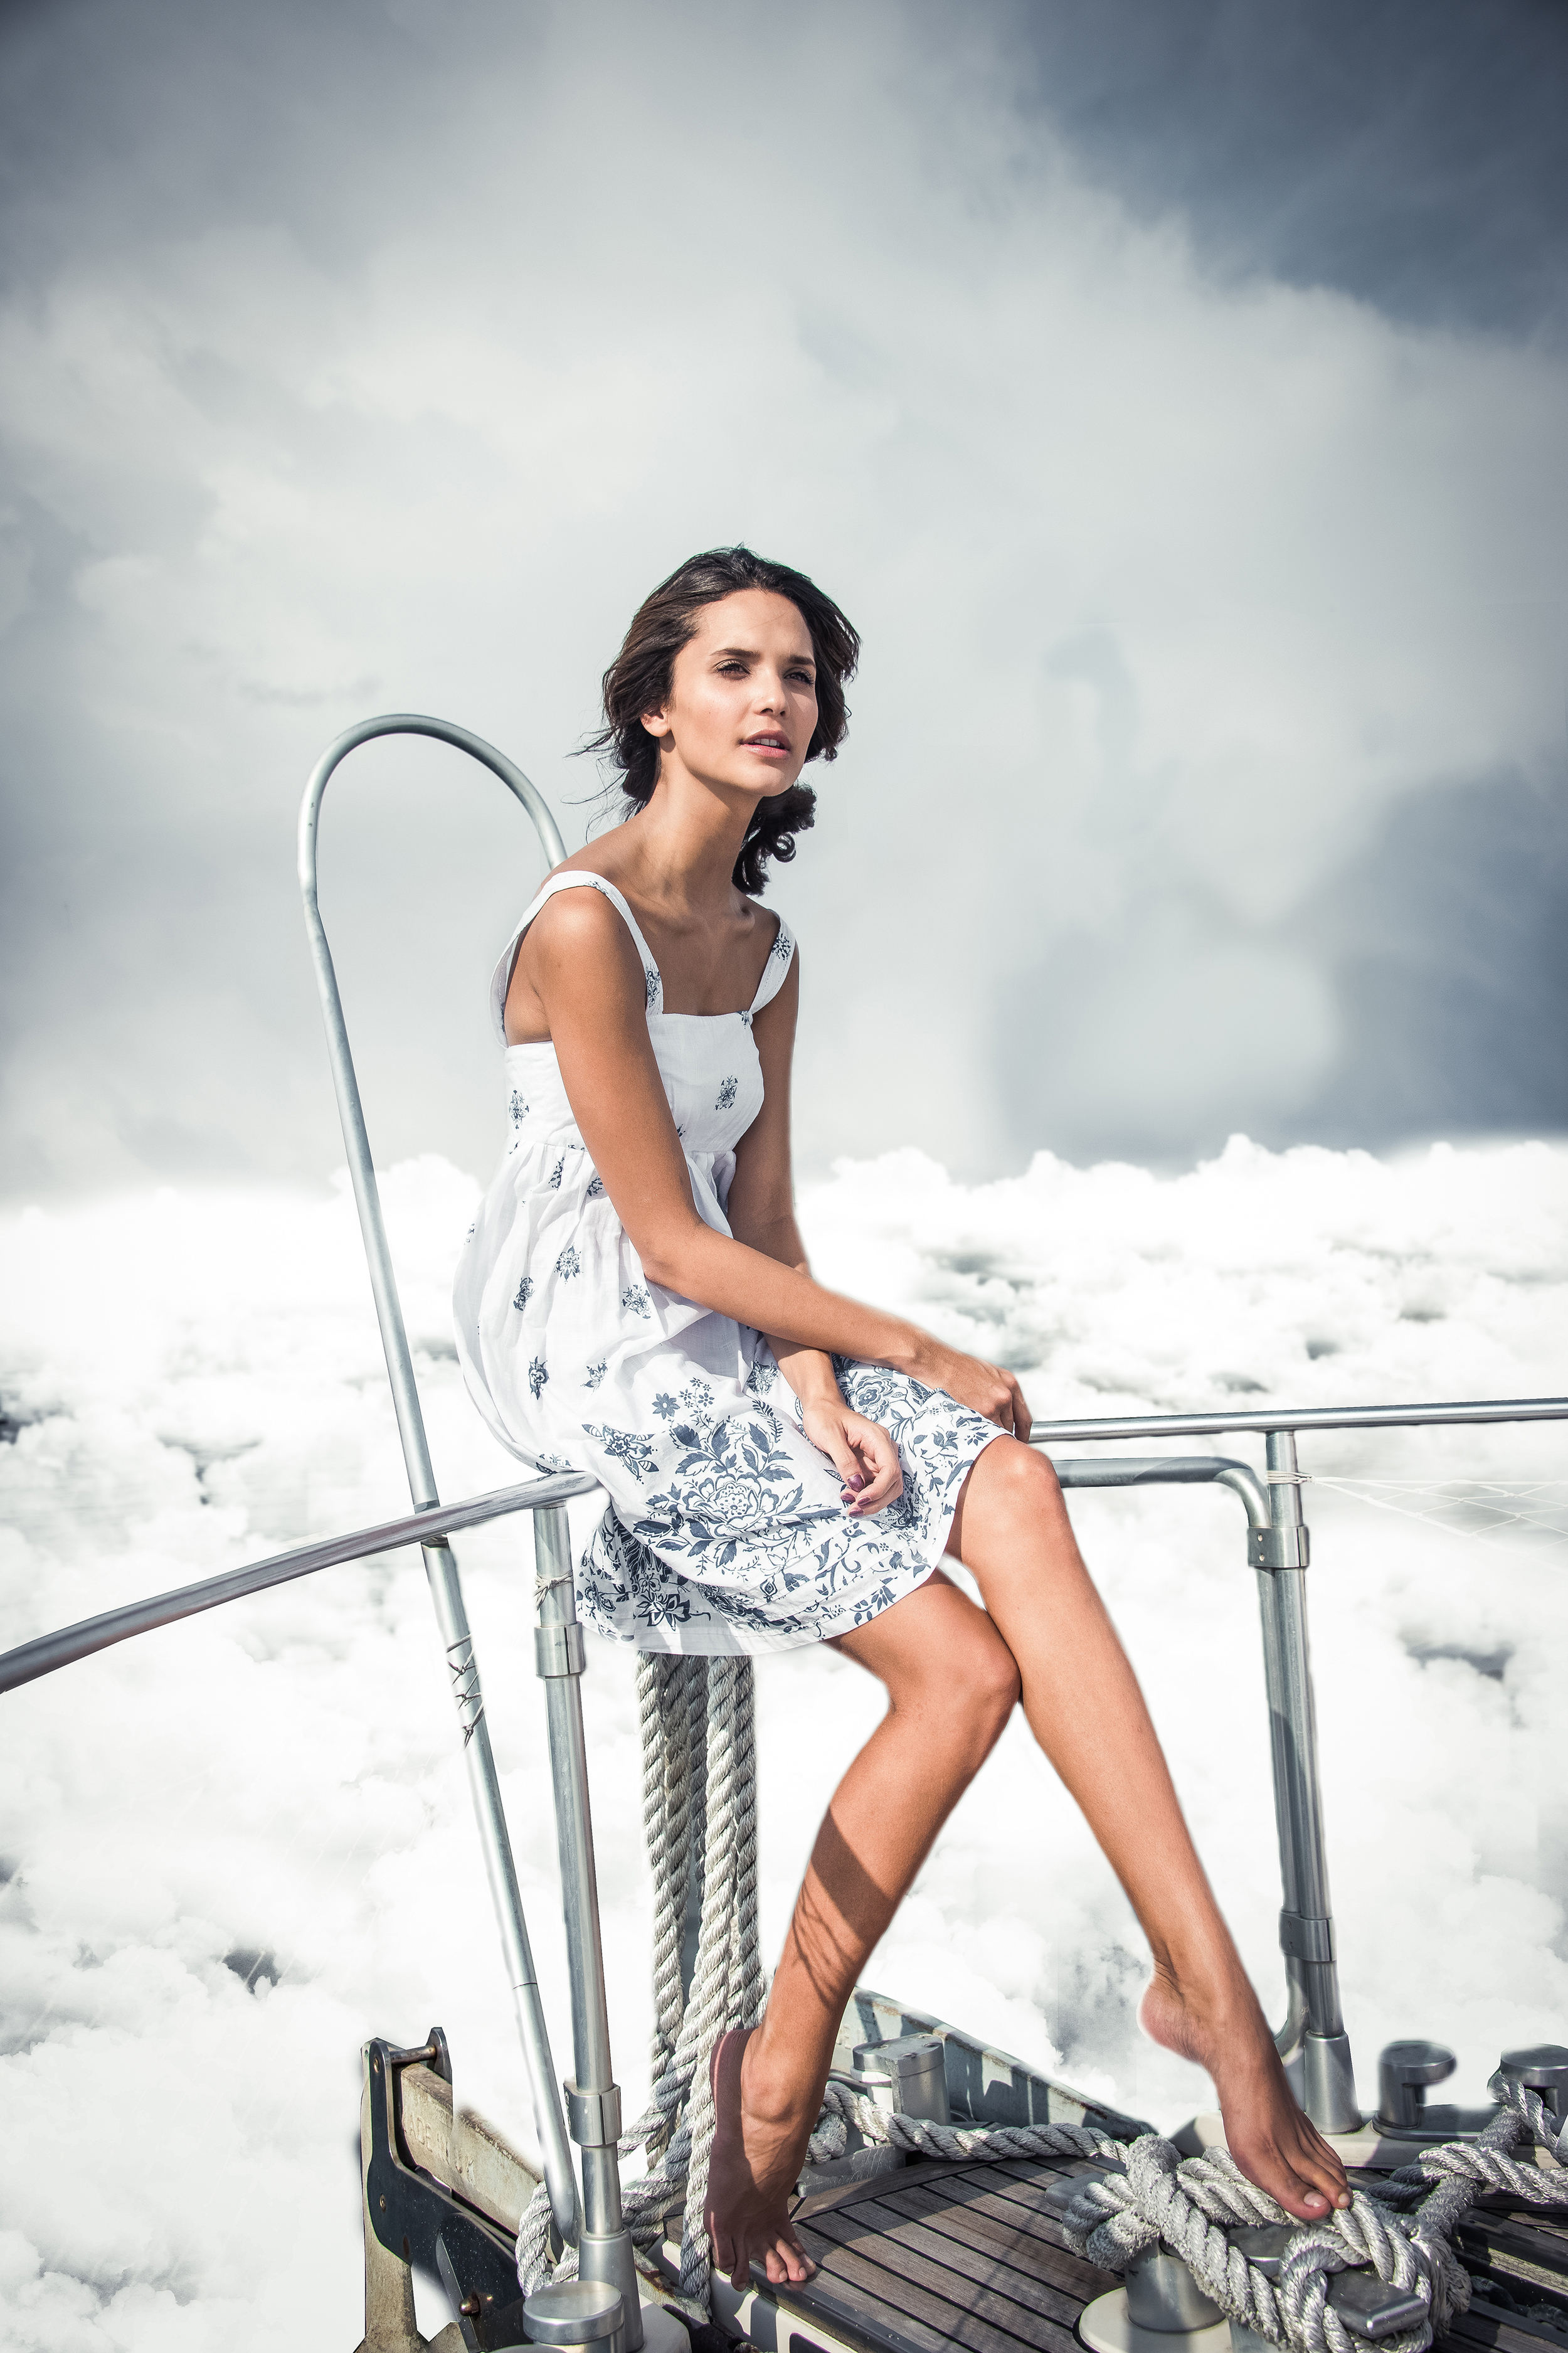
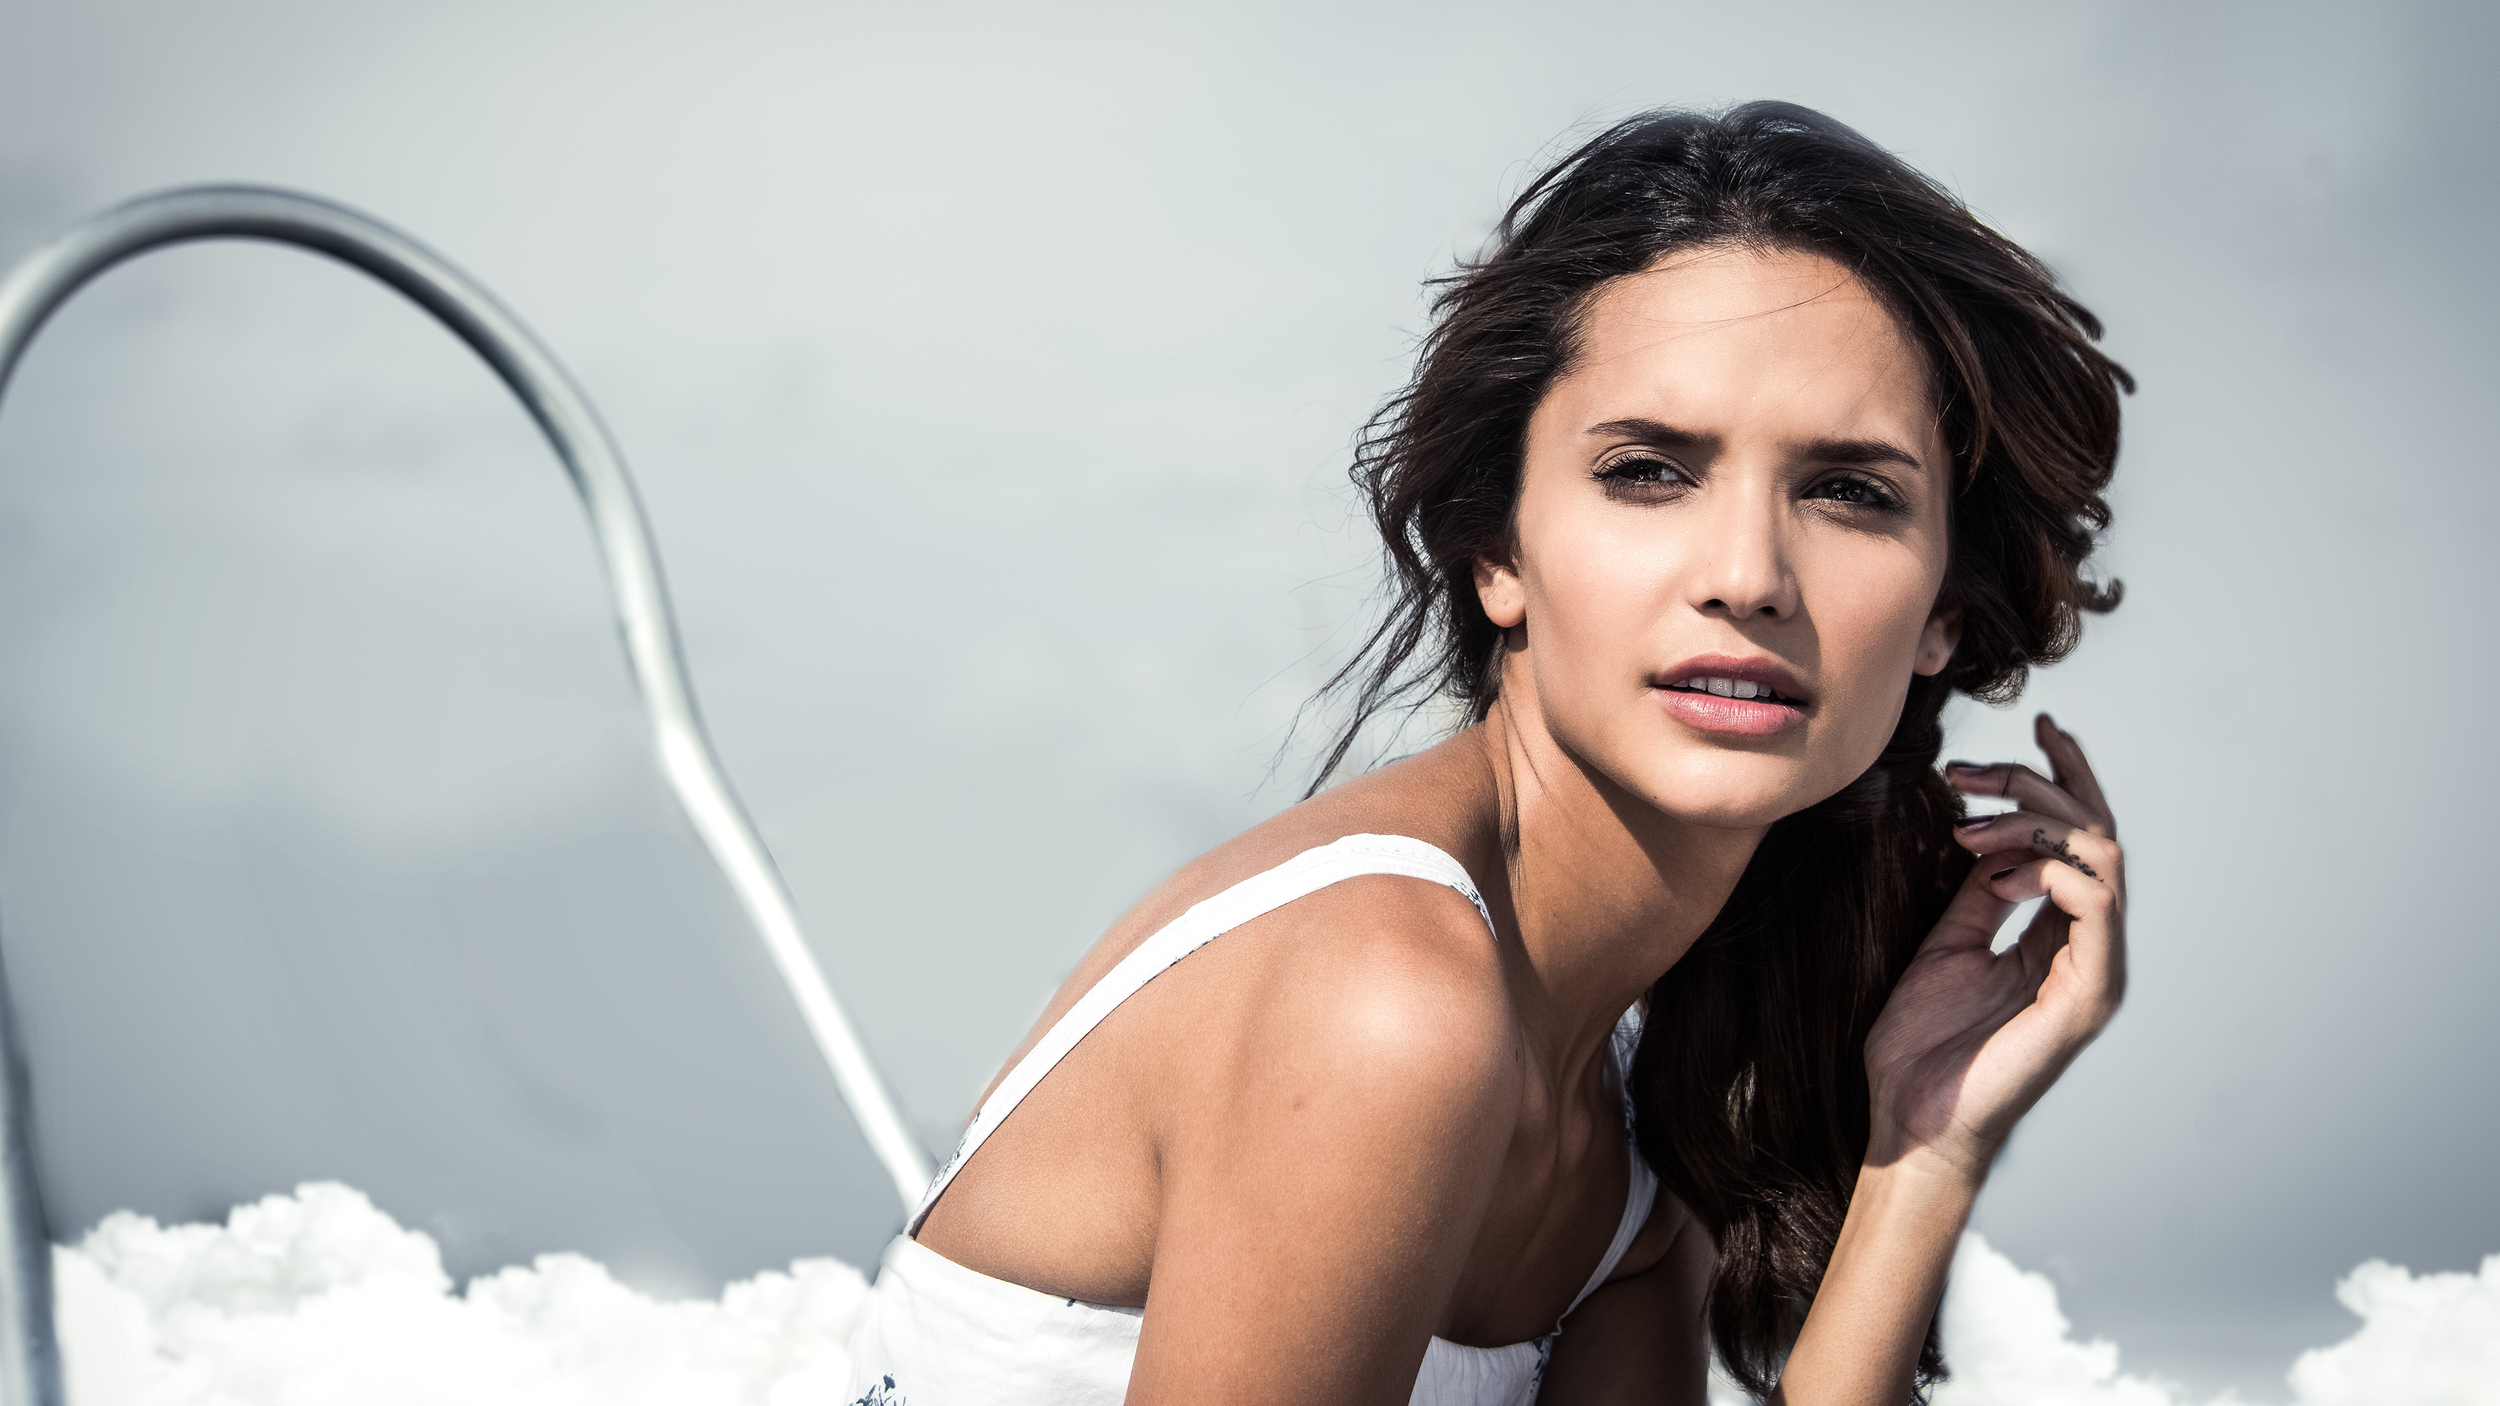
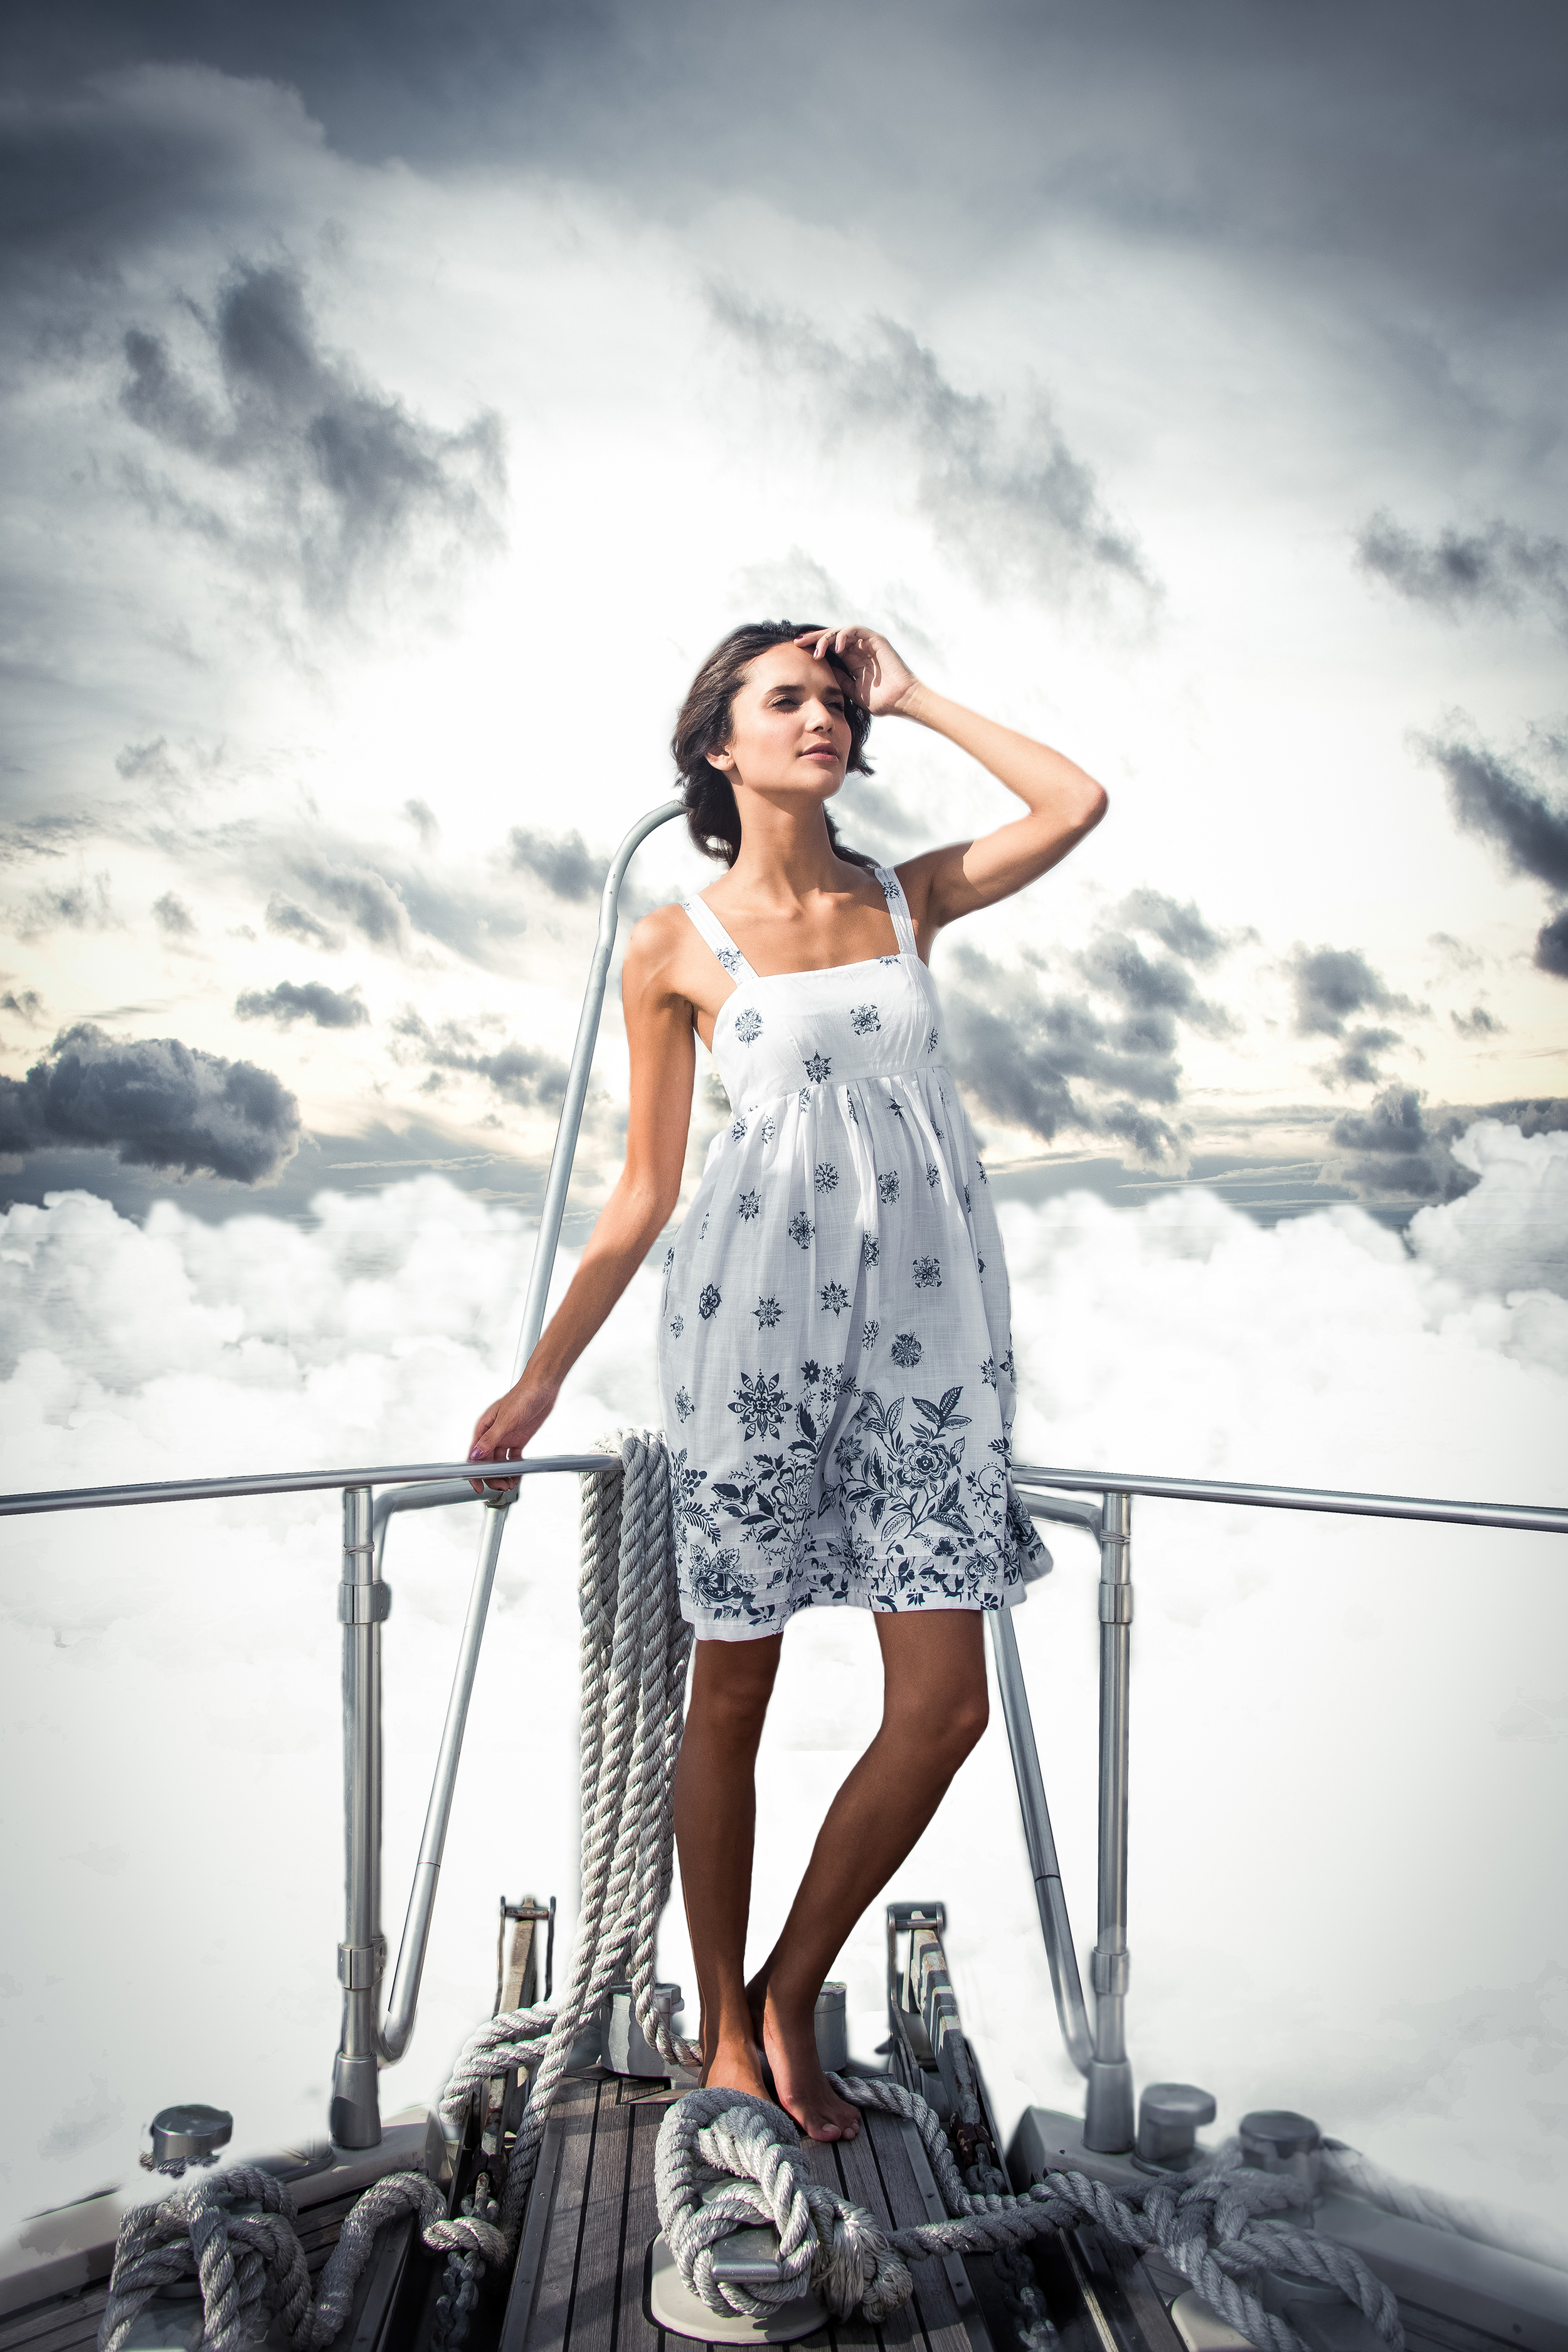
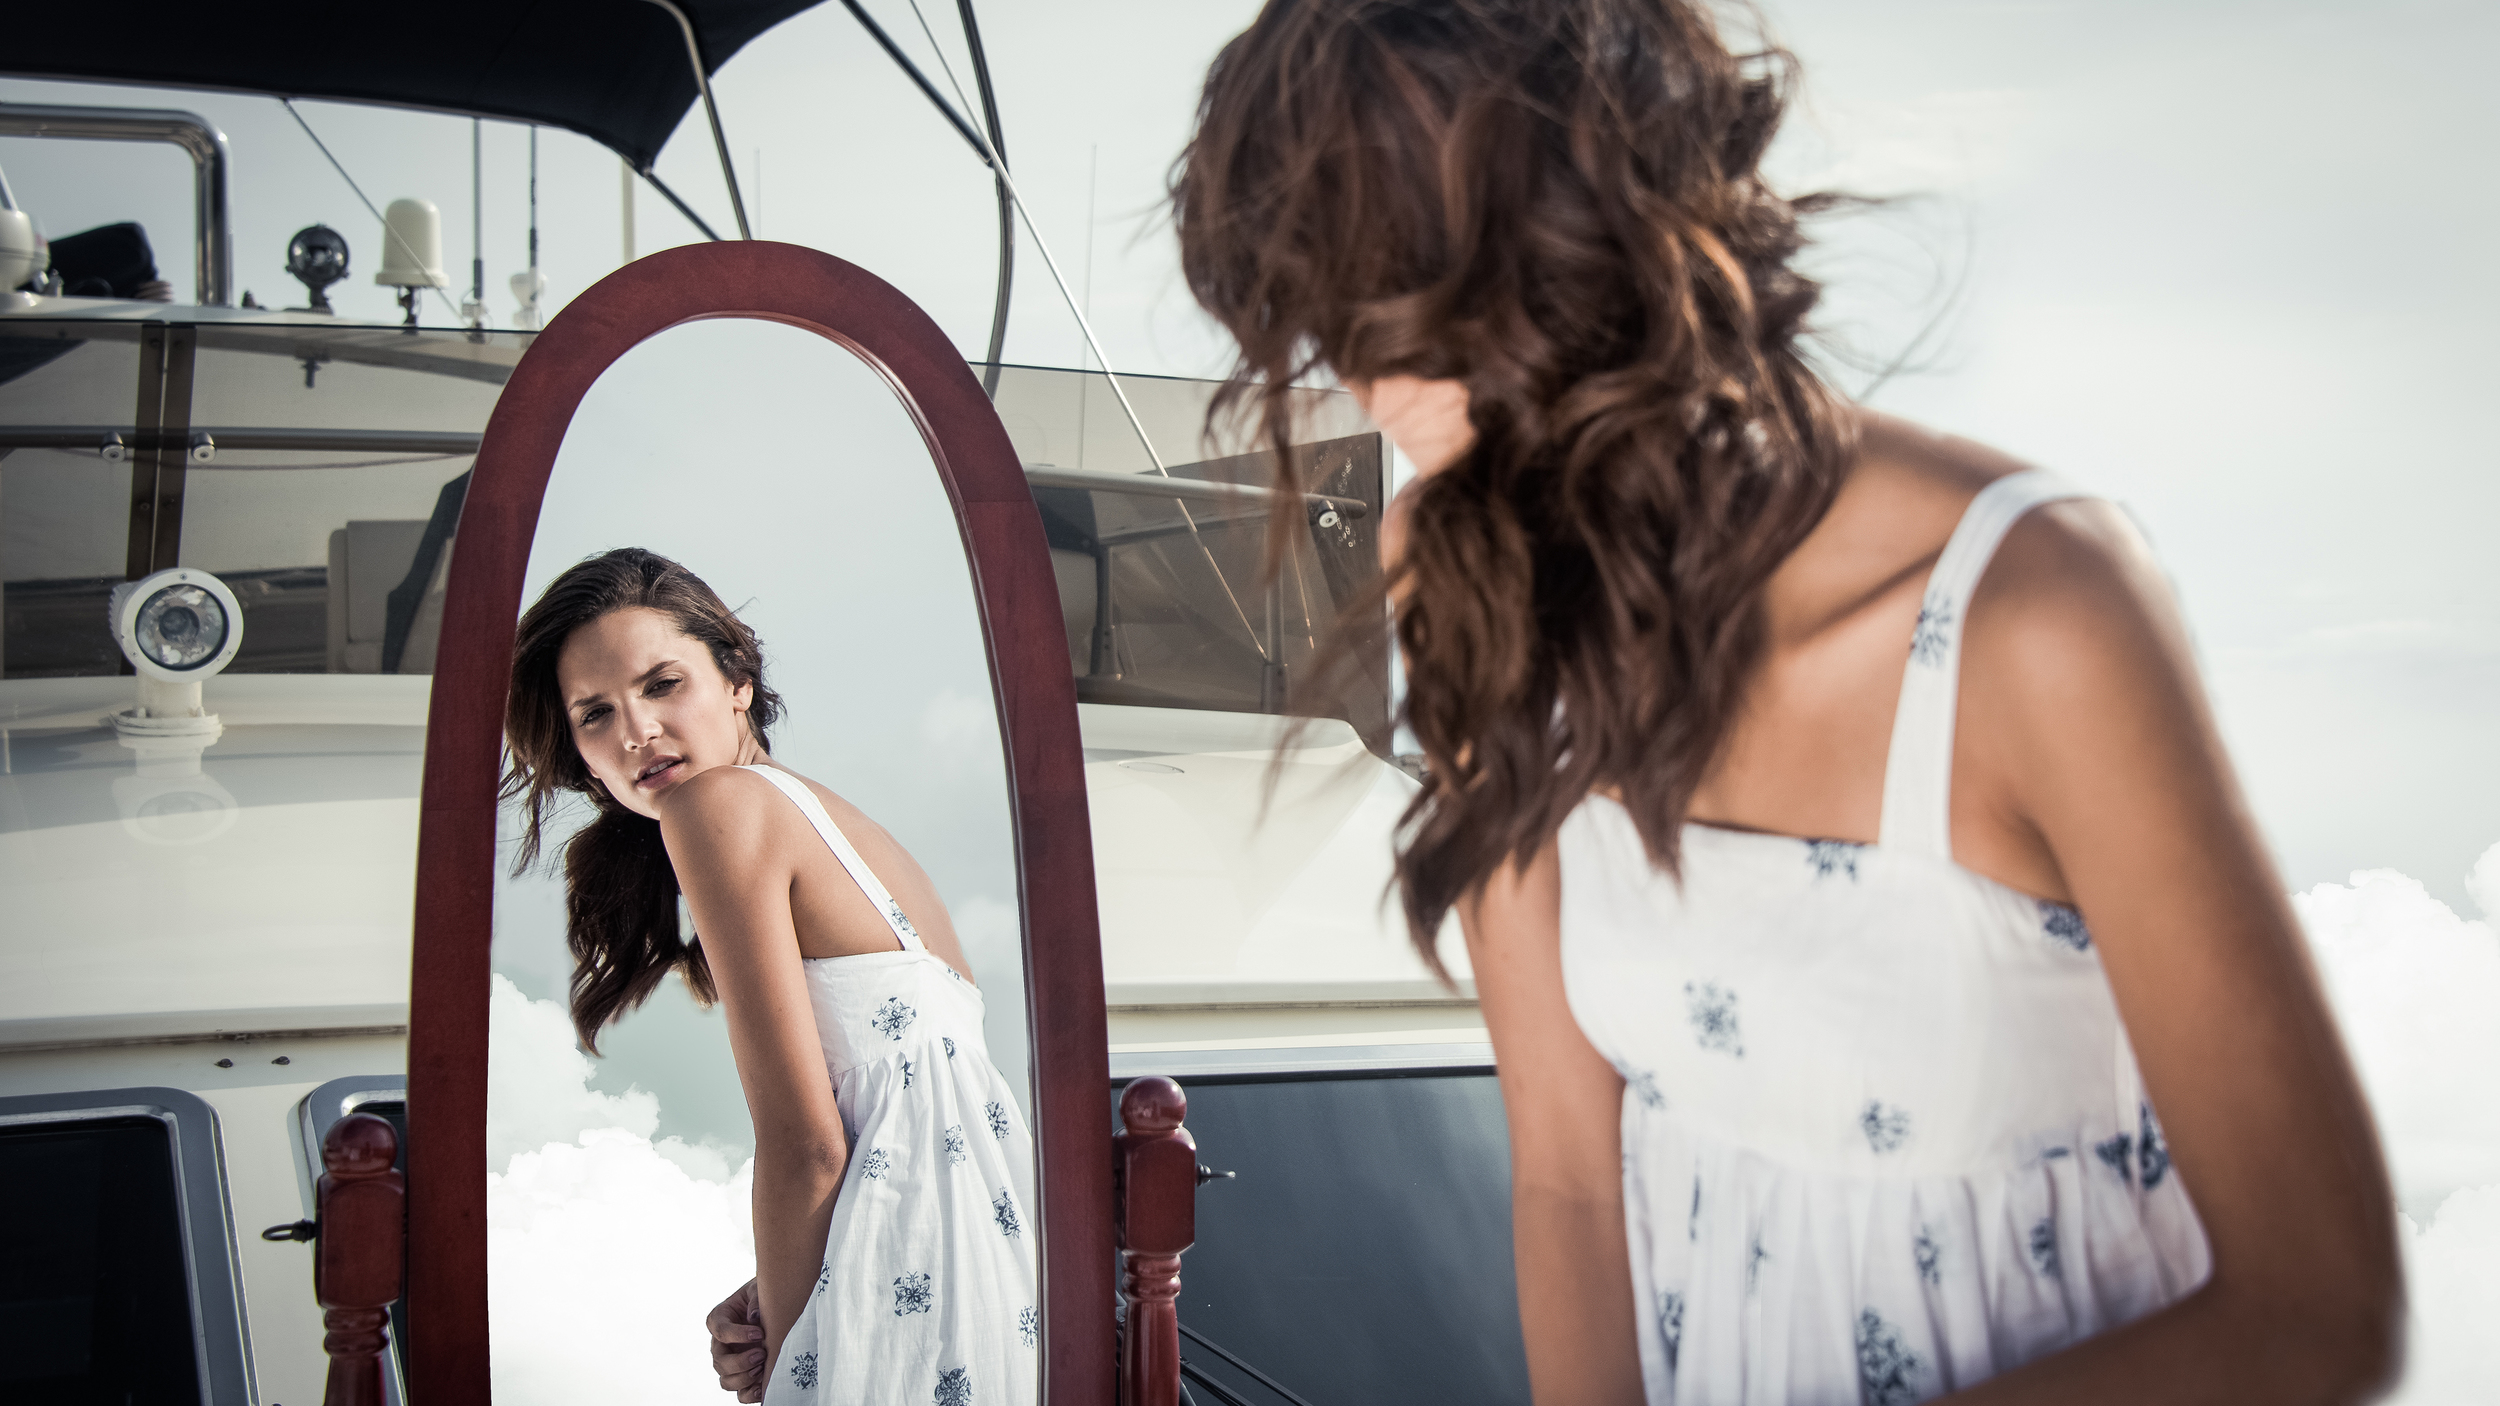
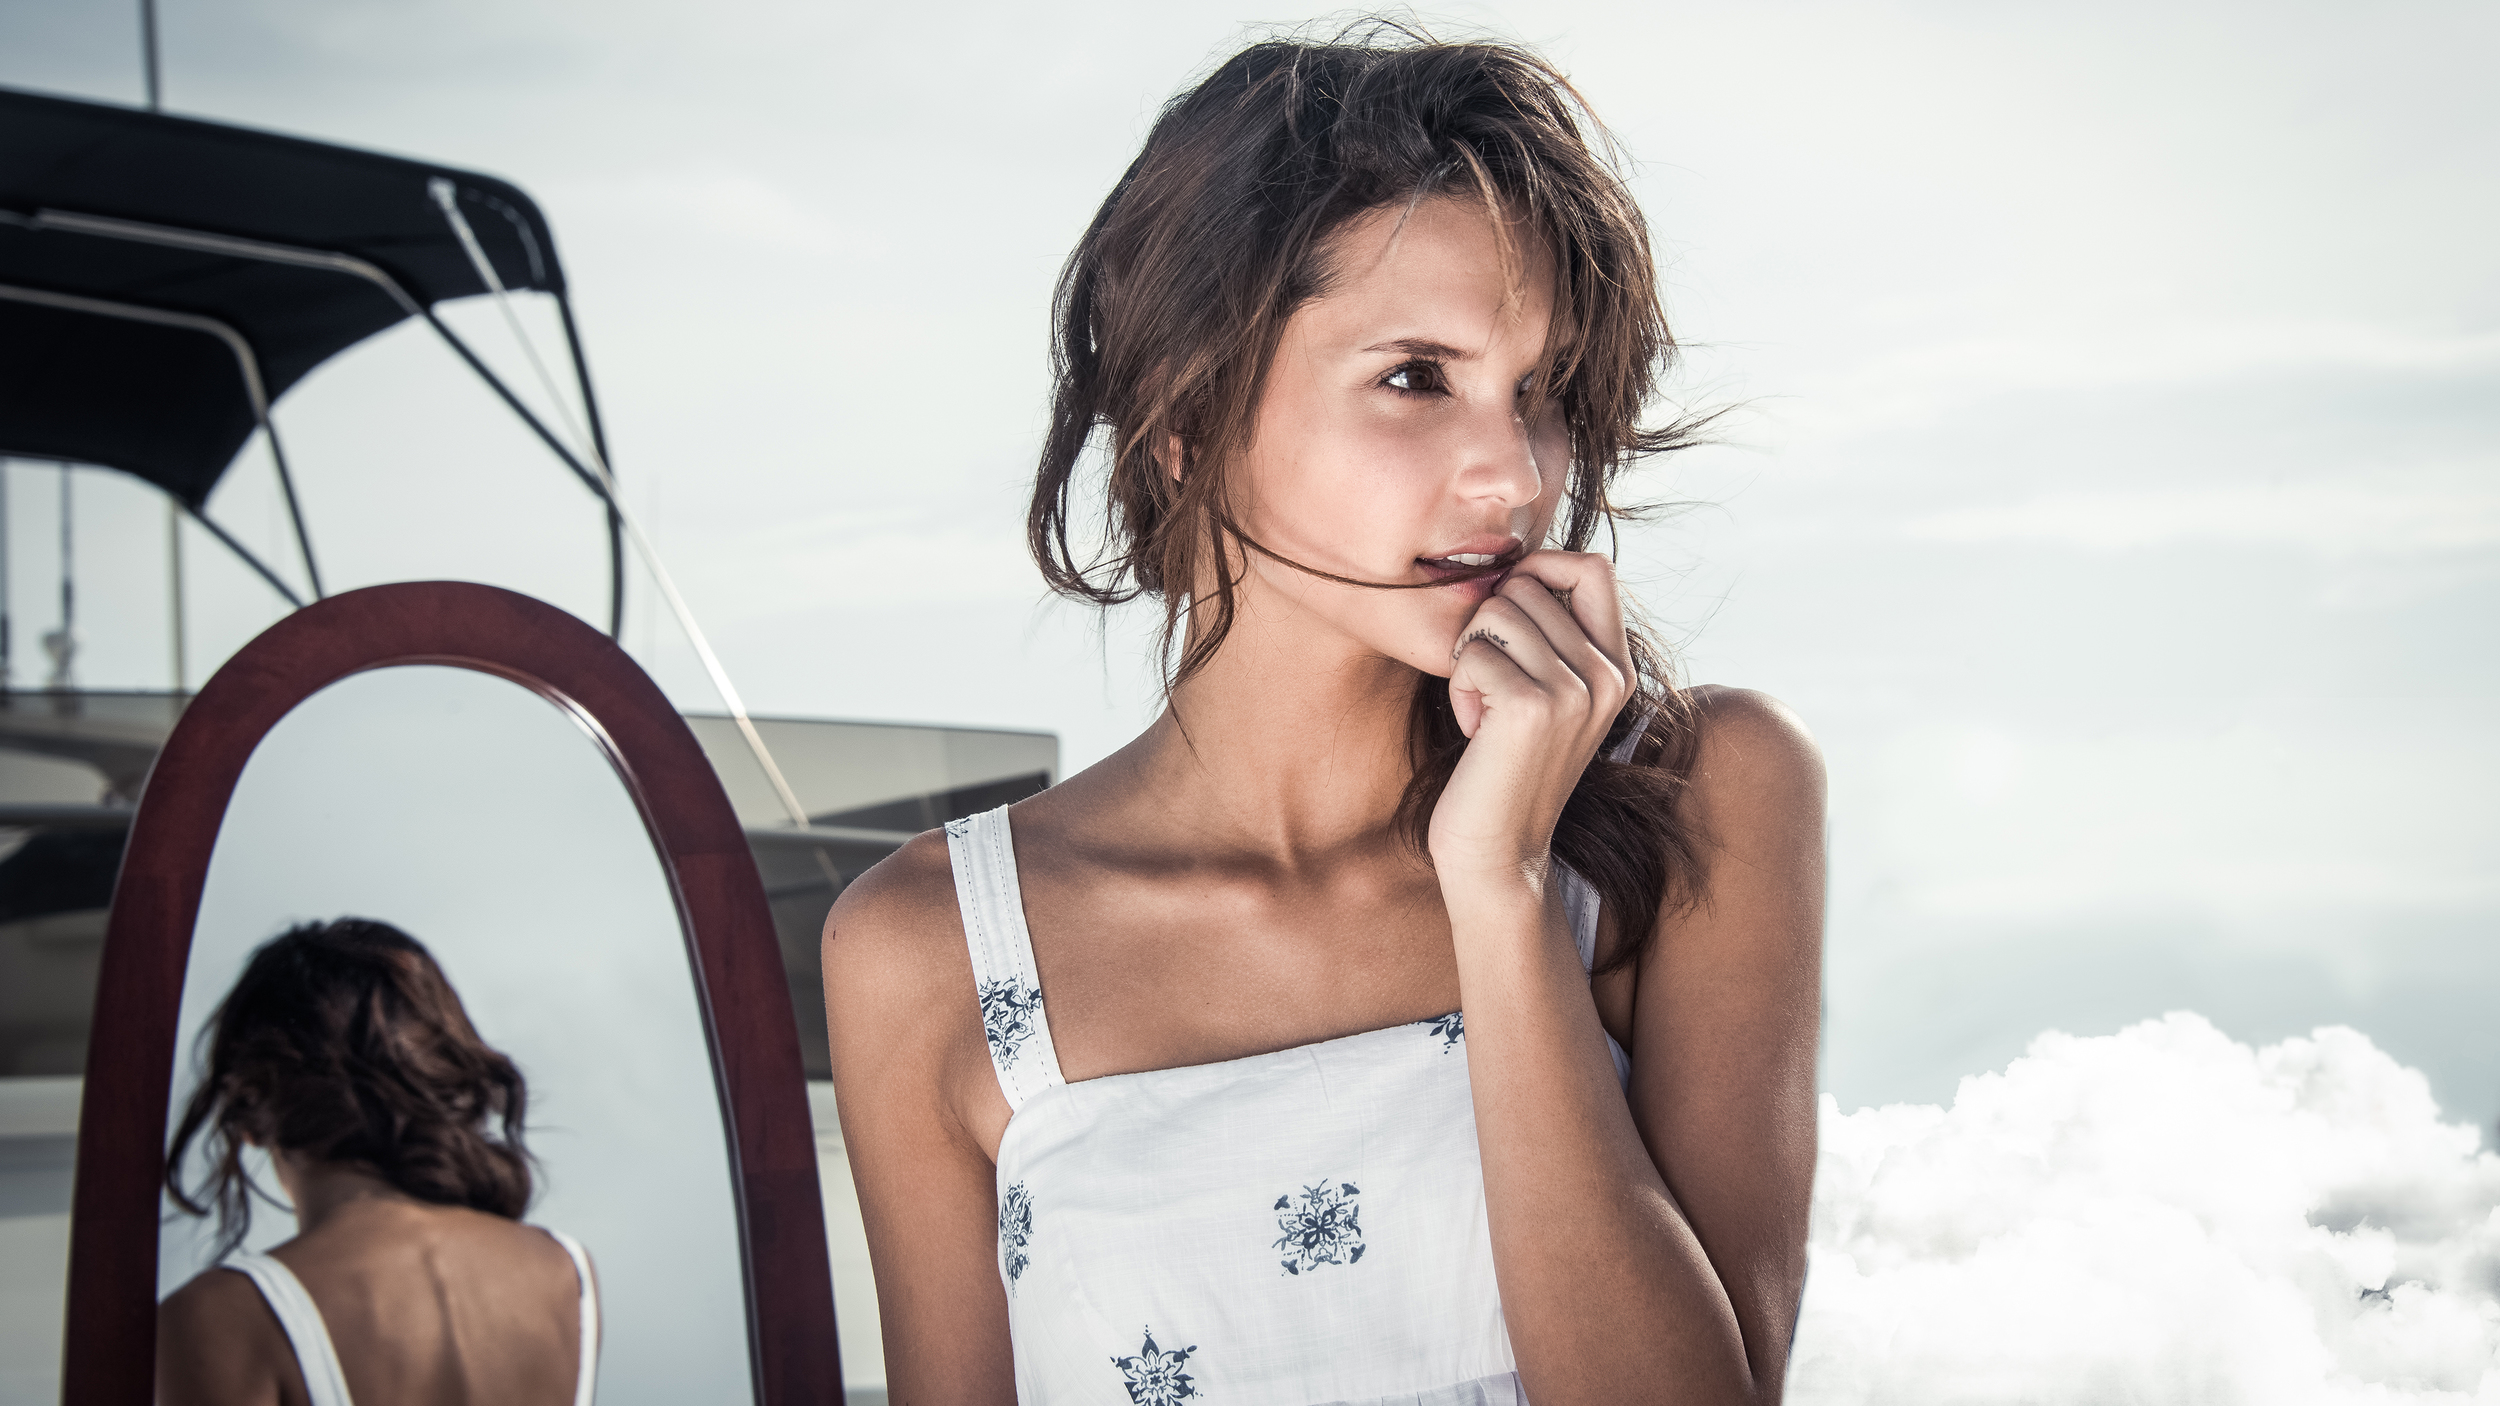
Photography for me was never about capturing moments but making them. I was instantly drawn to directorial photography because I can control every aspect of the photograph. Yet, I am equally attracted to things that I have no control over, like dreams. Dreams are a curious thing. They are ephemeral and seem to be without rules, where laws of physics don’t exist. However, I have noticed one constant: time. Dreams are still bound by time, which connects both realities. We have a finite amount of time no matter the reality. My series “Wide Awake”, explores the idea of dreams and its relation to time. 

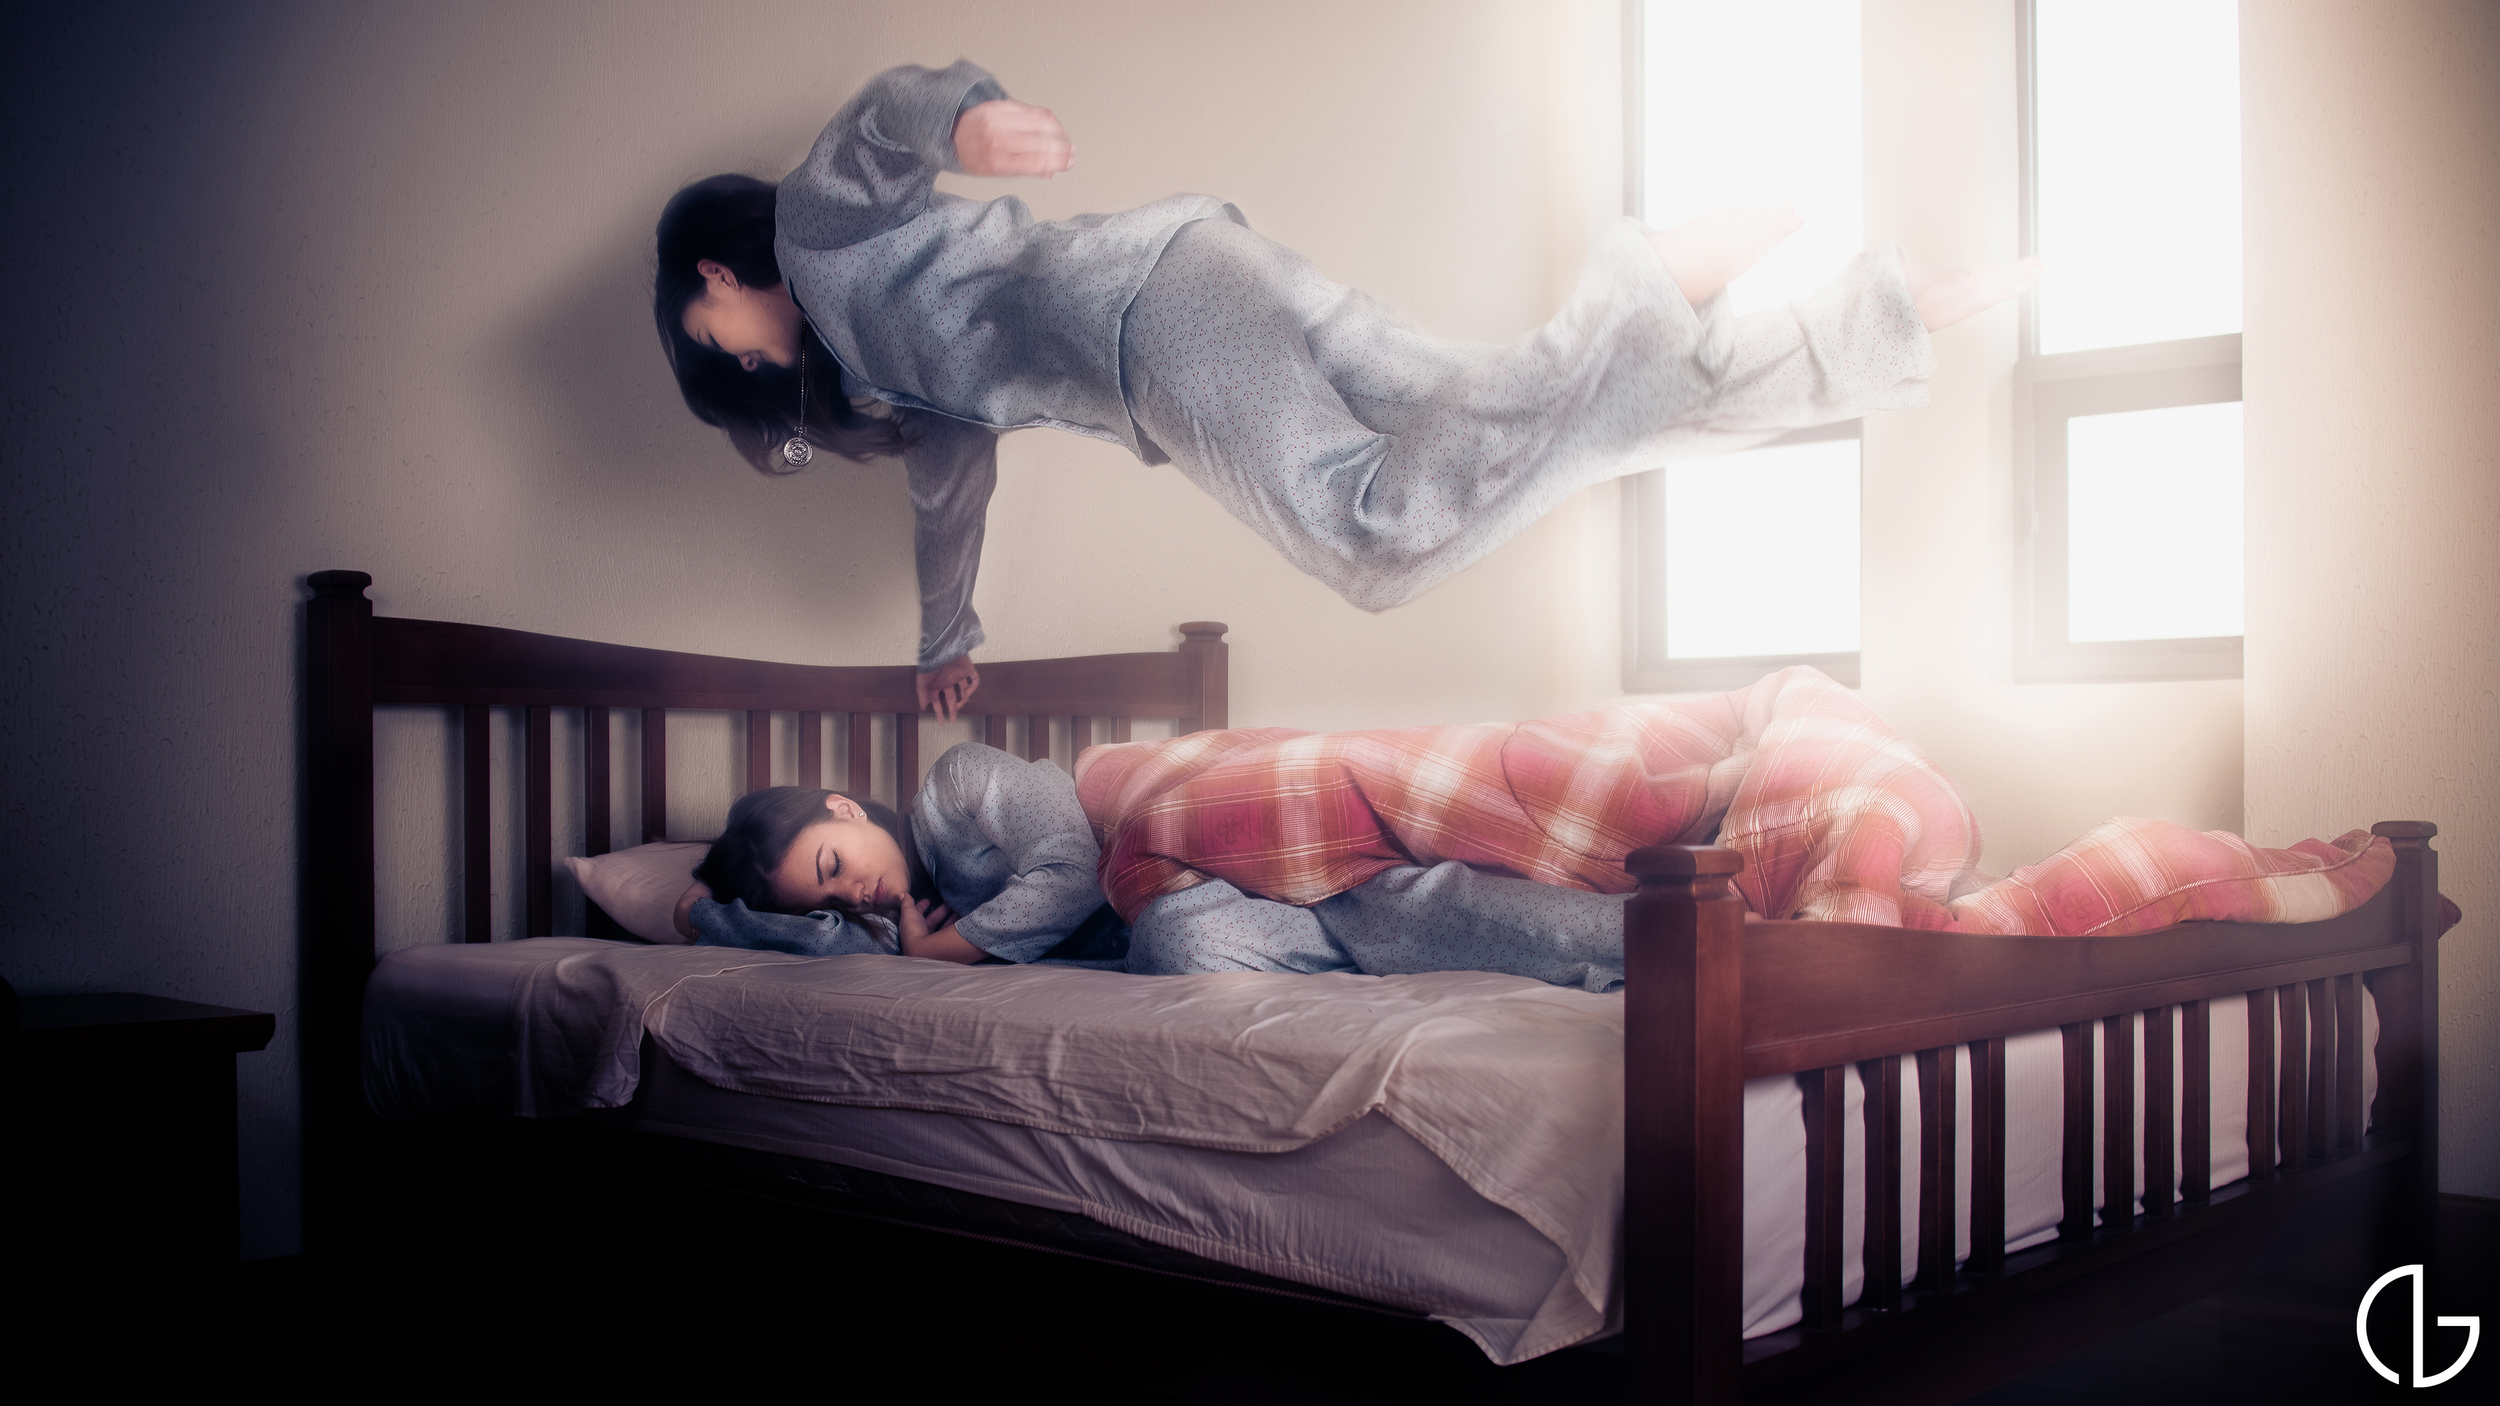
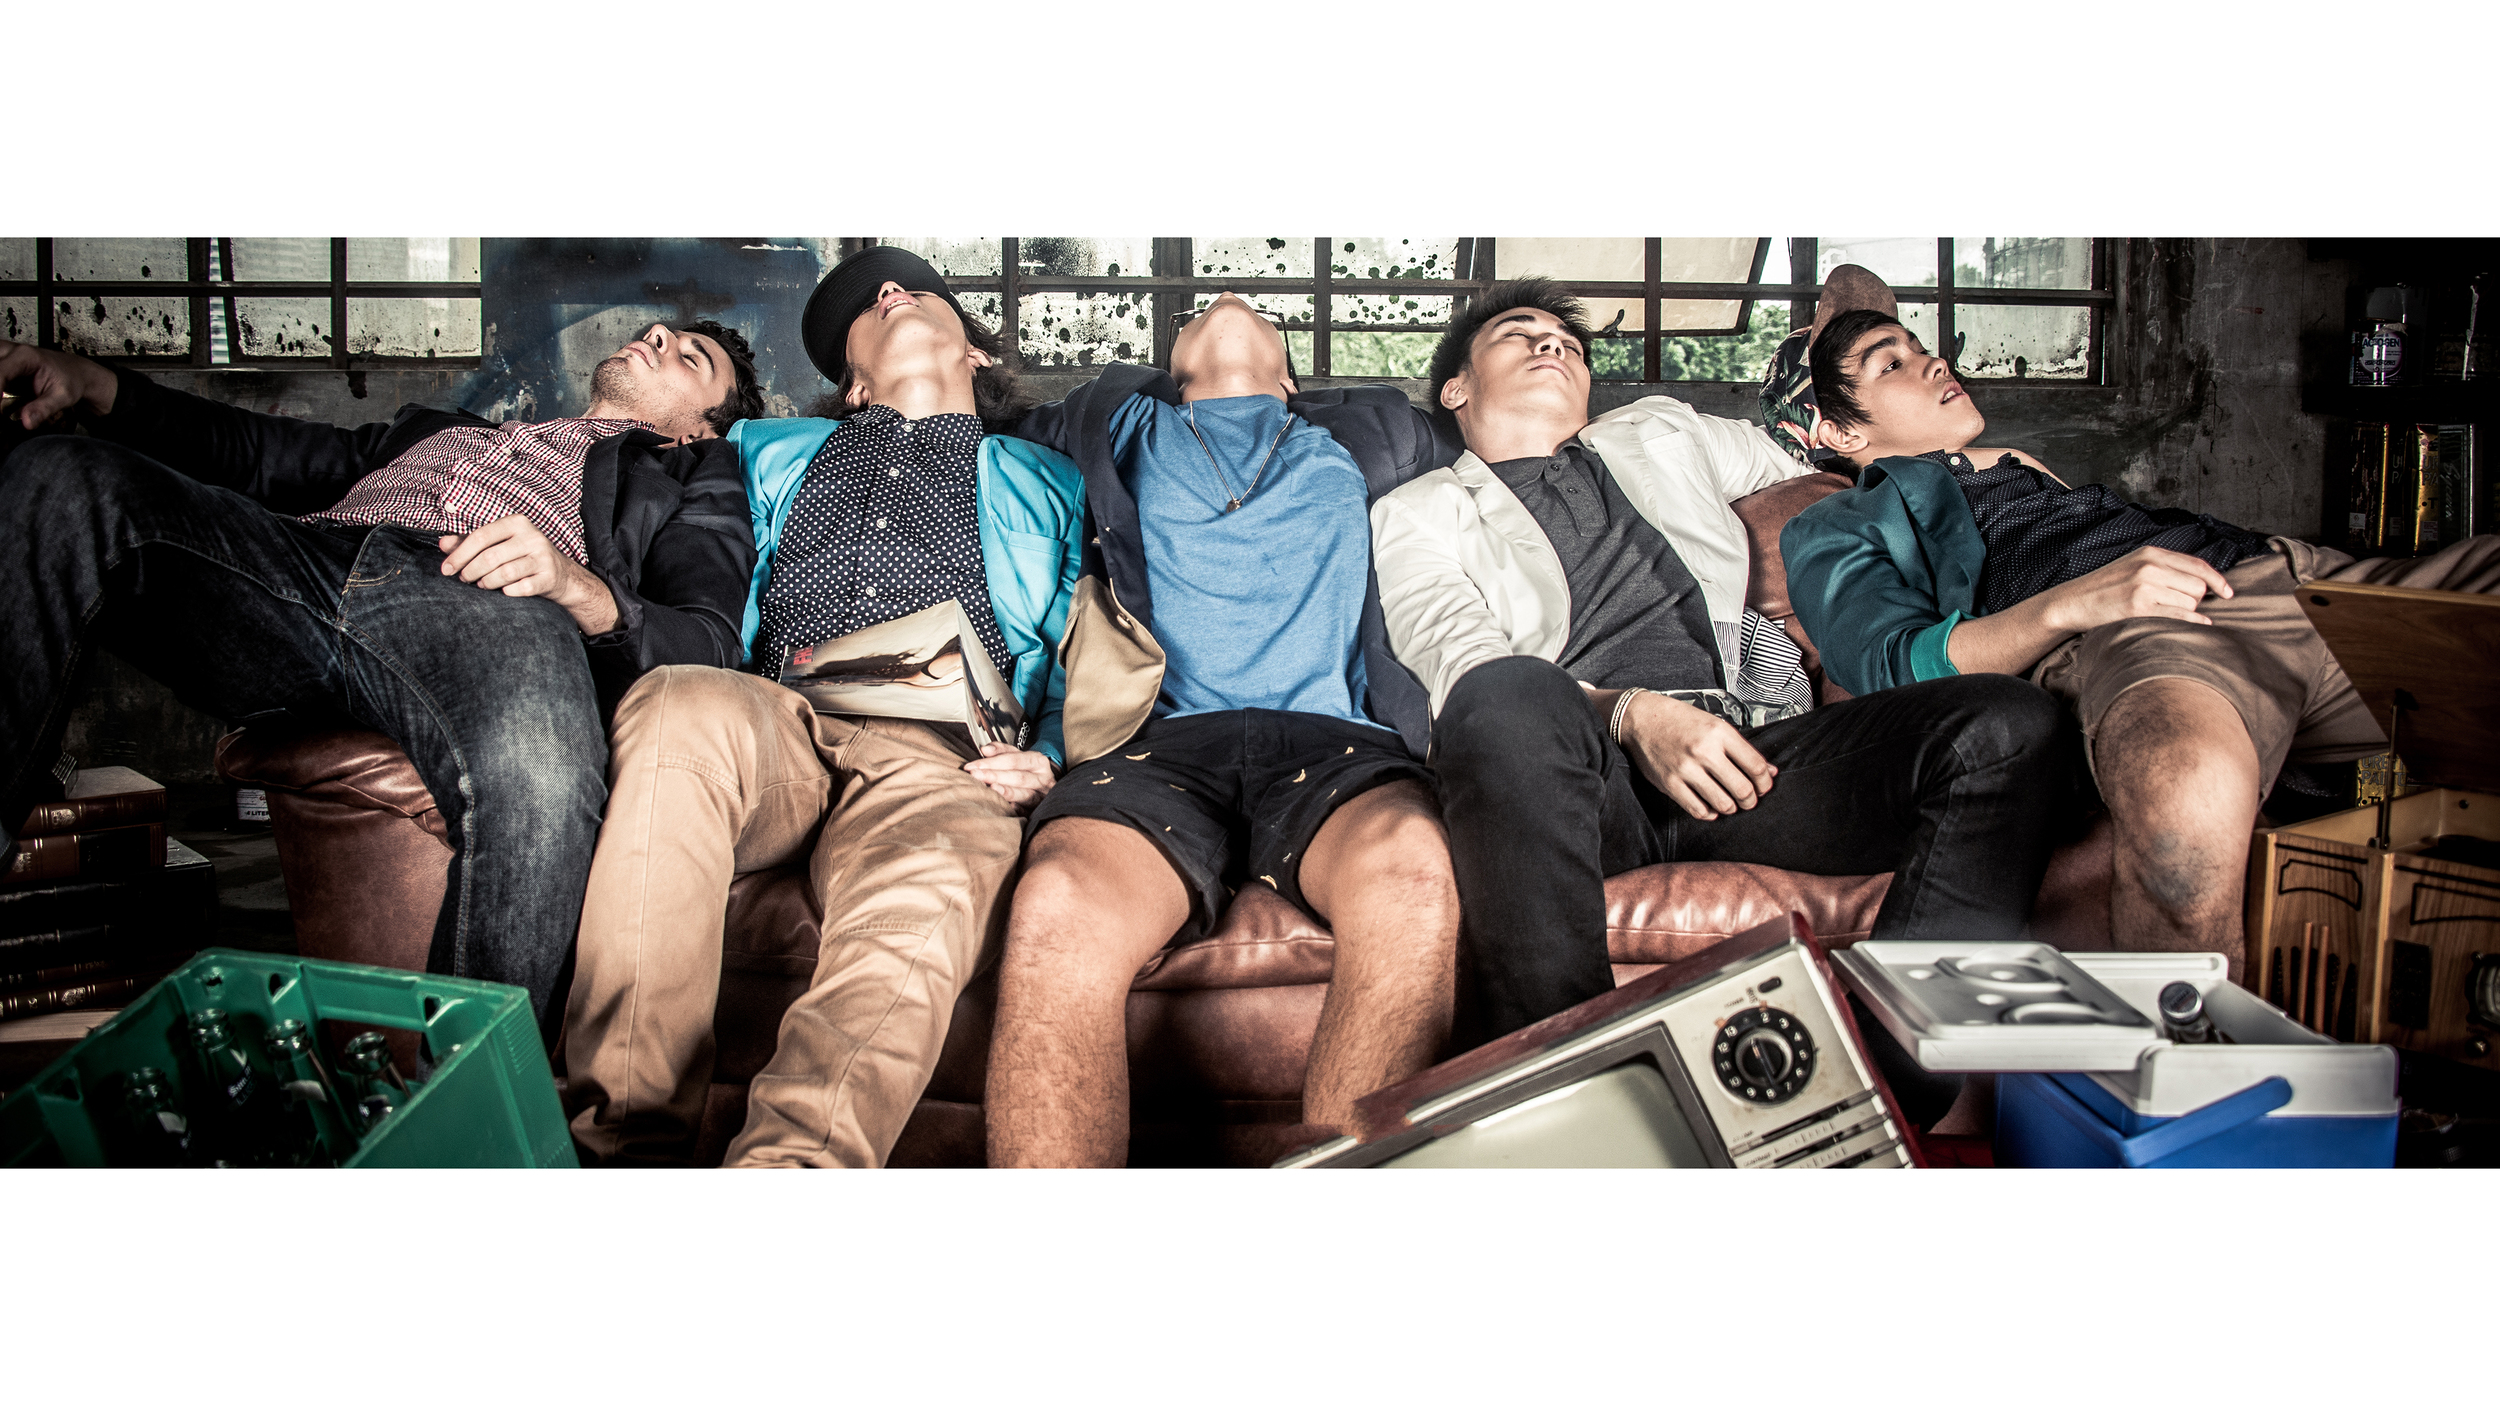
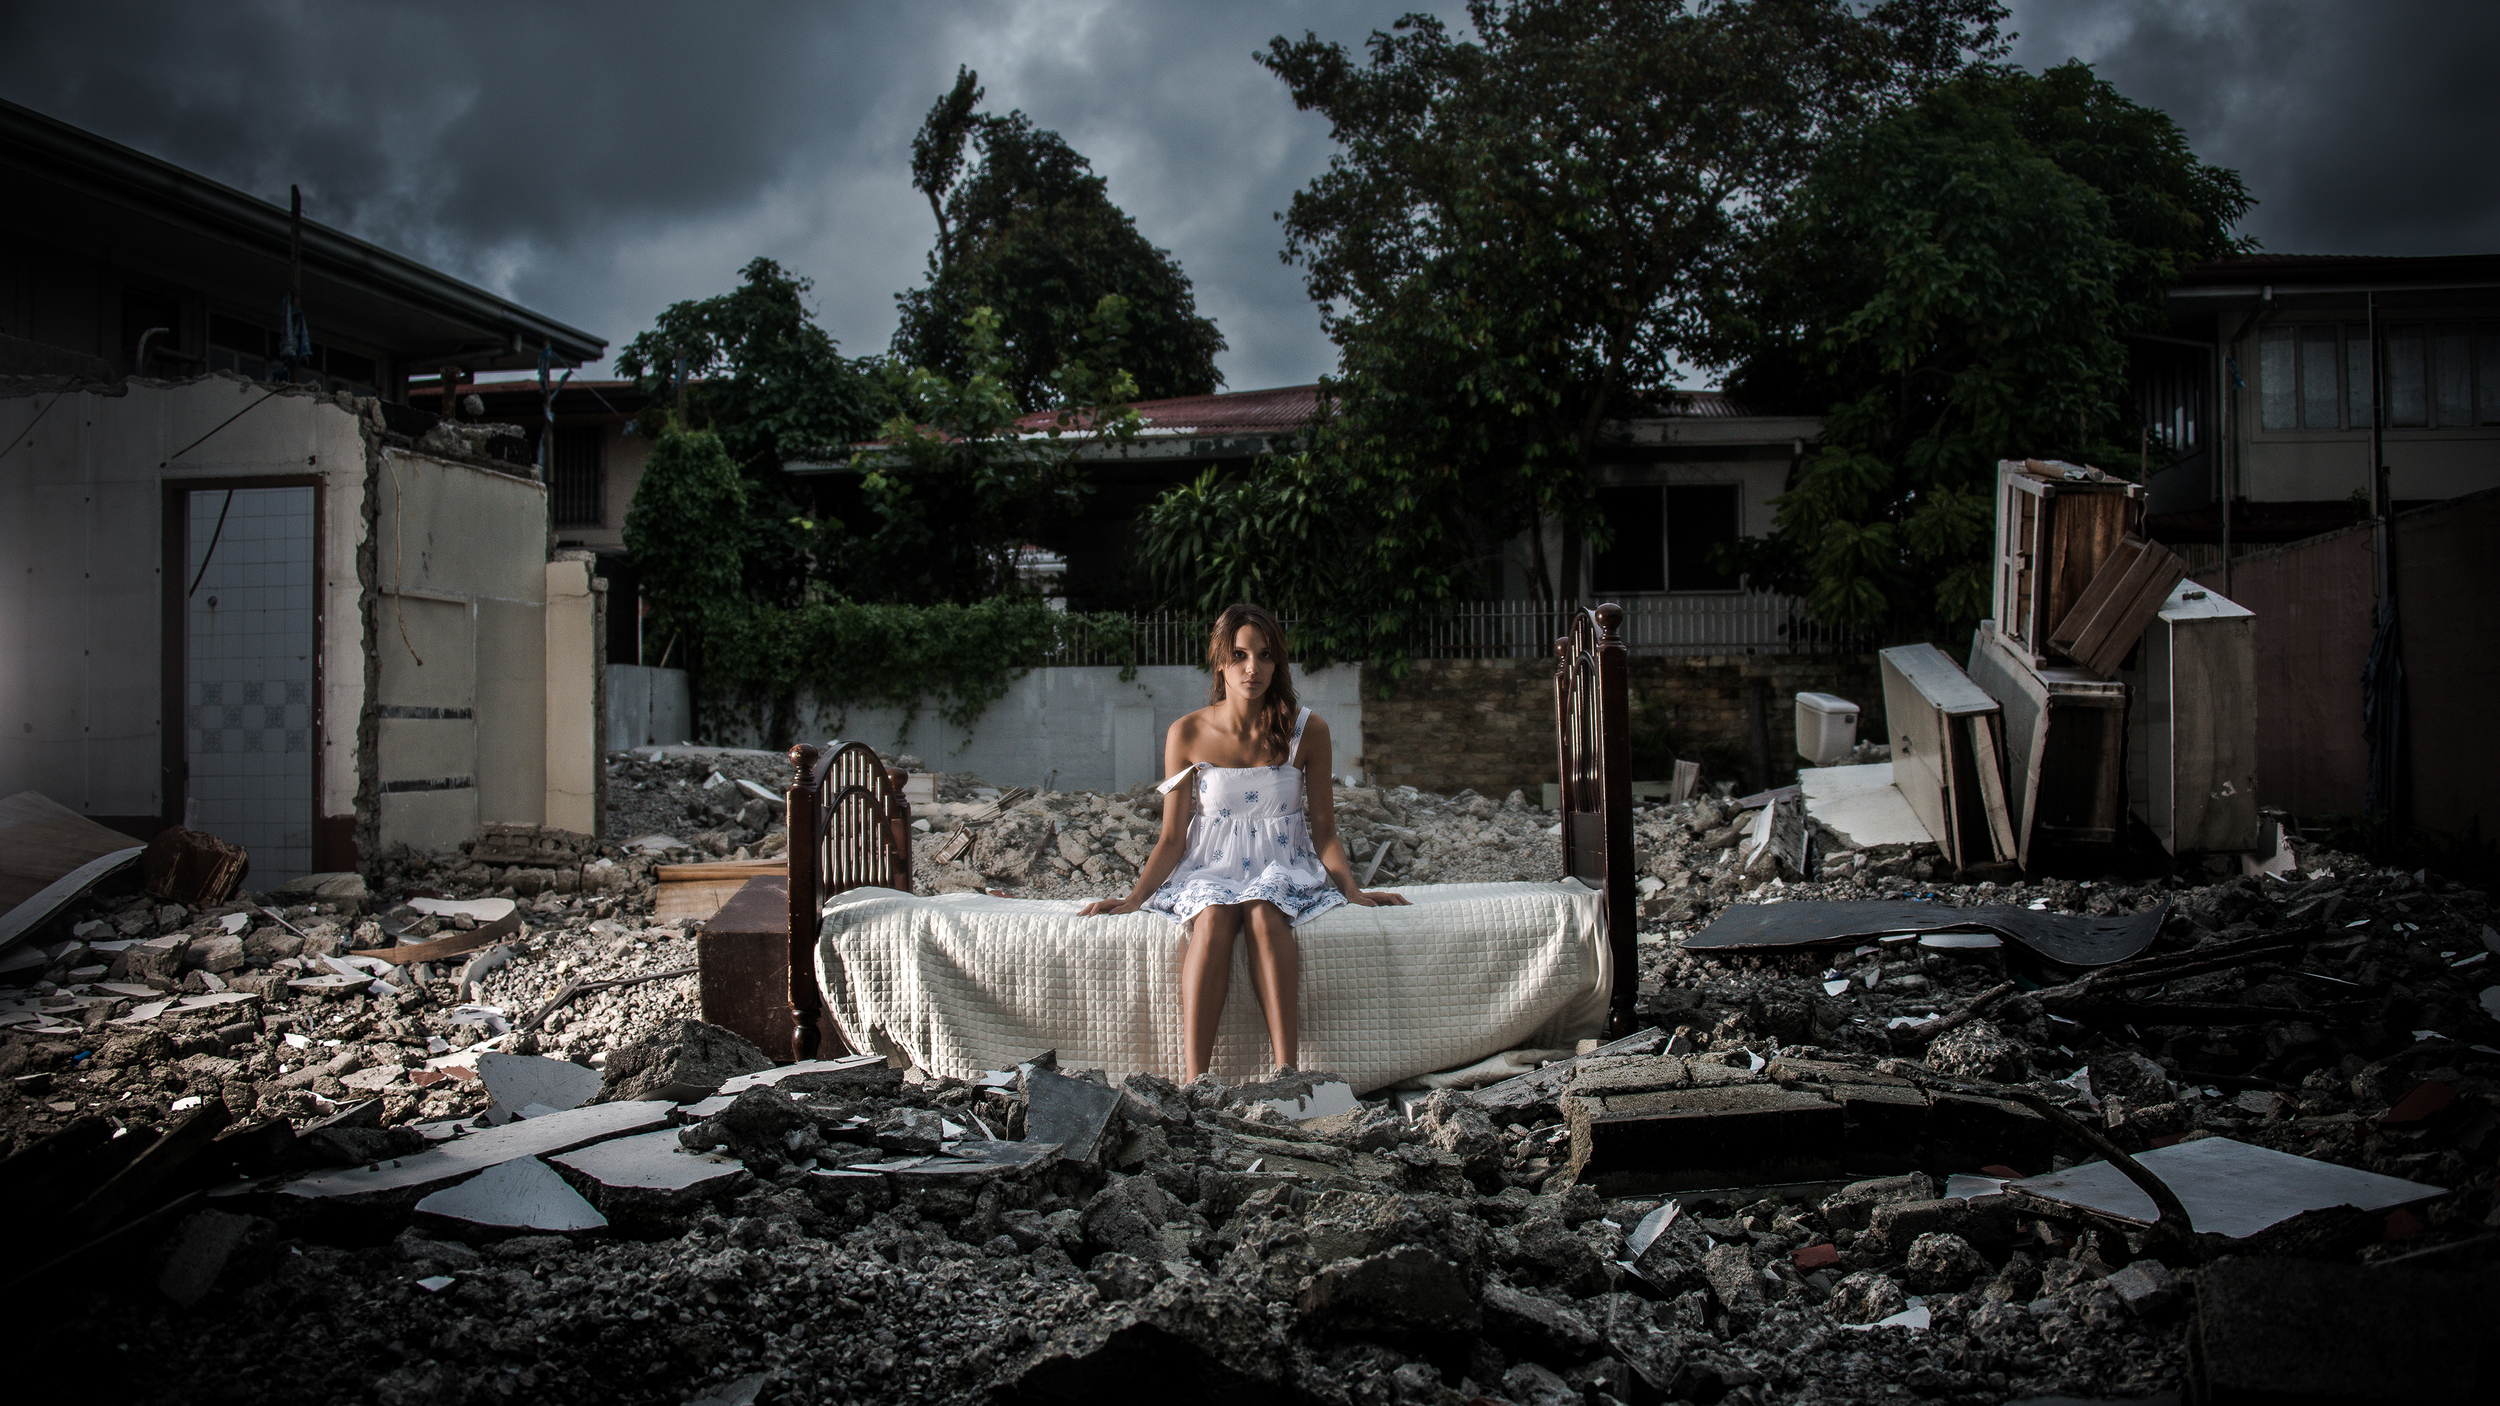
For the image that won PPOTY Student of the Year 2013, I used compositing with different photographs I took over the years, which emphasizes the nature of dreams. Compositing is a technique in which you place different images into one image. For me, the most important mindset when making composites is realism. The image has to seem as if it was a moment captured by the camera. 

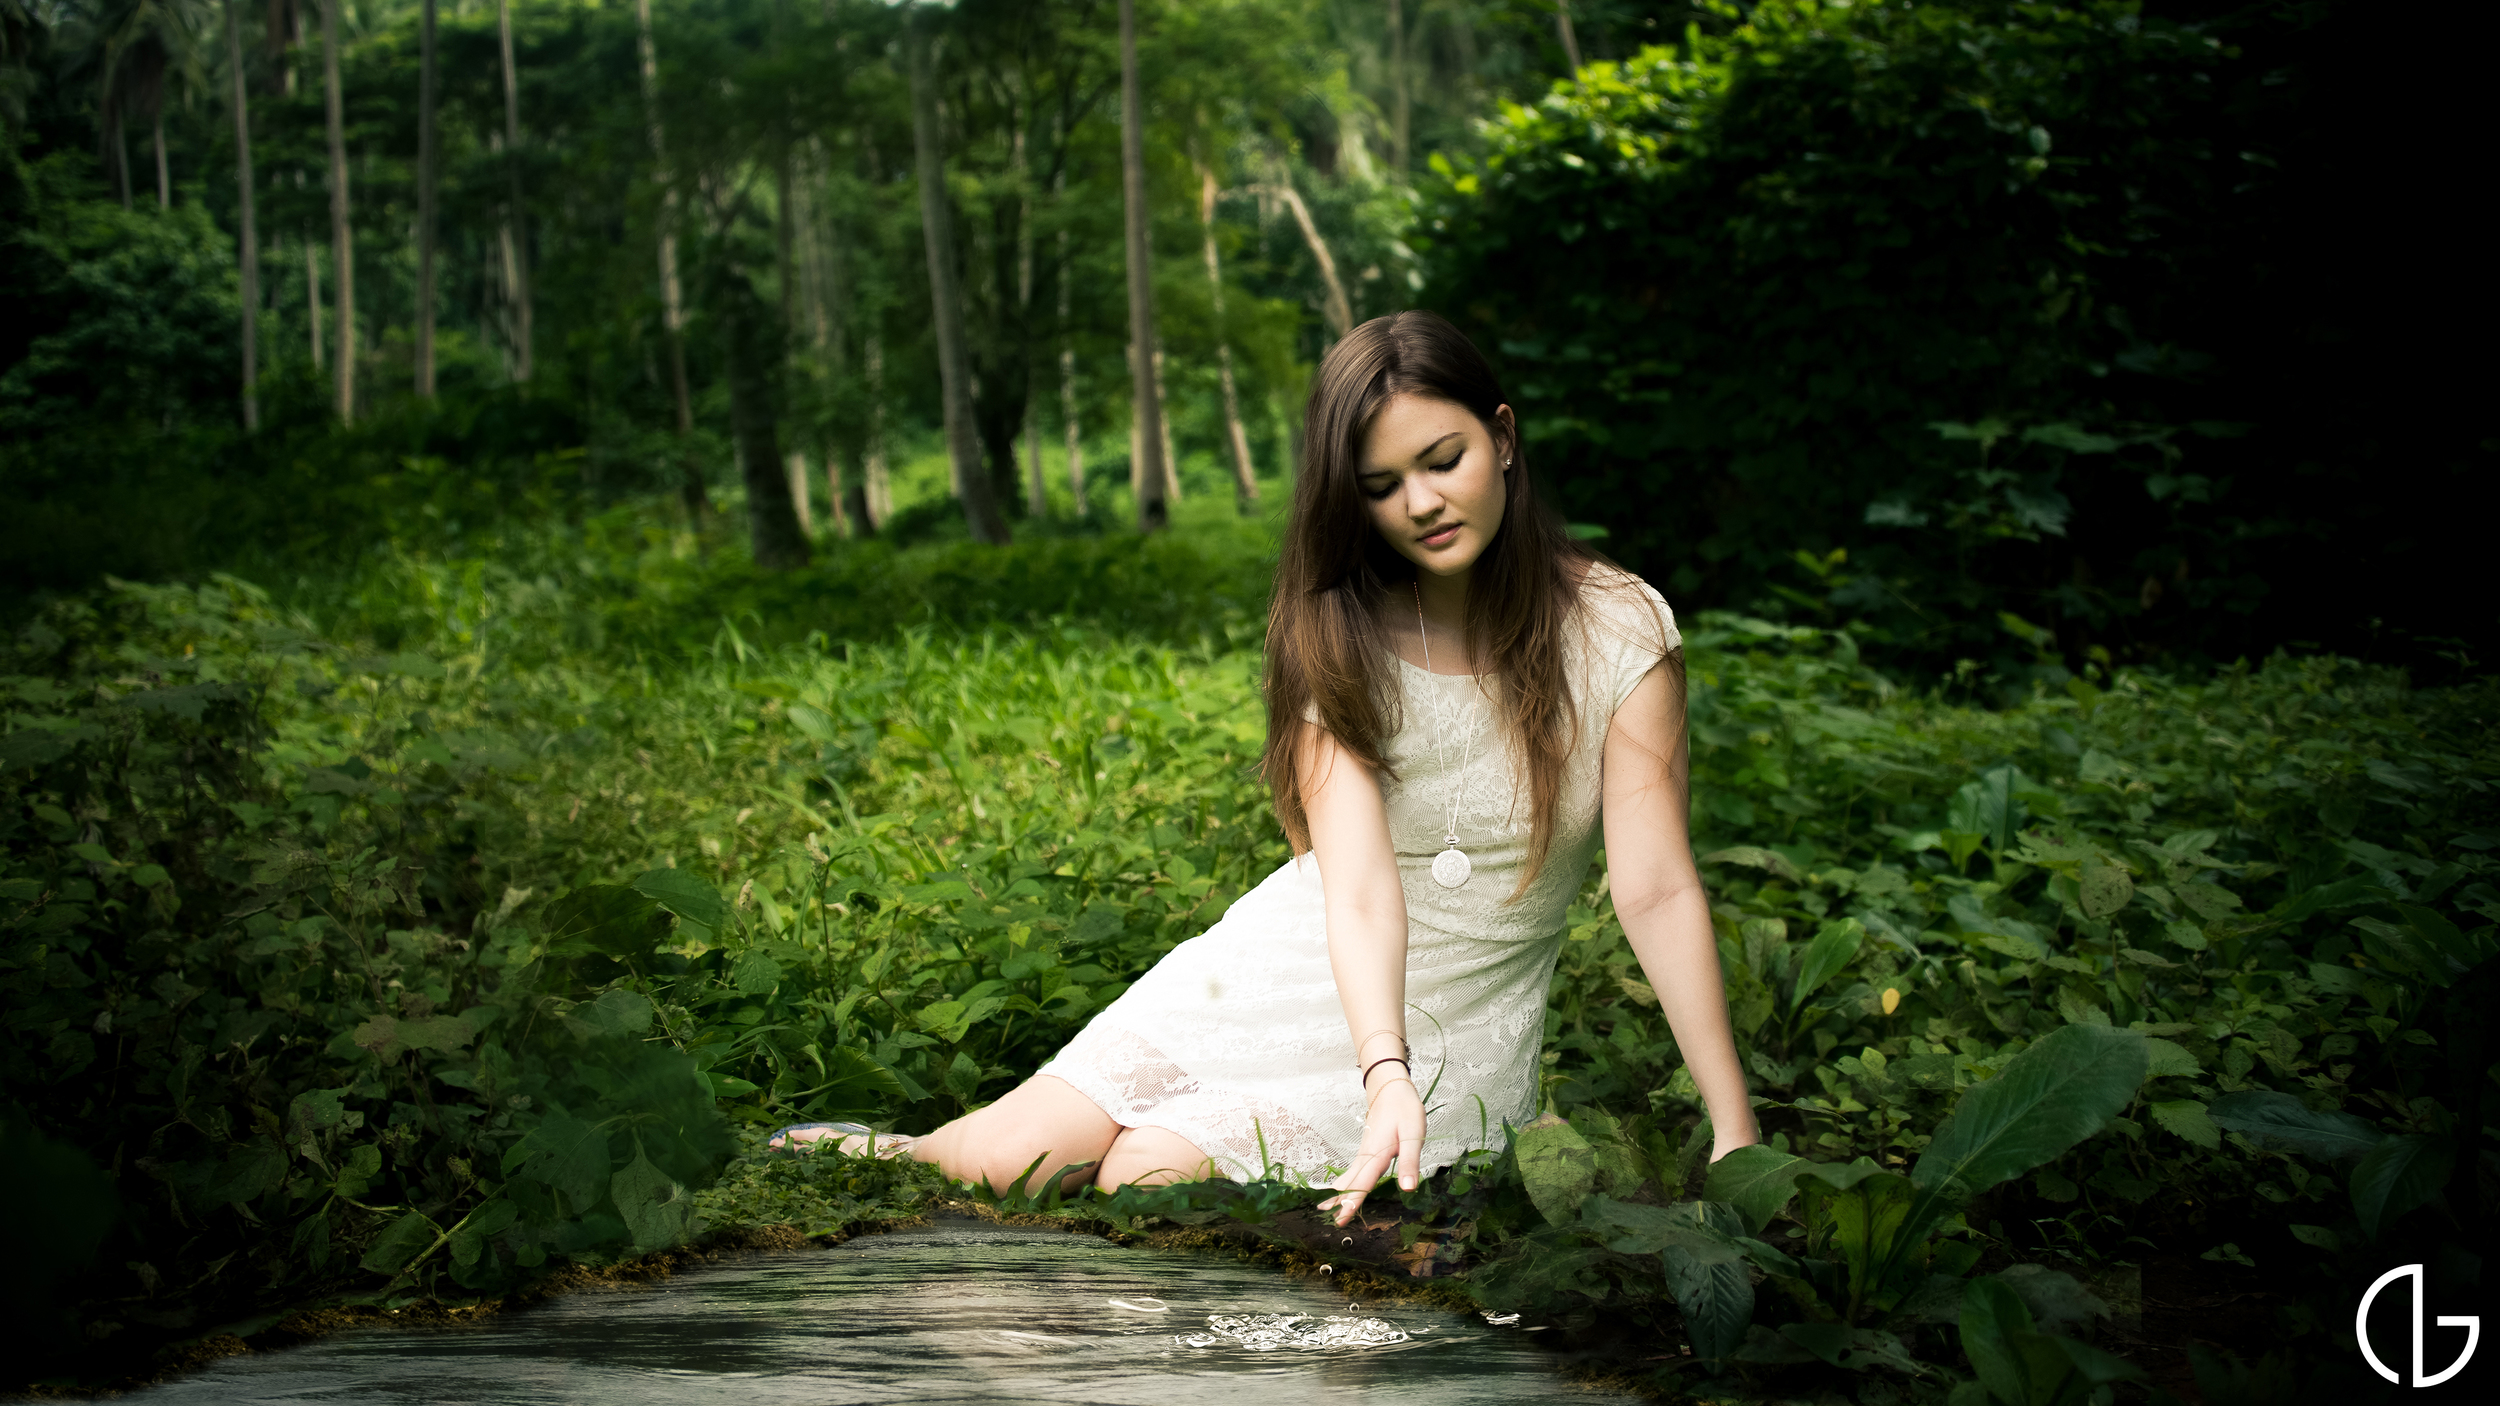
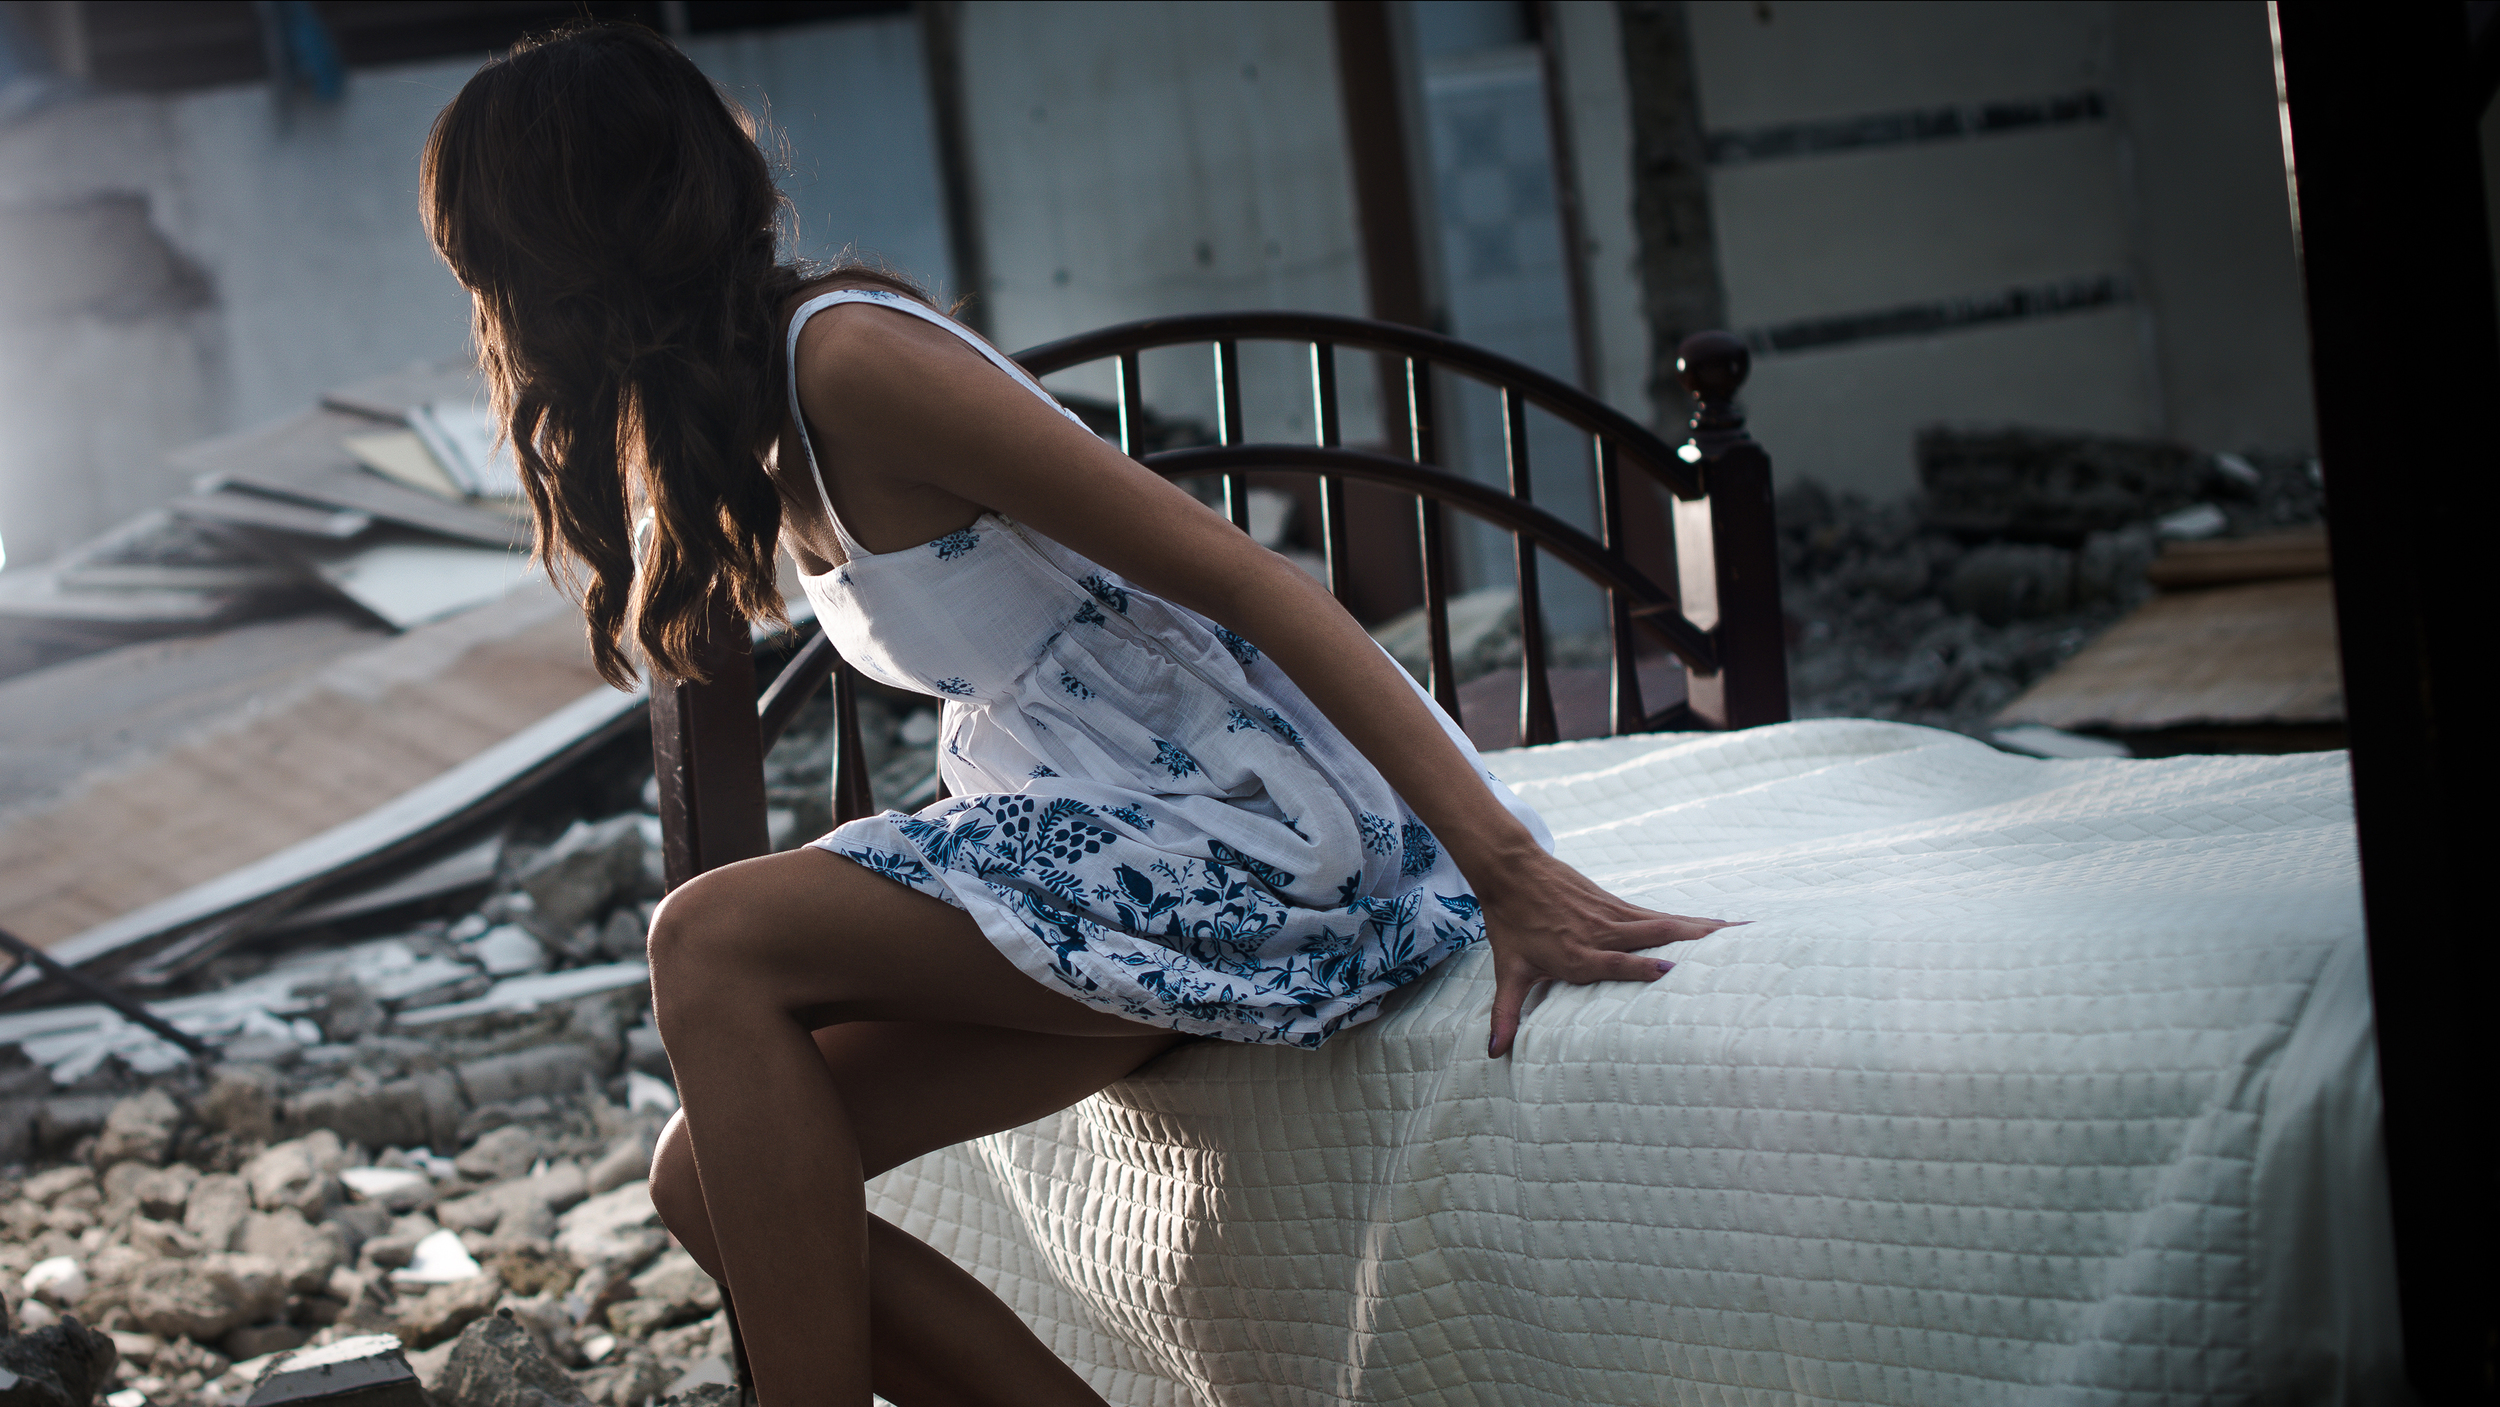
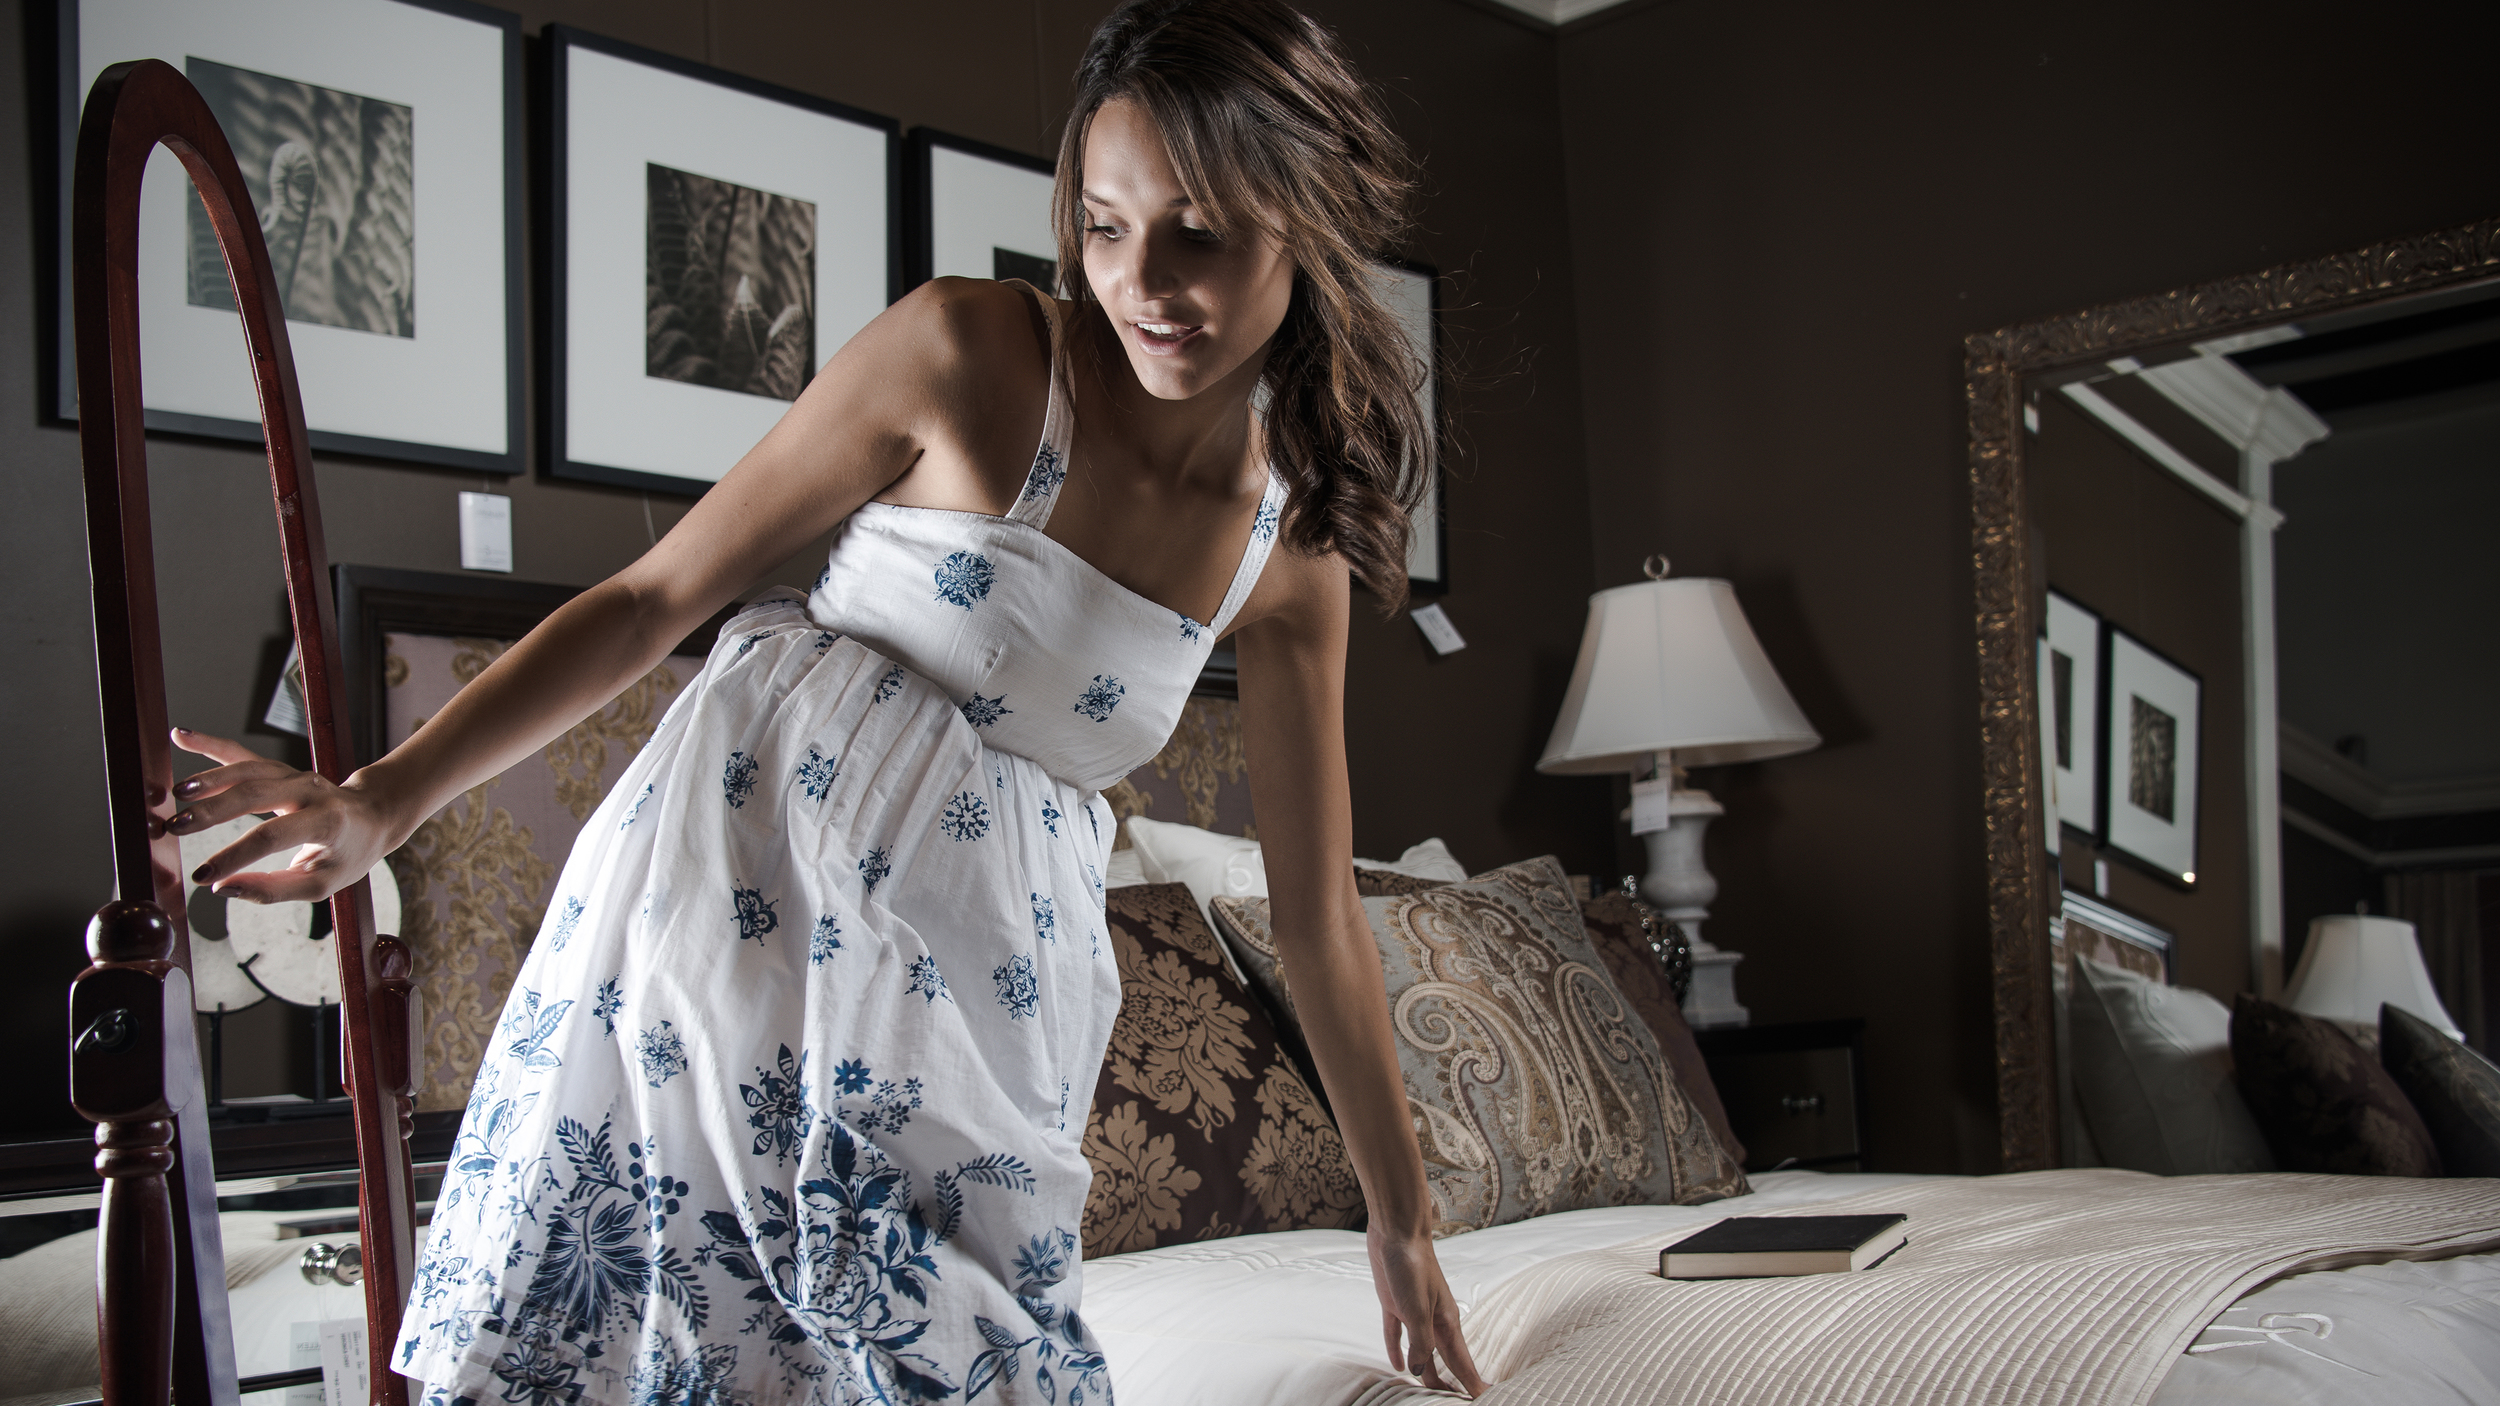
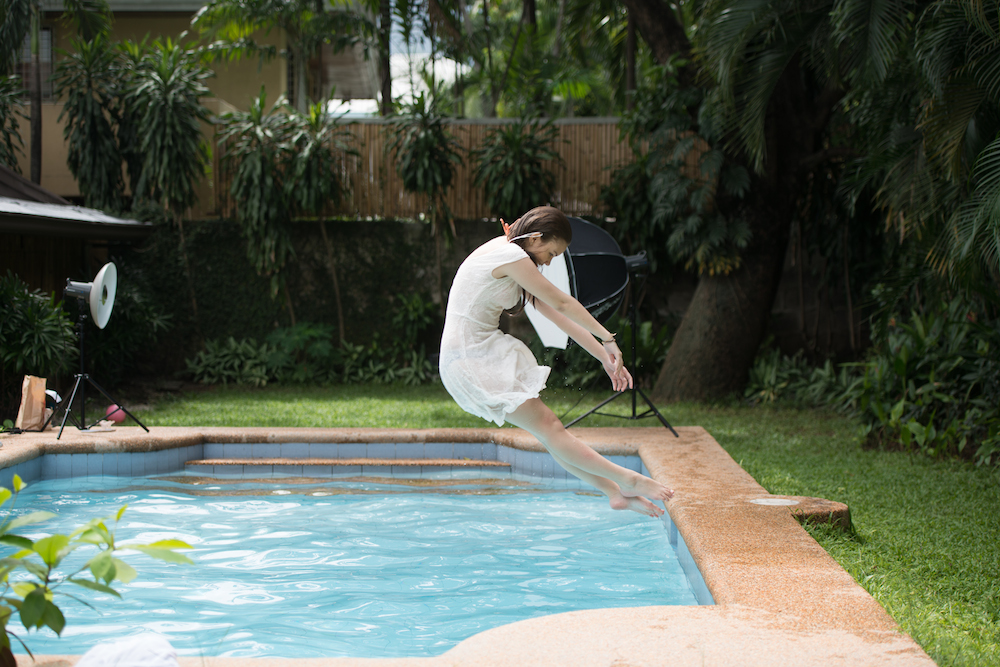
01 Collecting the Images

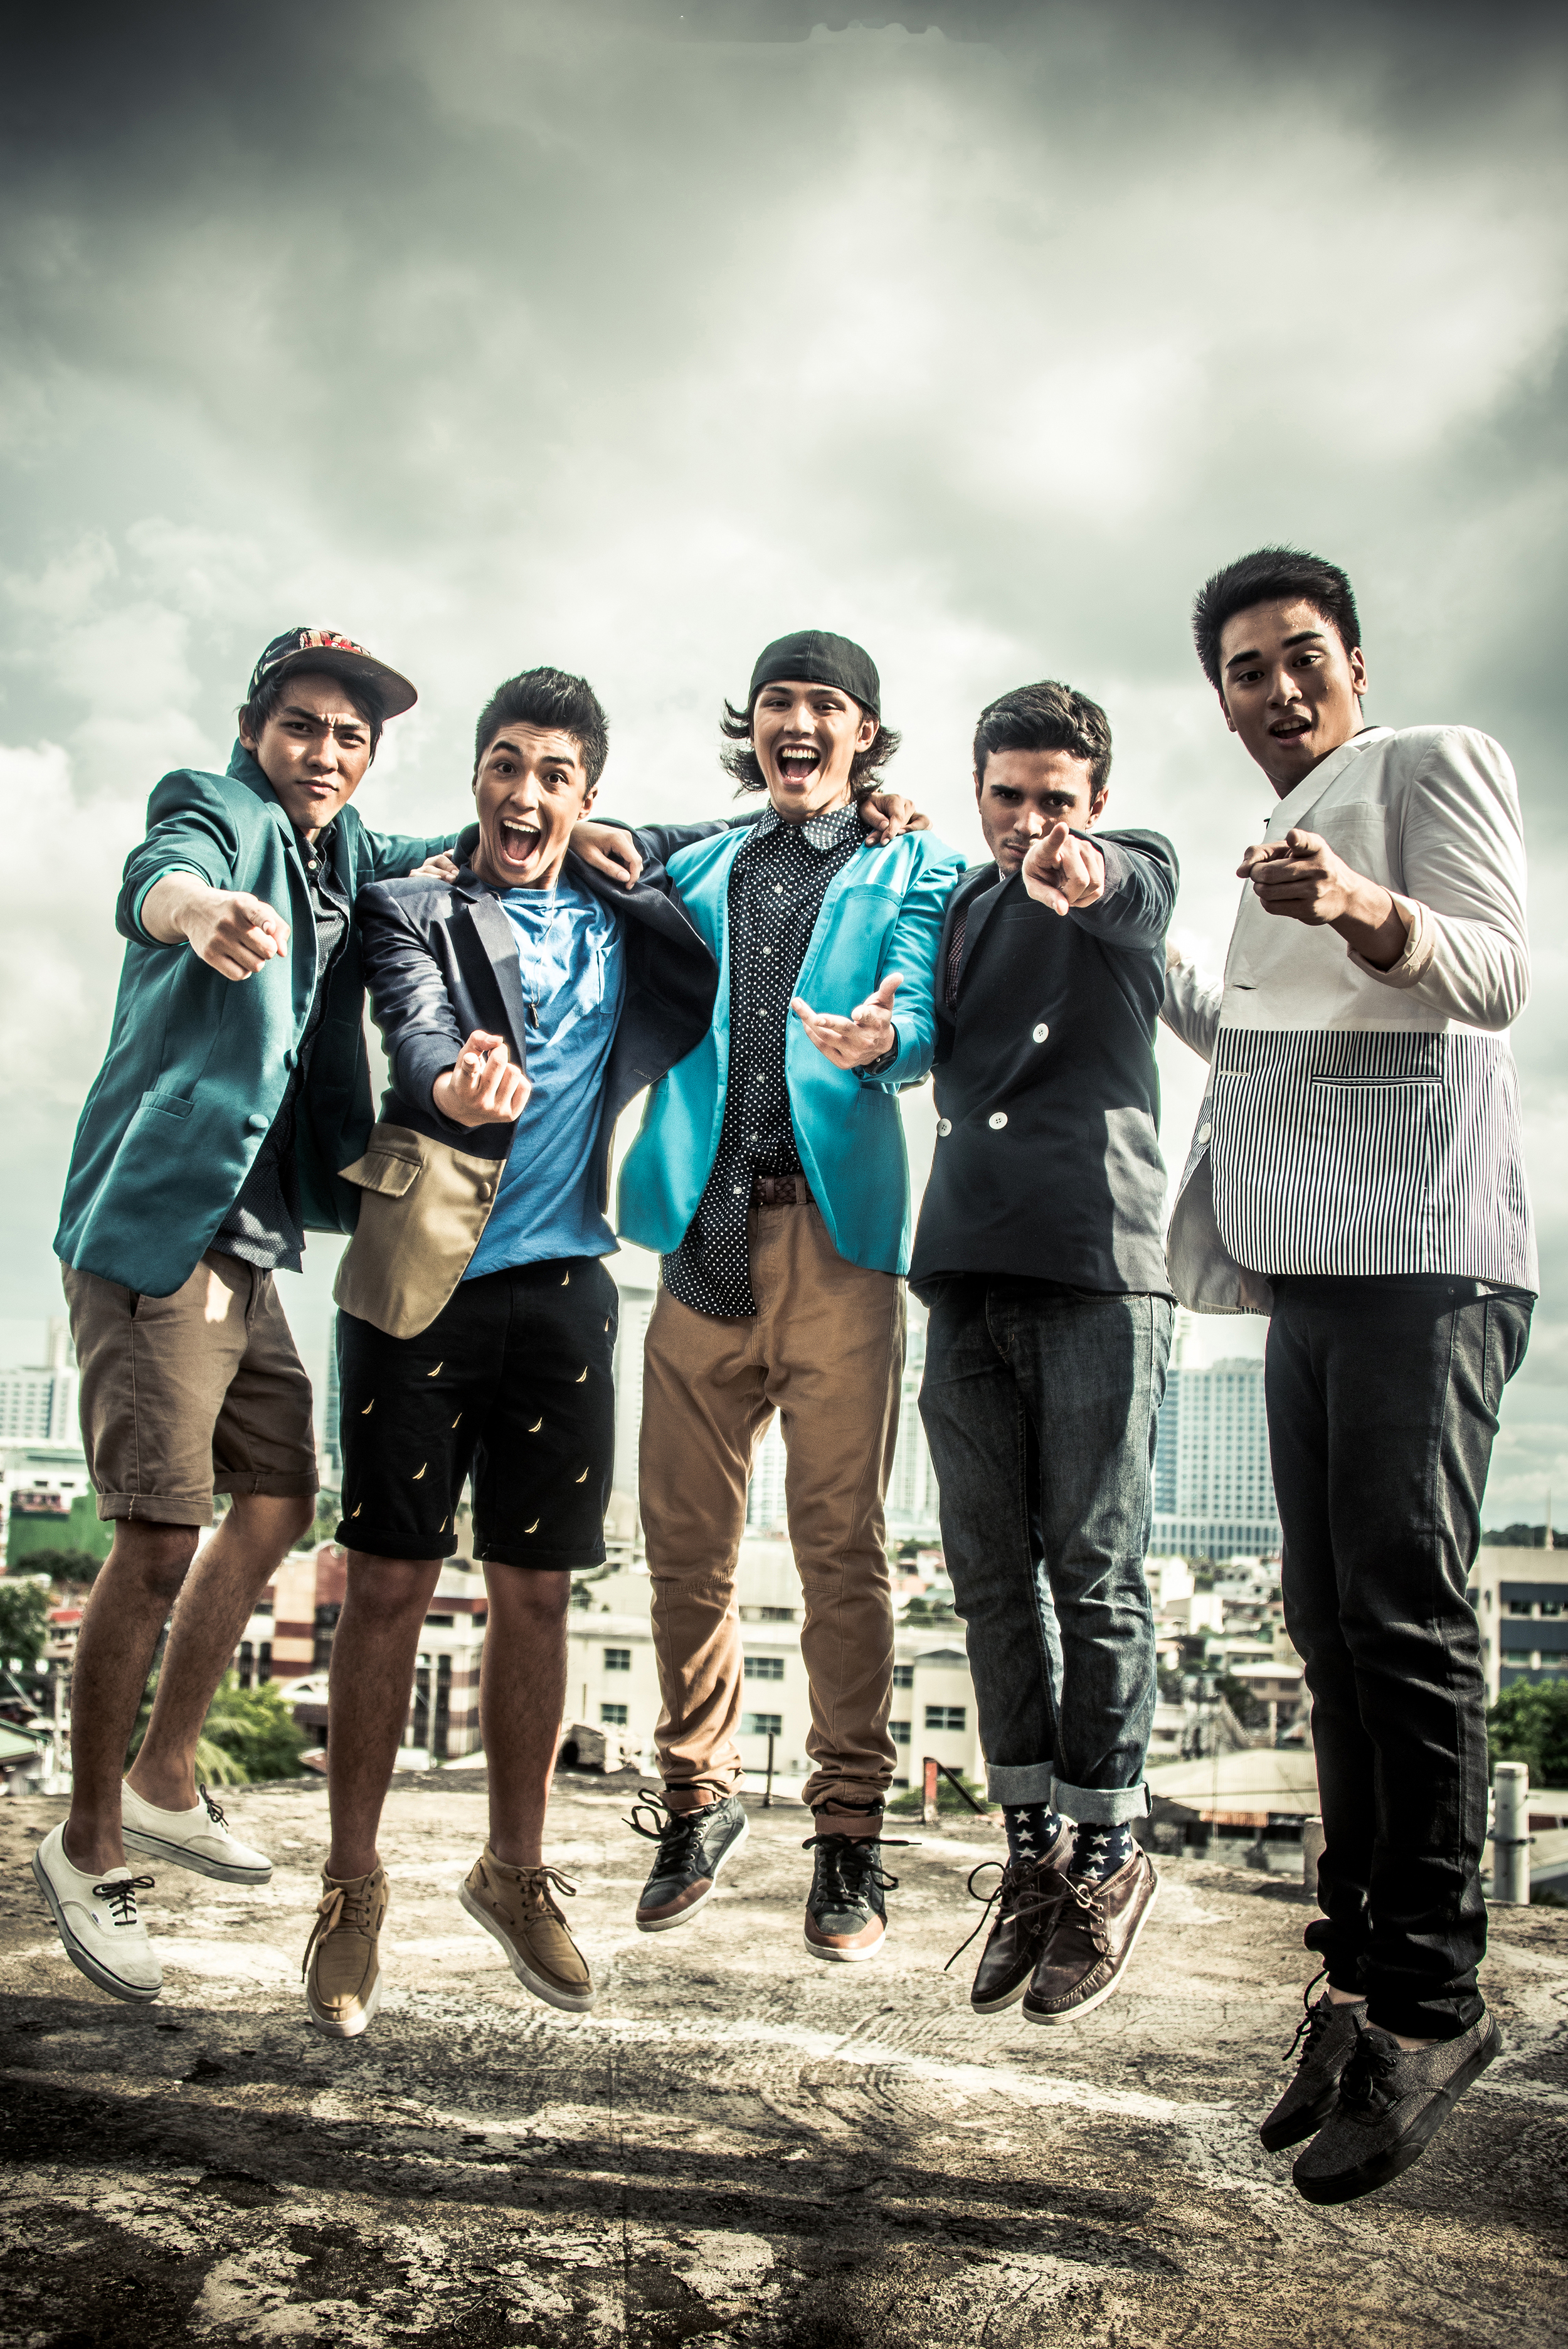
Most of the images used for the final image were photographed by me but not all with the intent of being used for this photograph. It is important to be organized and keep a stock of all the photographs you take at its highest quality so you have them when you need to make composites. 

Untitled-1.jpg

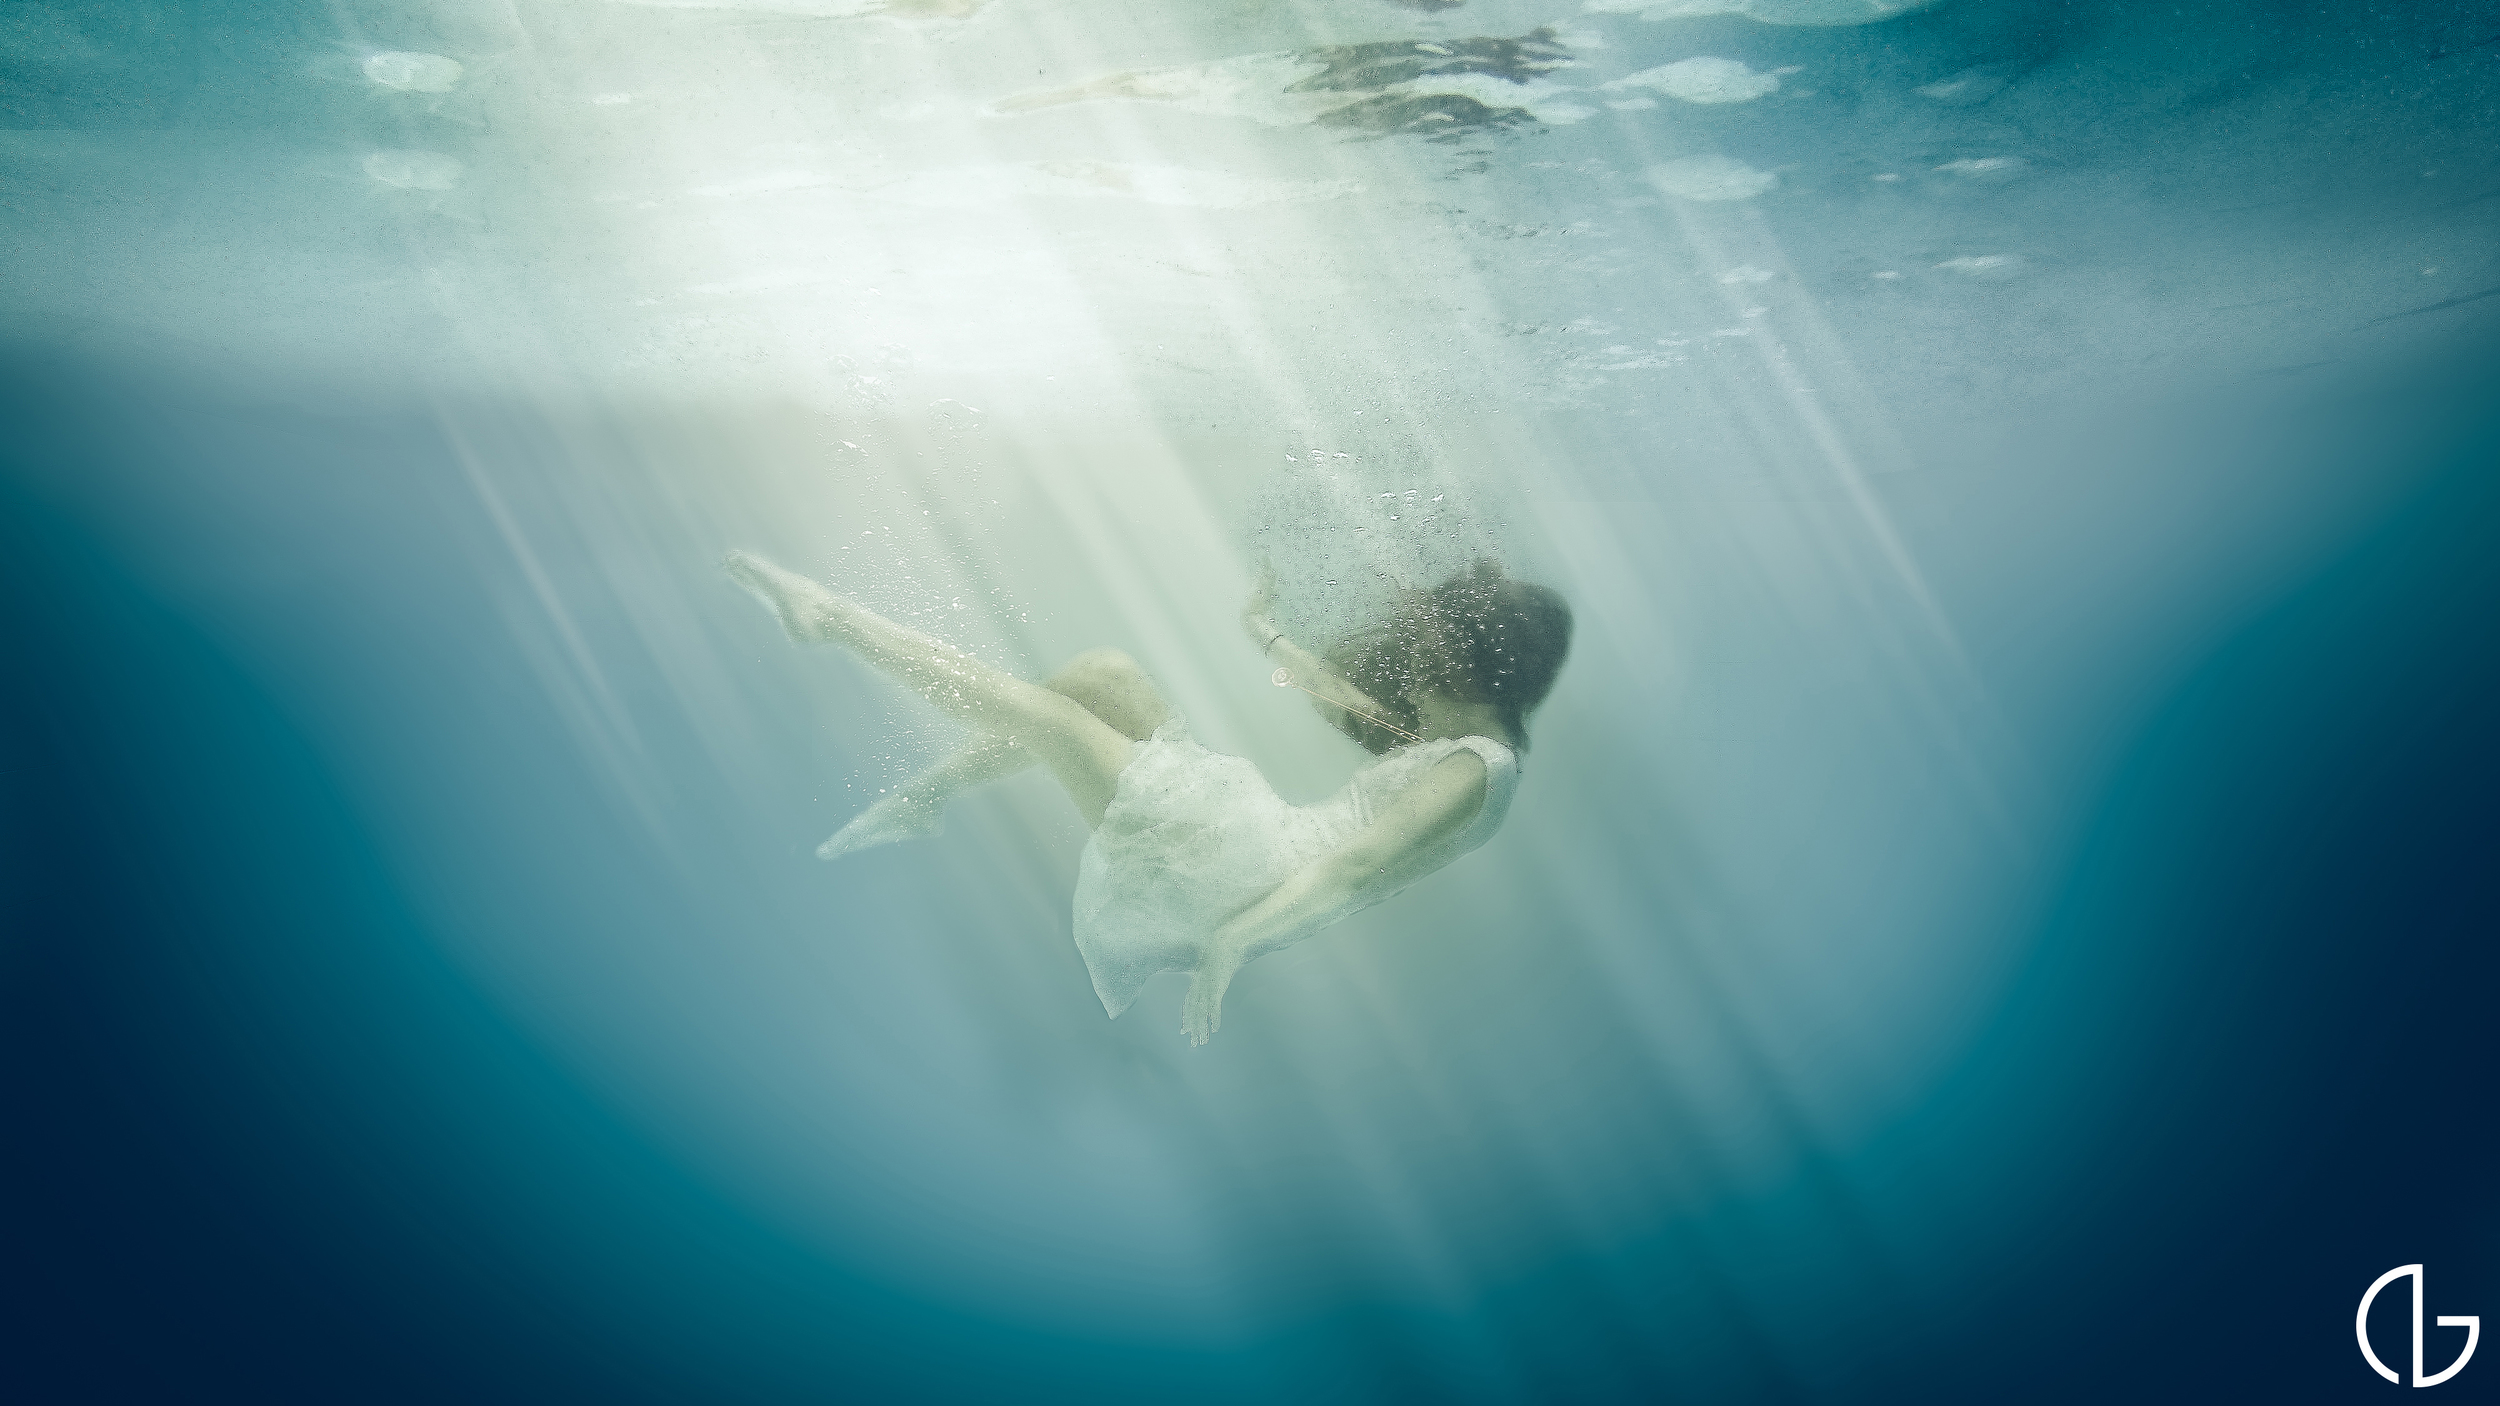
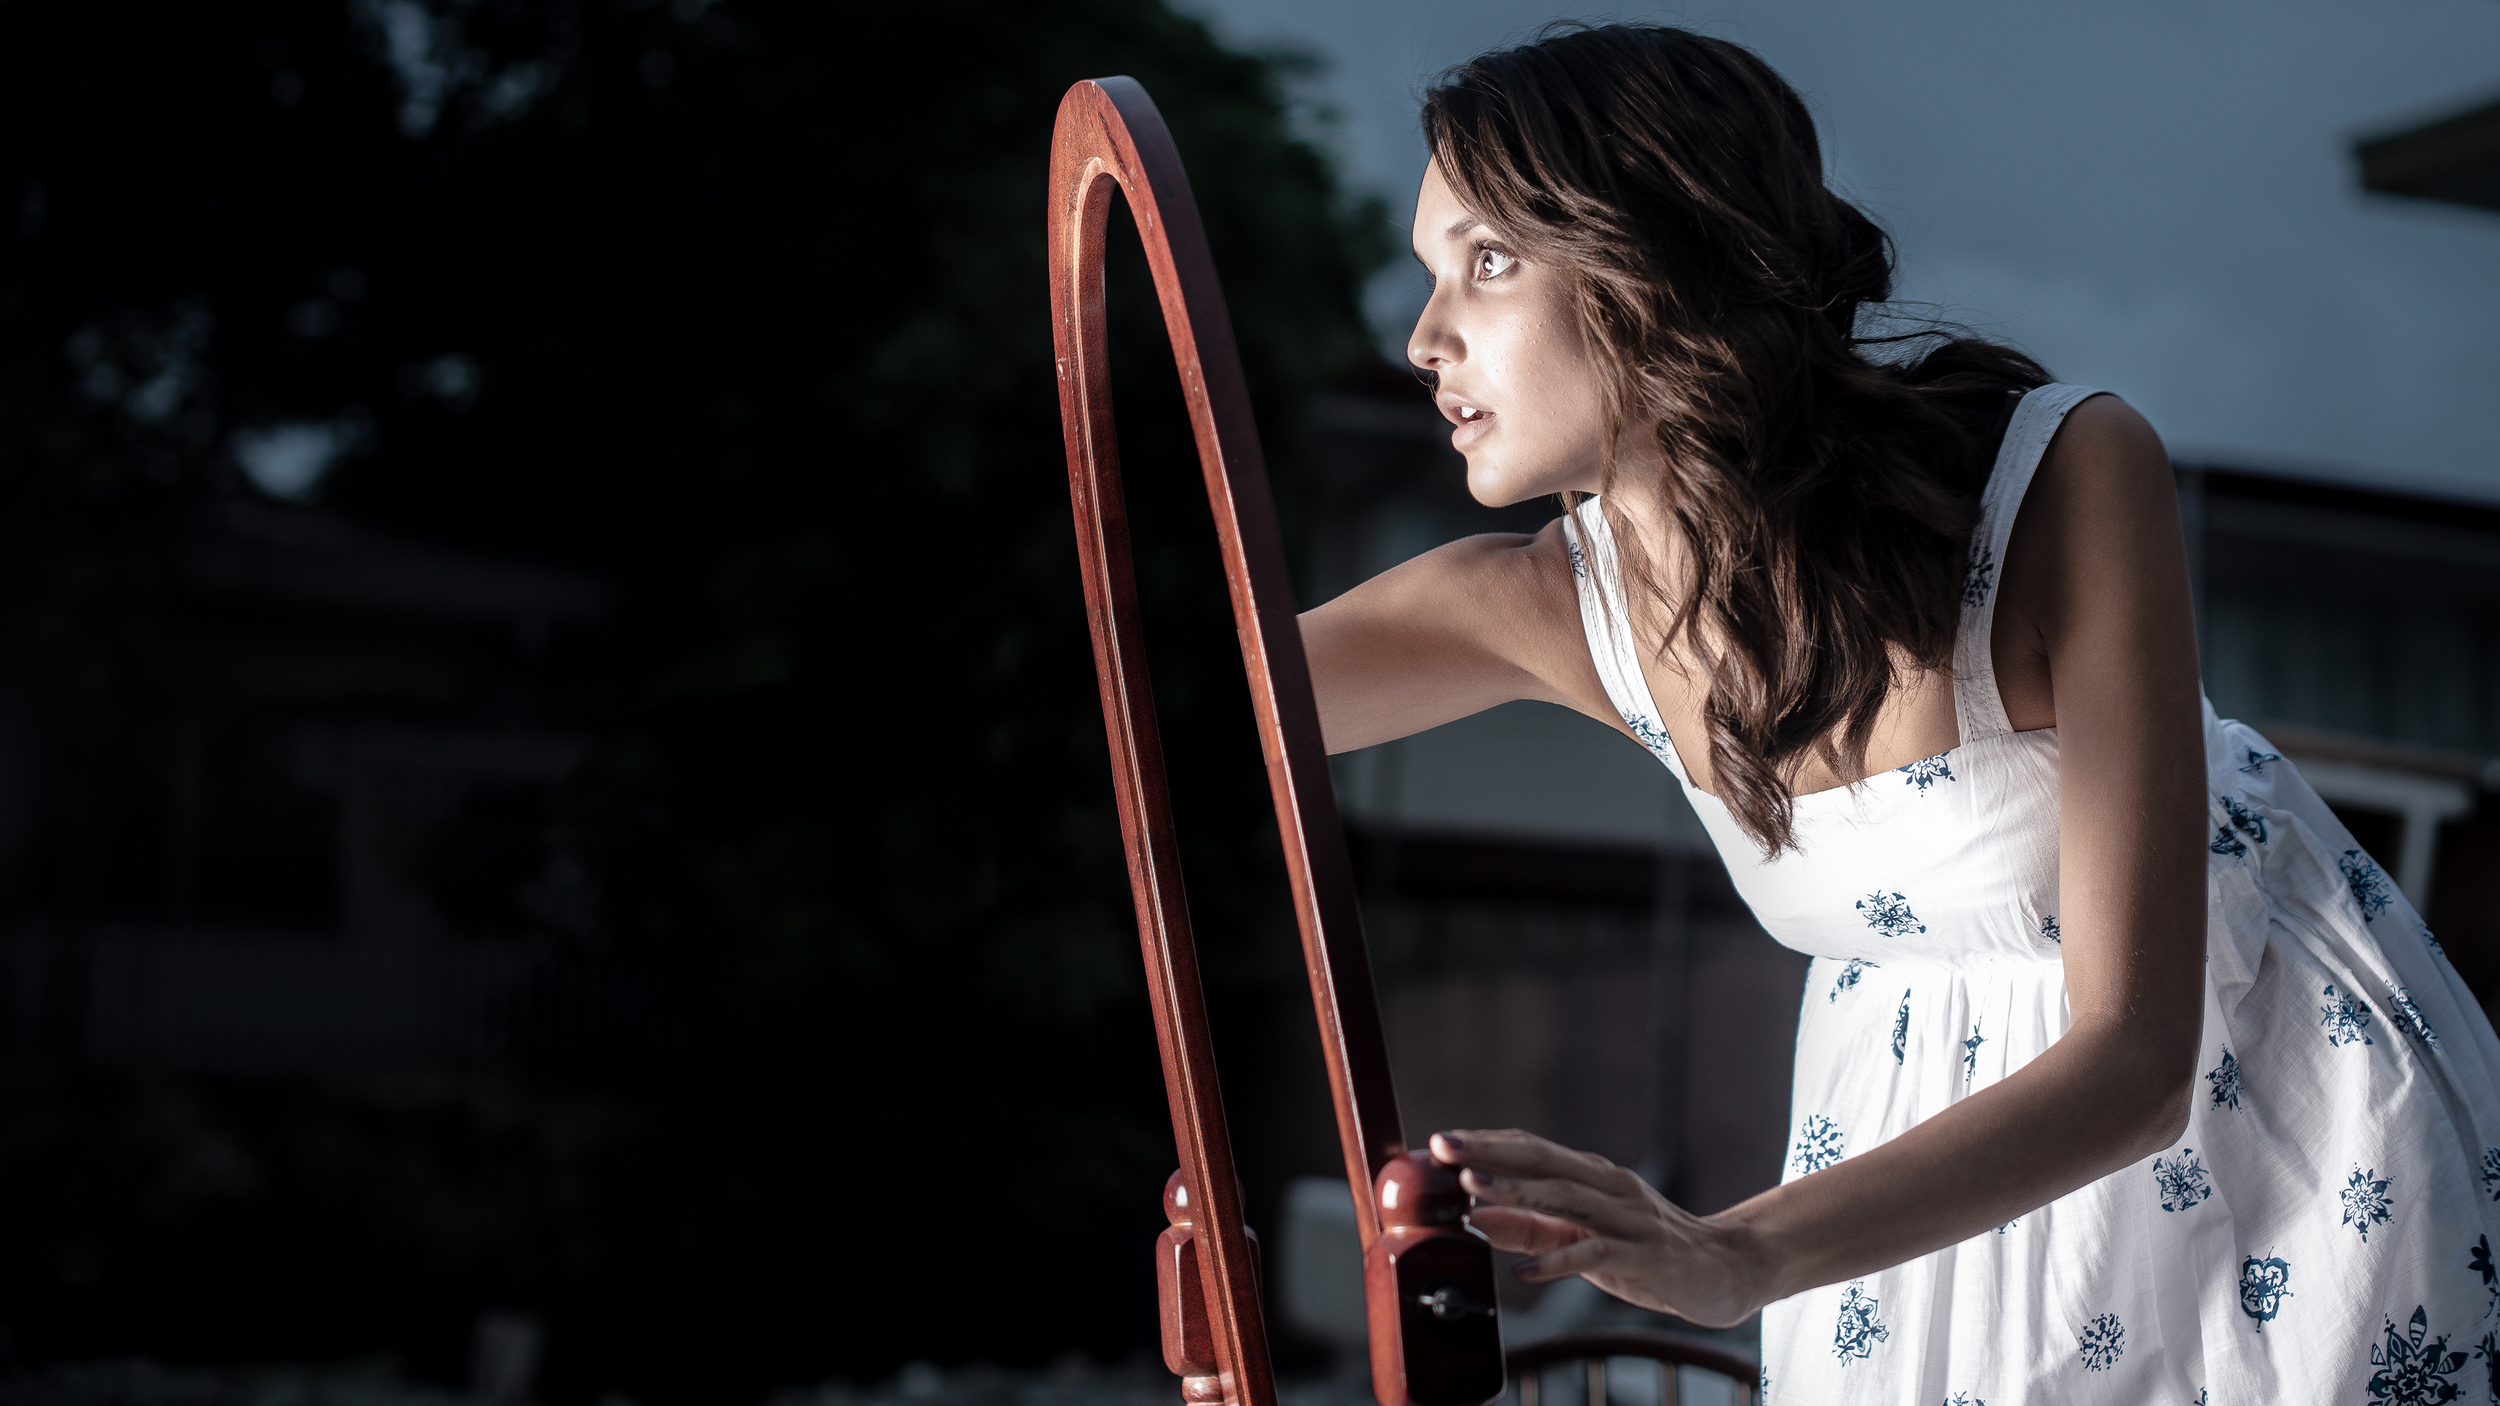
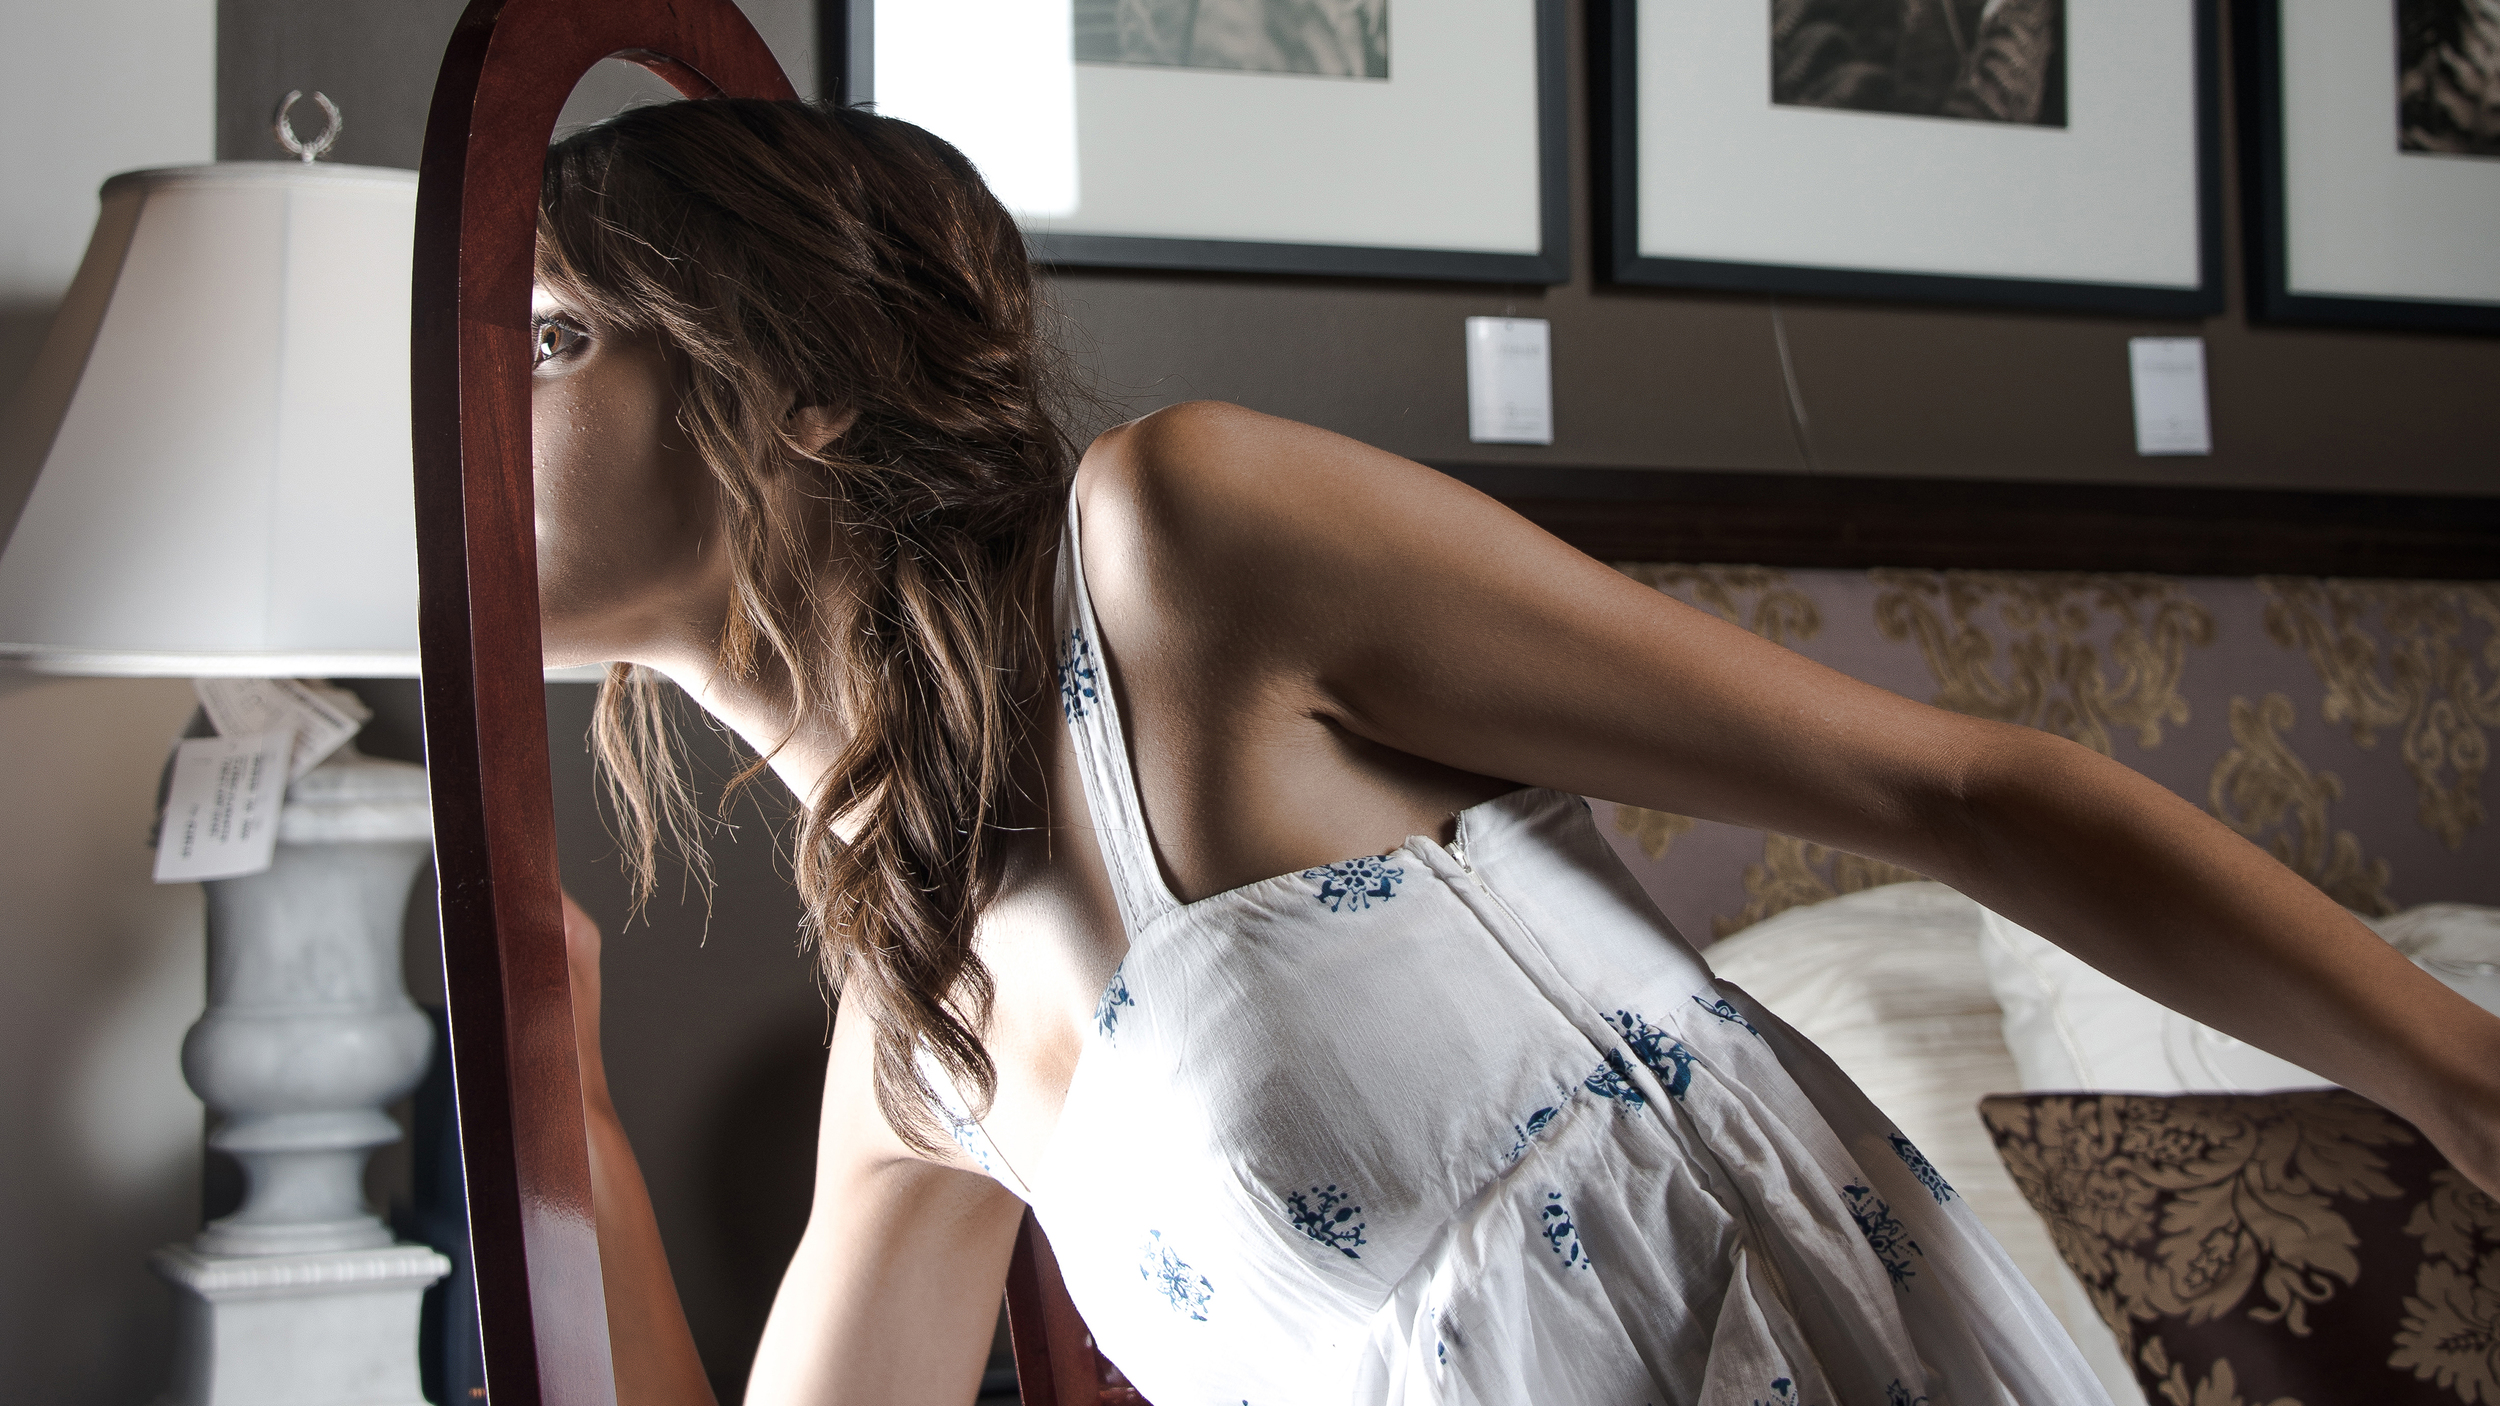
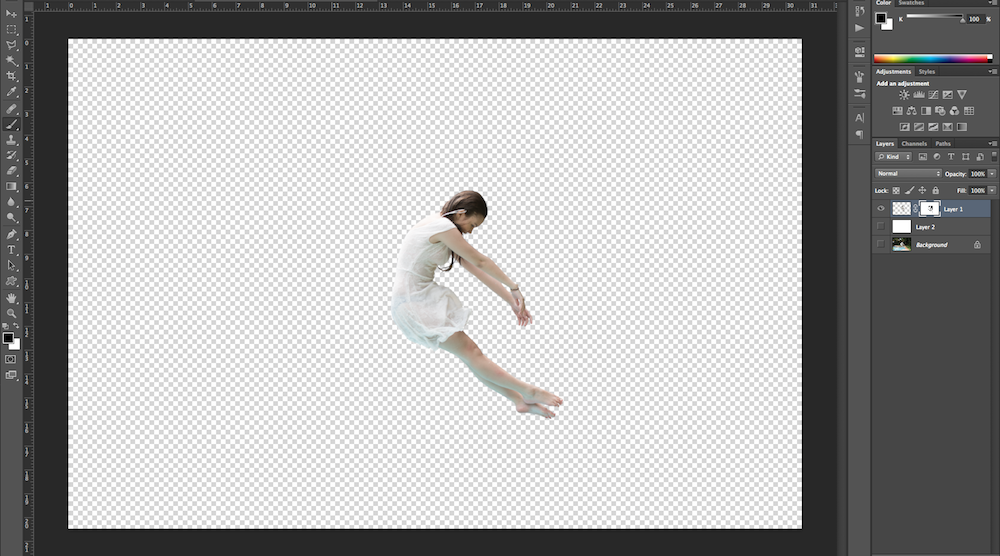
02 Masking the Figures

To isolate the figures, I used the masking tool and created a layer mask for every figure. I always zoom in and out to make sure that I define the masks as precisely as I could. To speed up the process, I use a pen tablet. 

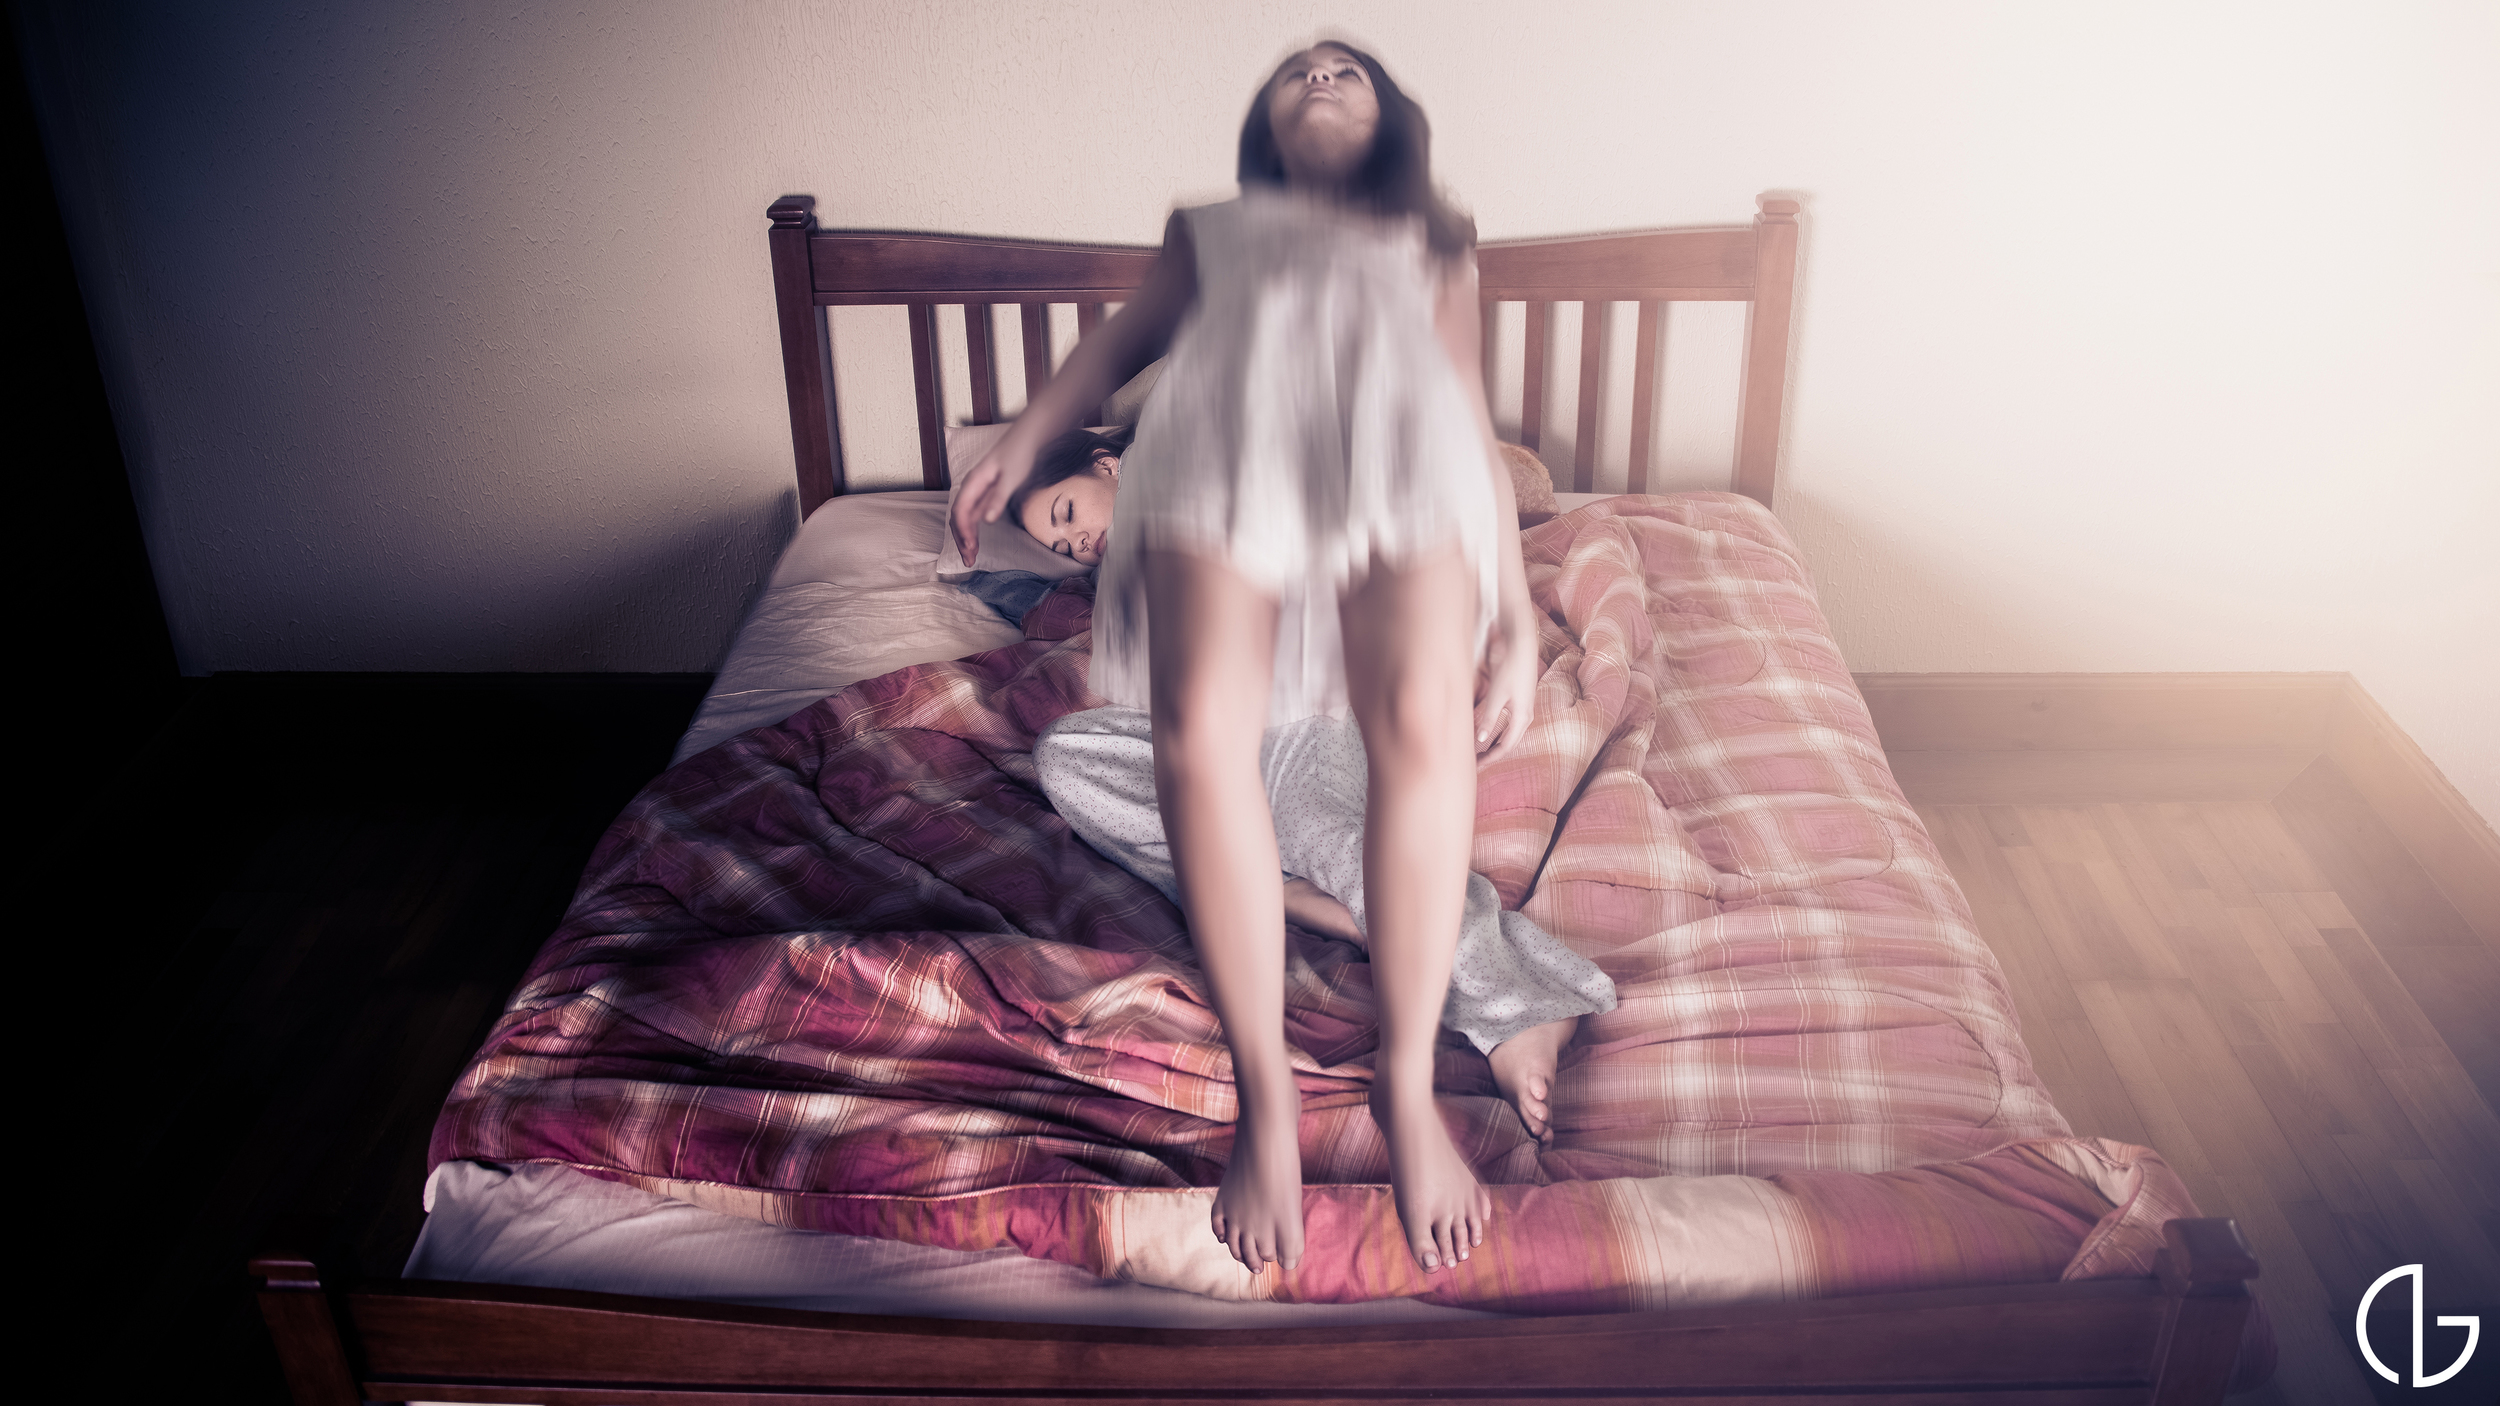
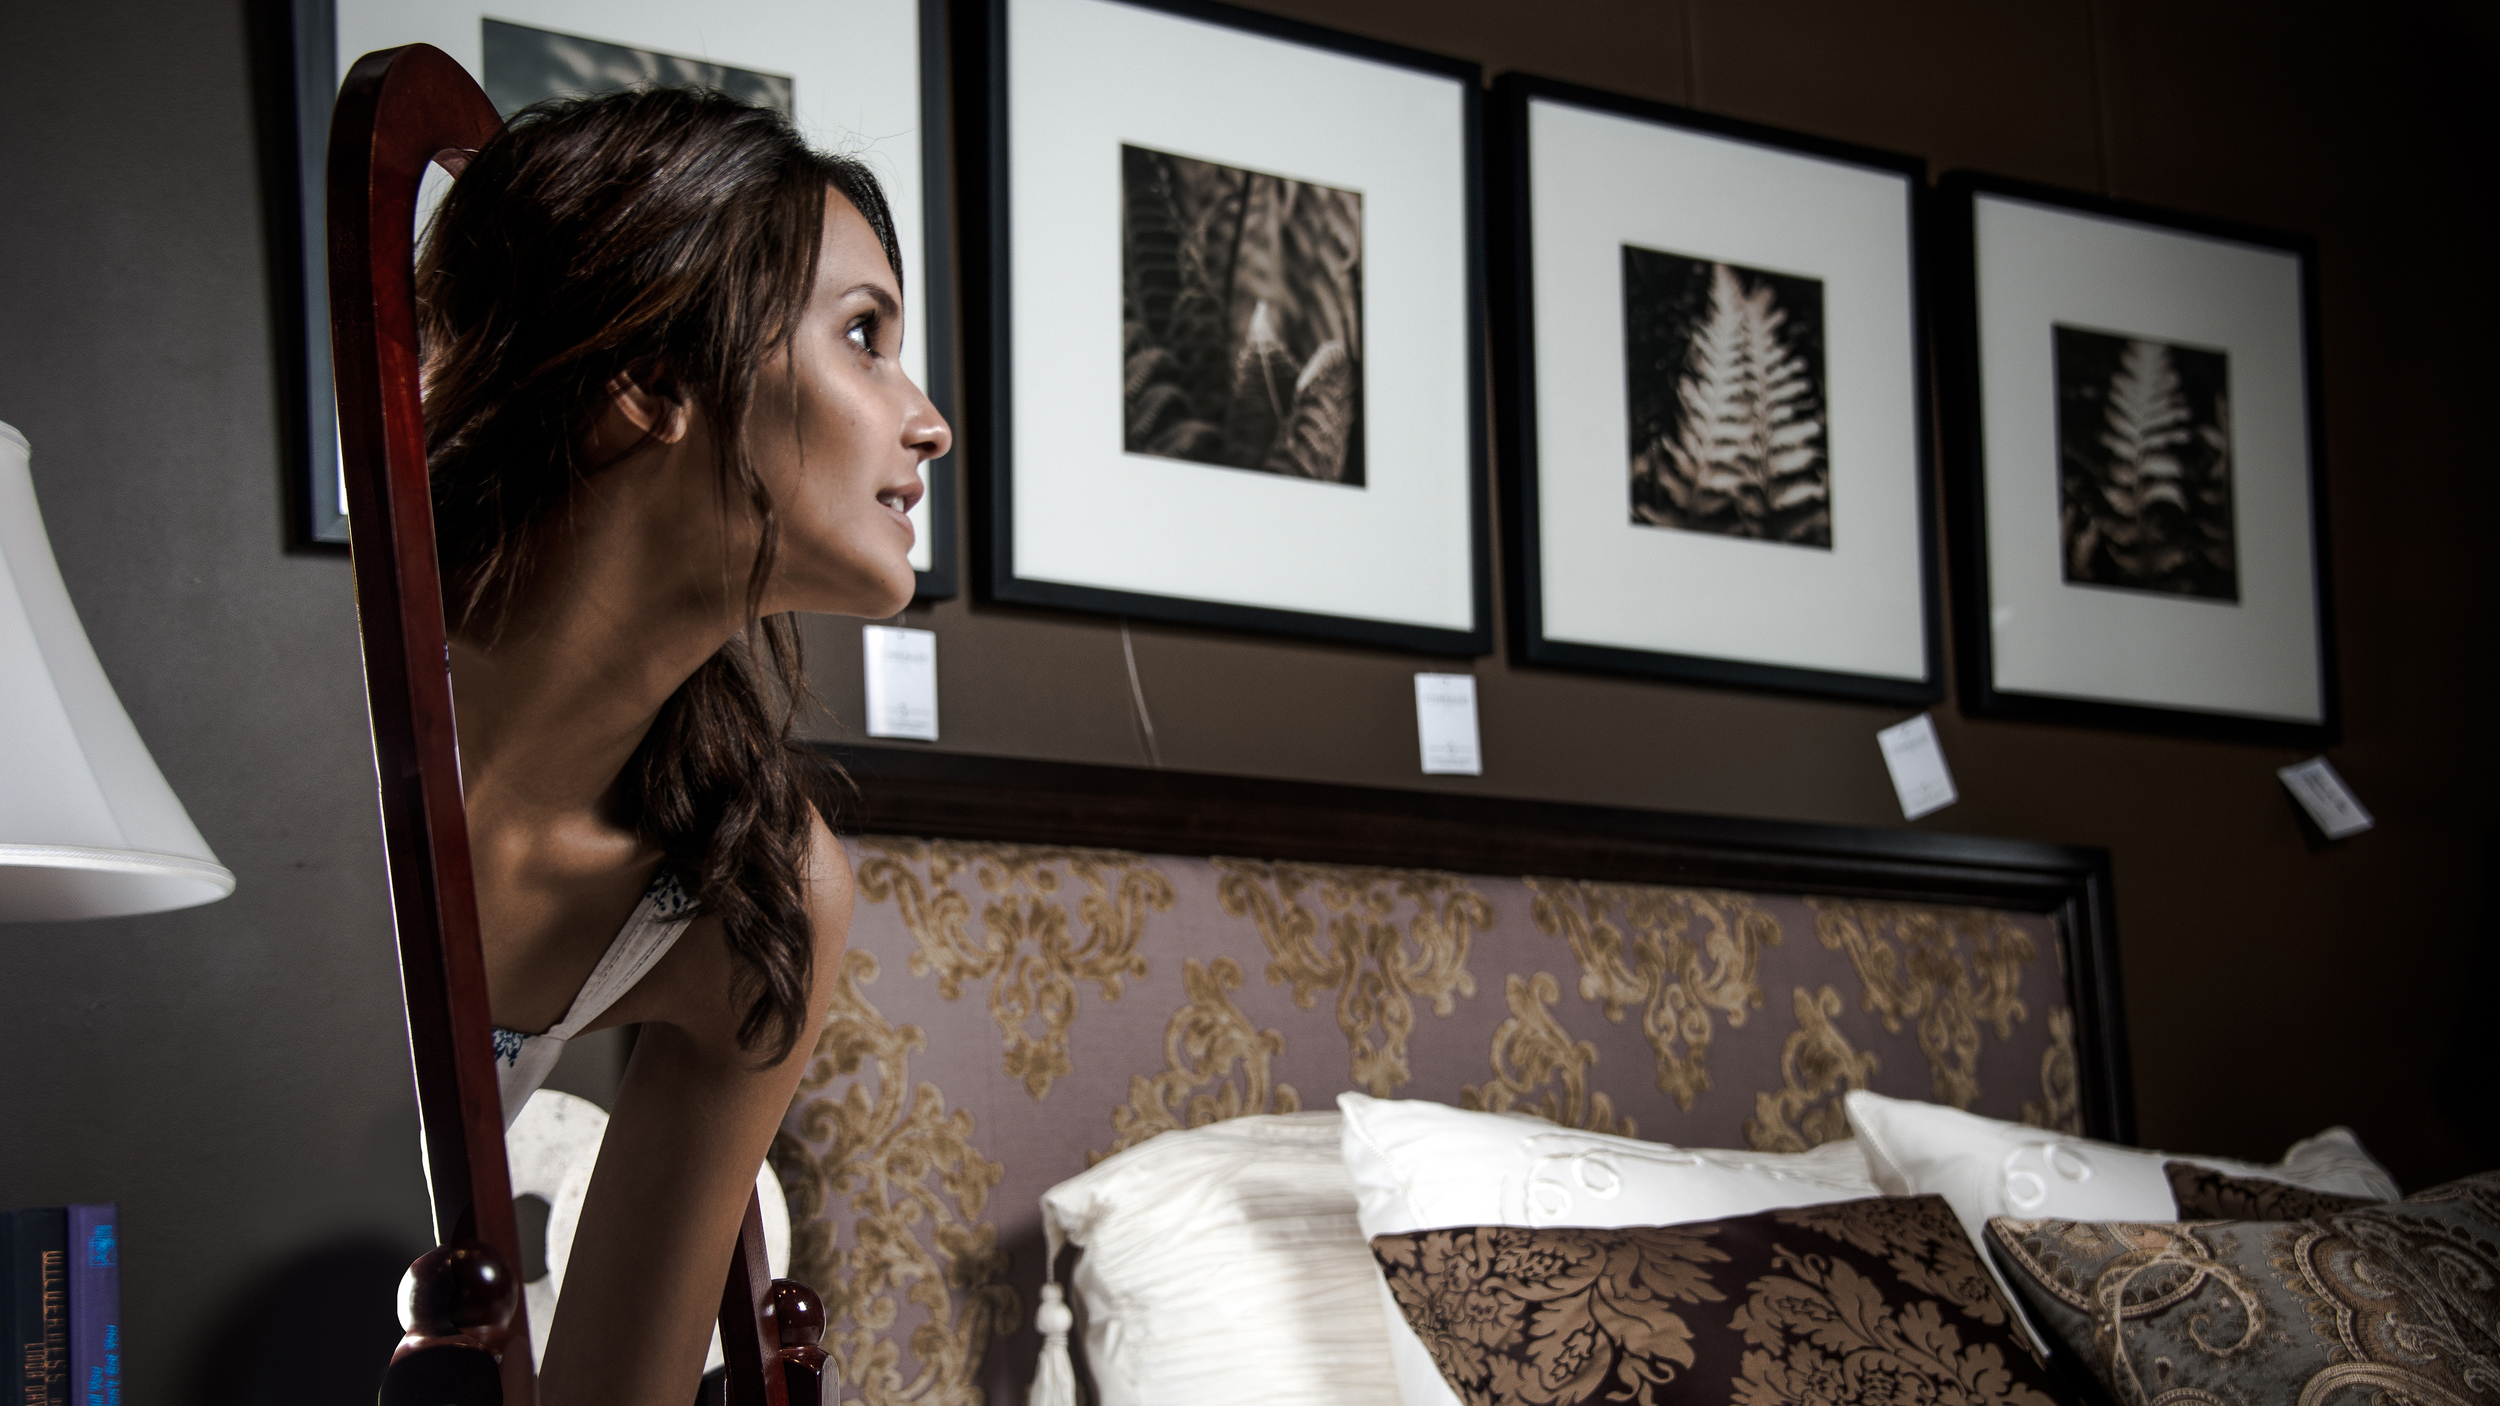
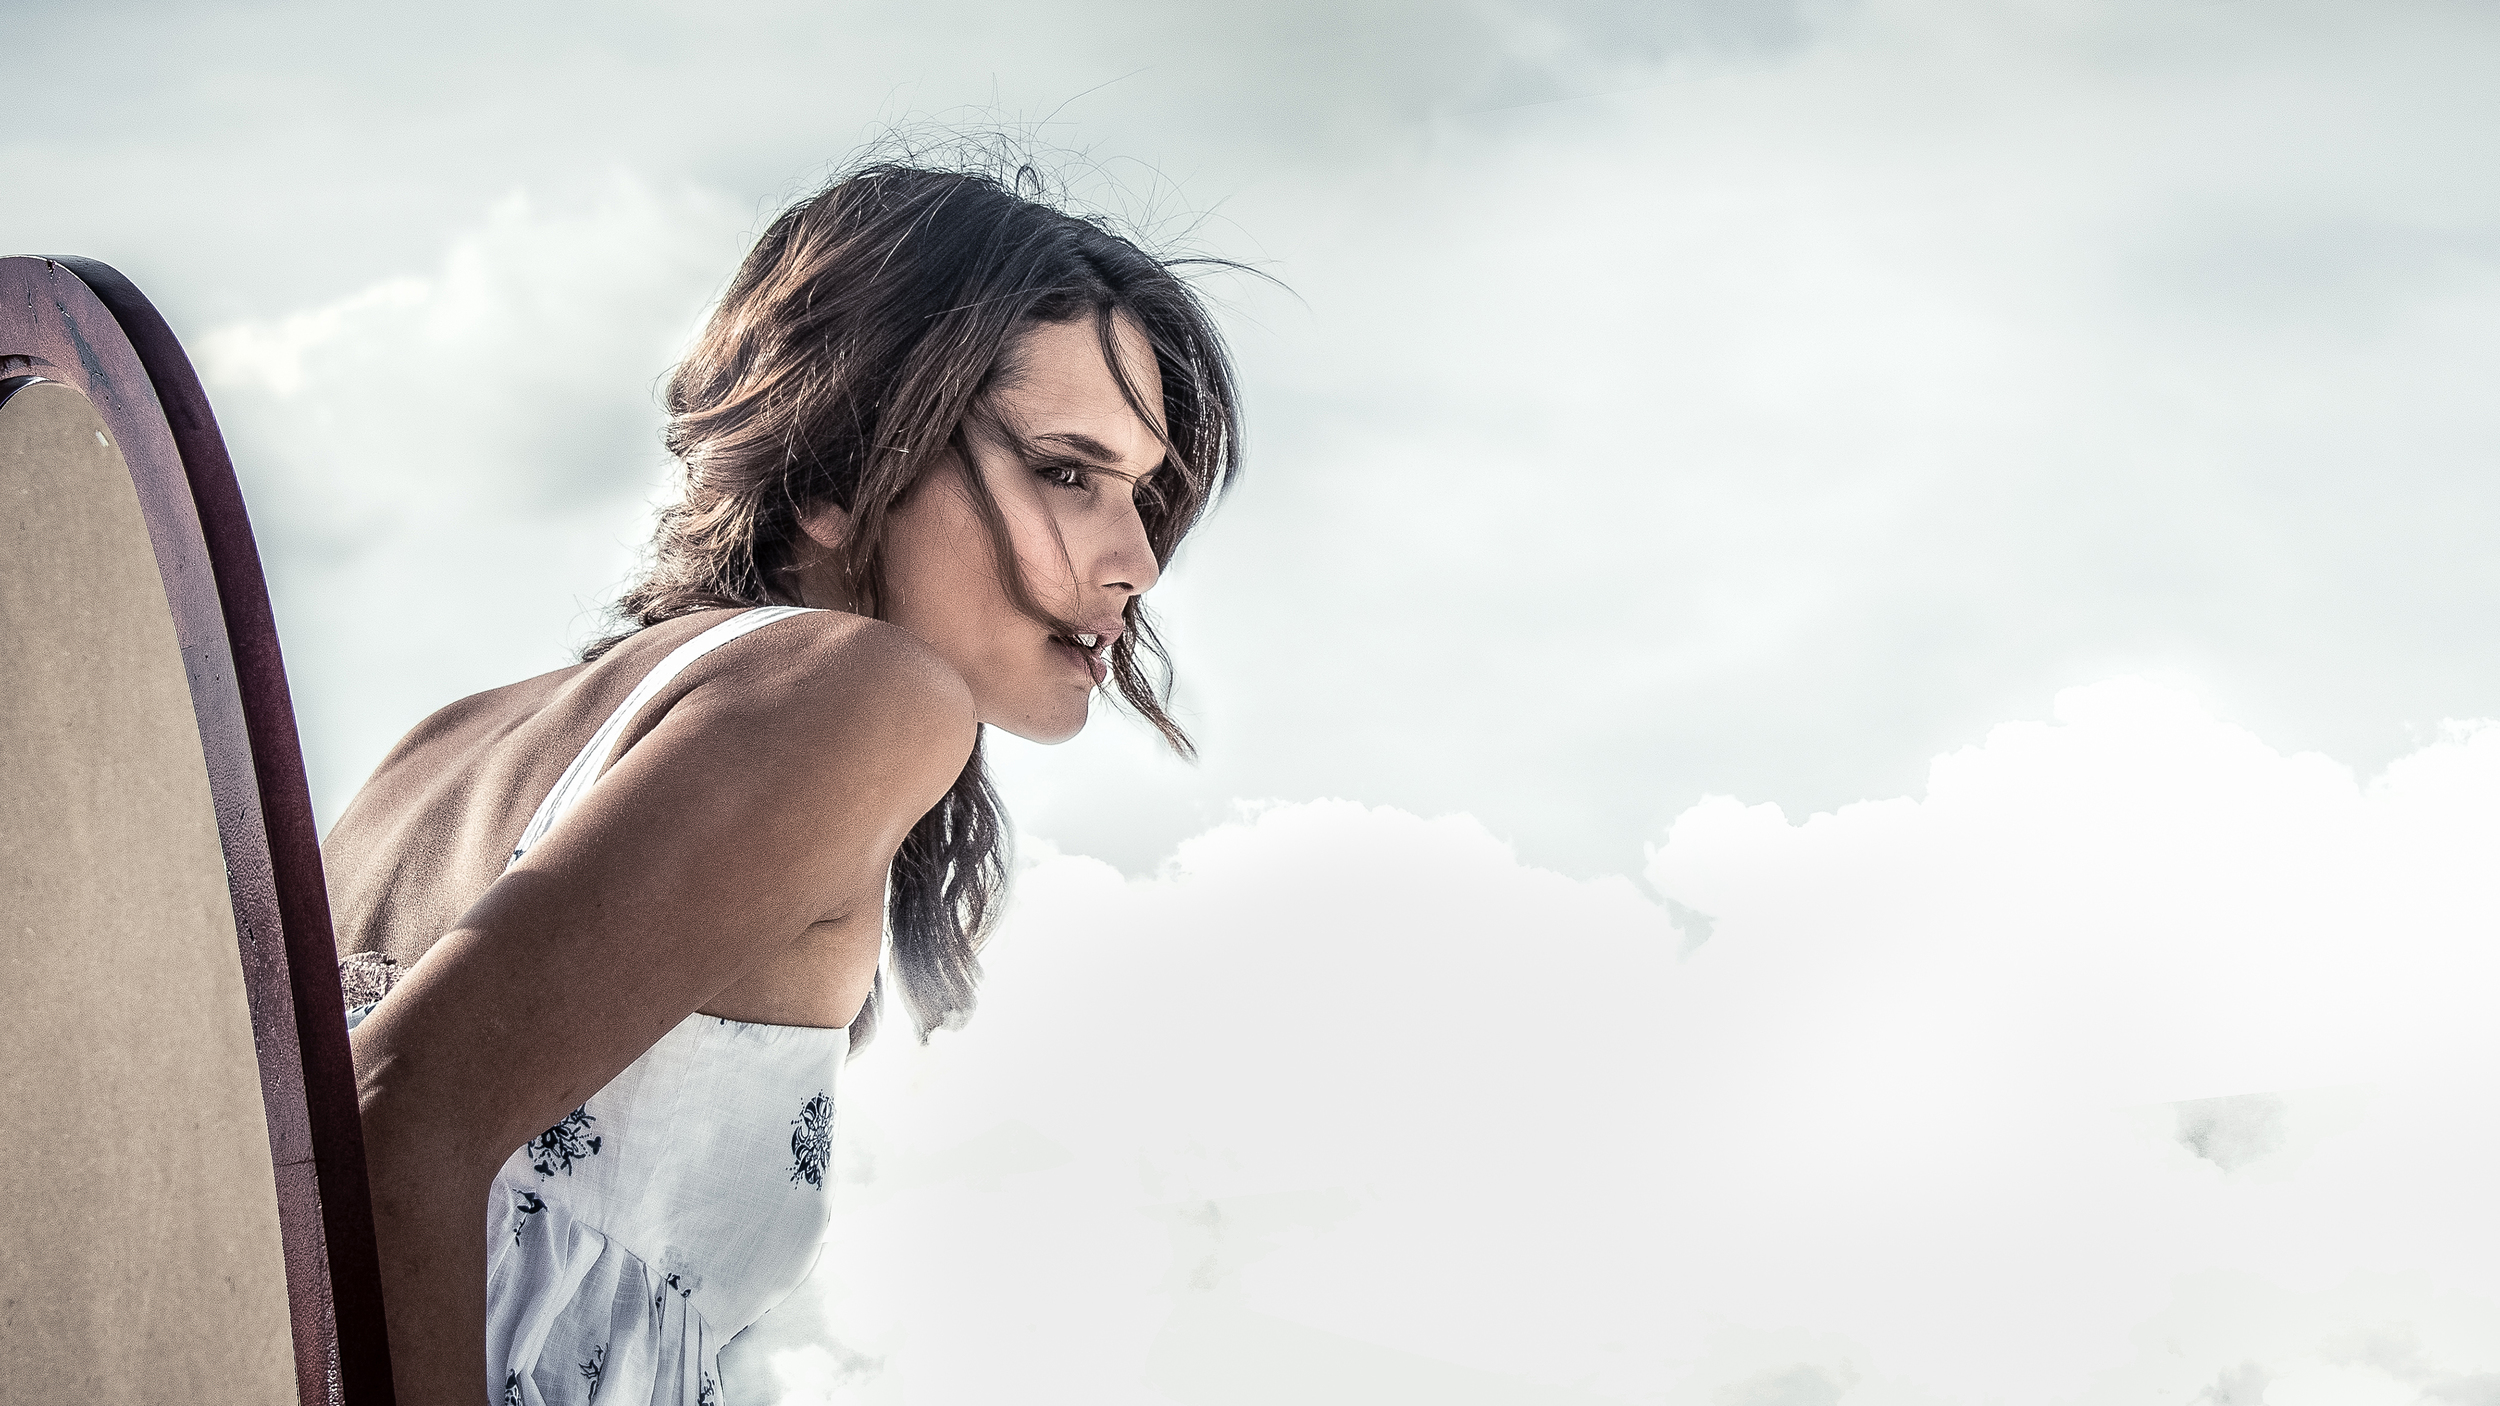
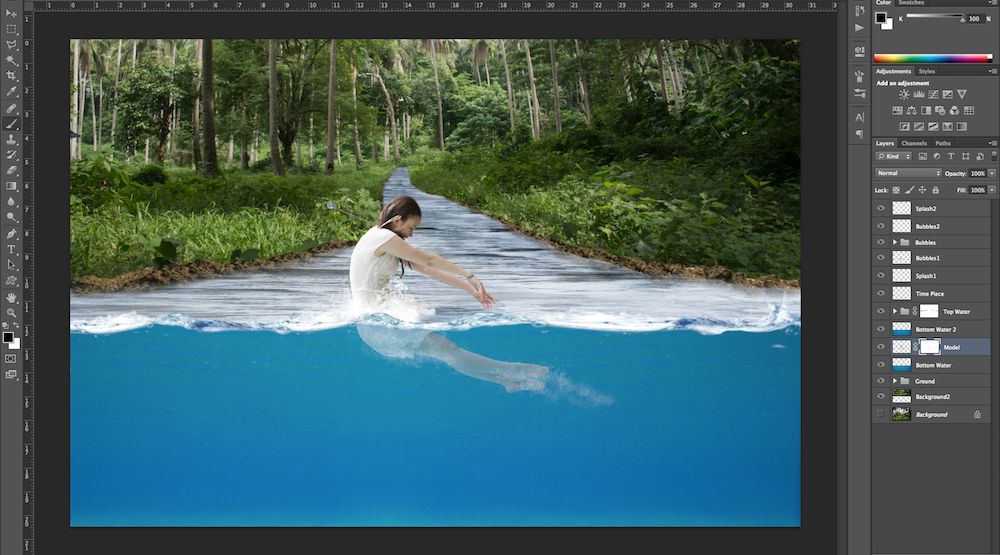
03 Assembling the Elements

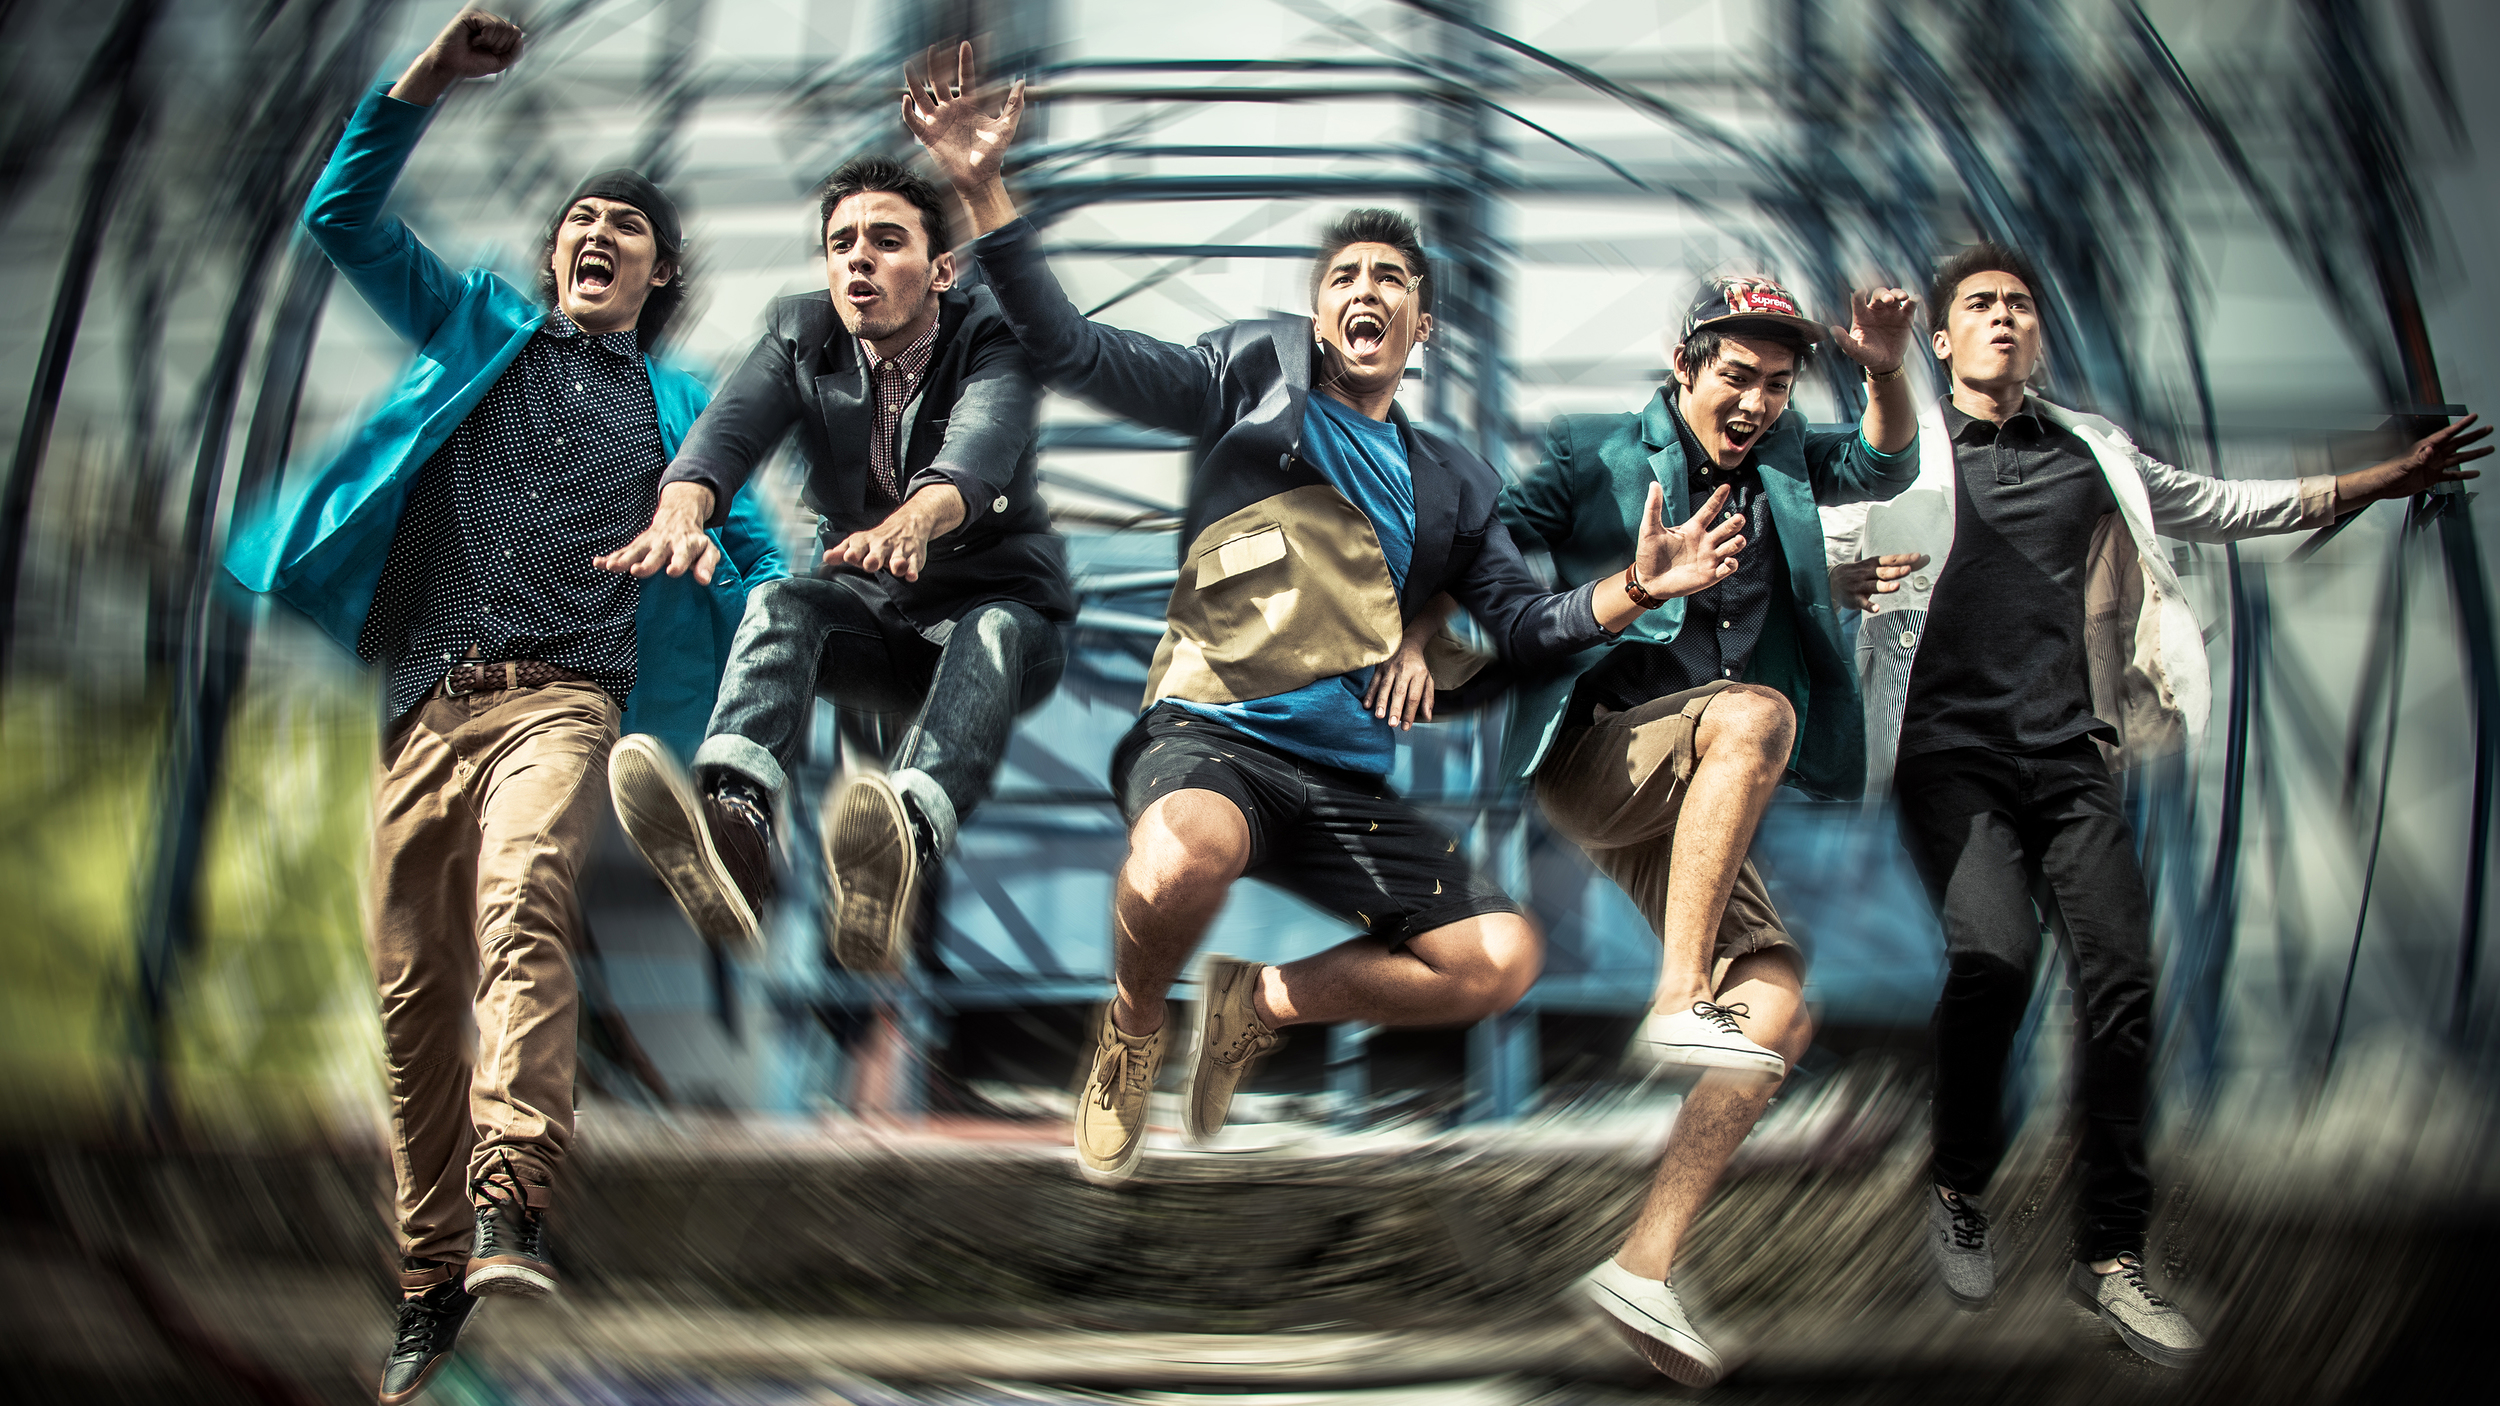
I usually start with the background and work forward, as it makes it easier for me to place elements easier. When placing elements together, make sure that the light source is coming from the same location and consistent. Make sure that the colors of the elements are also similar and you can manipulate those with the curves tool. When placing elements together, I also employ the same rules of composition as I do when I take a photograph. For this image, I placed the main subject on the center to give it emphasis and impact. 

04 Placing a Light Source

One of my secrets to make composite images realistic is by adding a light source in photoshop. This unites the elements making it more convincing that it is a captured moment. I use the gradient tool set on radial and then play with the opacity until it looks believable. 

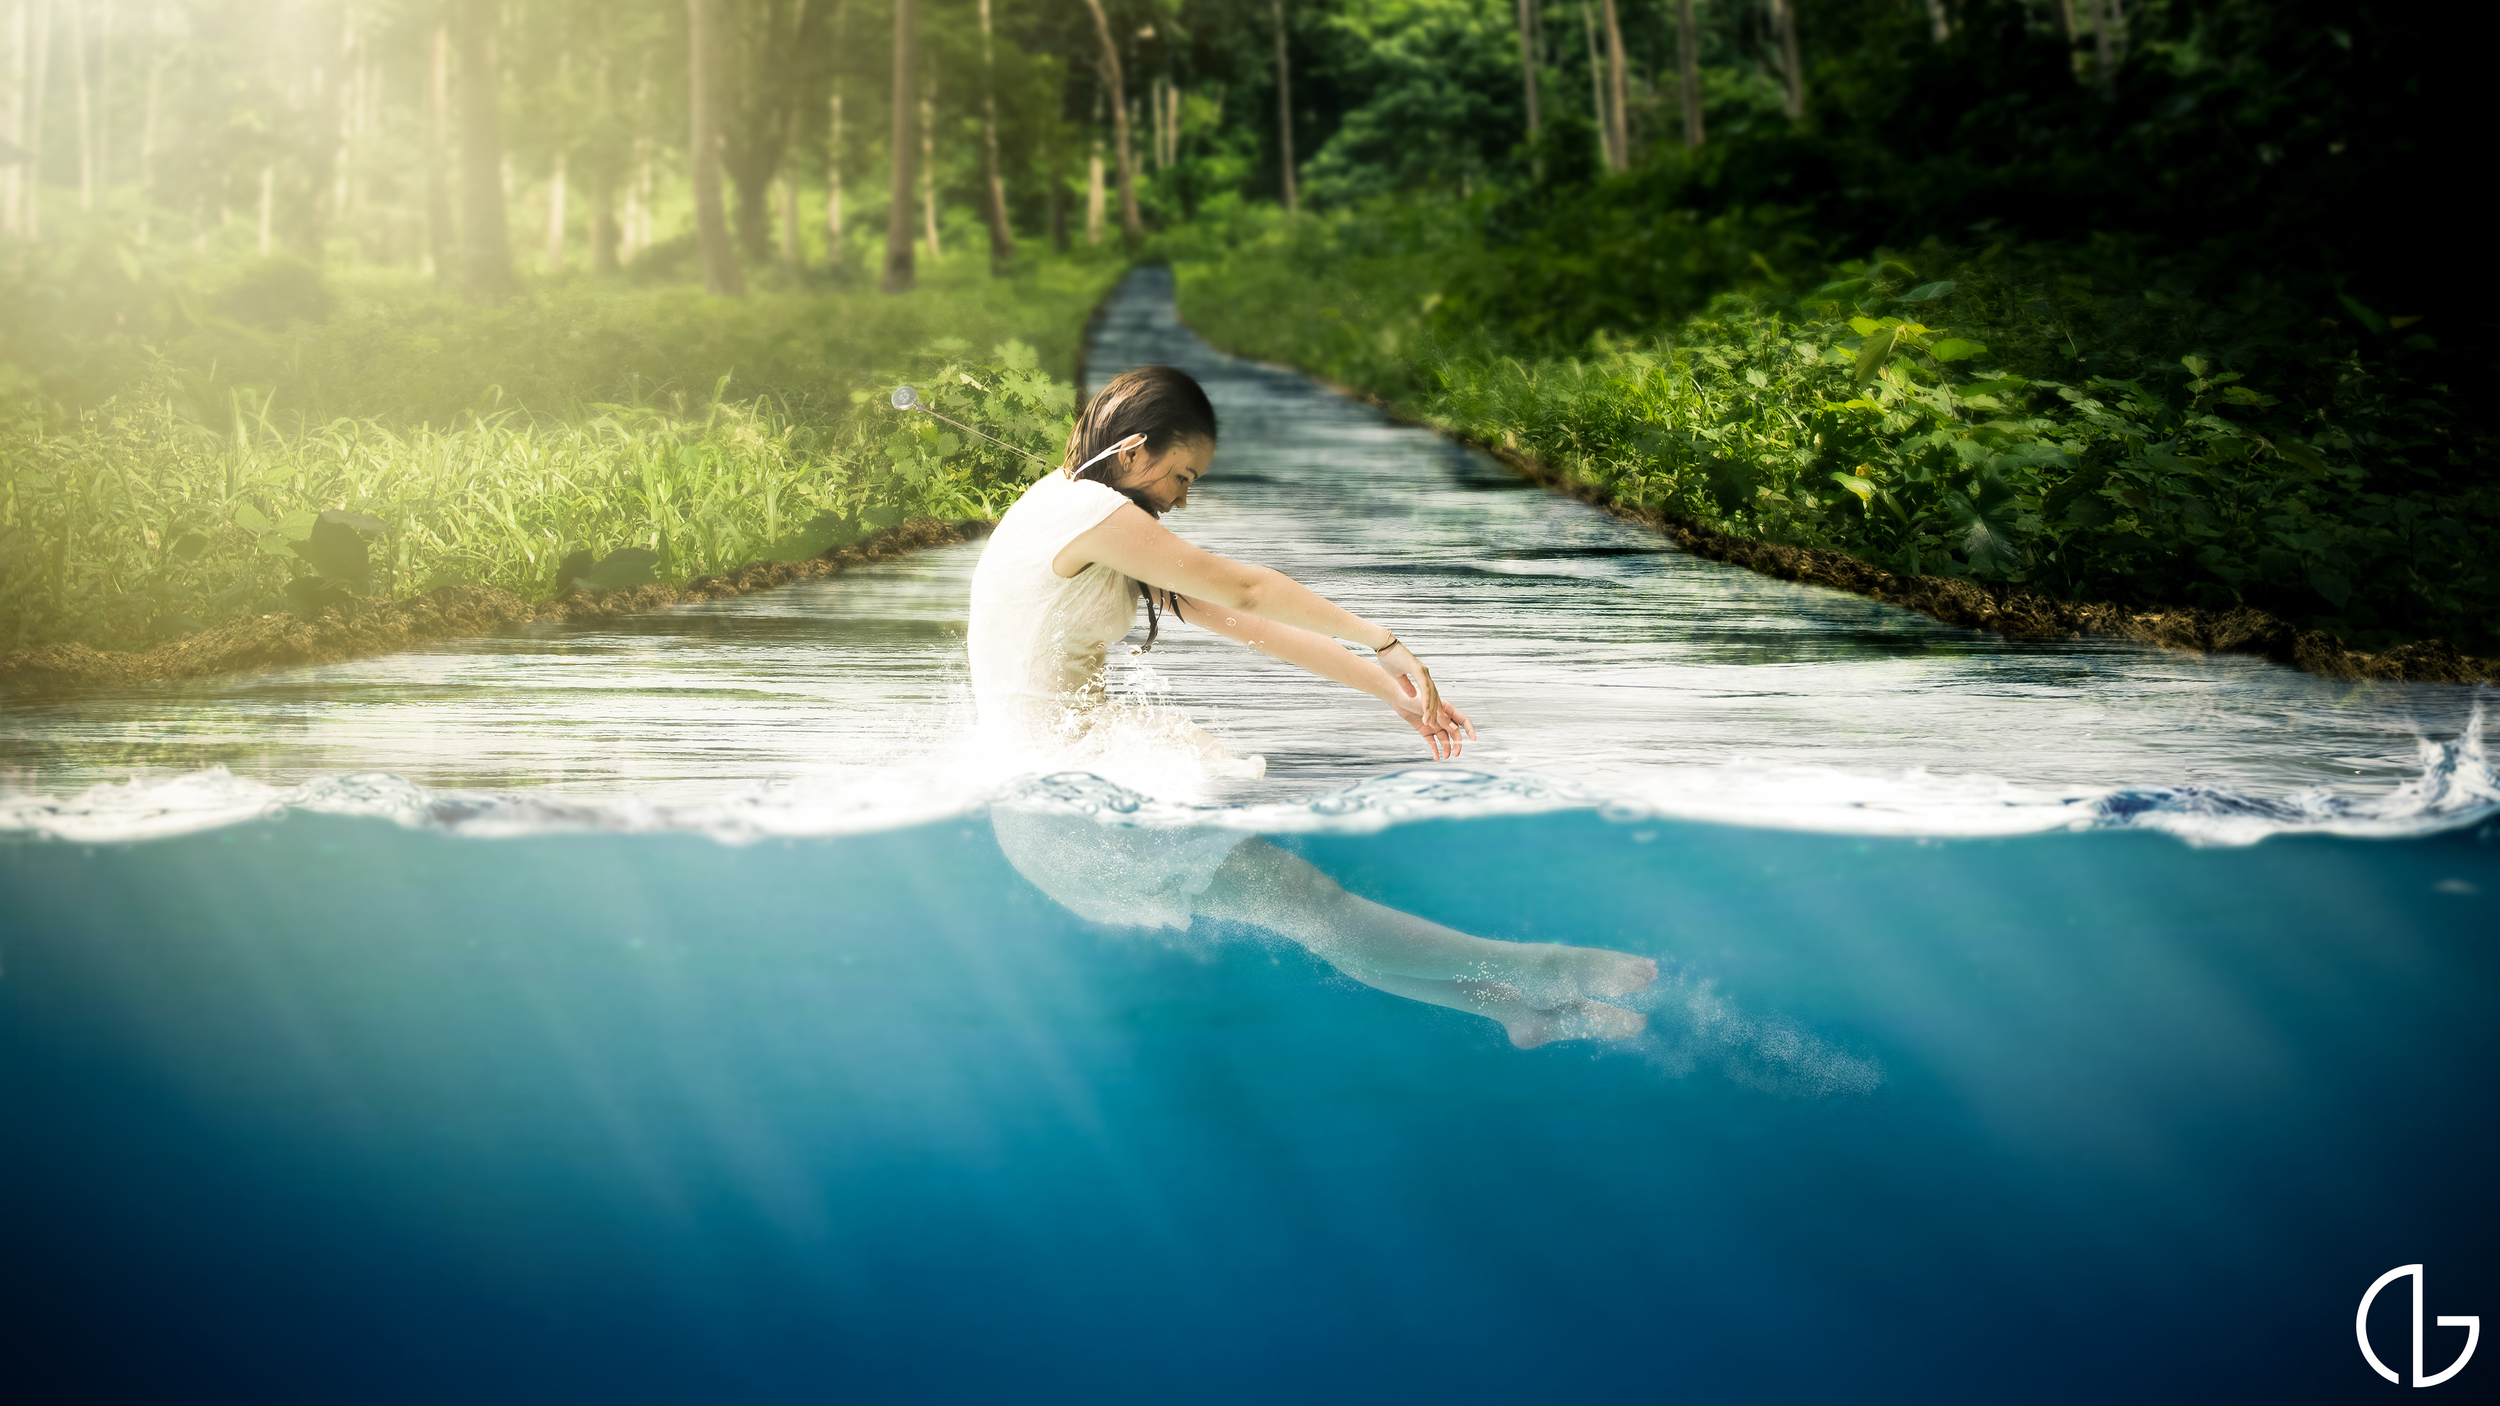
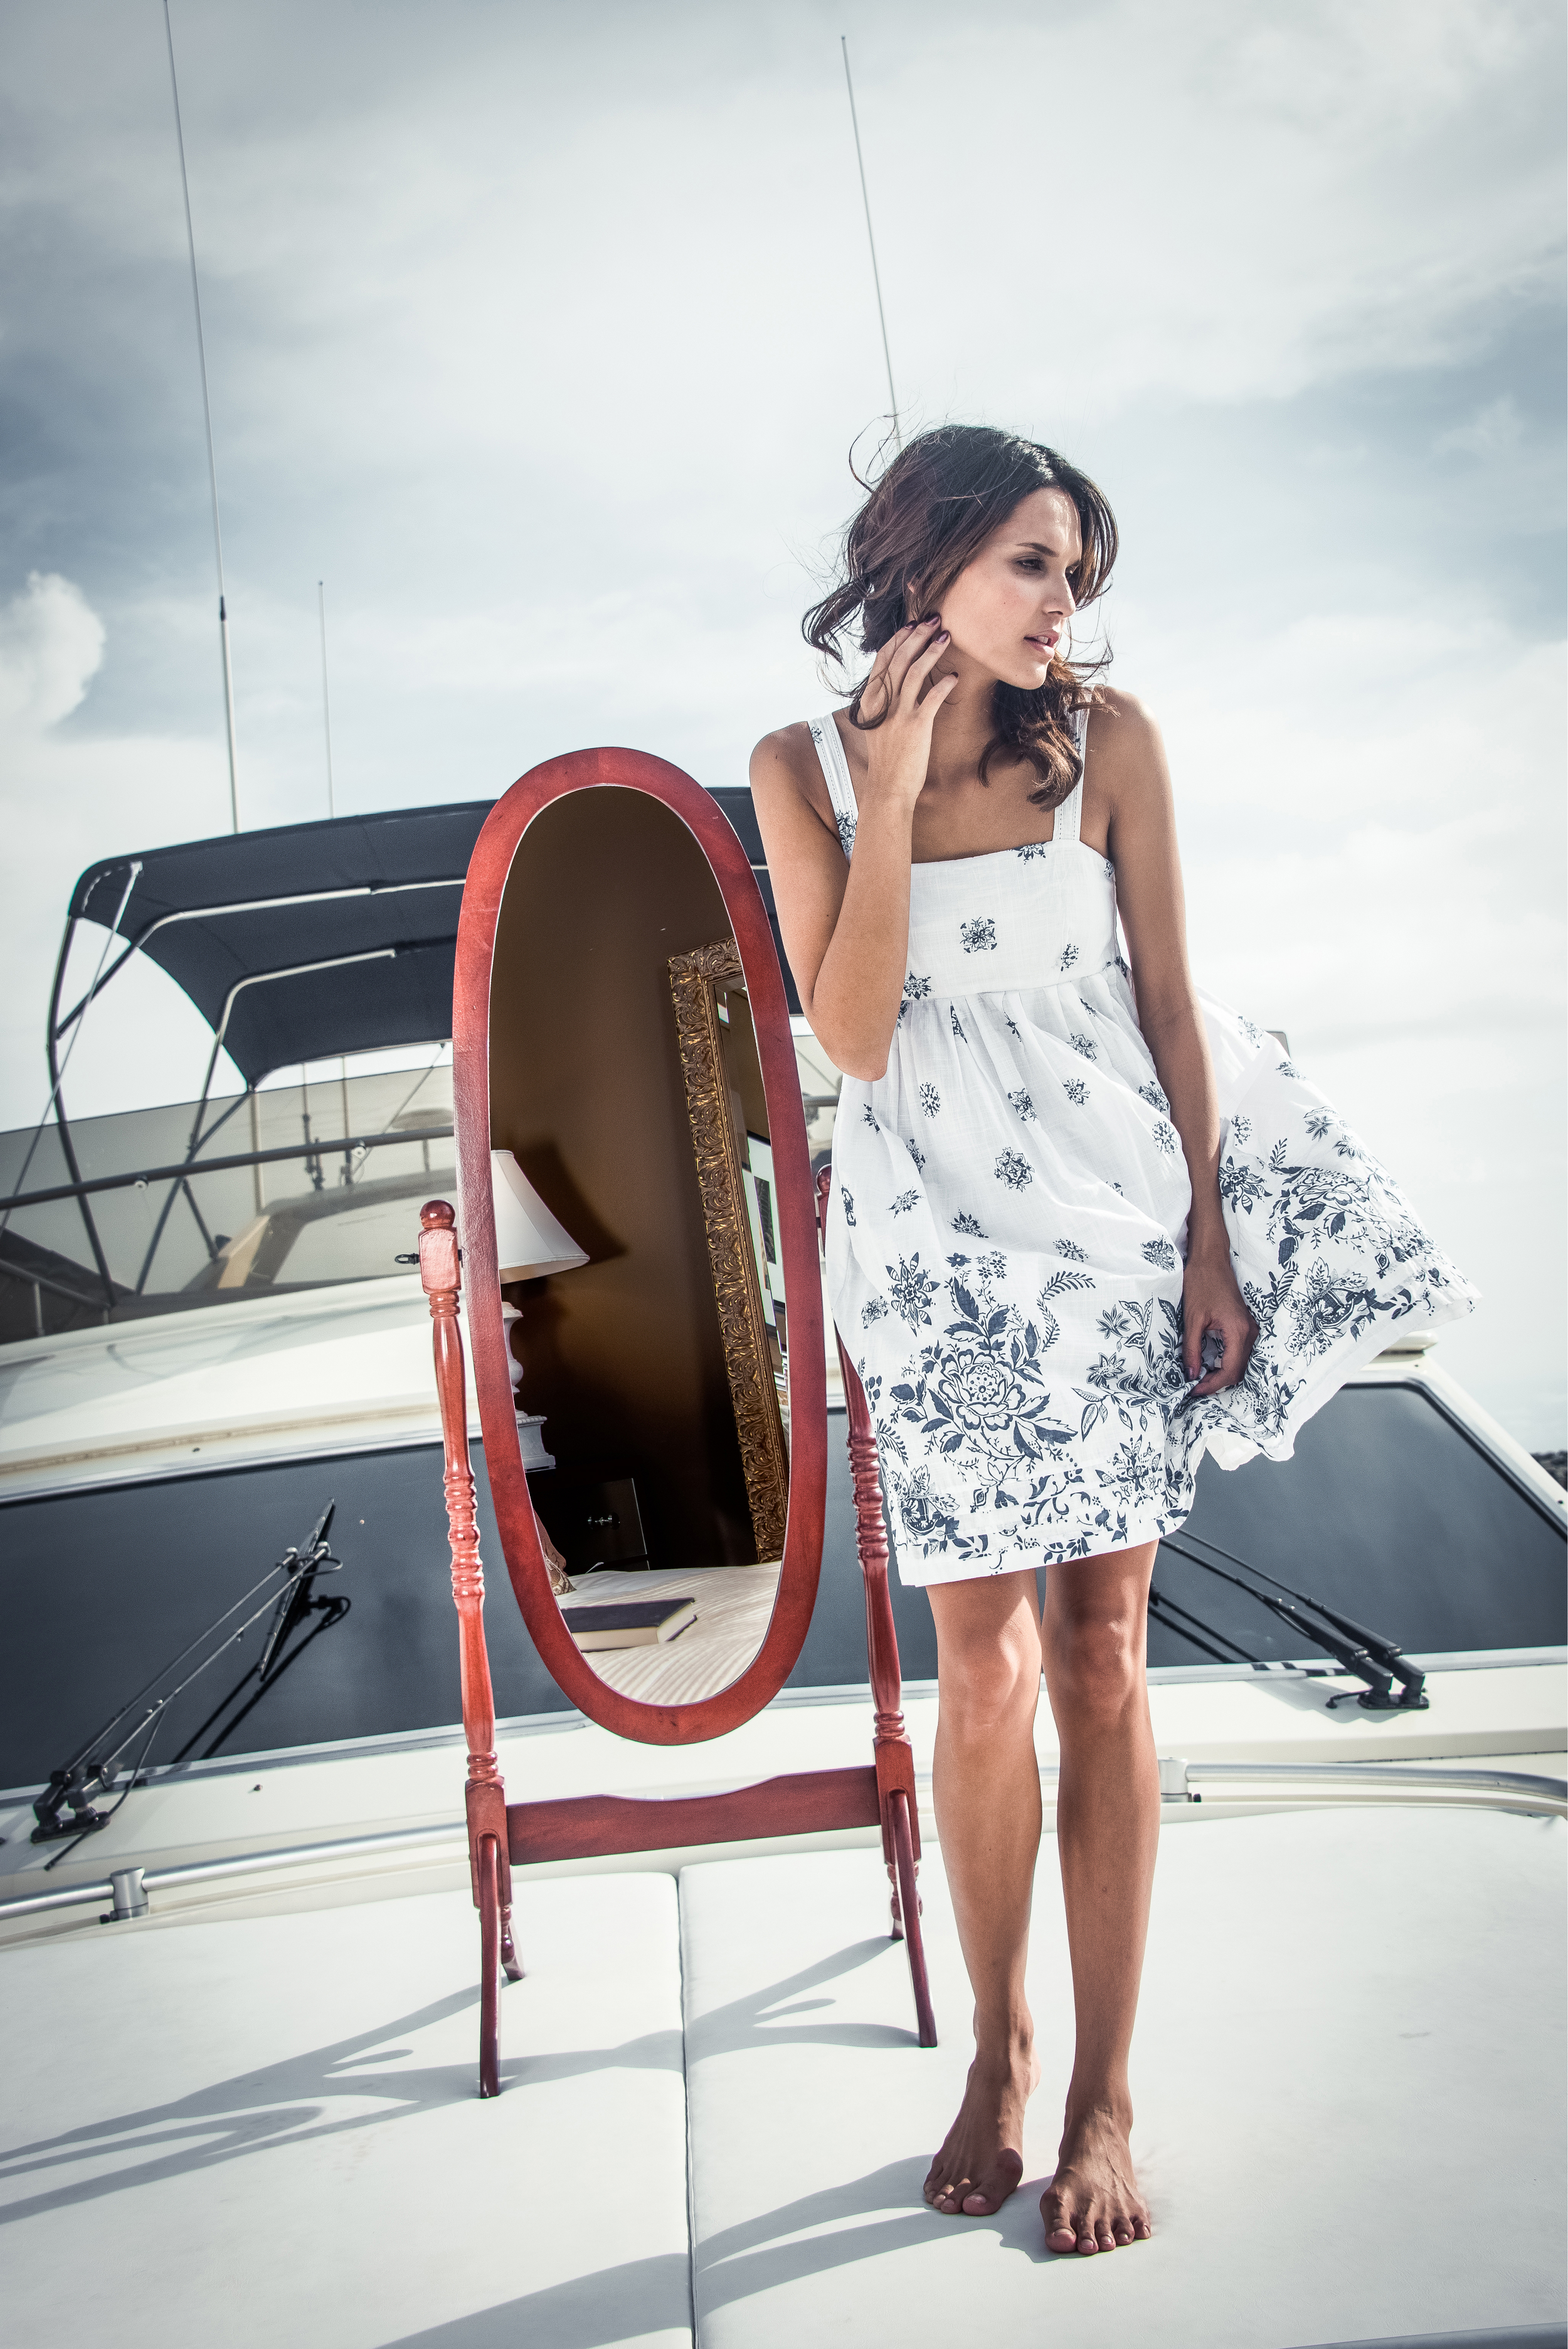
05 Adding Reflection

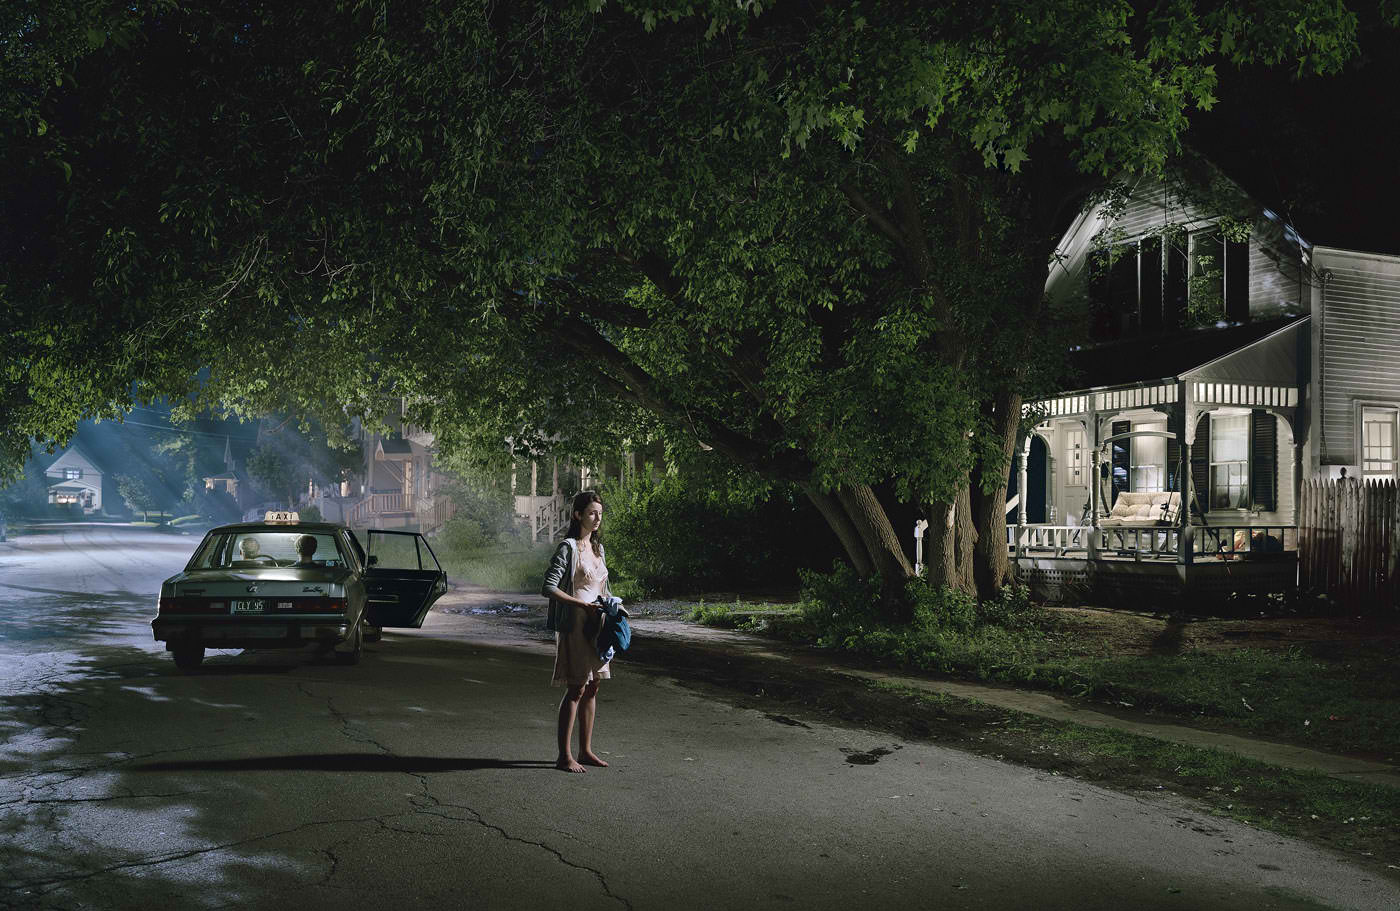
When you use reflective surfaces on composites such as glass and water, make sure that you add reflections as well. Reflections are an easy tool to make audiences “believe” in your image. I often add reflection by duplicating the image then transforming it with the “flip” tool. I then change the opacity and use gaussian blur depending on the situation. 

06 Dodge and Burn

To emphasize the shadows and highlights, I use dodge and burn. I create separate layers increasing and decreasing exposure using the curves tool and then use the mask tool to paint either shadow or highlight. 

07 Adding Blur

I then add blur using the gaussian blur tool to give the image a shallow depth of field. I wanted to further emphasize the main subject by isolation but also make the image more believable. Our eyes do not perceive the world in complete sharpness as they have a specific depth of field. I wanted to recreate that. 

08 Final Touches in Lightroom 

My last step for any image is usually transferring the new image into Lightroom and apply small adjustments. This may be a strange process for most photographers but I feel that applying filters and adjustments on Lightroom really unifies the composite. 

Here is the whole story for "Wide Awake"

I edited these photos mainly using Adobe Photoshop and Lightroom 4. I also used Portrait Professional Studio for retouching. If you have more questions on how I produced these images, feel free to comment here or post on my wall on facebook.

website | facebook | flickr | behance instagram

Fifth Code: The Good Life

I was asked by the owner of Fifth Code, Lorenz Namalta to shoot for their second anniversary. Fifth Code is a clothing company that specializes on made to order blazers. The concept for this shoot was basically to portray a group of bros having a great time in their secret club. Lorenz and his friends provided the props, makeup and the clothing. This shoot was a little different that what I was used to because everything was basically prepared for me. I usually set everything up myself when it comes to creative shoots. It was a nice change of pace and I felt I could really just focus on the shoot.

Models: Patrick Soriano, George Schulze, Carlos Roberts, Erick Merioles, Mark Dimalanta

Styling & Art Direction: Lorenz Namalta

Styling Assistants: Esme Palaganas & Alexandra Reyes

Hair and Make-up: Isabelle Dee

It was quite challenging to pose the models as legitimate “bros” because they were not acquainted with each other in the beginning. I didn’t want to force interaction between them because it will end up looking forced and fake. Therefore, we spent some time prior to the shoot to let them gel and vibe off from each other. If you are having a group shoot that involved them interacting with each other, make time prior to the shoot for them to get to know each other first.

There are lots of steps to be a great fashion or editorial photographer. From this shoot, I realized that one of the hardest steps to overcome is learning how to pose models effectively and creatively. It is a very difficult skill to learn and you can only do it by practice and experience. Group photos are especially difficult to pose. You need to know if you are focusing on one model or all of the models. This will help you with lighting and your composition.

The lighting set up for the group shots was basic because I wanted the lighting to work for more than just one group shot. It had to be broad and versatile but still very dynamic and engaging. Our location had afternoon light pouring through with the window making our models back lit. As most of you know, it is very tough working with your light source behind the subject. Therefore, I faced a couple of studio lights against the light. This achieved a very dynamic look but you have to be careful in how you balance the power of your lighting because it may look flat and fake.

I used the stripbox to evenly spread light that will work against the sunlight. However, I thought that the pictures it produced was too flat and the models lacked volume. I then used a beauty dish with an umbrella on the side to diffuse the light and add that volume. I wanted as much ambient light to add more realism. To allow the ambient light and window light to be visible, I used a low shutter speed.

Here is the whole set of Fifth Code: The Good Life

I edited these photos mainly using Adobe Photoshop and Lightroom 4. I also used Portrait Professional Studio for retouching. If you have more questions on how I produced these images, feel free to comment here or post on my wall on facebook.

website | facebook | flickr | behance instagram

Photography Inspiration: Gregory Crewdson

Last school year, I took a short class called Photo Intensive here in RISD and was introduced to the work of Gregory Crewdson. It’s not often when an artist’s work catches my attention as much as his . It deeply resonated inside me and thought that I would share it. Gregory Crewdson is an American photographer who creates a whole world with elaborate set designs and lighting. Every move he makes is deliberate and controlled and I think that’s what inspires me the most.

Every light that appears in his photographs are purposeful and planned ahead of time. Therefore, each picture tells a story but a purposeful story which is completely told by the artist. For me, this is what makes his work stand out from the rest.

I am infatuated with the way he creates such a dramatic scene with a lot of tension and emotions. He portrays his idea not only with the model but also with the background equally. In return, his photographs have a very surreal and cinematic feel to them.

He mainly uses a deep depth of field, which can be problematic at times because the photo might turn out too busy. However, he creates focus on his subject using lighting. This is very hard to do and you must first master light and how it affects the body and the scene to be truly successful.

Gregory Crewdson’s work truly inspire my own as a photographer. I still have a lot to learn about photography and I haven’t had the chance to take many classes but sometimes one photo can teach you so much more than a class. His work has truly taught me a lot and gave me a better understanding with lighting and set design.

Live in a Dream

The idea and concept for this shoot came to me when I had a conversation with a friend and she told me that she would rather live in her dreams than in reality. Her story struck me because it made me question reality and what it would feel like to live in an eternal dream.

I have always wondered what boundaries exist between dream and reality. What would it take to live in an eternal dream in where you can have complete control of the world? With the series, I question our reality and how its connected to dreams. Our dreams are an entry way to another kind of reality. I believe that if we have full control of our dreams, it could be a fully realized reality just as much as the one we live in now.

The model for this shoot is Olivia Medina and she is doing a lot of great work. She is a professional model and was recently the cover model for Rogue magazine.

This was the first time I worked with a professional model that wasn’t initially one of my friends and it was very intimidating. However, working with professional models is very rewarding because they know their angles very well. She saw my work on facebook and thus we ended up collaborating for this shoot. This is why it is important to share your work to the public even when you’re just getting started. The best way to spread you work out is through websites like Flickr or Facebook. Don’t be scared of criticism but rather accept it. You miss out on a lot of opportunities if you don’t.

I used three different locations for this shoot. The first location we shot at was on a yacht provided by a friend of mine. The next is actually the house next to mine back in Manila. They had torn their house down to build a new one and I just couldn’t resist. I didn’t know the owner of the lot so we had to sneak in, totally worth it. Always keep your eyes opened for locations that would be great for a shoot. The last location was a furniture showroom that again was provided by a friend.

For the concept to fully realize itself, I had to make sure that I had the correct lighting. I timed my shoot in each location so that I could use the sun to my advantage. This is very important when planning a photo shoot. Always keep the sun and its light in your mind.

According to a lot of great photographers out there, the best investment you can make aside from your camera would be lighting equipment. Ambient light will always be the best kind of light but it is also very hard to control.

It was about 3pm when we finished setting up for our first shoot. It was a great day out but there wasn’t a lot of clouds in the sky so the sun light wasn’t diffused and created really harsh shadows. There are a couple ways to lighten up these shadows, one is a reflector and another is a secondary light source. Light sources can range from a flash light, a speed light to studio strobes.

Reflectors are an essential to a portrait photographer and I highly advice you getting one. They are not so expensive and they can easily improve your portrait photographs. I found one in Amazon that works perfectly, Neewer 110CM 43″ 5-in-1 Collapsible Multi-Disc Light Reflector. You can easily change this reflector to different things to suit your needs. I used it as a diffuser for this shot.

I used a combination of the diffuser and a secondary light to decrease the harsh contrast on the model.

Here is the whole series: “Live In A Dream”

I edited these photos mainly using Adobe Photoshop and Lightroom 4. I also used Portrait Professional Studio for retouching. If you have more questions on how I produced these images, feel free to comment here or post on my wall on facebook.

website | facebook | flickr | behance instagram