Final Belonging

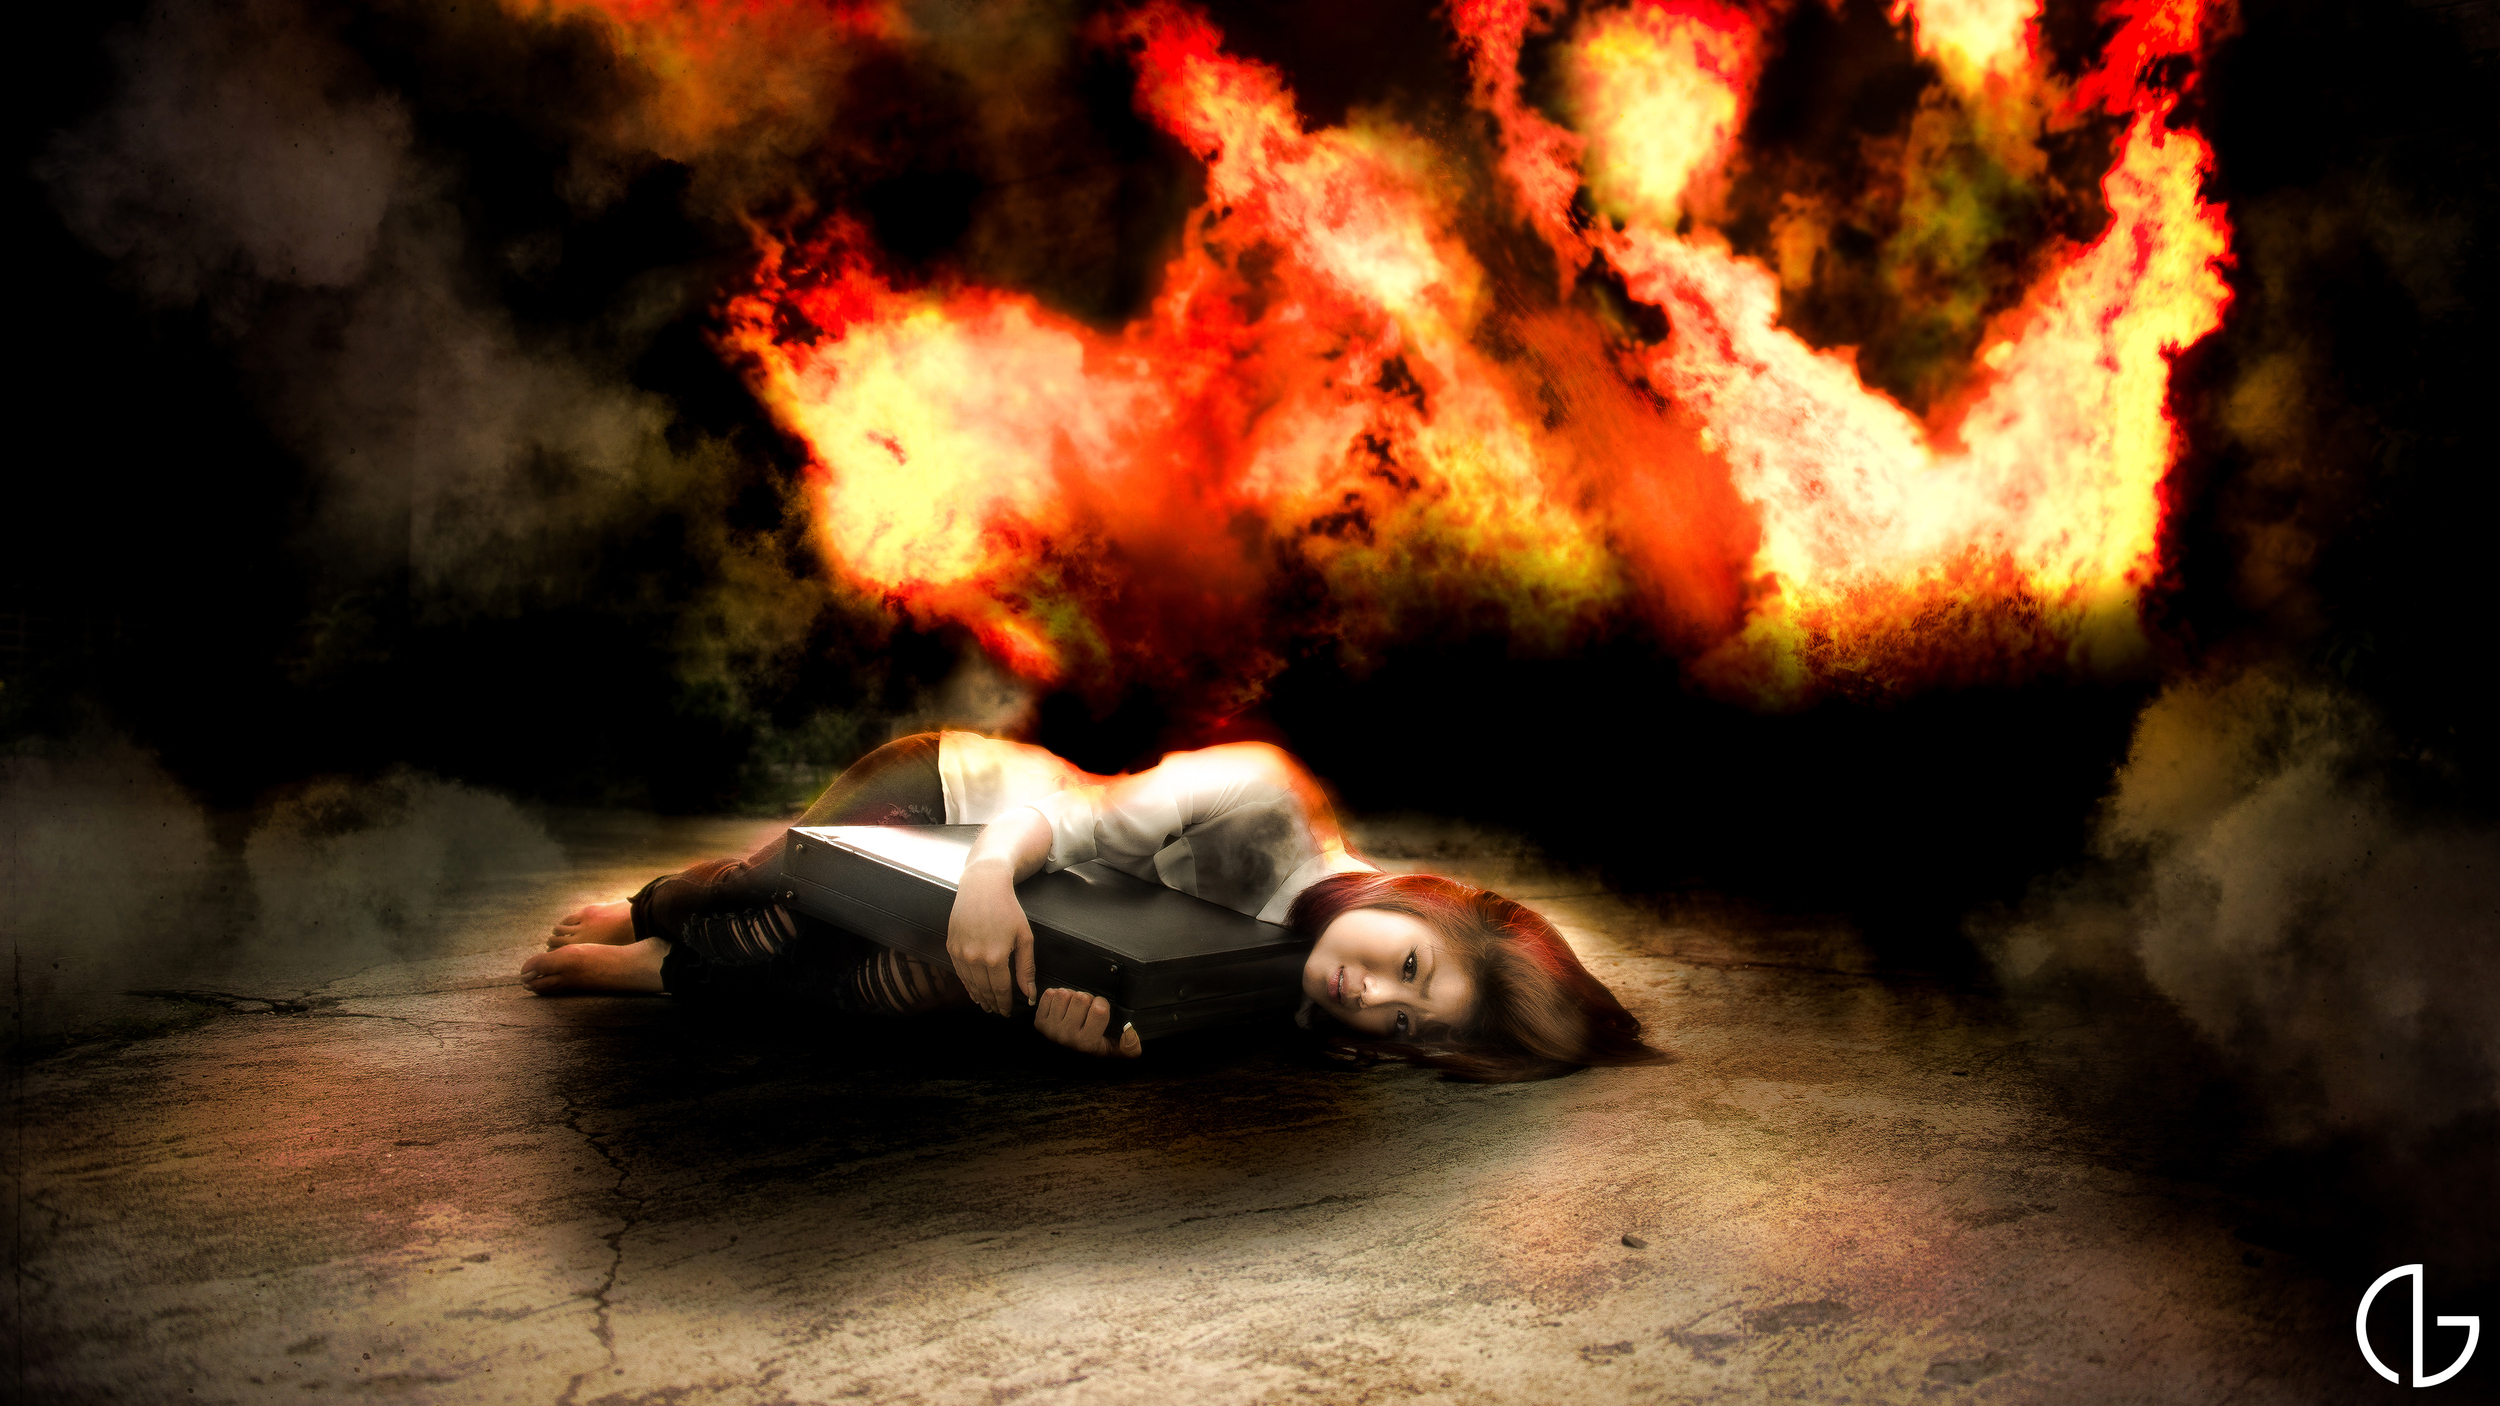
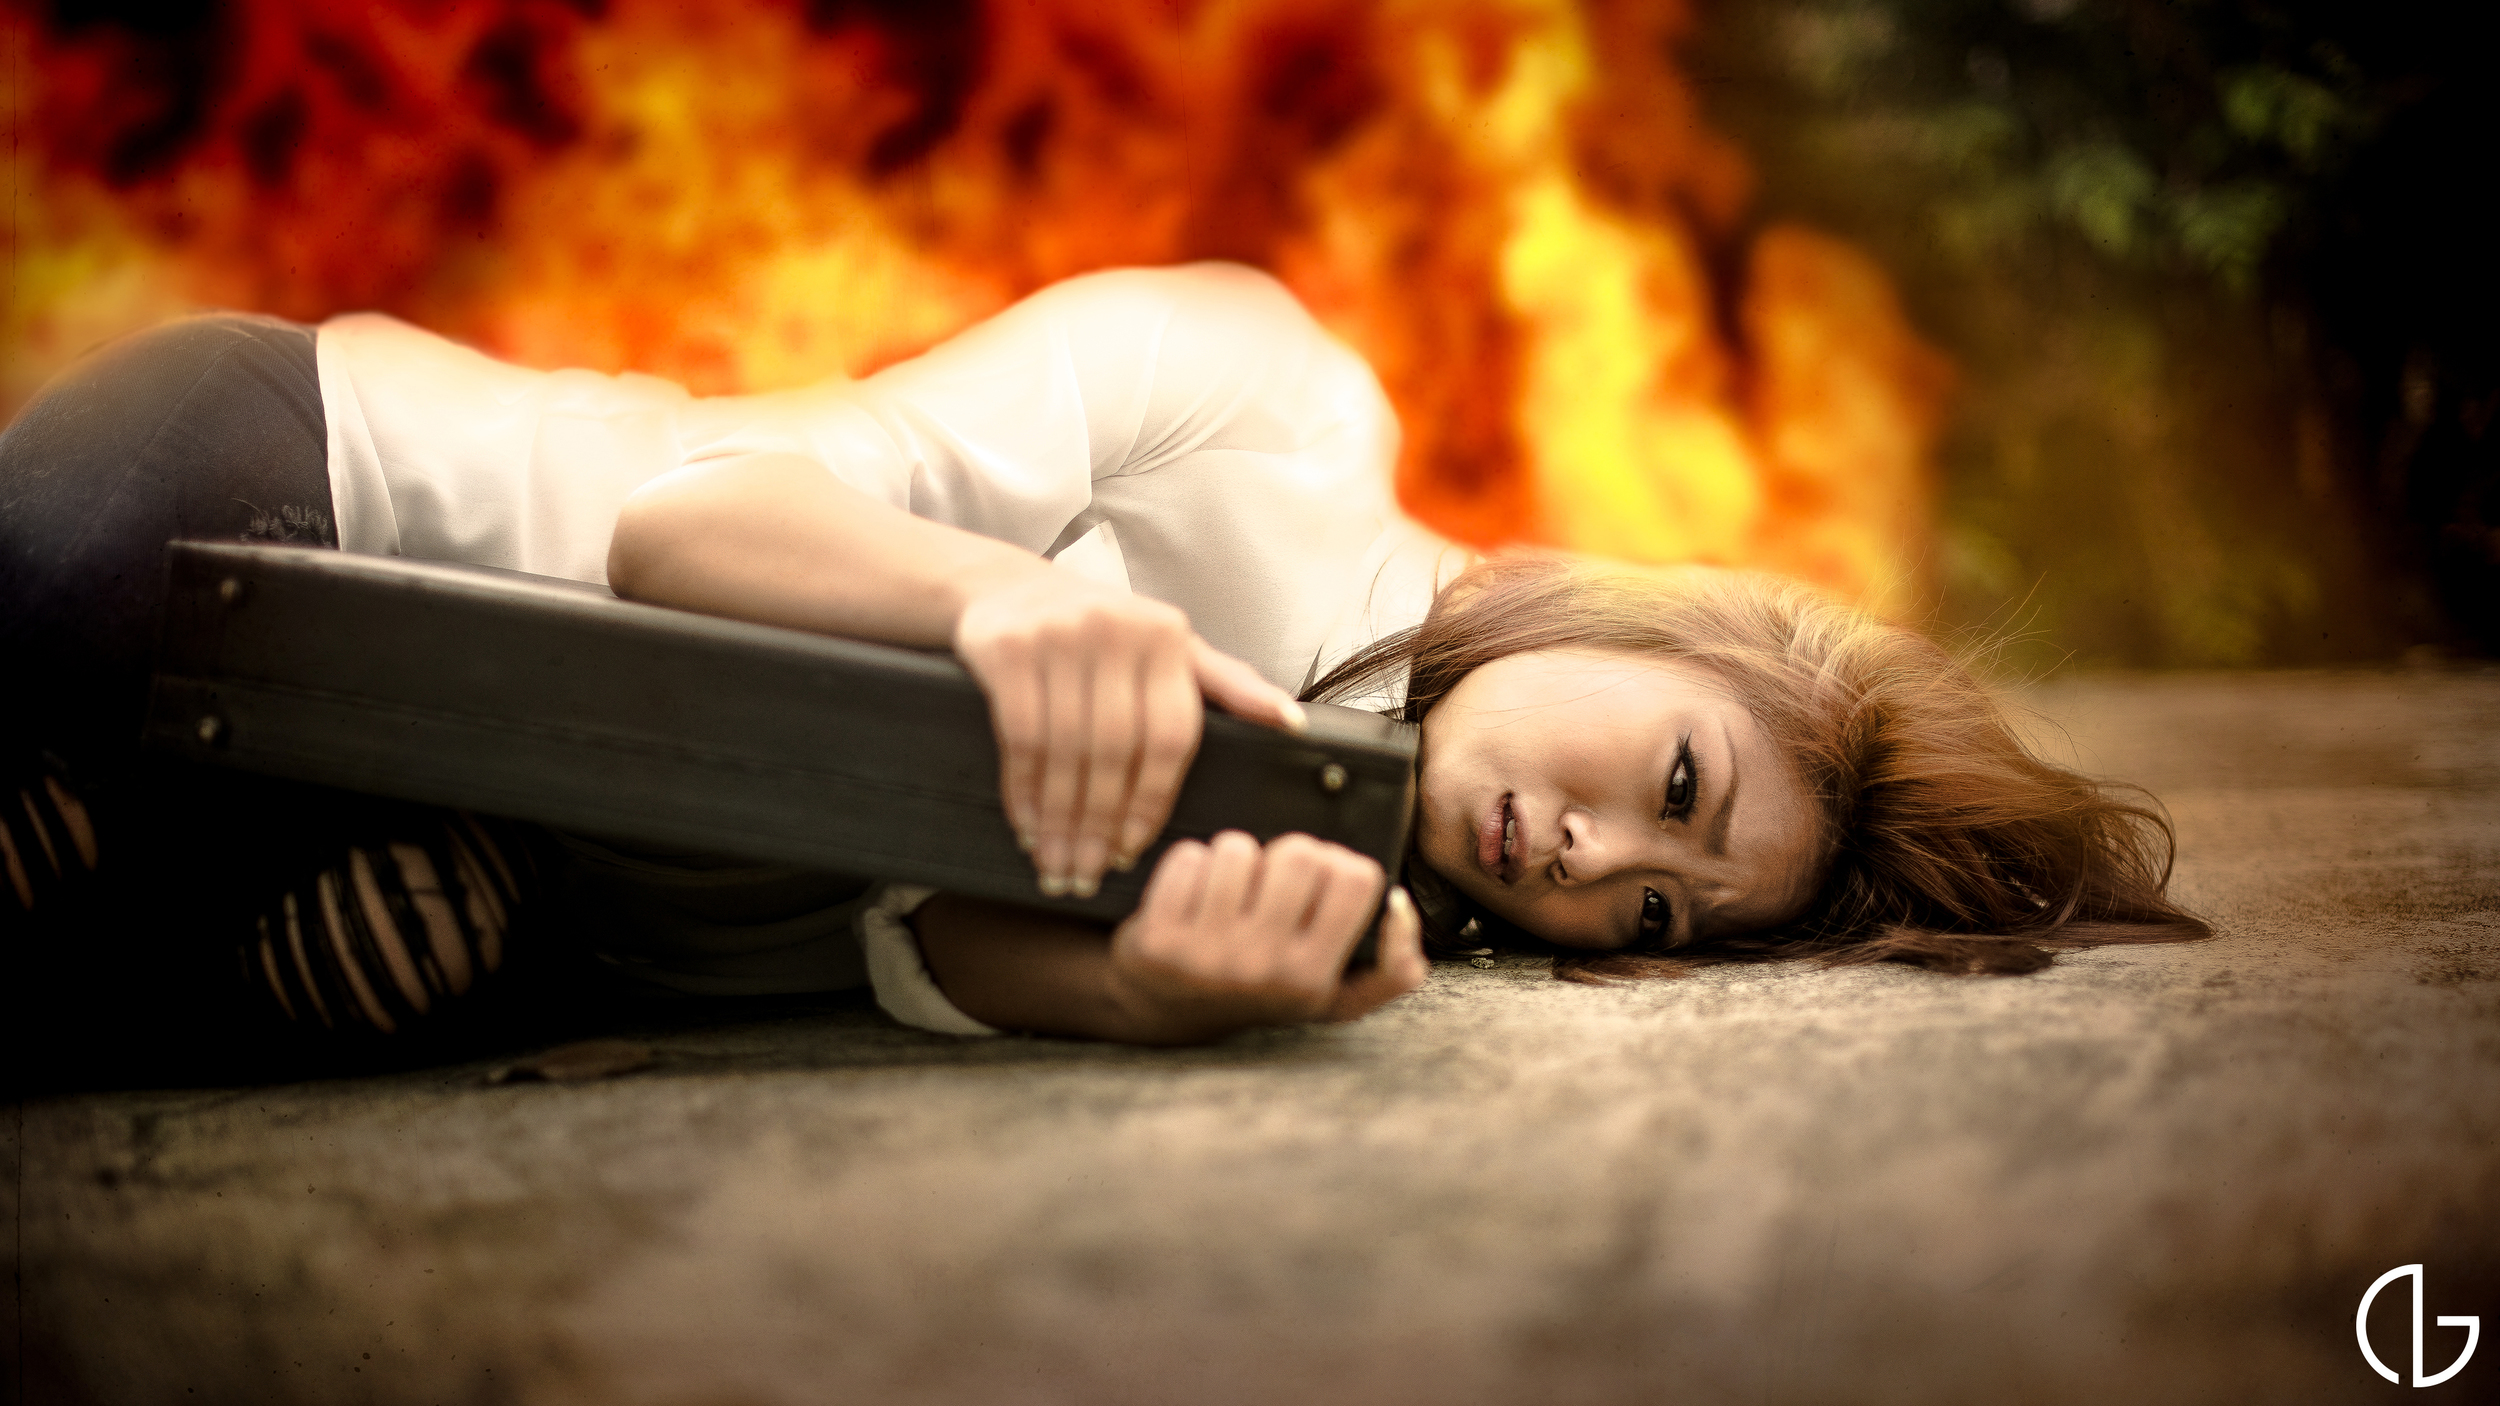
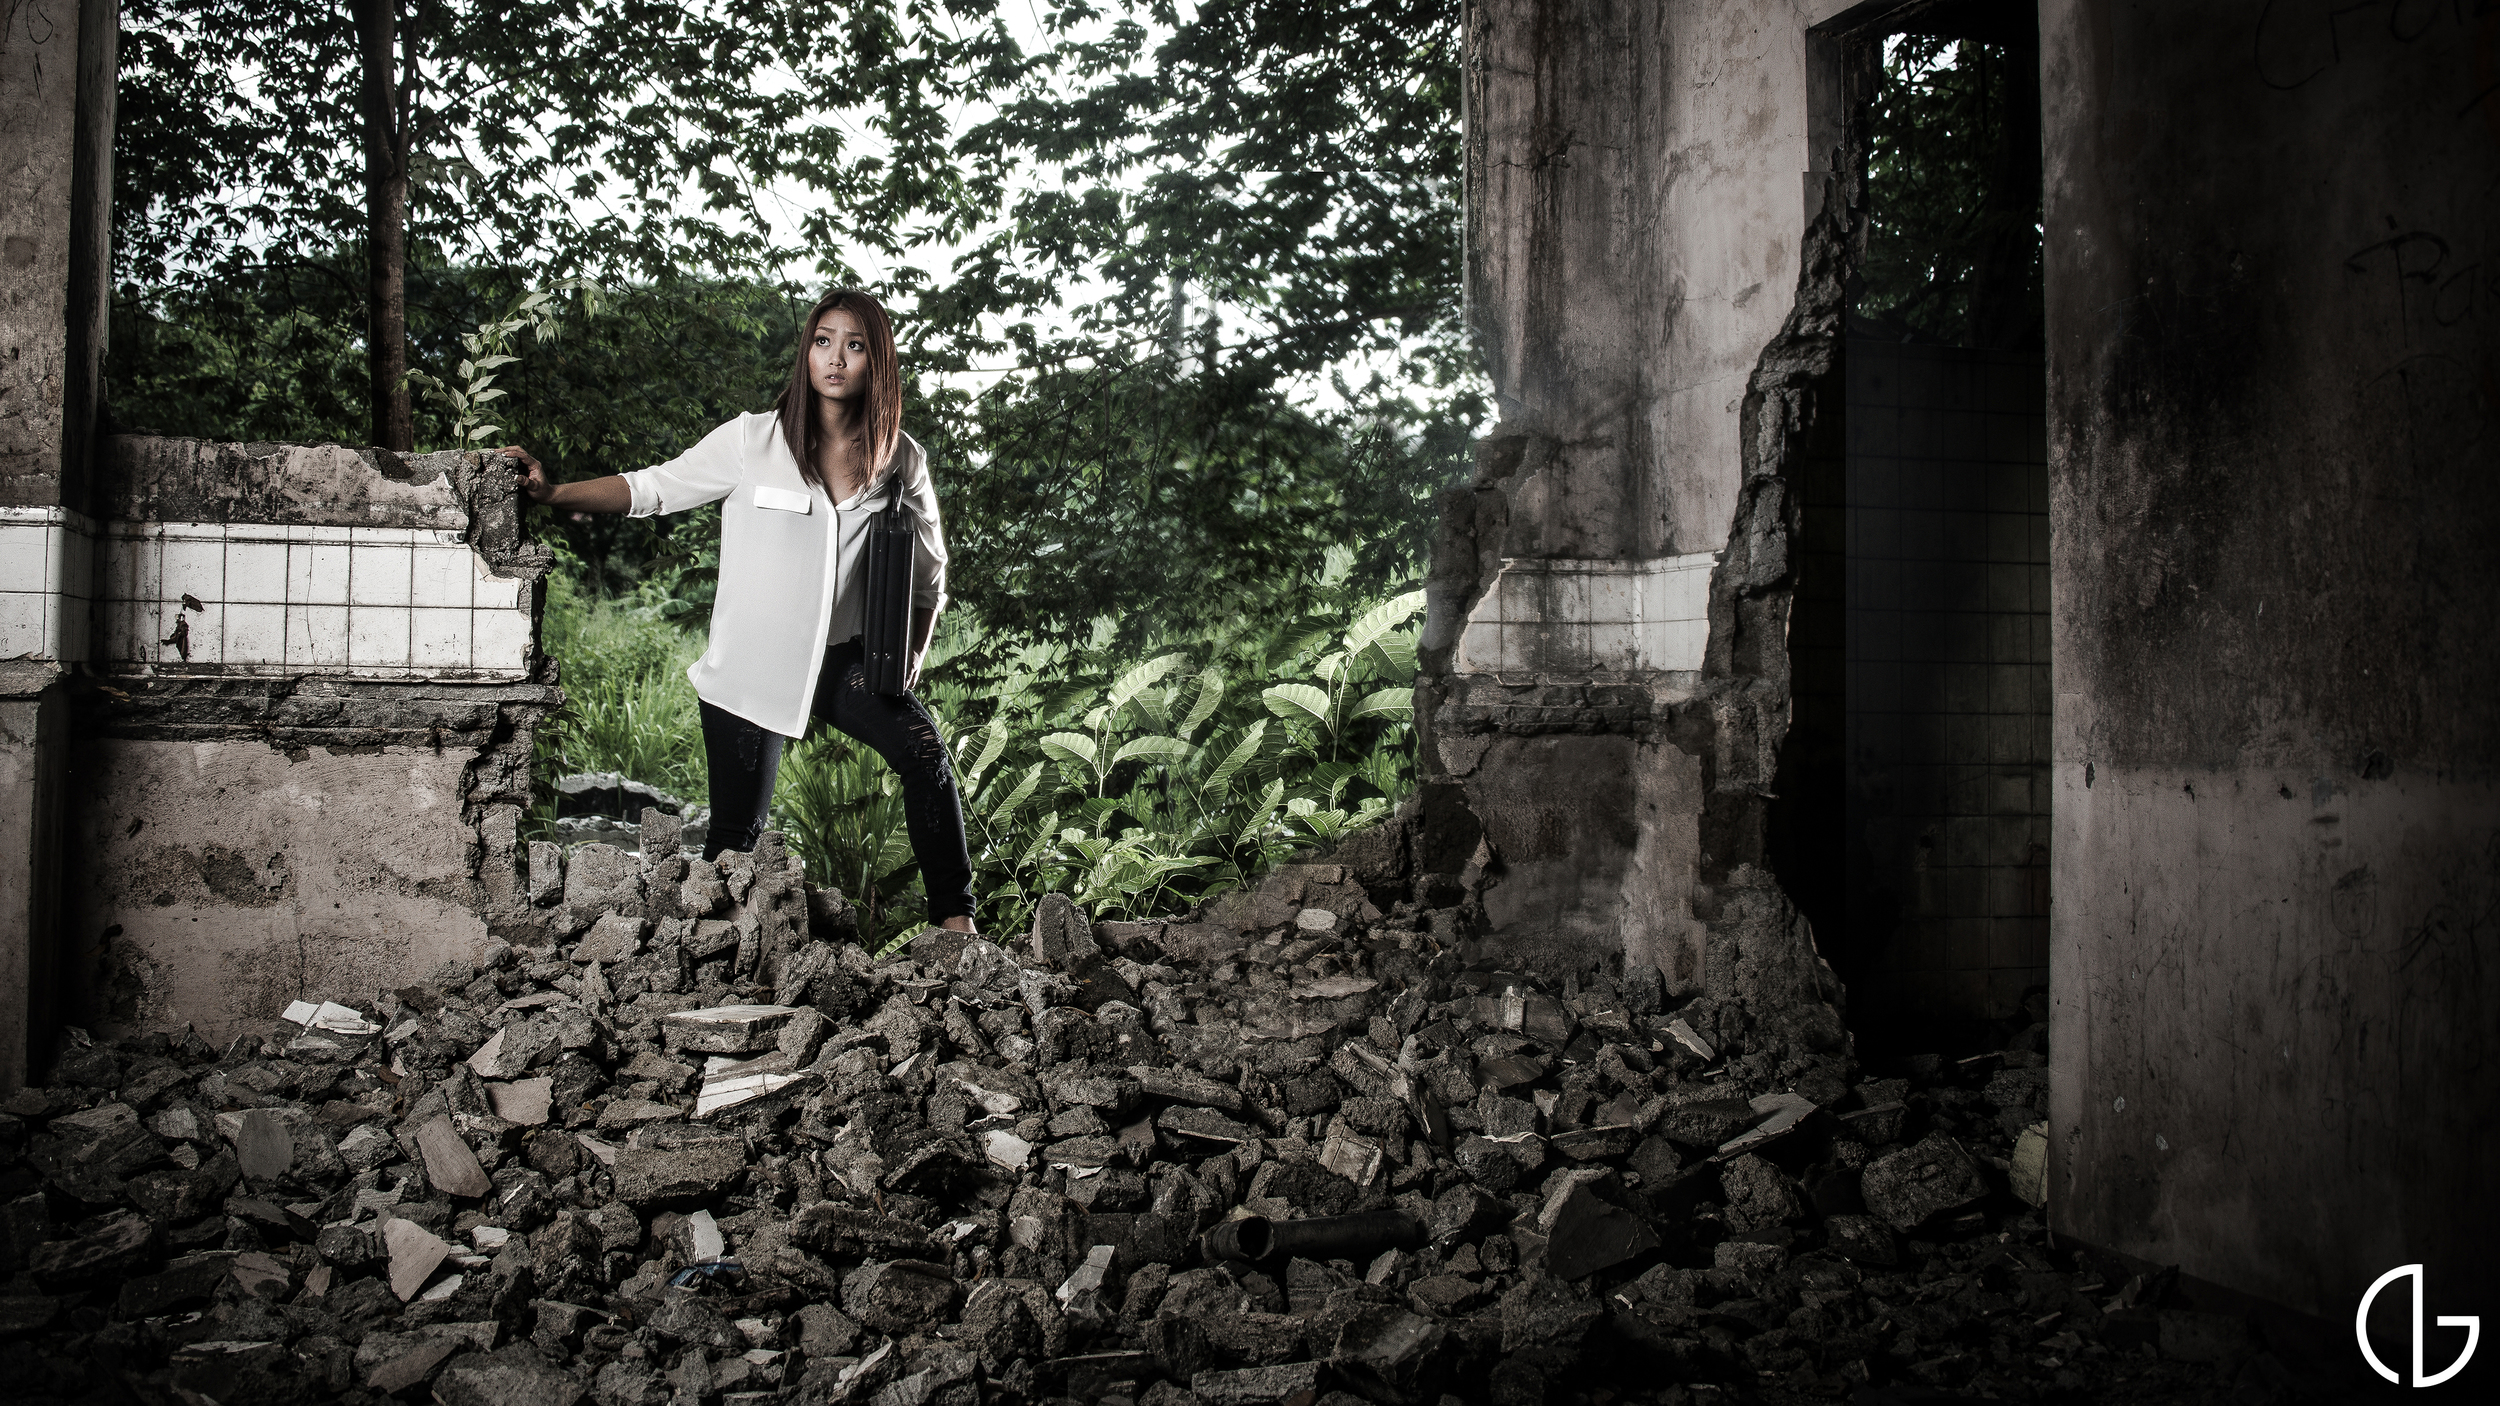
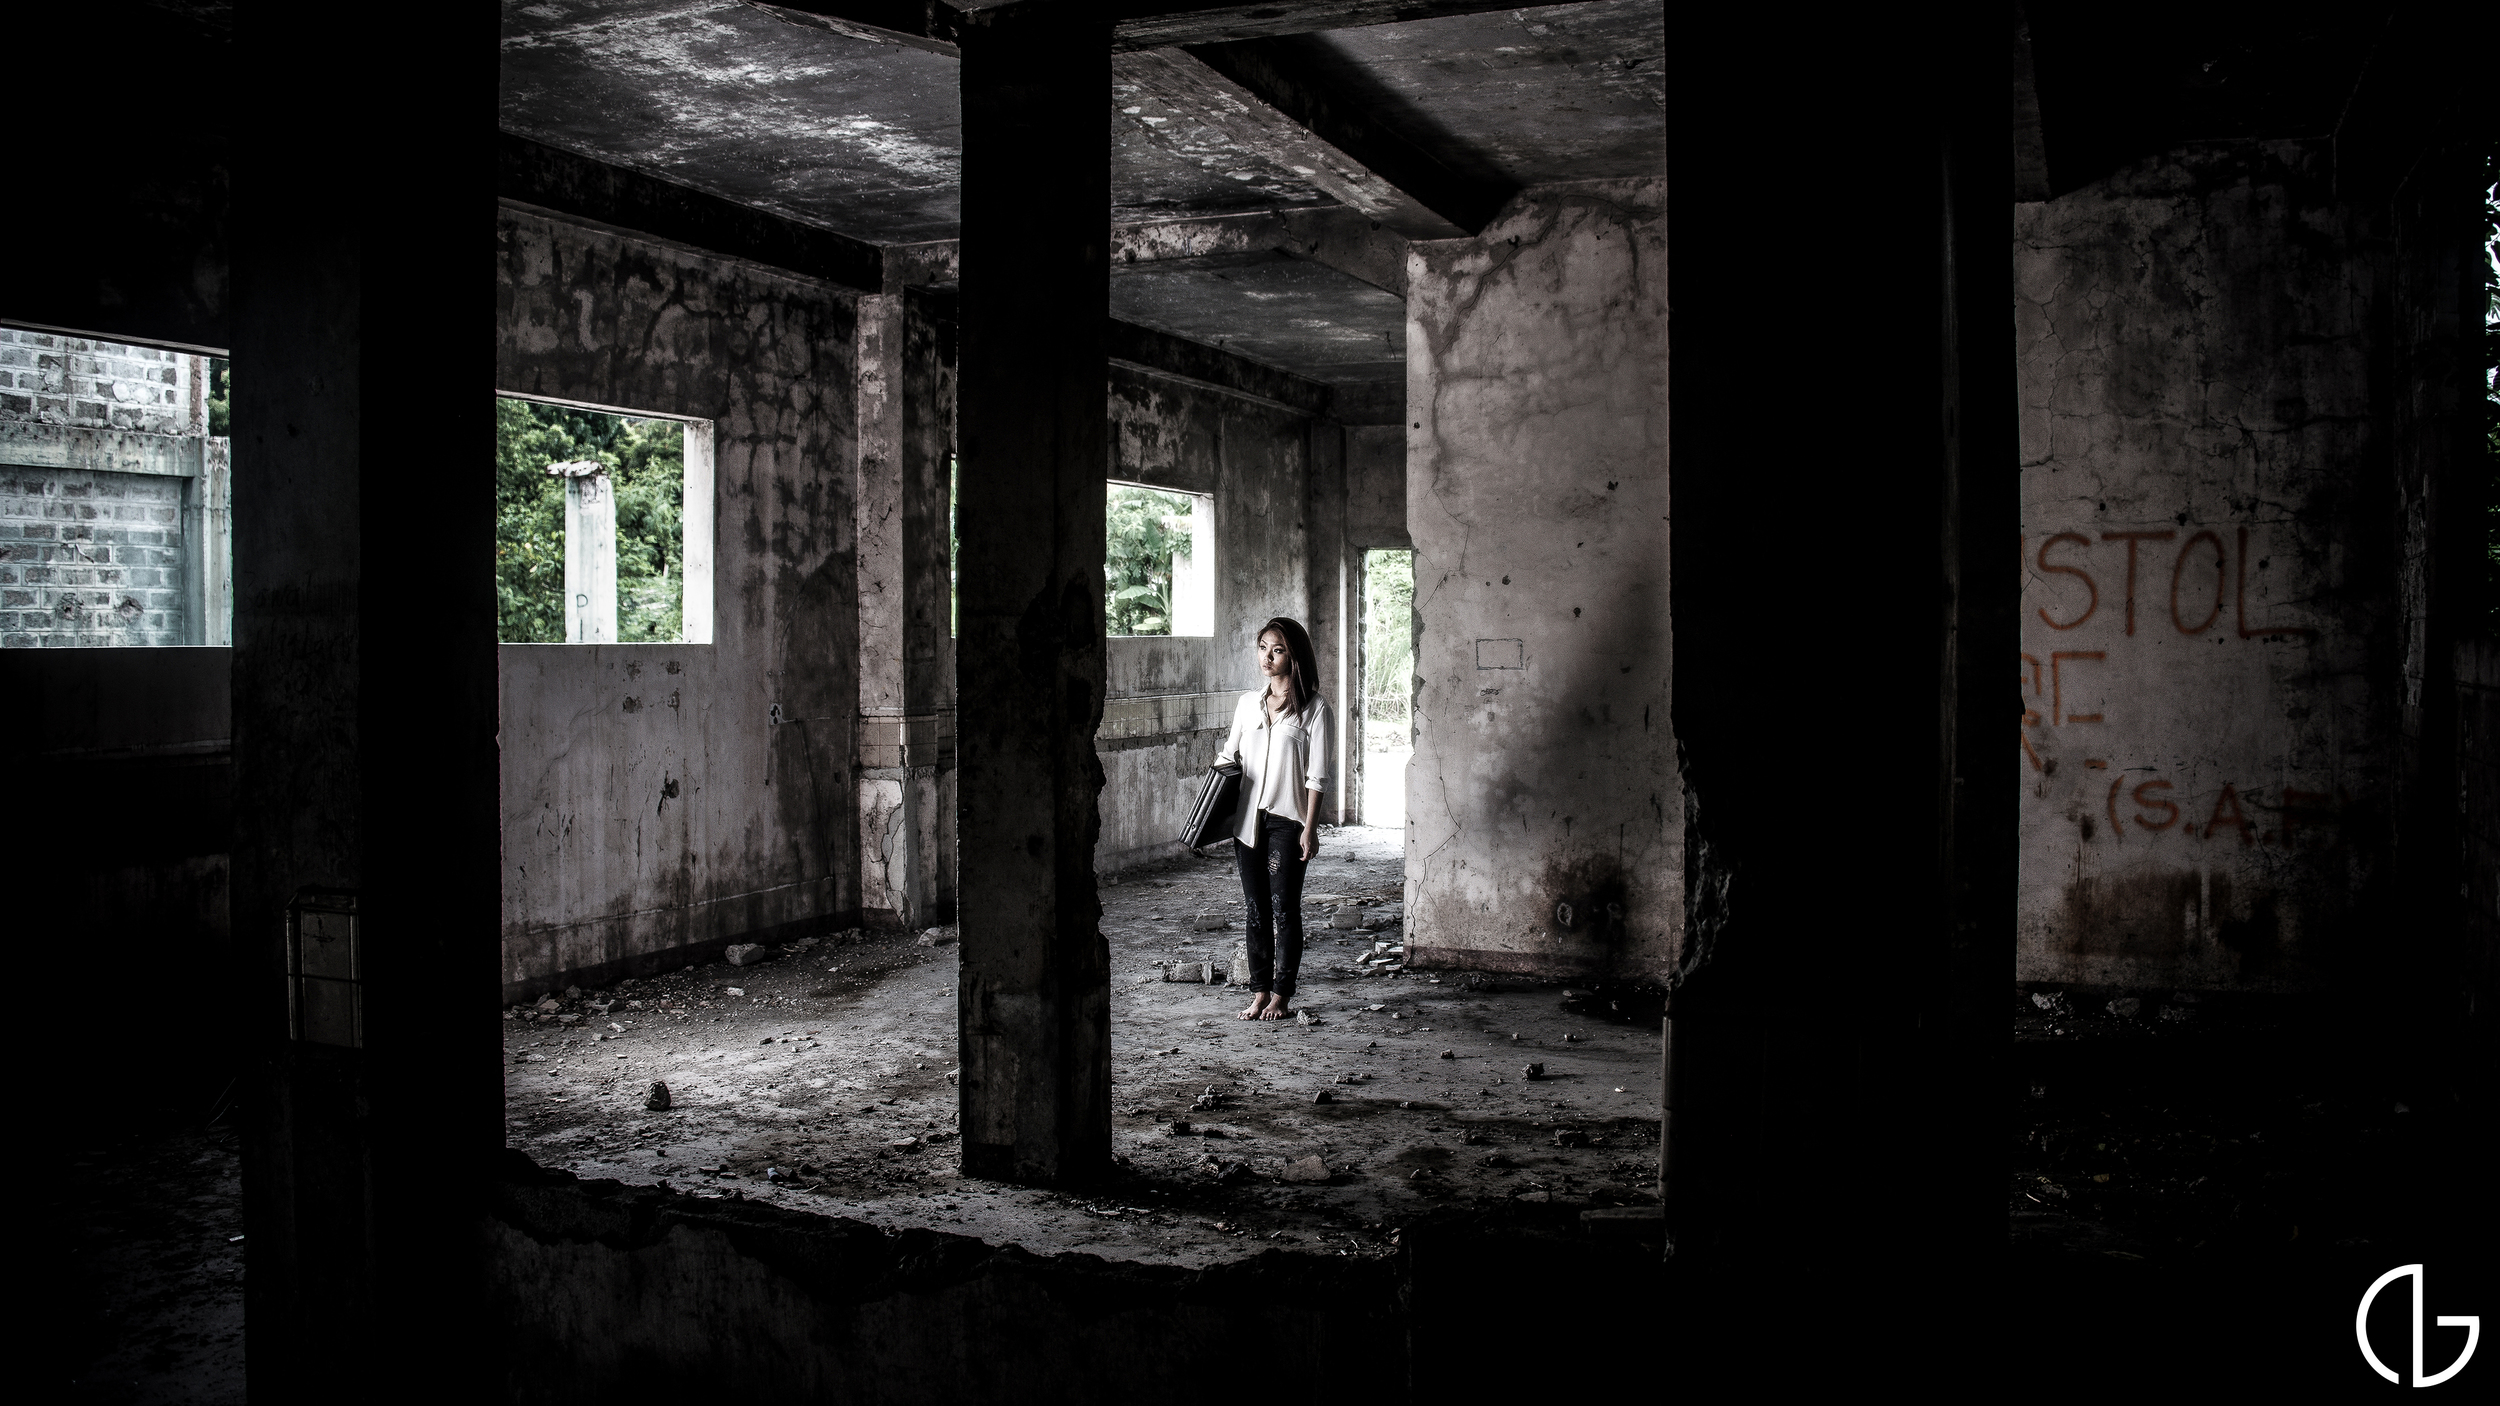
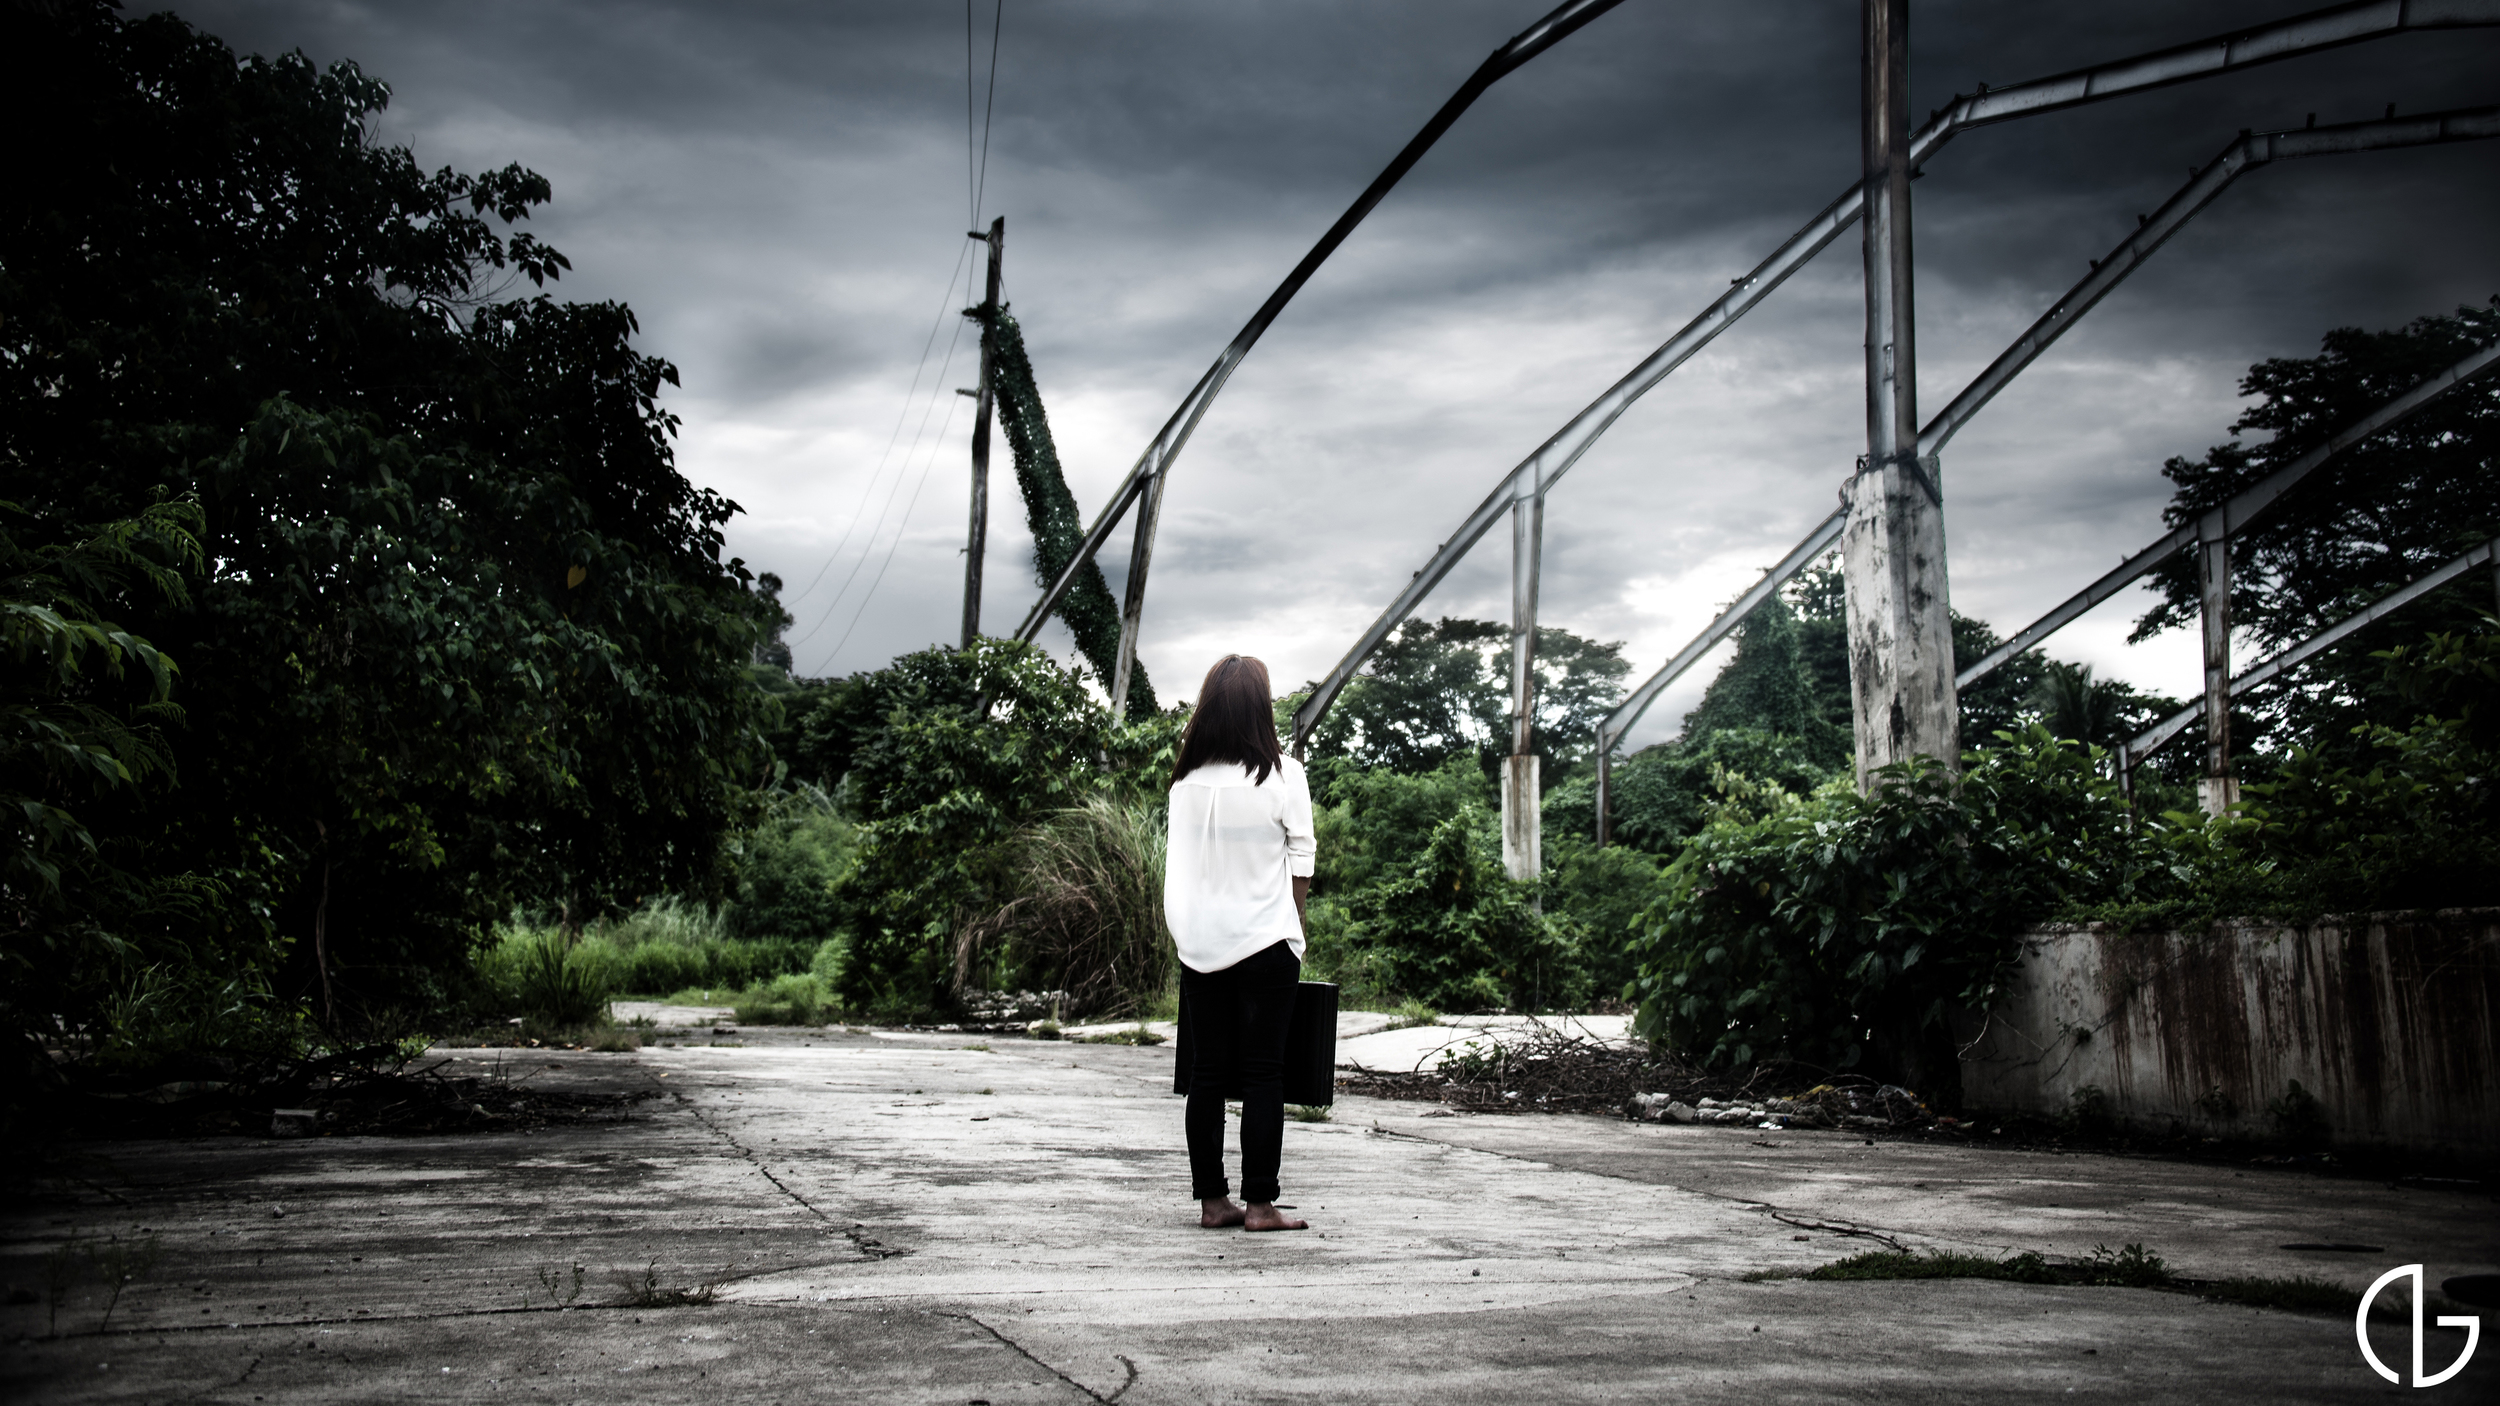
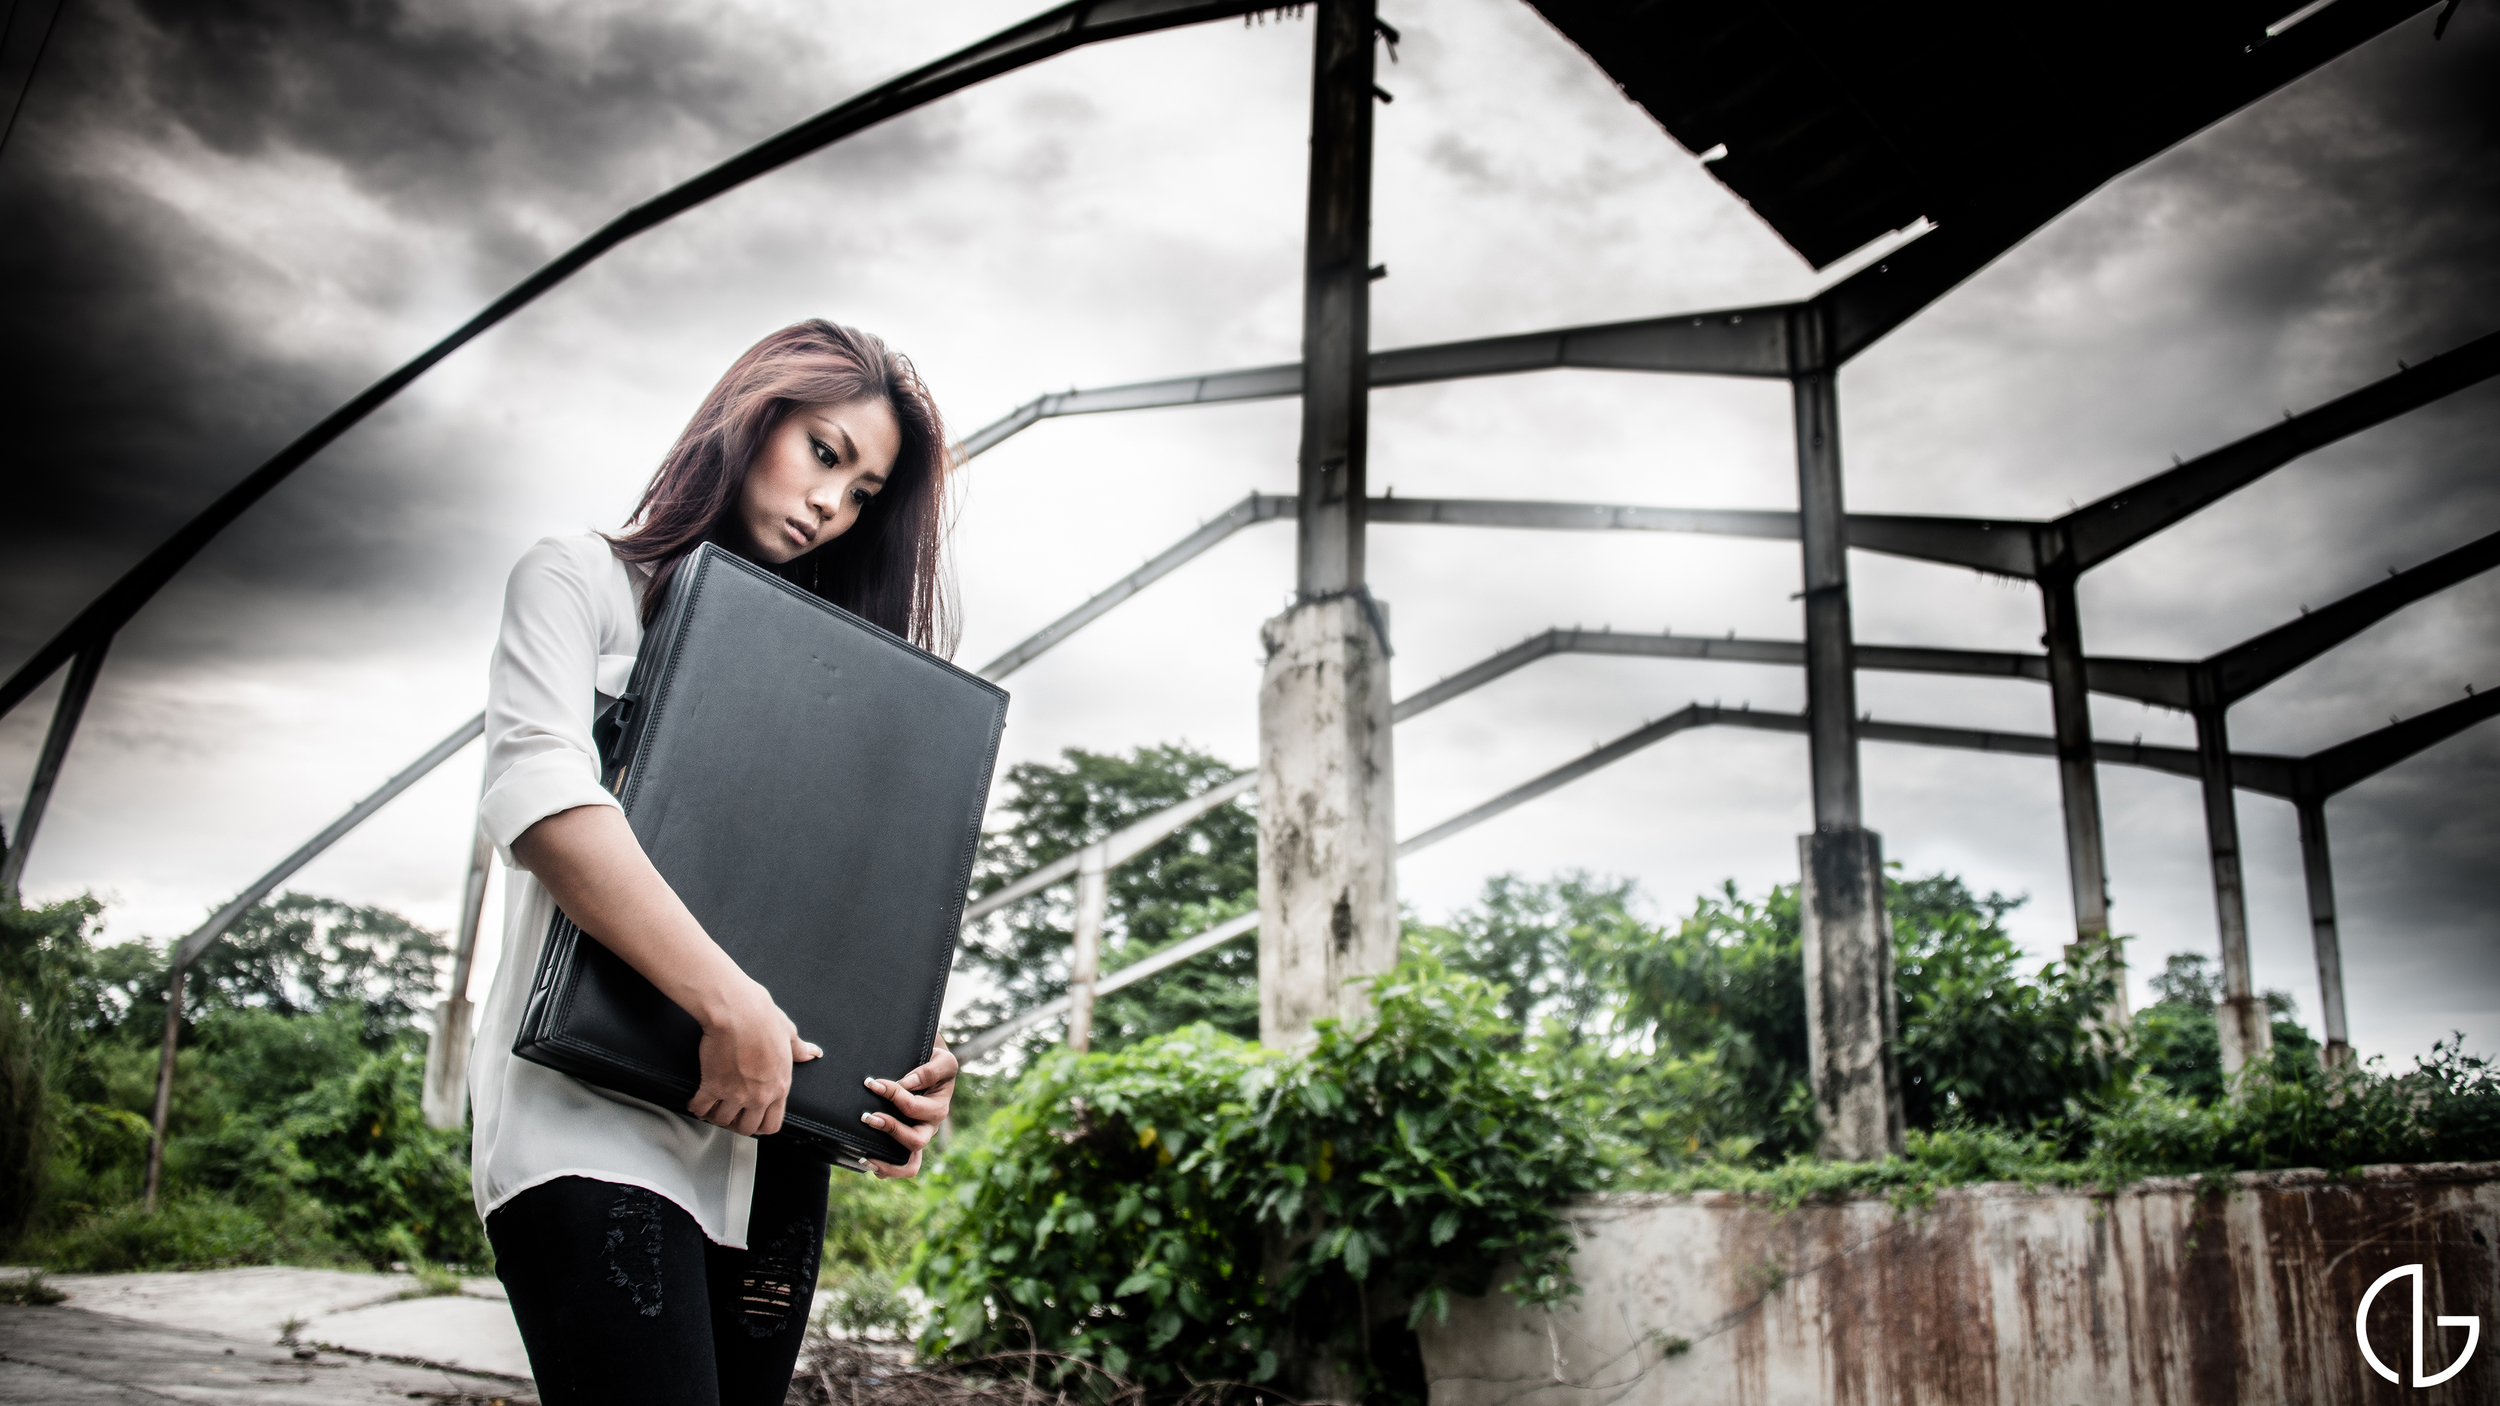
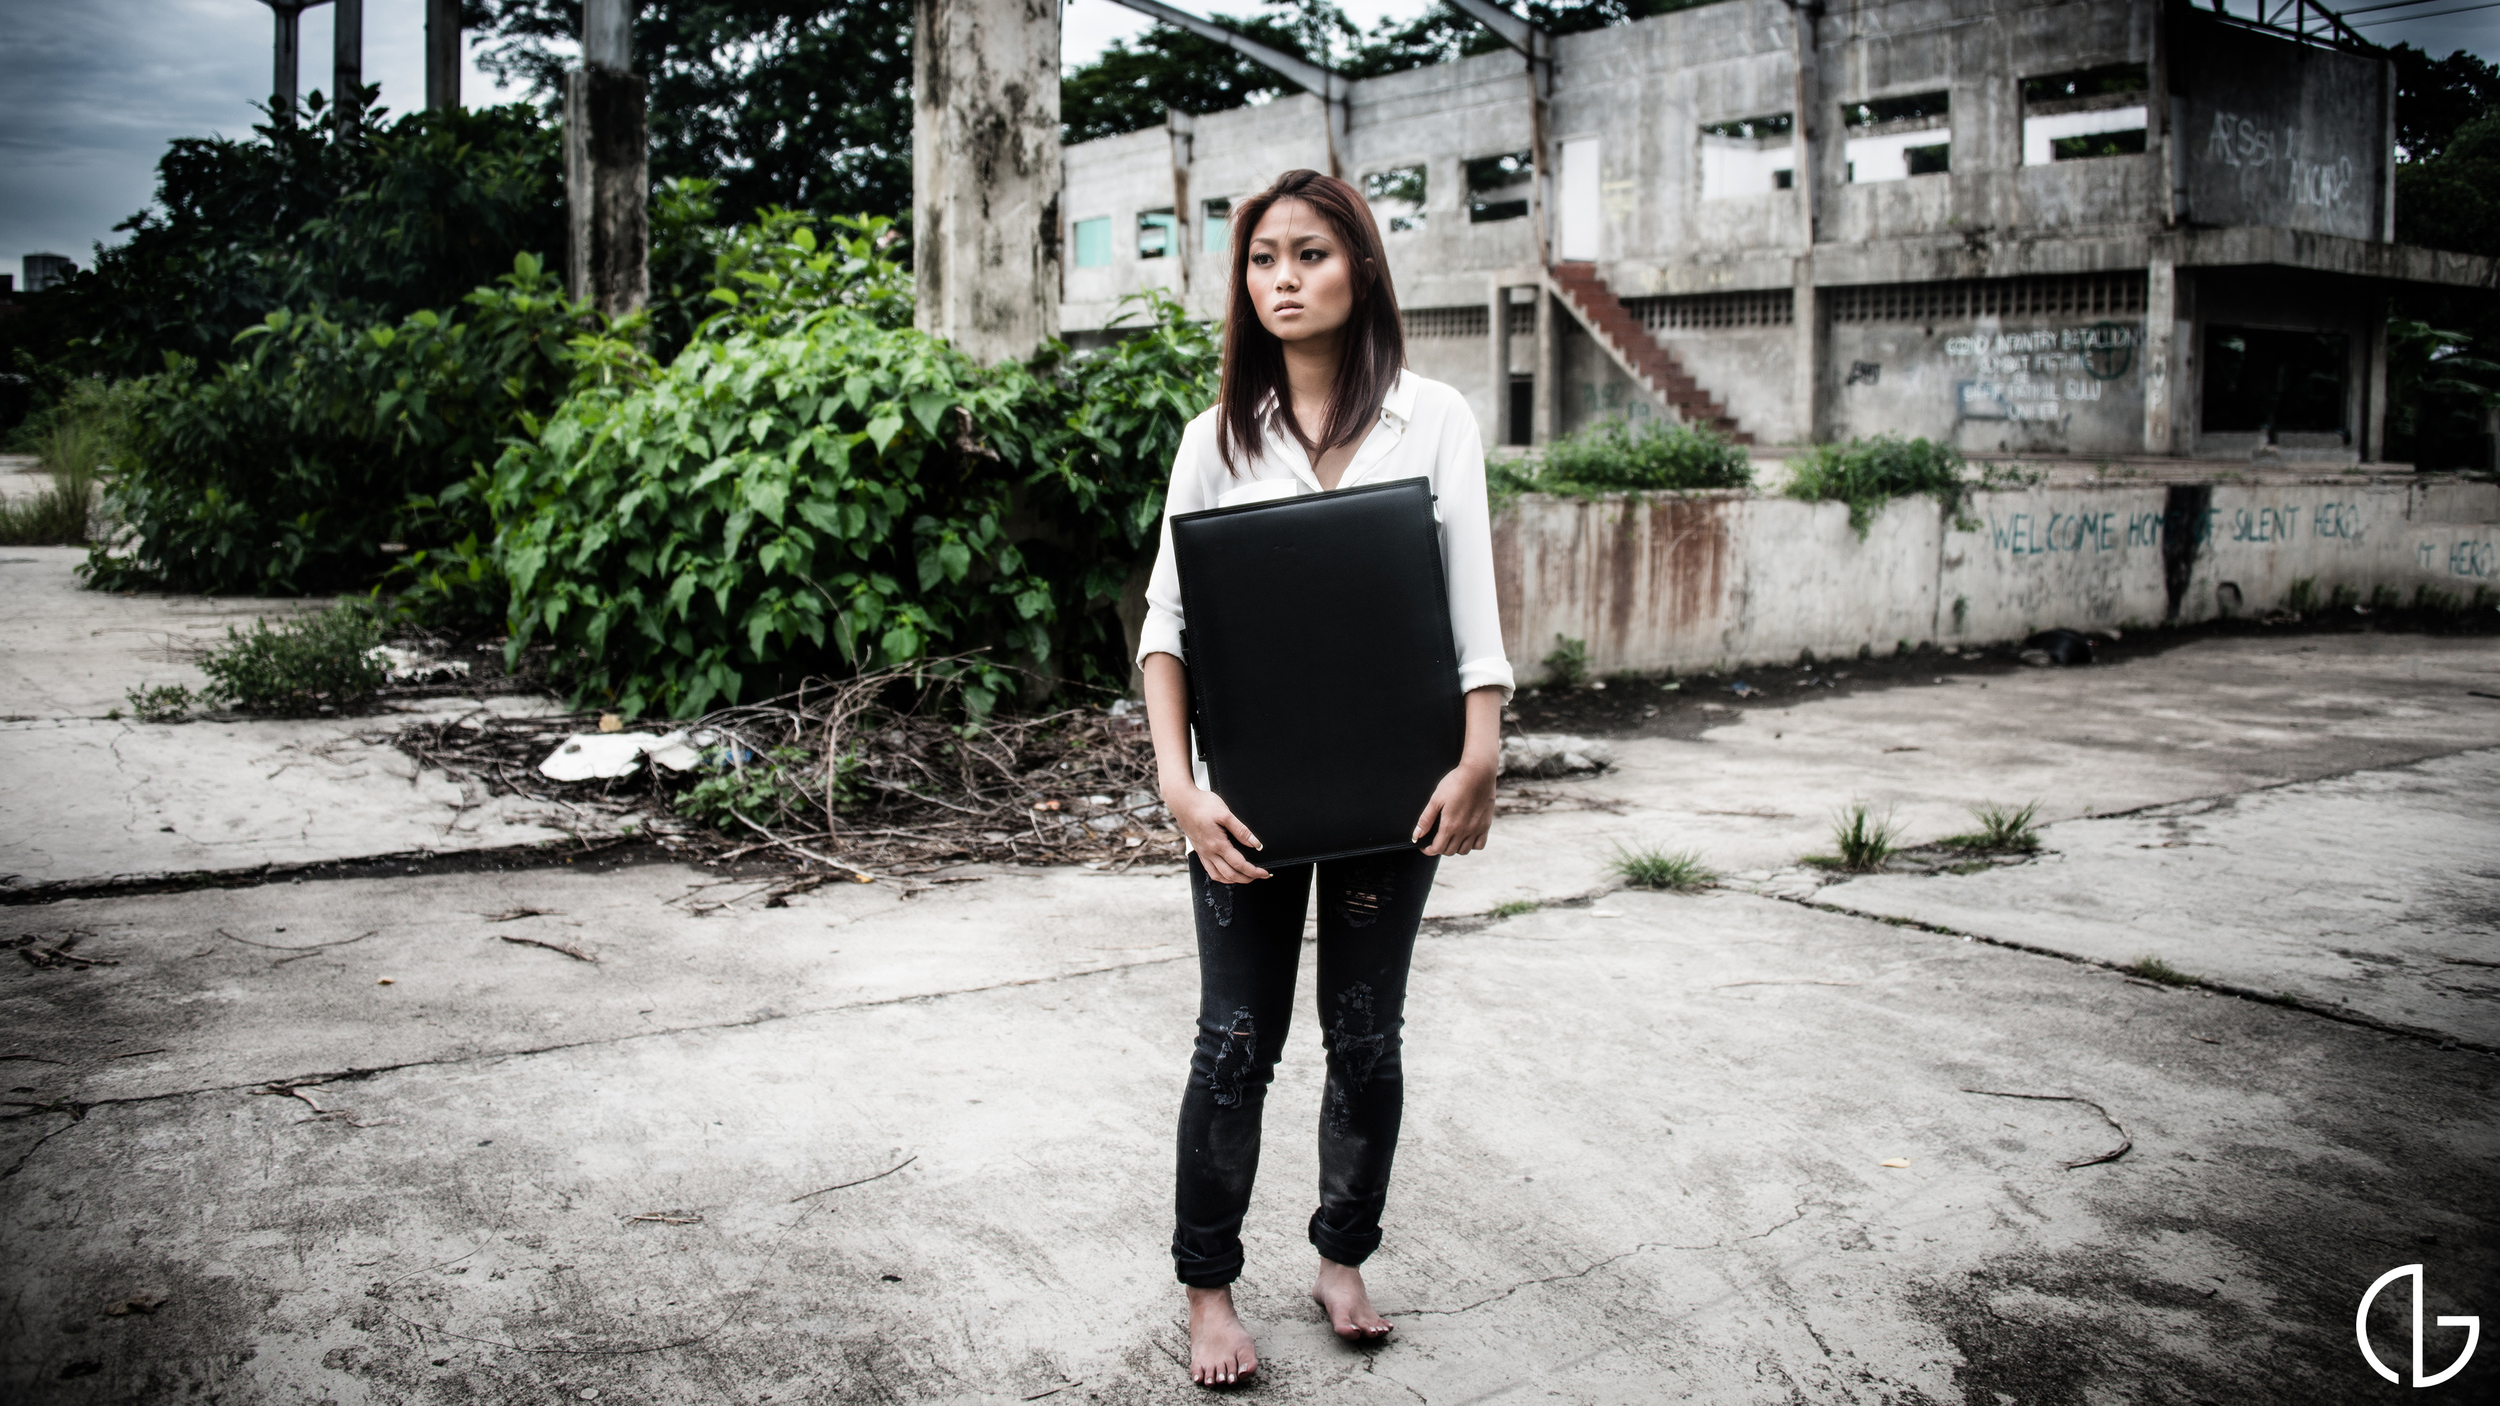
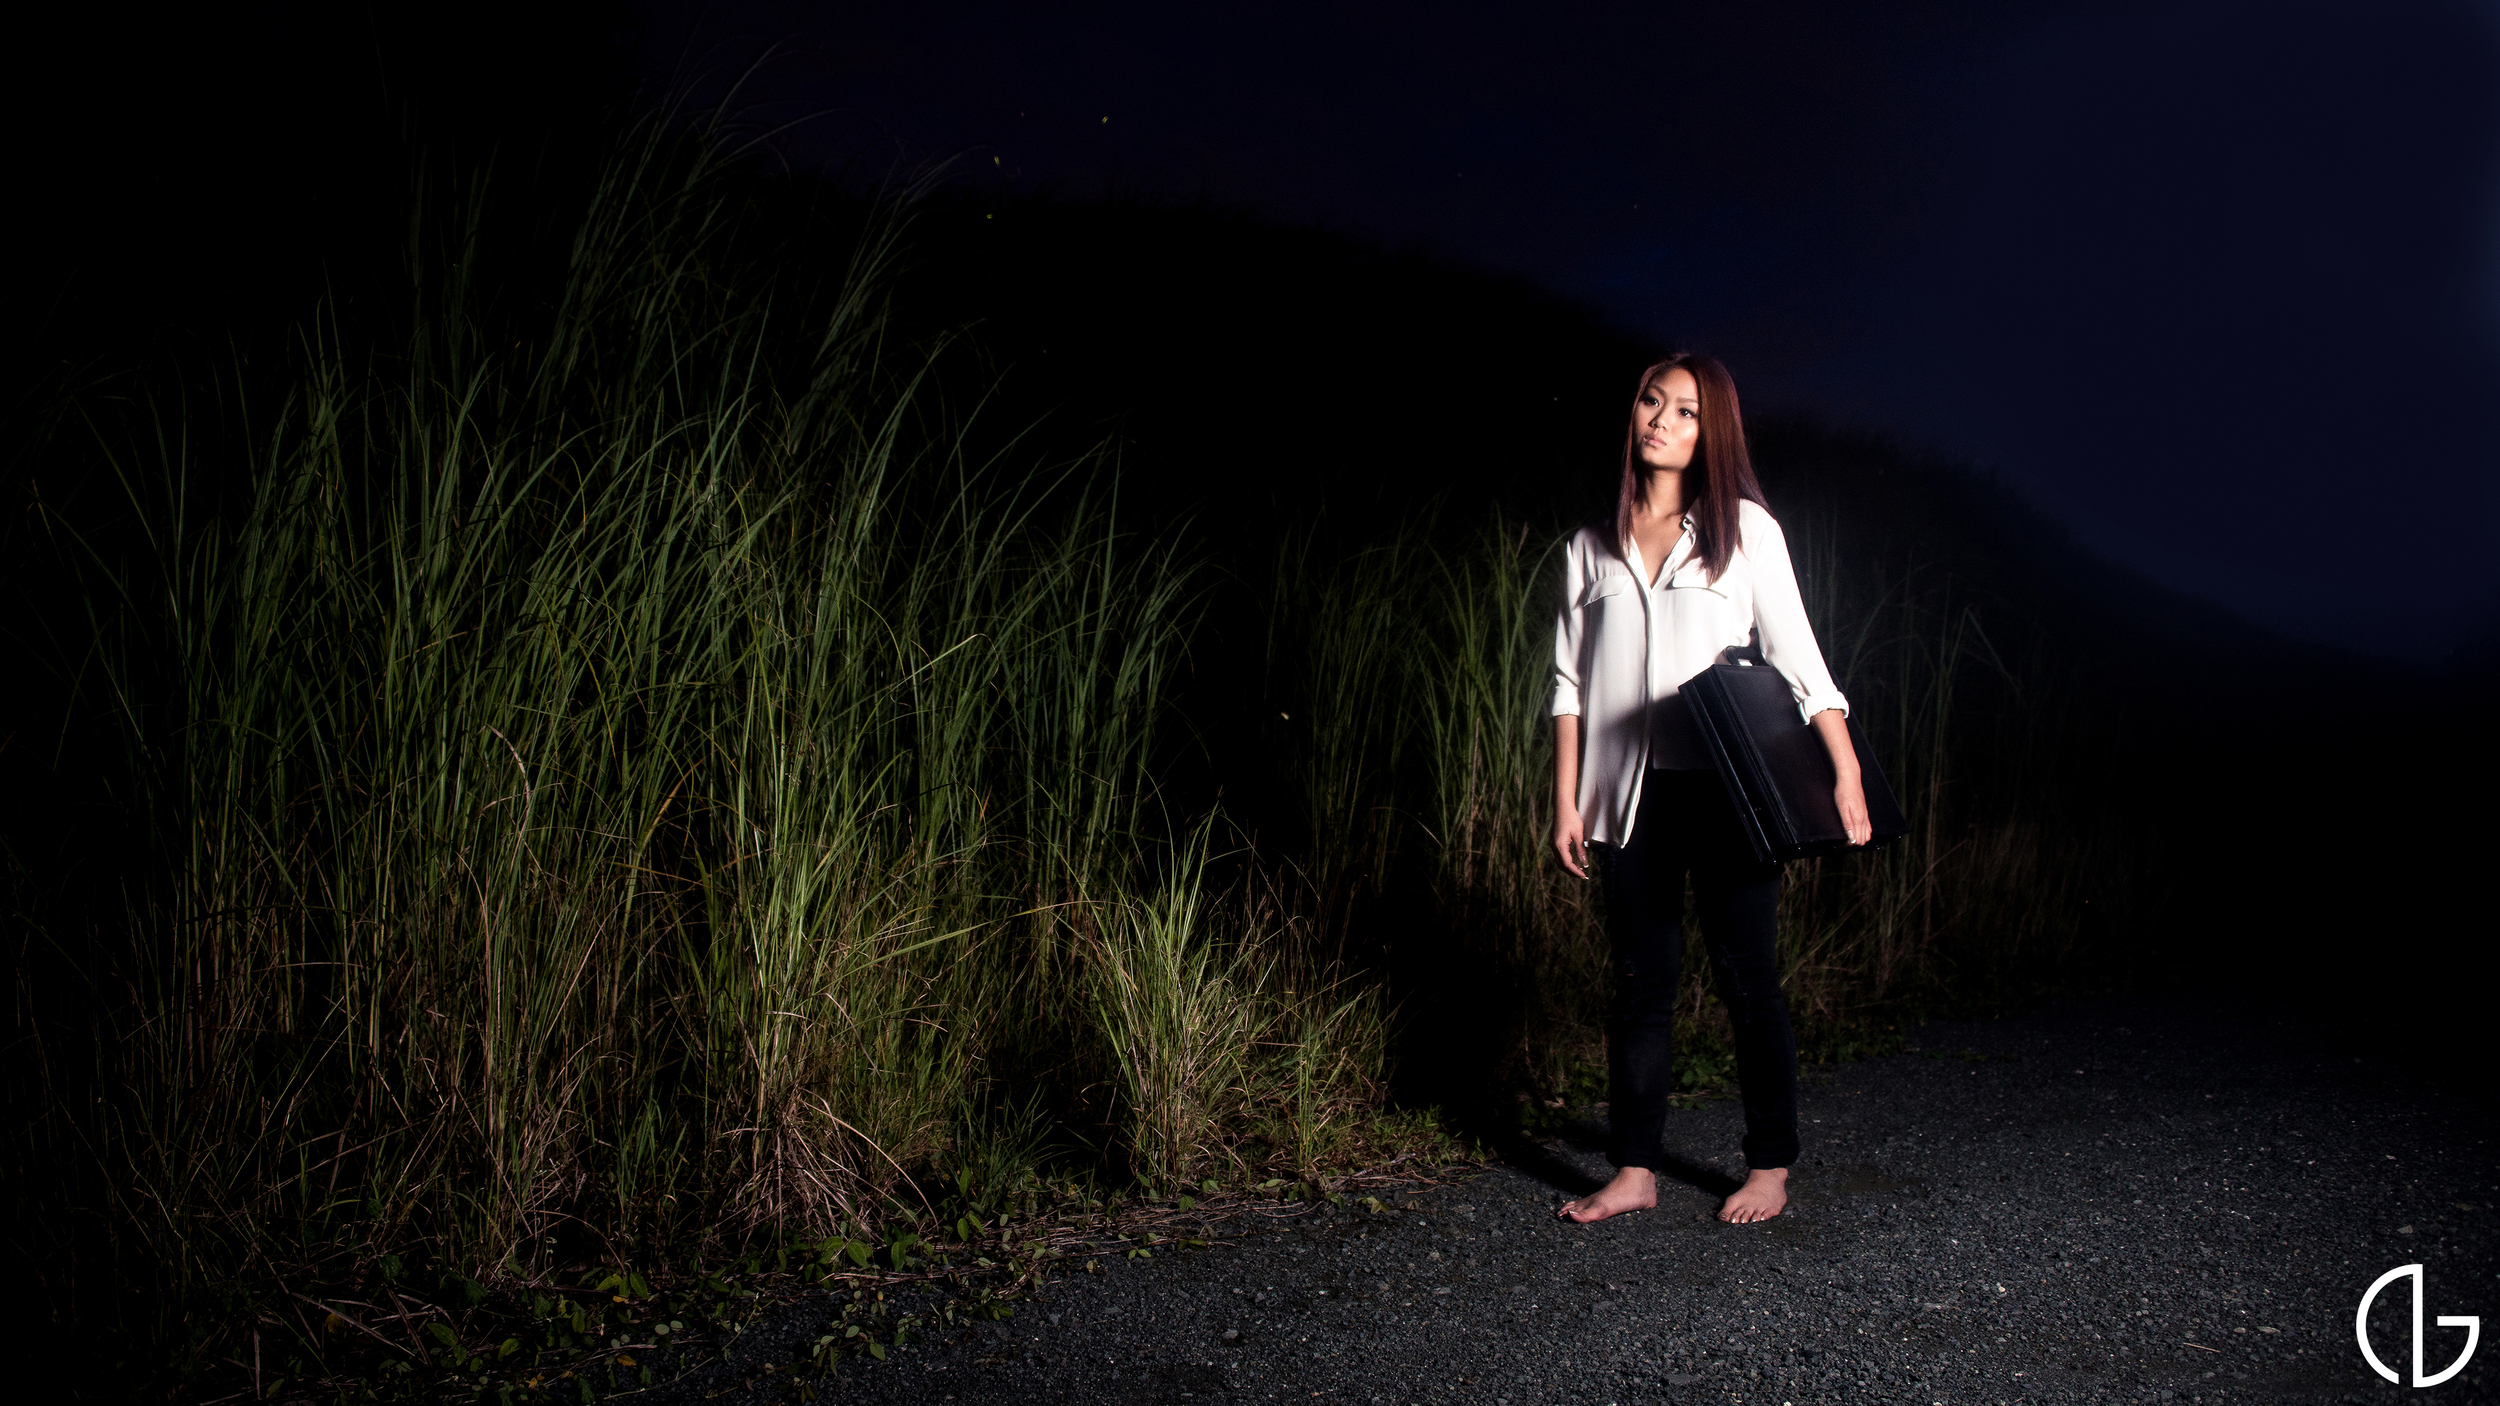
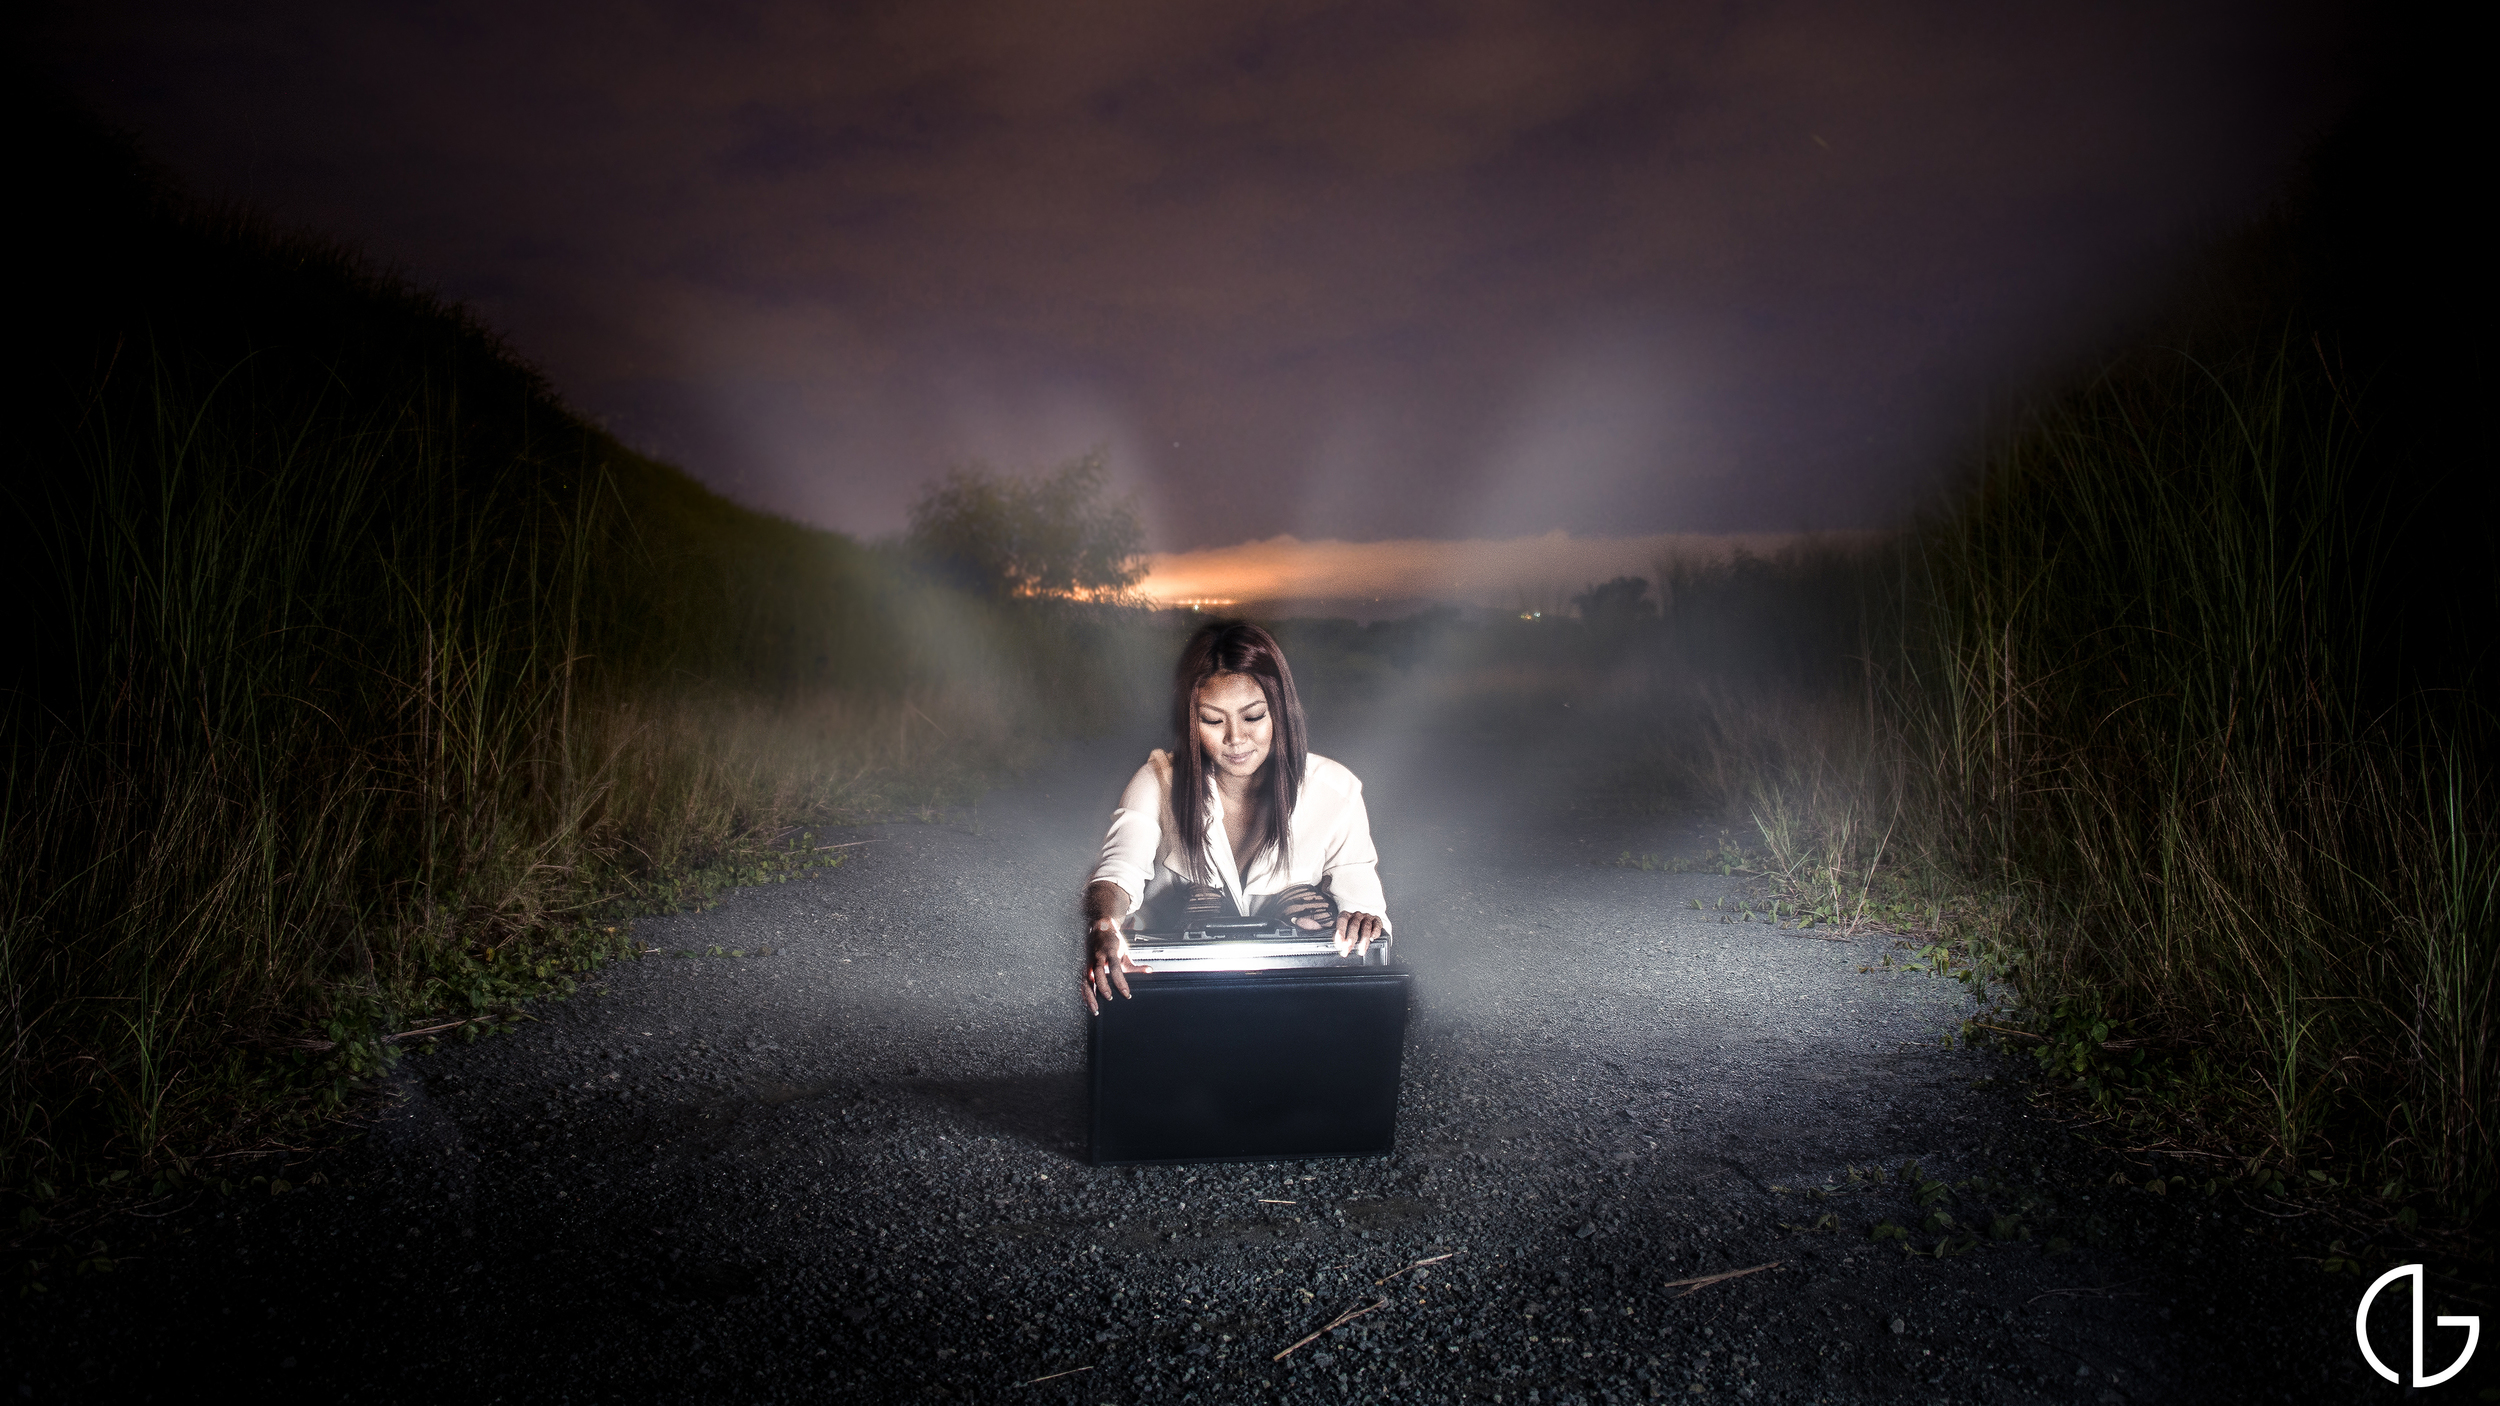
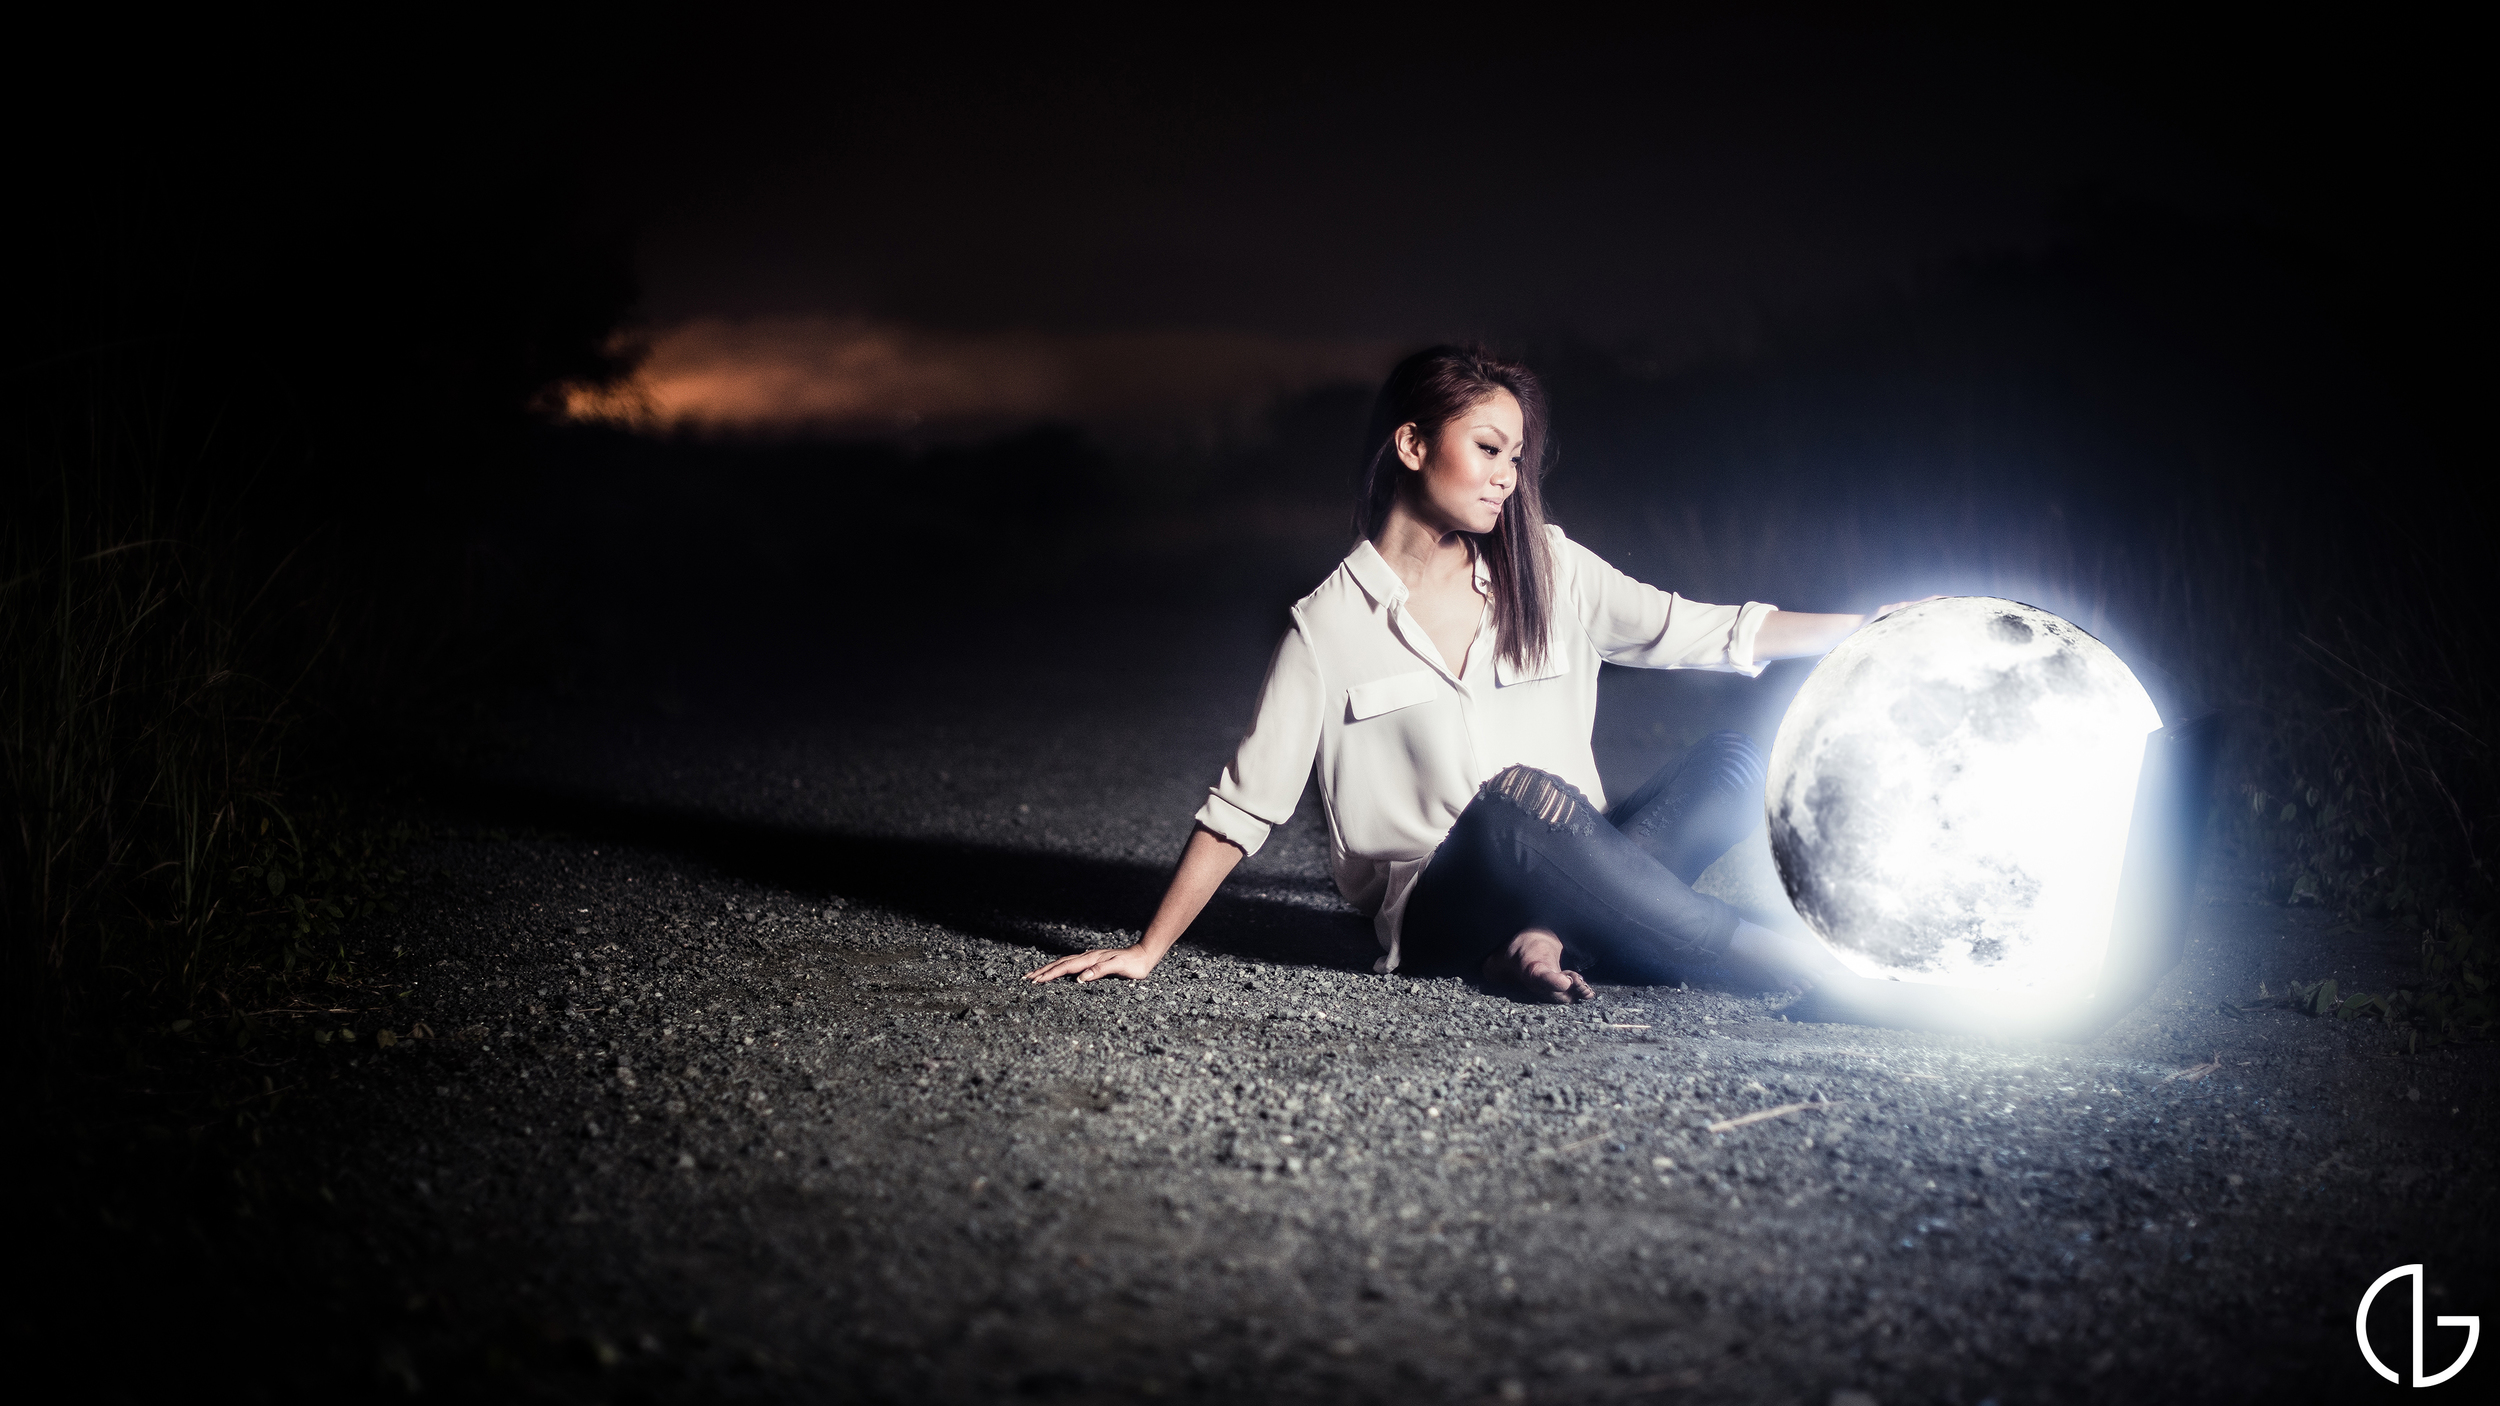
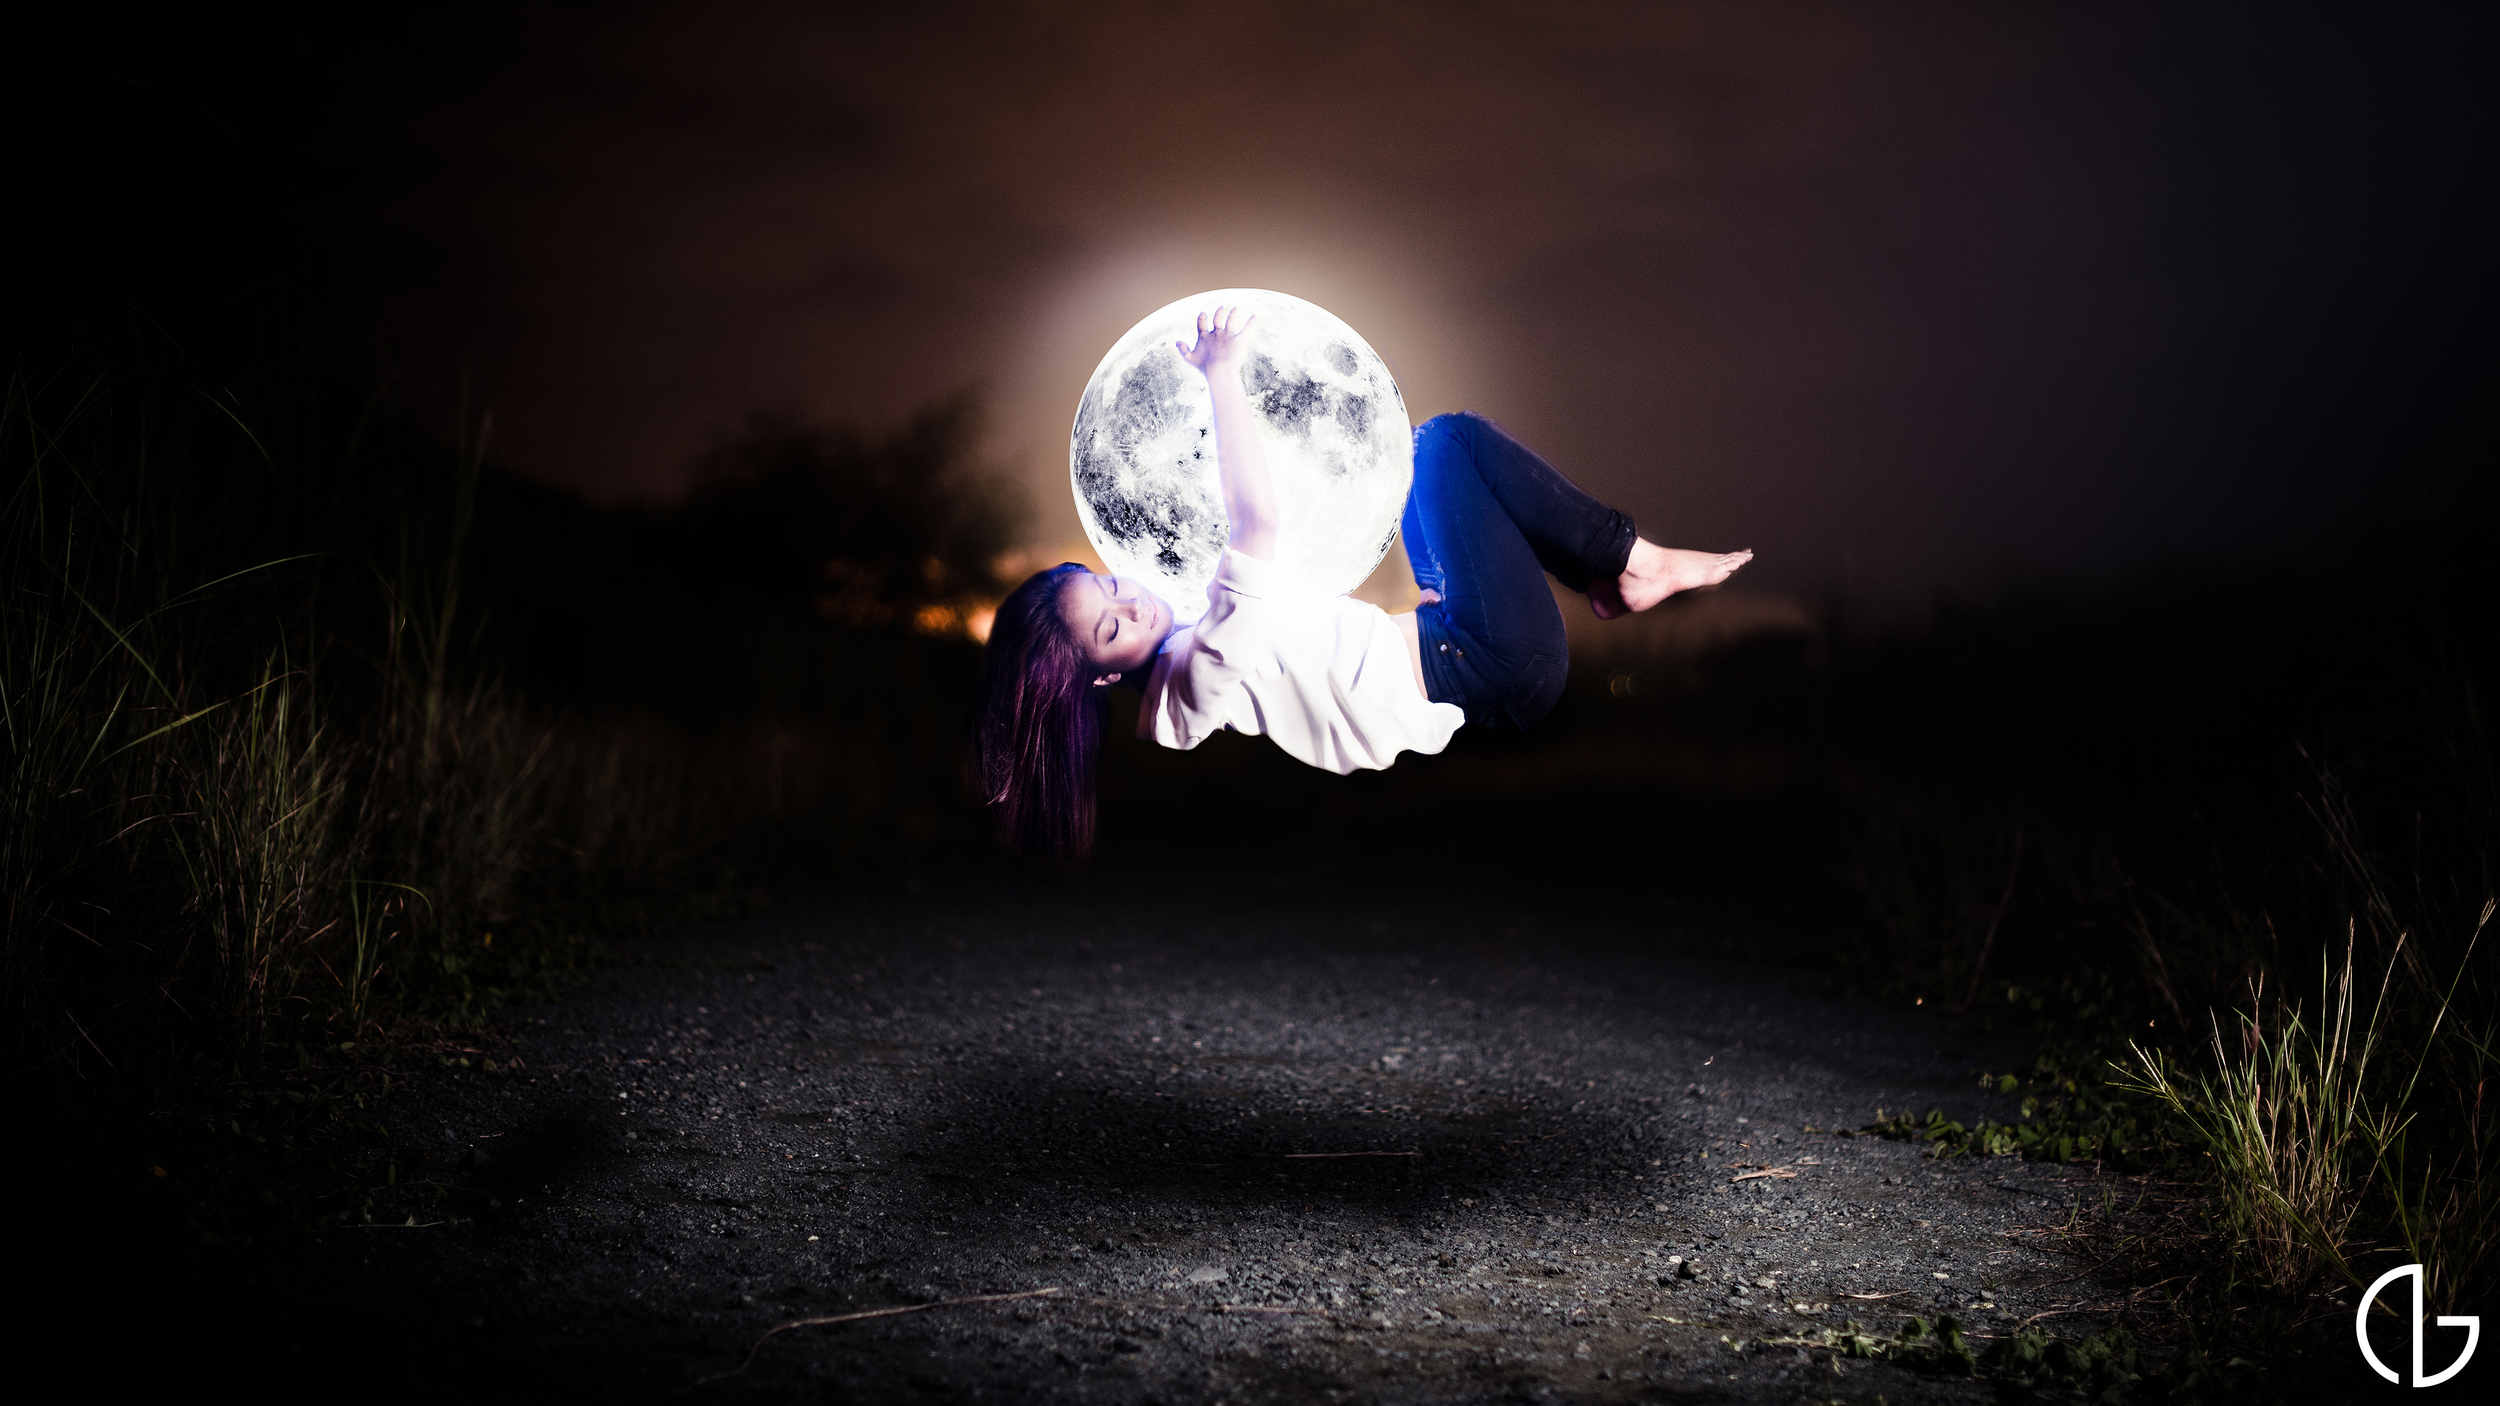
This conceptual photograph series explores the universal concept of death. Especially in this generation where the belief of isolation is increasing, I am even more interested in seeing what connects all of us together. No matter what we lose or what happens to us, we will always have one last belonging.

To fully express this concept, I wanted the character to go through suffering and leave them with one final belonging. Using fire, a bag, and the moon as metaphors, I was able to investigate the idea of death and how to accept it. 

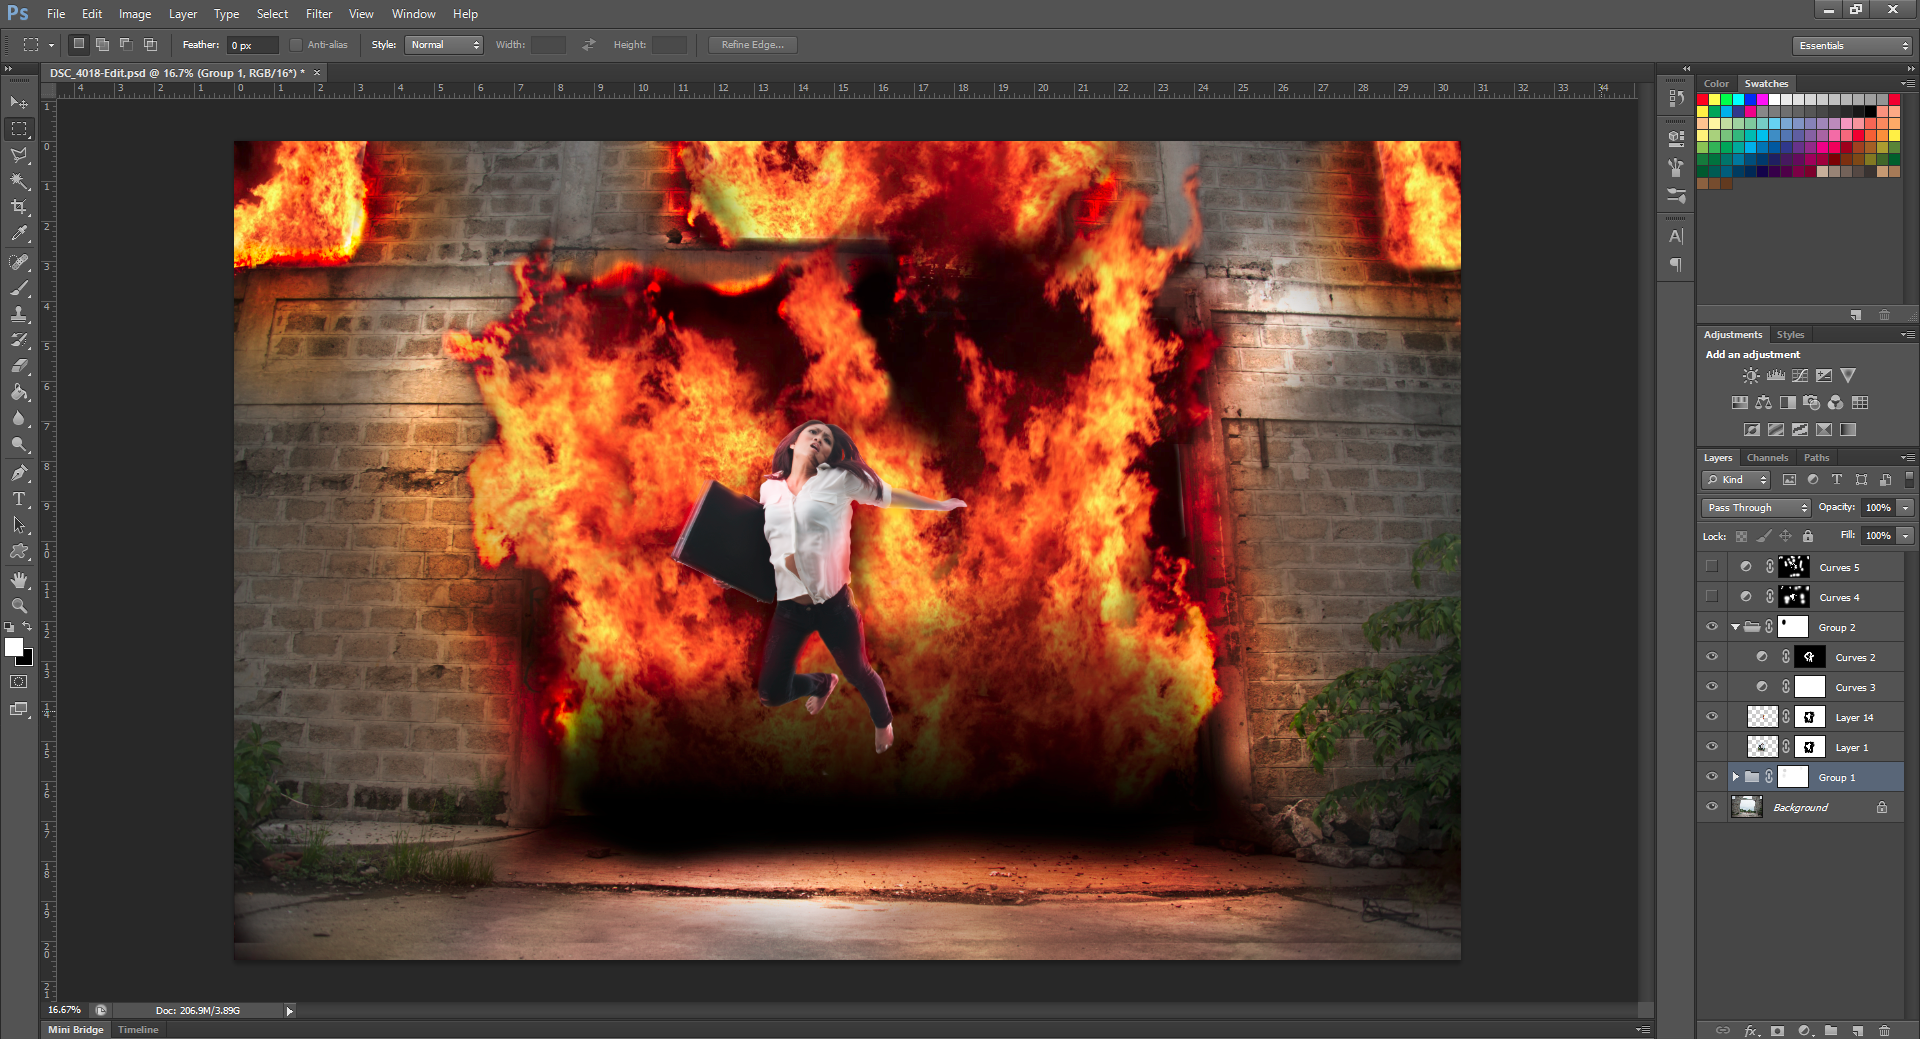
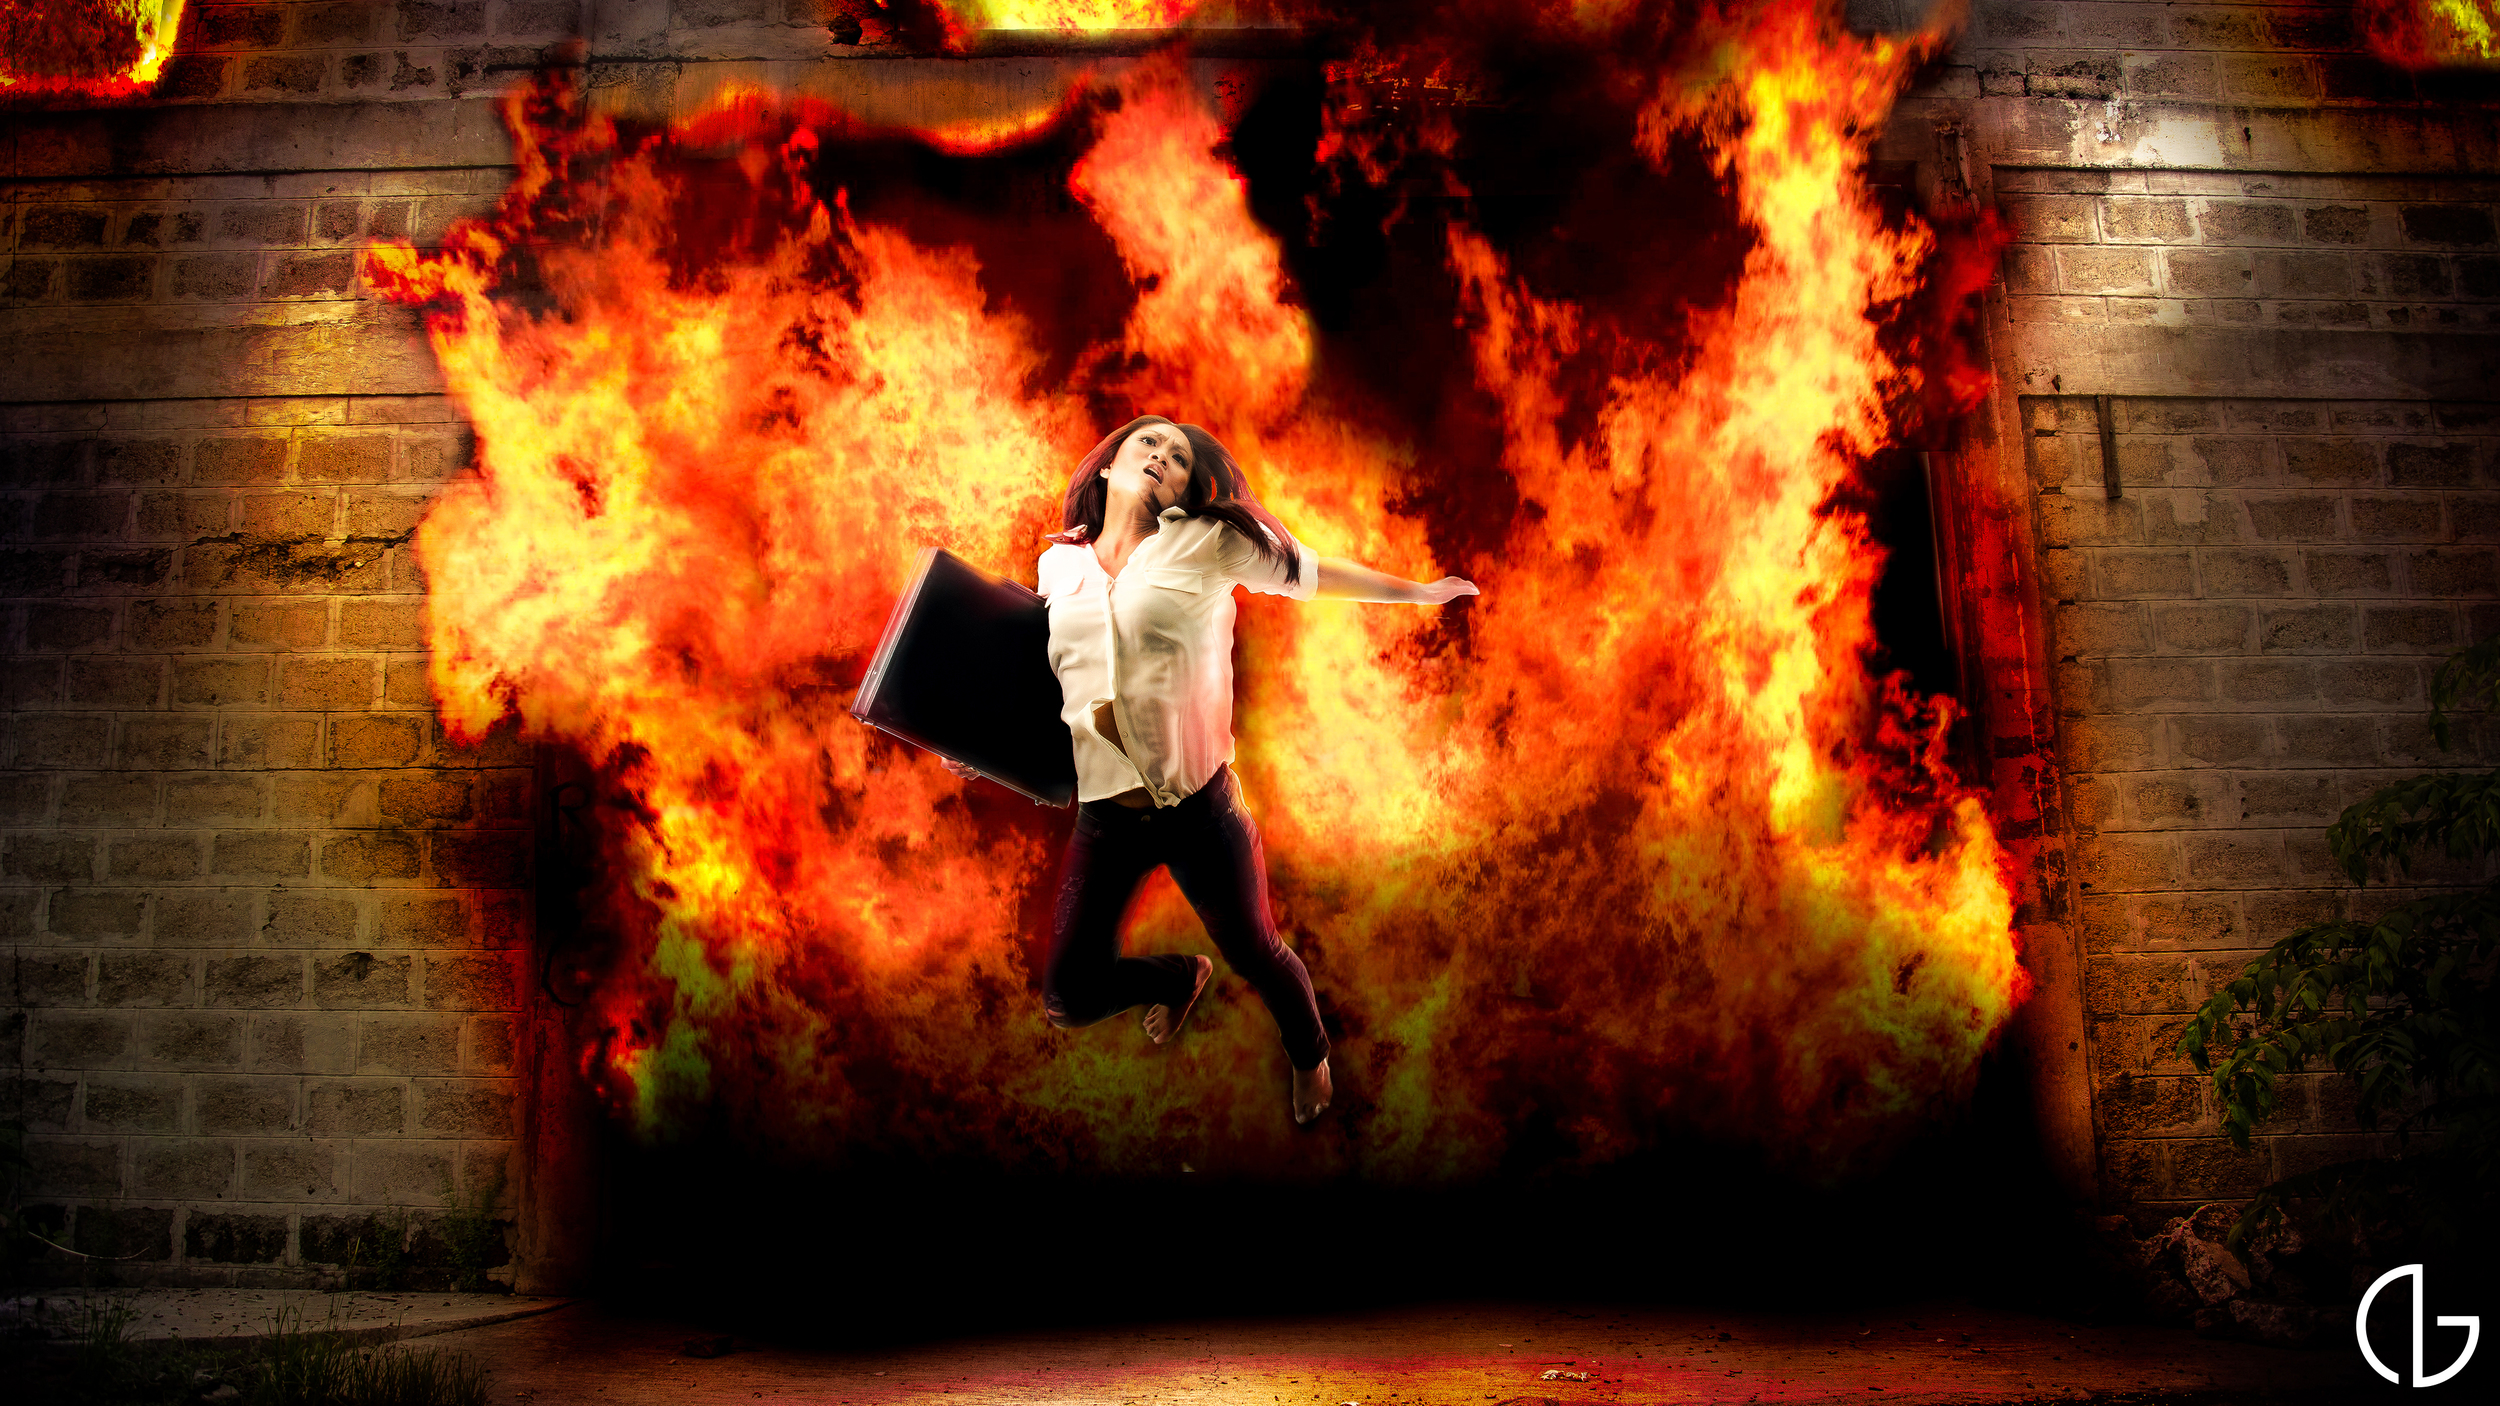
The most challenging image from the series is when the character is enveloped with flames. Flames are always hard to work with because they are hard to make realistic. This is my first attempt and I still have quite a lot of learning but I wish to share what I did in hopes that you can learn something out of it as well.

Final image

Final image

Here is a behind the scenes photograph of my lighting setup for this shot. I had a strobe placed right behind her to get the rim effect I wanted to make the fire more realistic. 

BTS photographed by Julian van Heeswijck

BTS photographed by Julian van Heeswijck

RAW image

RAW image

RAW image

RAW image

Taking a photograph of both the background with and without the model enables me to have more control when composting and editing the photograph. I can easily isolate the background first and edit the environment, then place the model afterwards for realism. The first step for this composite was to place several stock images of fire.

When adding elements such as lights and fire, make sure that it affects the existing image as naturally as possible. For this instance, the fire adds areas of highlight and shadows. I used two layers using curves with one brighter and the other darker, then used the masking tool and the brush to create bright and dark areas.

Just like before, you want to make sure that the fire adds areas of realistic highlights and shadows. Fire creates a warm glow and I did this by using different colored brushes (different reds and oranges from the fire) with 0 hardness and a low opacity. Using low opacity, build up the layer slowly to give it more depth. 

The next step was to place the model. As you can see with the image below, the color tone of the model doesn't suit the background. Several adjustments have to be made to make it more realistic.

Just like previously, I added highlights with the color of the fire at the outline of the character to create a rim lighting effect. This decreases the created space between the model and the fire and adds realism.

The next step is simply dodging and burning the model to get more accurate lighting. For this, I create two separate layers of curves, one brighter and the other darker. I then simply use the brush in the mask to make areas brighter or darker without damaging the photograph. This gives me the flexibility to go back and do minor changes if I wish to do so.

The last step for this image was taking it into Lightroom. As I have previously mentioned in my older posts, I always refer to Lightroom for the final stages of making a photograph. When I have finished placing all of the elements and creating the composite, Lightroom enables me to add filters and effects that affect the whole image which adds unity and therefore adds realism.

Final adjustments on Lightroom

Final adjustments on Lightroom

Here is the whole story of Final Belonging:
I edited these photos mainly using Adobe Photoshop and Lightroom 4. I also used Portrait Professional Studio for retouching. If you have more questions on how I produced these images, feel free to comment here or post on my wall on facebook.


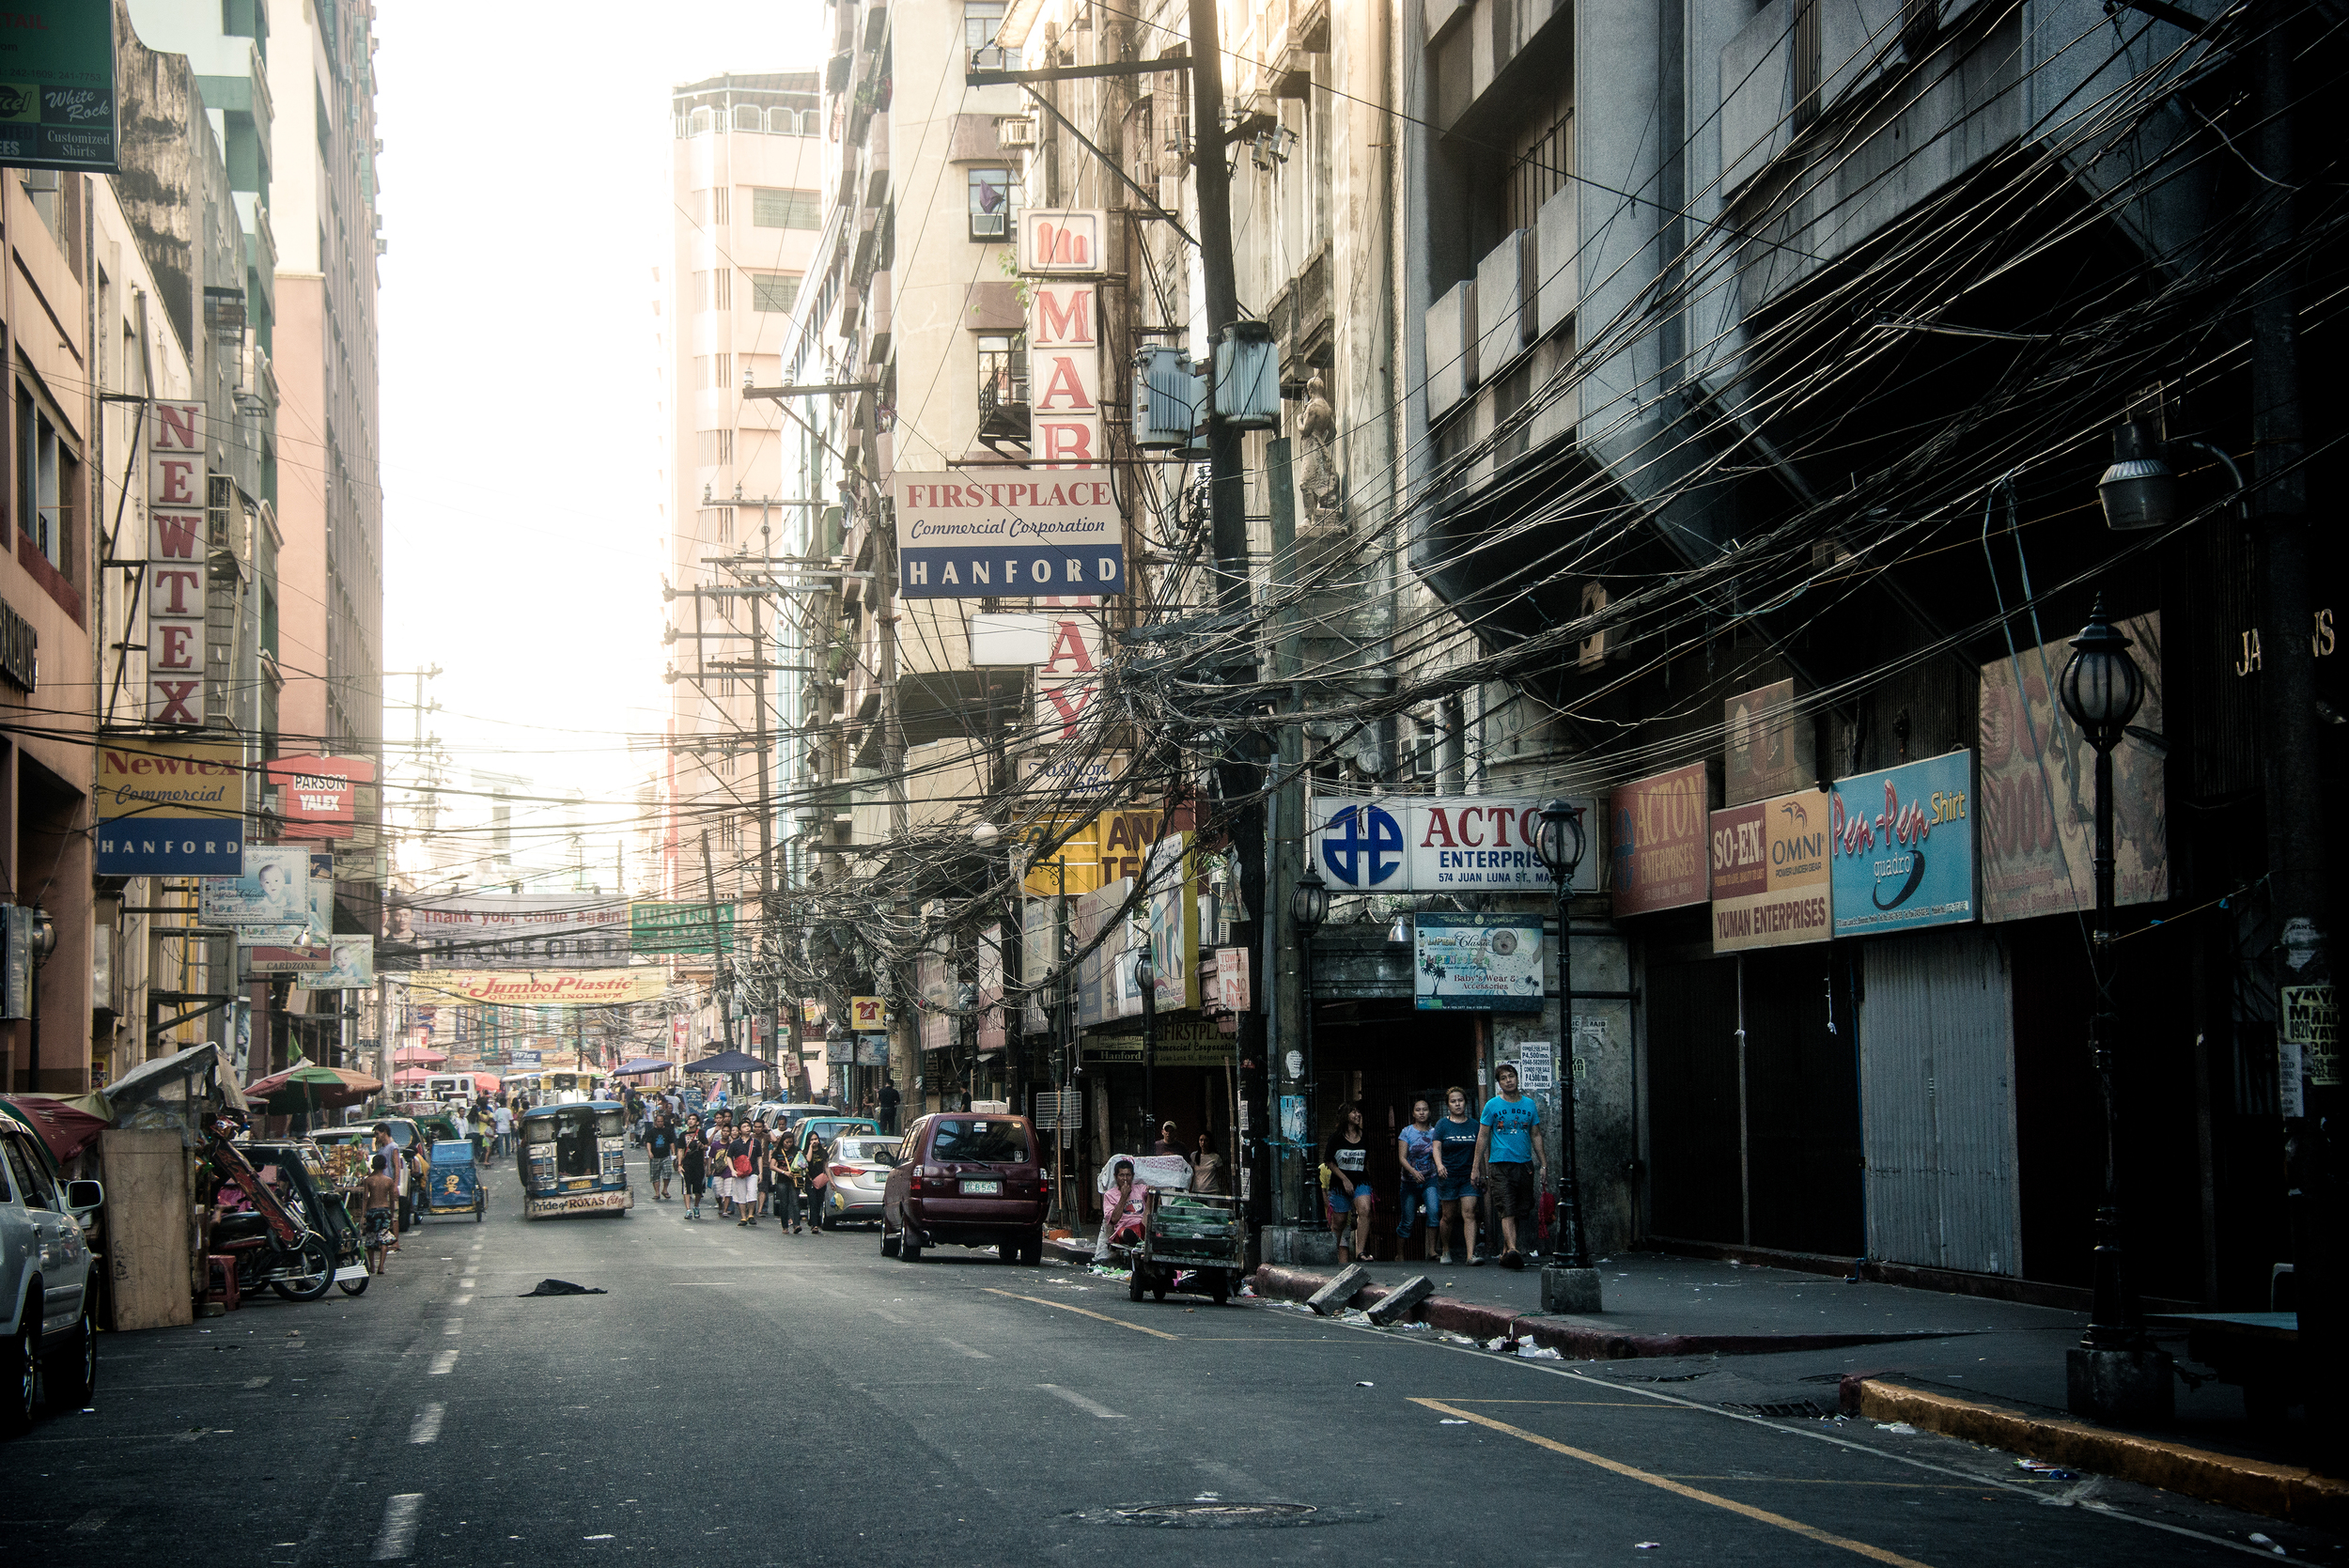
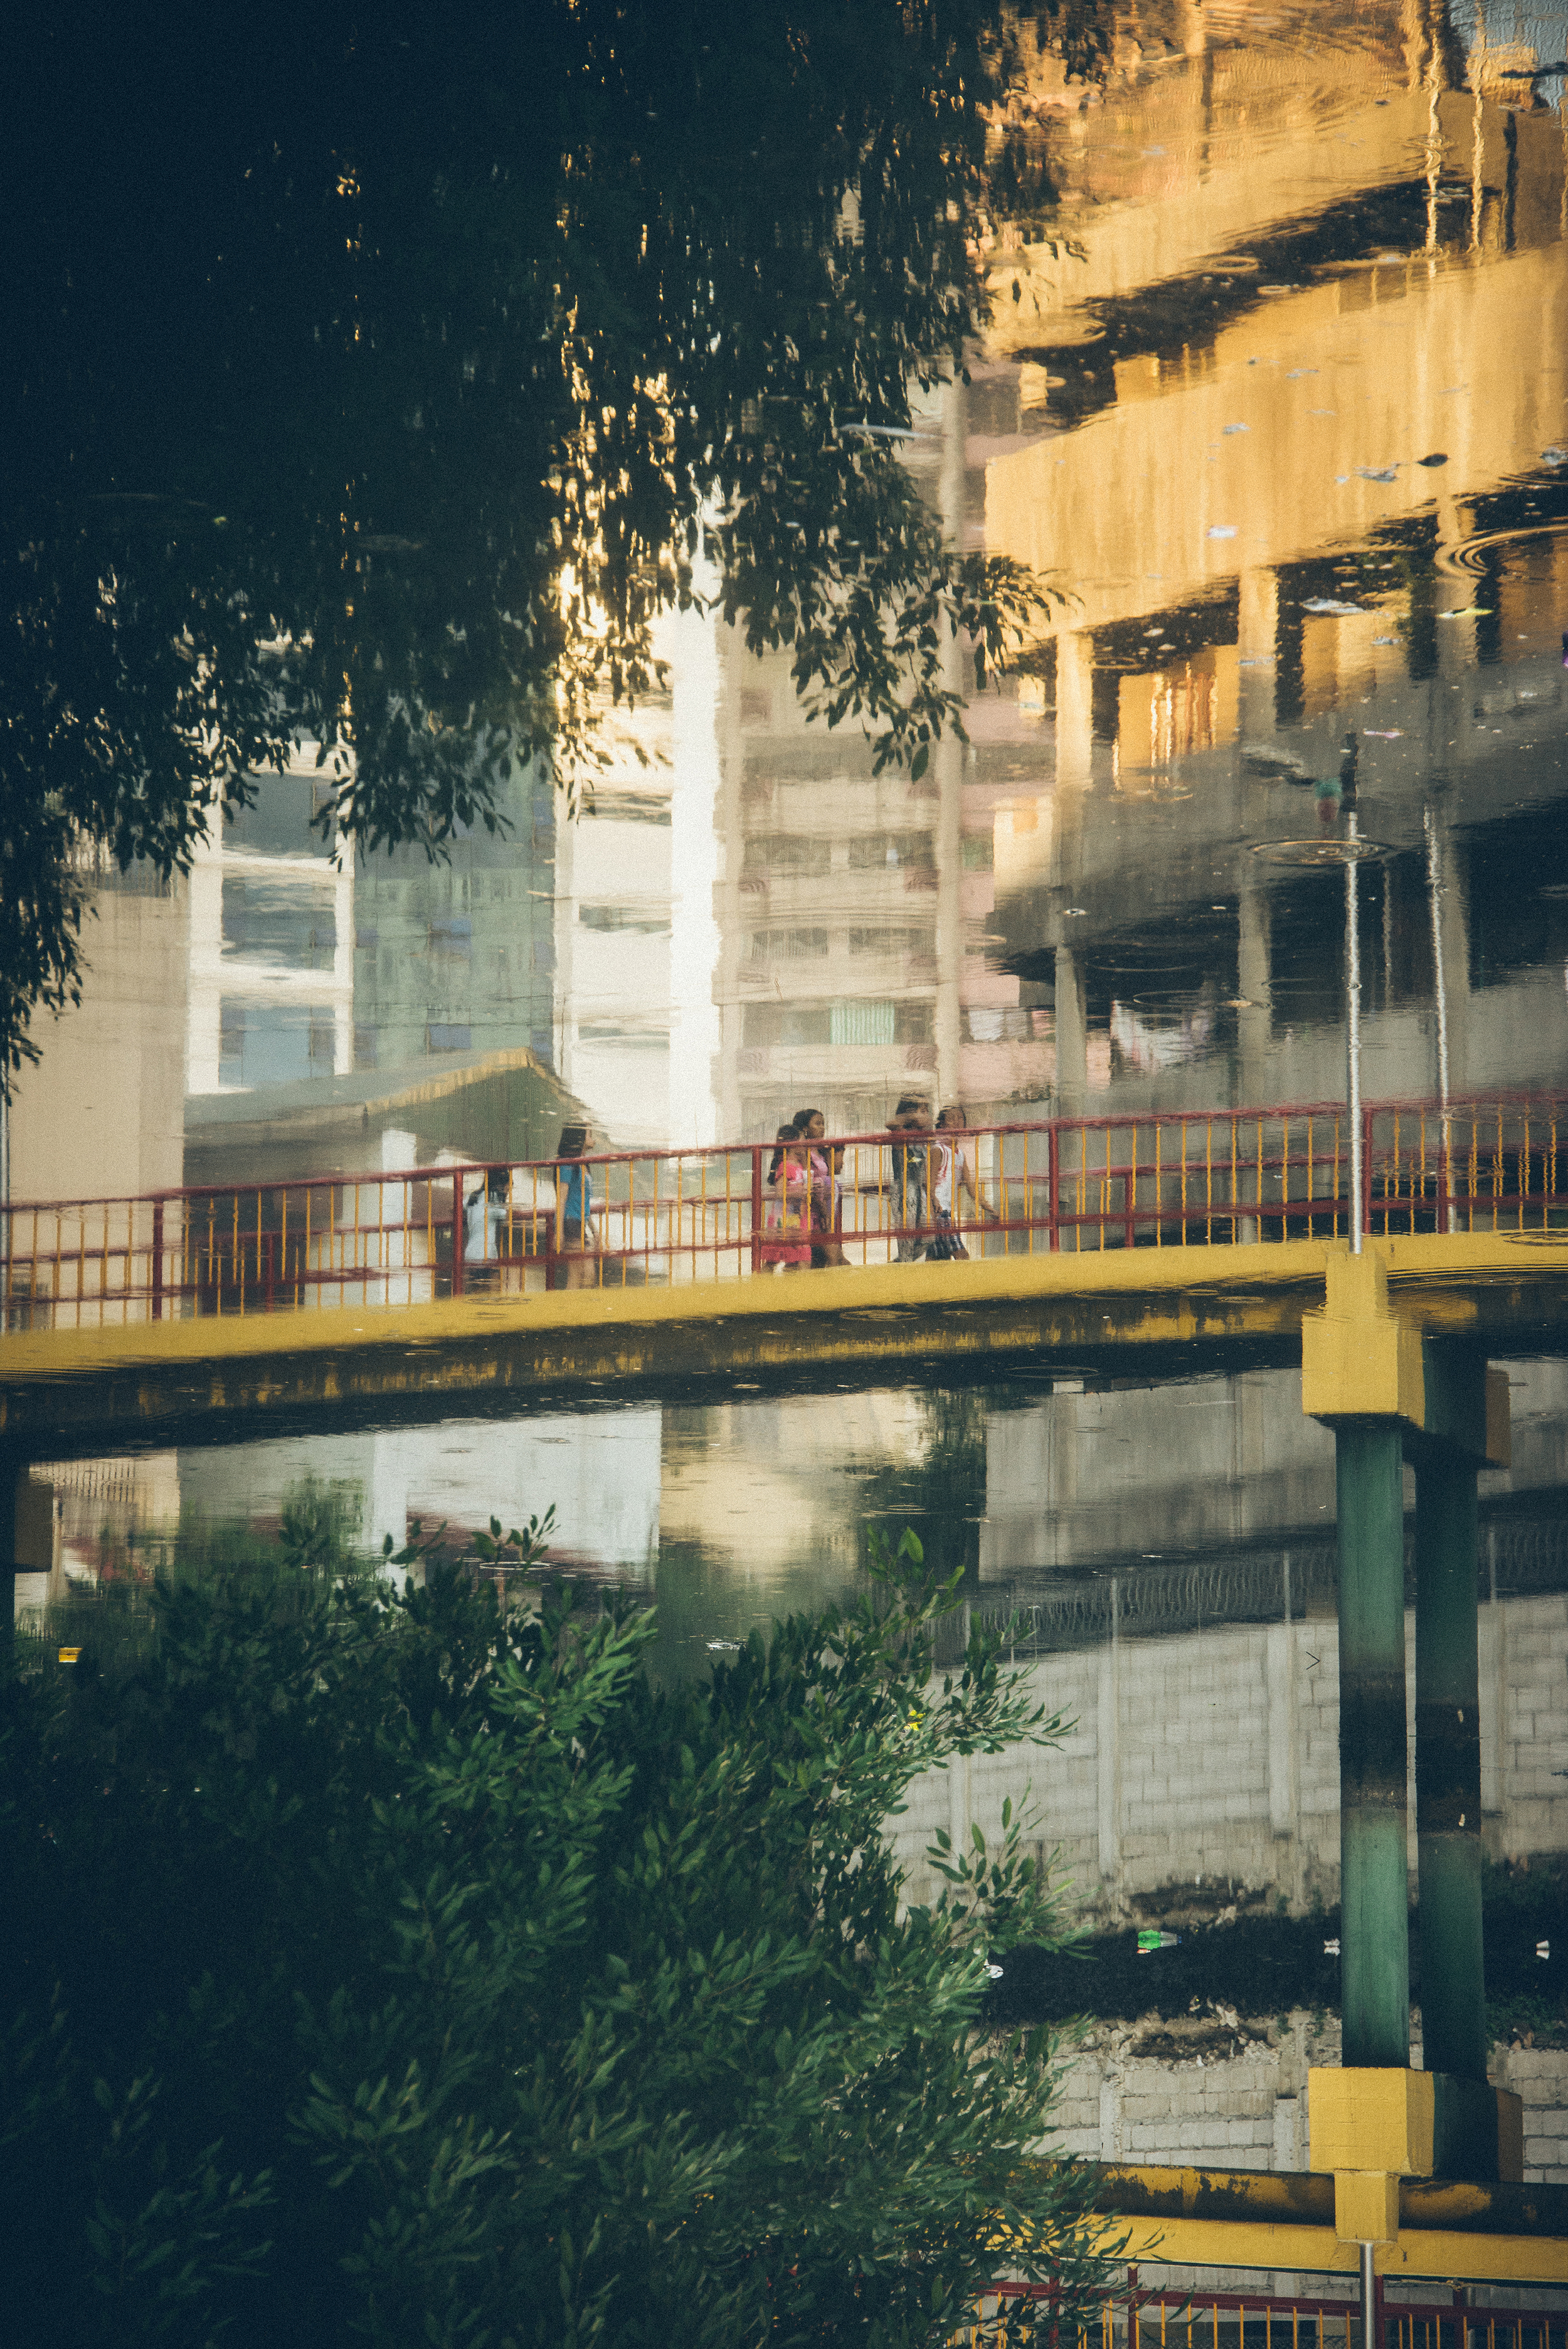
Photowalk in Binondo 3/28/13

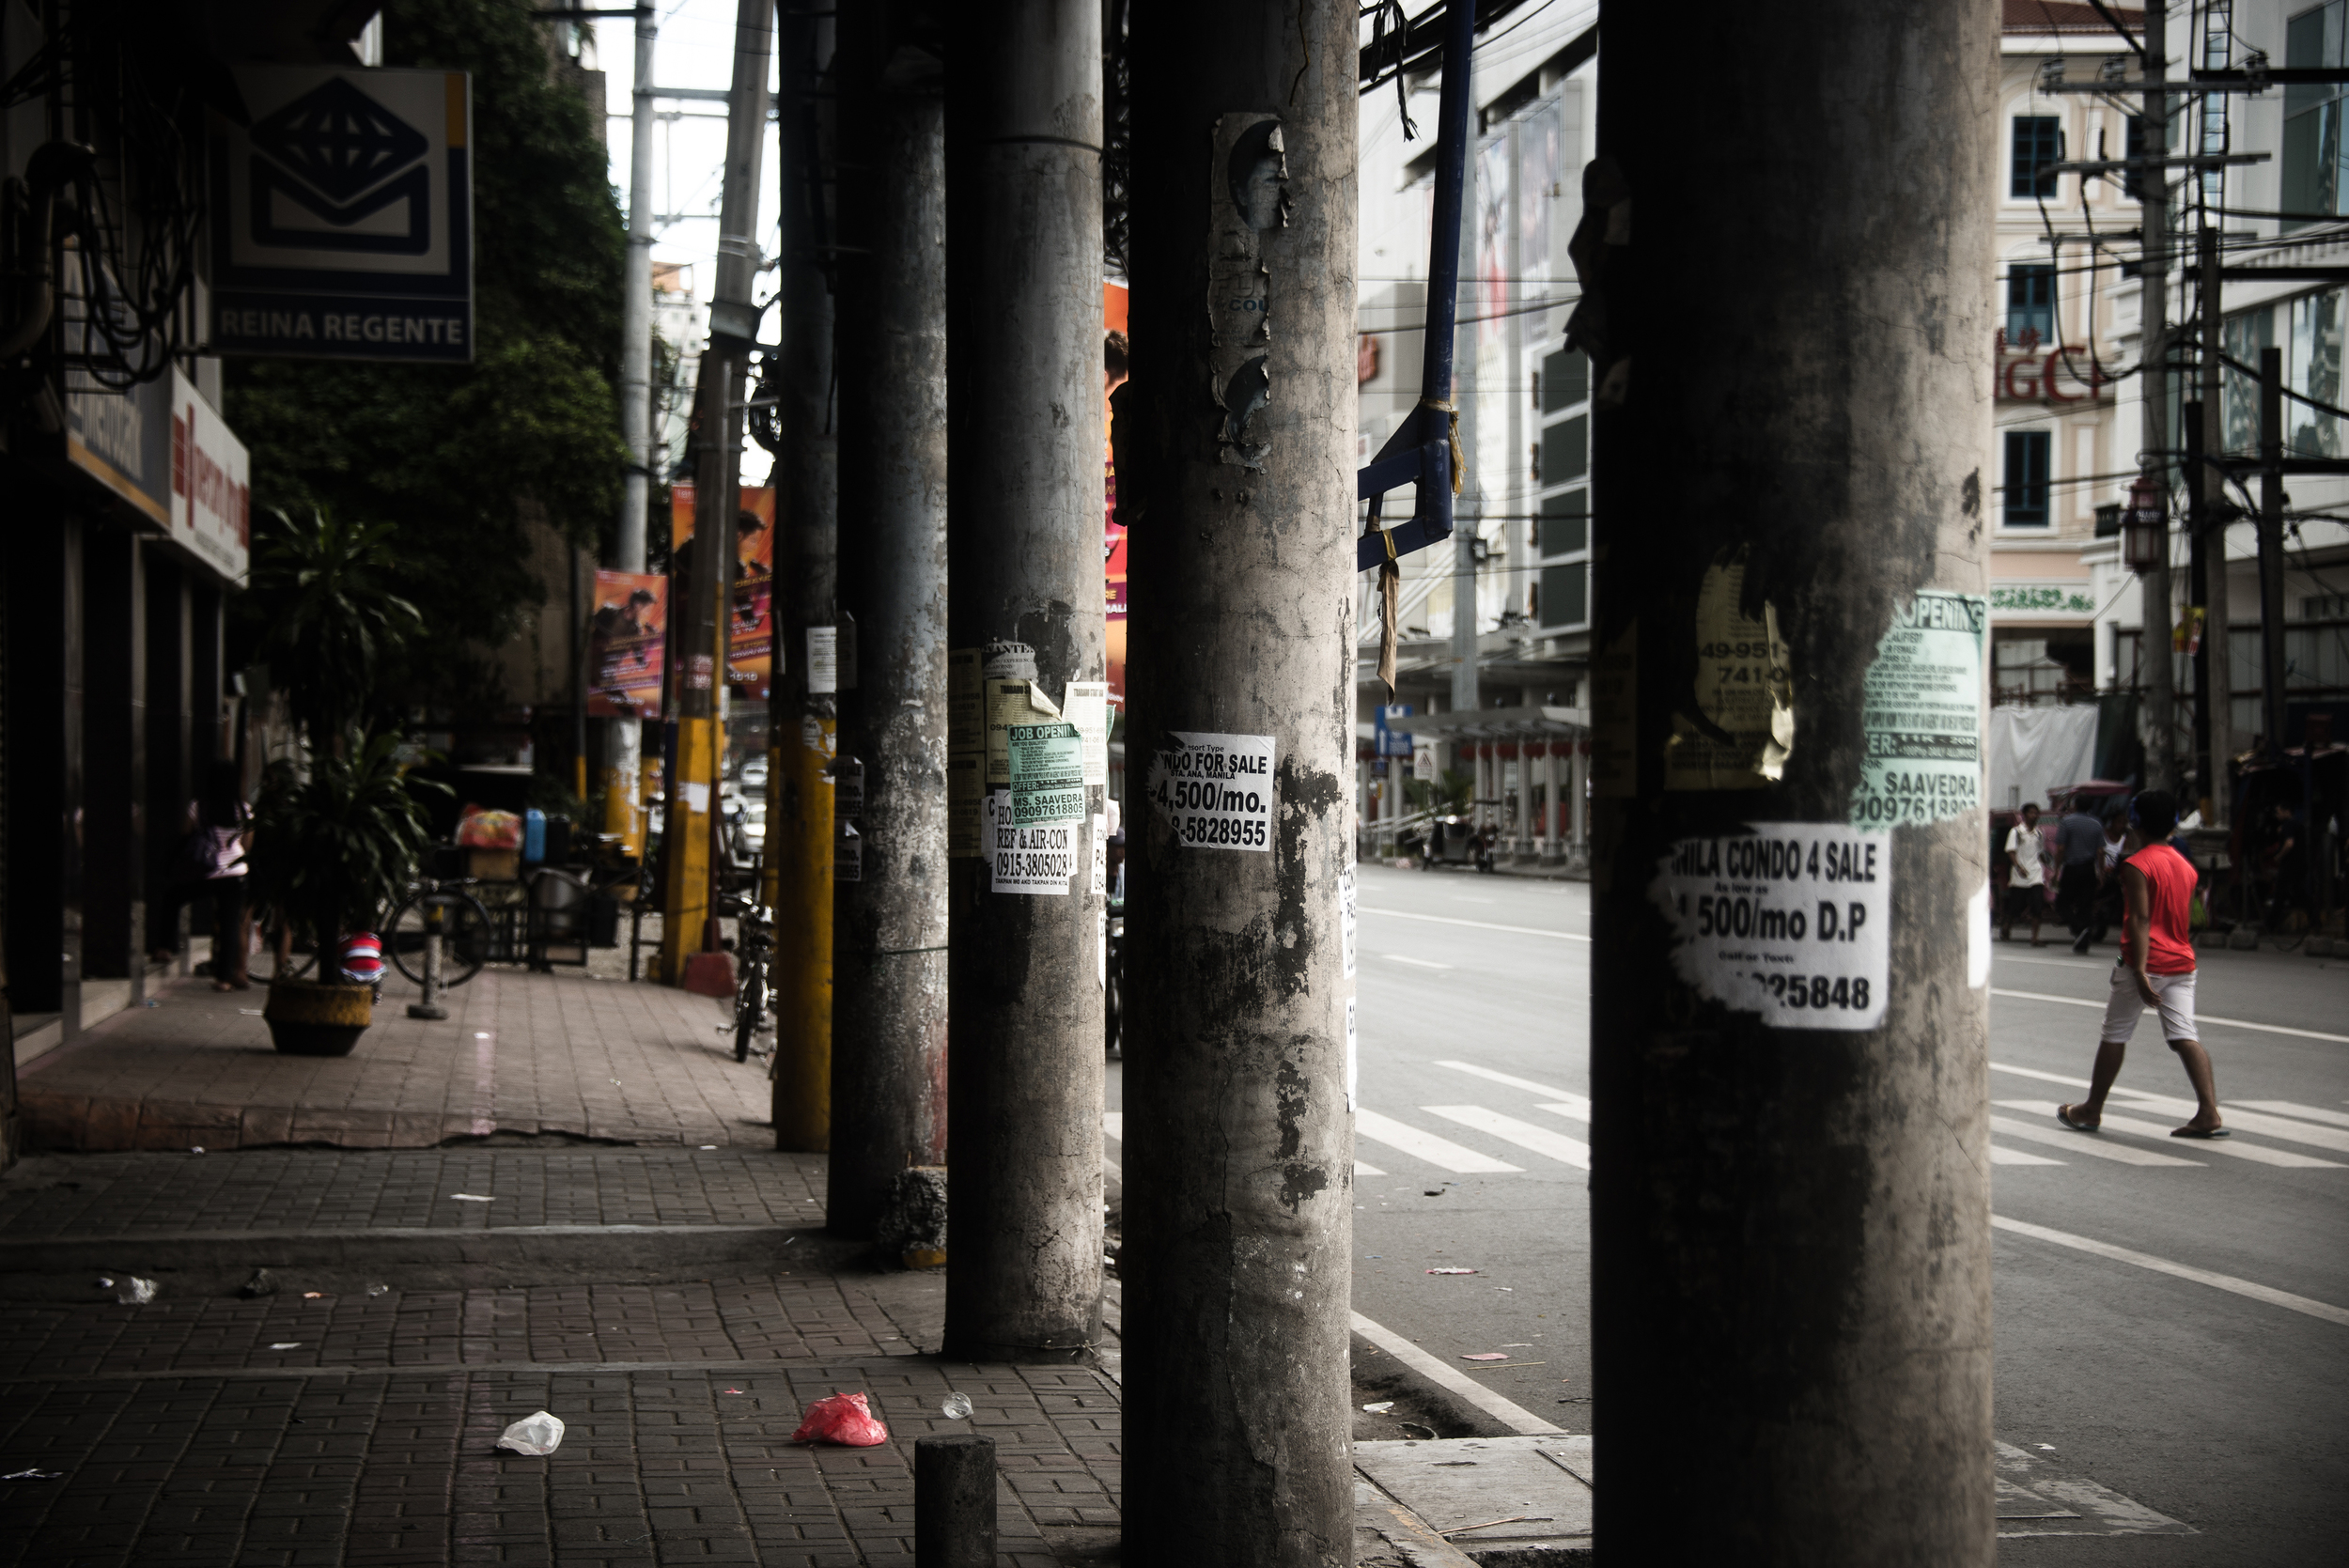
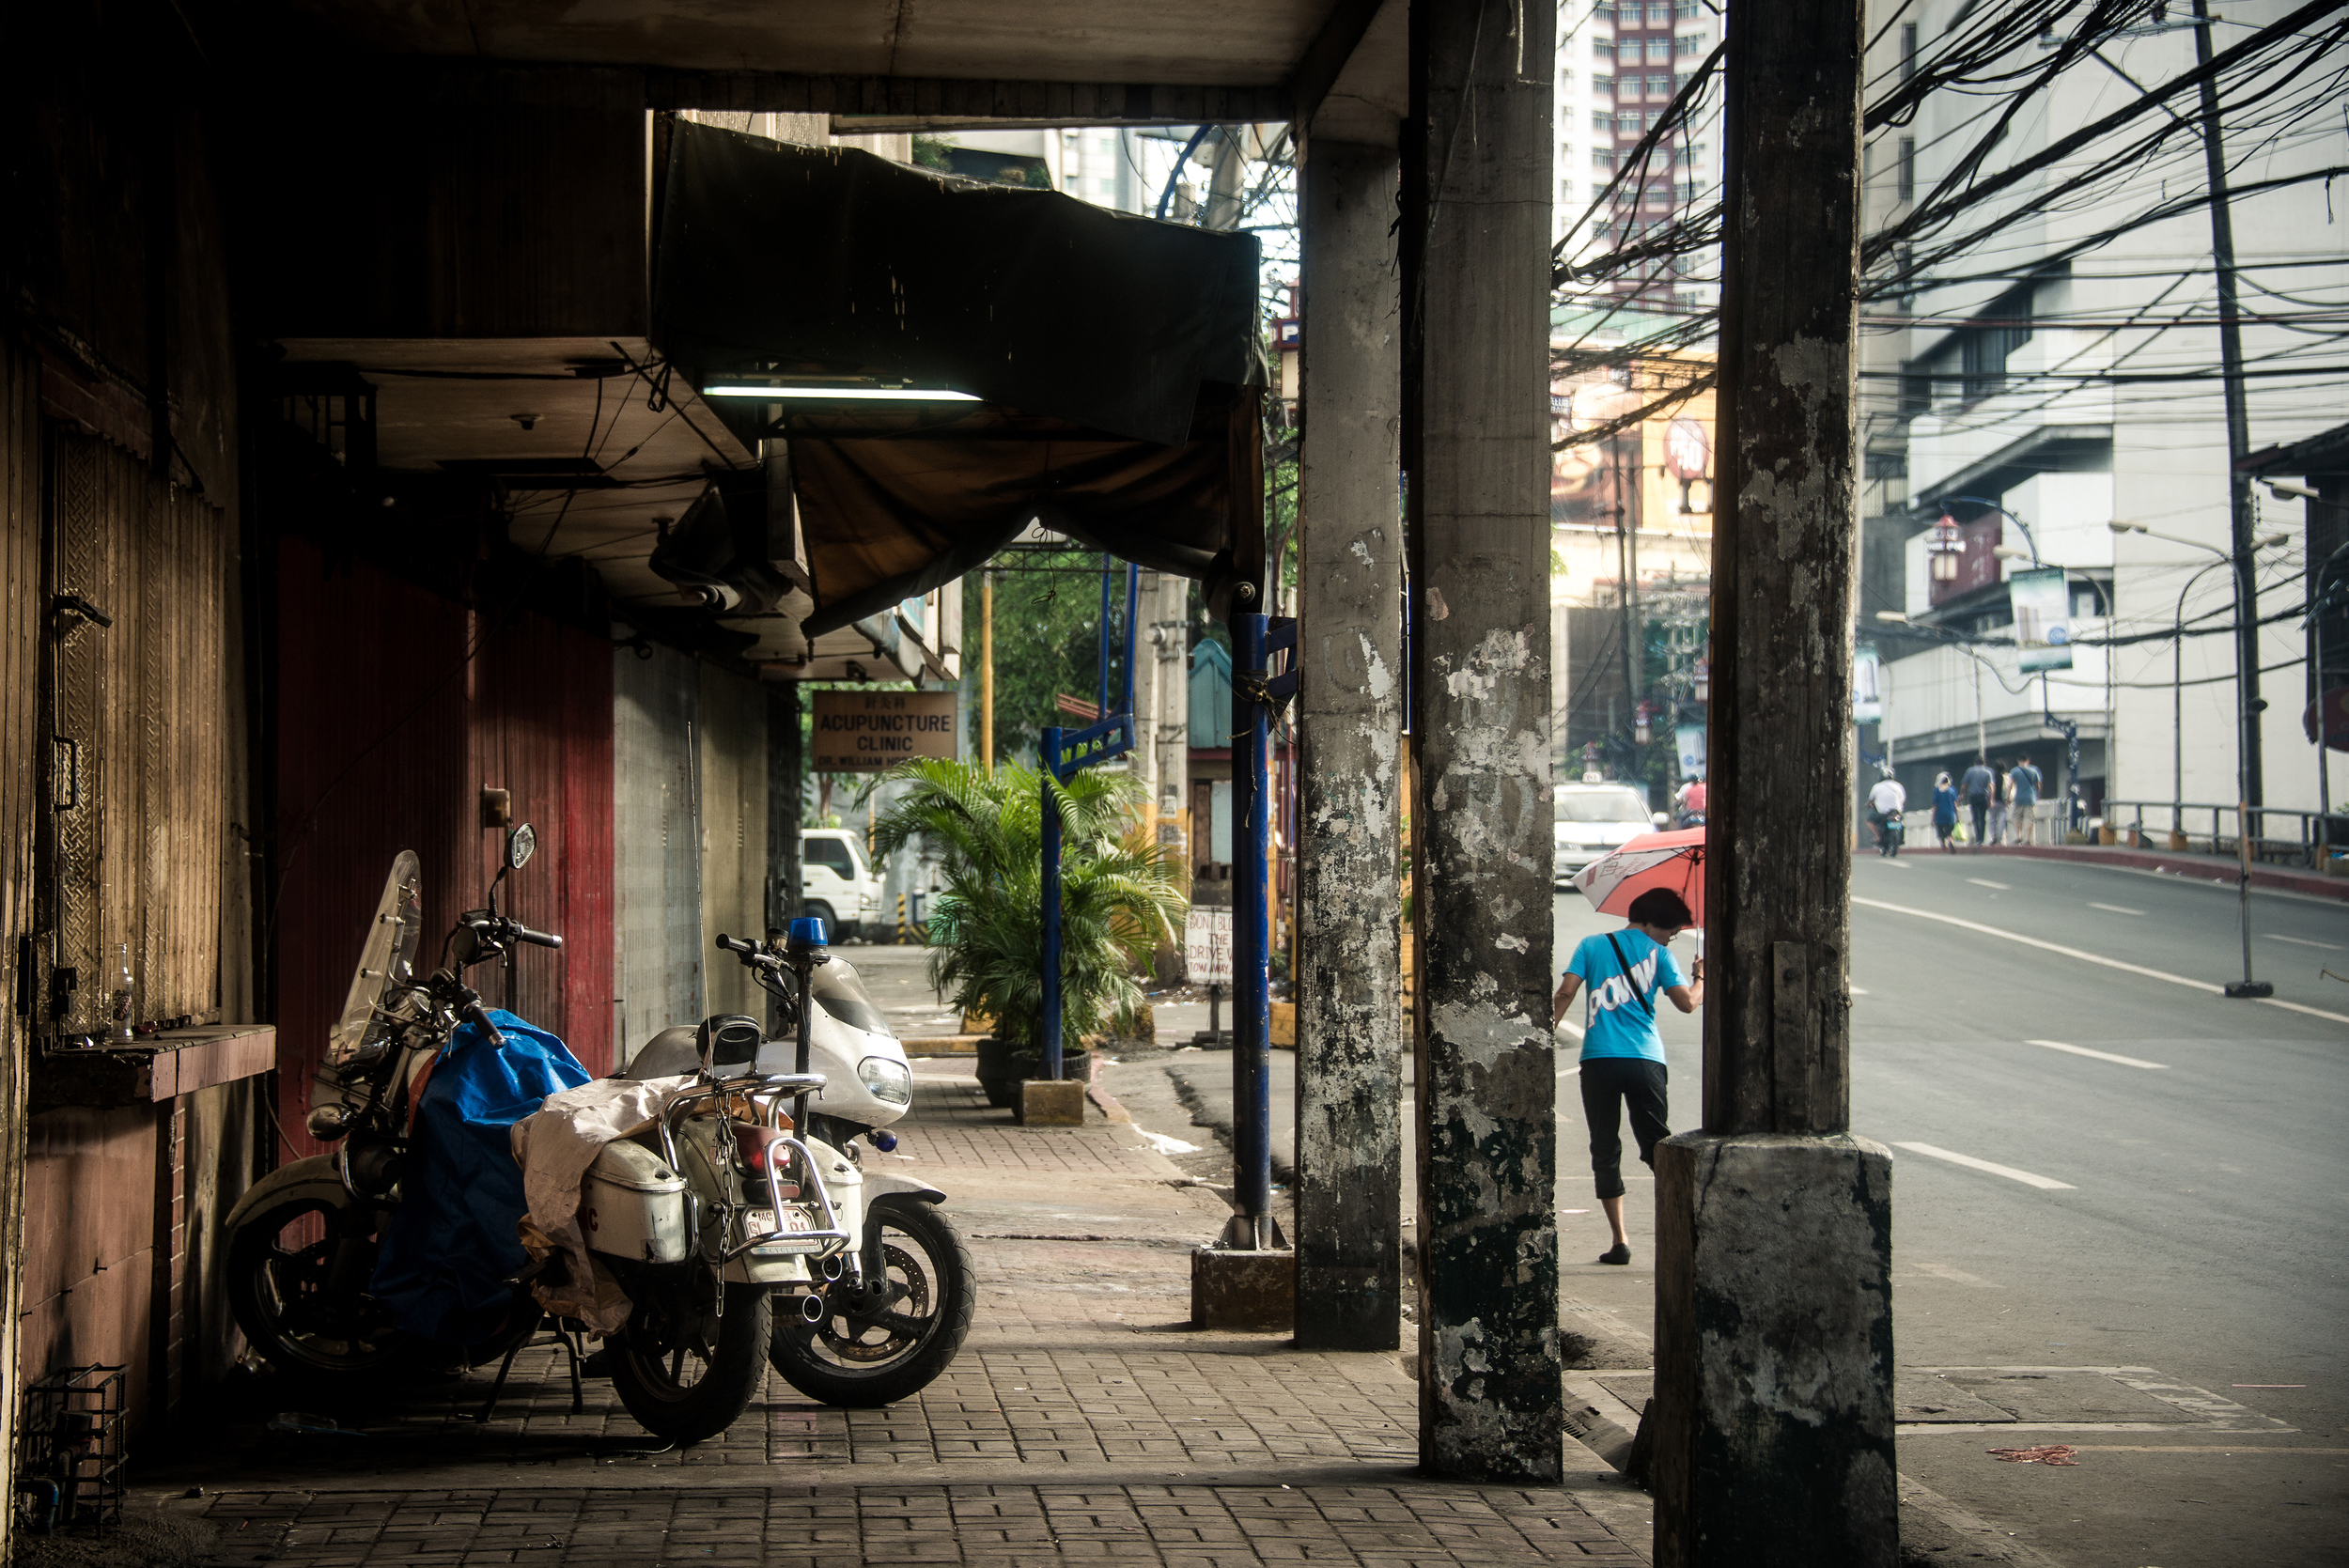
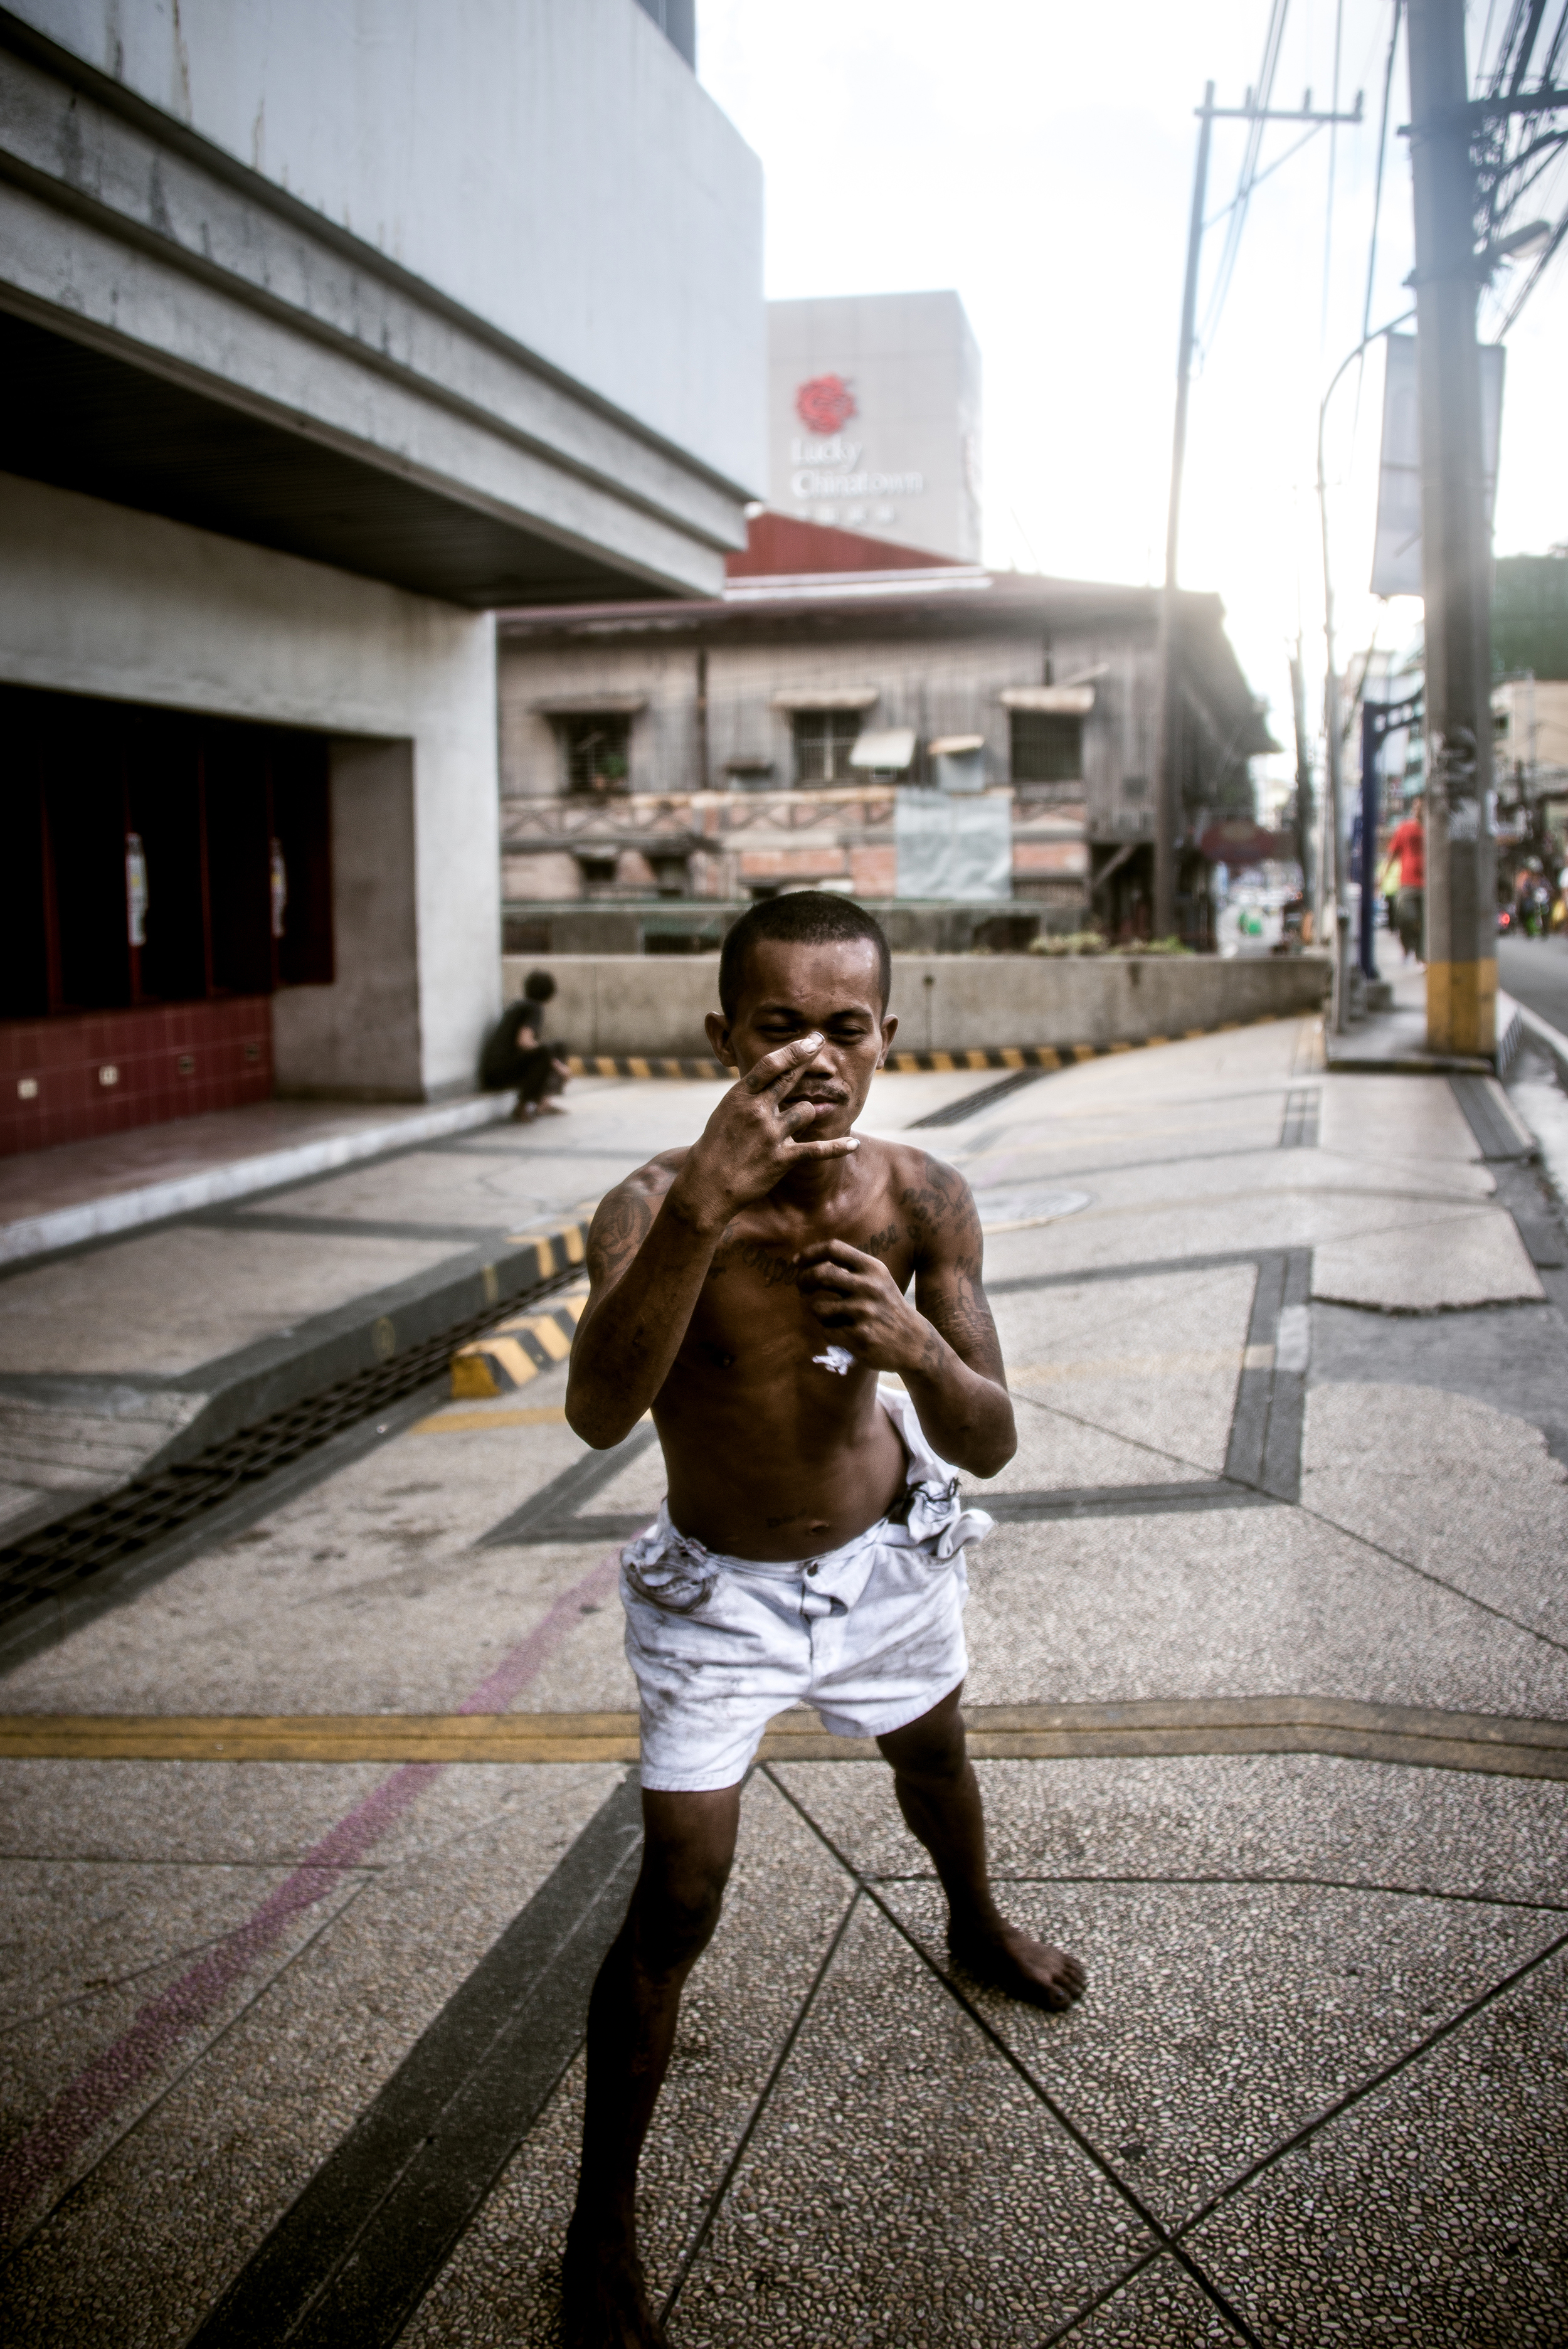
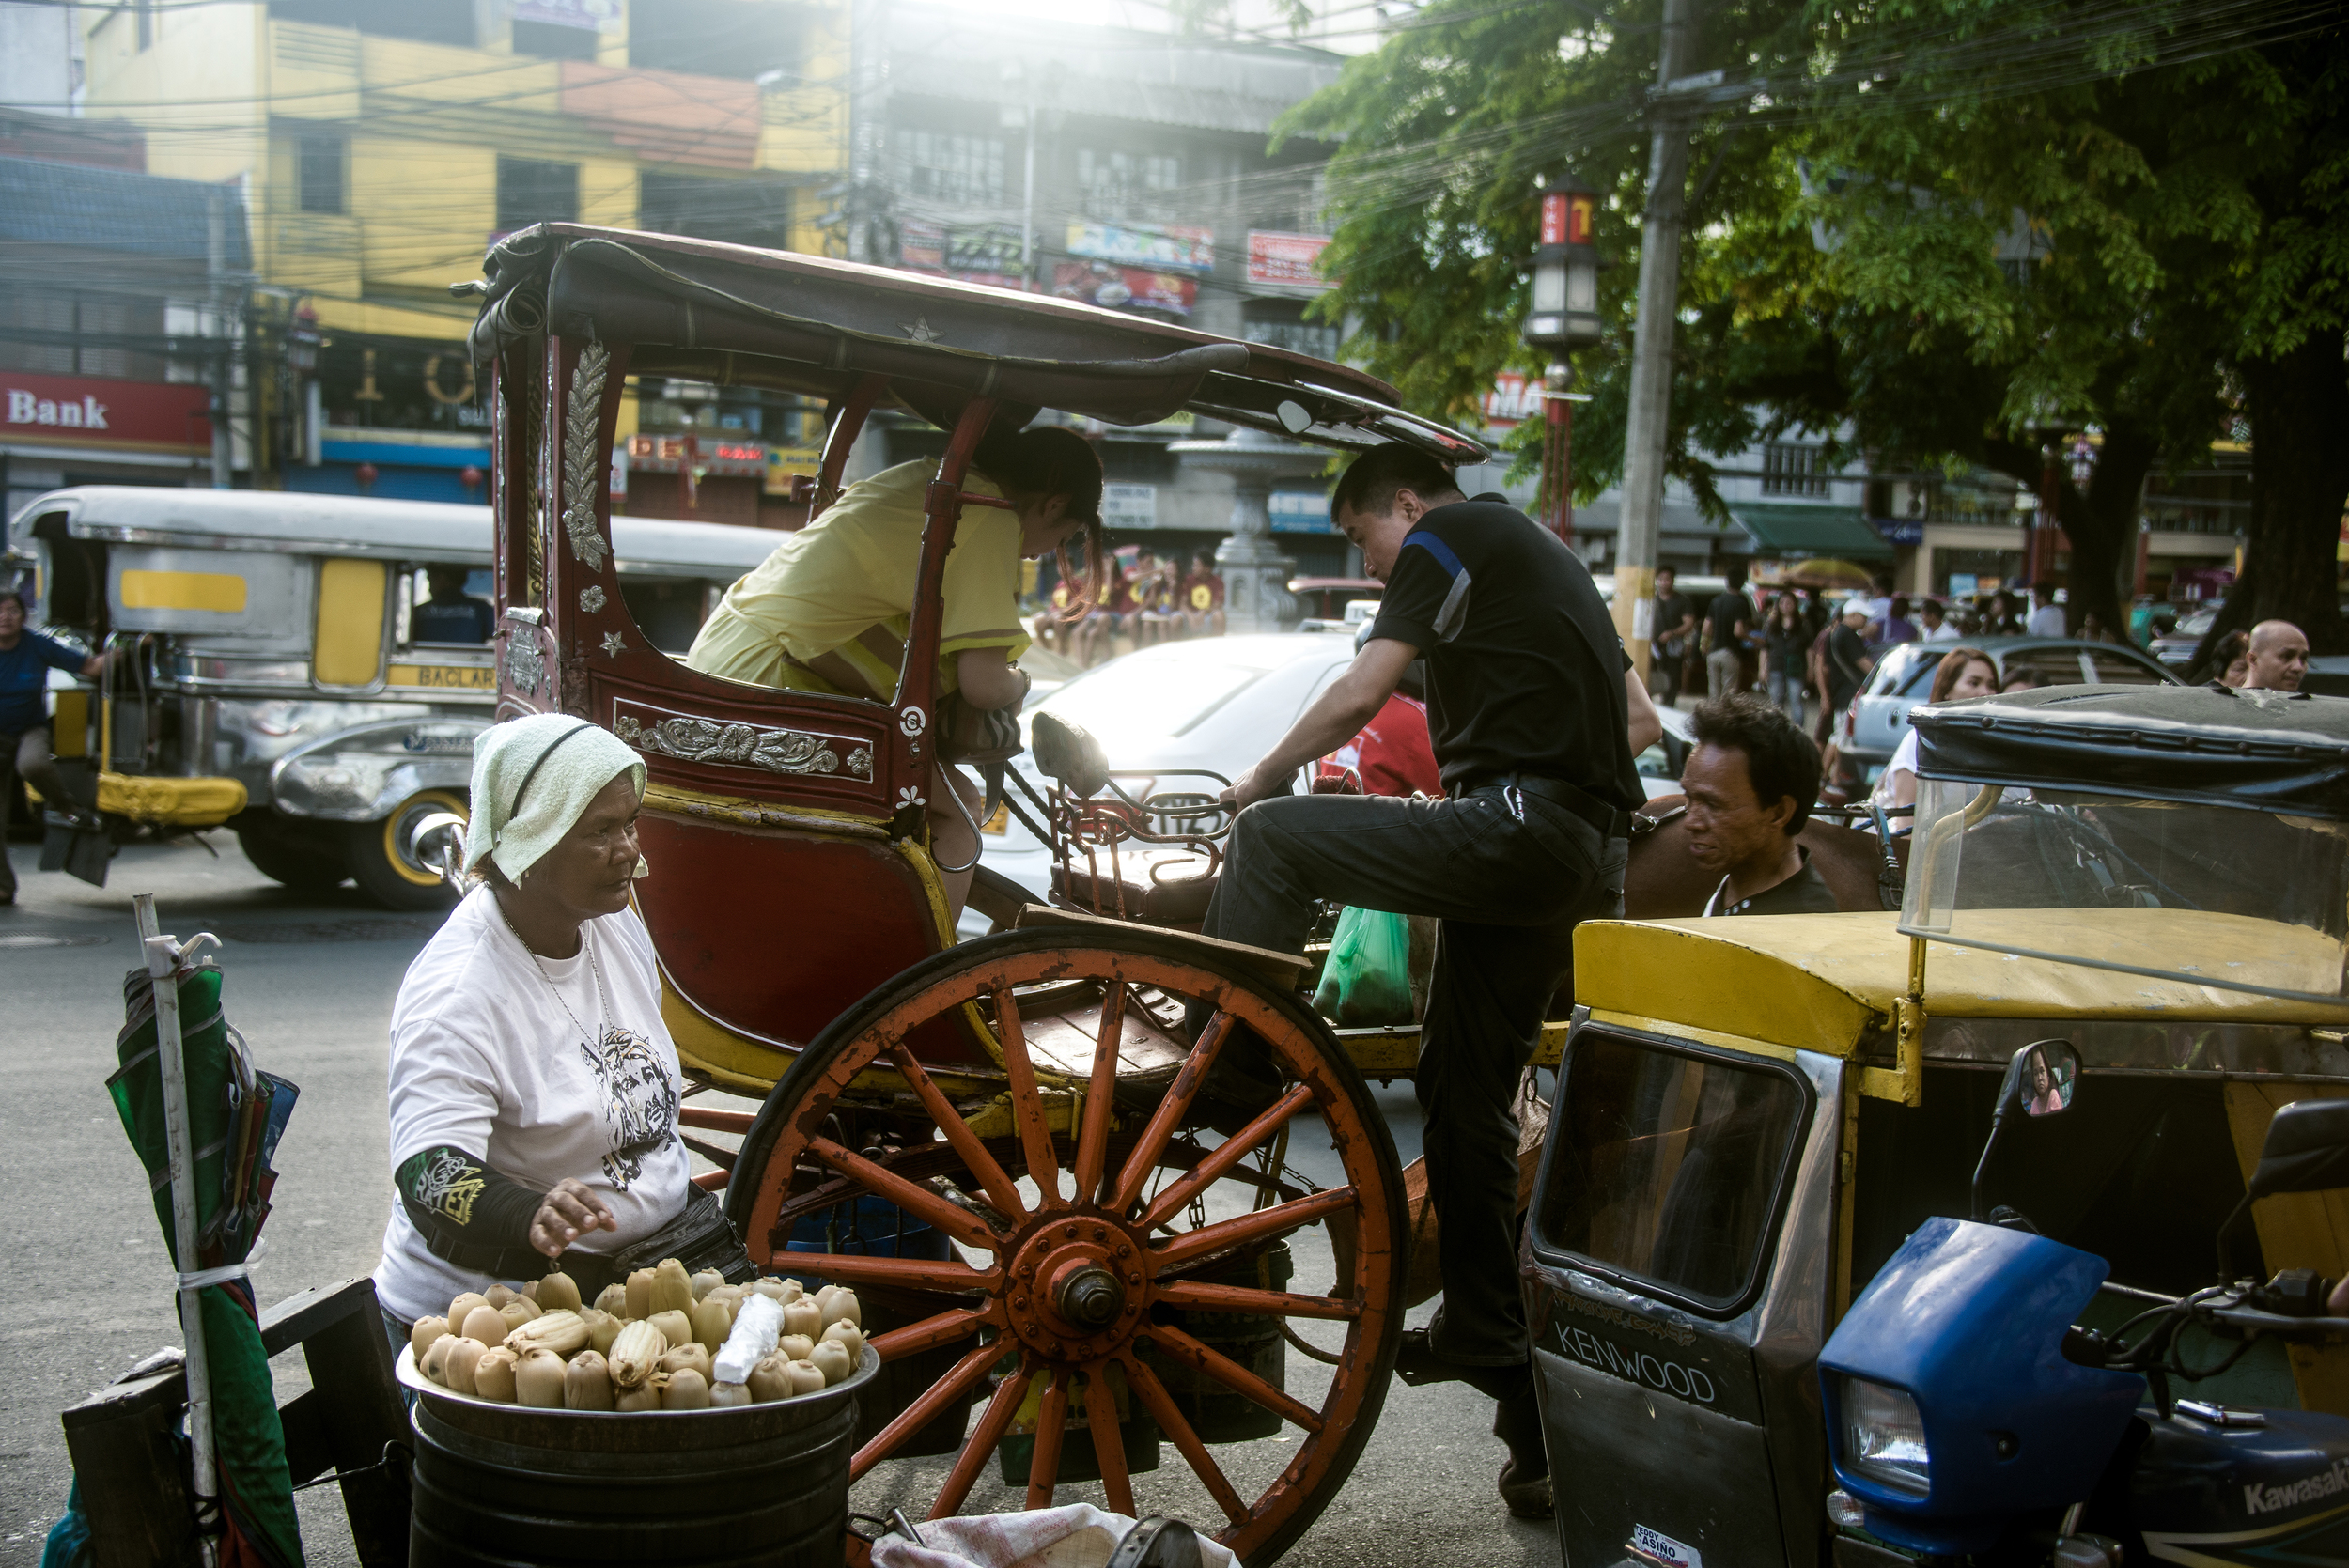
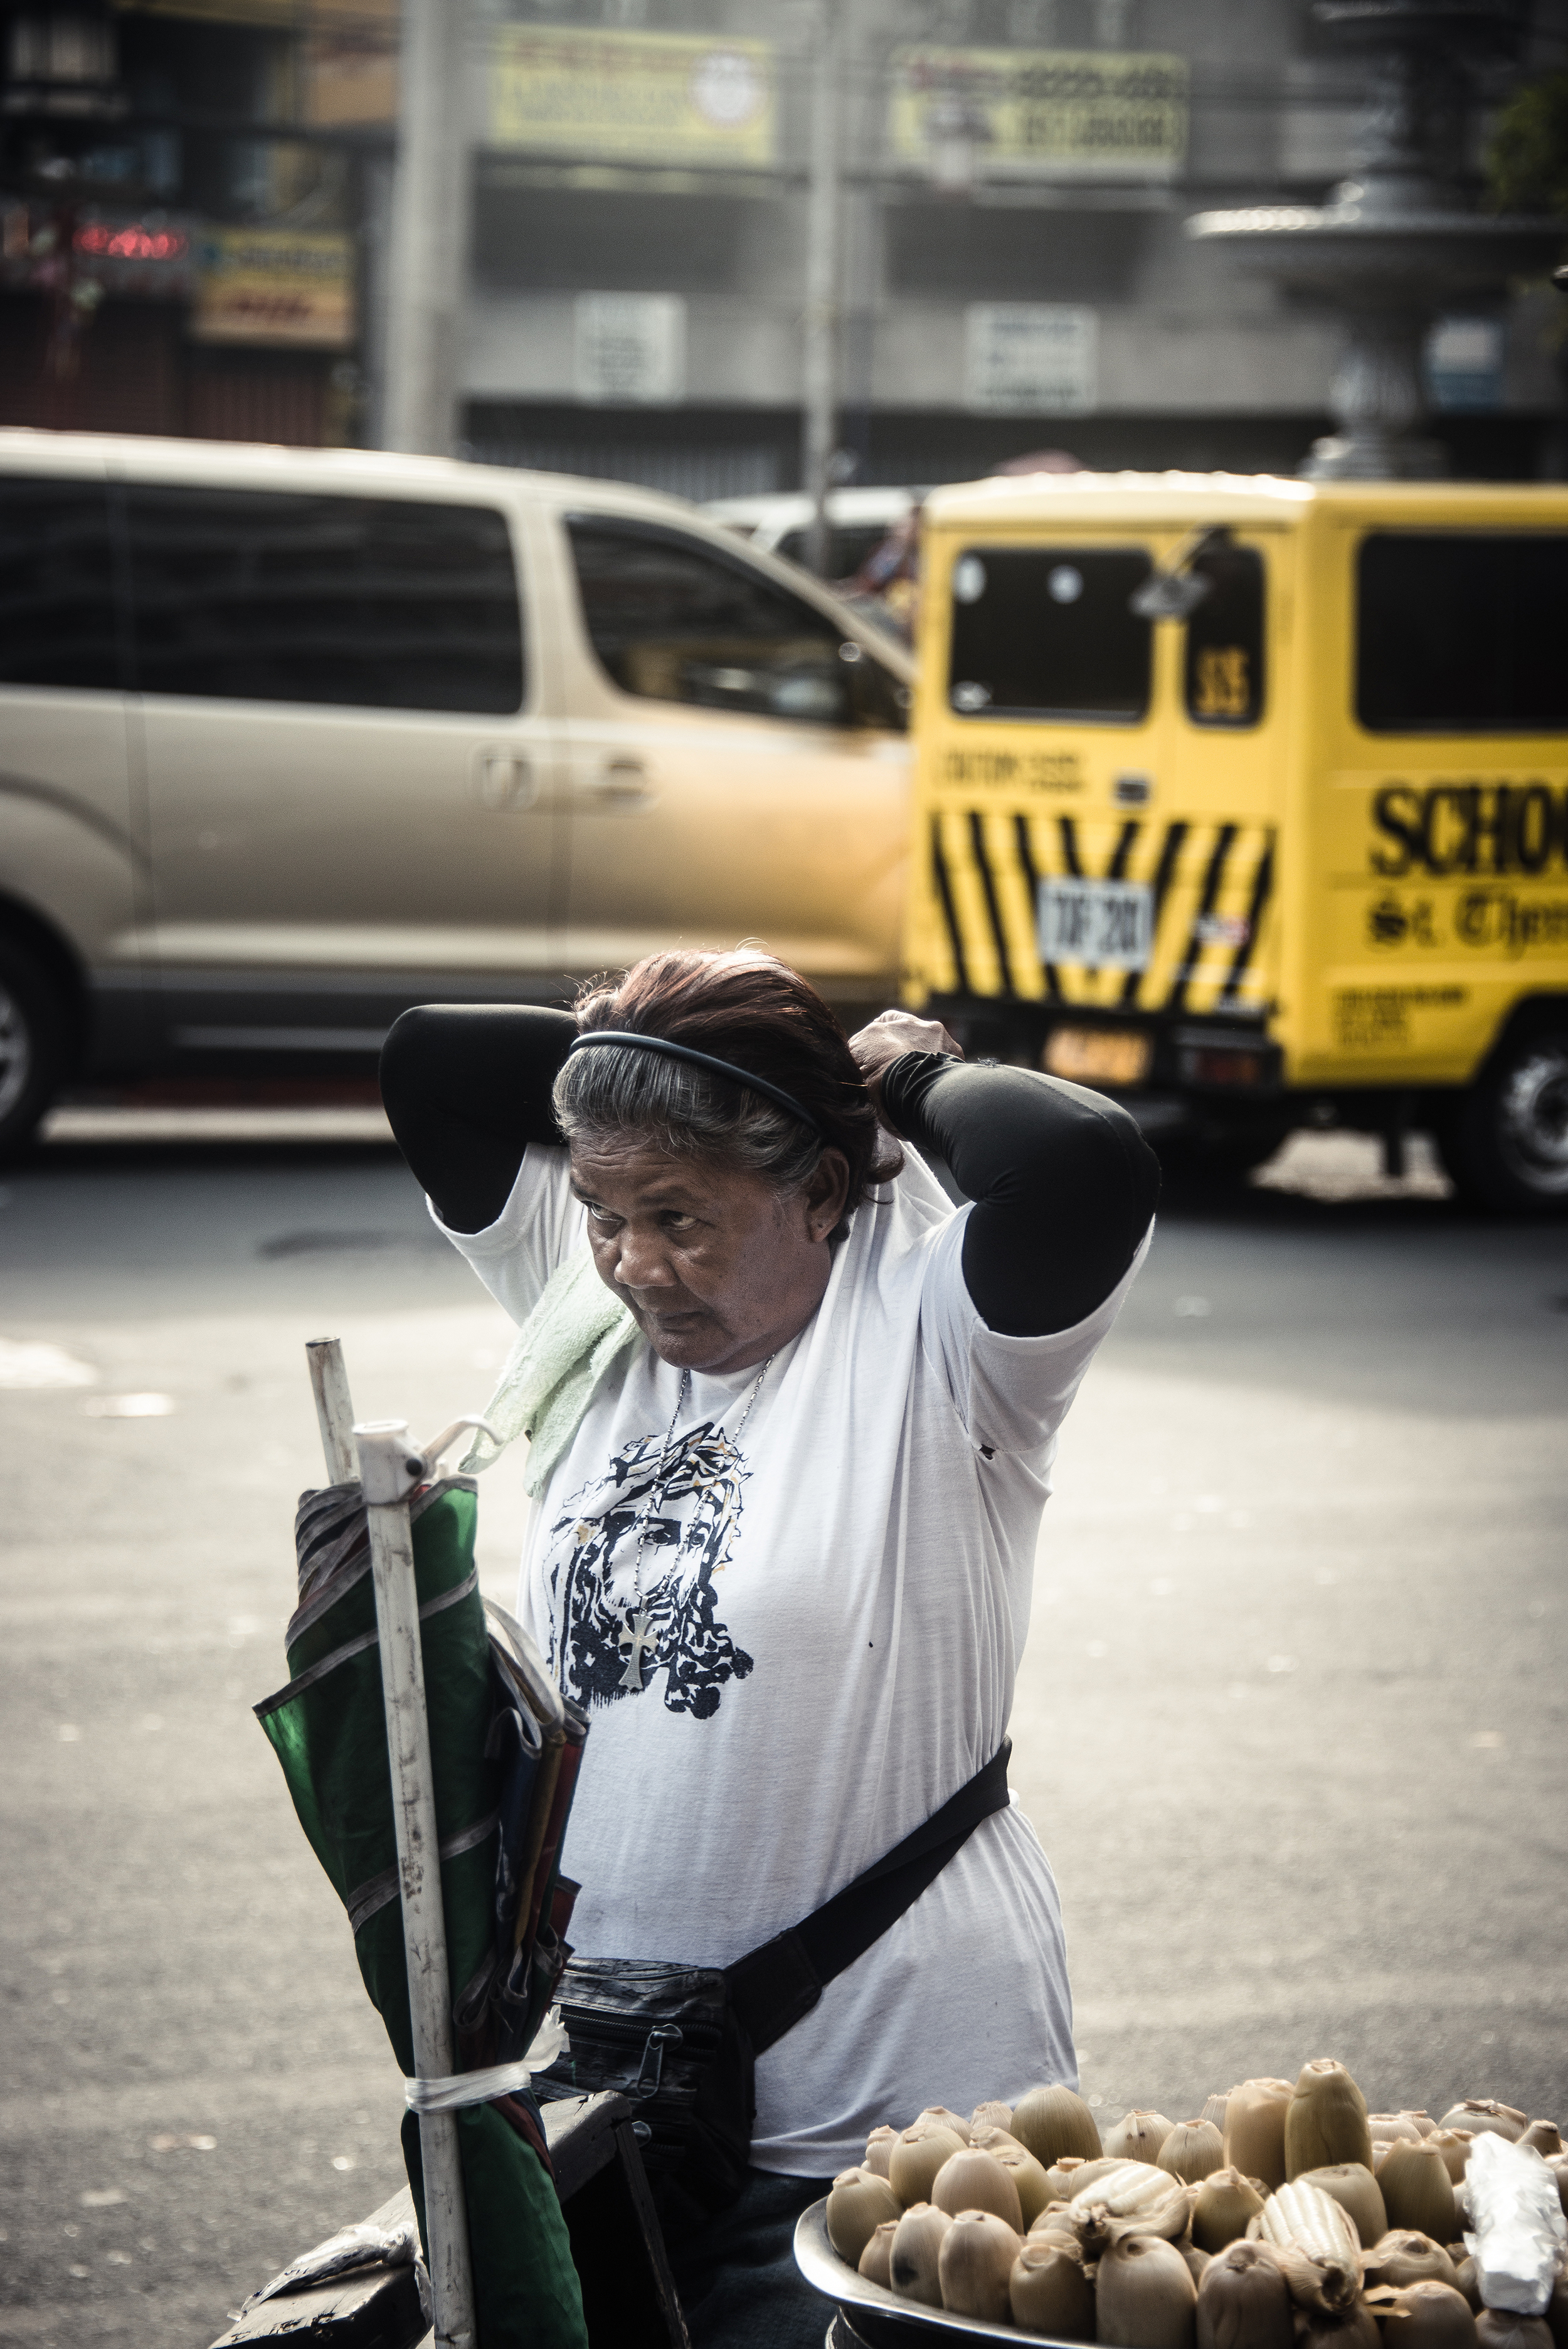
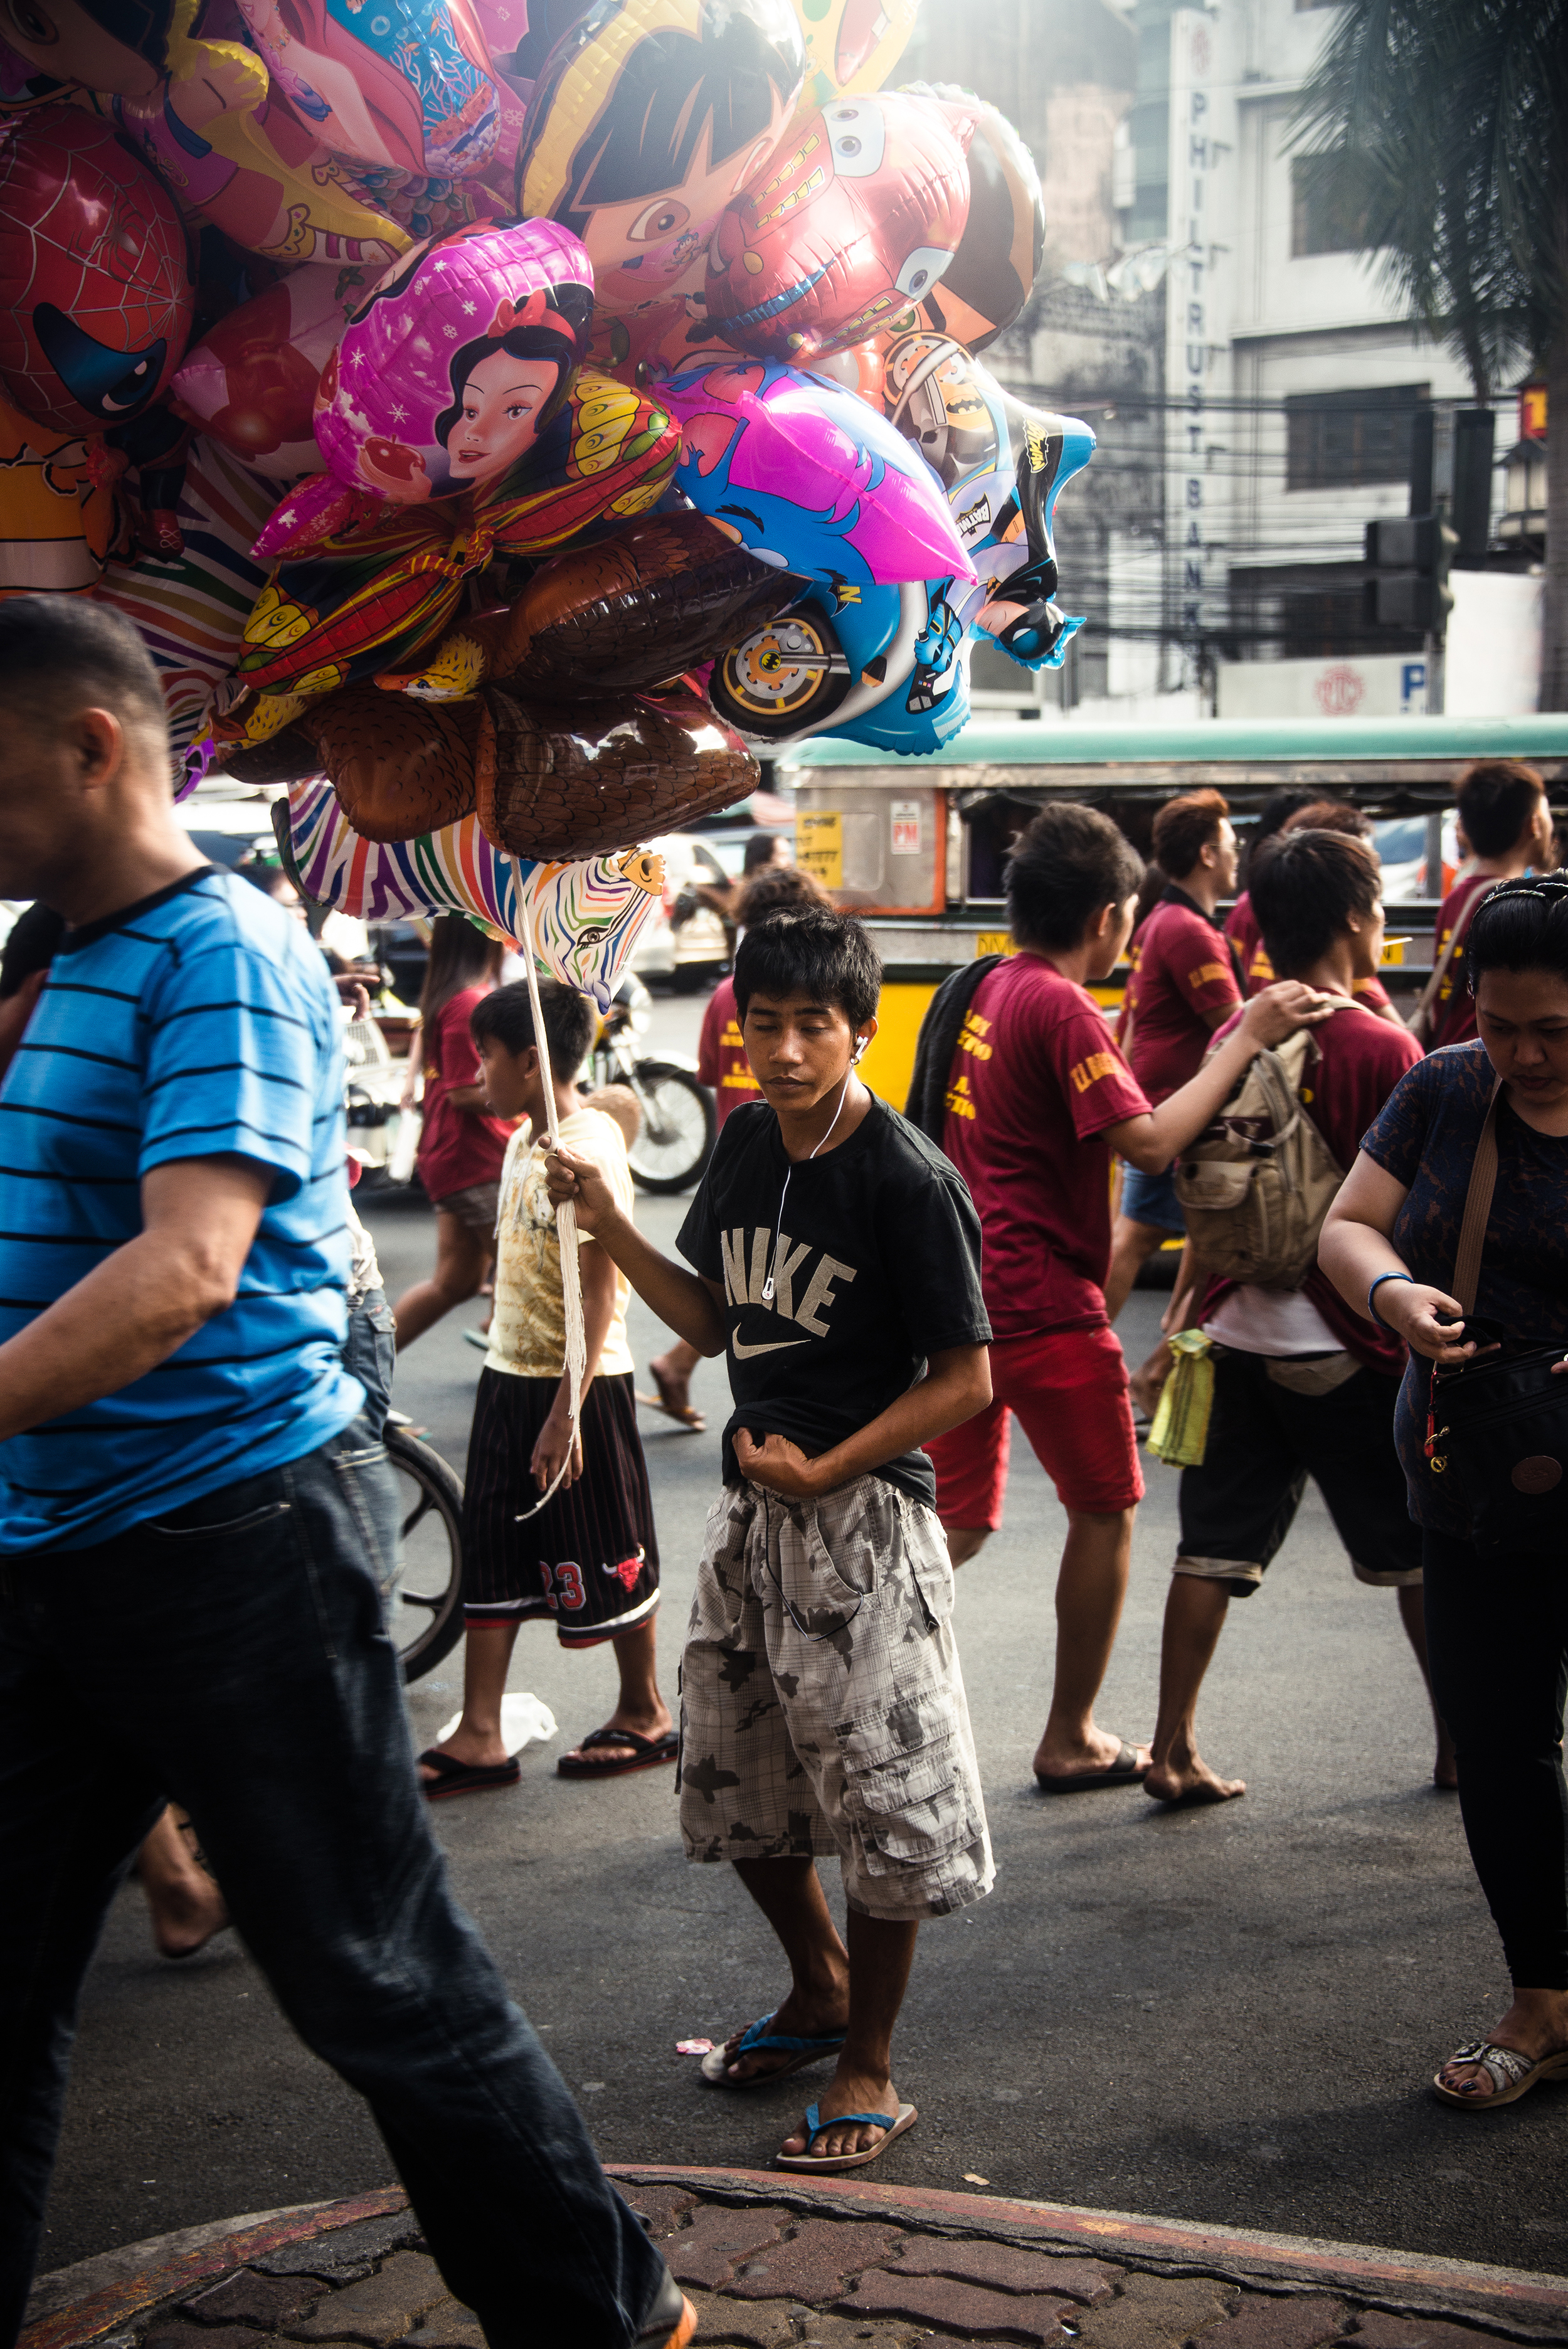
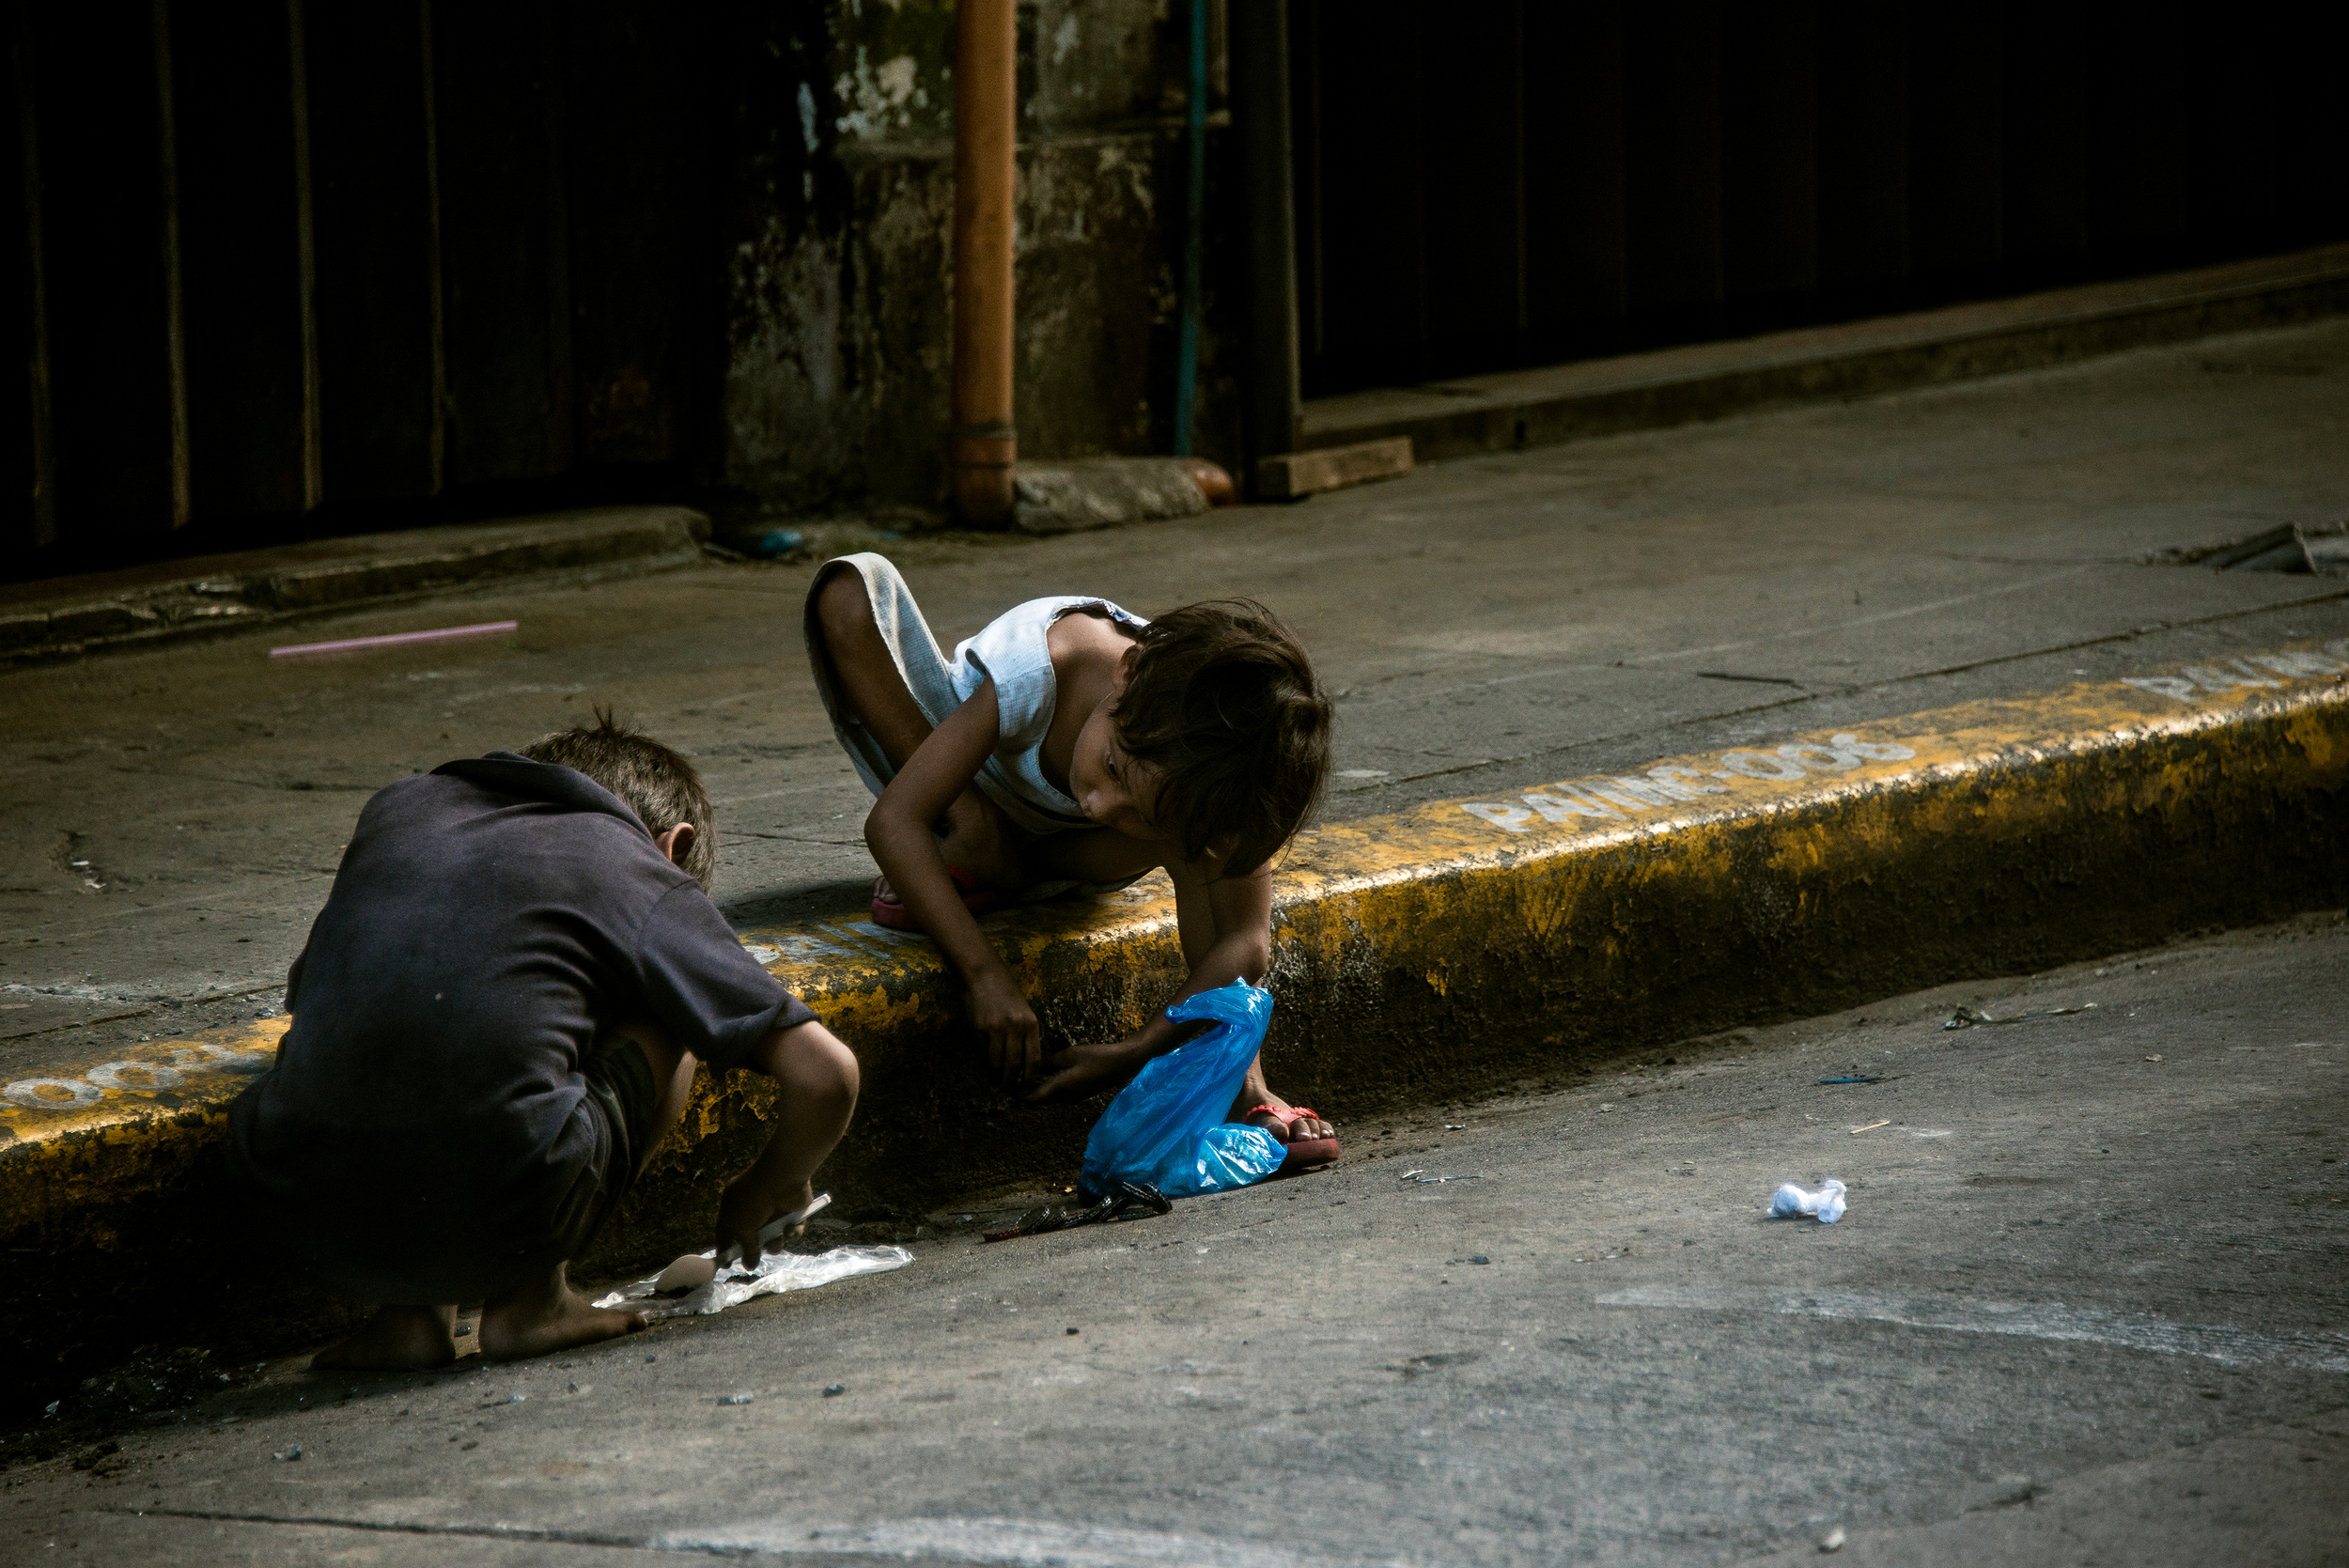
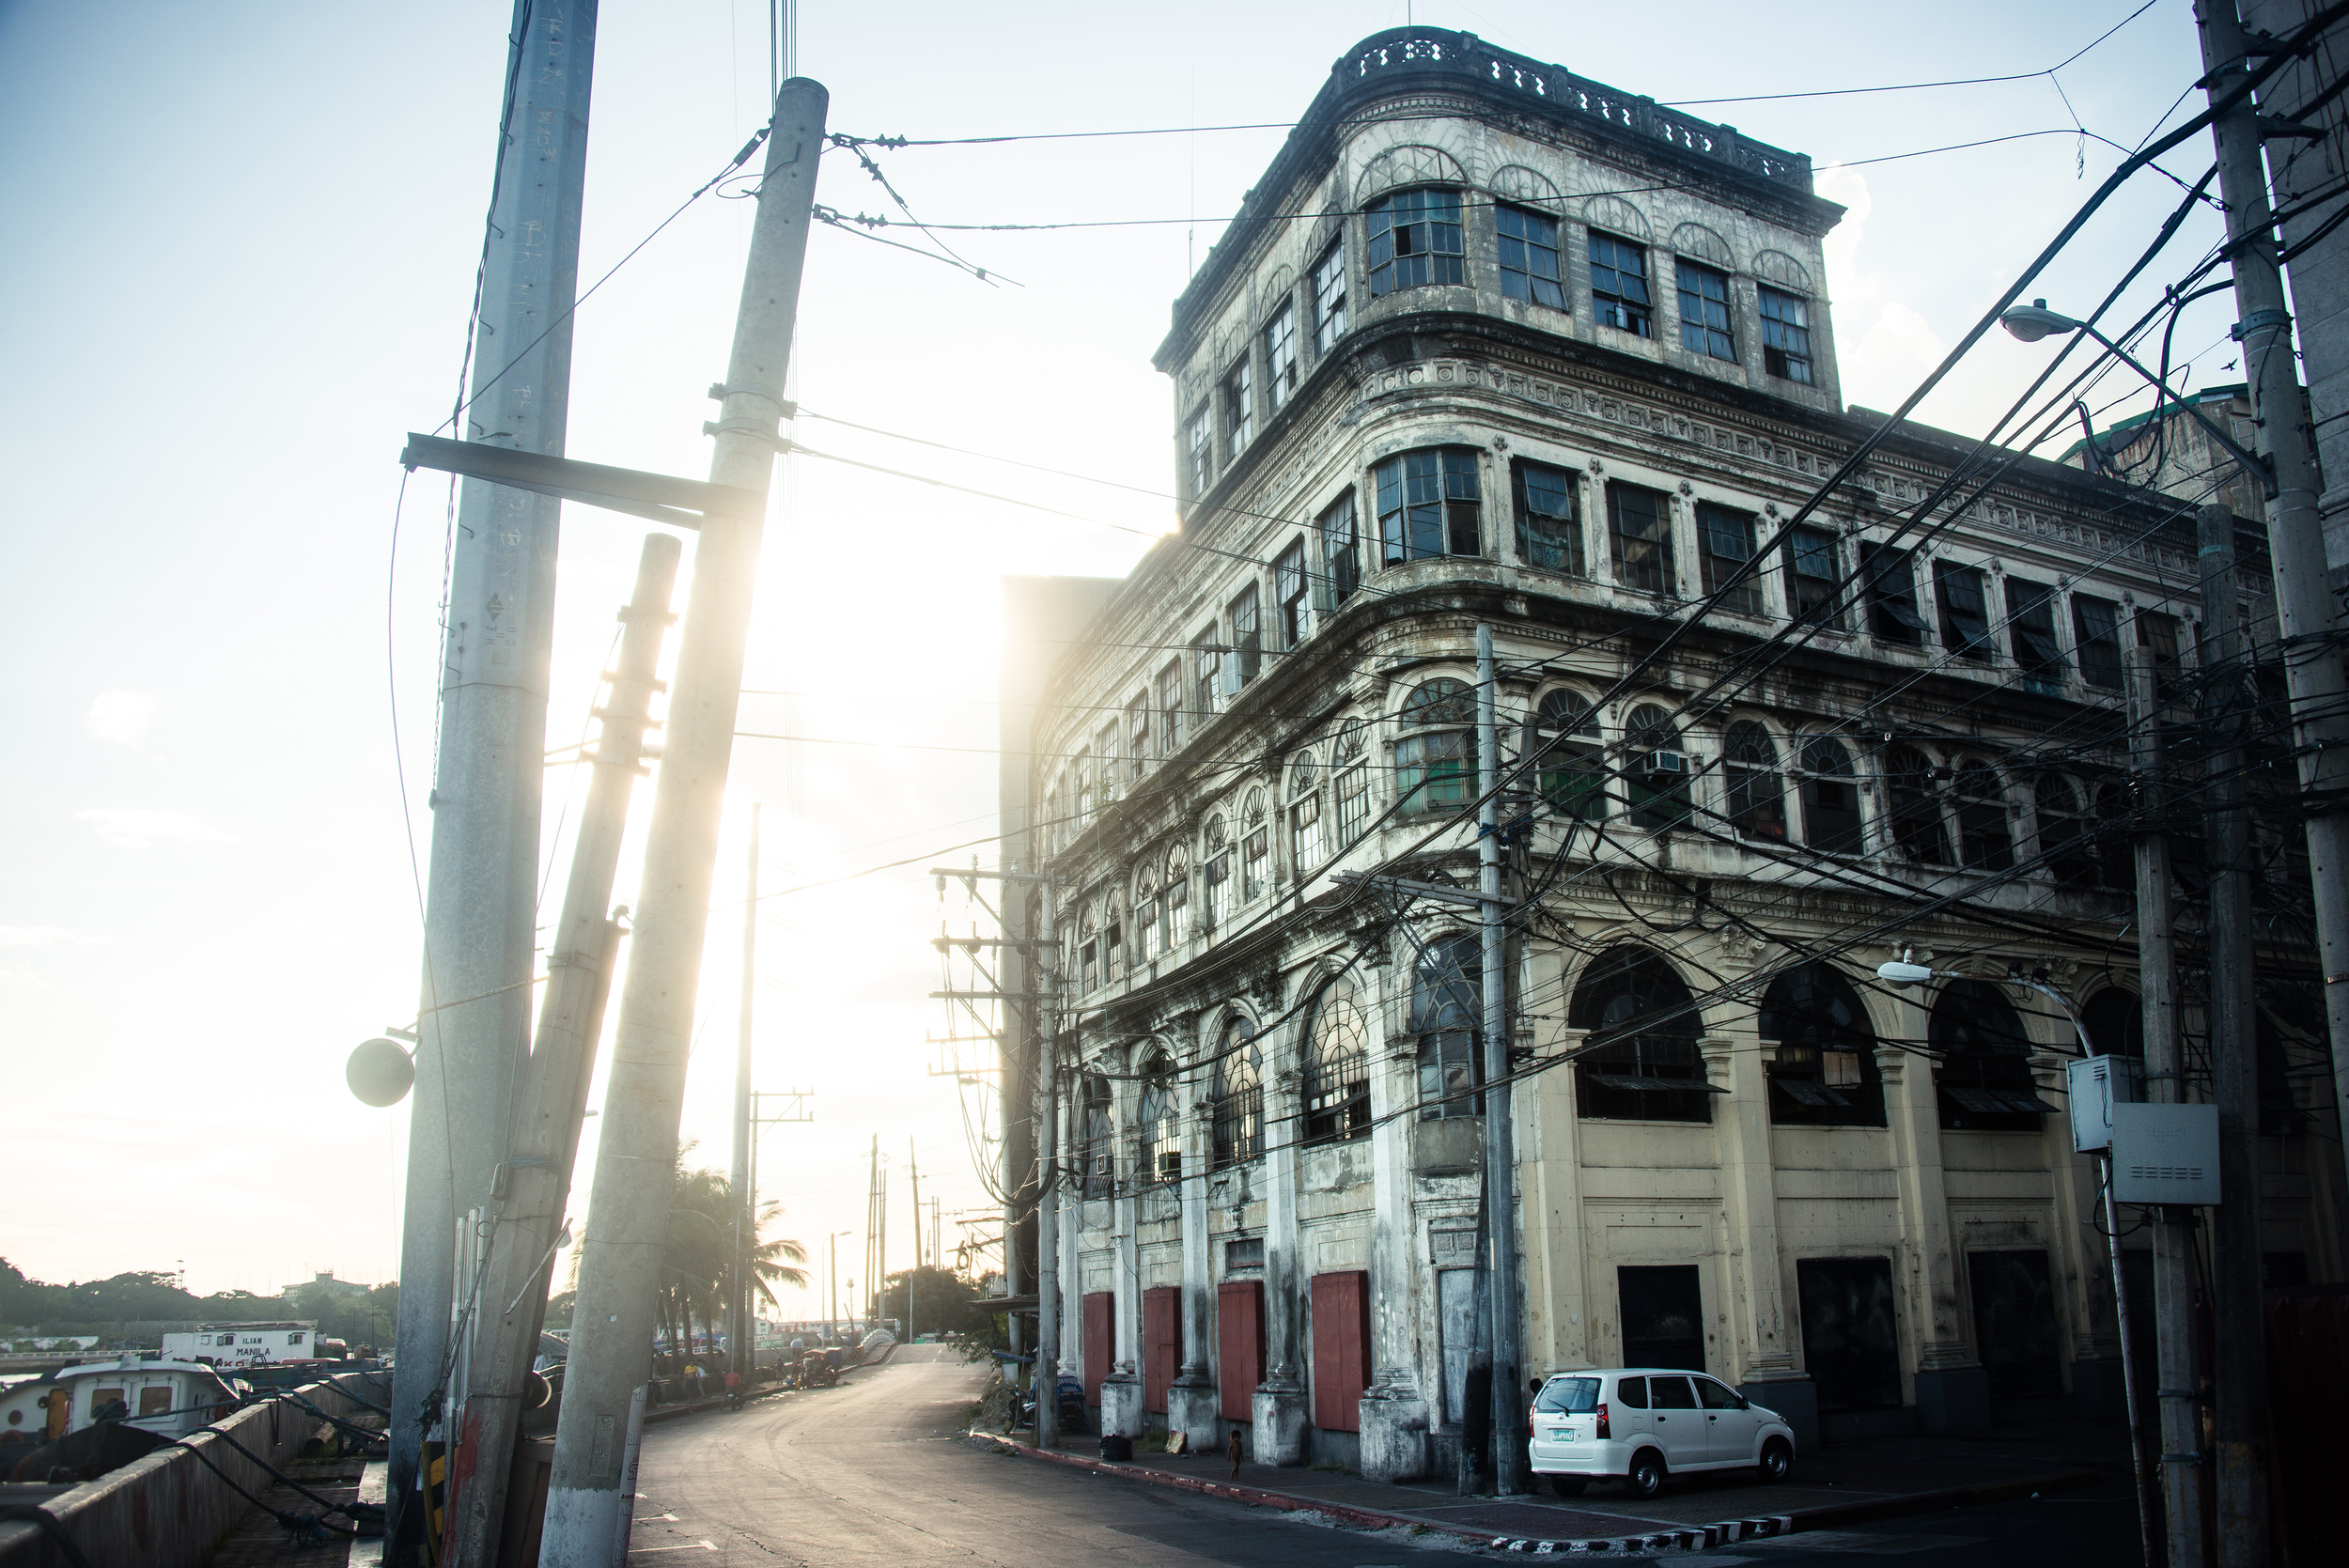
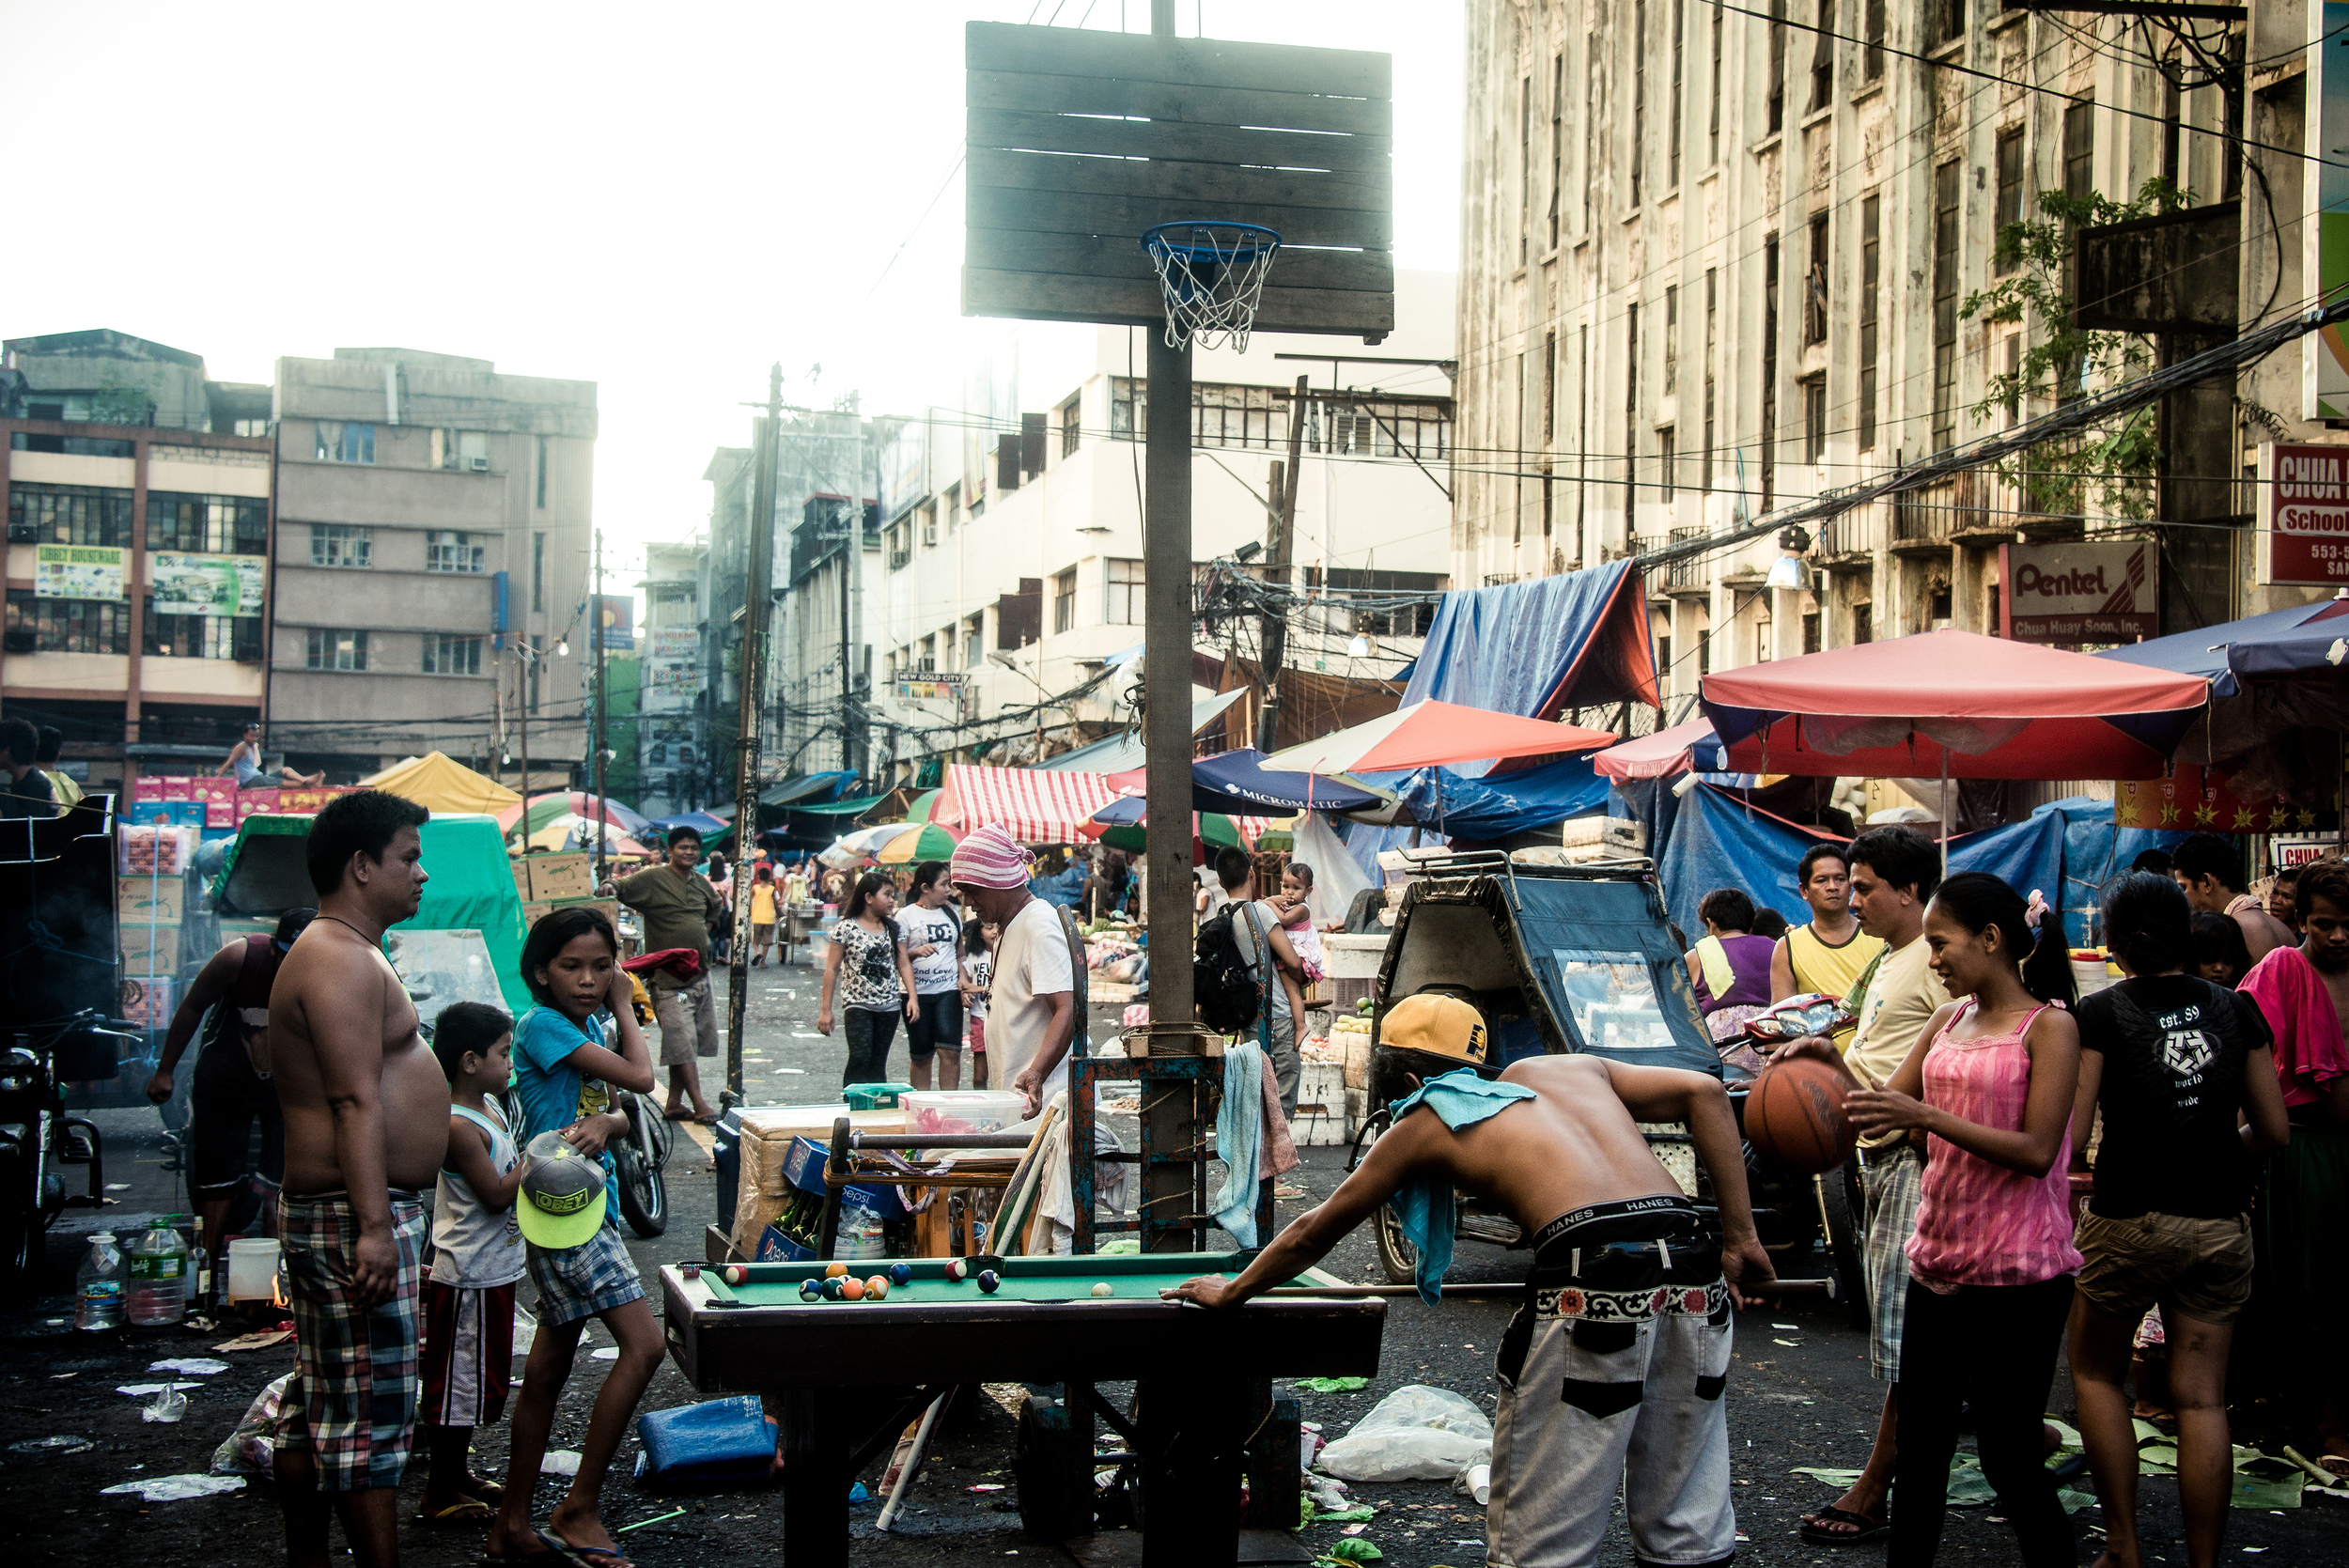
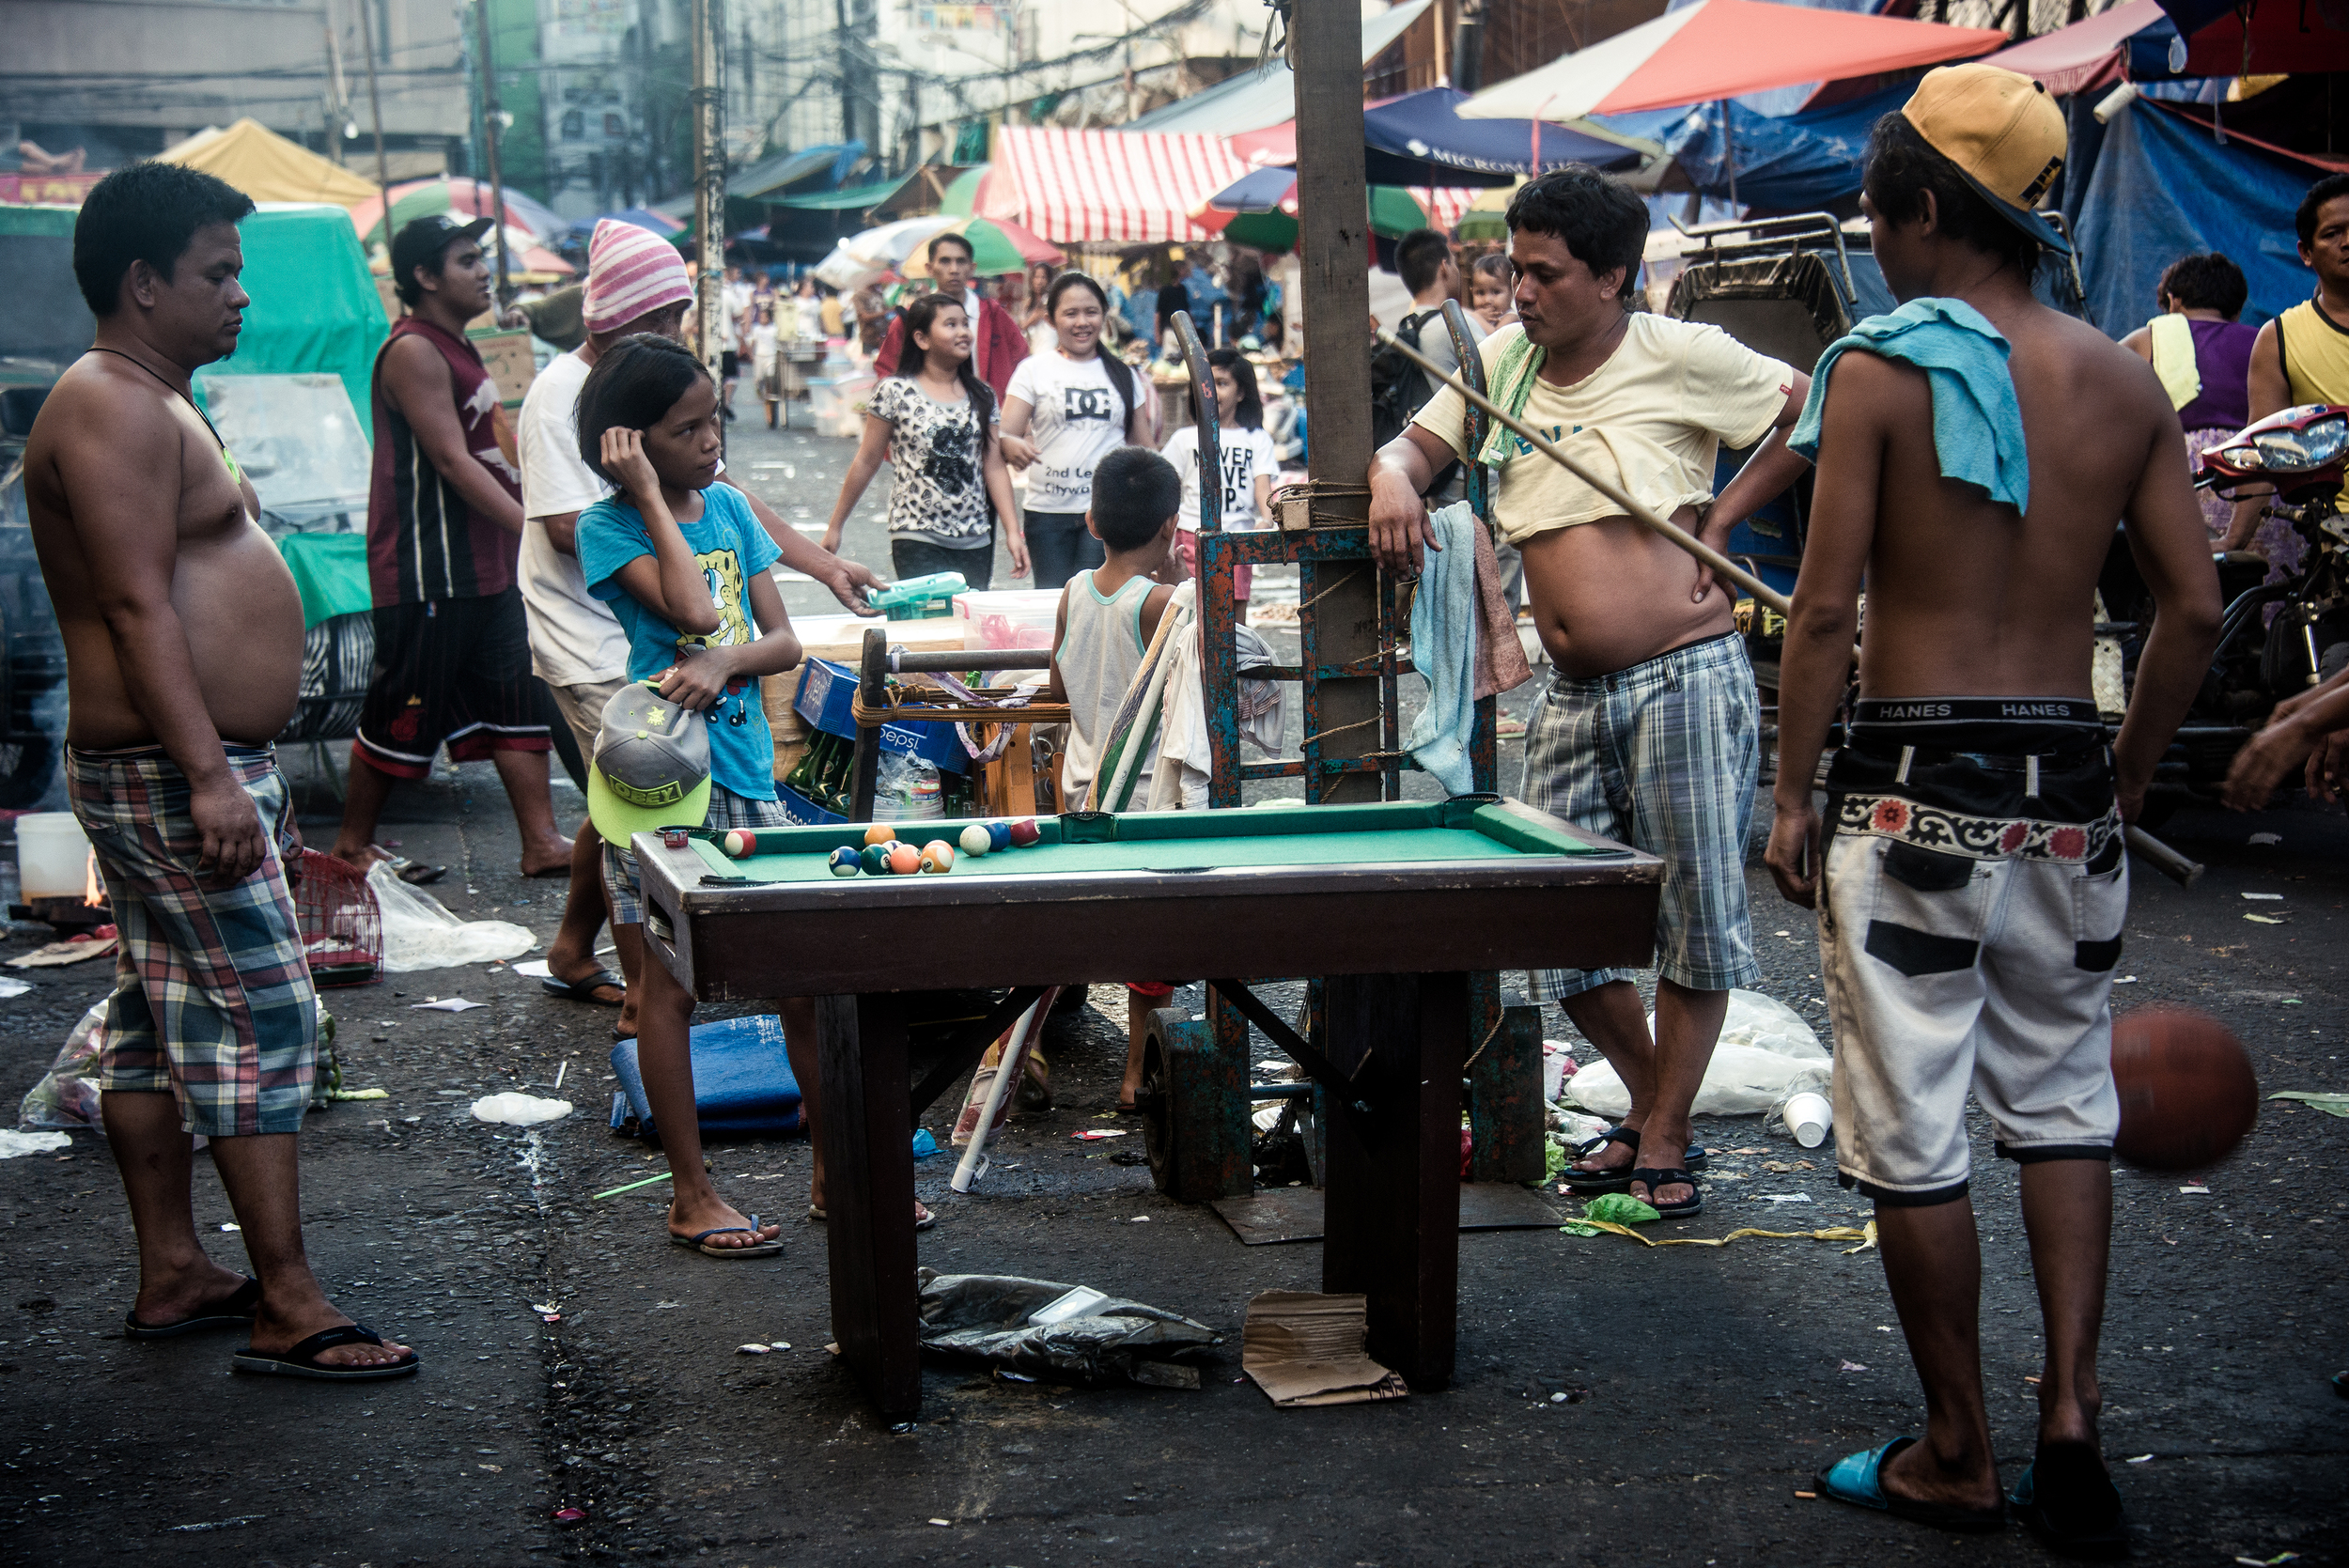
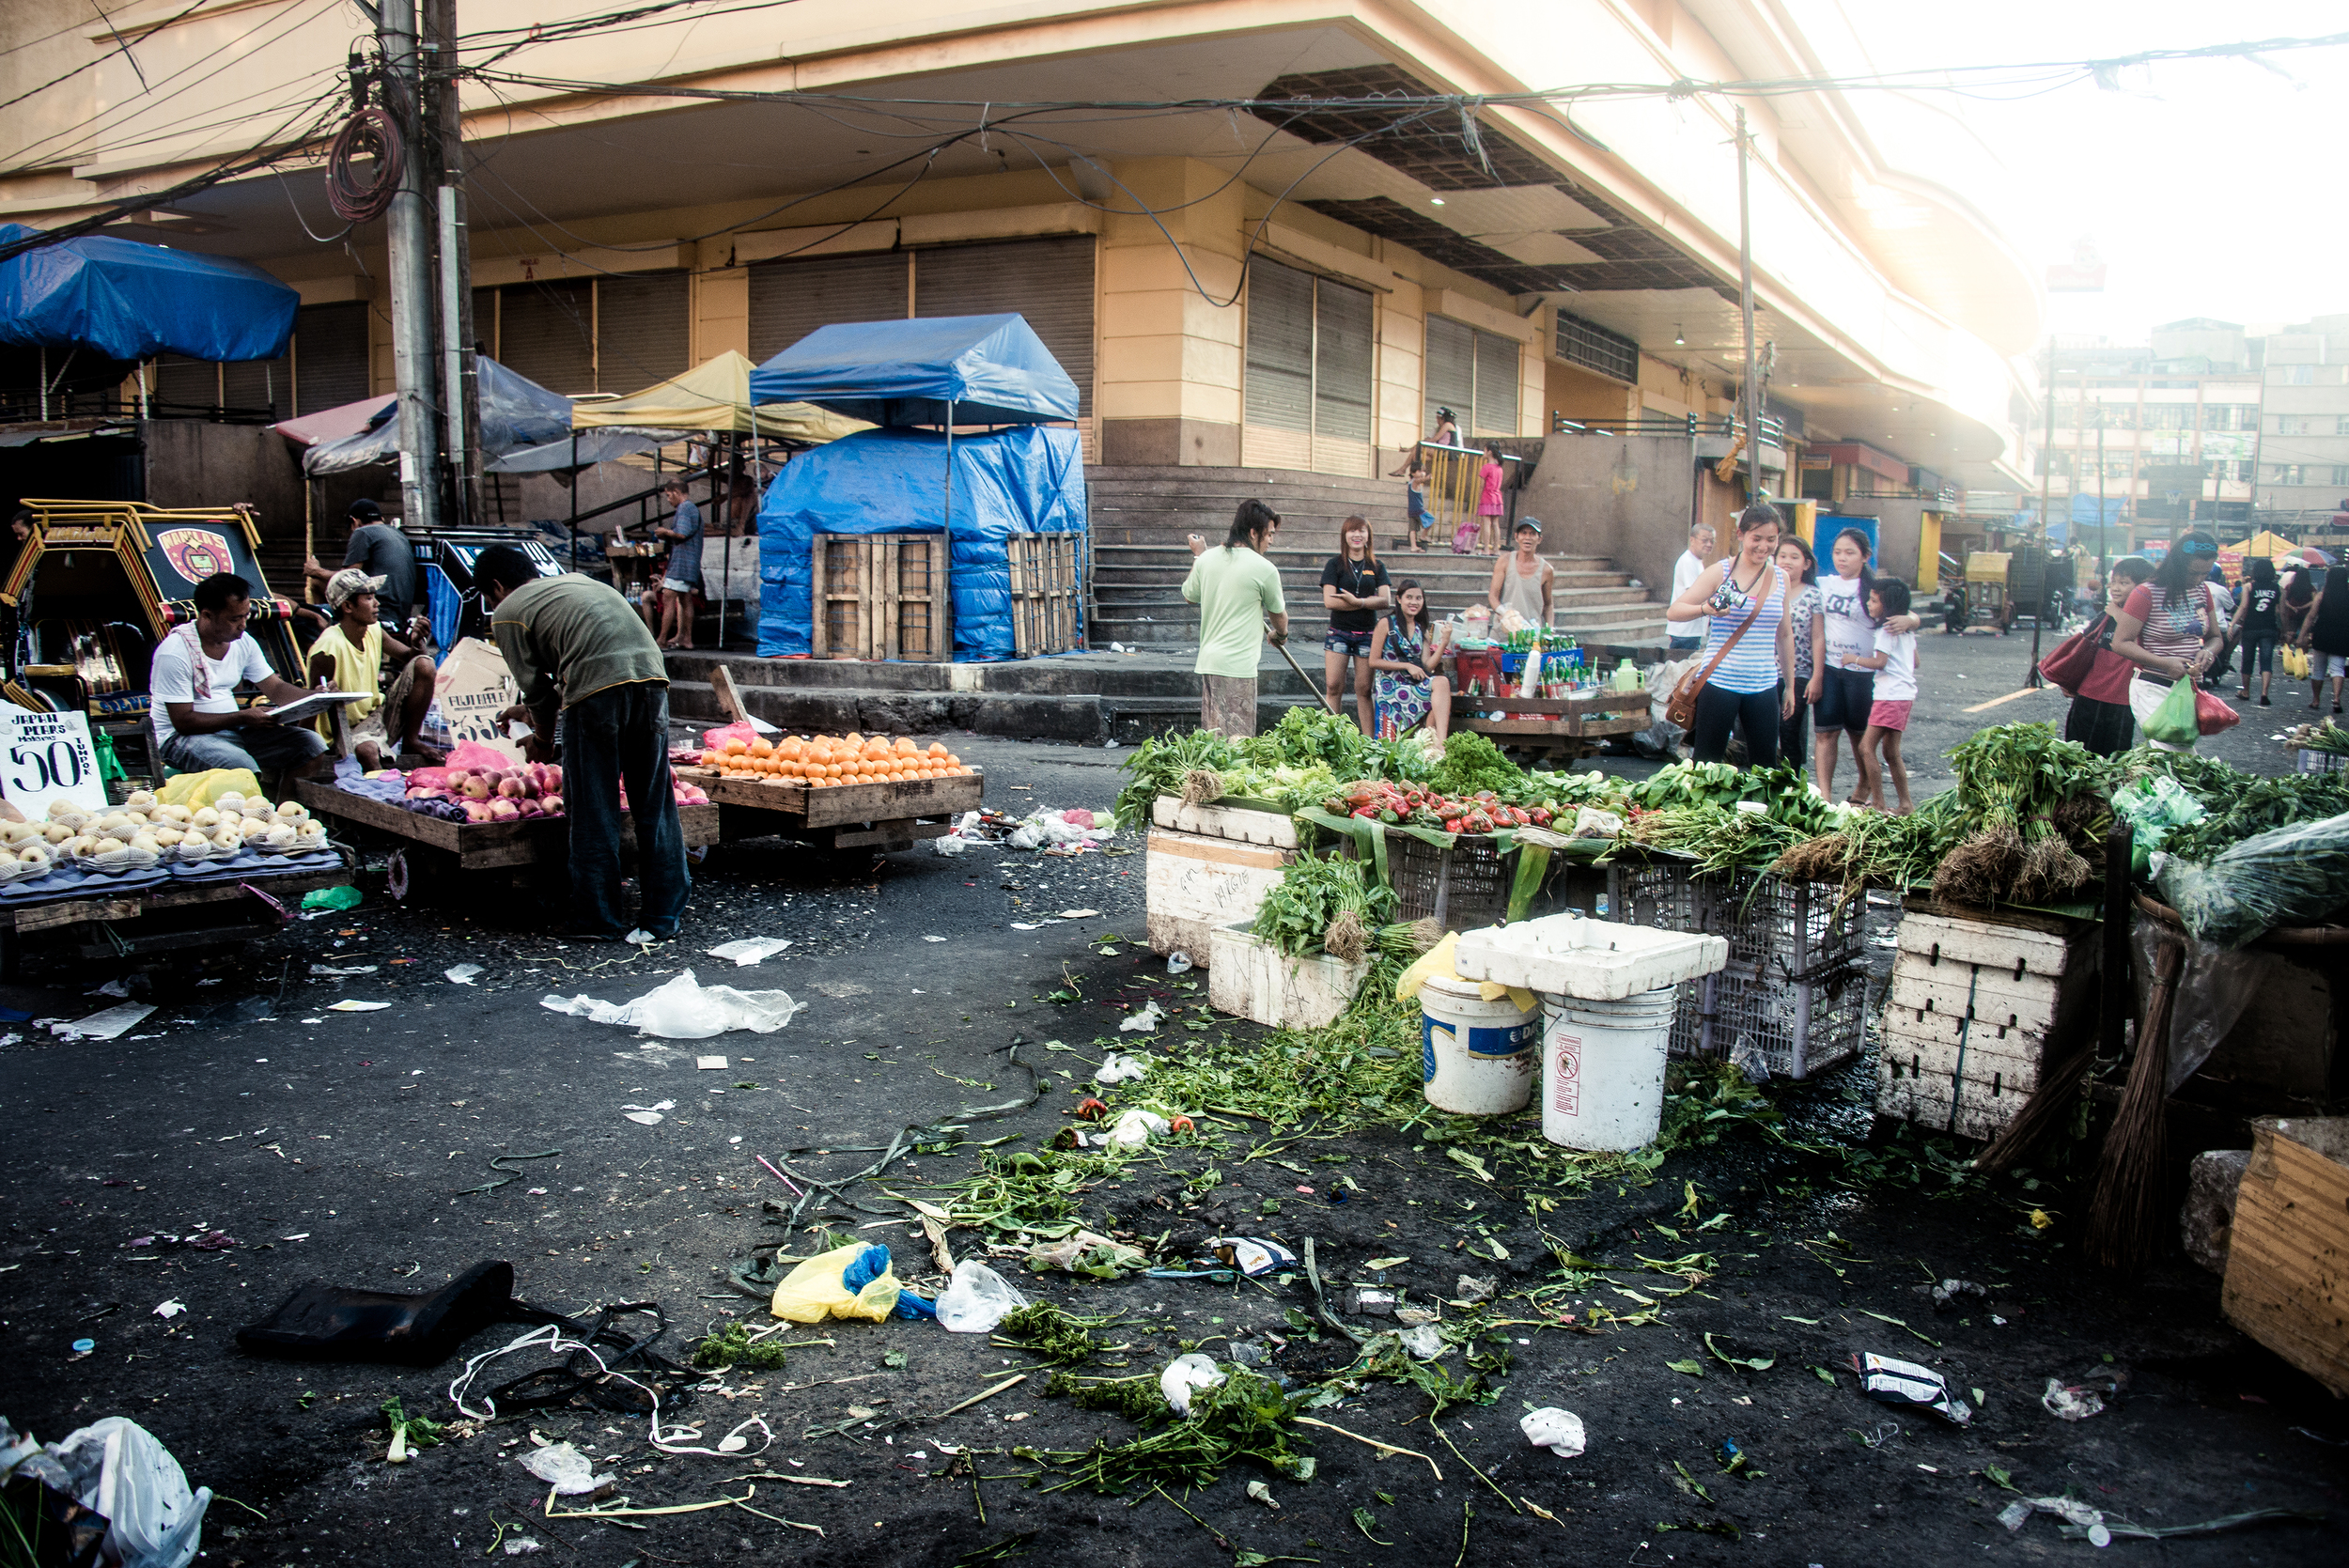
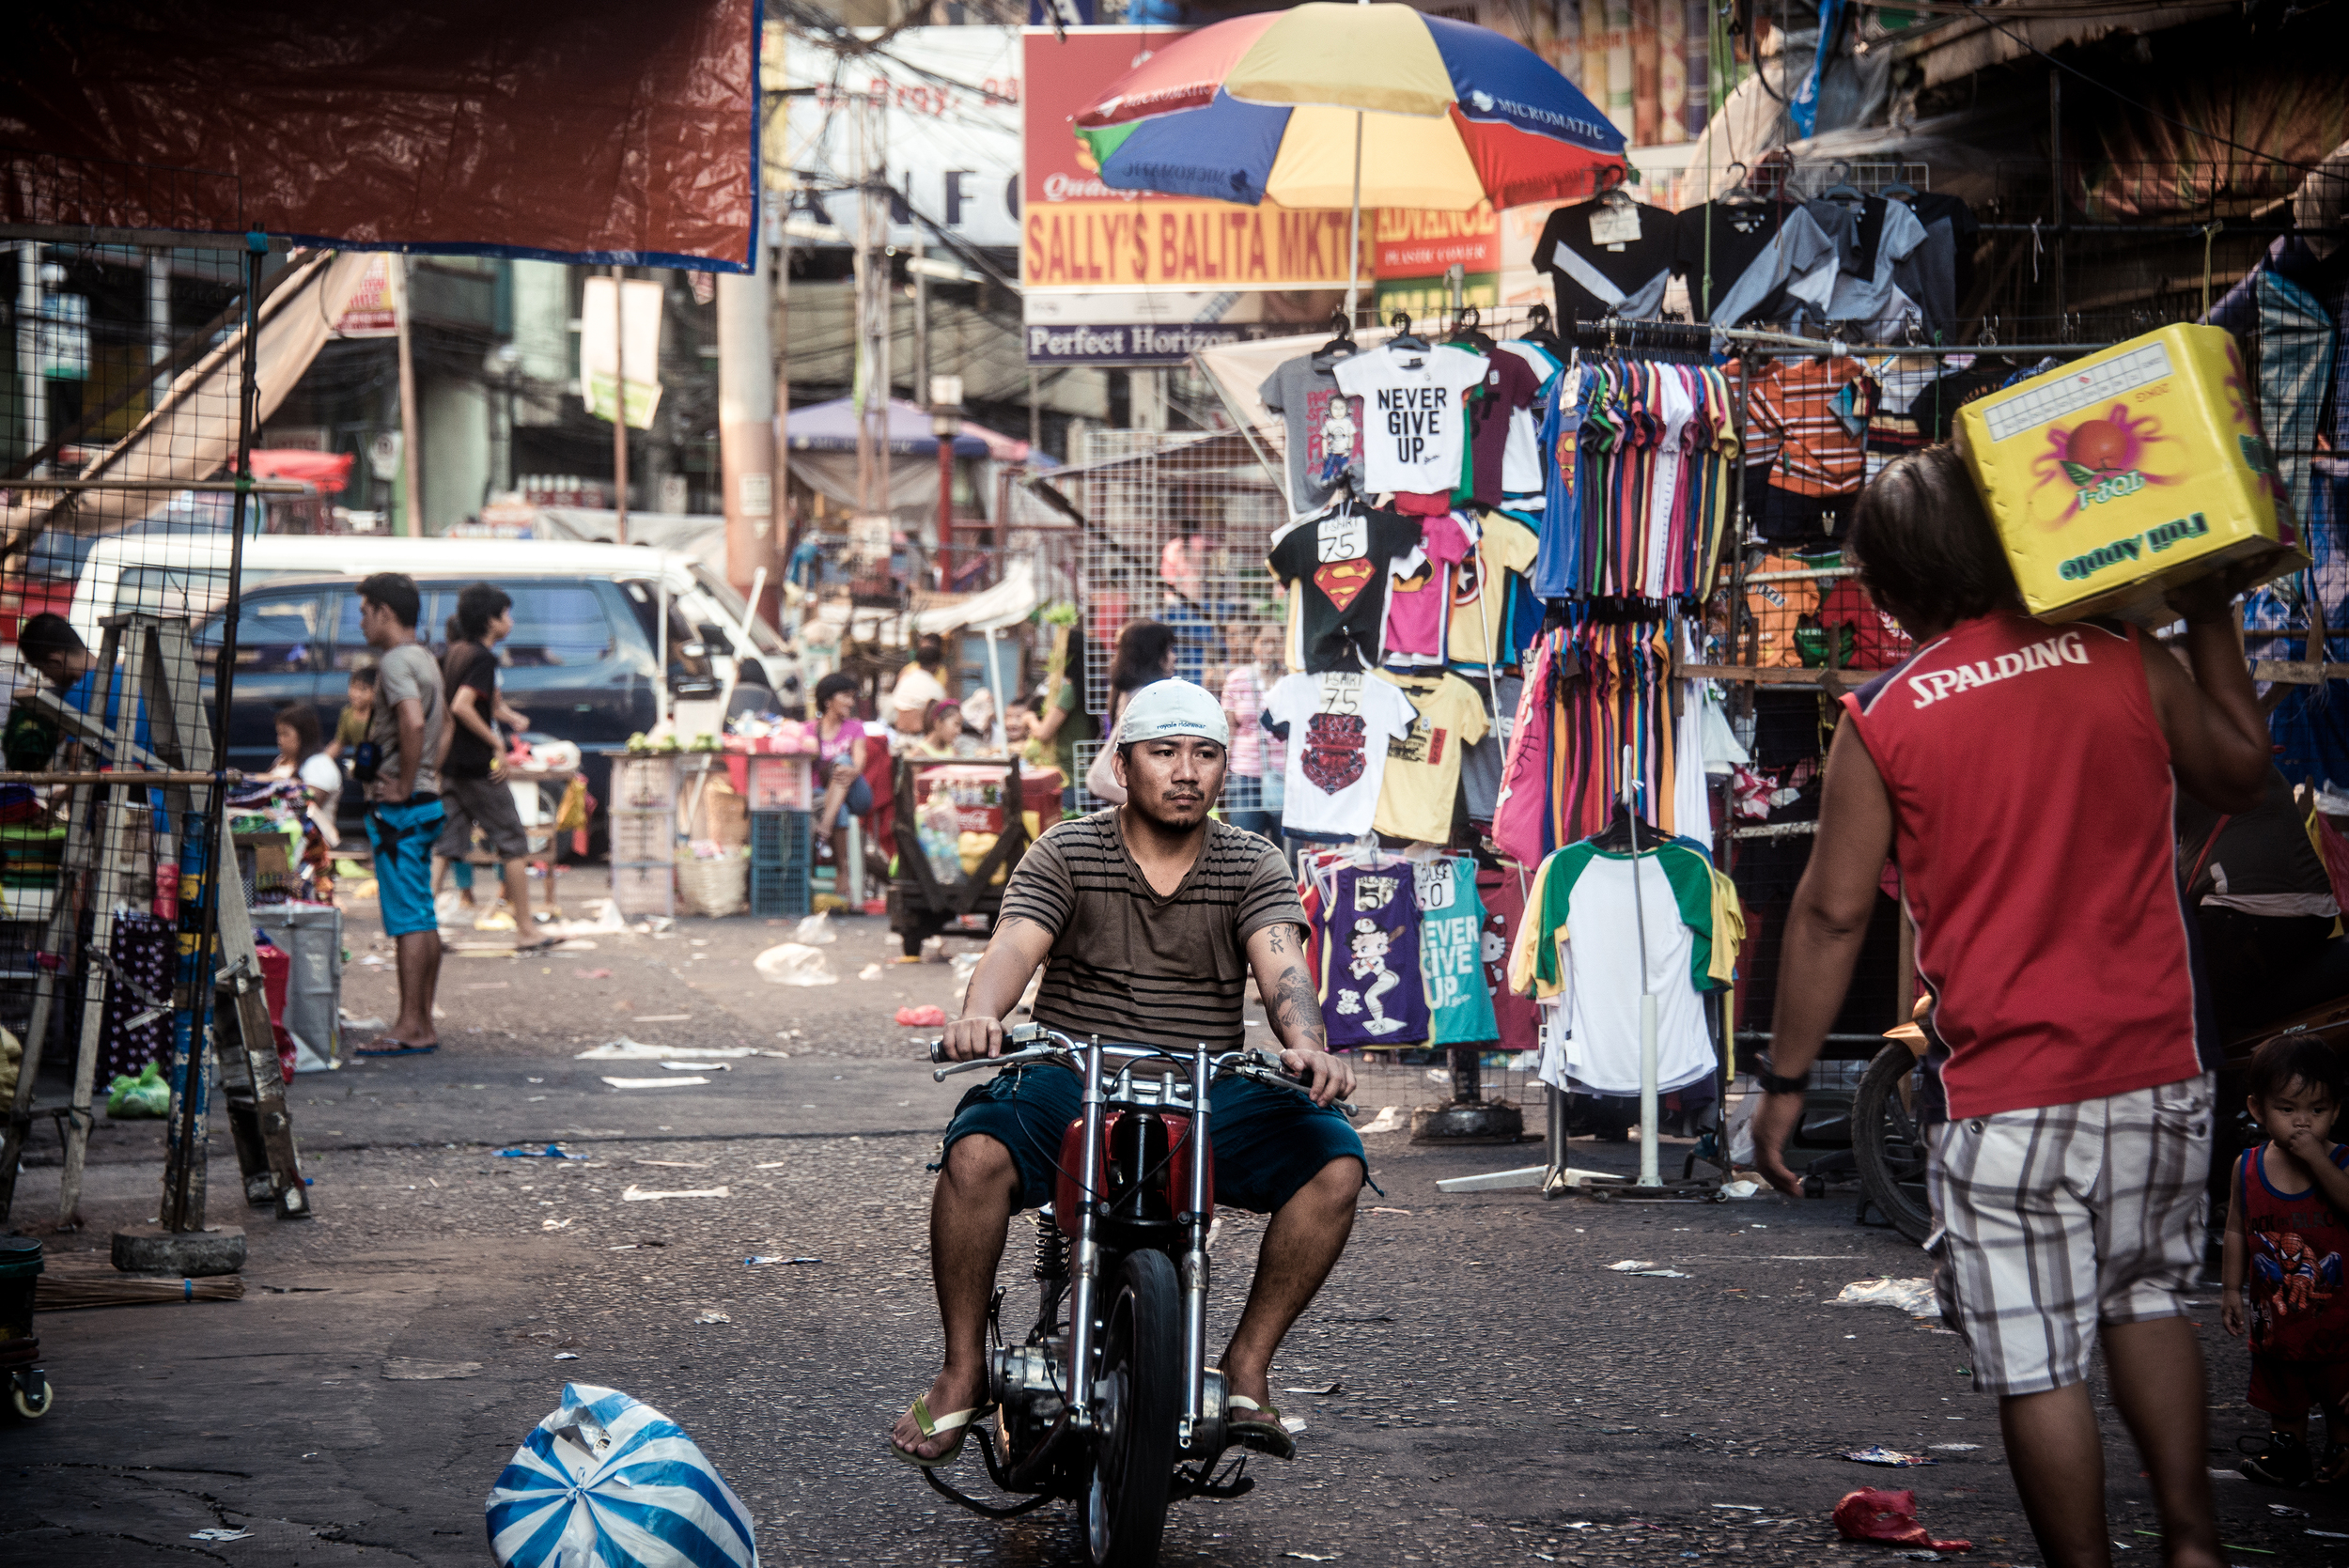
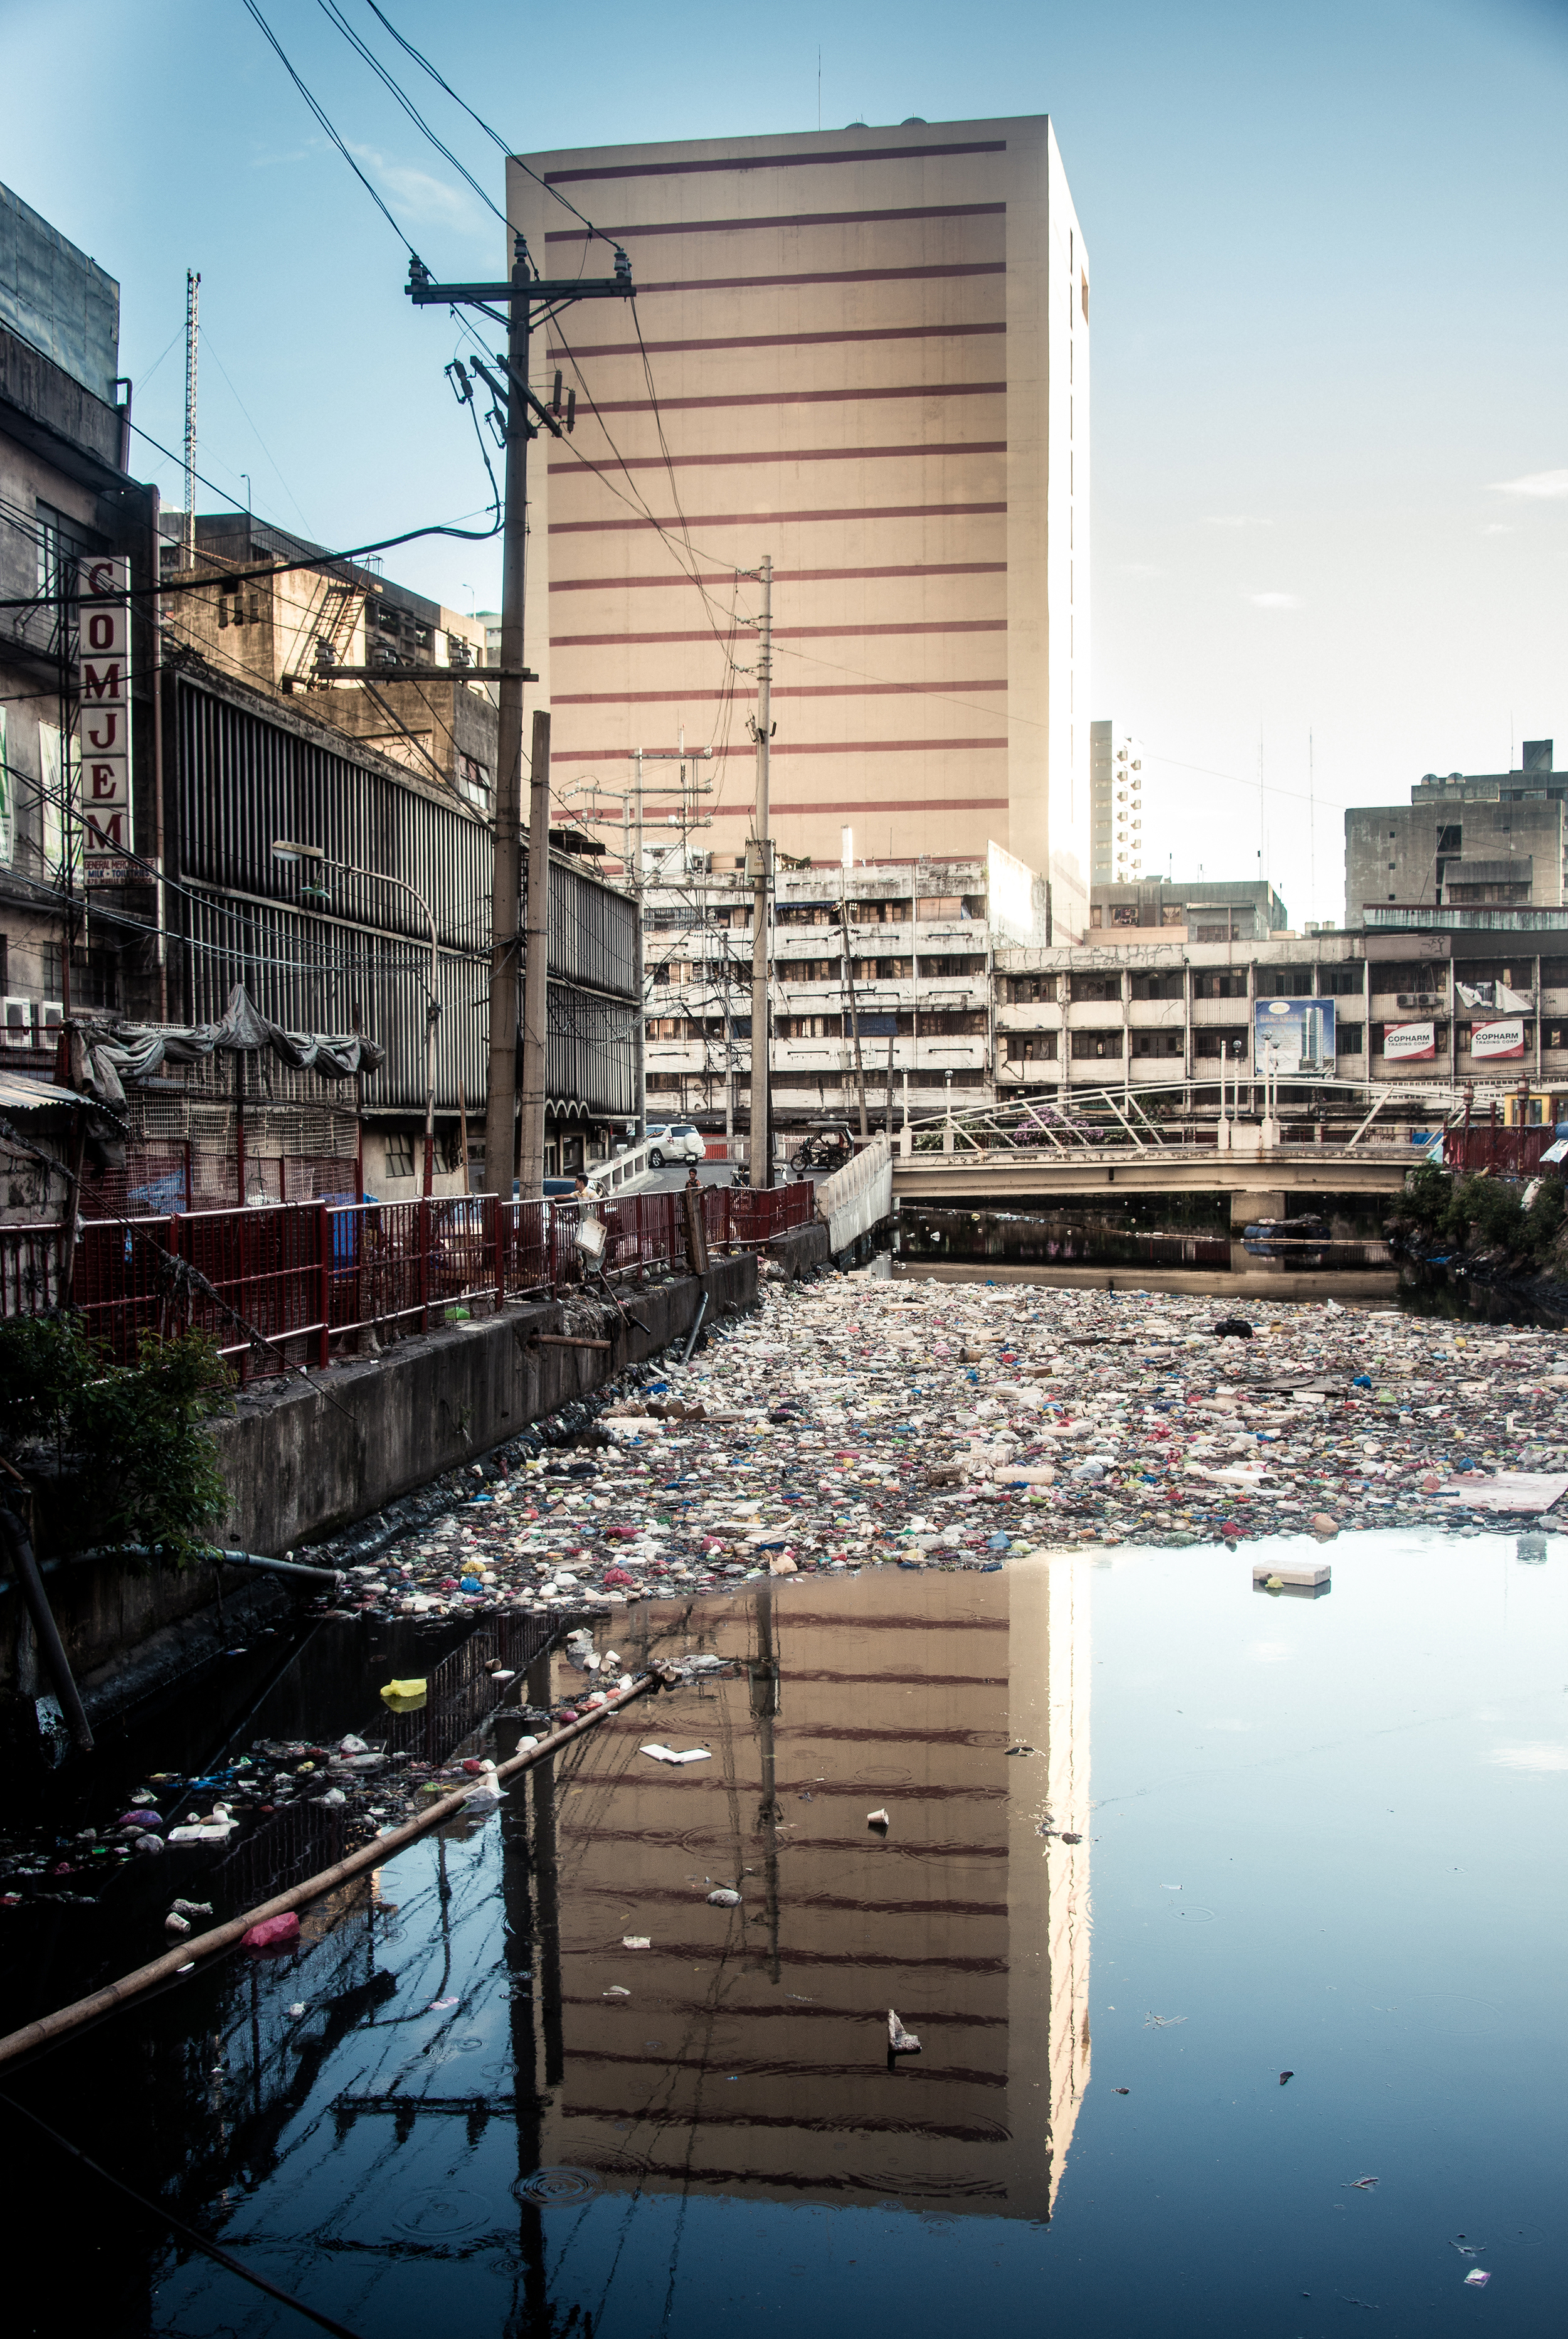
After weeks of architorture, I finally had the chance to fly back home for spring break. I’ve really been meaning to take my camera out because I felt I’ve been neglecting it for way too long. I went on a photowalk with Kay Yang in Binondo and it was an amazing experience altogether. Binondo is Manila’s very own version of Chinatown. I did not know this but it is also the oldest Chinatown in the world established in 1594.

For all the photographers out there, Binondo should be on your list of photowalks. The place is packed with everything that defines interesting including the culture and the people. The people there are also the nicest group of people I have ever photographed. Only in the Philippines do you get people that not only approach you to be photographed but also thank you afterwards.

I edited these photos mainly using Adobe Photoshop and Lightroom 4. I also used Portrait Professional Studio for retouching. If you have more questions on how I produced these images, feel free to comment here or post on my wall on facebook.

website | facebook | flickr | behance instagram

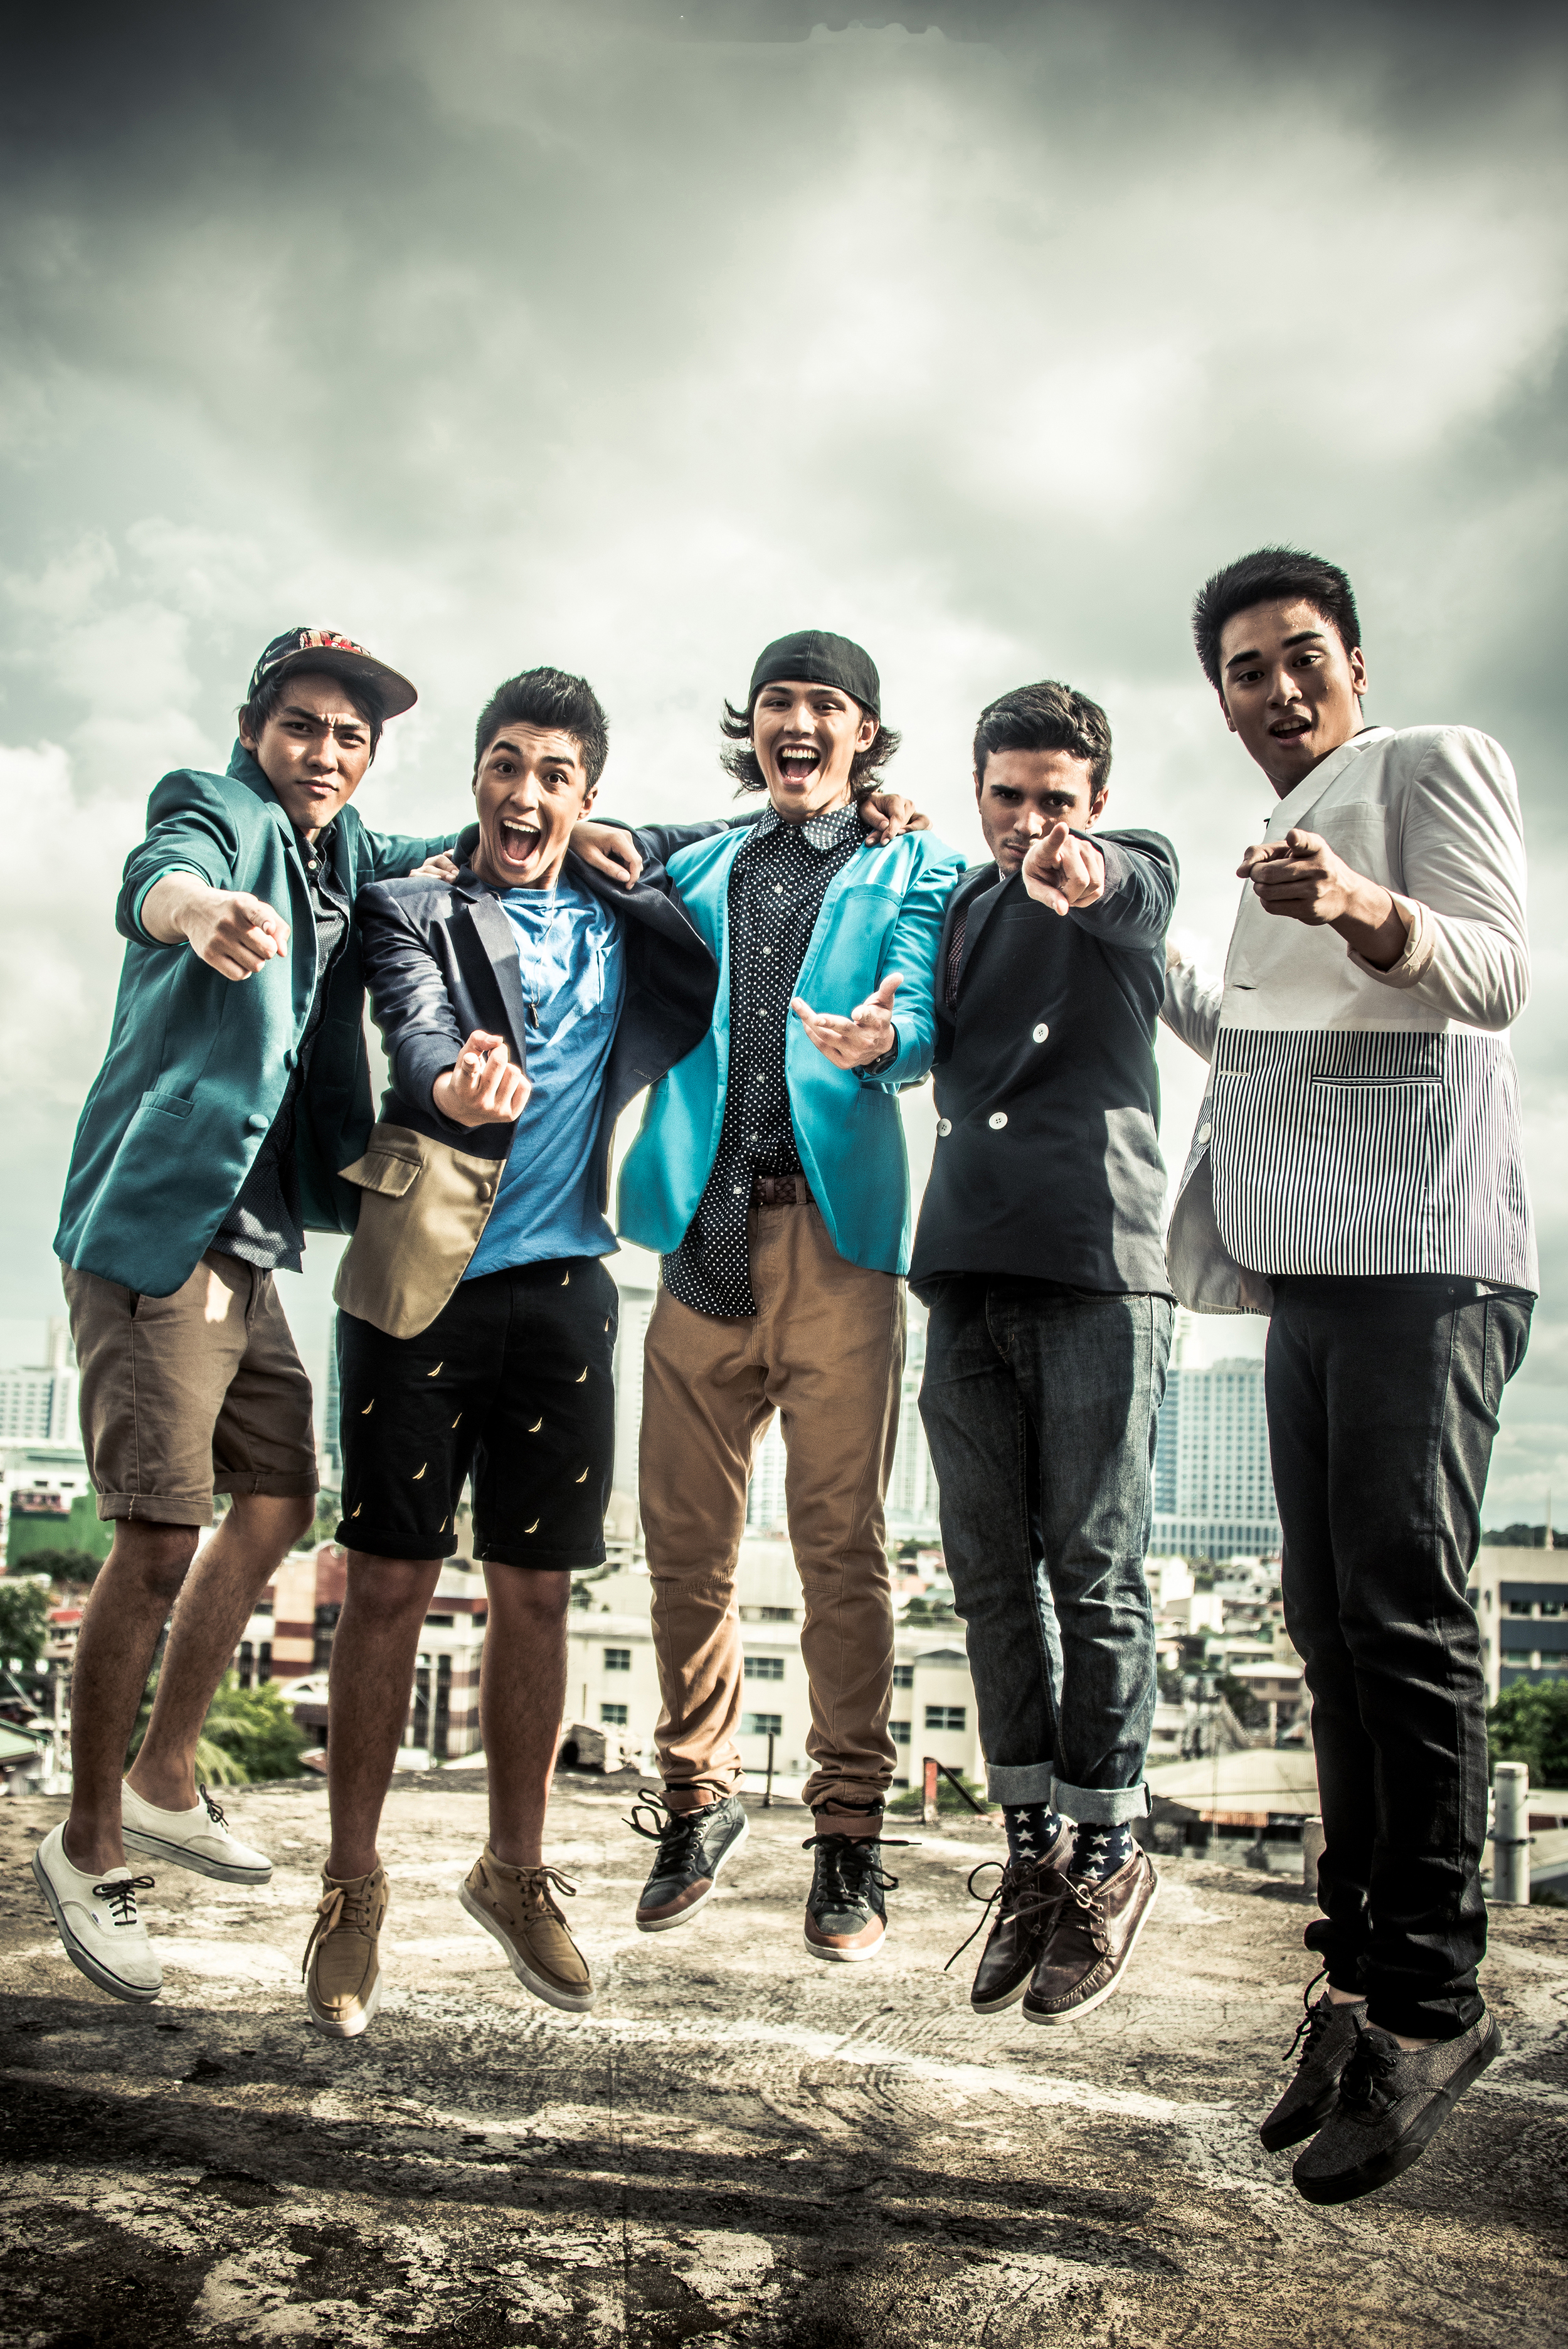
Fifth Code: The Good Life

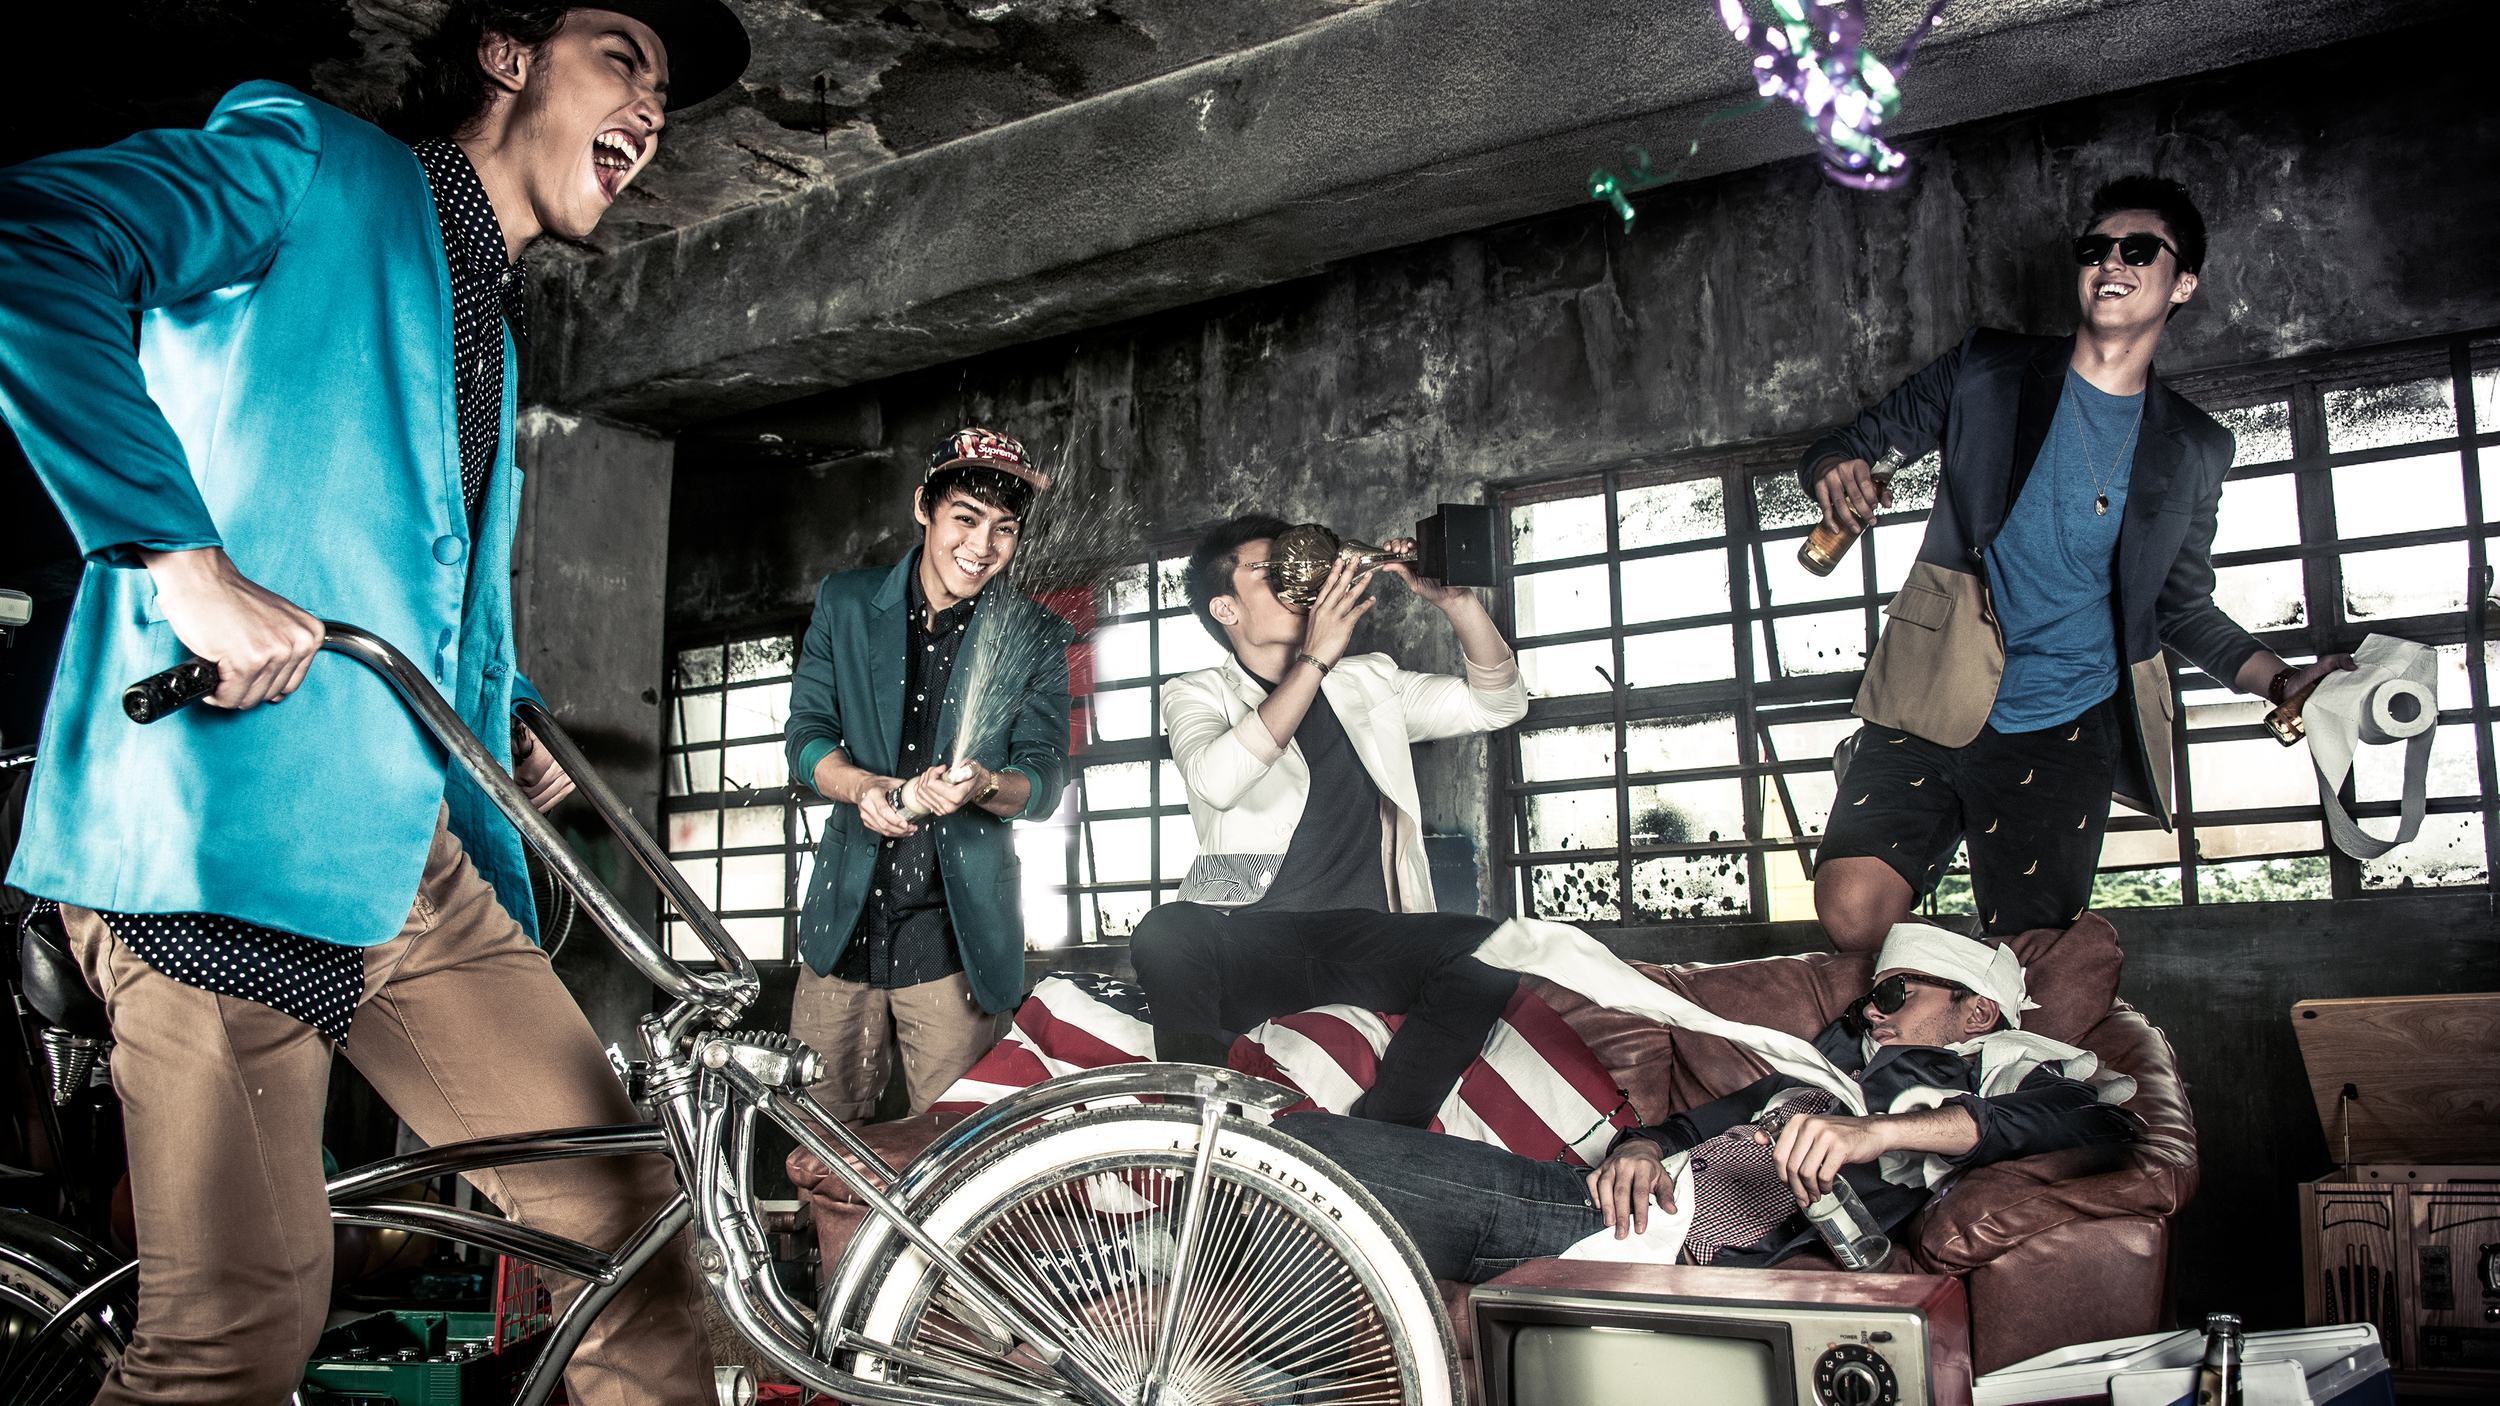
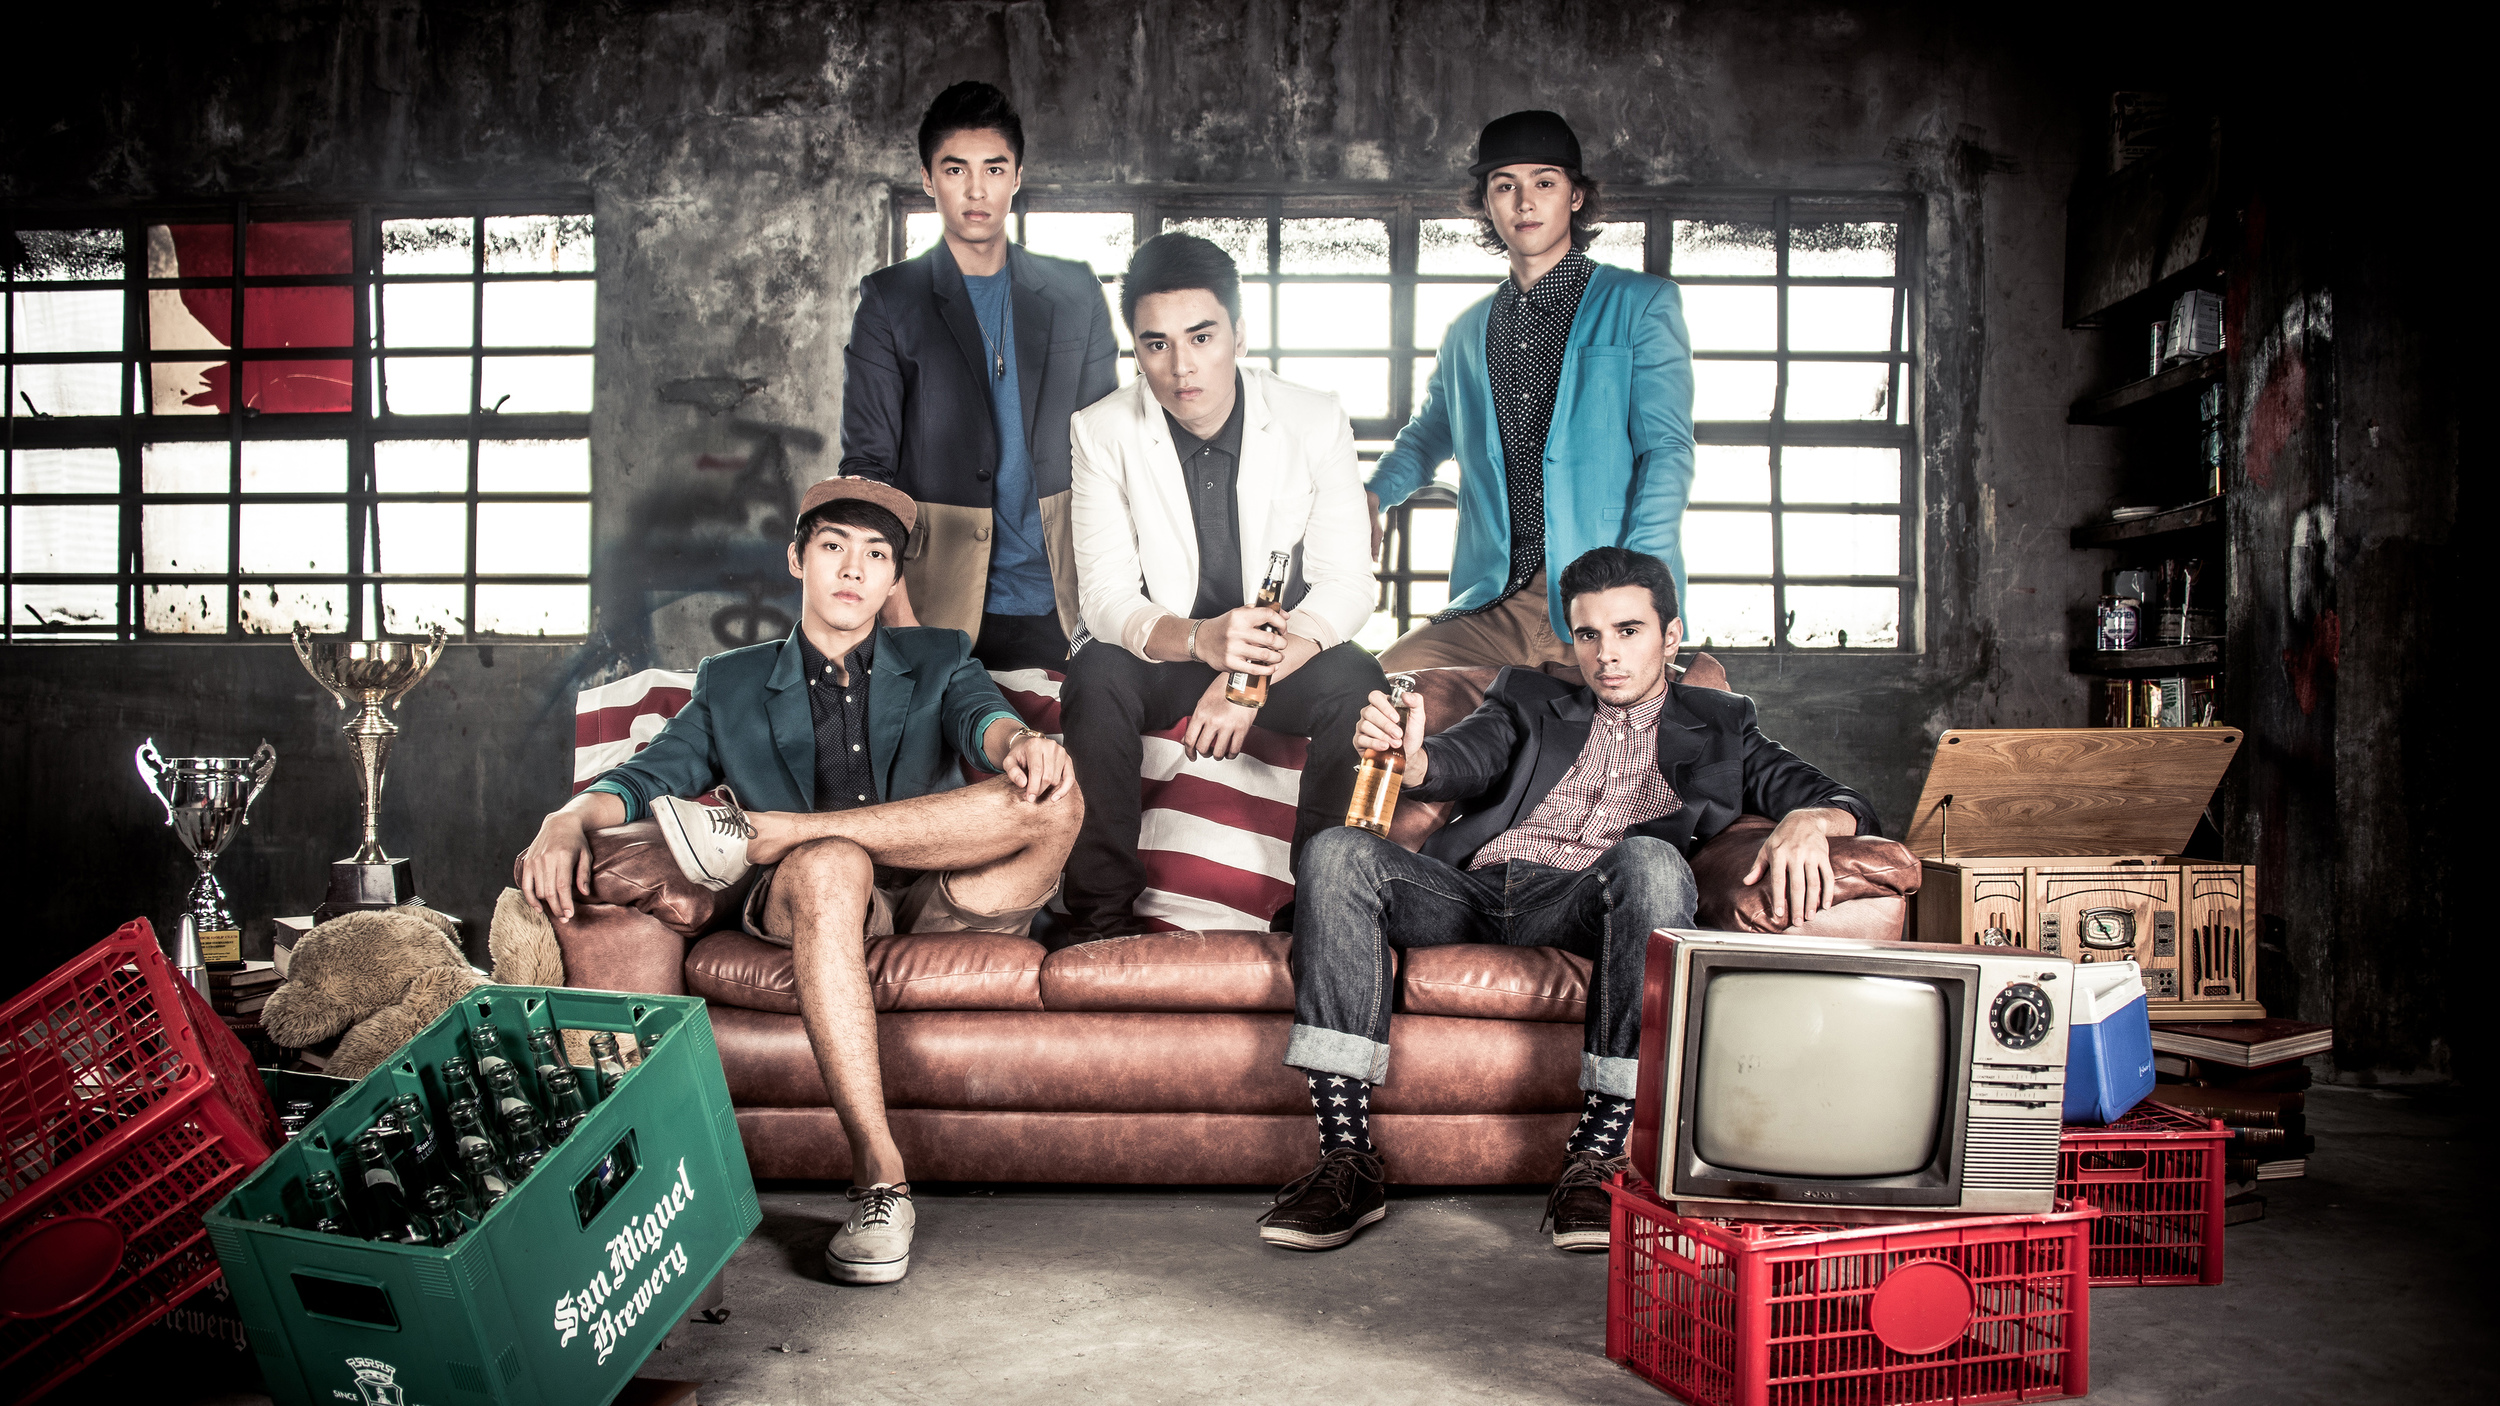
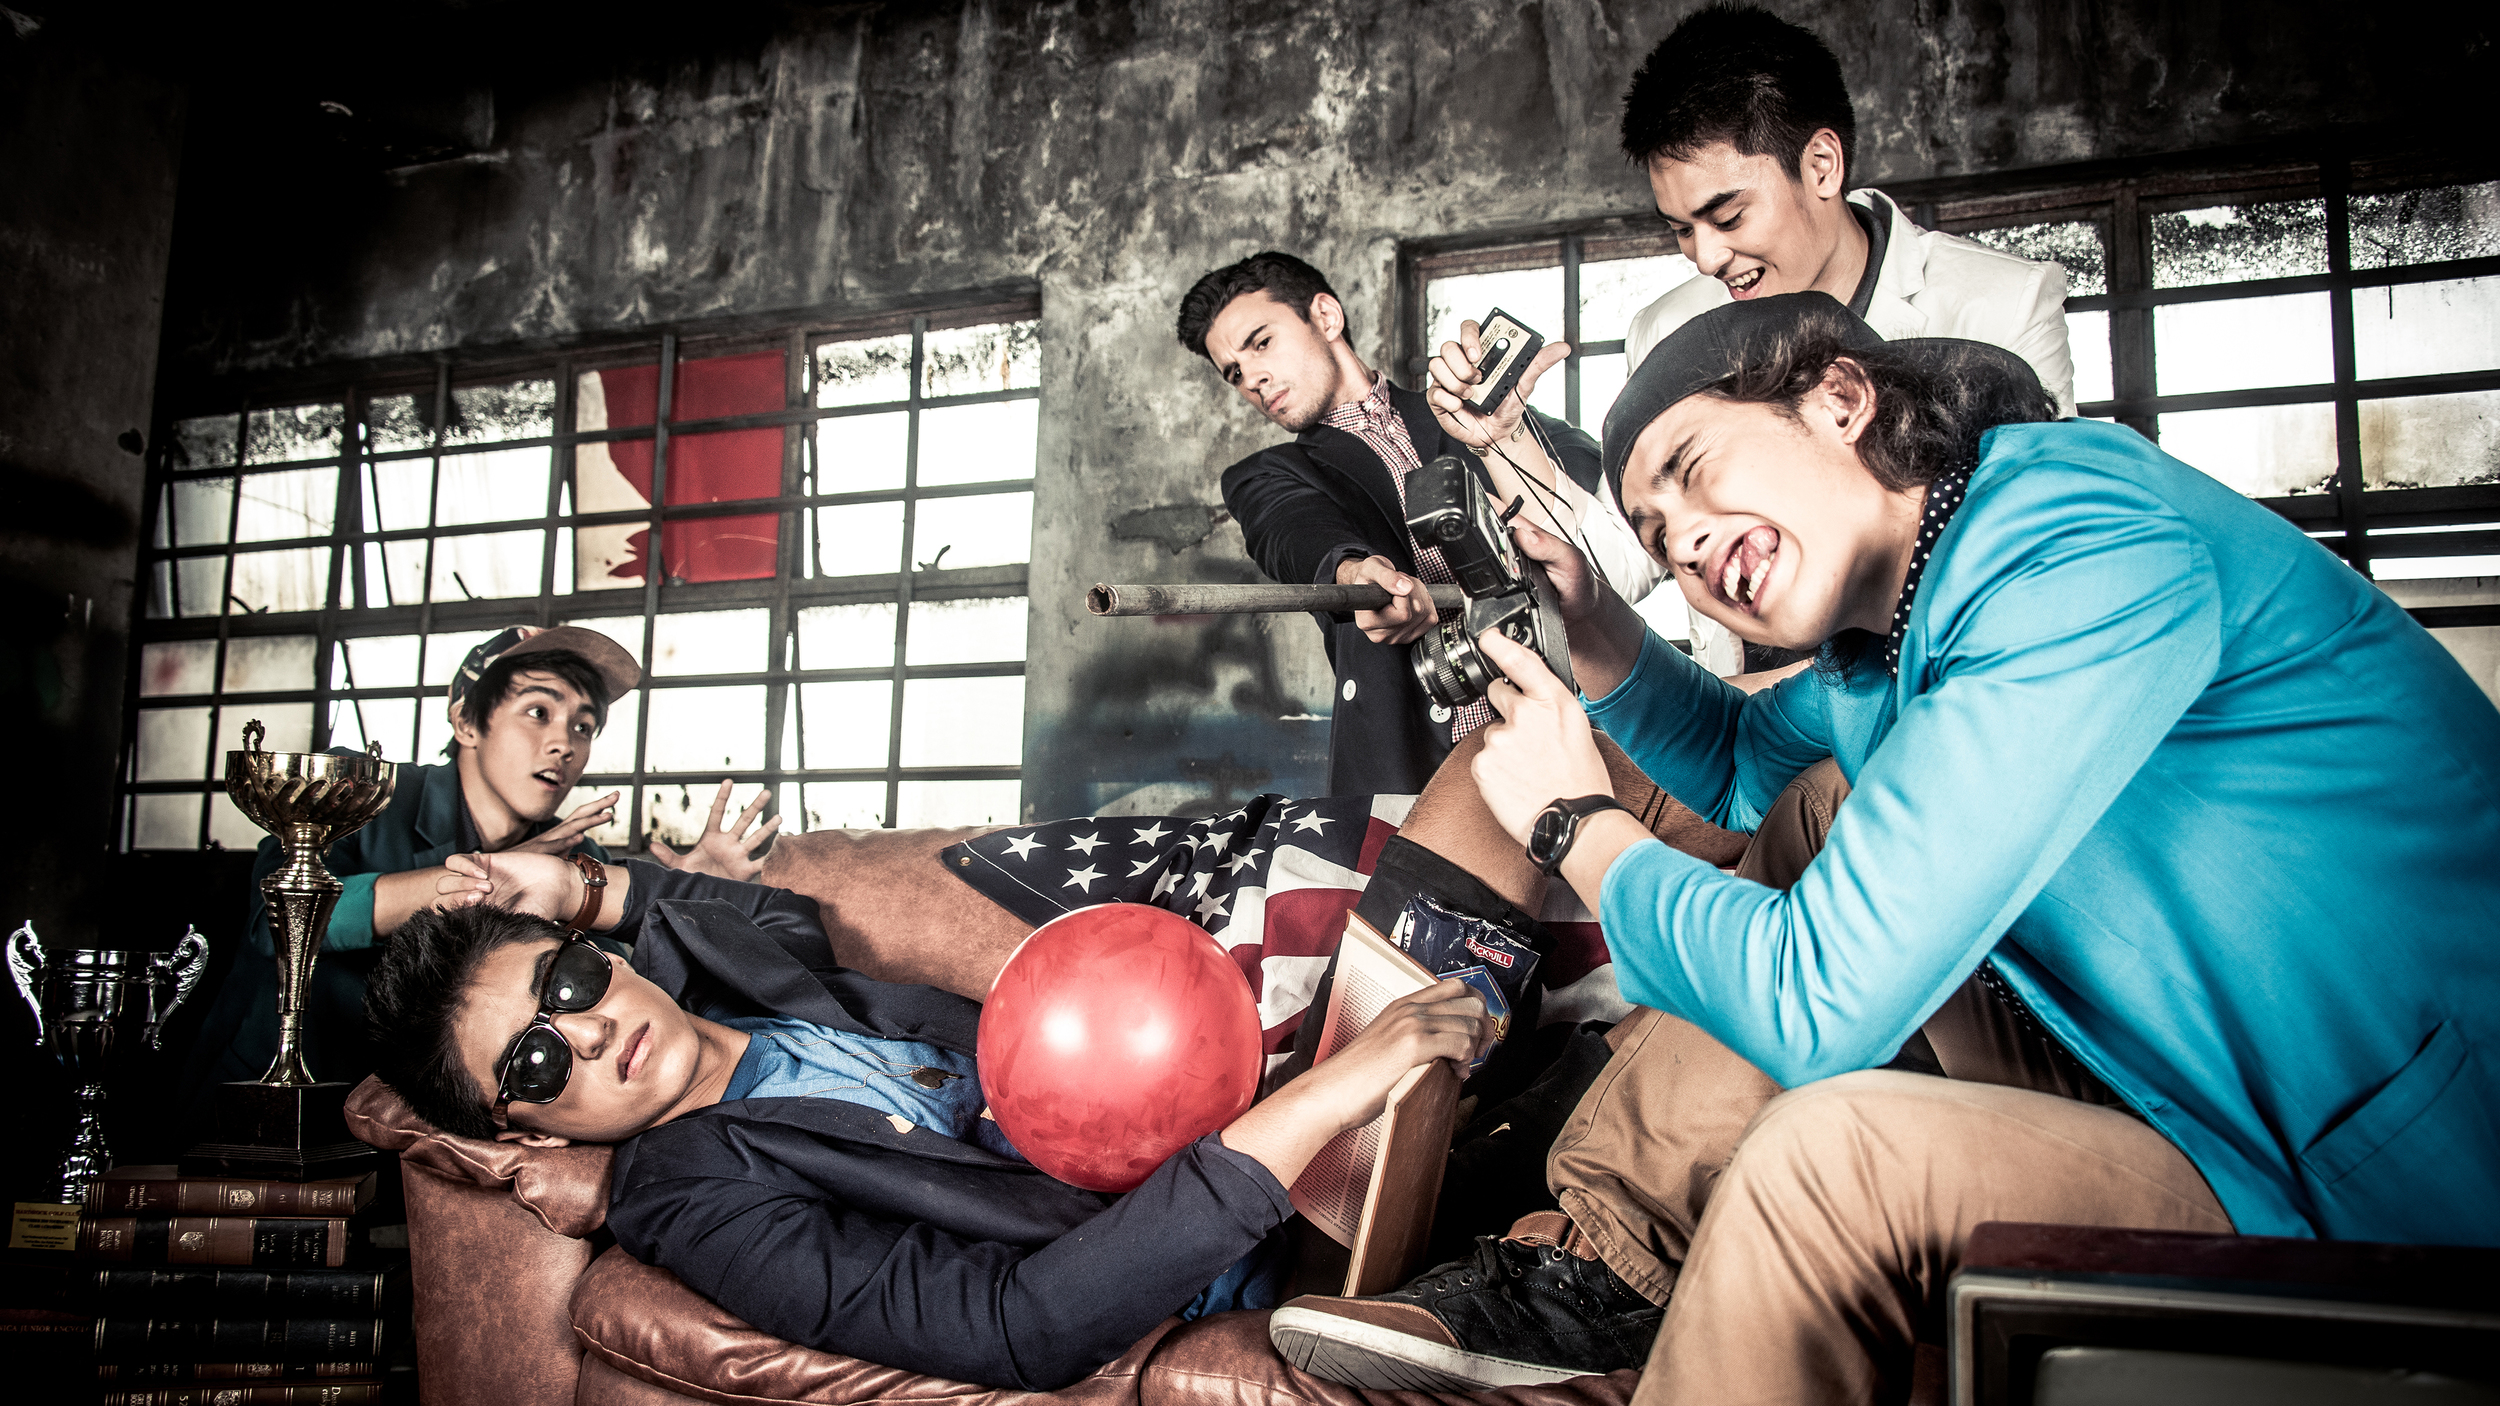
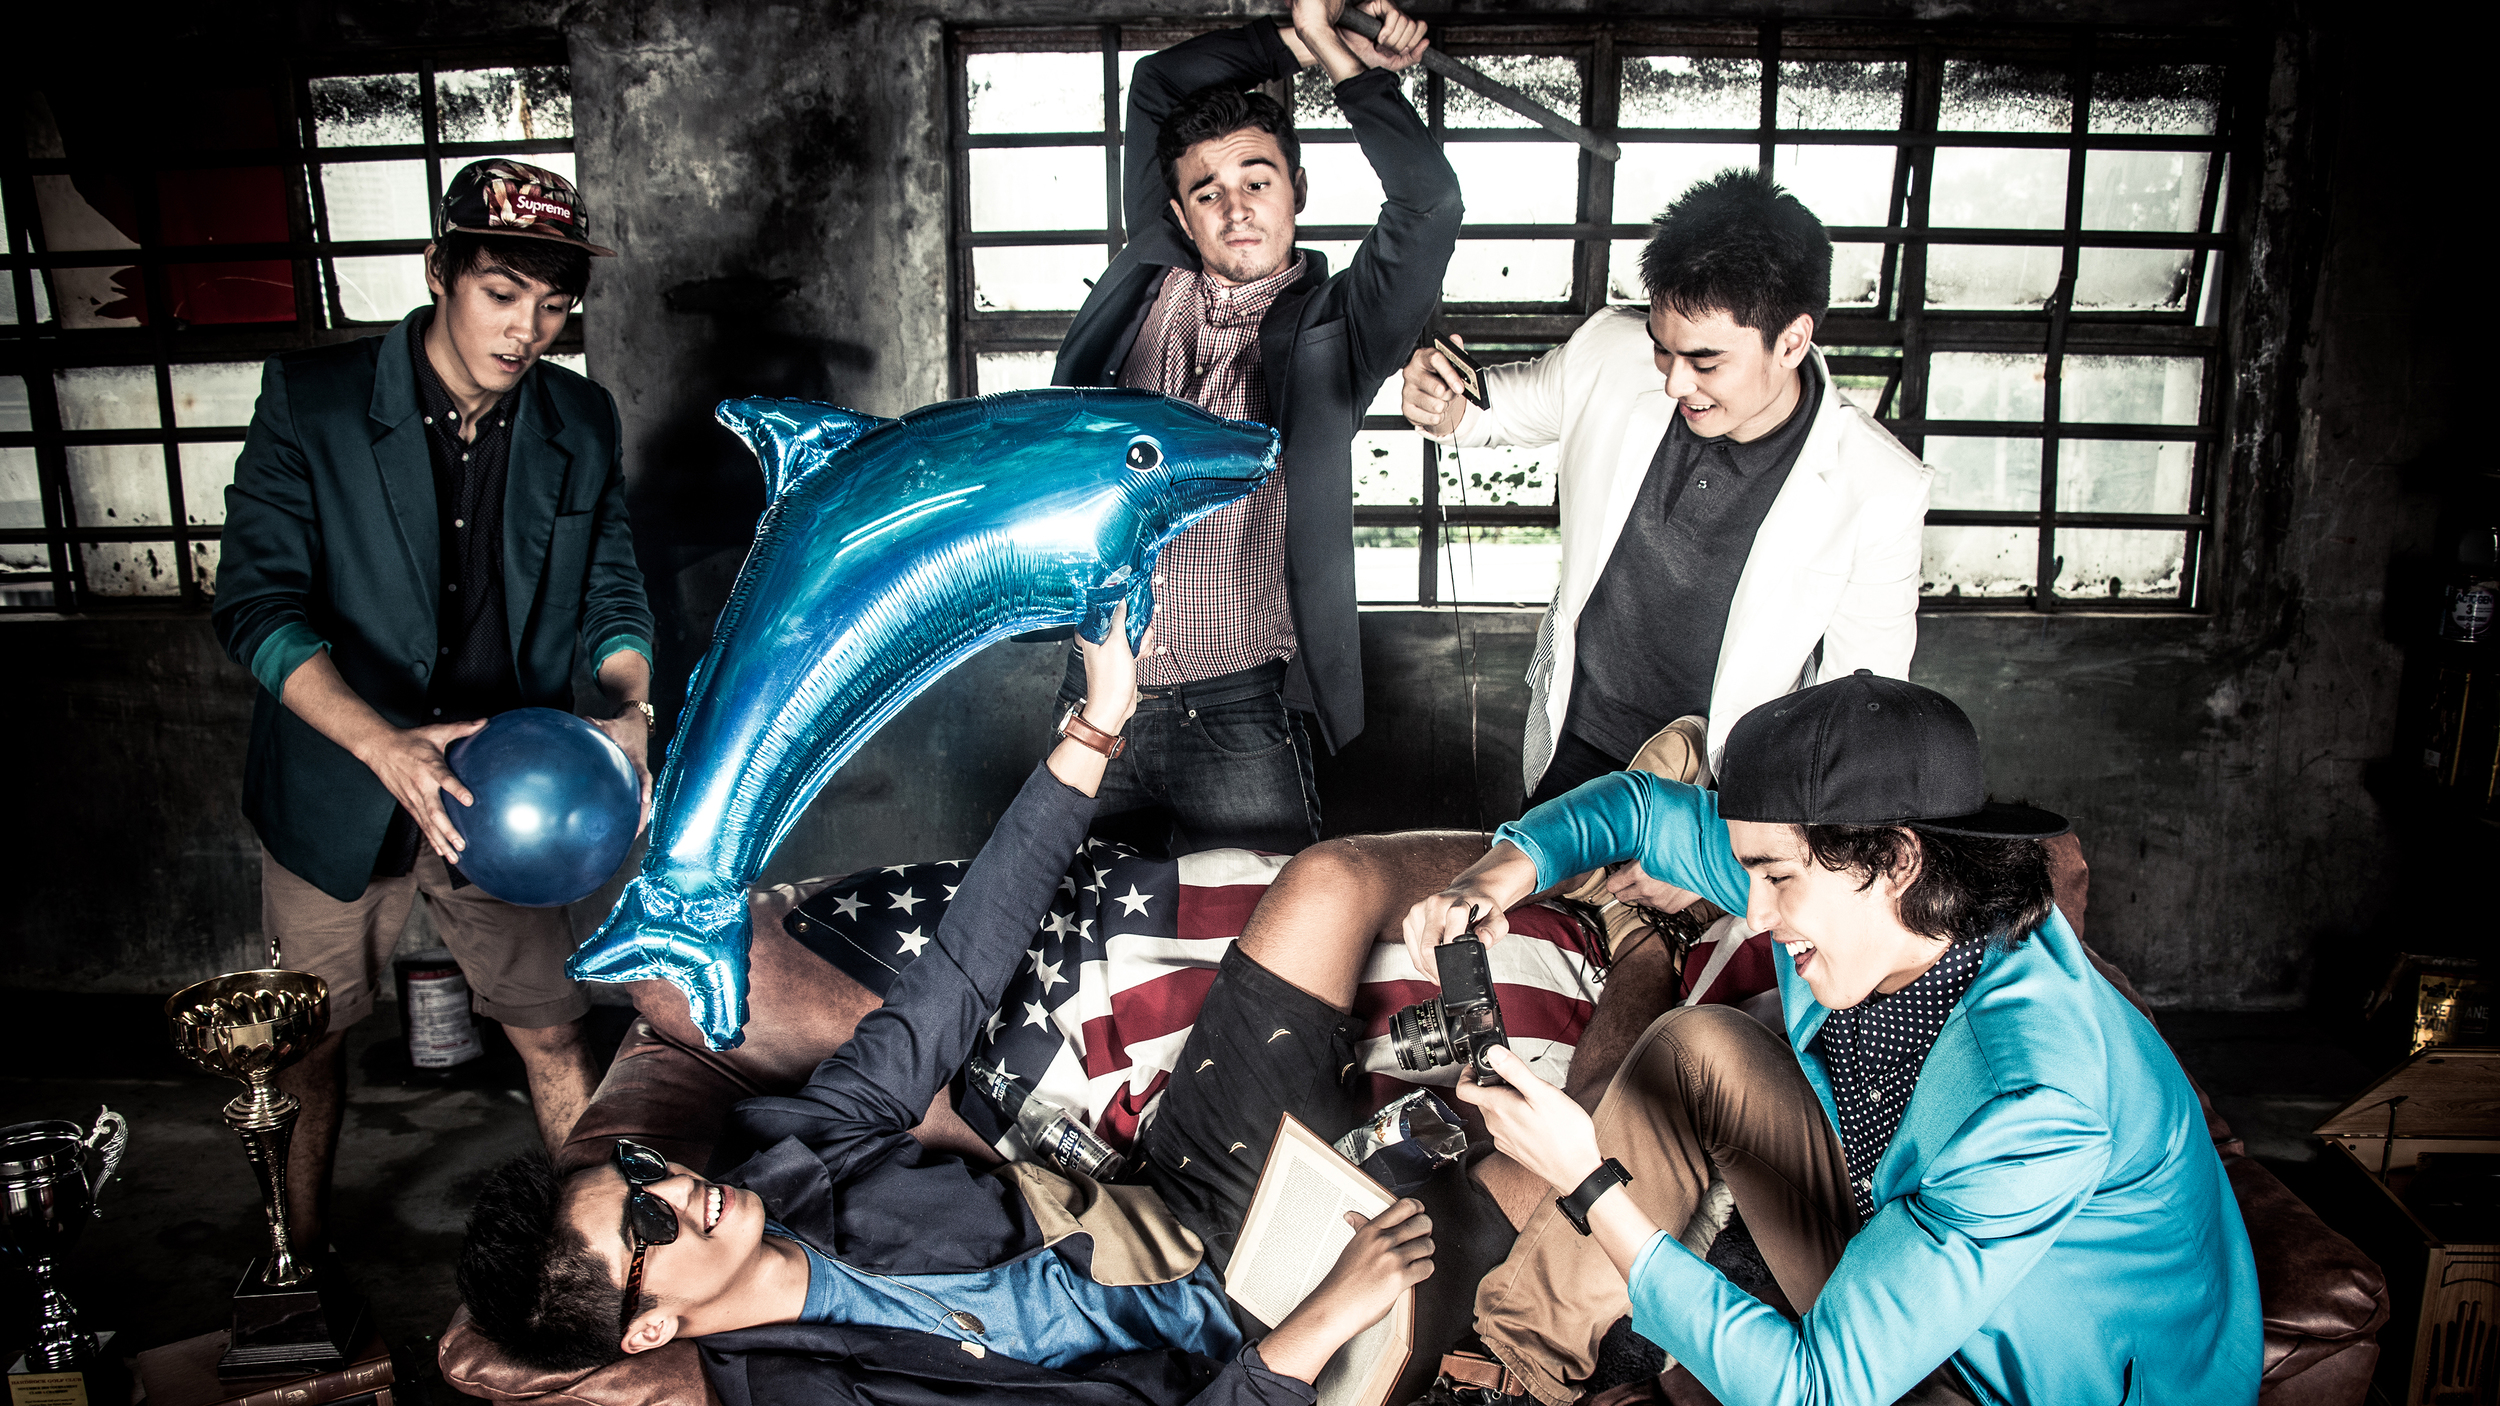
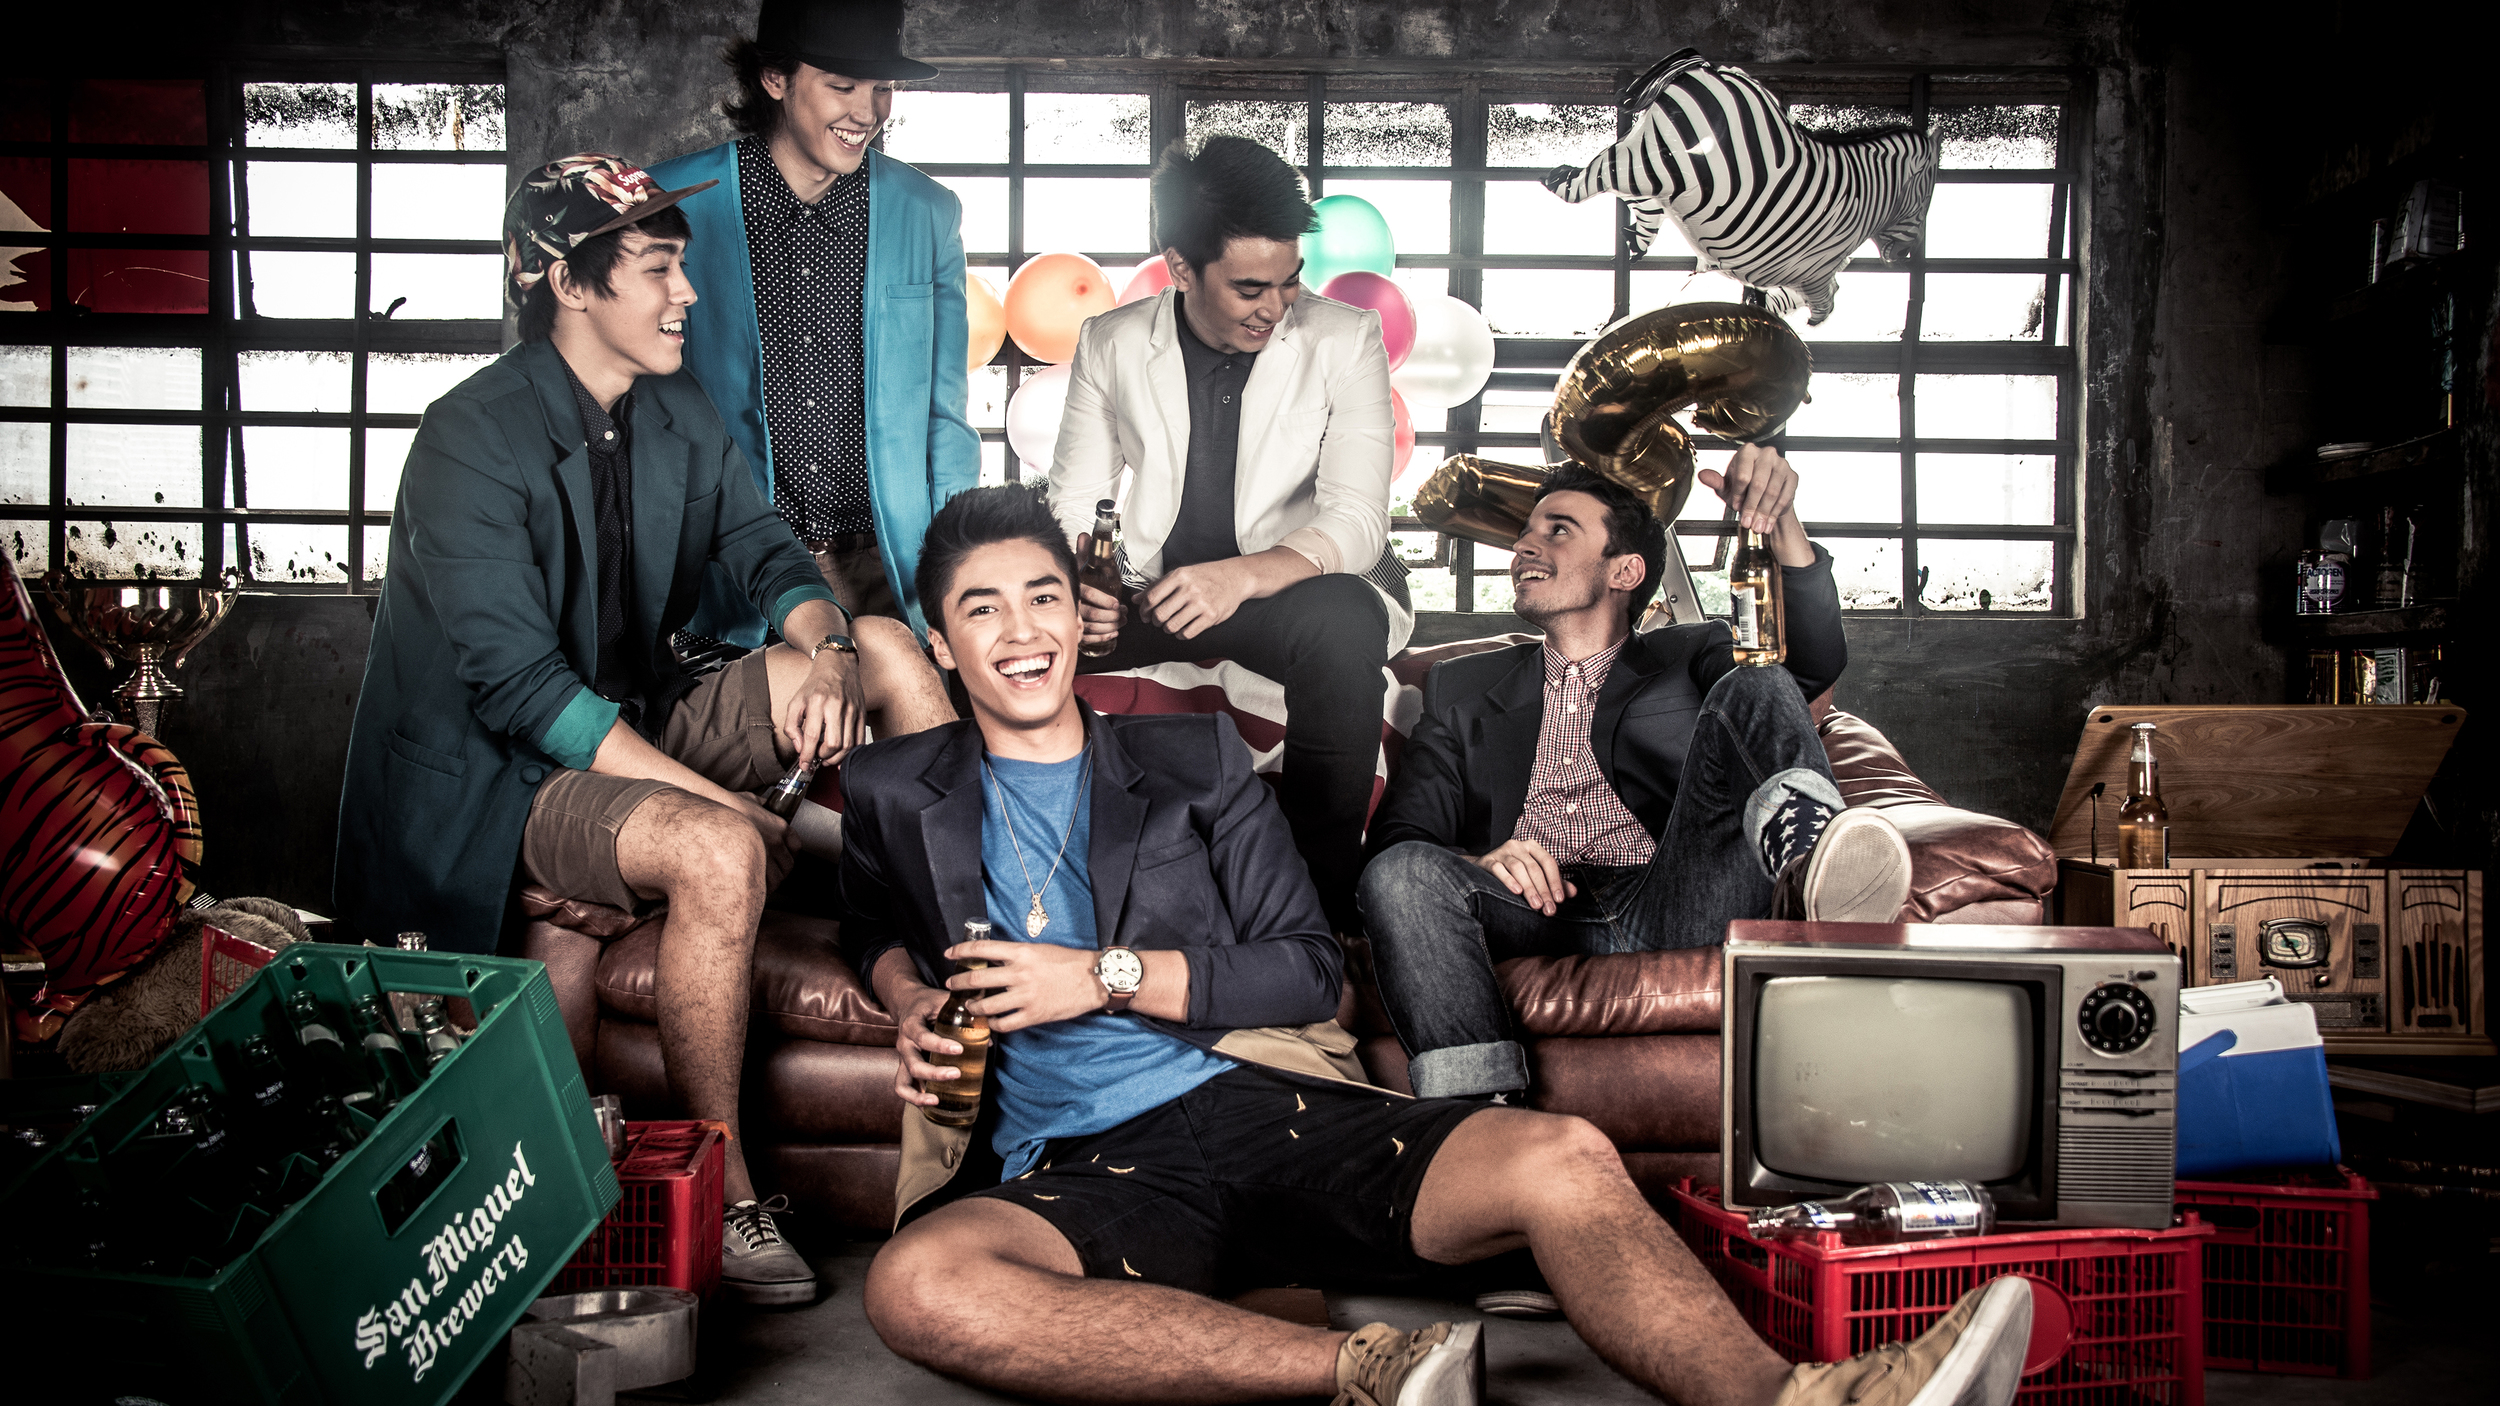
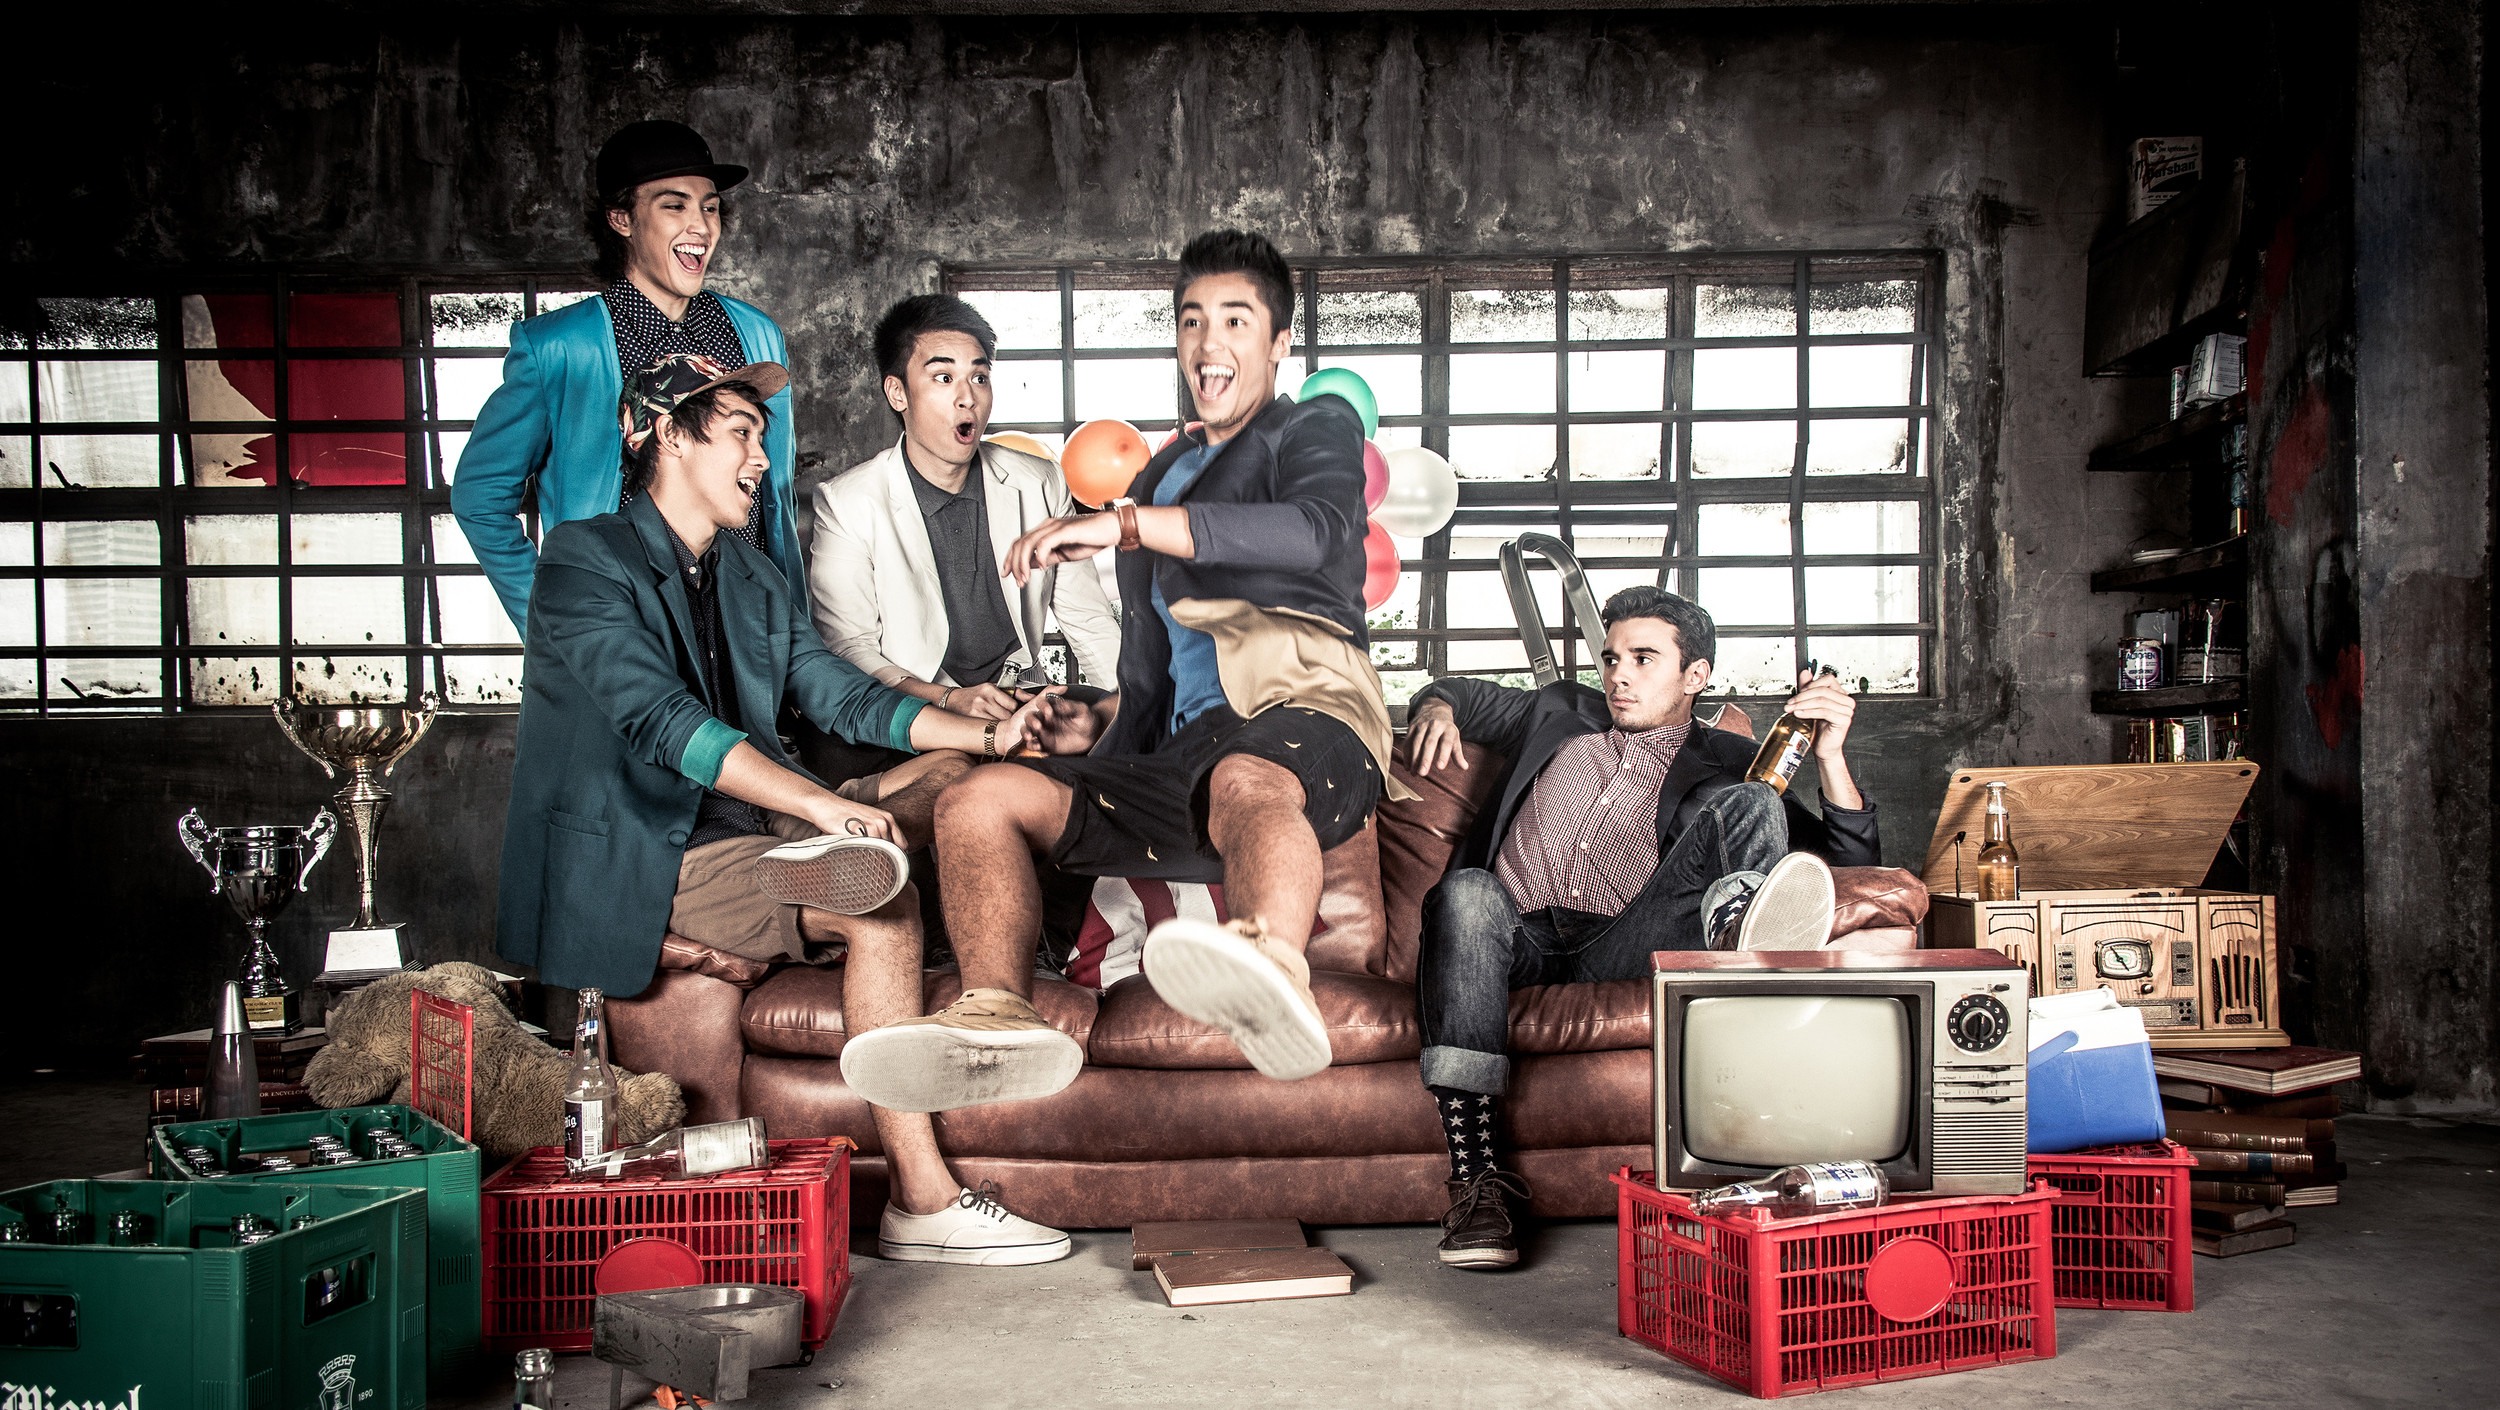
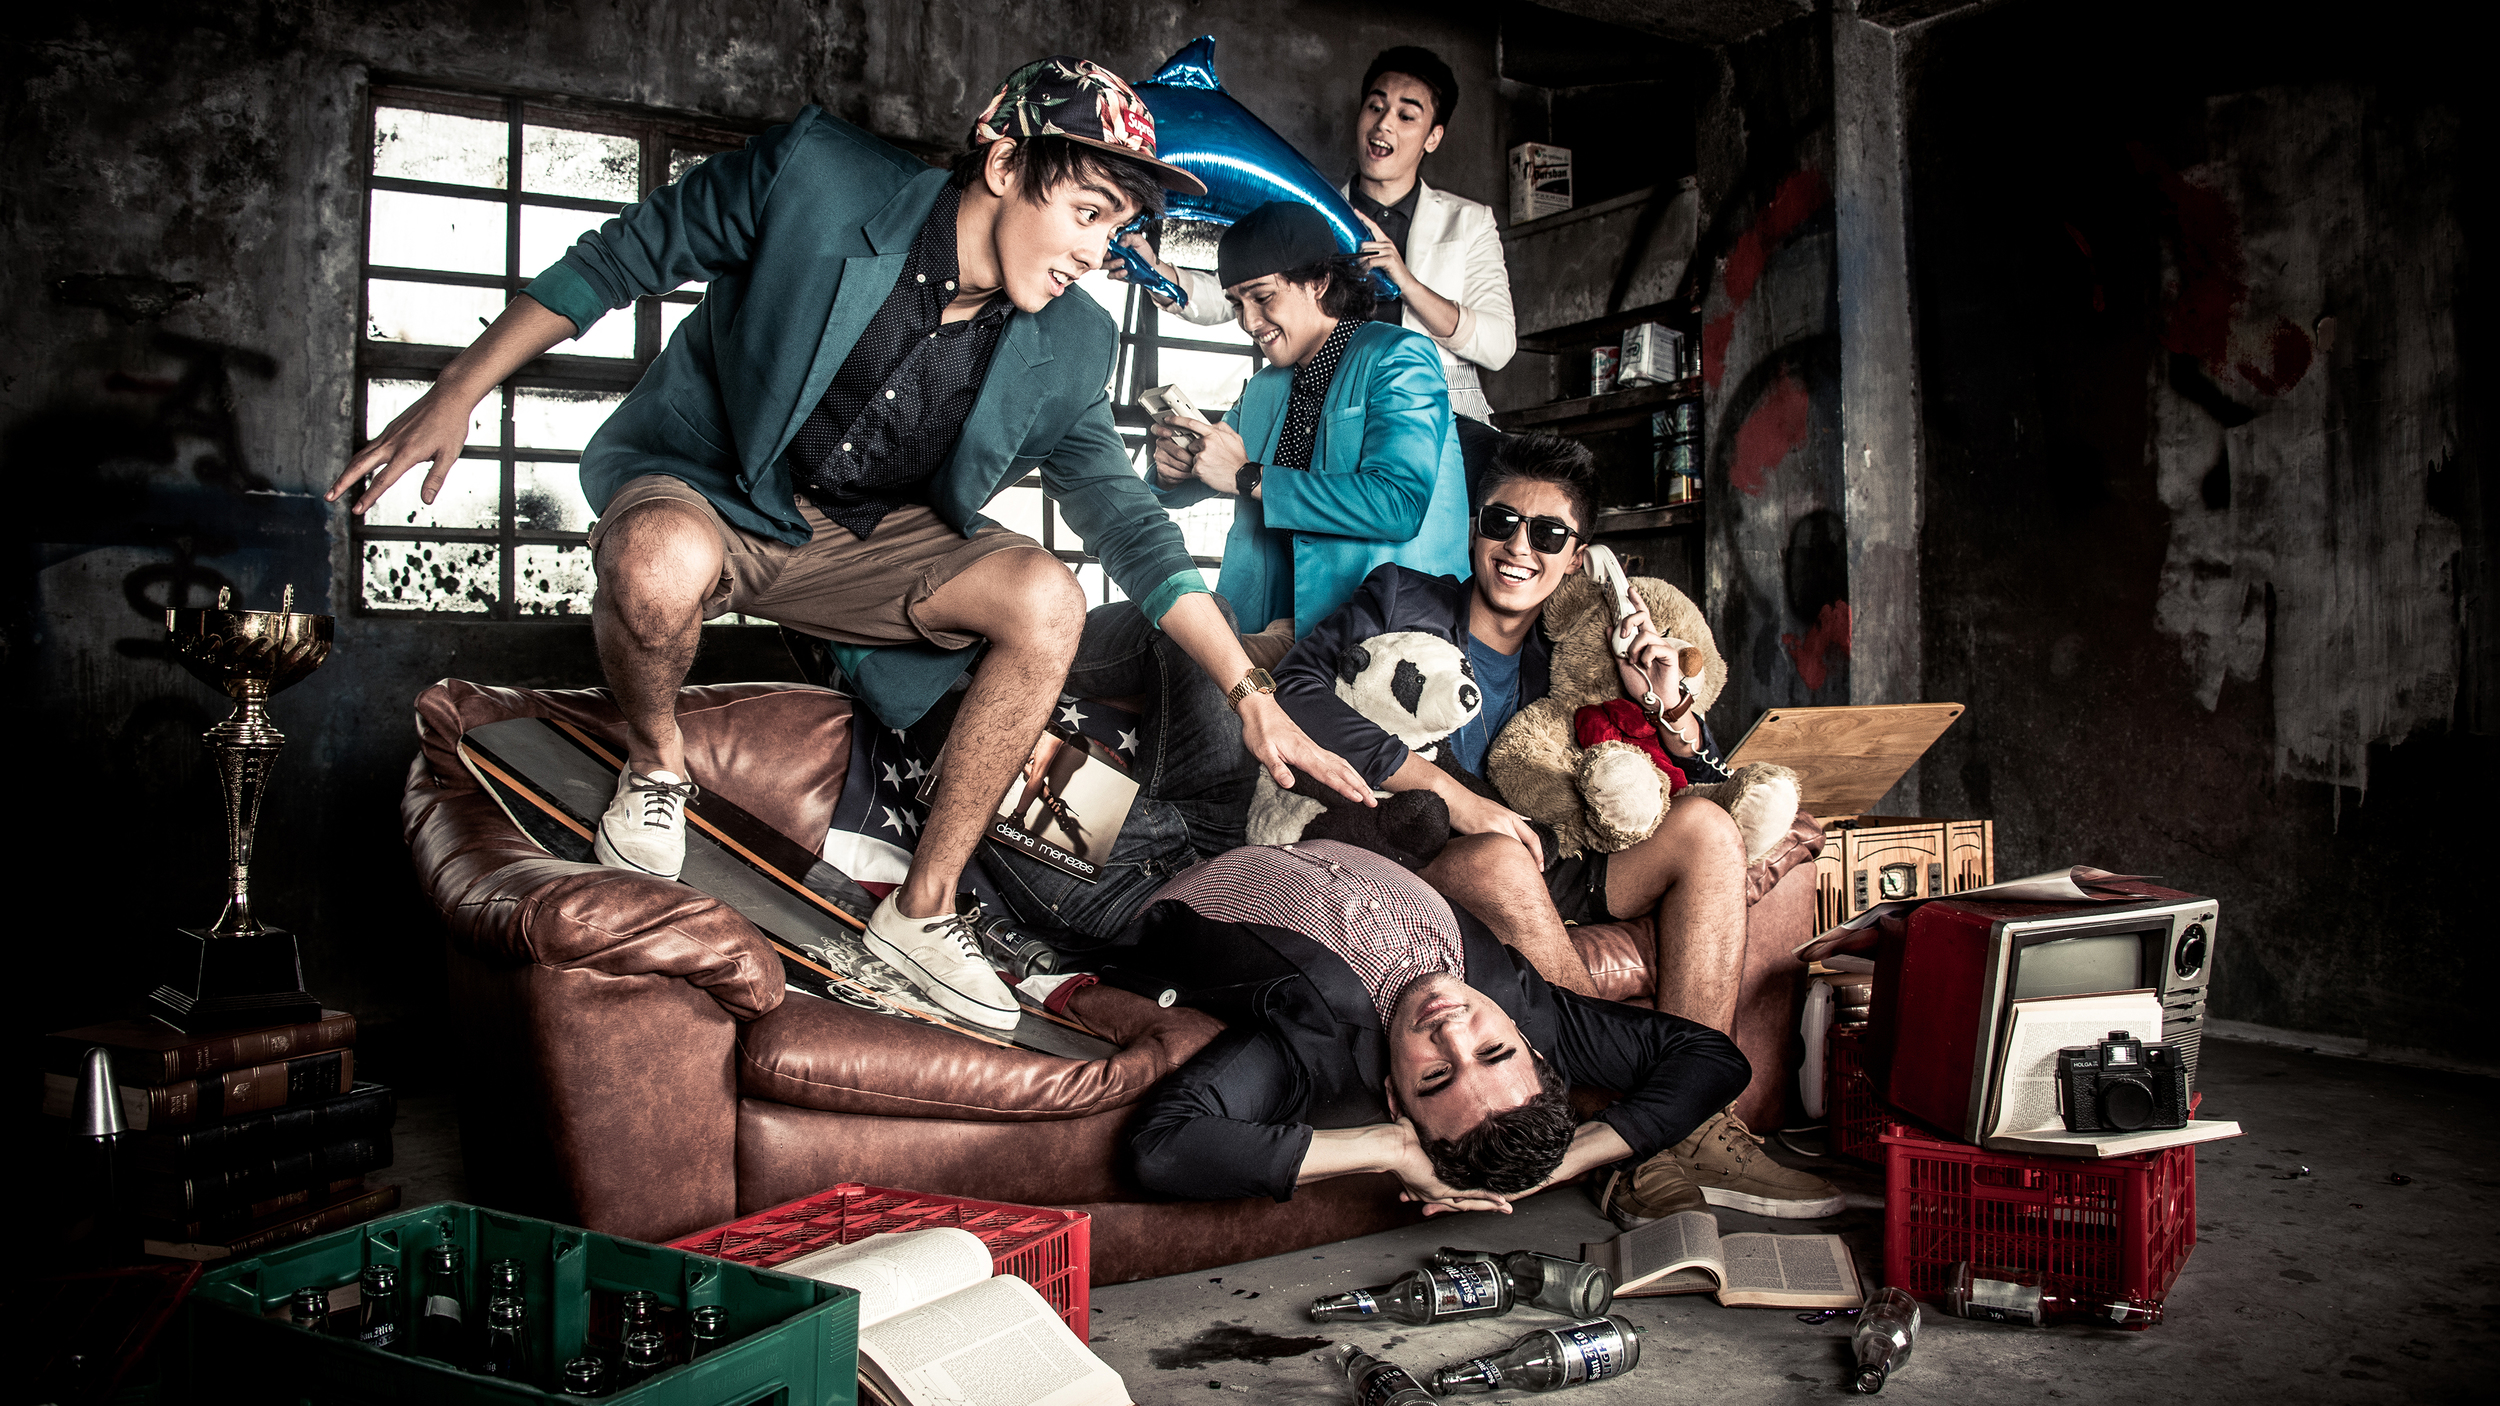
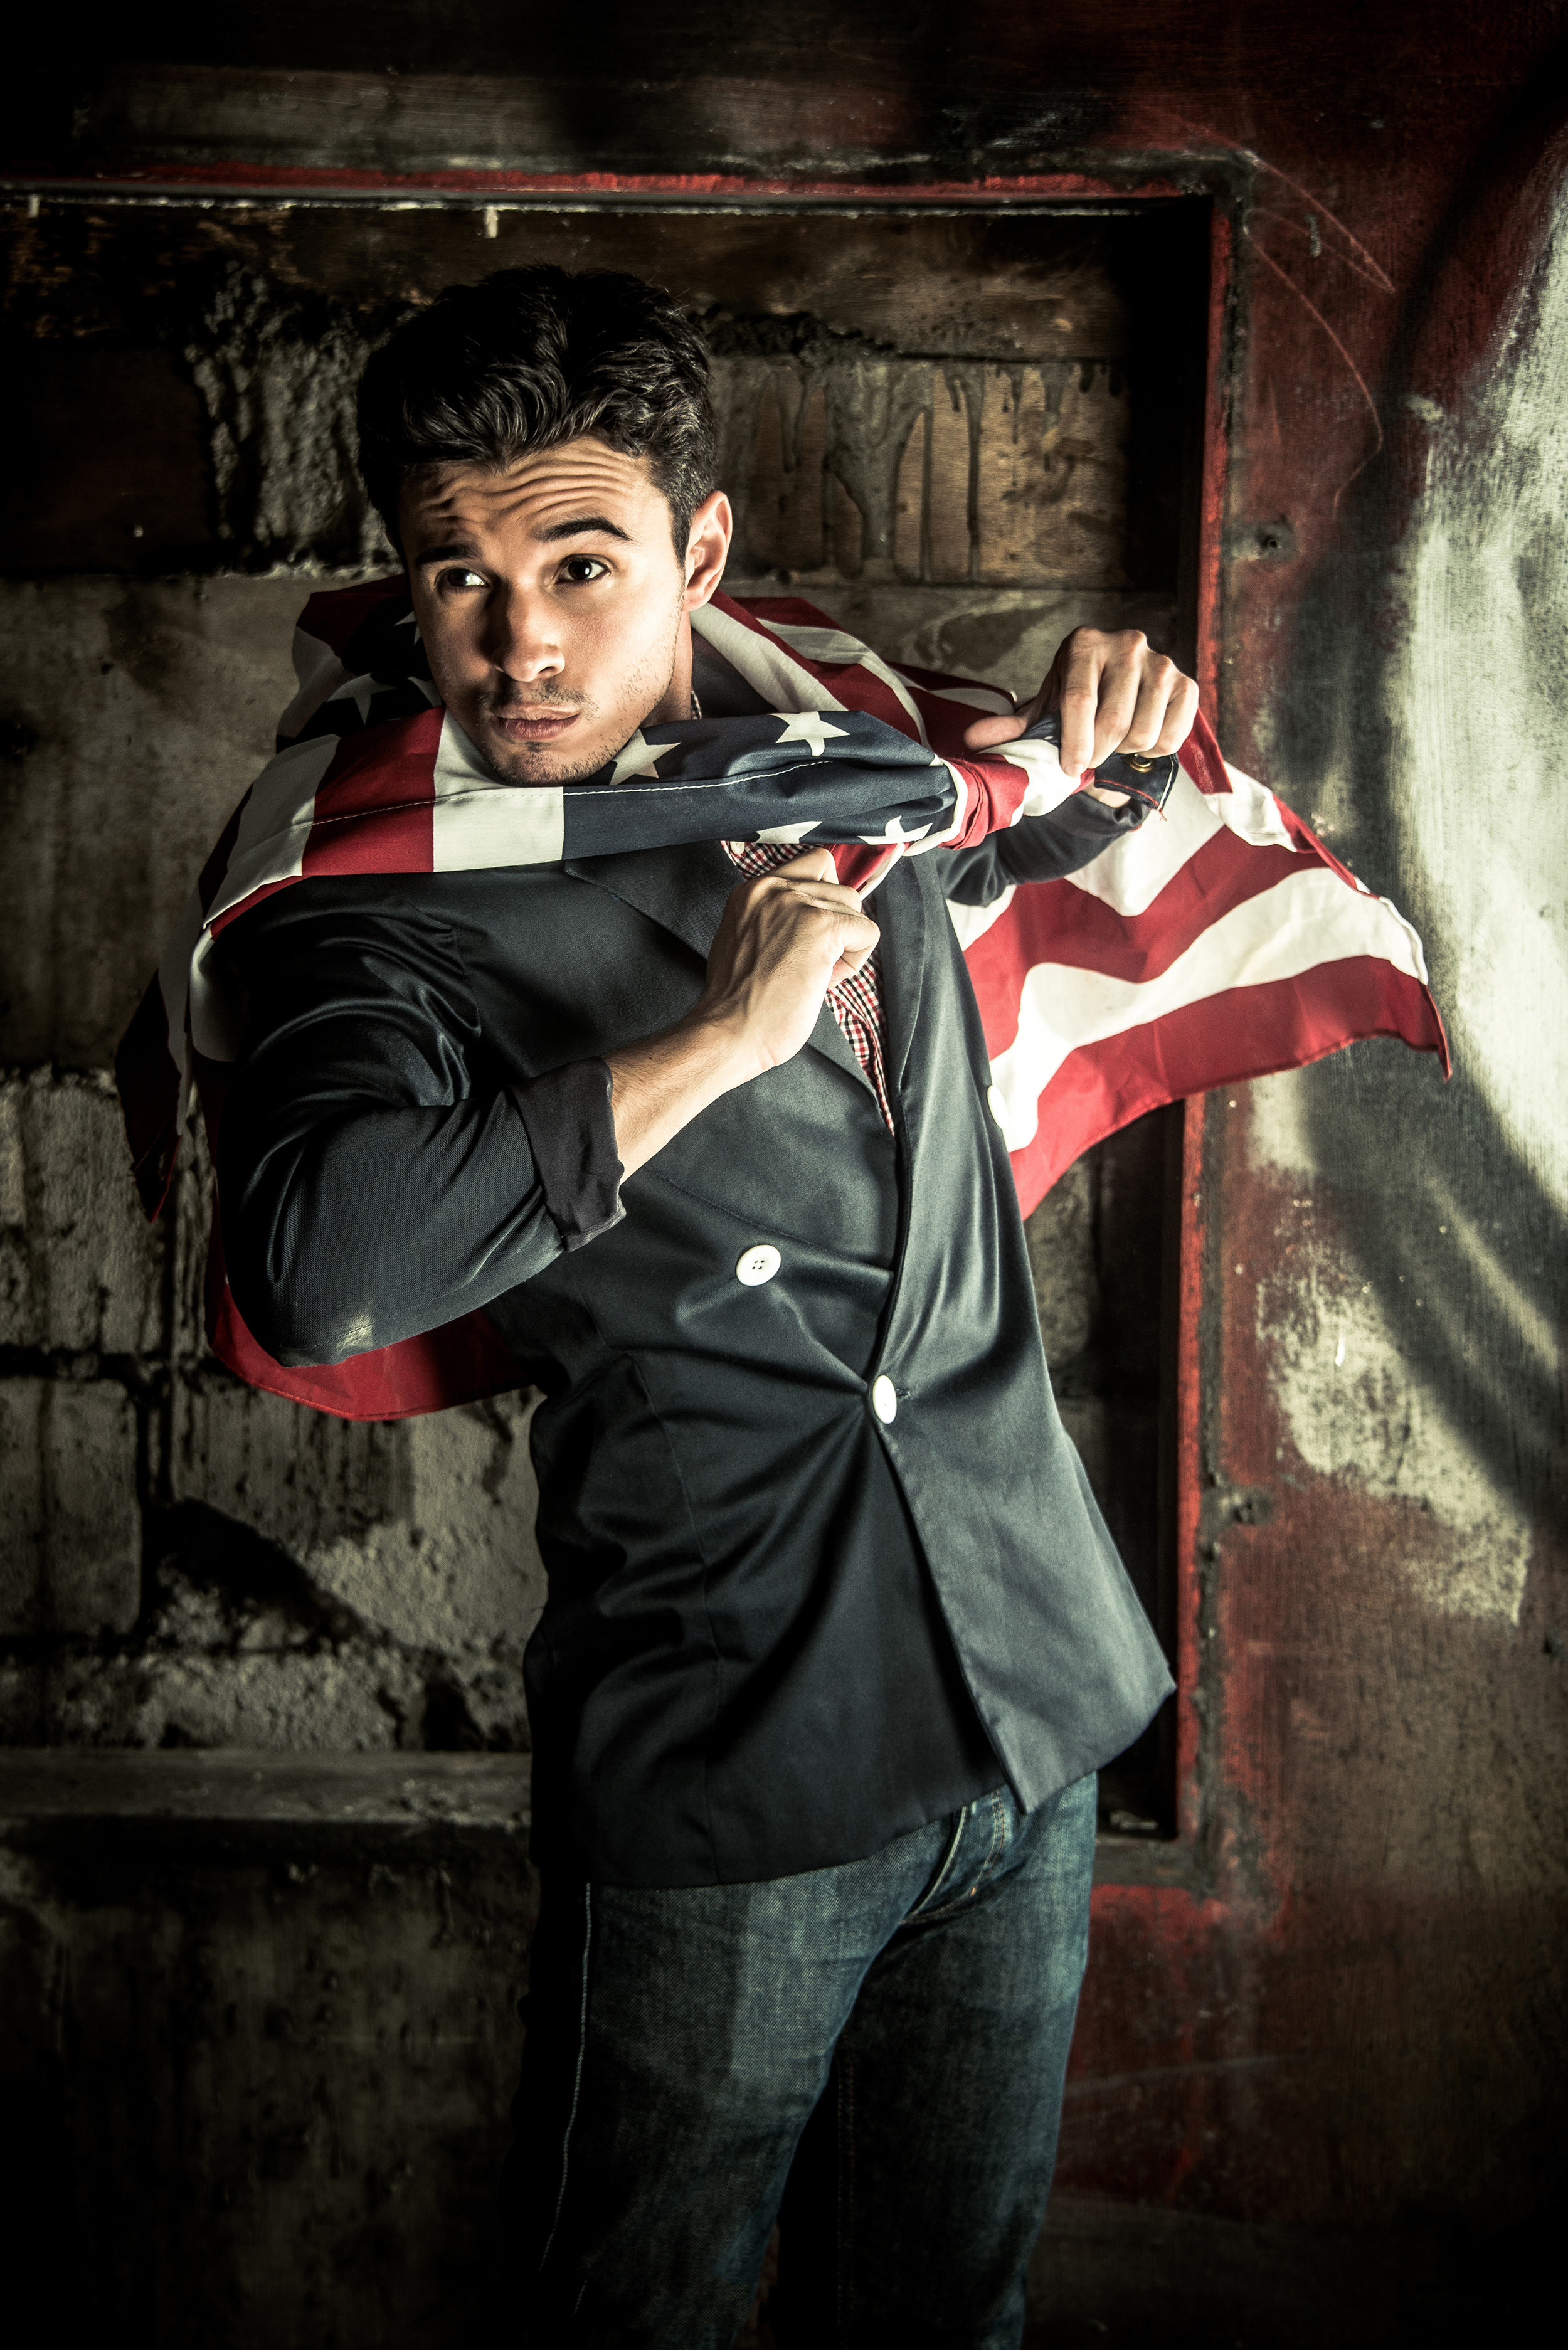
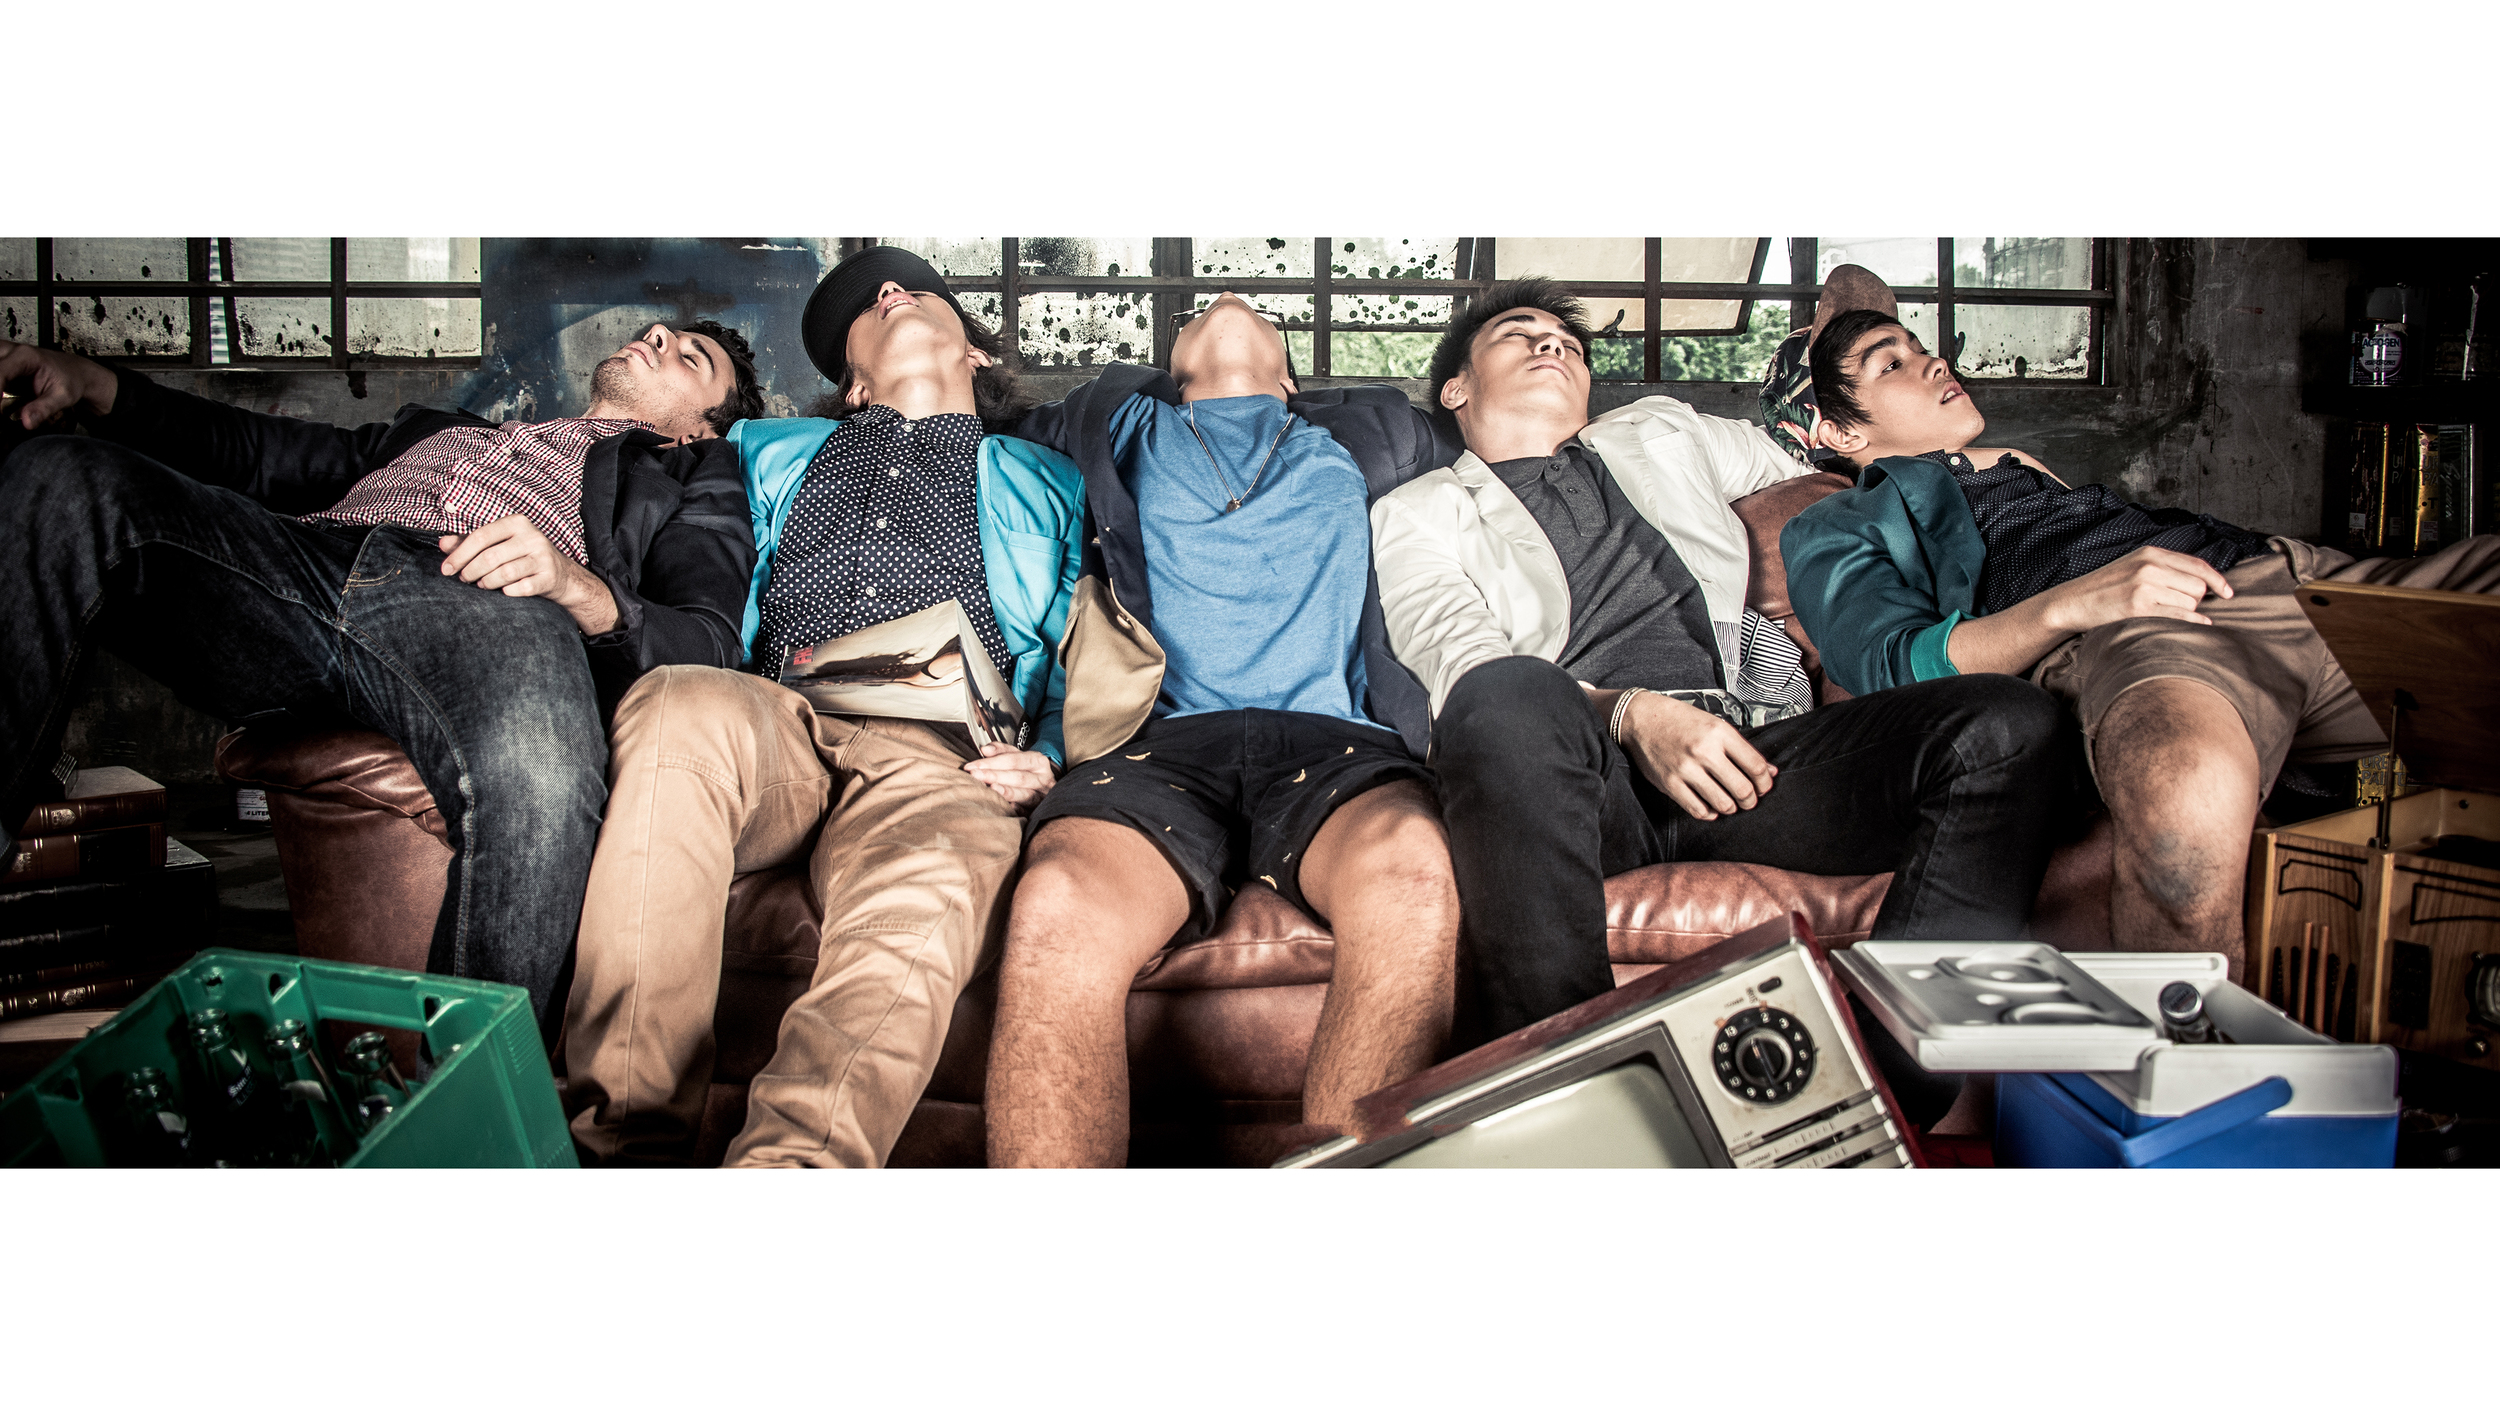
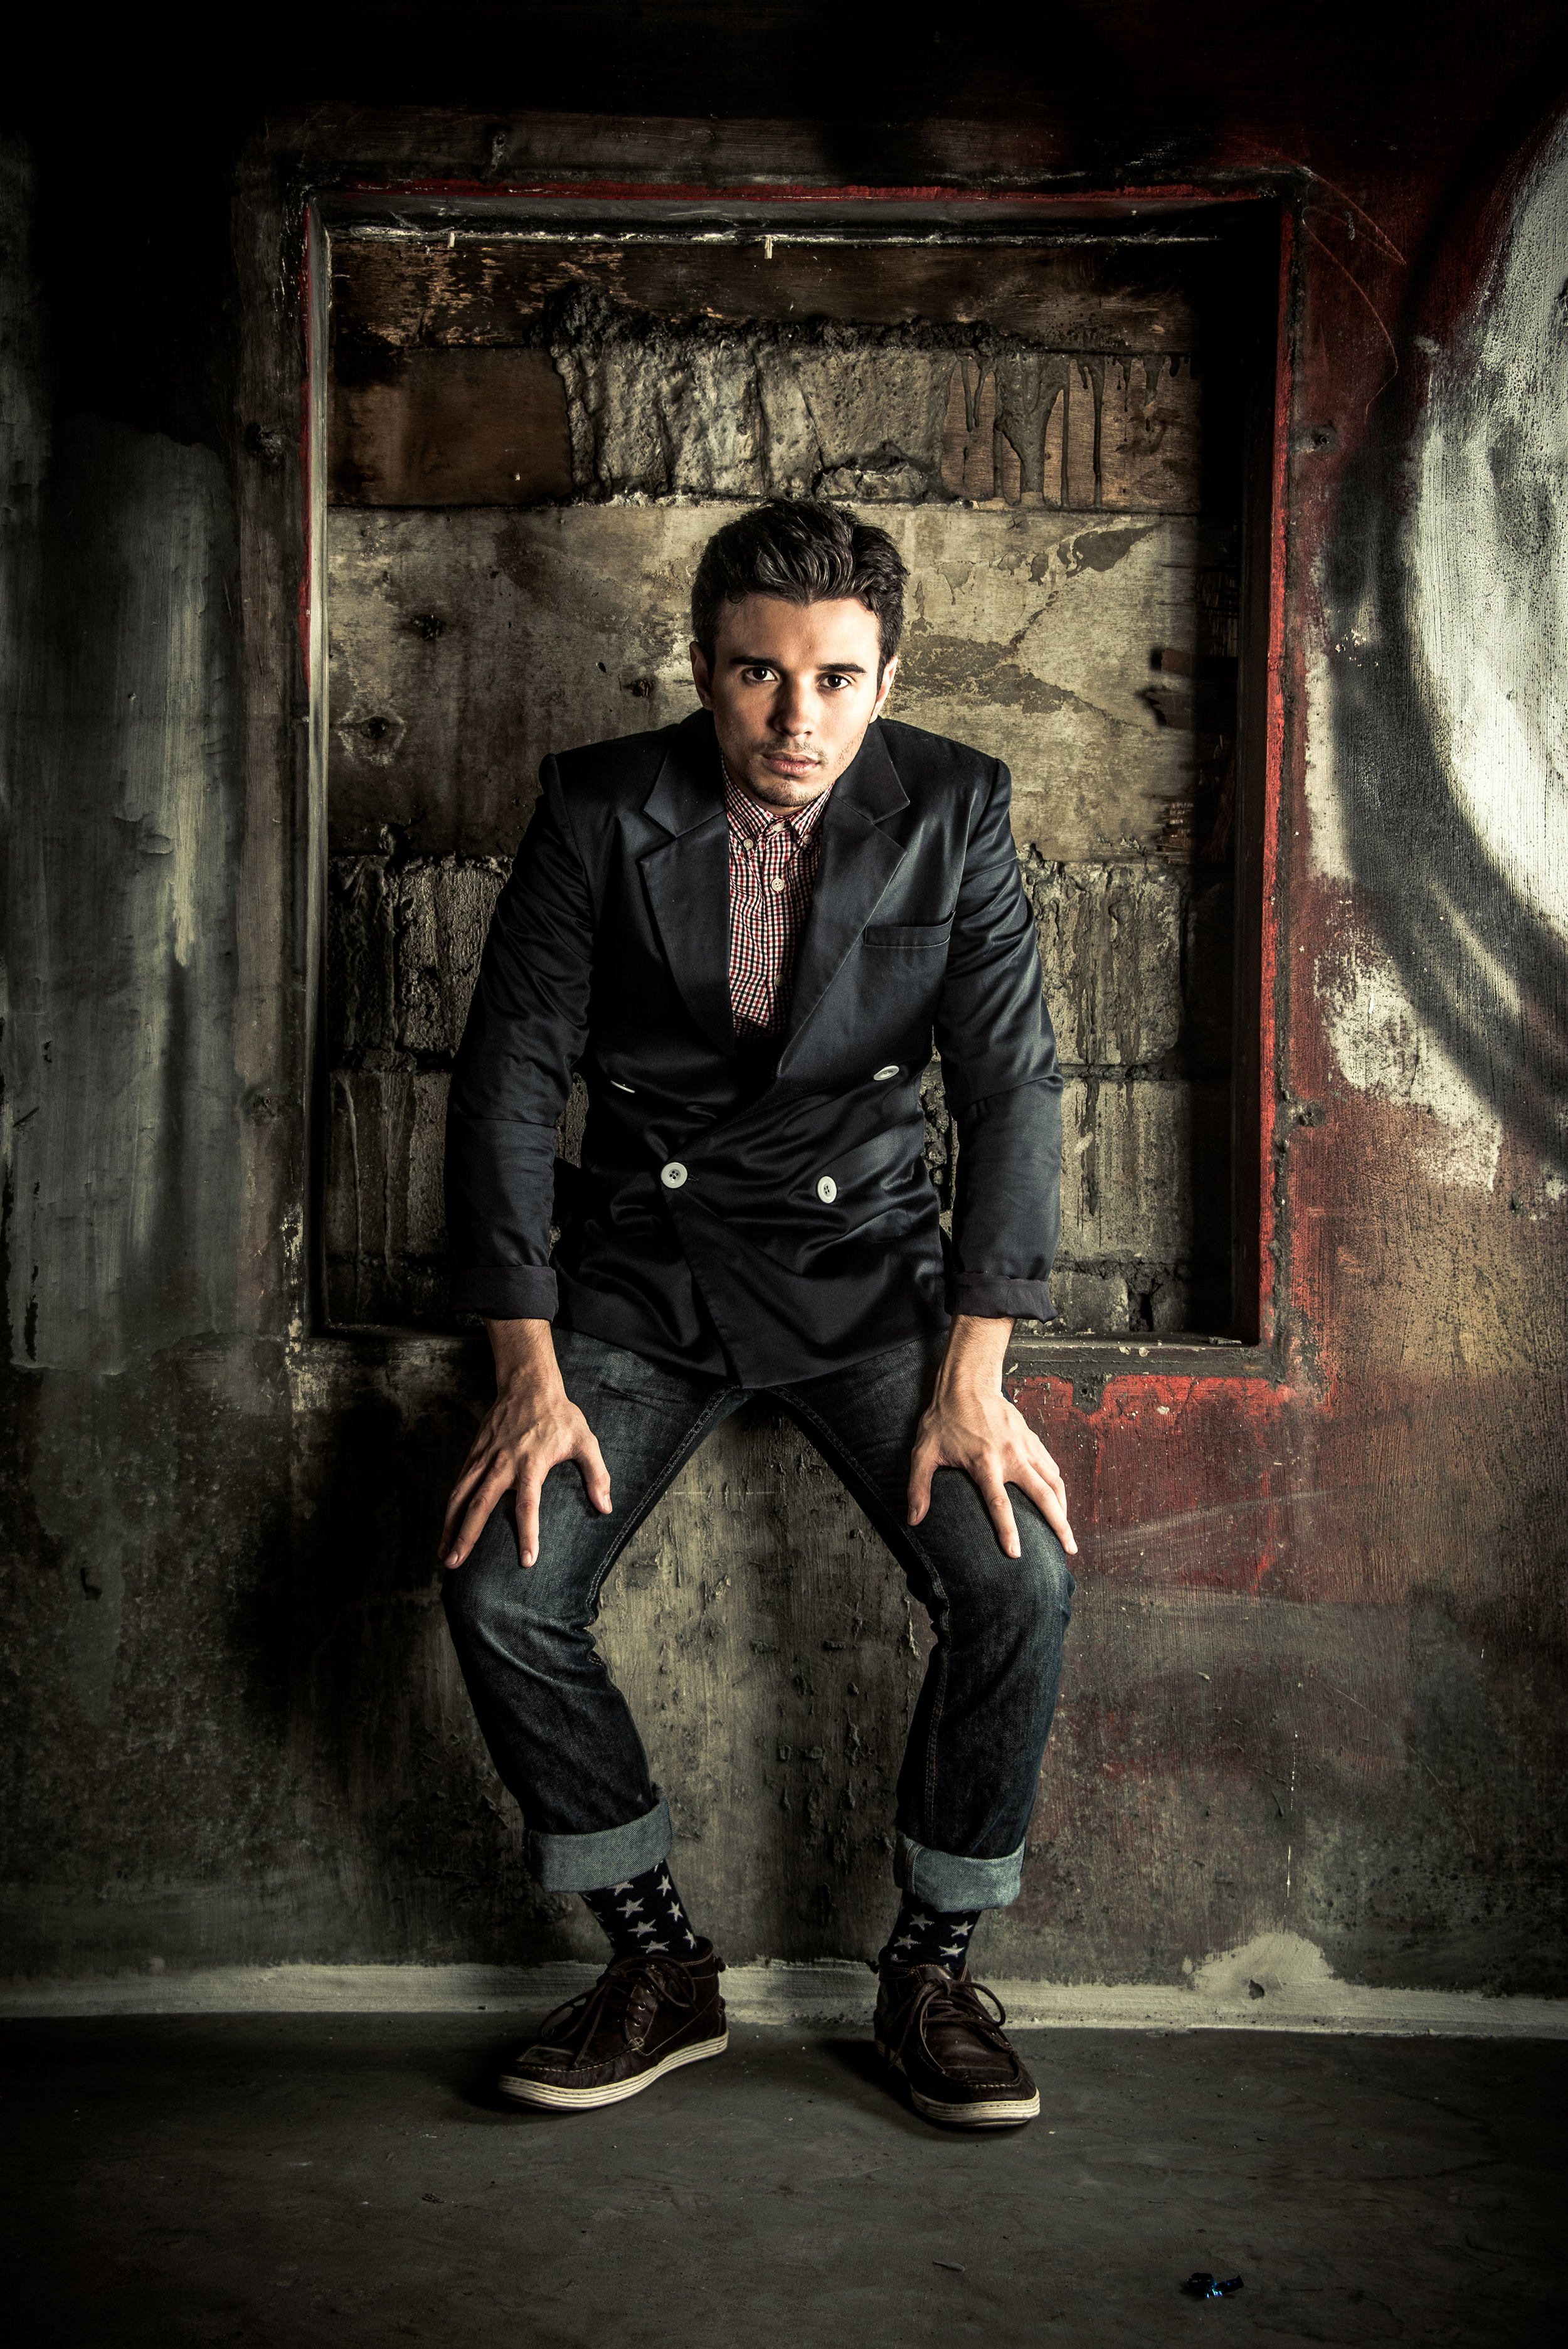
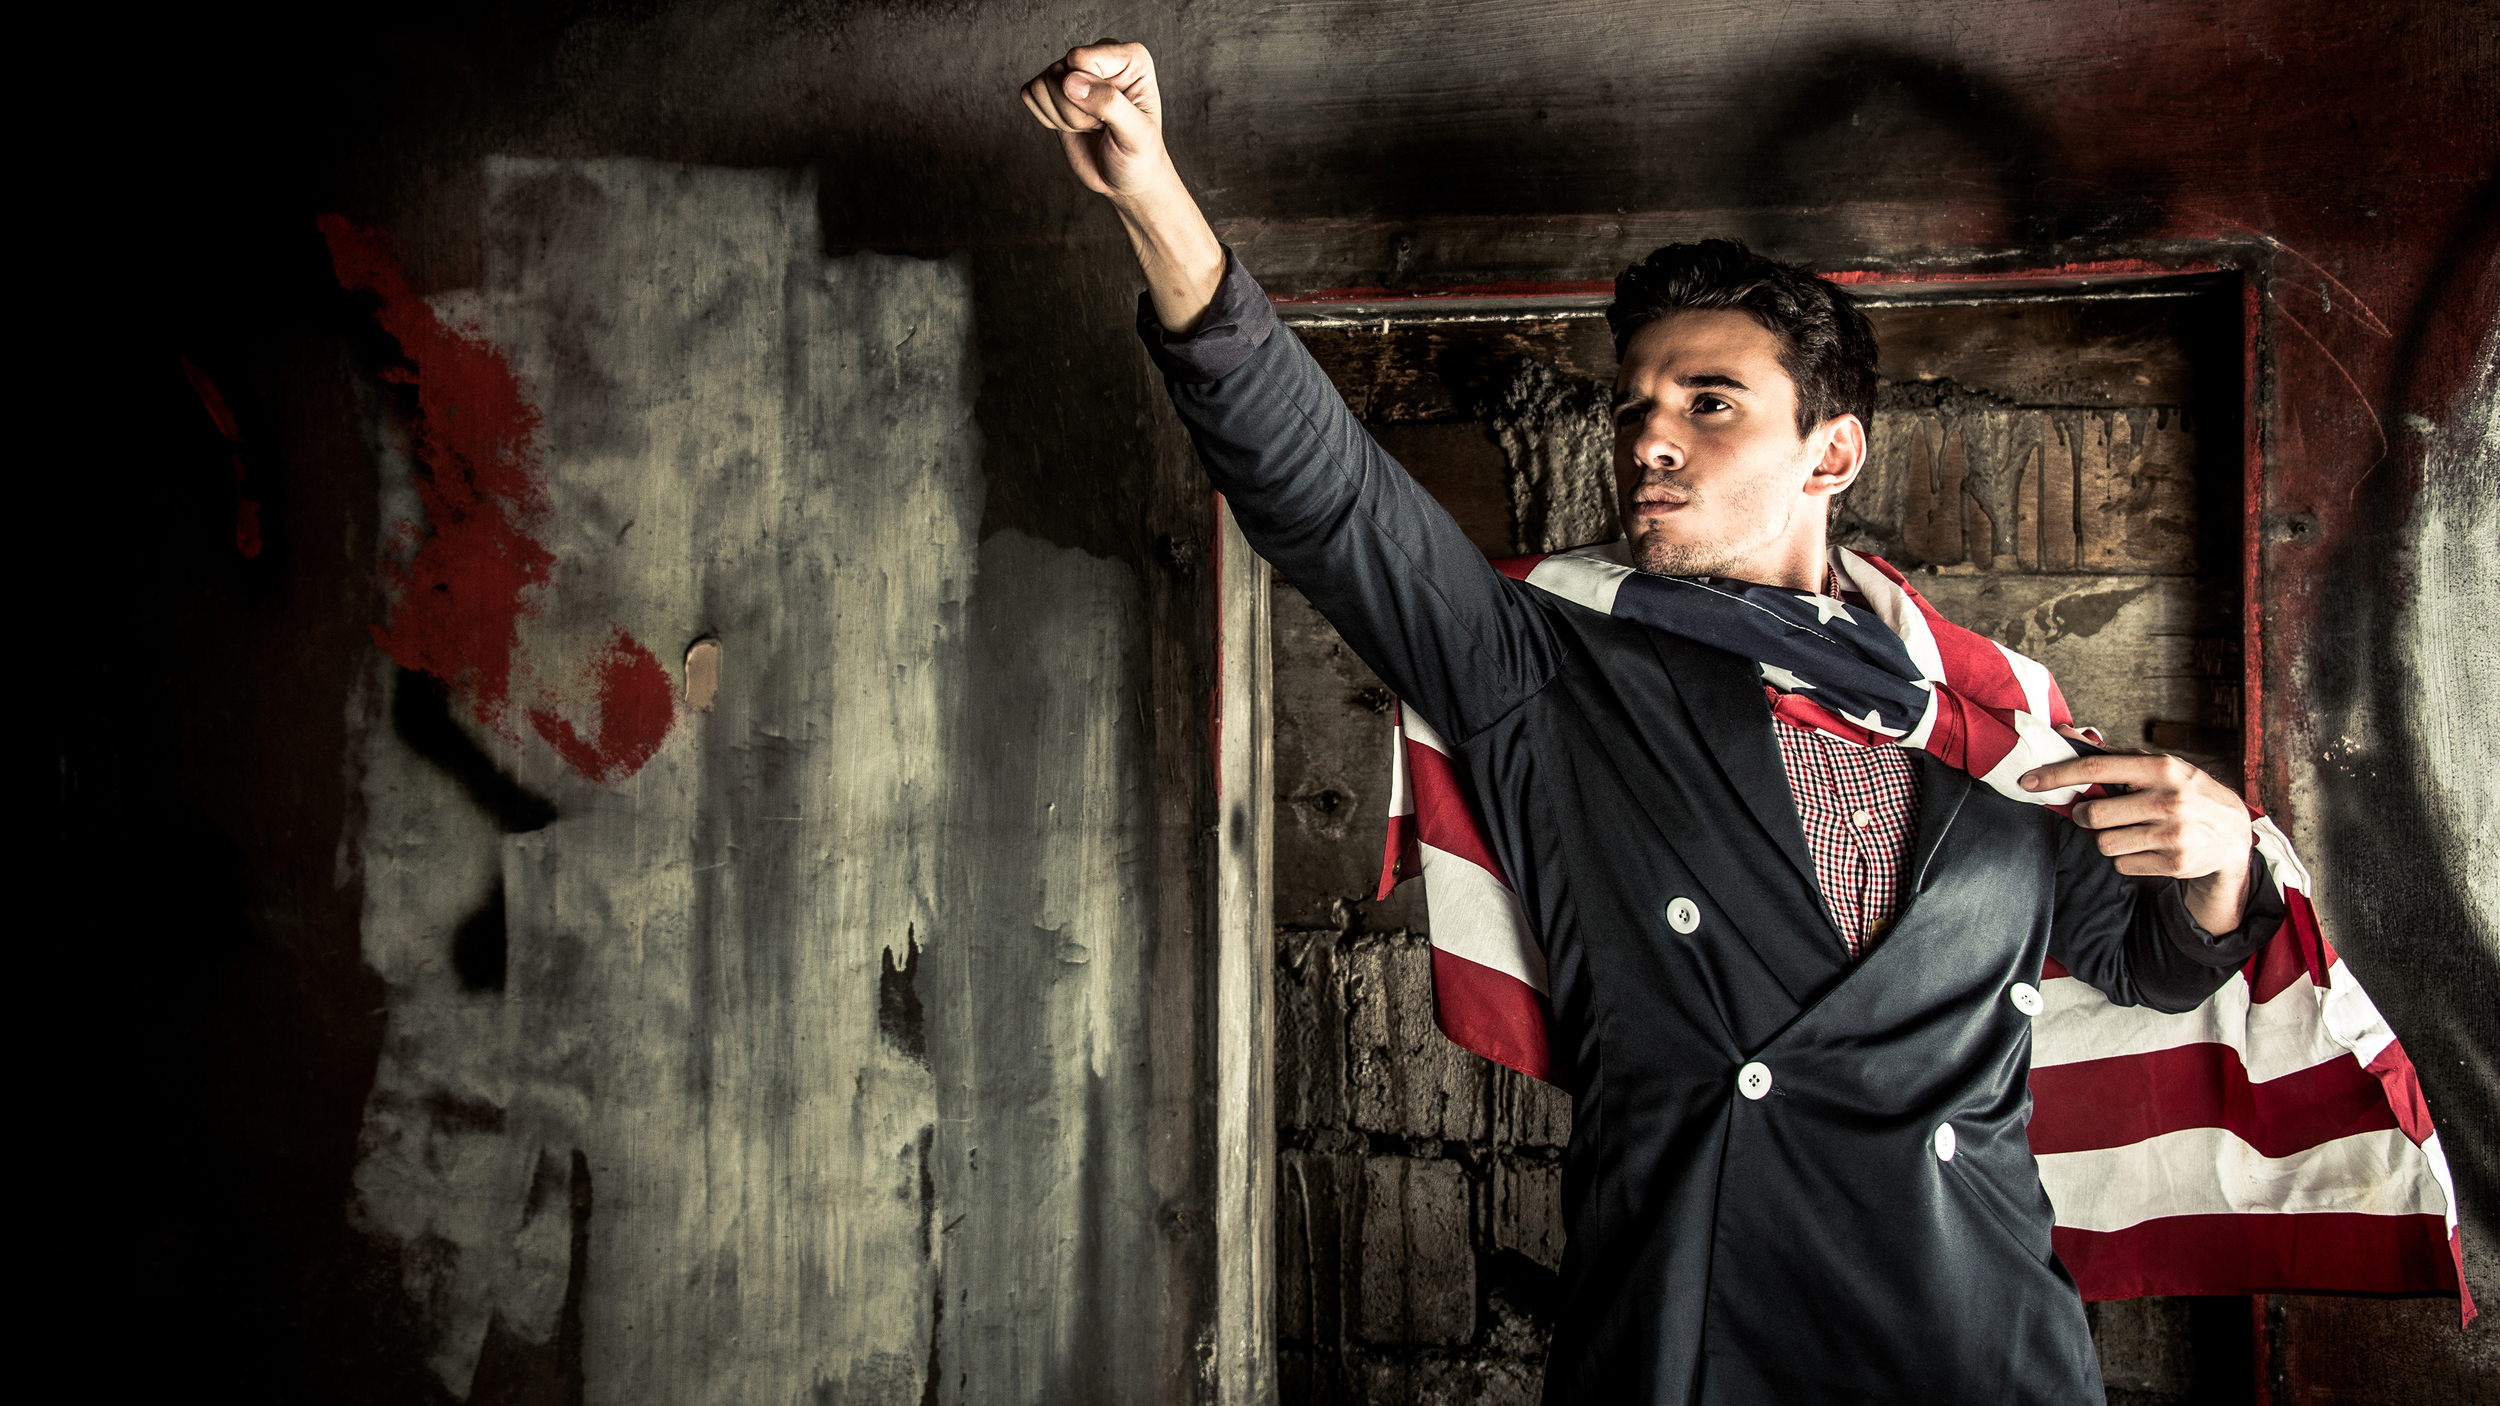
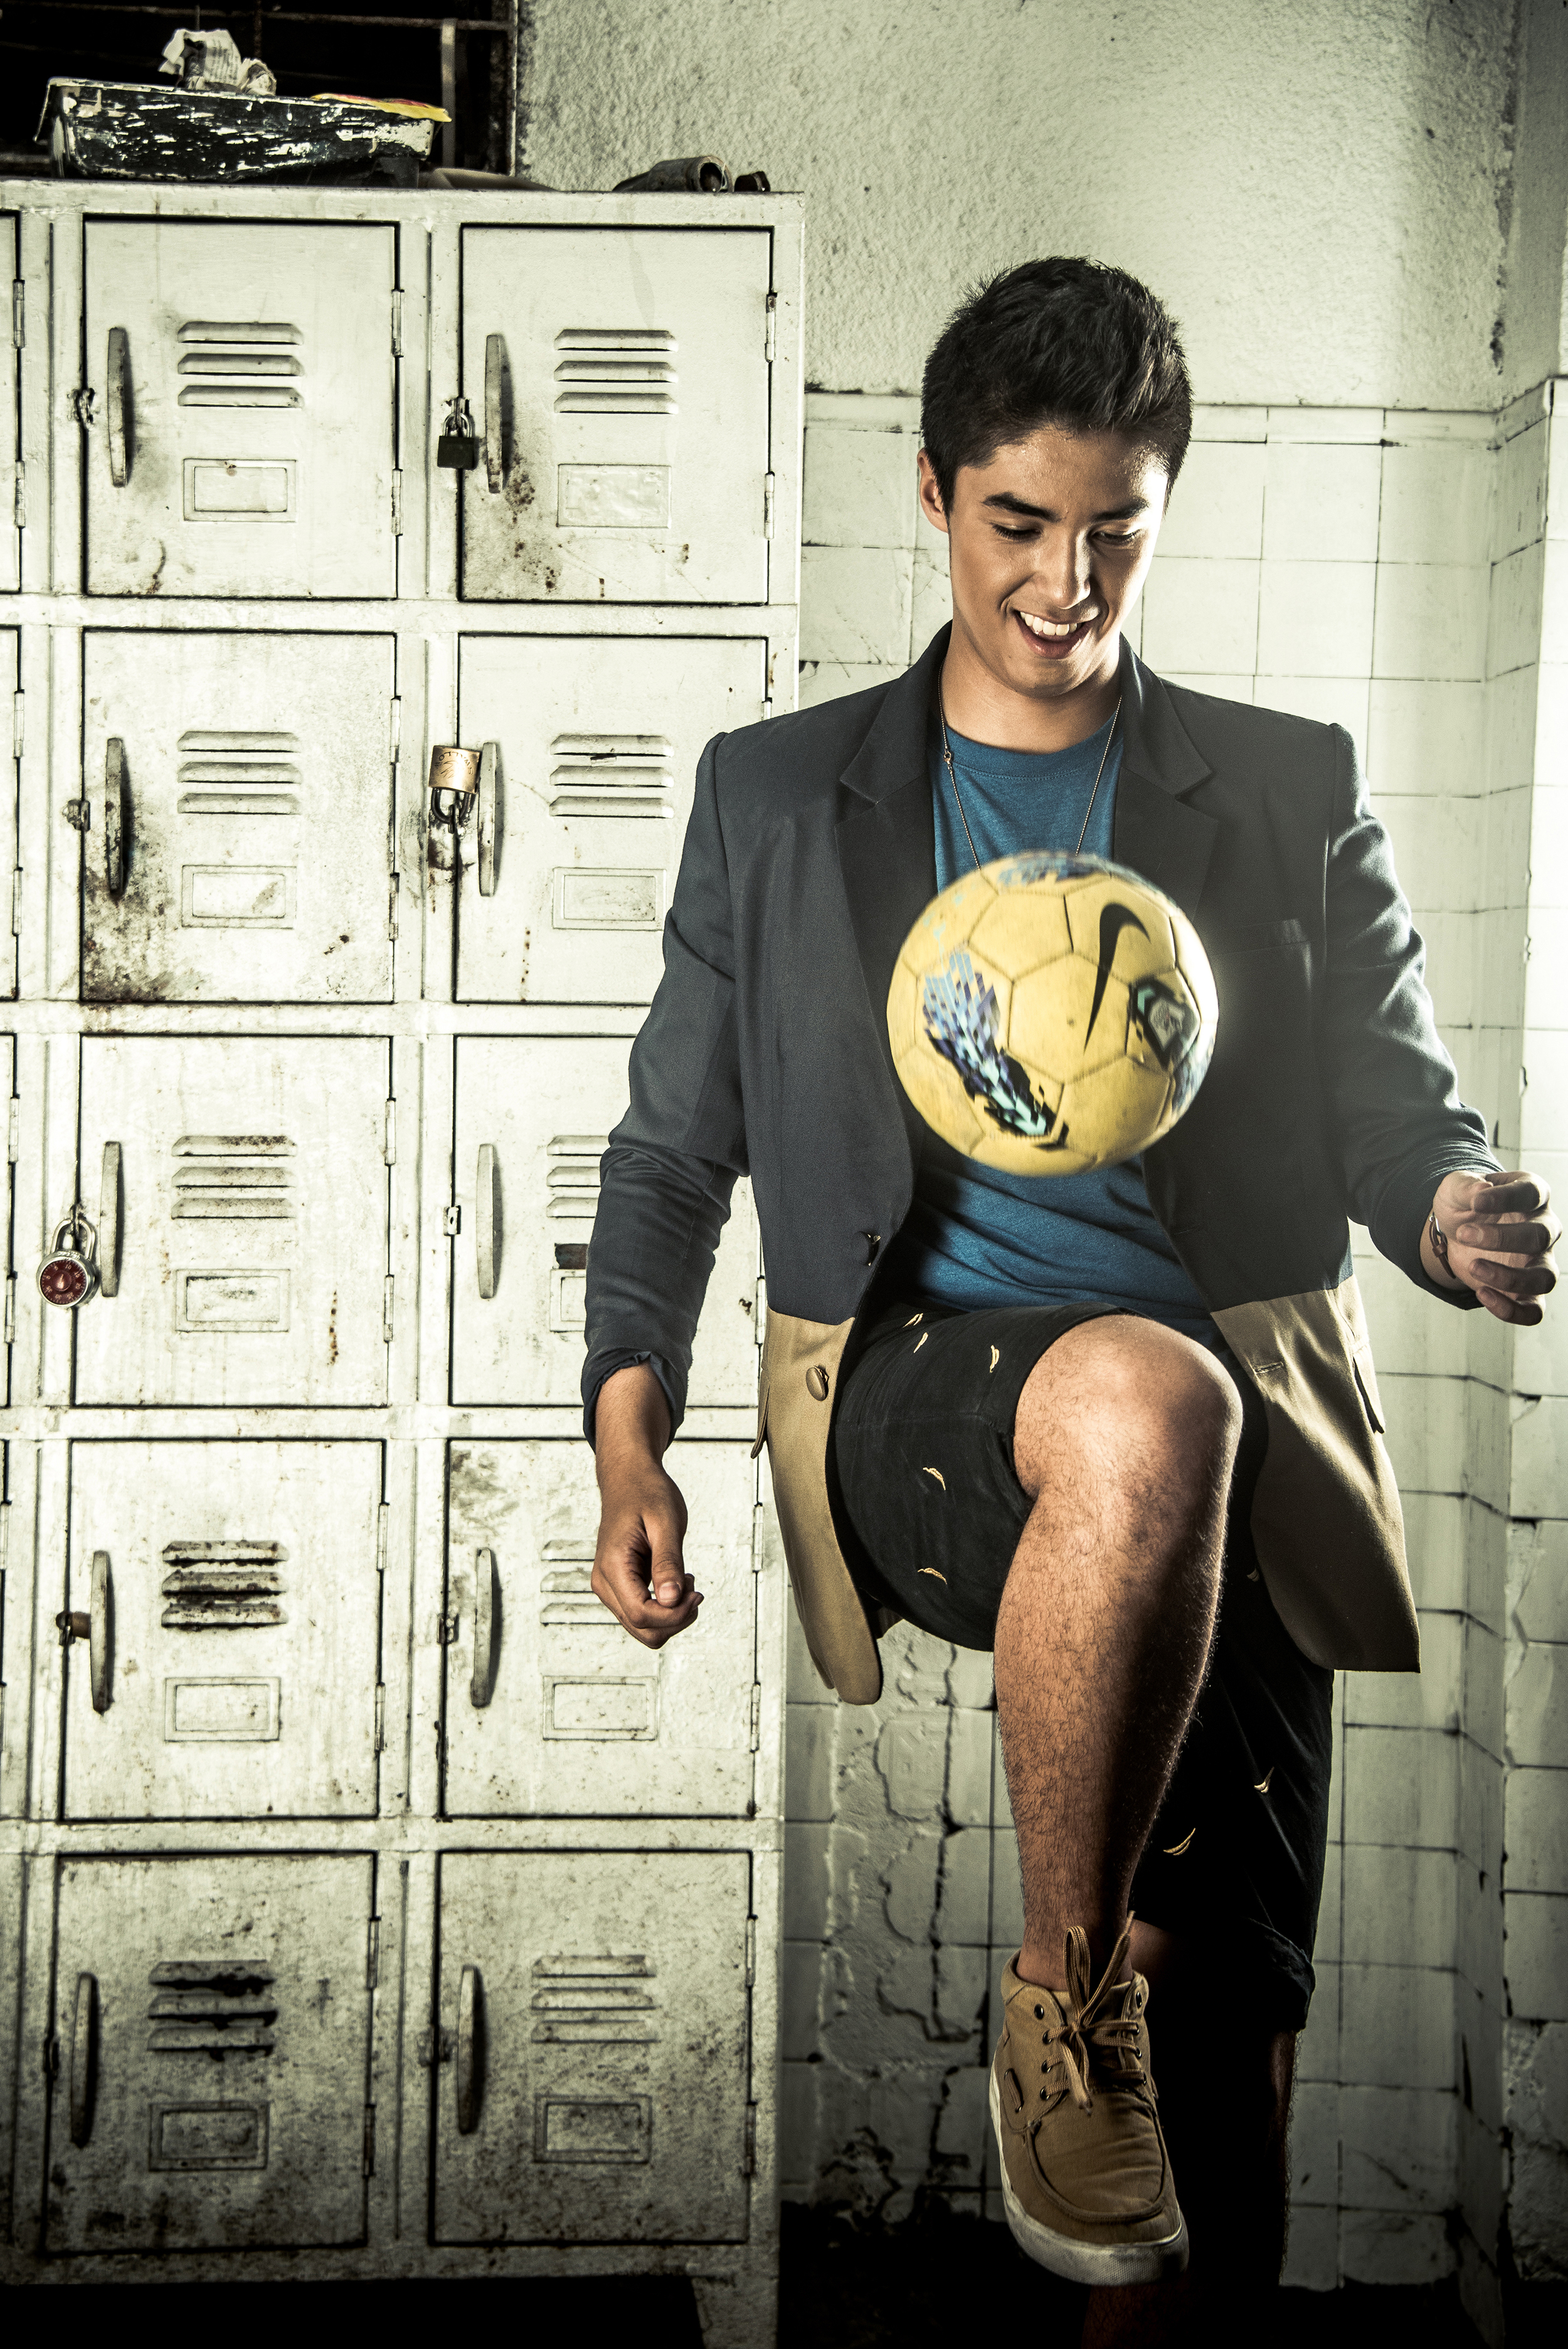
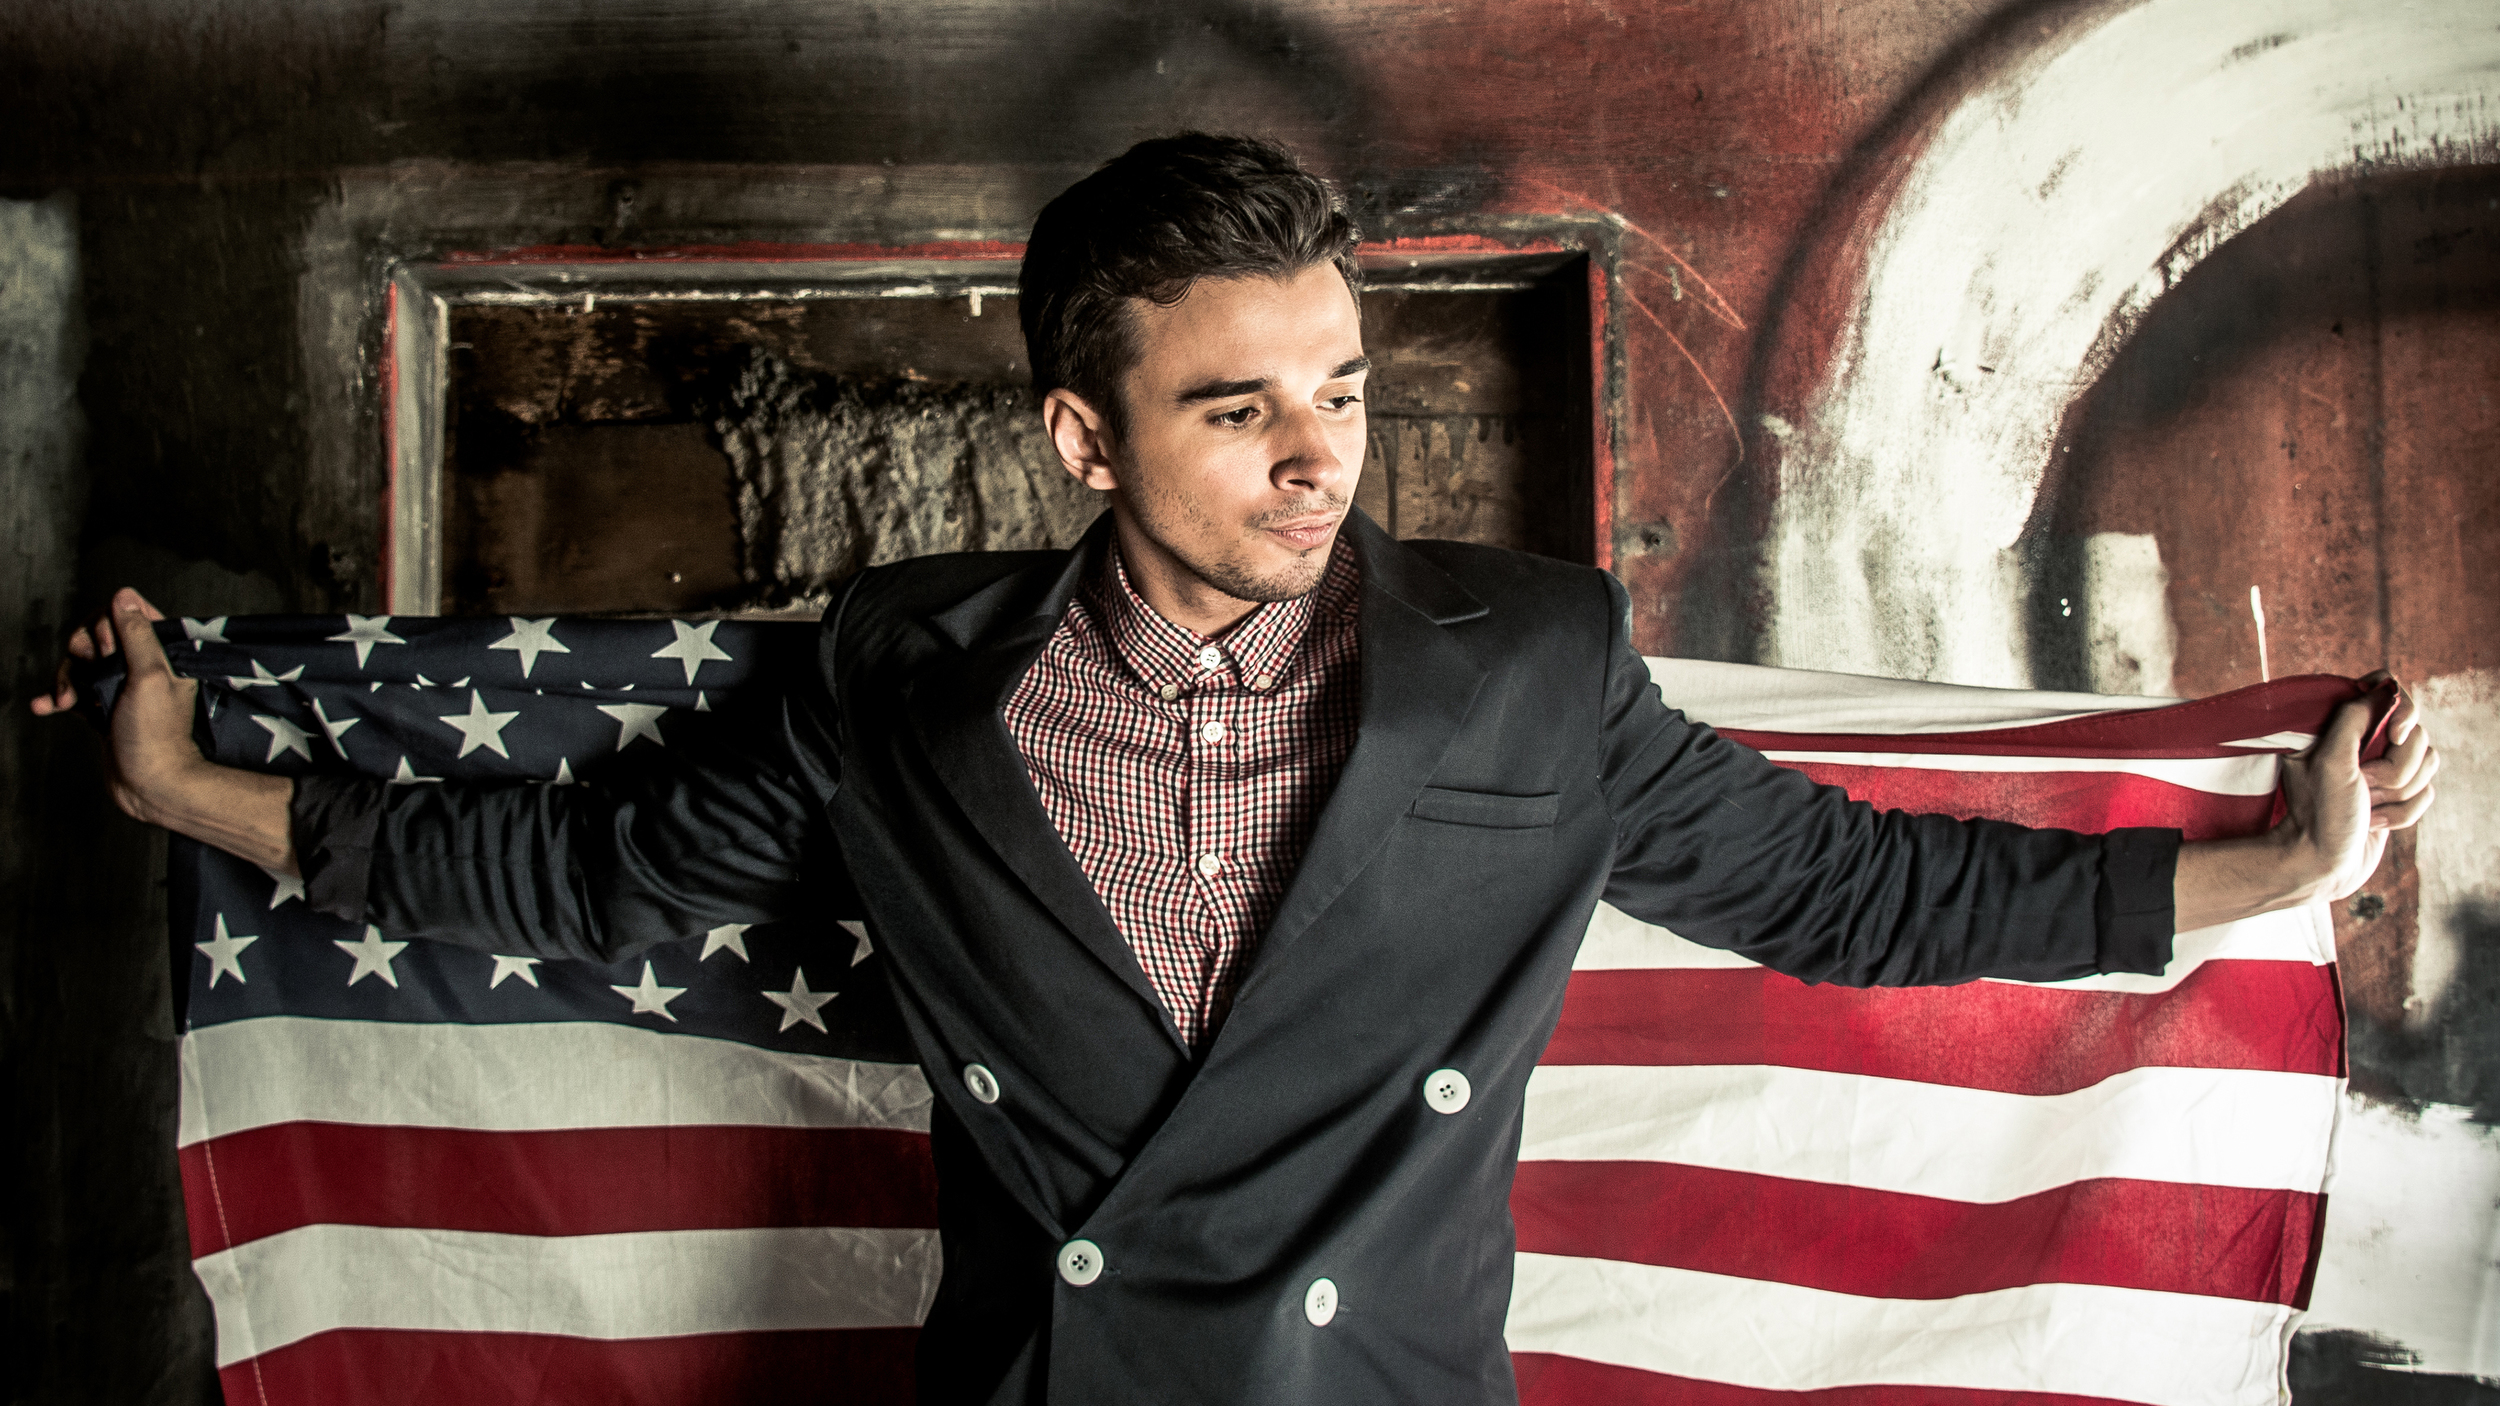
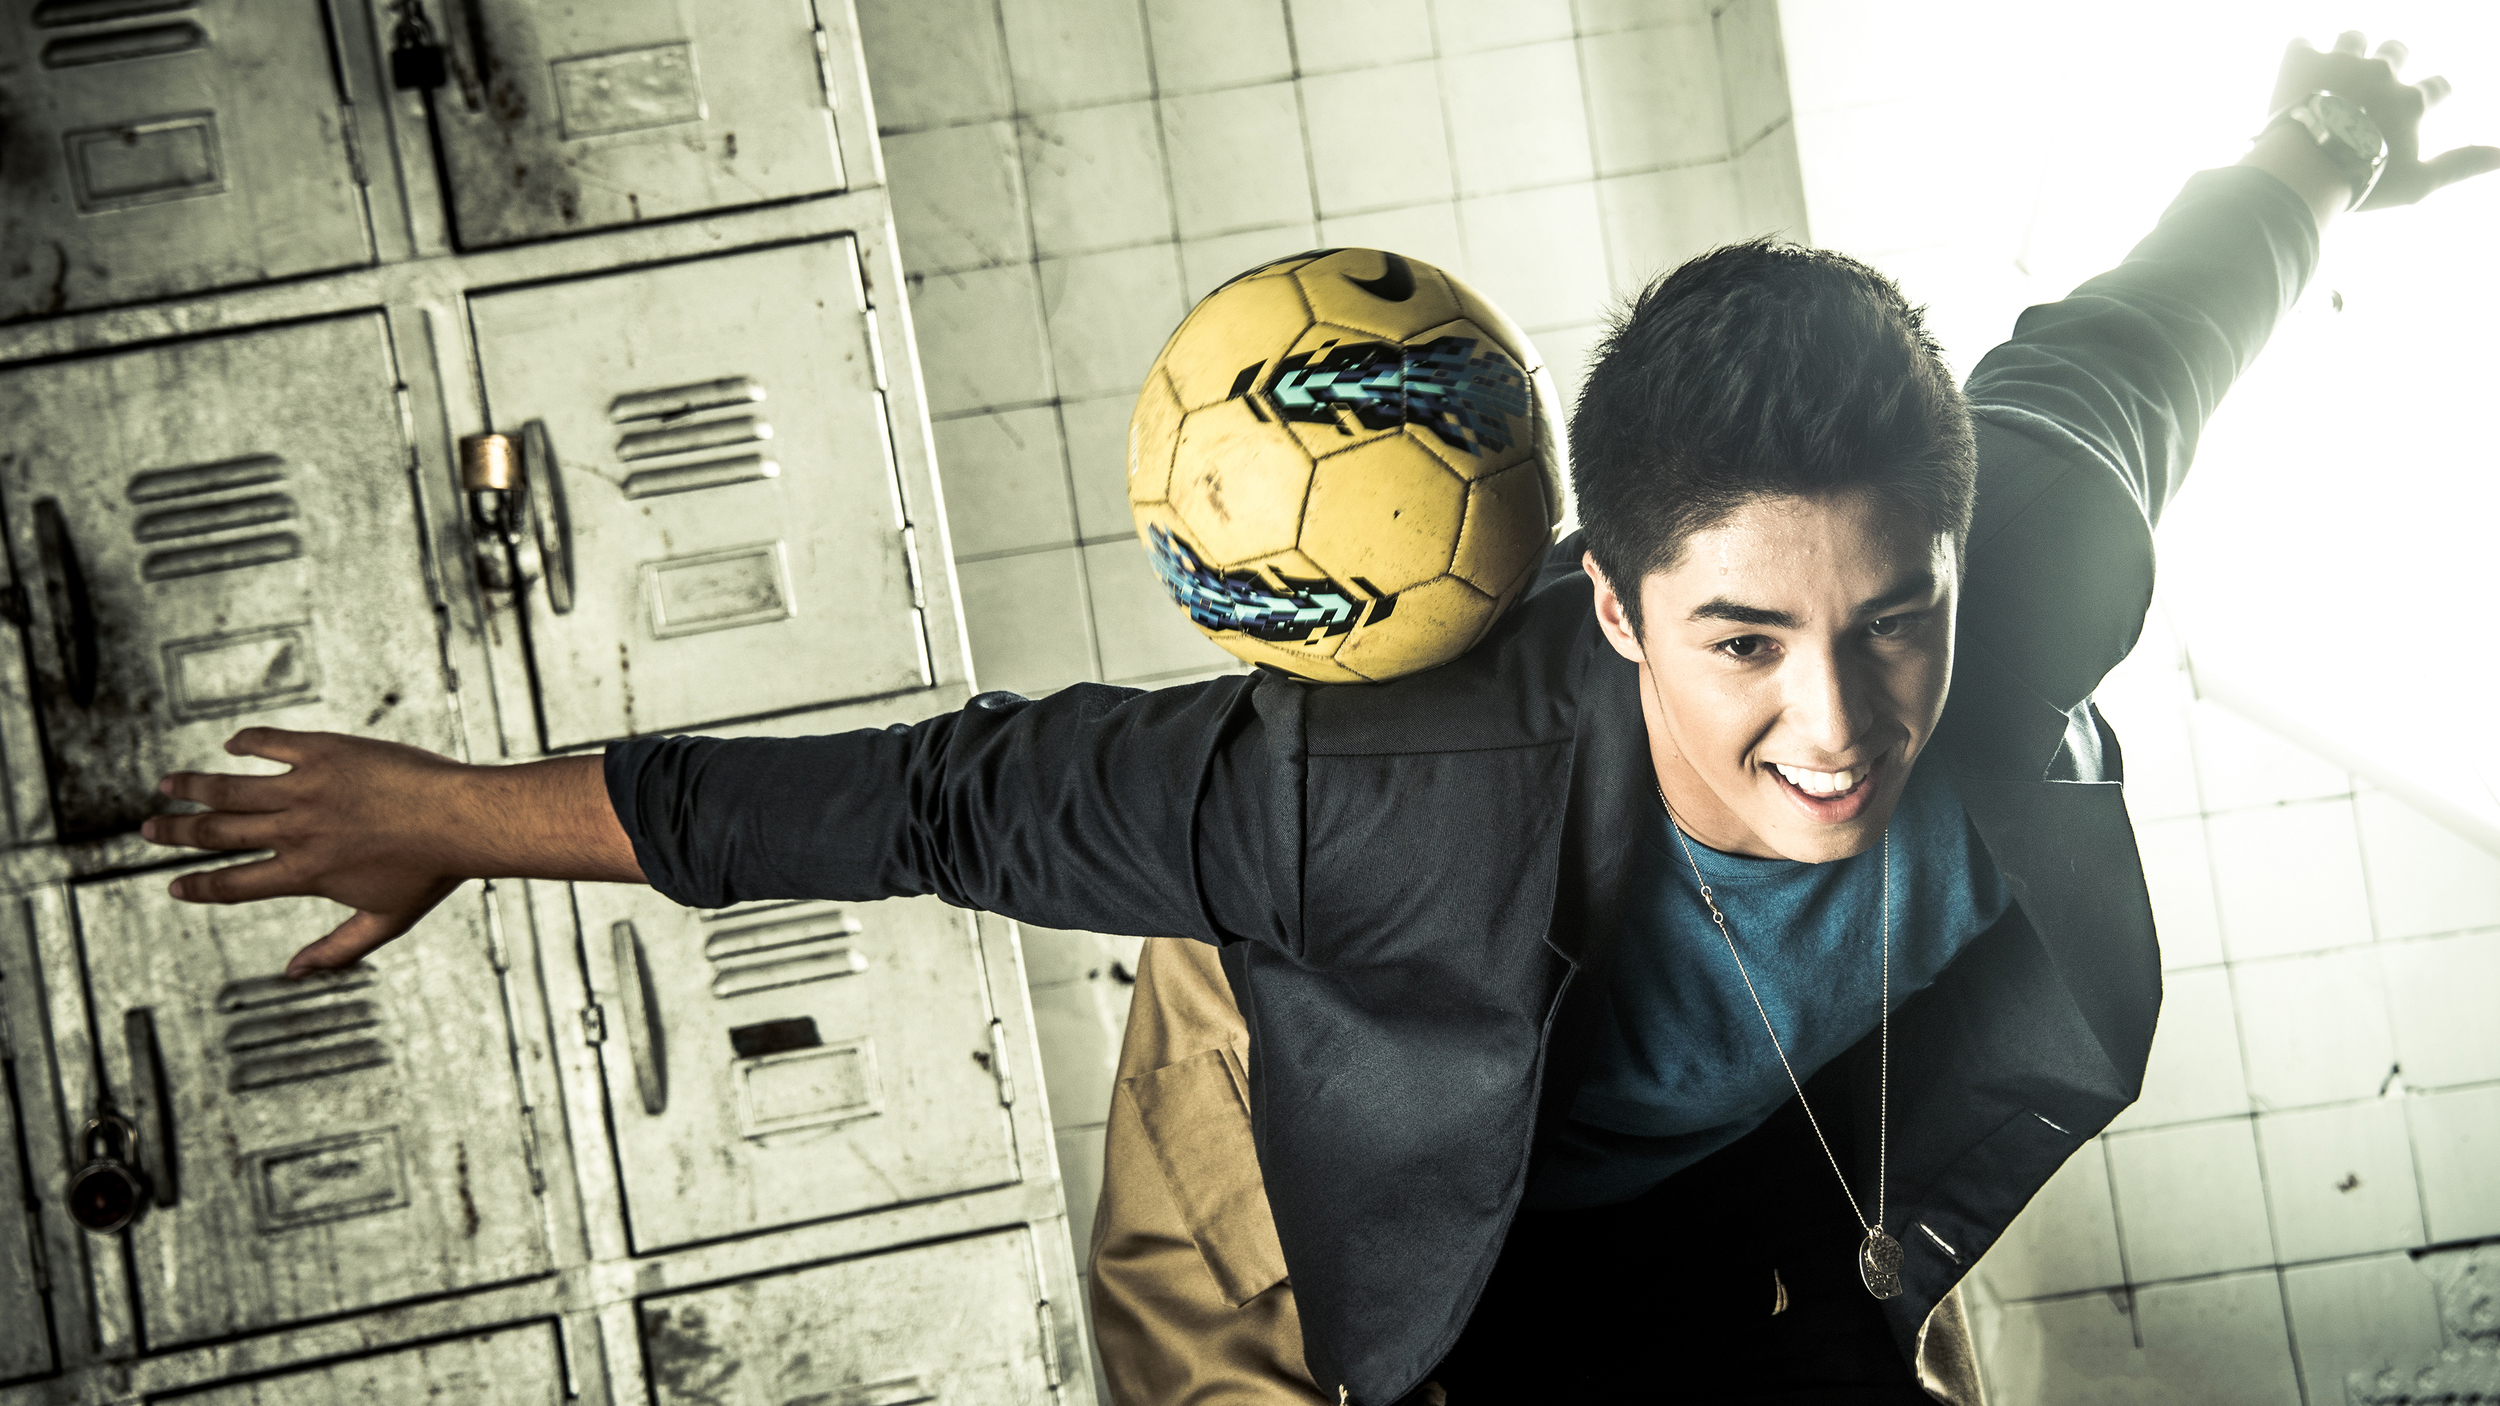
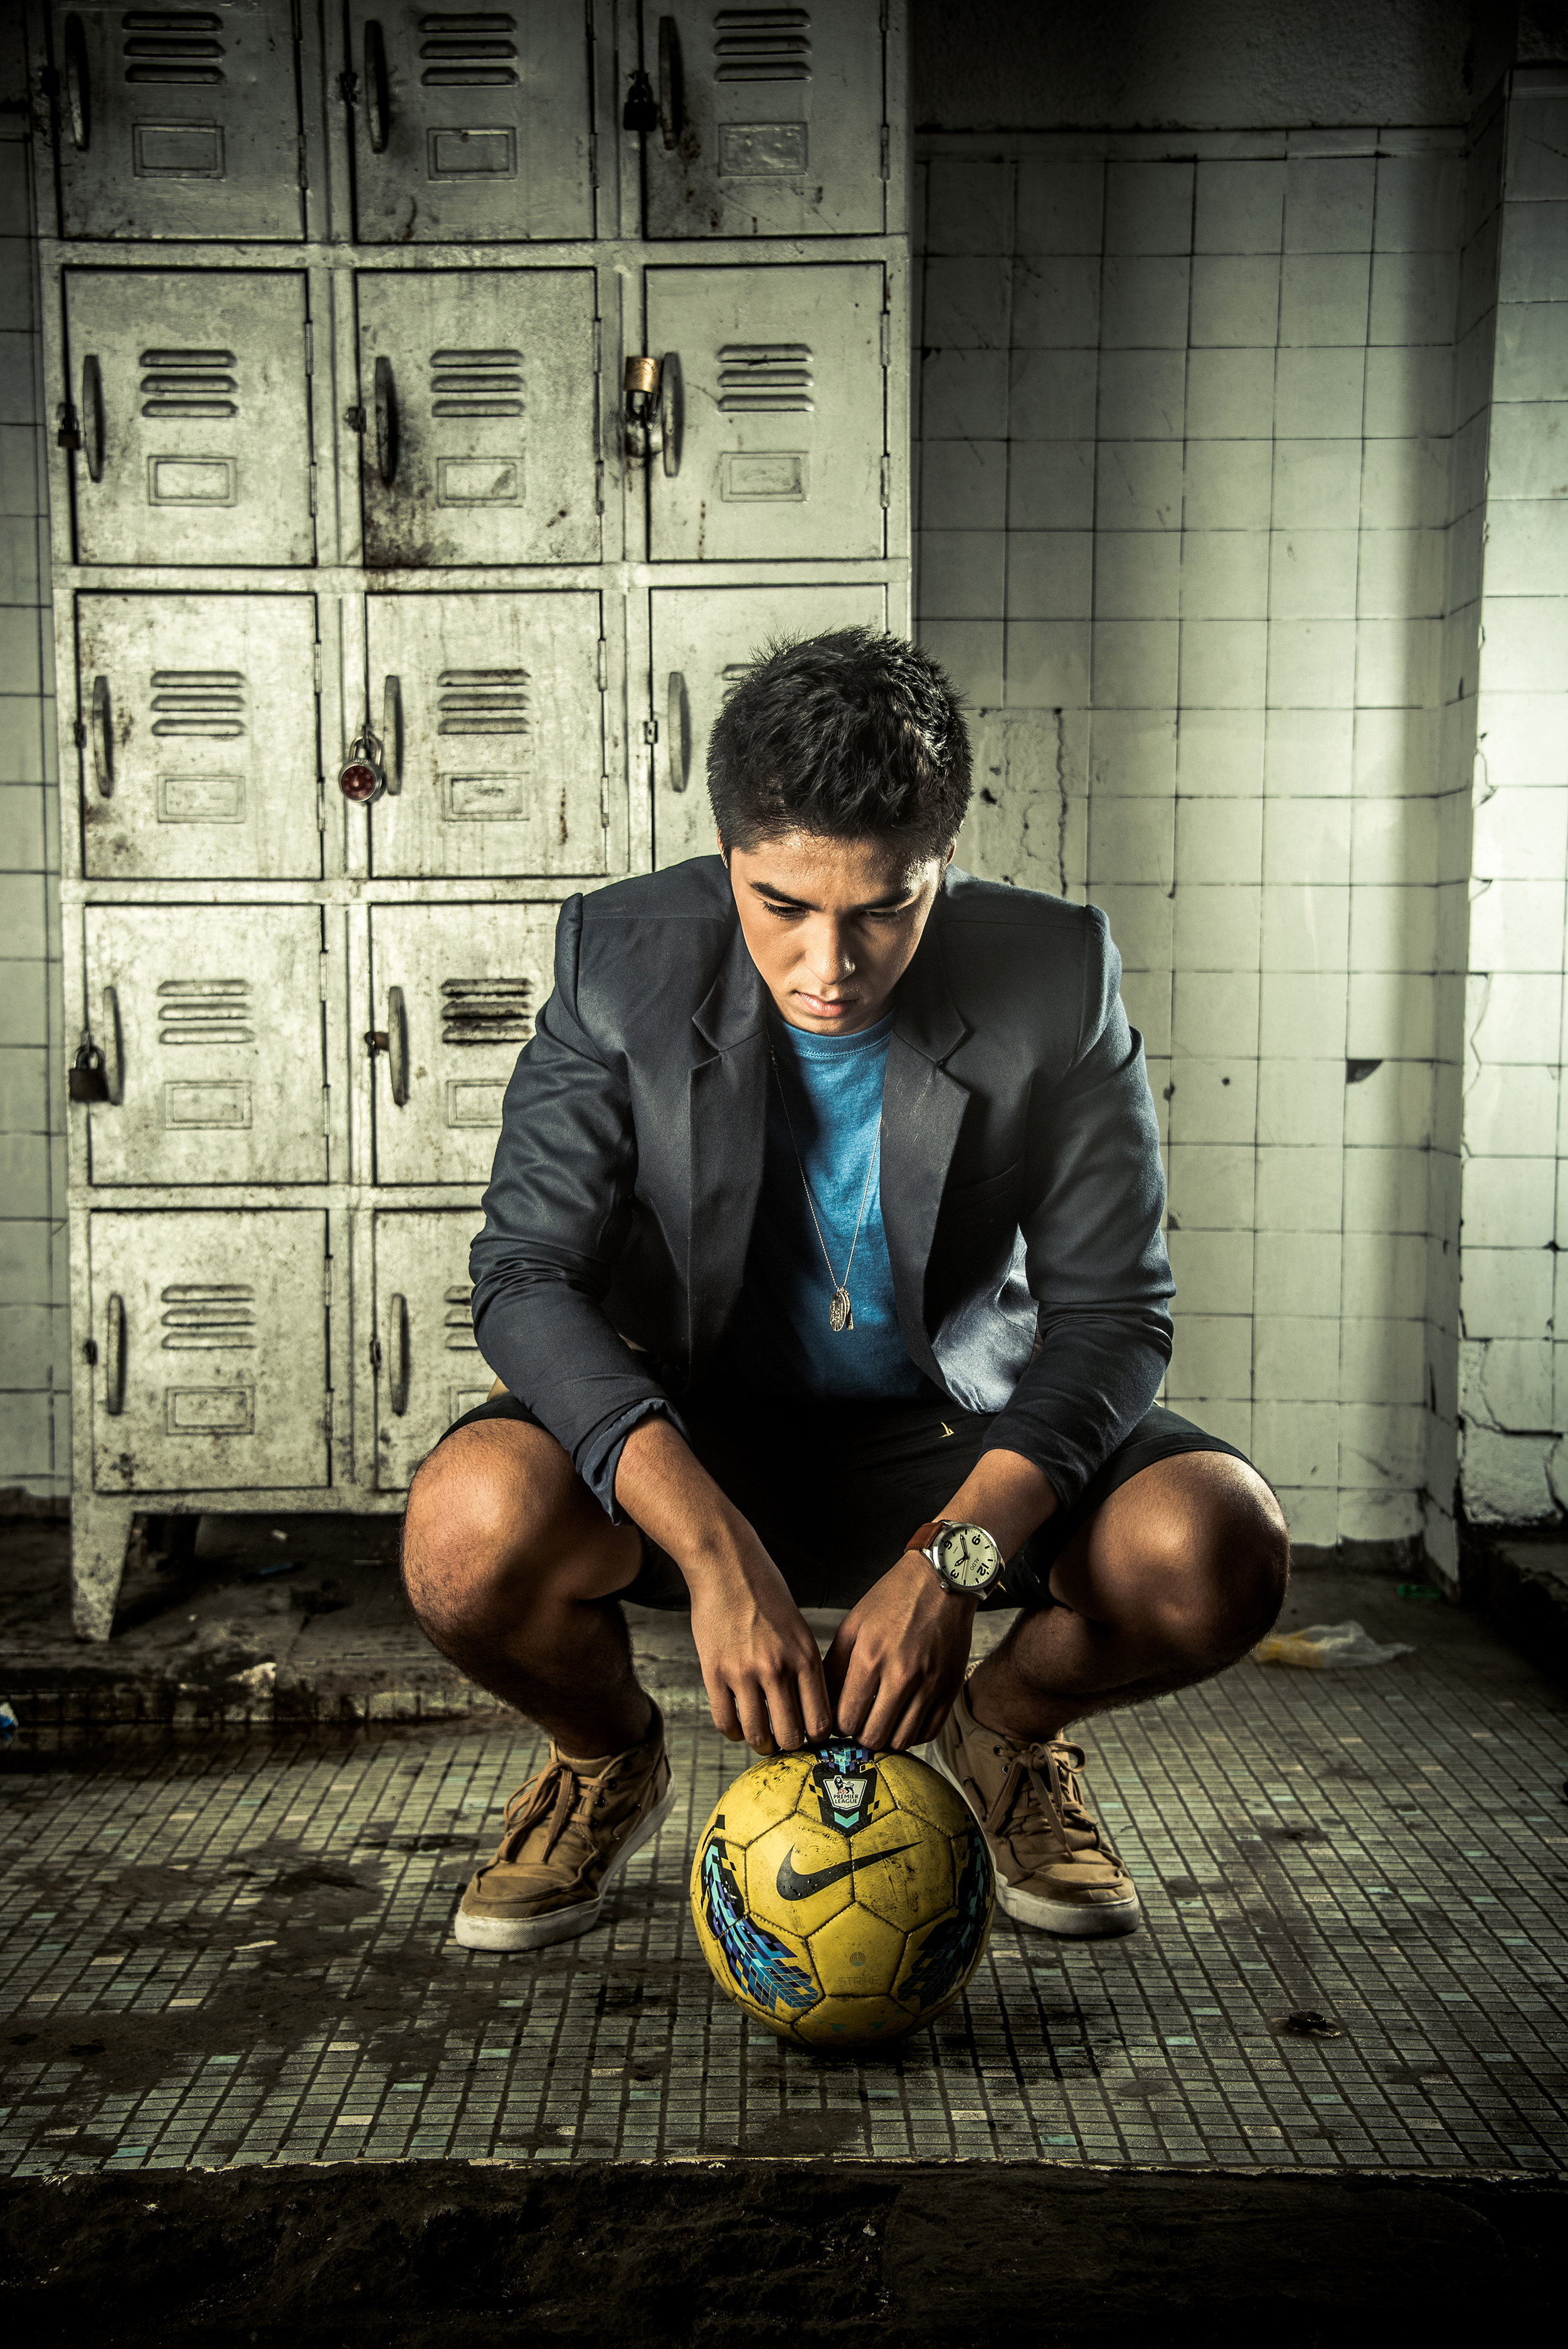
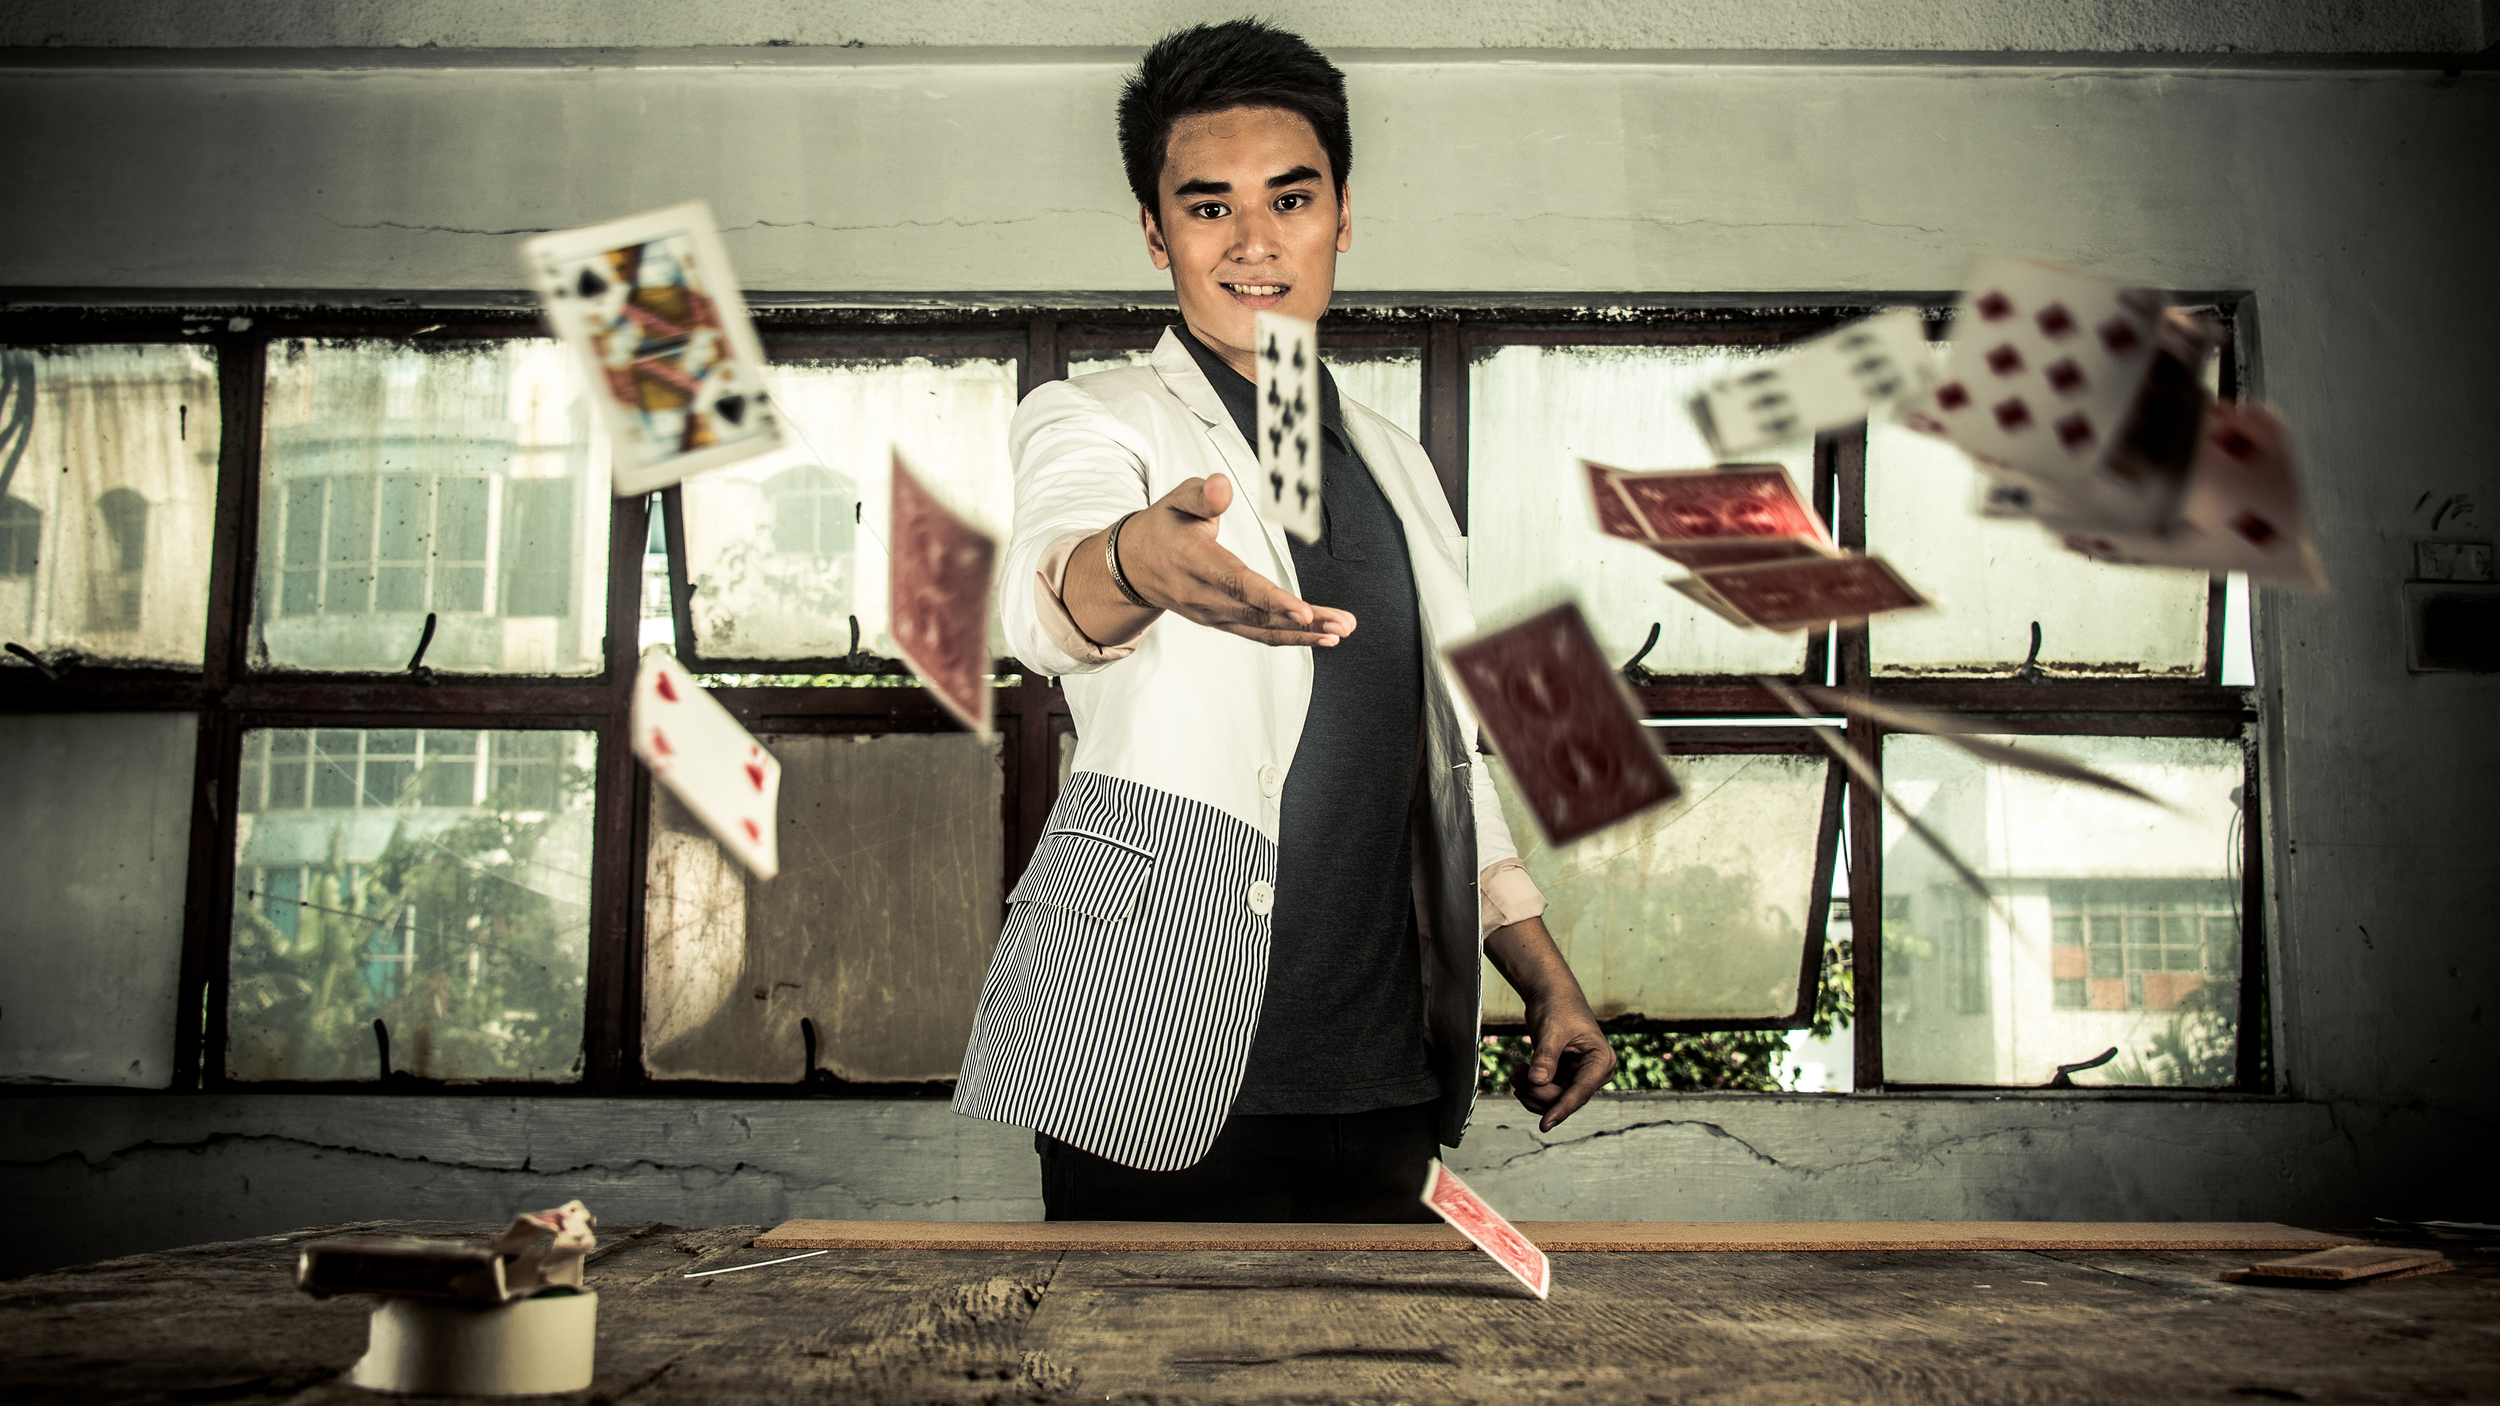
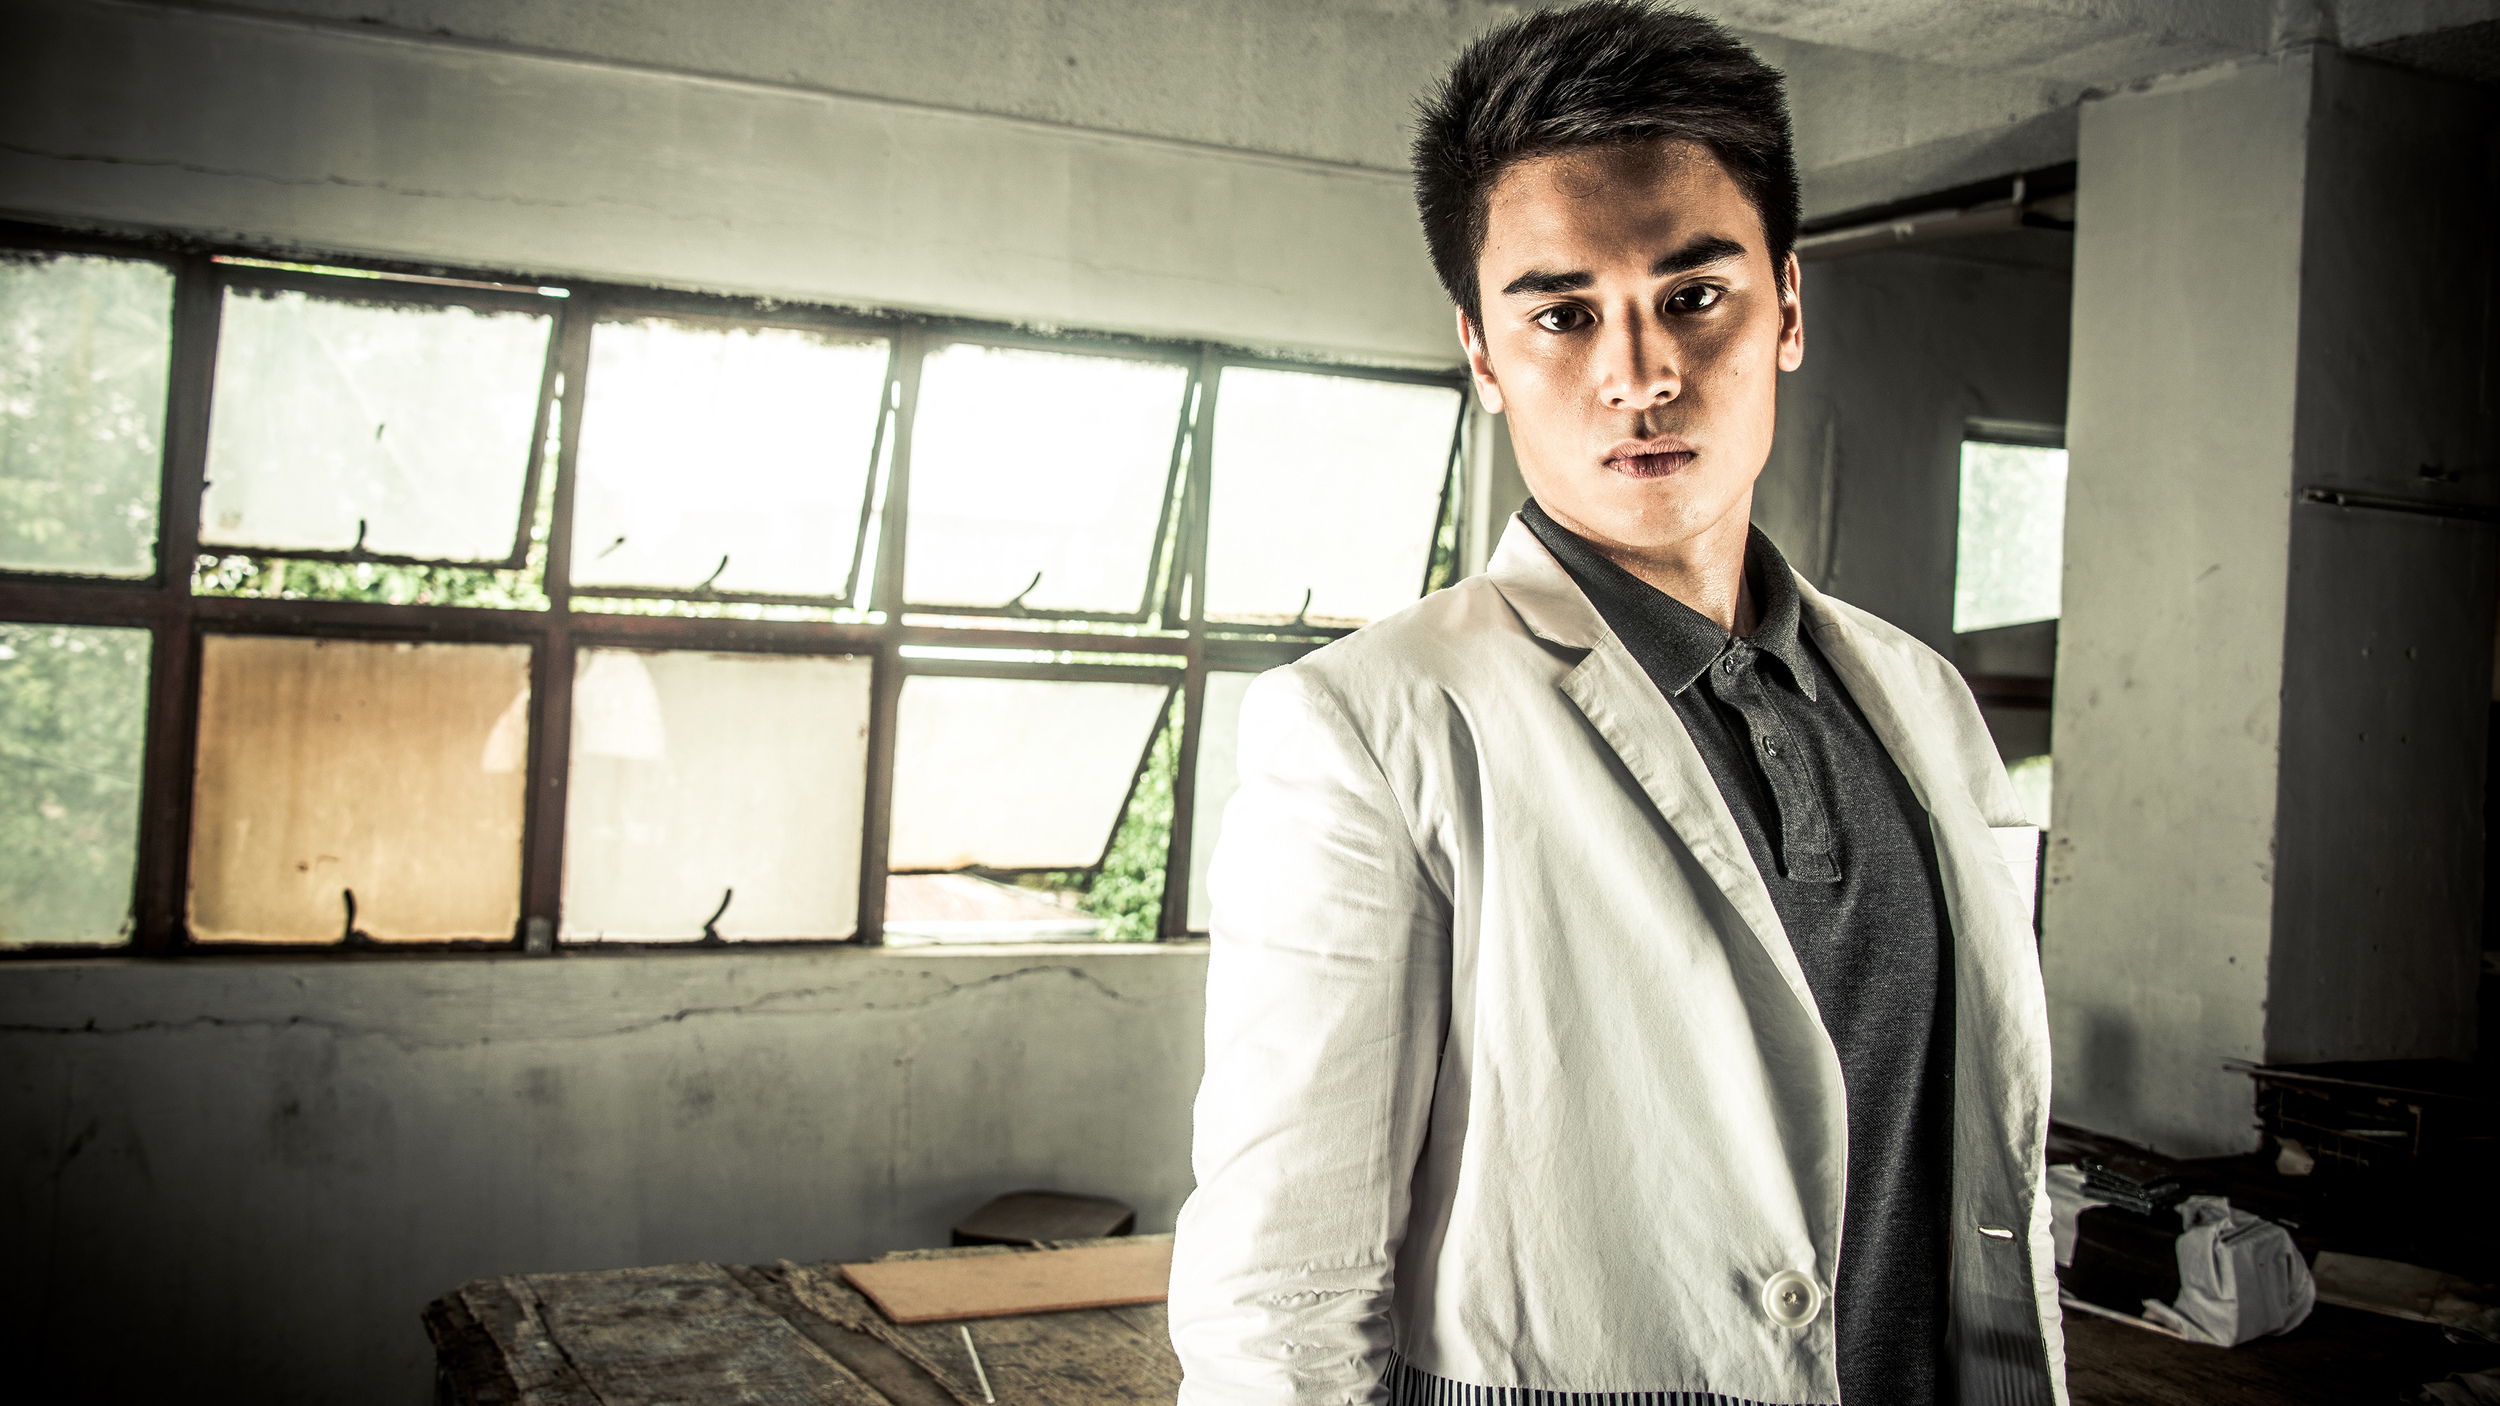
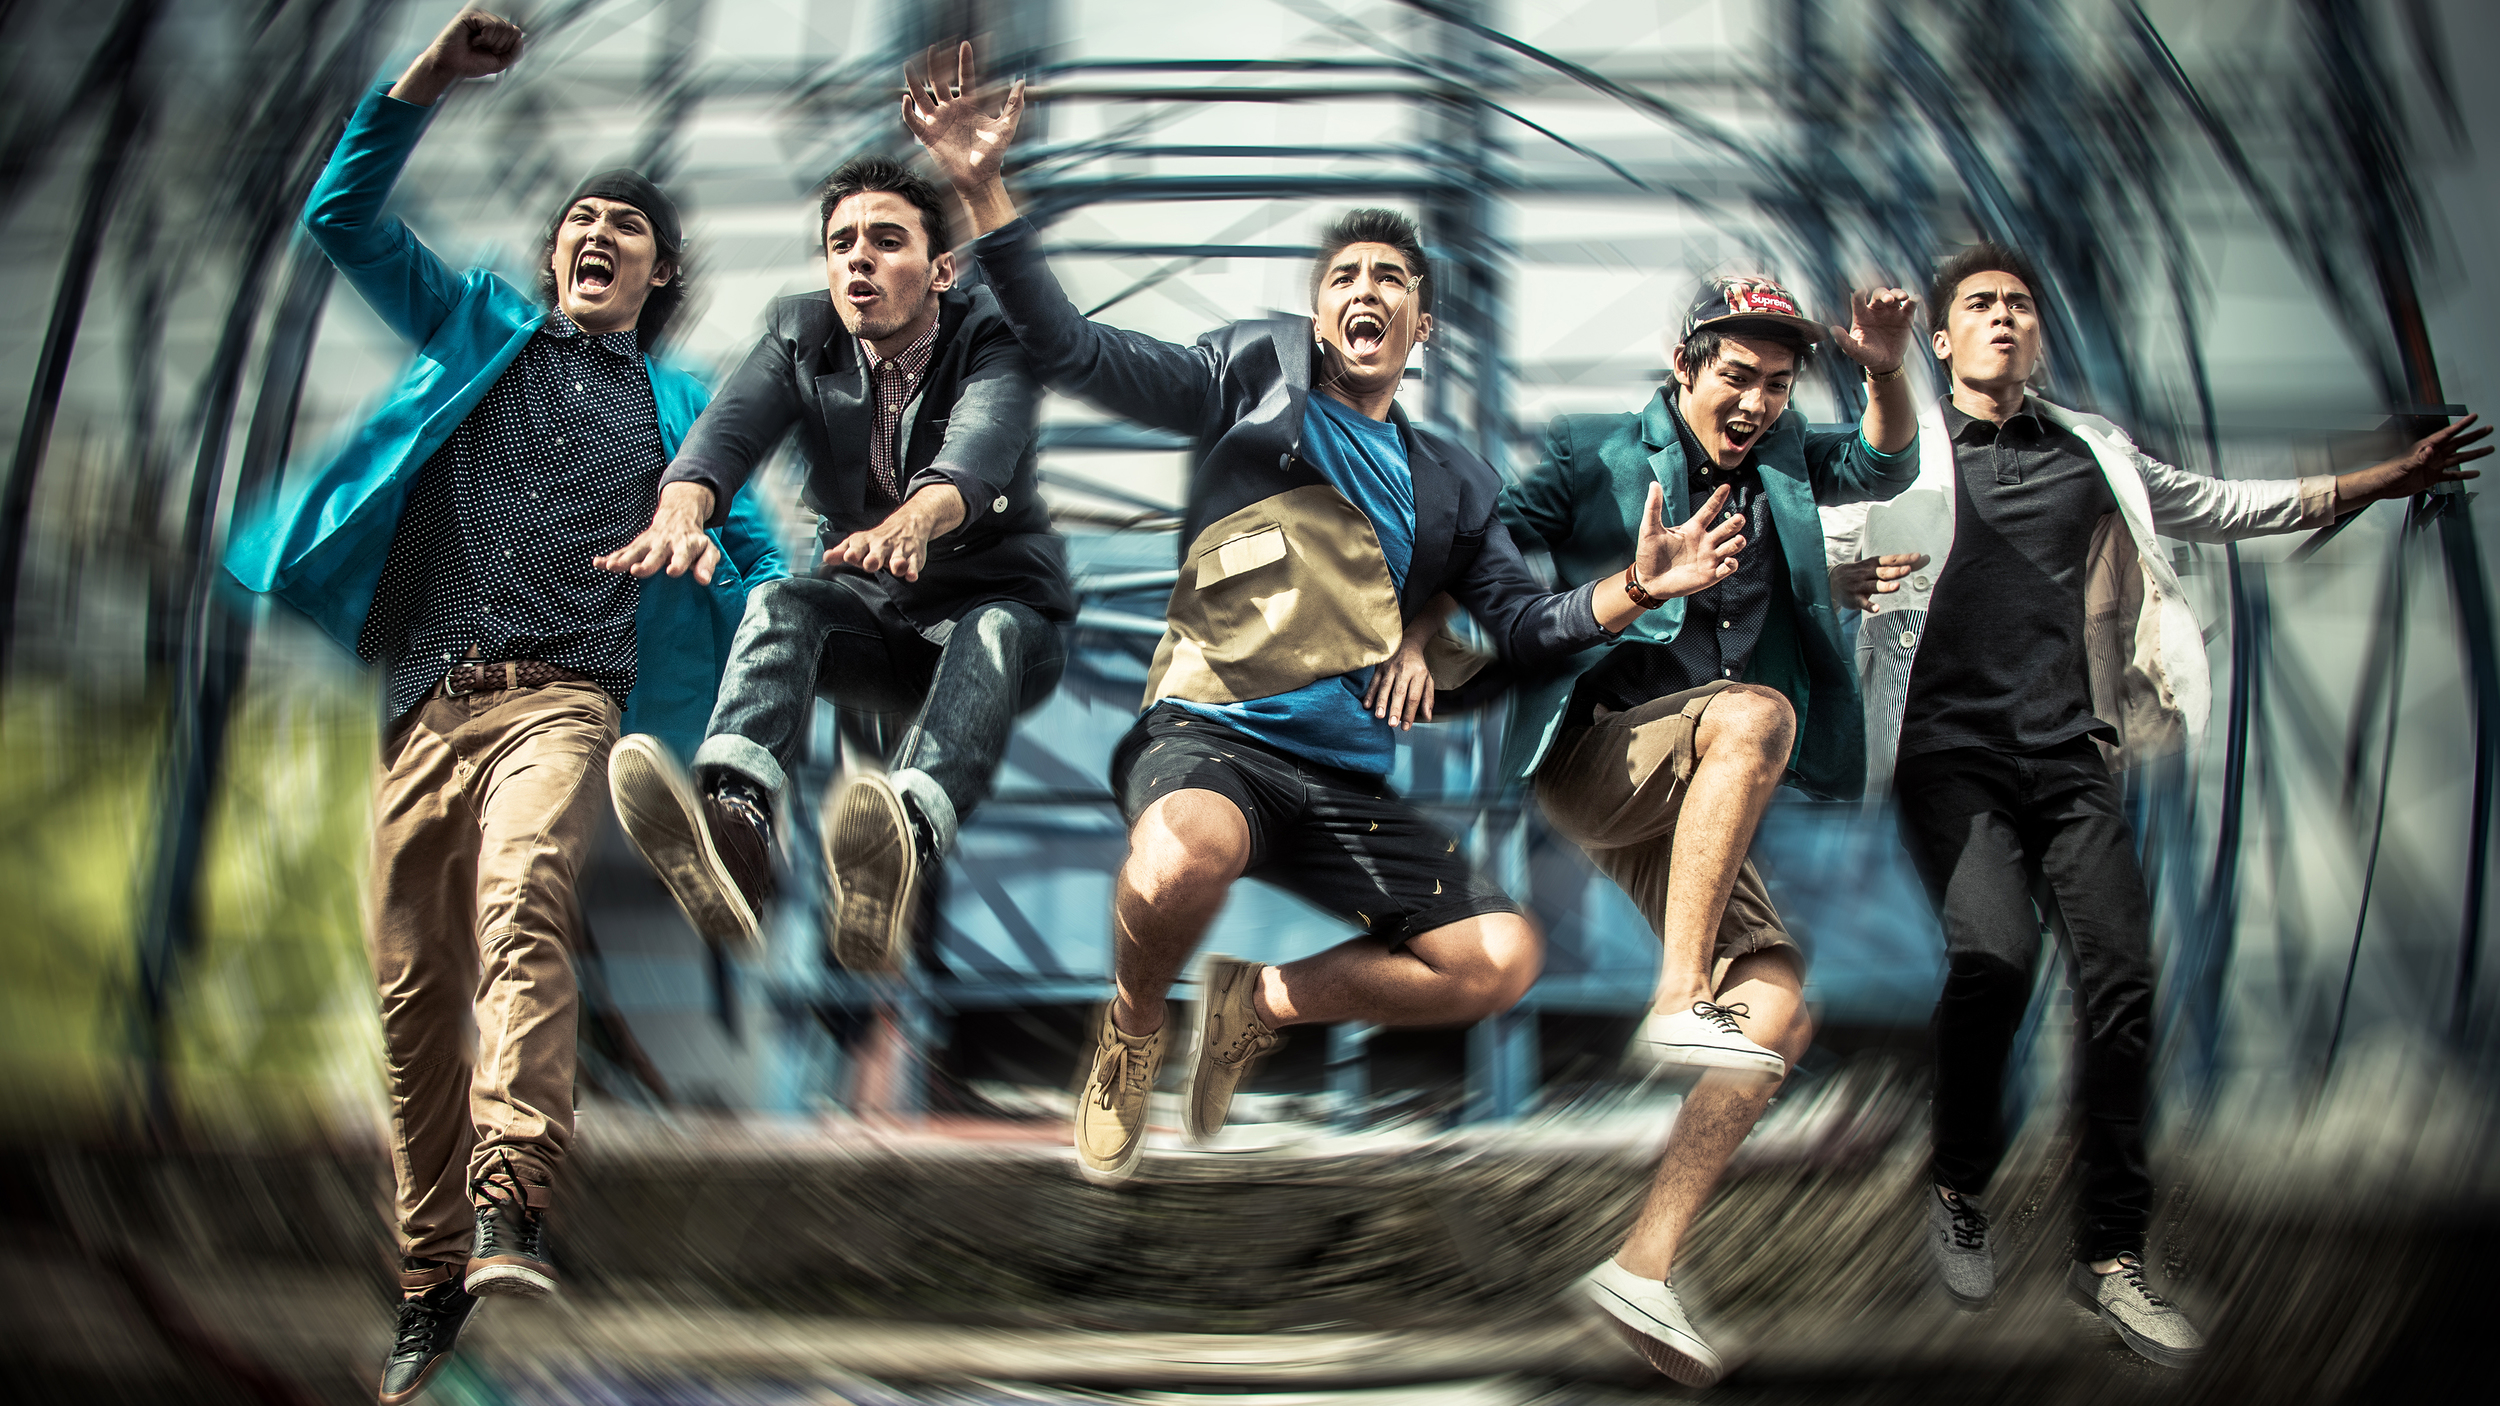
I was asked by the owner of Fifth Code, Lorenz Namalta to shoot for their second anniversary. Fifth Code is a clothing company that specializes on made to order blazers. The concept for this shoot was basically to portray a group of bros having a great time in their secret club. Lorenz and his friends provided the props, makeup and the clothing. This shoot was a little different that what I was used to because everything was basically prepared for me. I usually set everything up myself when it comes to creative shoots. It was a nice change of pace and I felt I could really just focus on the shoot.

Models: Patrick Soriano, George Schulze, Carlos Roberts, Erick Merioles, Mark Dimalanta

Styling & Art Direction: Lorenz Namalta

Styling Assistants: Esme Palaganas & Alexandra Reyes

Hair and Make-up: Isabelle Dee

It was quite challenging to pose the models as legitimate “bros” because they were not acquainted with each other in the beginning. I didn’t want to force interaction between them because it will end up looking forced and fake. Therefore, we spent some time prior to the shoot to let them gel and vibe off from each other. If you are having a group shoot that involved them interacting with each other, make time prior to the shoot for them to get to know each other first.

There are lots of steps to be a great fashion or editorial photographer. From this shoot, I realized that one of the hardest steps to overcome is learning how to pose models effectively and creatively. It is a very difficult skill to learn and you can only do it by practice and experience. Group photos are especially difficult to pose. You need to know if you are focusing on one model or all of the models. This will help you with lighting and your composition.

The lighting set up for the group shots was basic because I wanted the lighting to work for more than just one group shot. It had to be broad and versatile but still very dynamic and engaging. Our location had afternoon light pouring through with the window making our models back lit. As most of you know, it is very tough working with your light source behind the subject. Therefore, I faced a couple of studio lights against the light. This achieved a very dynamic look but you have to be careful in how you balance the power of your lighting because it may look flat and fake.

I used the stripbox to evenly spread light that will work against the sunlight. However, I thought that the pictures it produced was too flat and the models lacked volume. I then used a beauty dish with an umbrella on the side to diffuse the light and add that volume. I wanted as much ambient light to add more realism. To allow the ambient light and window light to be visible, I used a low shutter speed.

Here is the whole set of Fifth Code: The Good Life

I edited these photos mainly using Adobe Photoshop and Lightroom 4. I also used Portrait Professional Studio for retouching. If you have more questions on how I produced these images, feel free to comment here or post on my wall on facebook.

website | facebook | flickr | behance instagram

Dancing with a Shadow

Both photographs and dance have an innate capability to tell and convey stories and ideas, as with any kind of art form. I have always wanted to portray a story through dance and photographs. Being able to fuse both art forms have always intrigued me because of the many factors involved. How does one art portray another in tandem and with accuracy? I want to explore these ideas. Therefore I asked my dancer friends Marissa Mes and Rafa Siguion-Reyna to model for me. Marissa was part of the final competitors in So You Think You Can Dance in Holland.

The concept for this series was the idea of “letting go”. Letting go of a loved one is always a difficult ordeal. However, it doesn’t mean that you have to let go of everything. One thing you can keep are the great memories that you have of them.

For the shadows of the models in the background, I used a similar technique from one of my older composites. I first took a photo of the models doing the lift together and then a separate one with them reenacting the lift by themselves. I then created a silhouette of the dancers together and used that as the shadow behind the solo dancer. 

For this post, I wanted to focus on how I was able to completely simulate a backlit and ethereal effect using photoshop. This is the original photo taken without any post-processing. I originally wanted a lot of backlight for this series but lacked the amount of natural sunlight due to the cloudy weather.

In Photoshop, I simply created a new layer and used white colored large soft round brushes (0% hardness) with 40% opacity and built it up. I used the color white because I would have more control of its color in Lightroom which would be the last step.

I also added shadows to give it a more realistic look. For this, I added another layer and used the lasso tool to create a rough shape of the shadow then used the radial gradient tool and used the soles of the feet as the center. I finished it up with the Gaussian Blur tool and decreased its opacity.

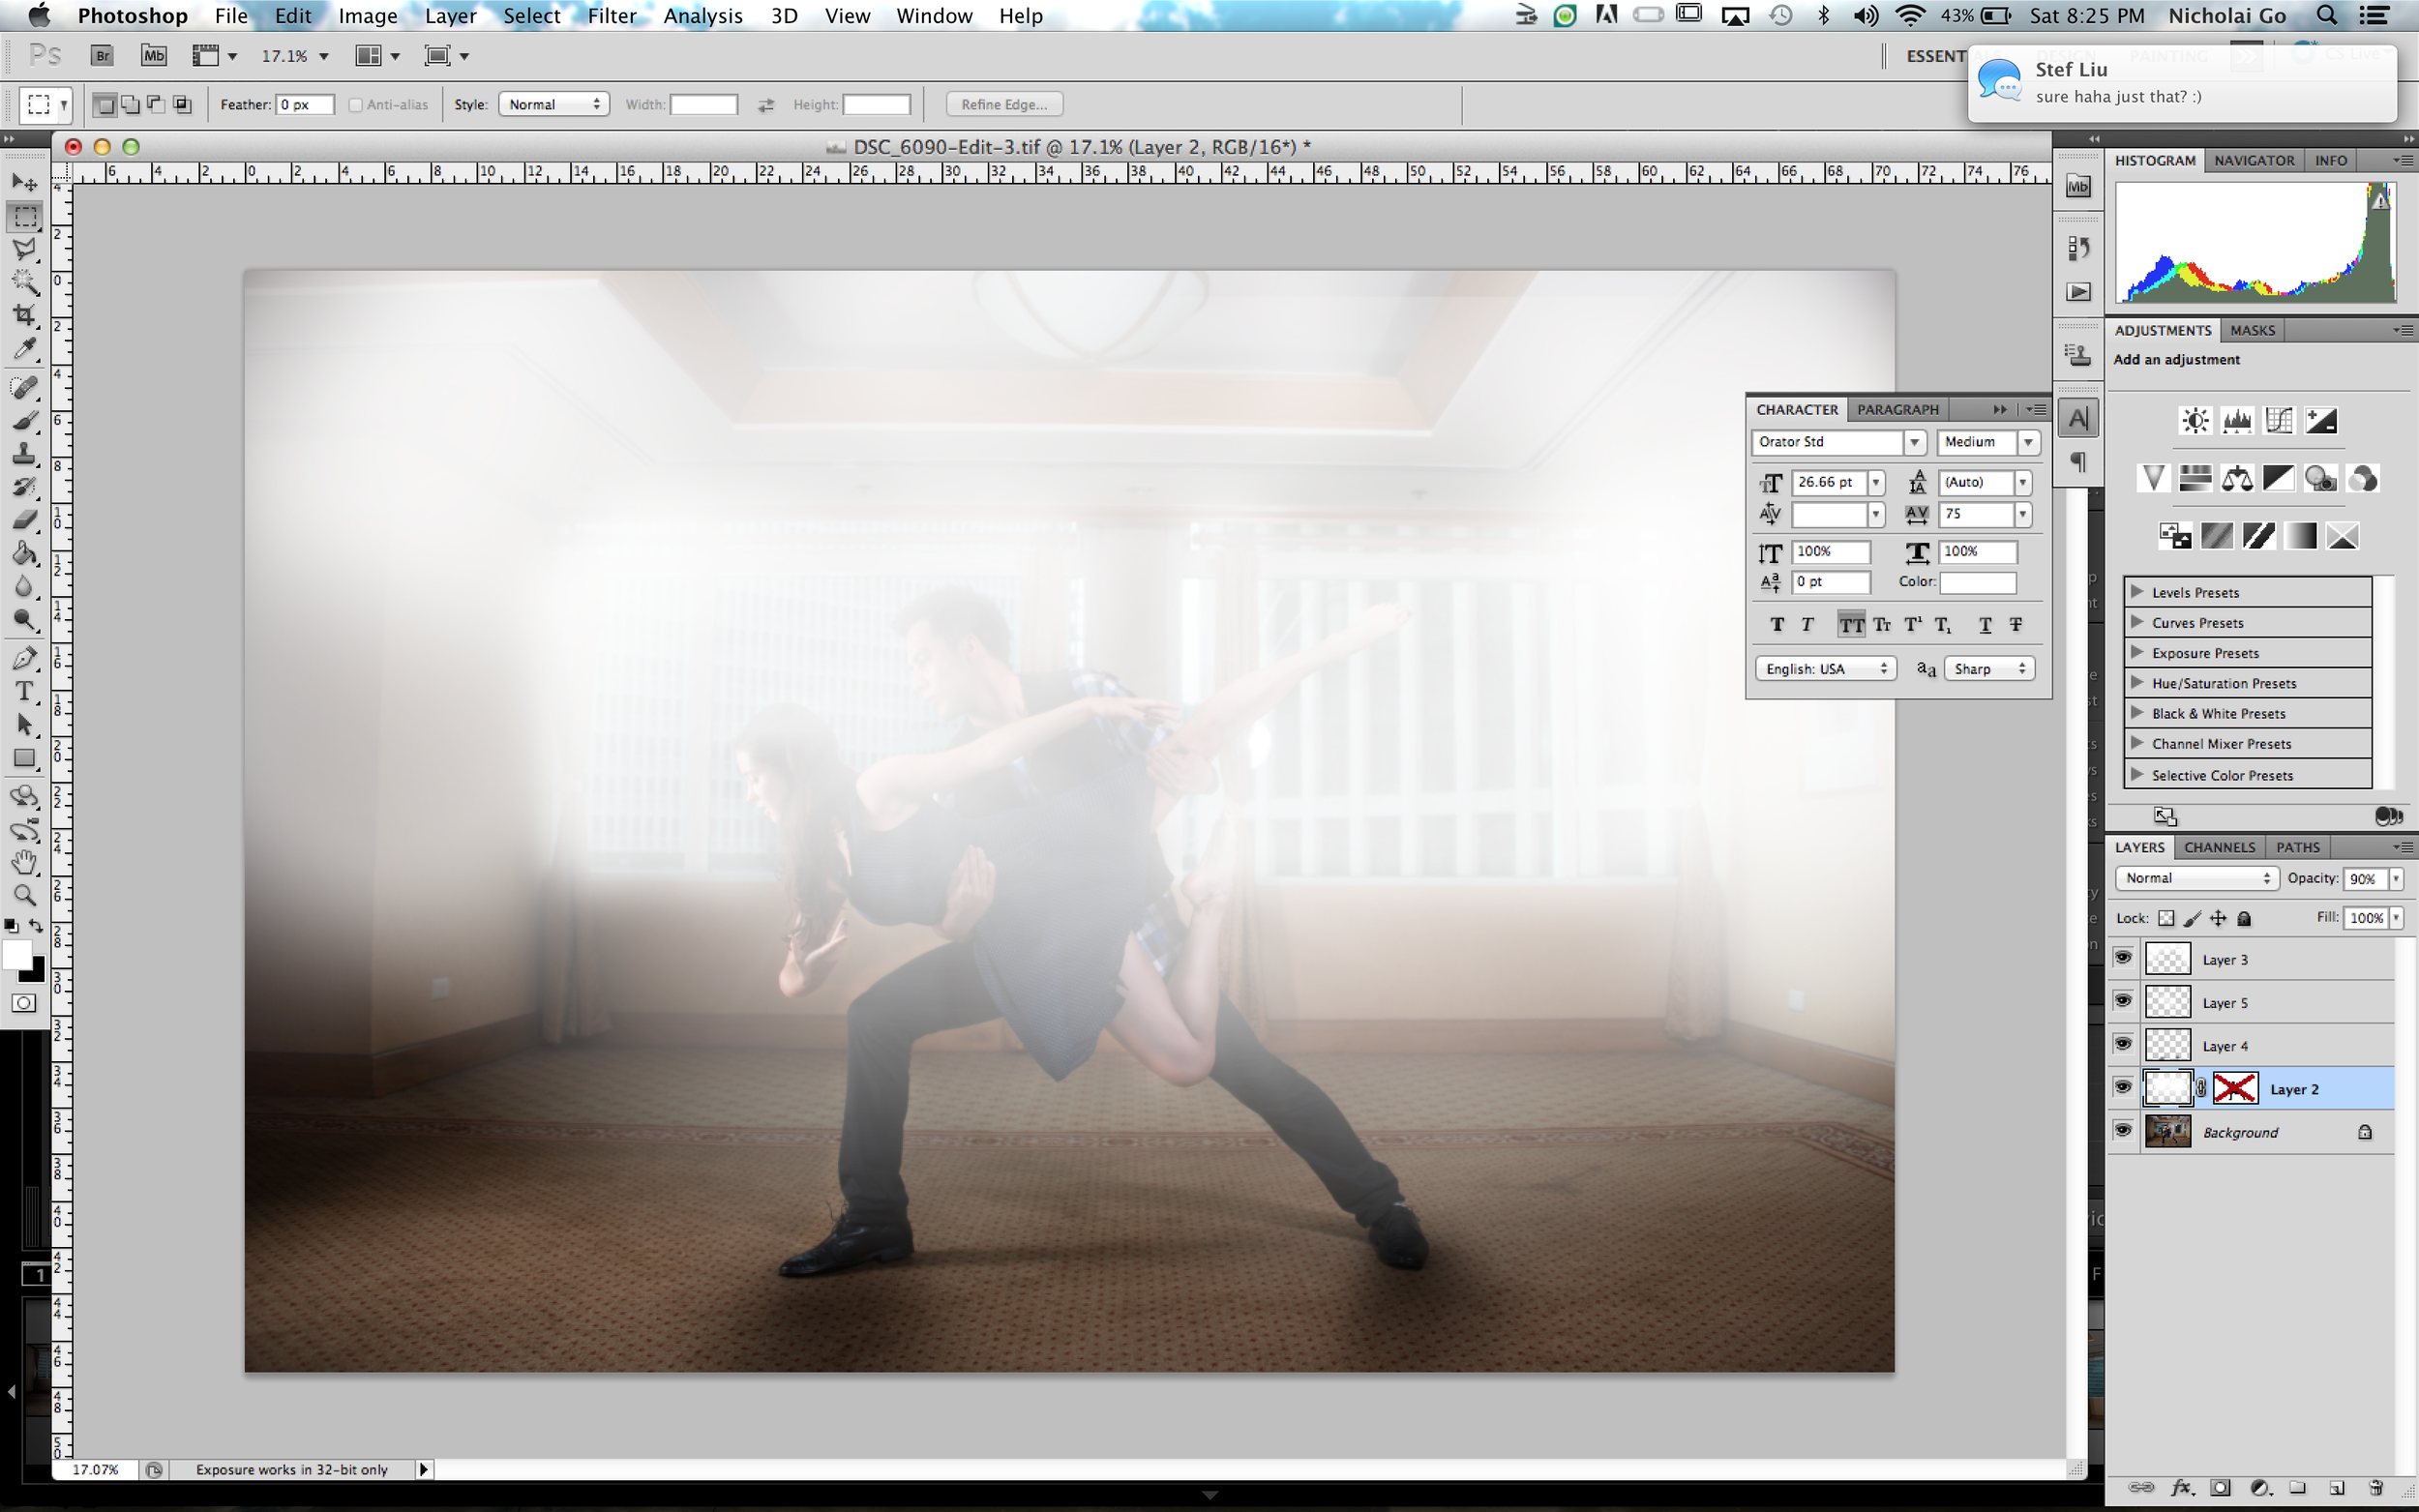
I then used the masking tool as you can see on the screen shot, to start removing the white on the subjects. I used the round brush with 100% hardness in the inner side of the models then changed it to around 40% hardness around the edges. This simulates a rim light effect to make it look more natural.

Finally, the last step is editing the colors and the contrast using Lightroom. I gave it a warm color to further simulate the light effect. I also increased the clarity of the subjects using the adjustment brush, isolating the effect from the background. Here is the final image:

I edited these photos mainly using Adobe Photoshop and Lightroom 4. I also used Portrait Professional Studio for retouching. If you have more questions on how I produced these images, feel free to comment here or post on my wall on facebook.

website | facebook | flickr | behance instagram