Photowalk in Binondo 3/28/13

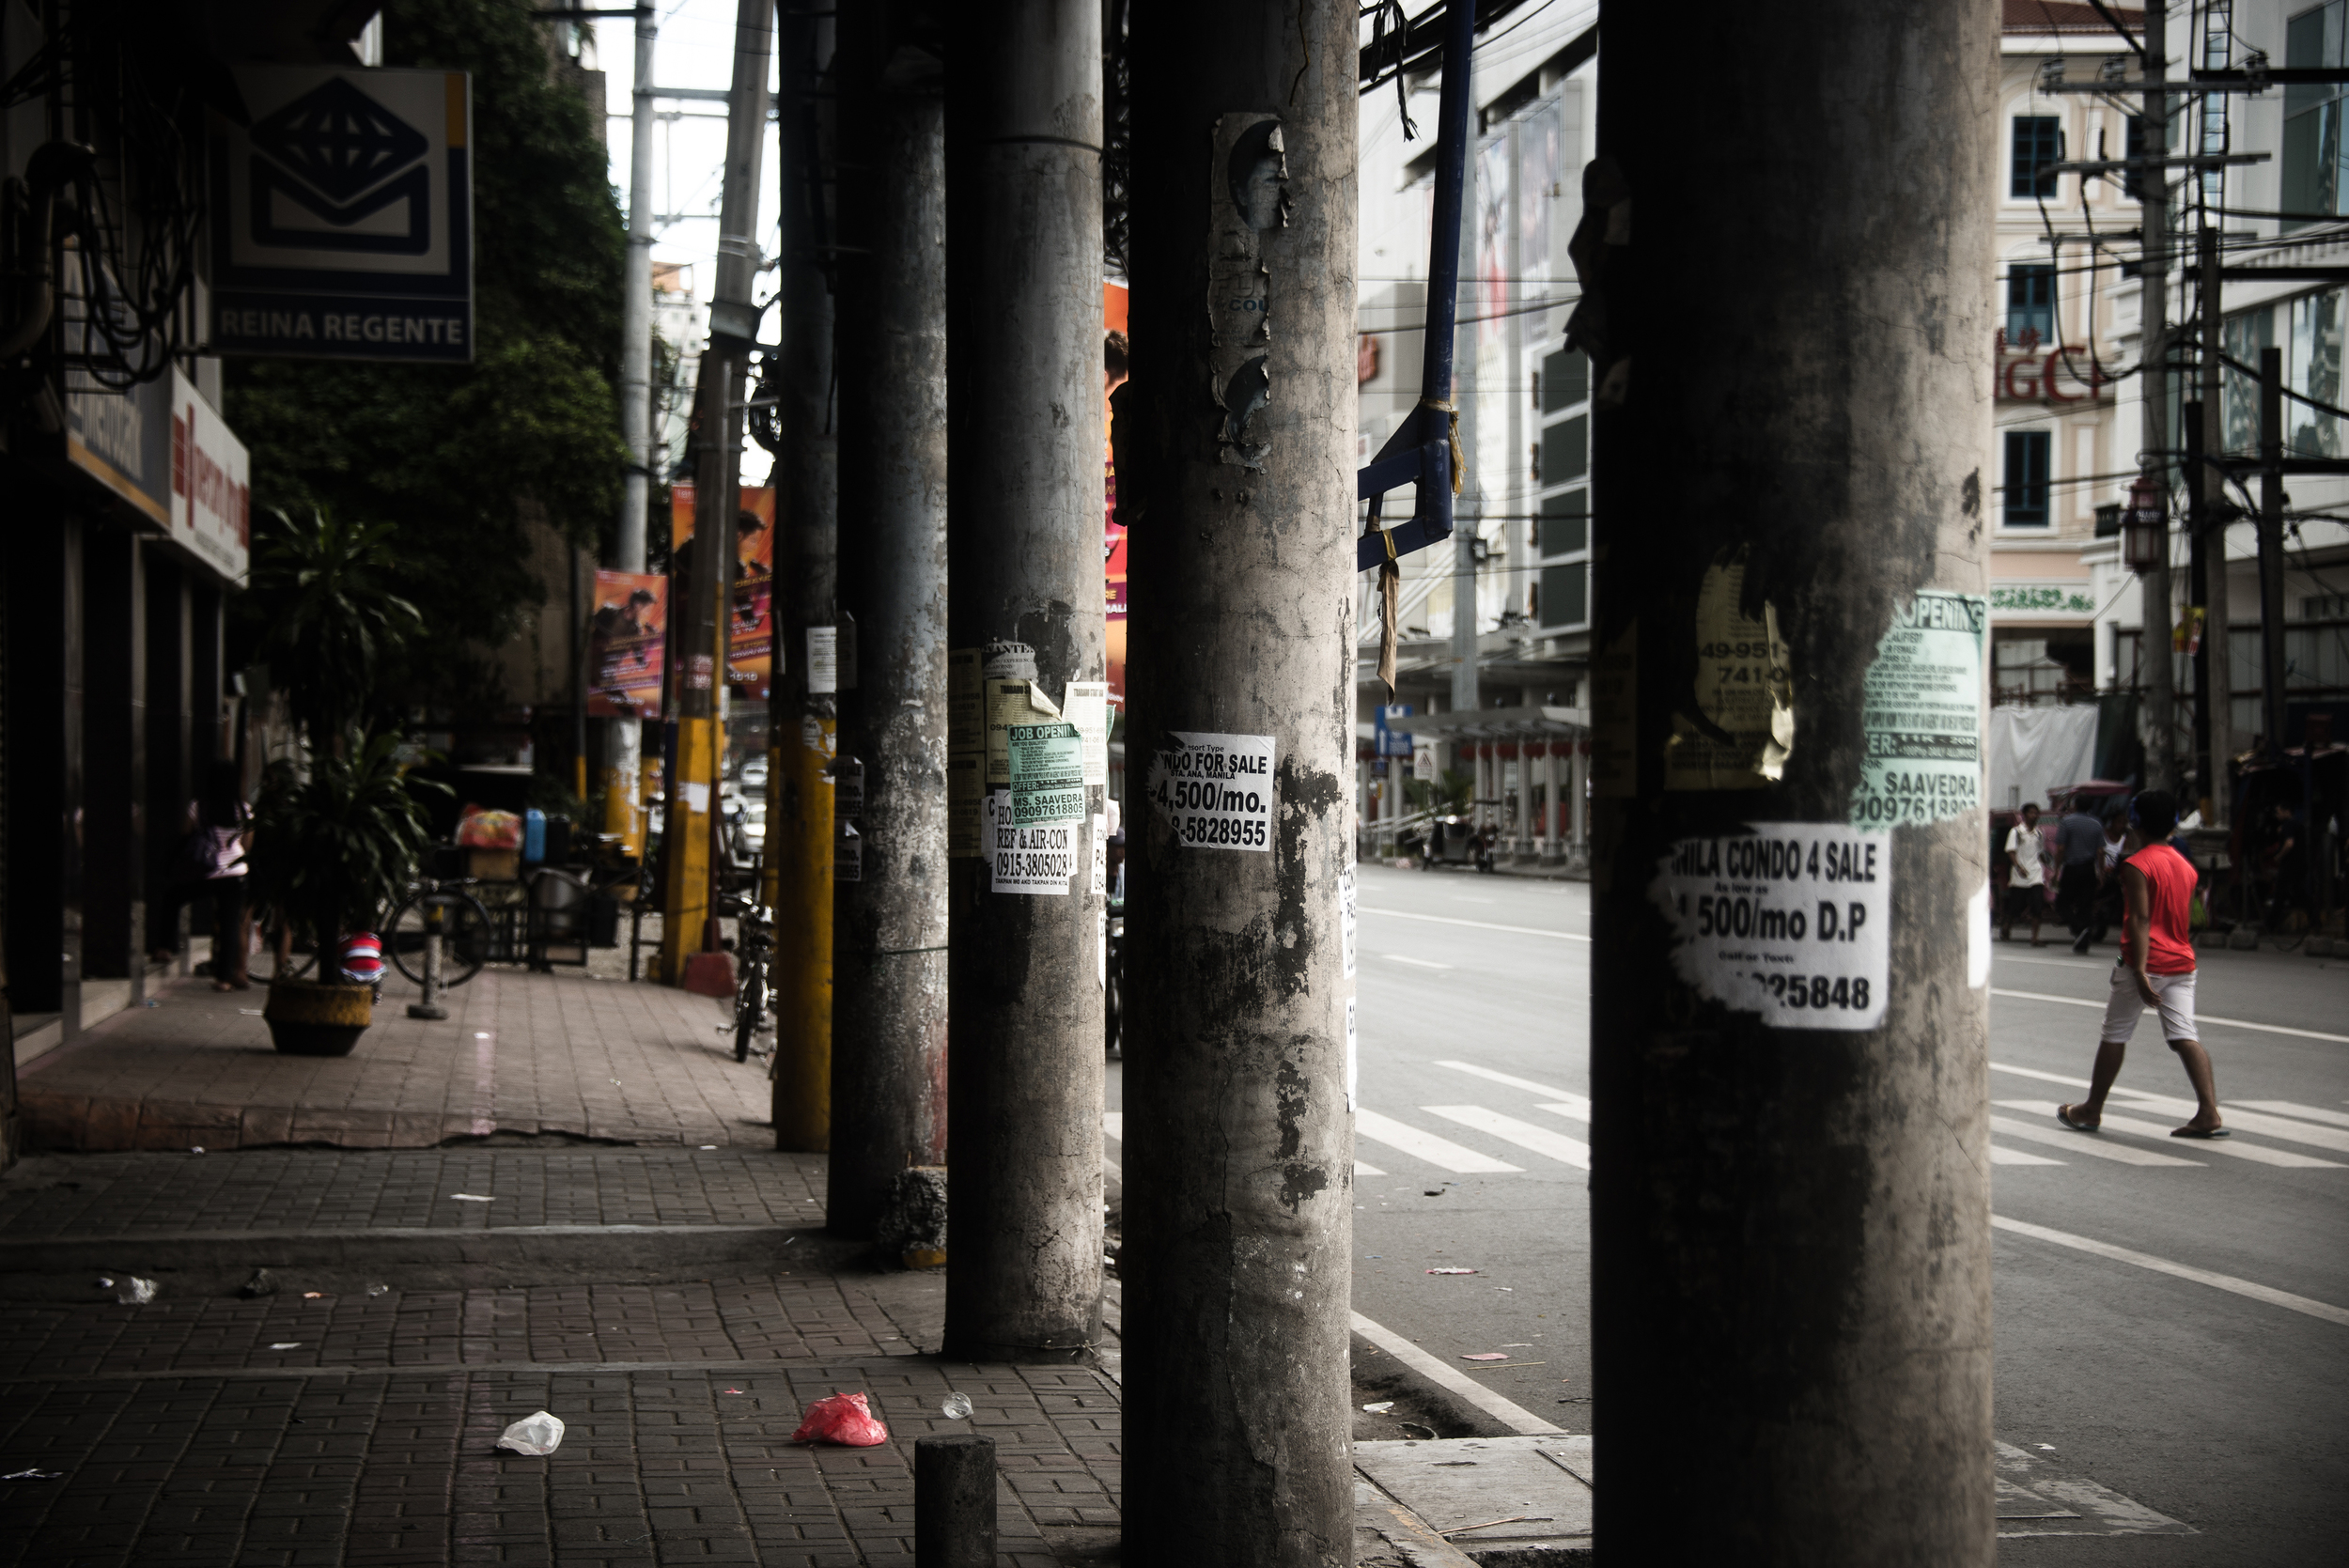
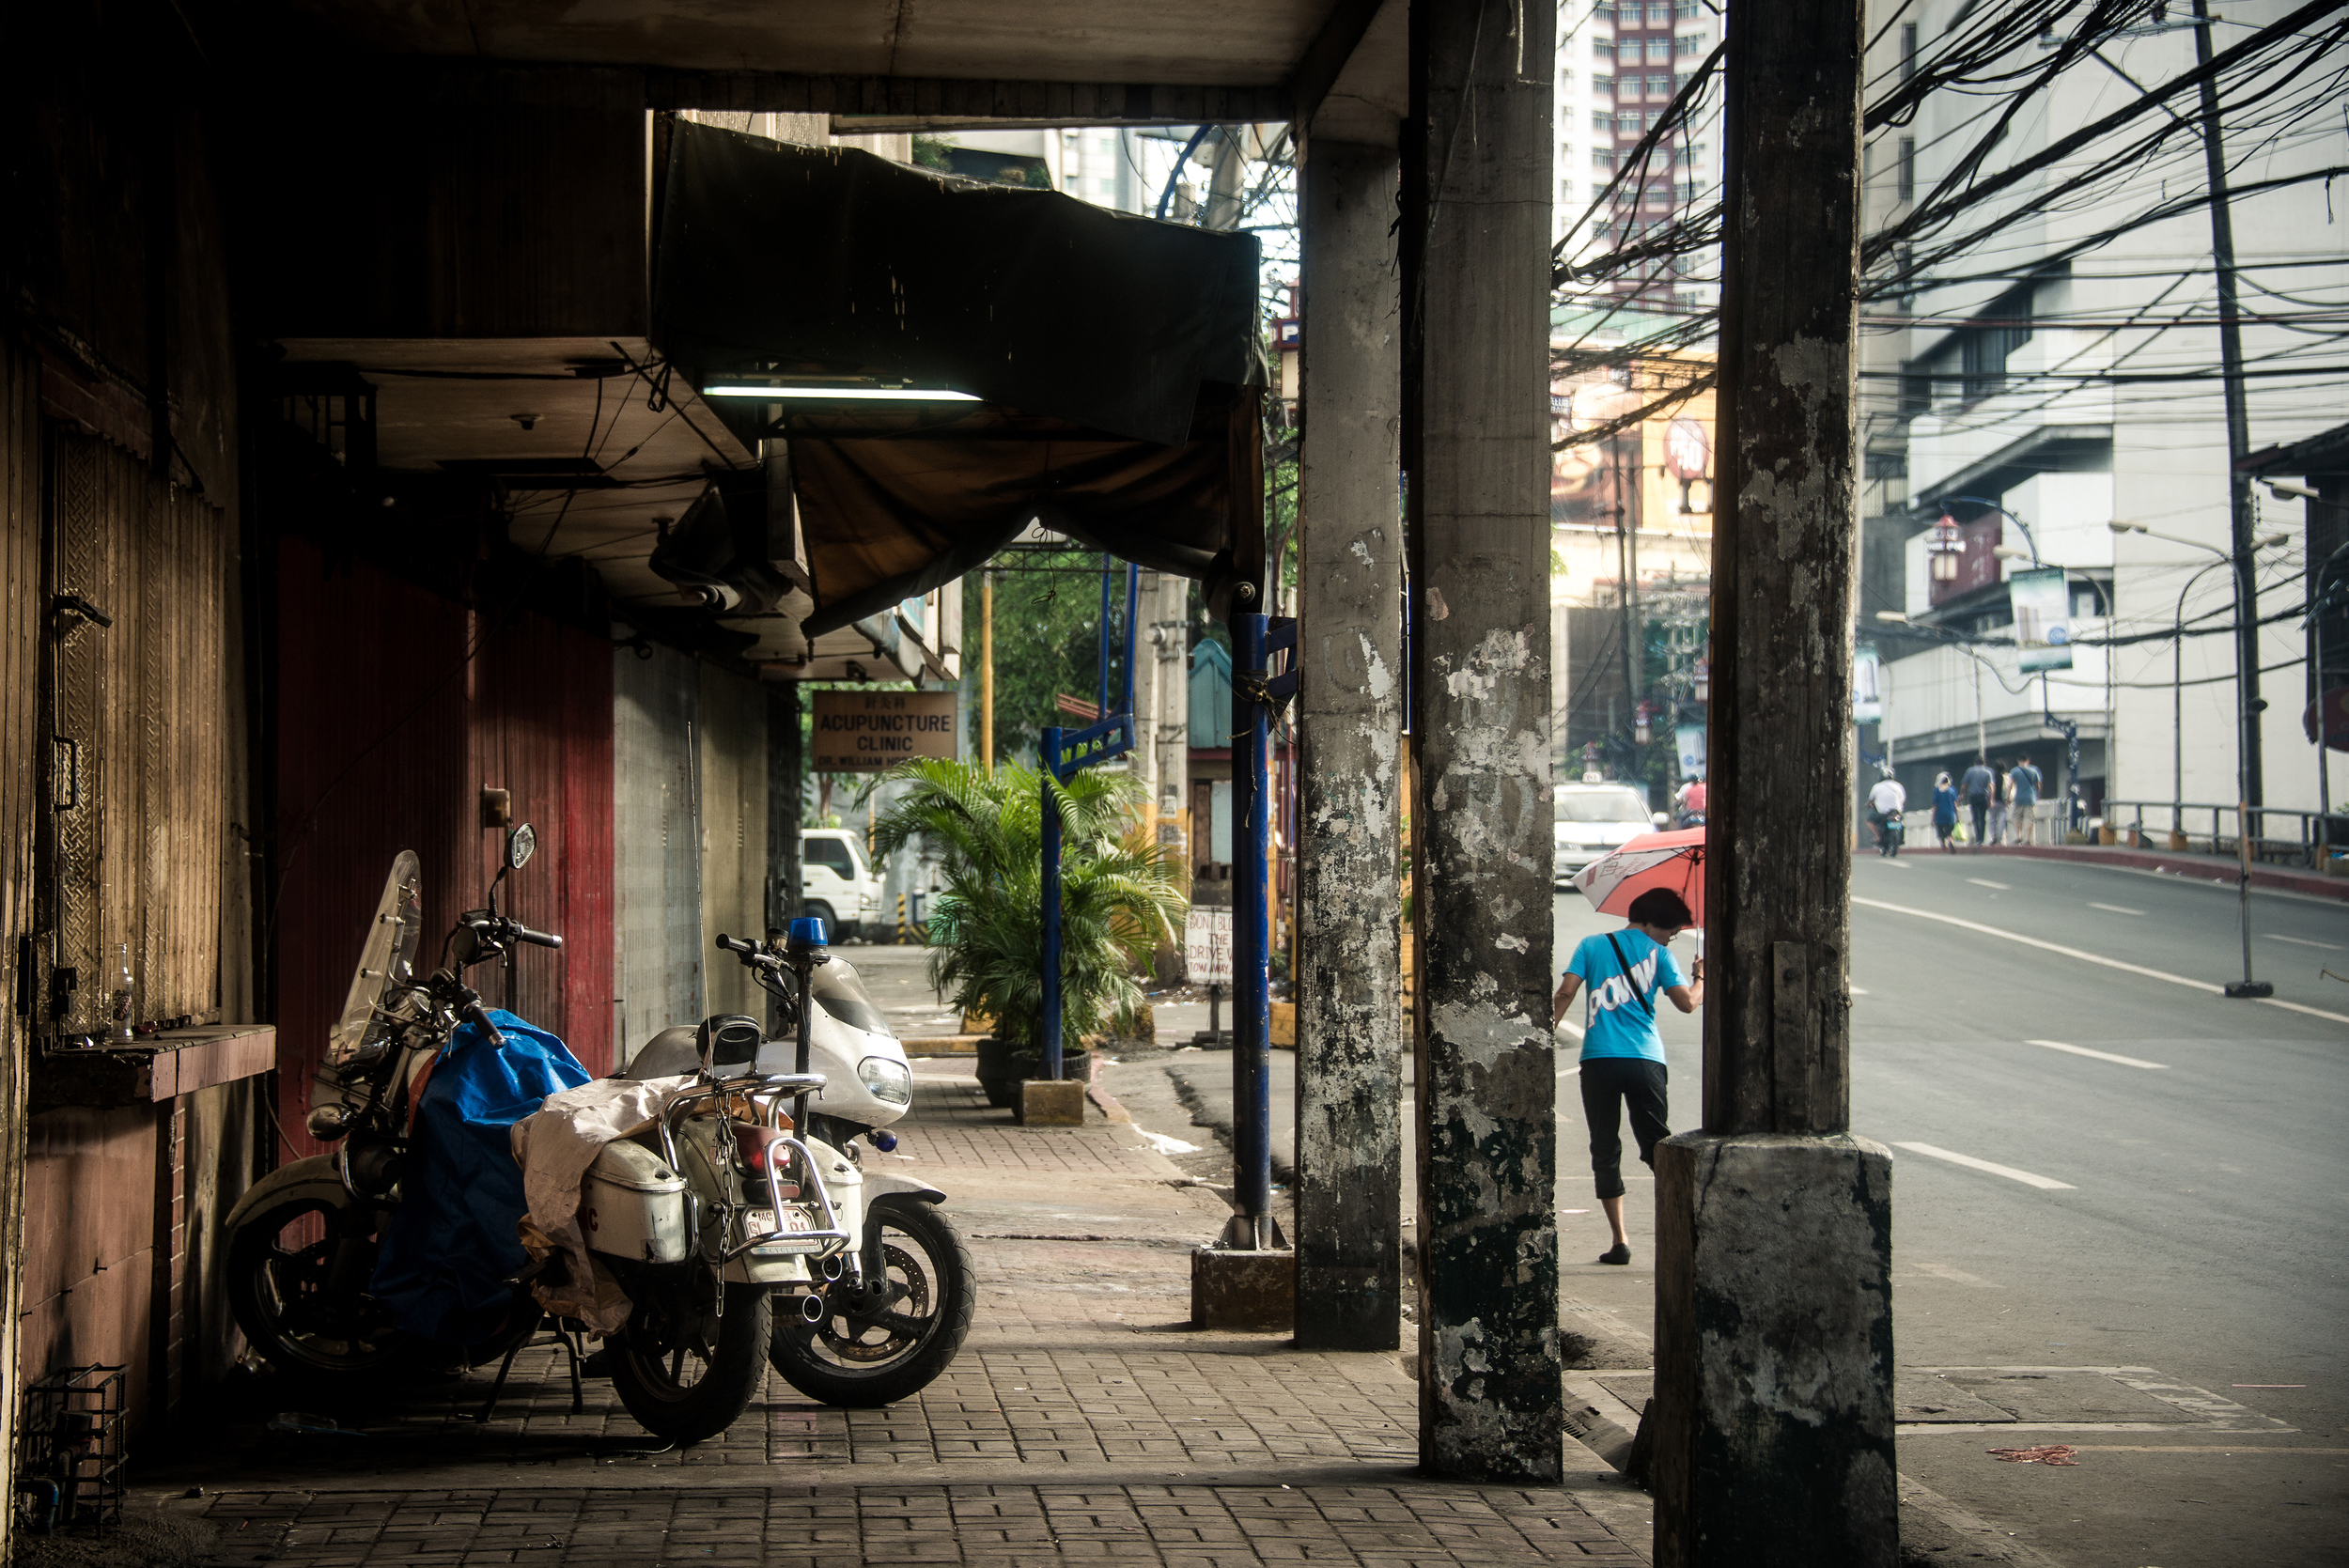
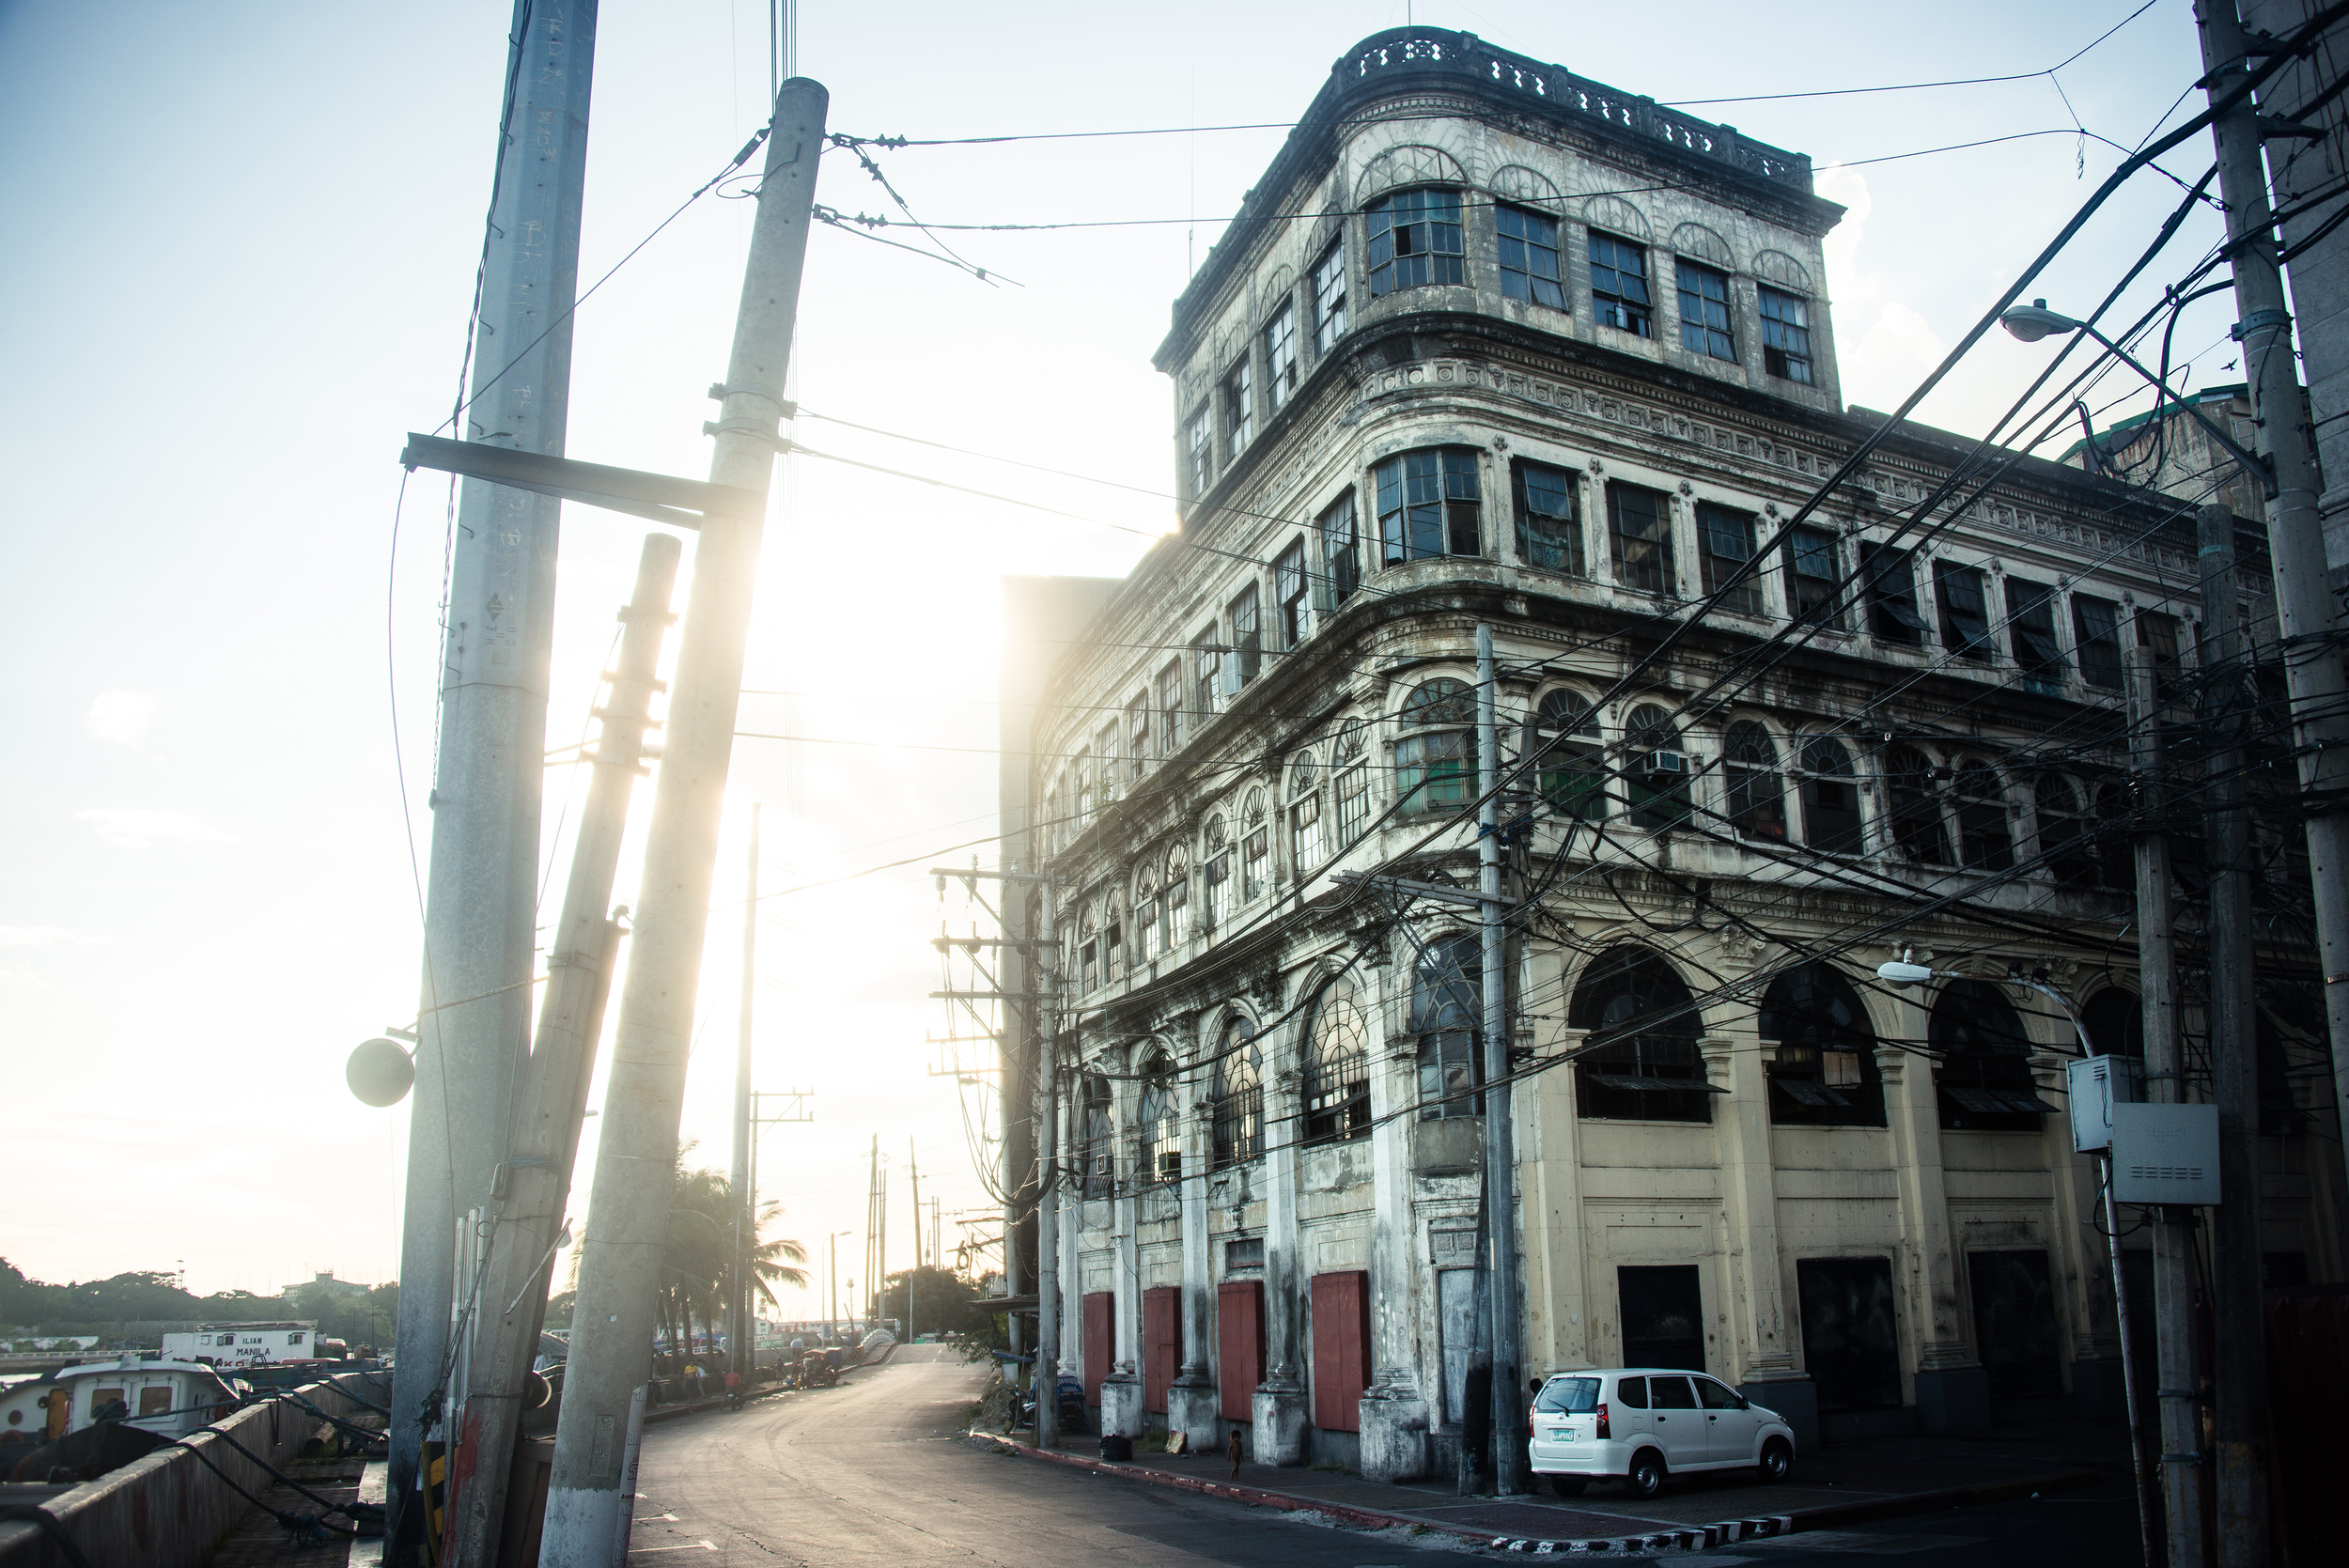
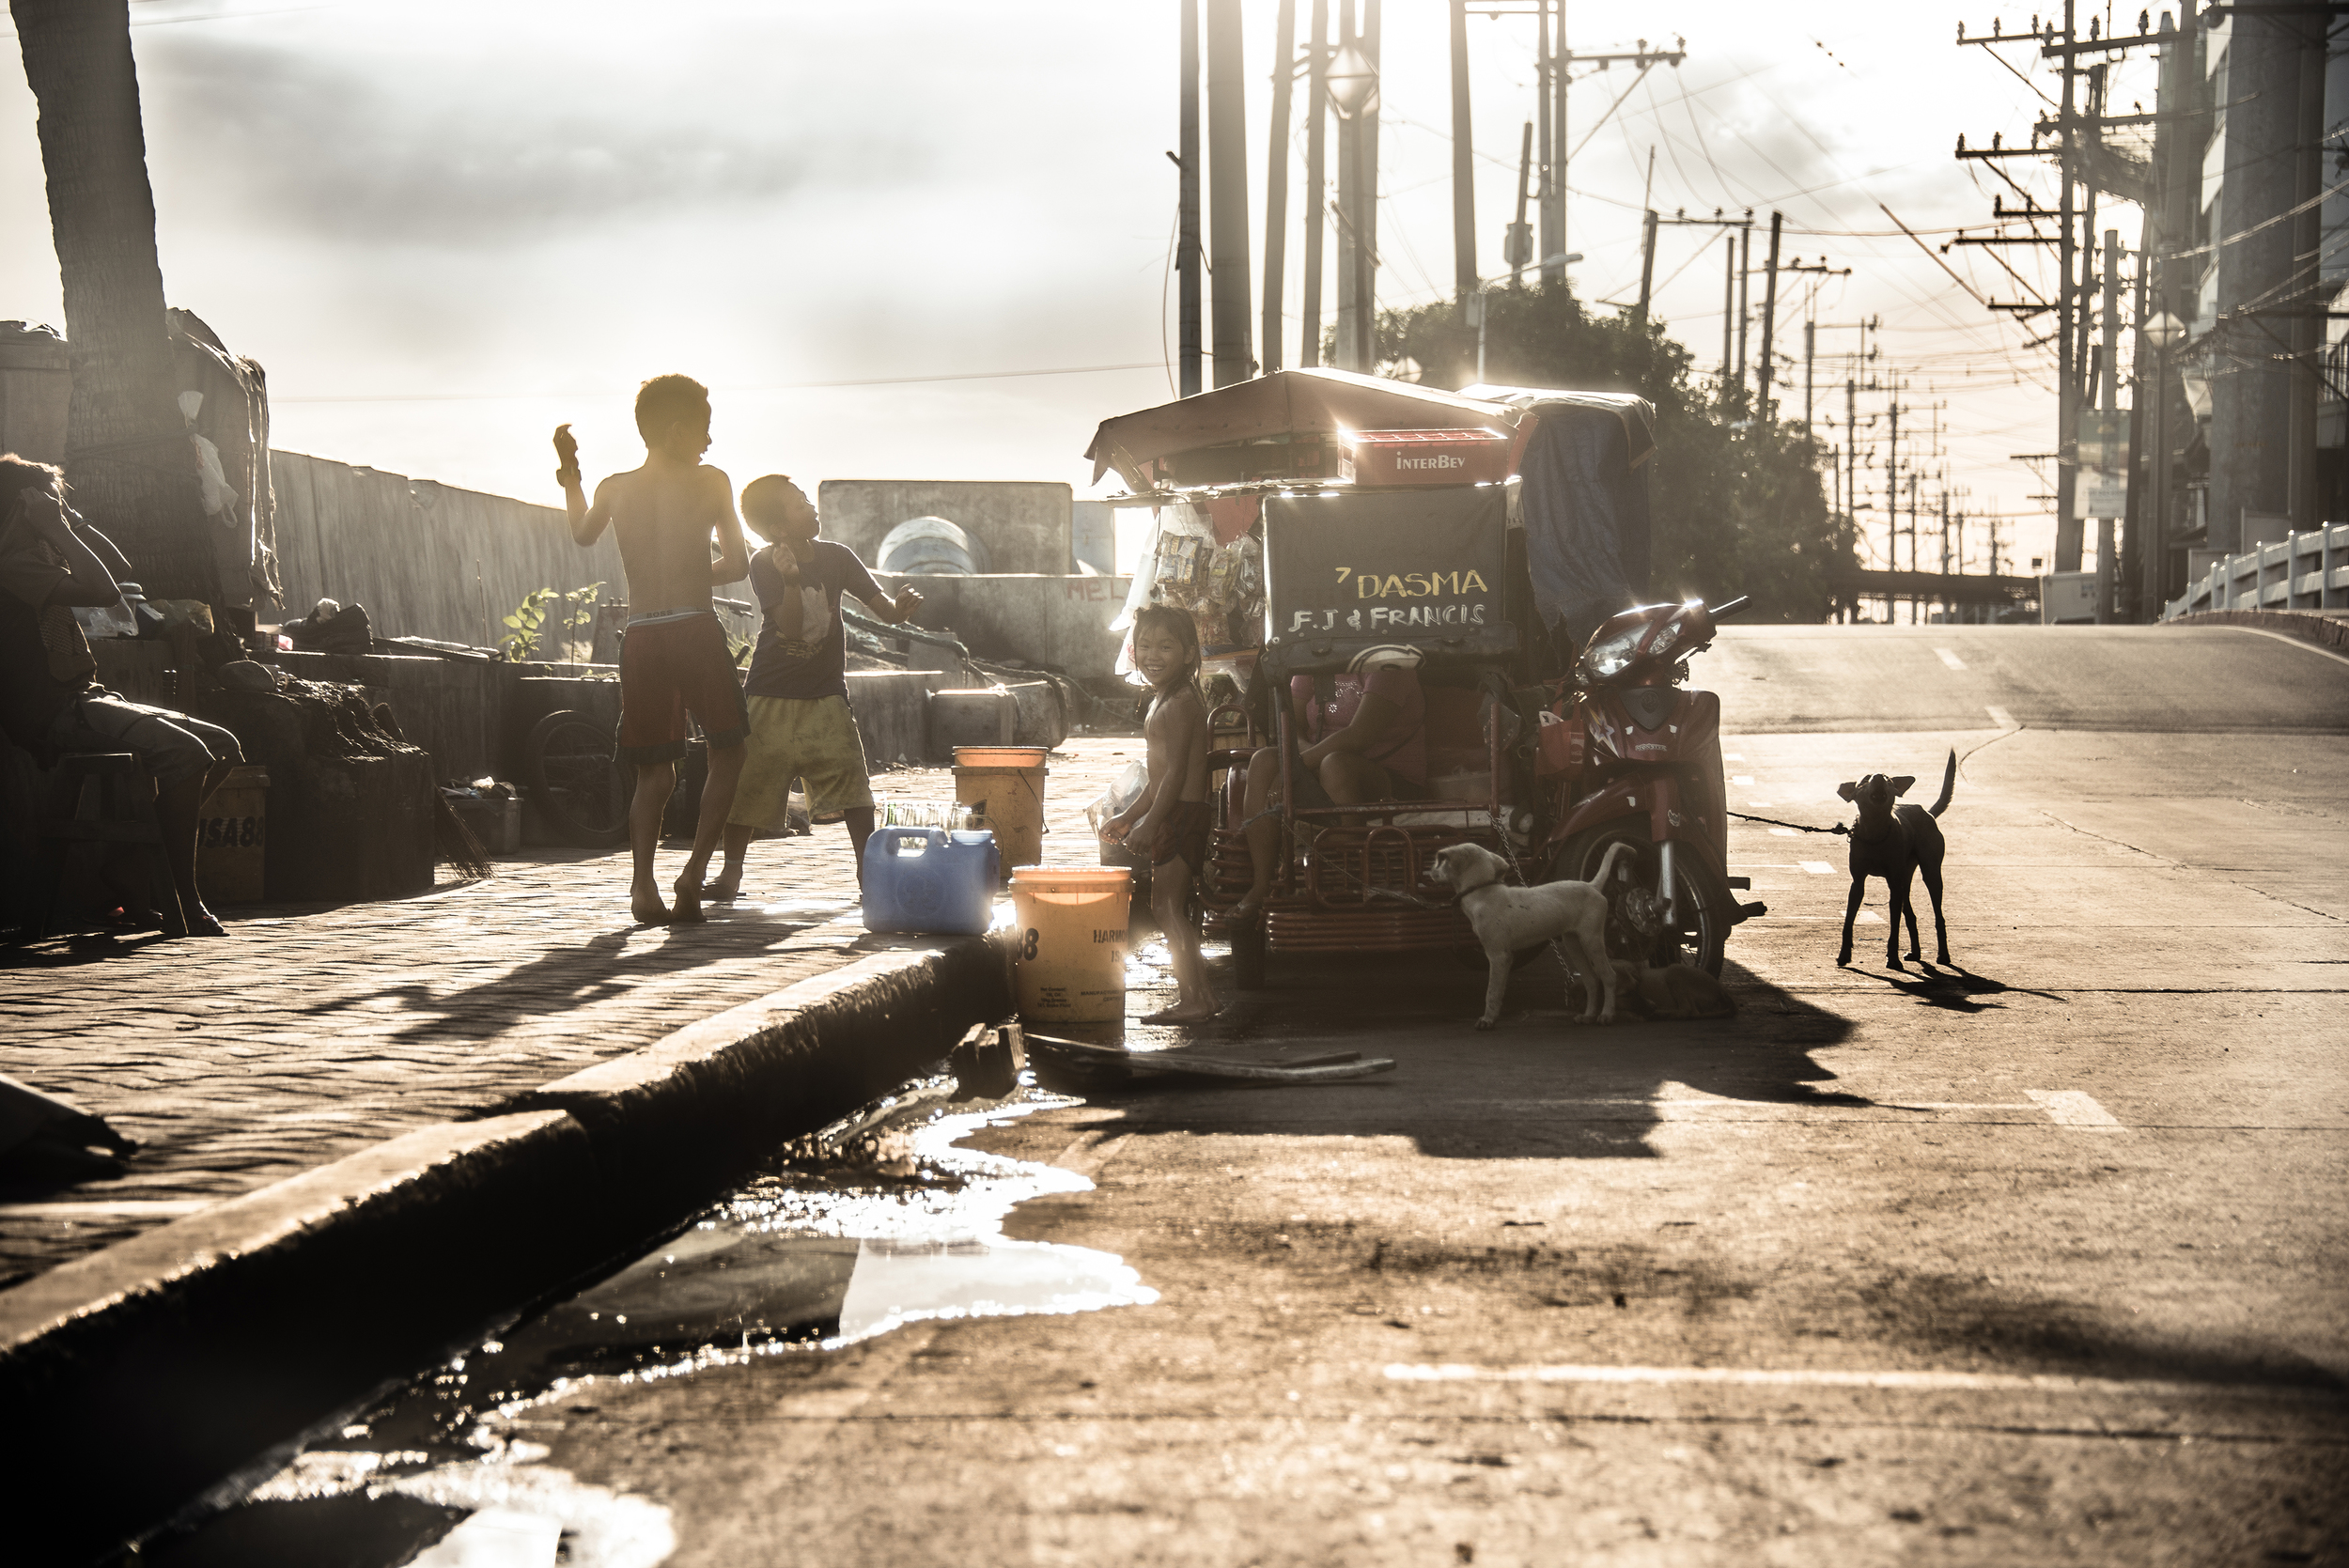
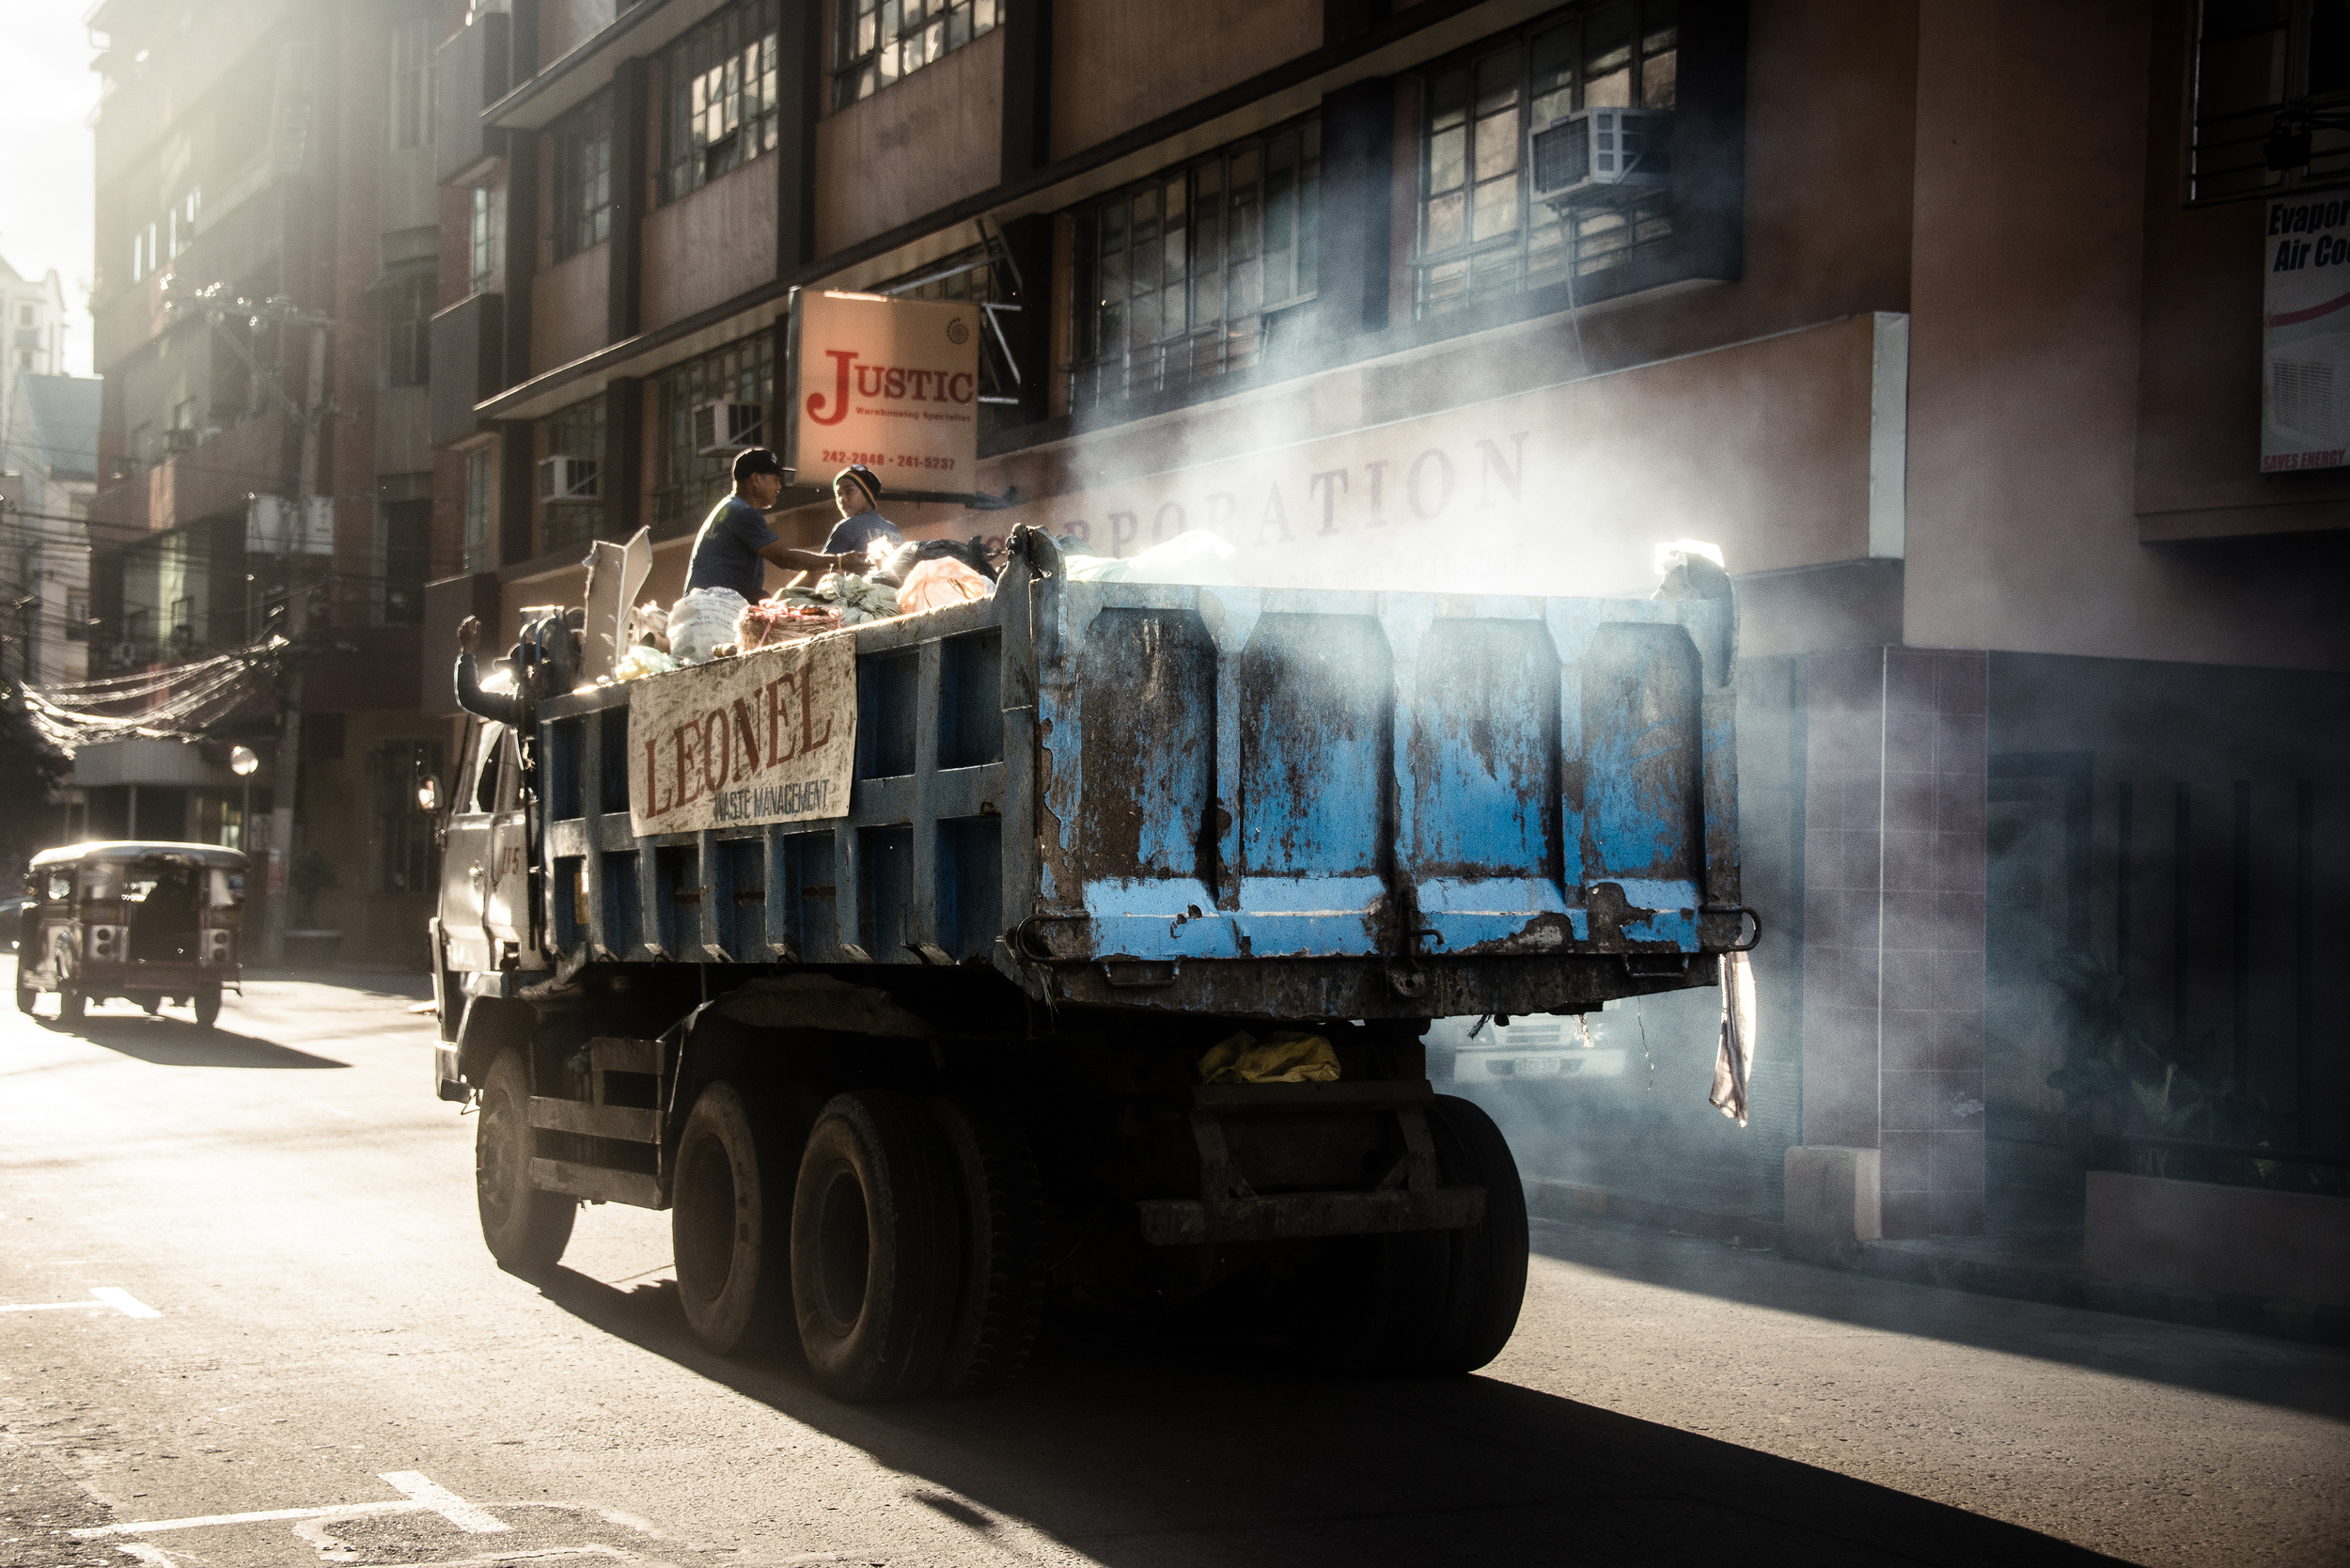
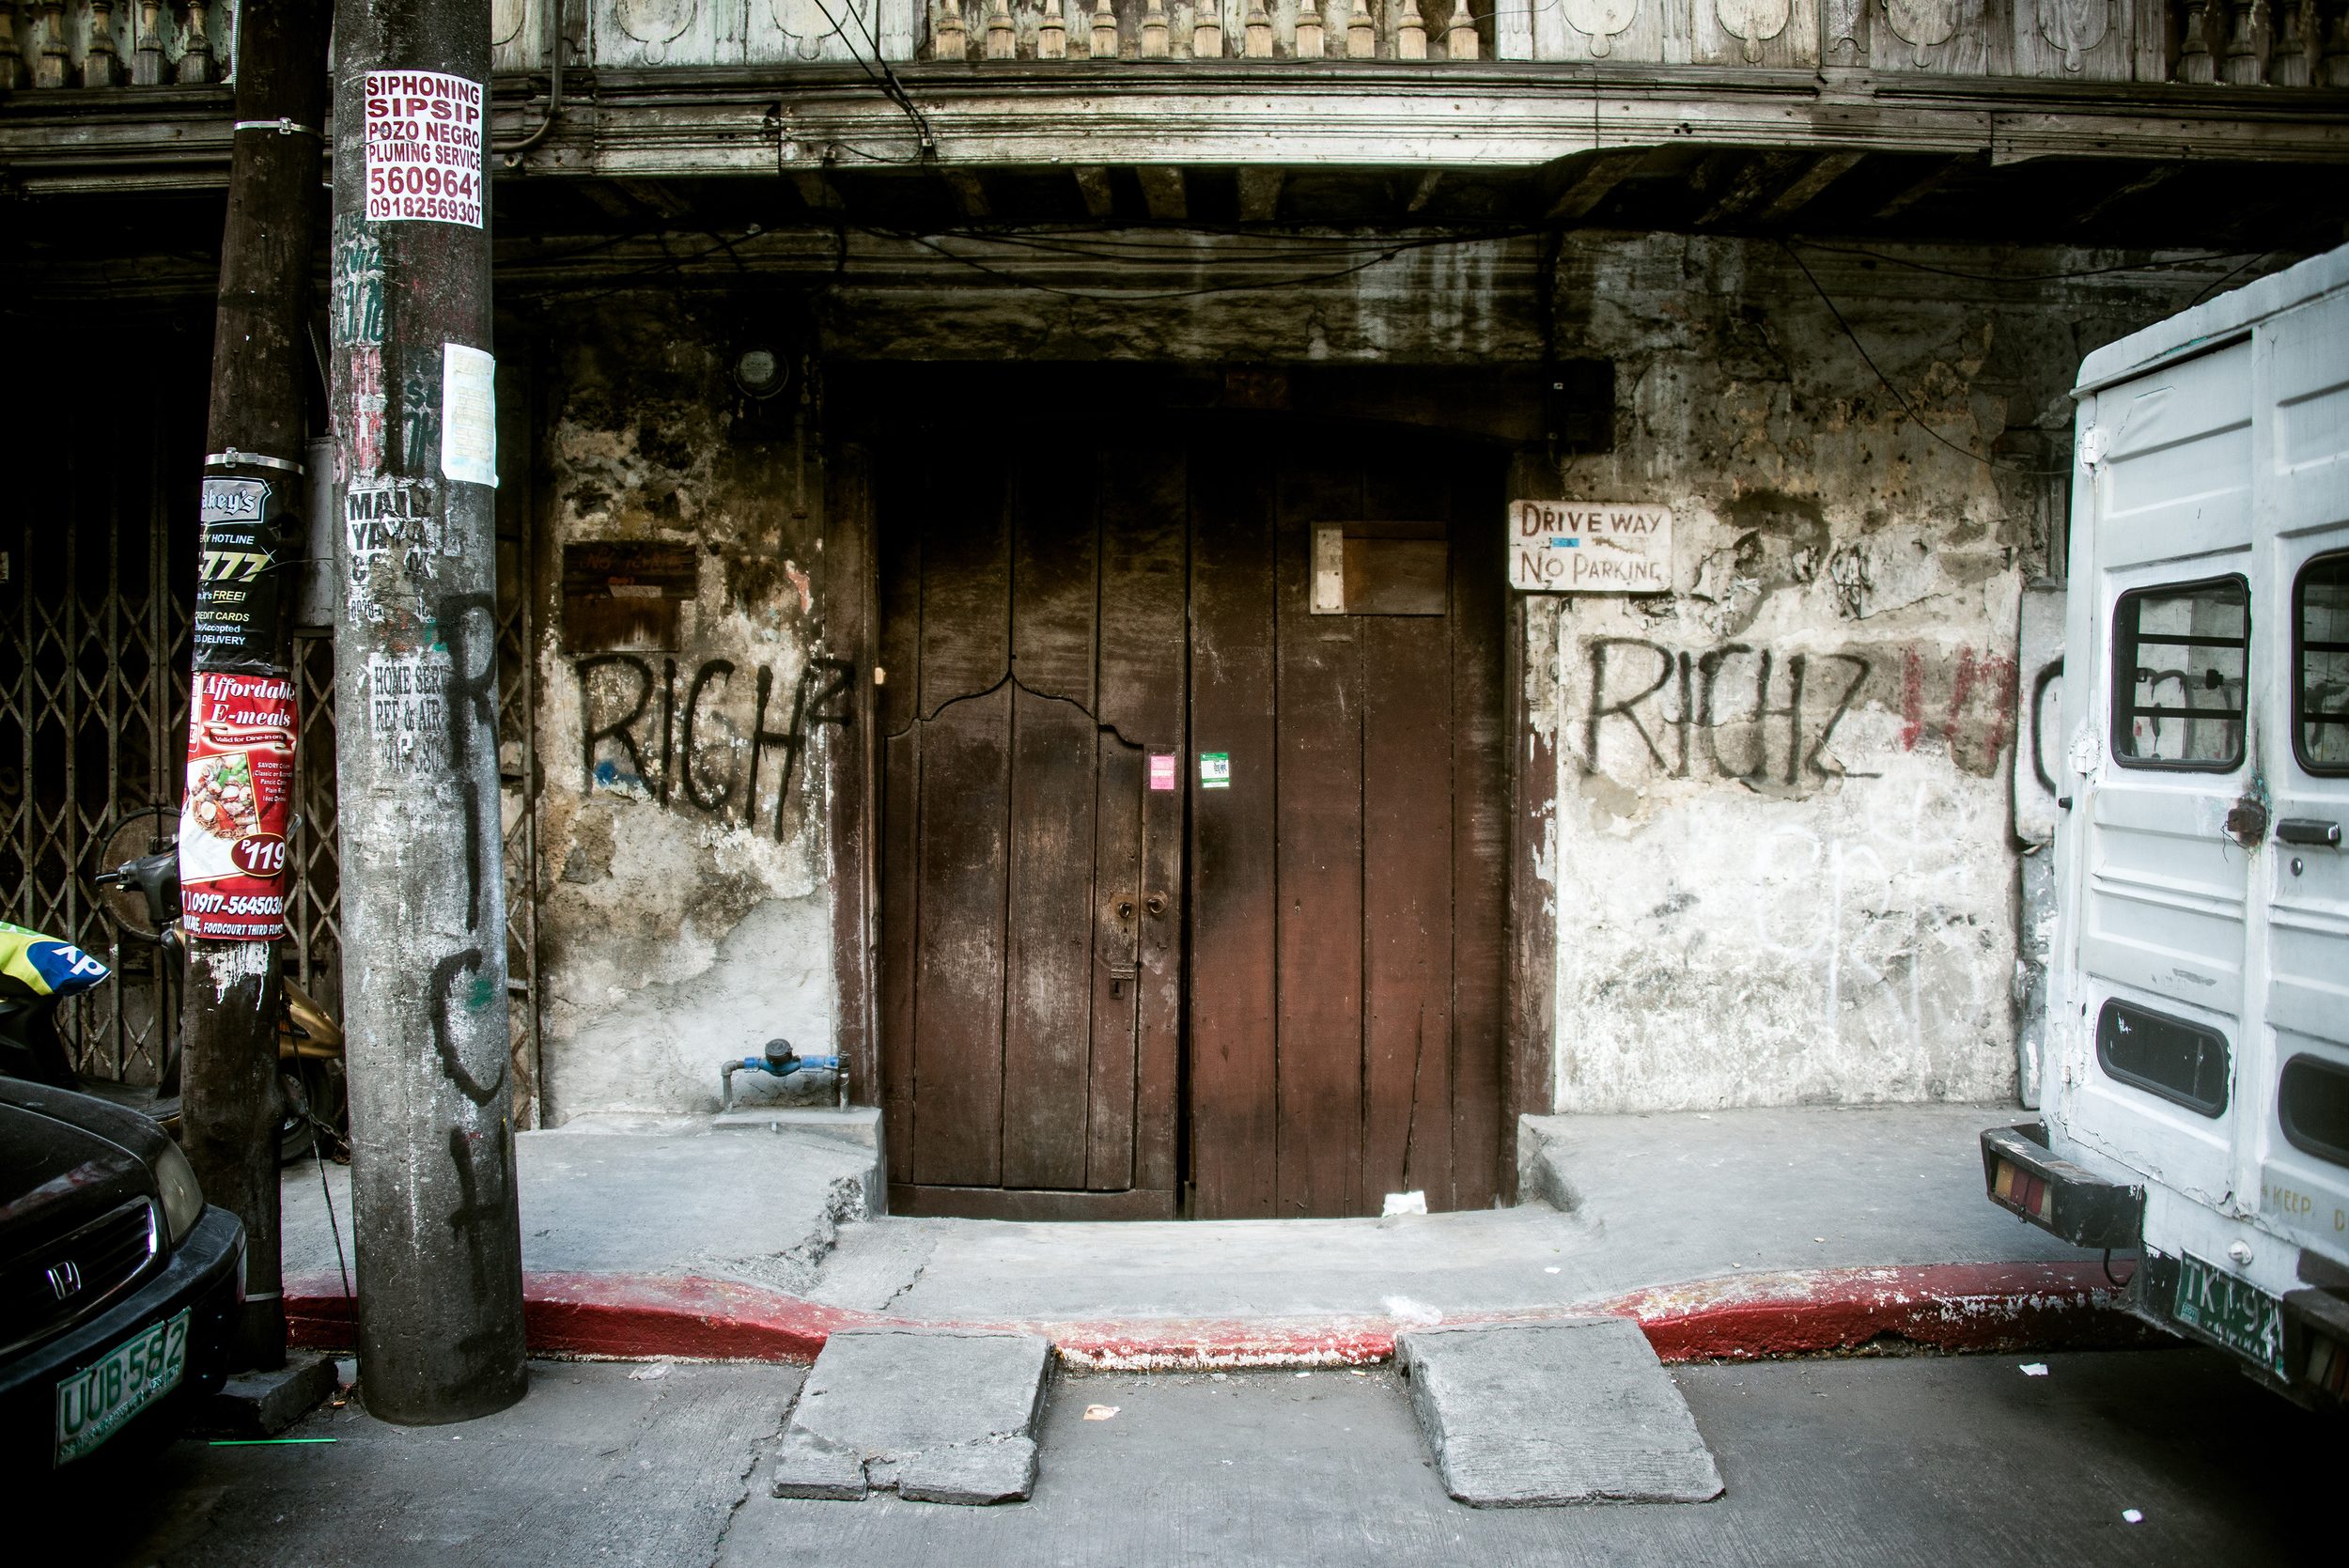
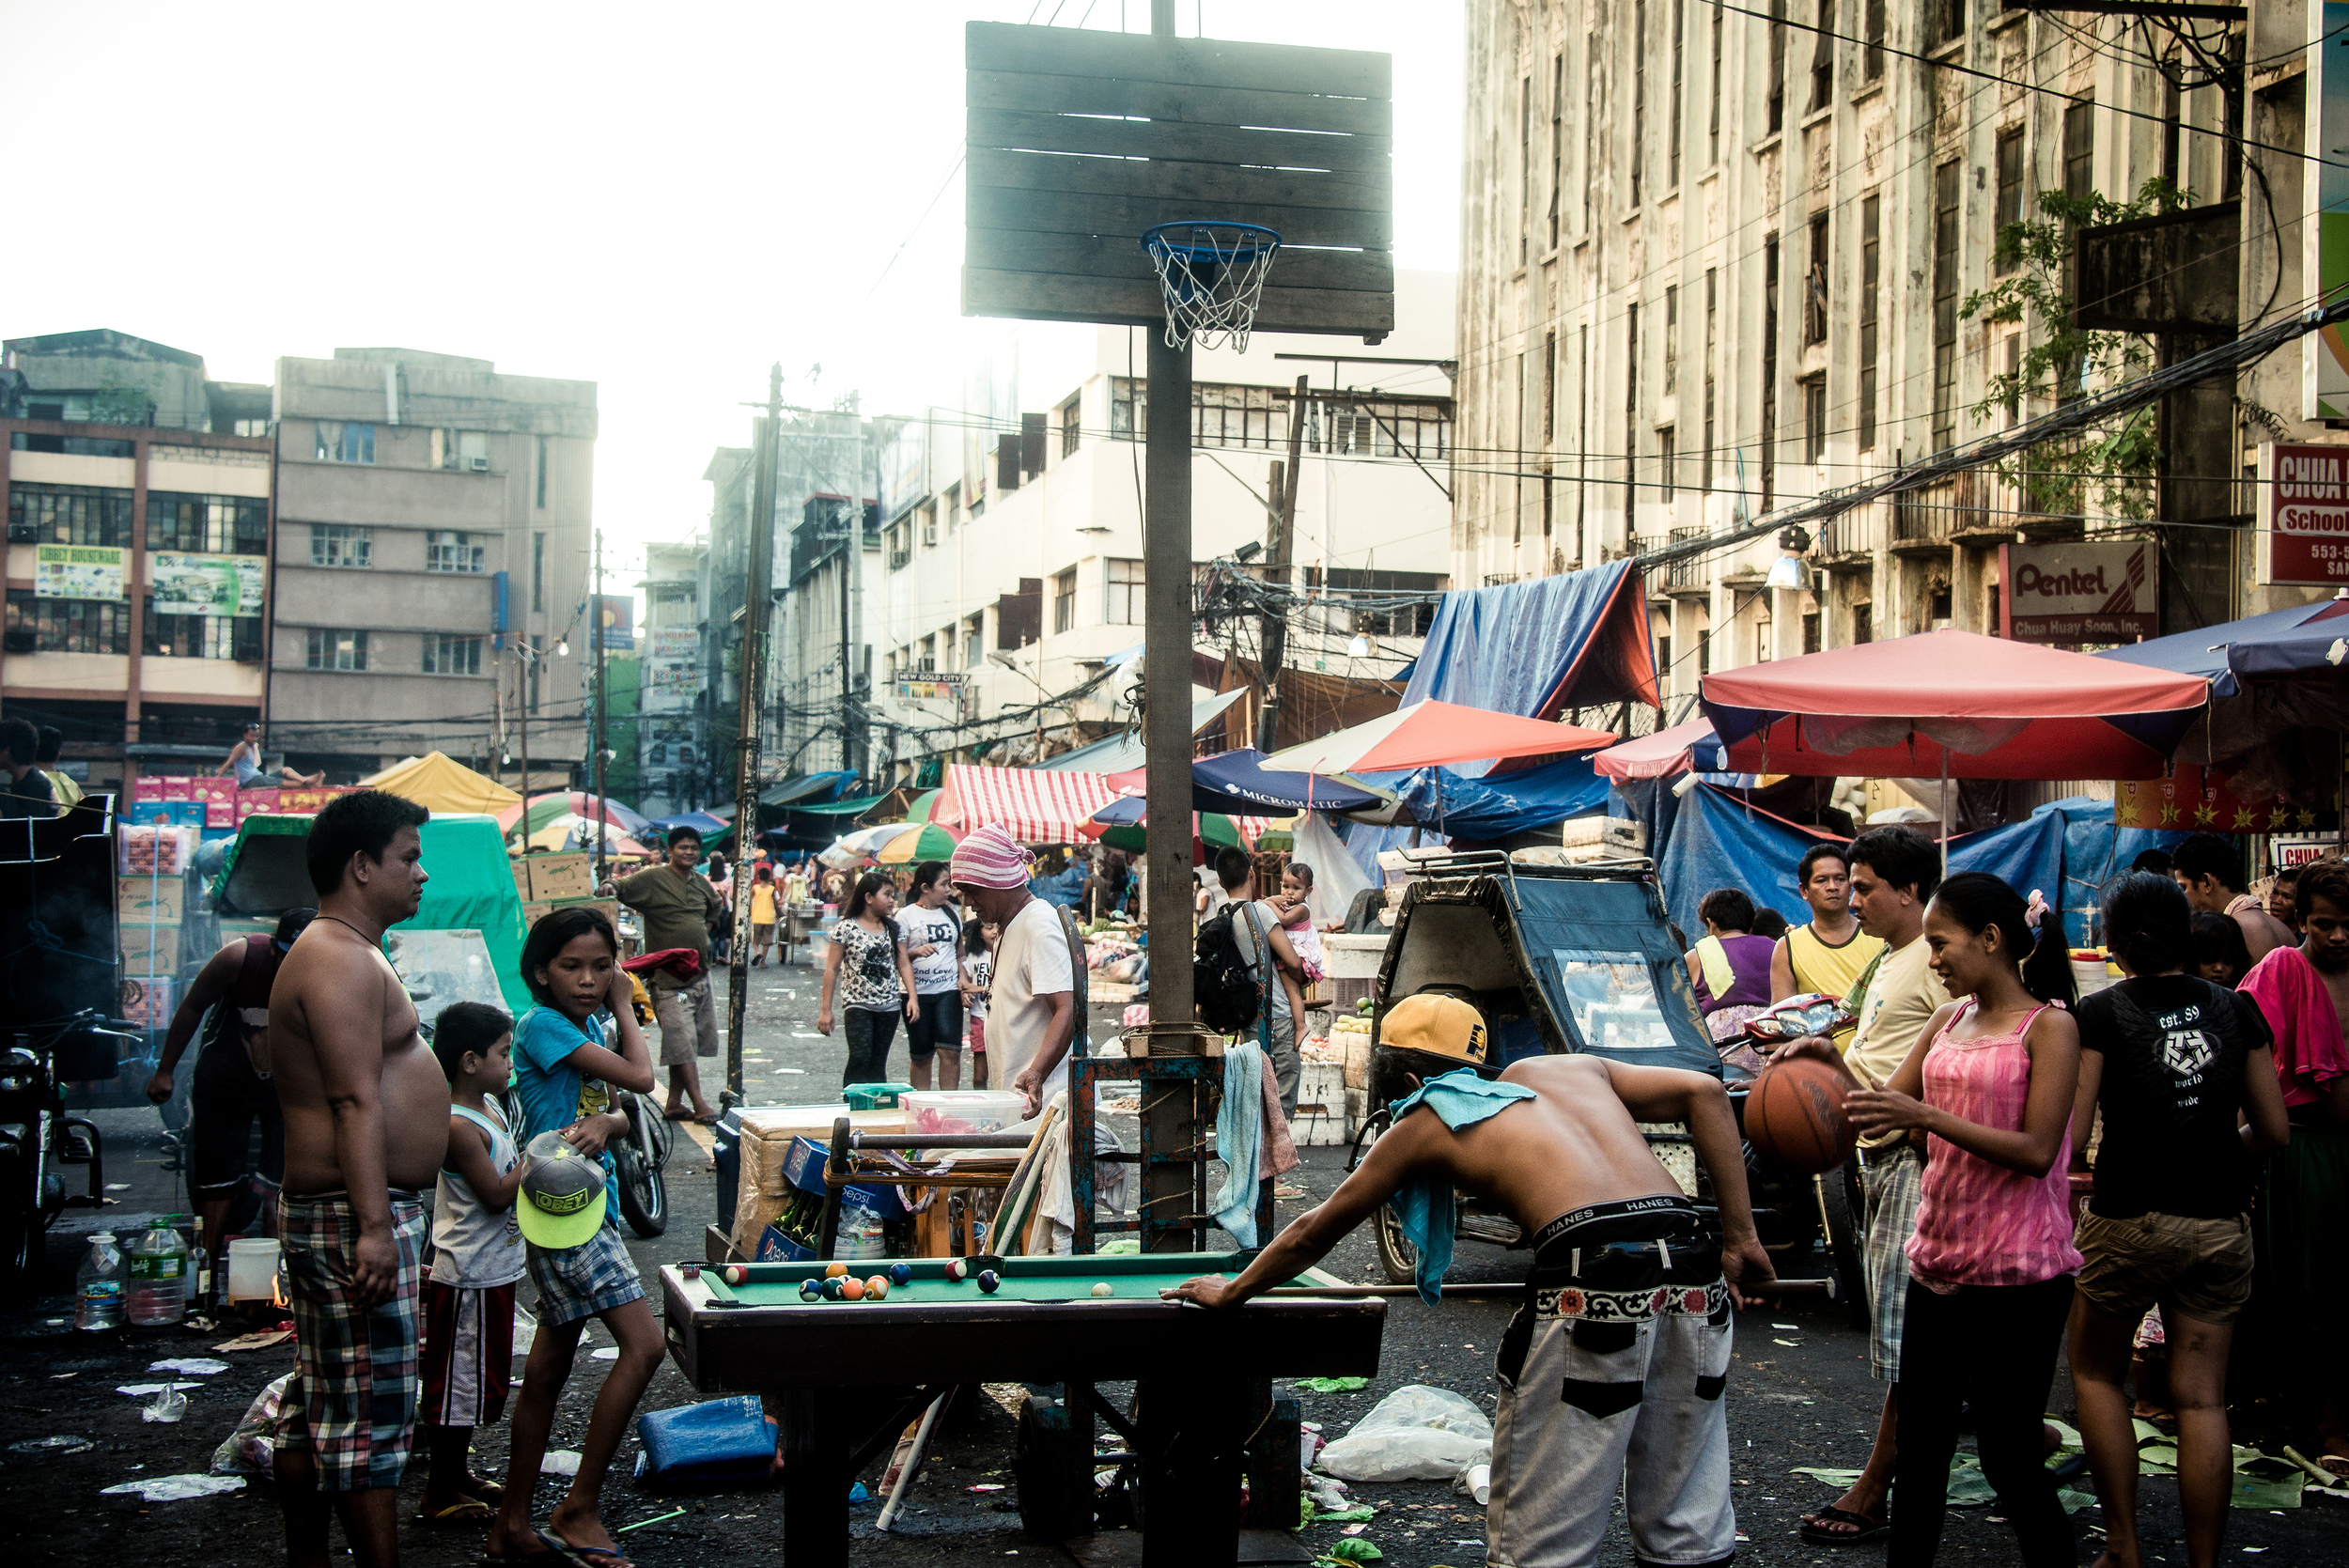
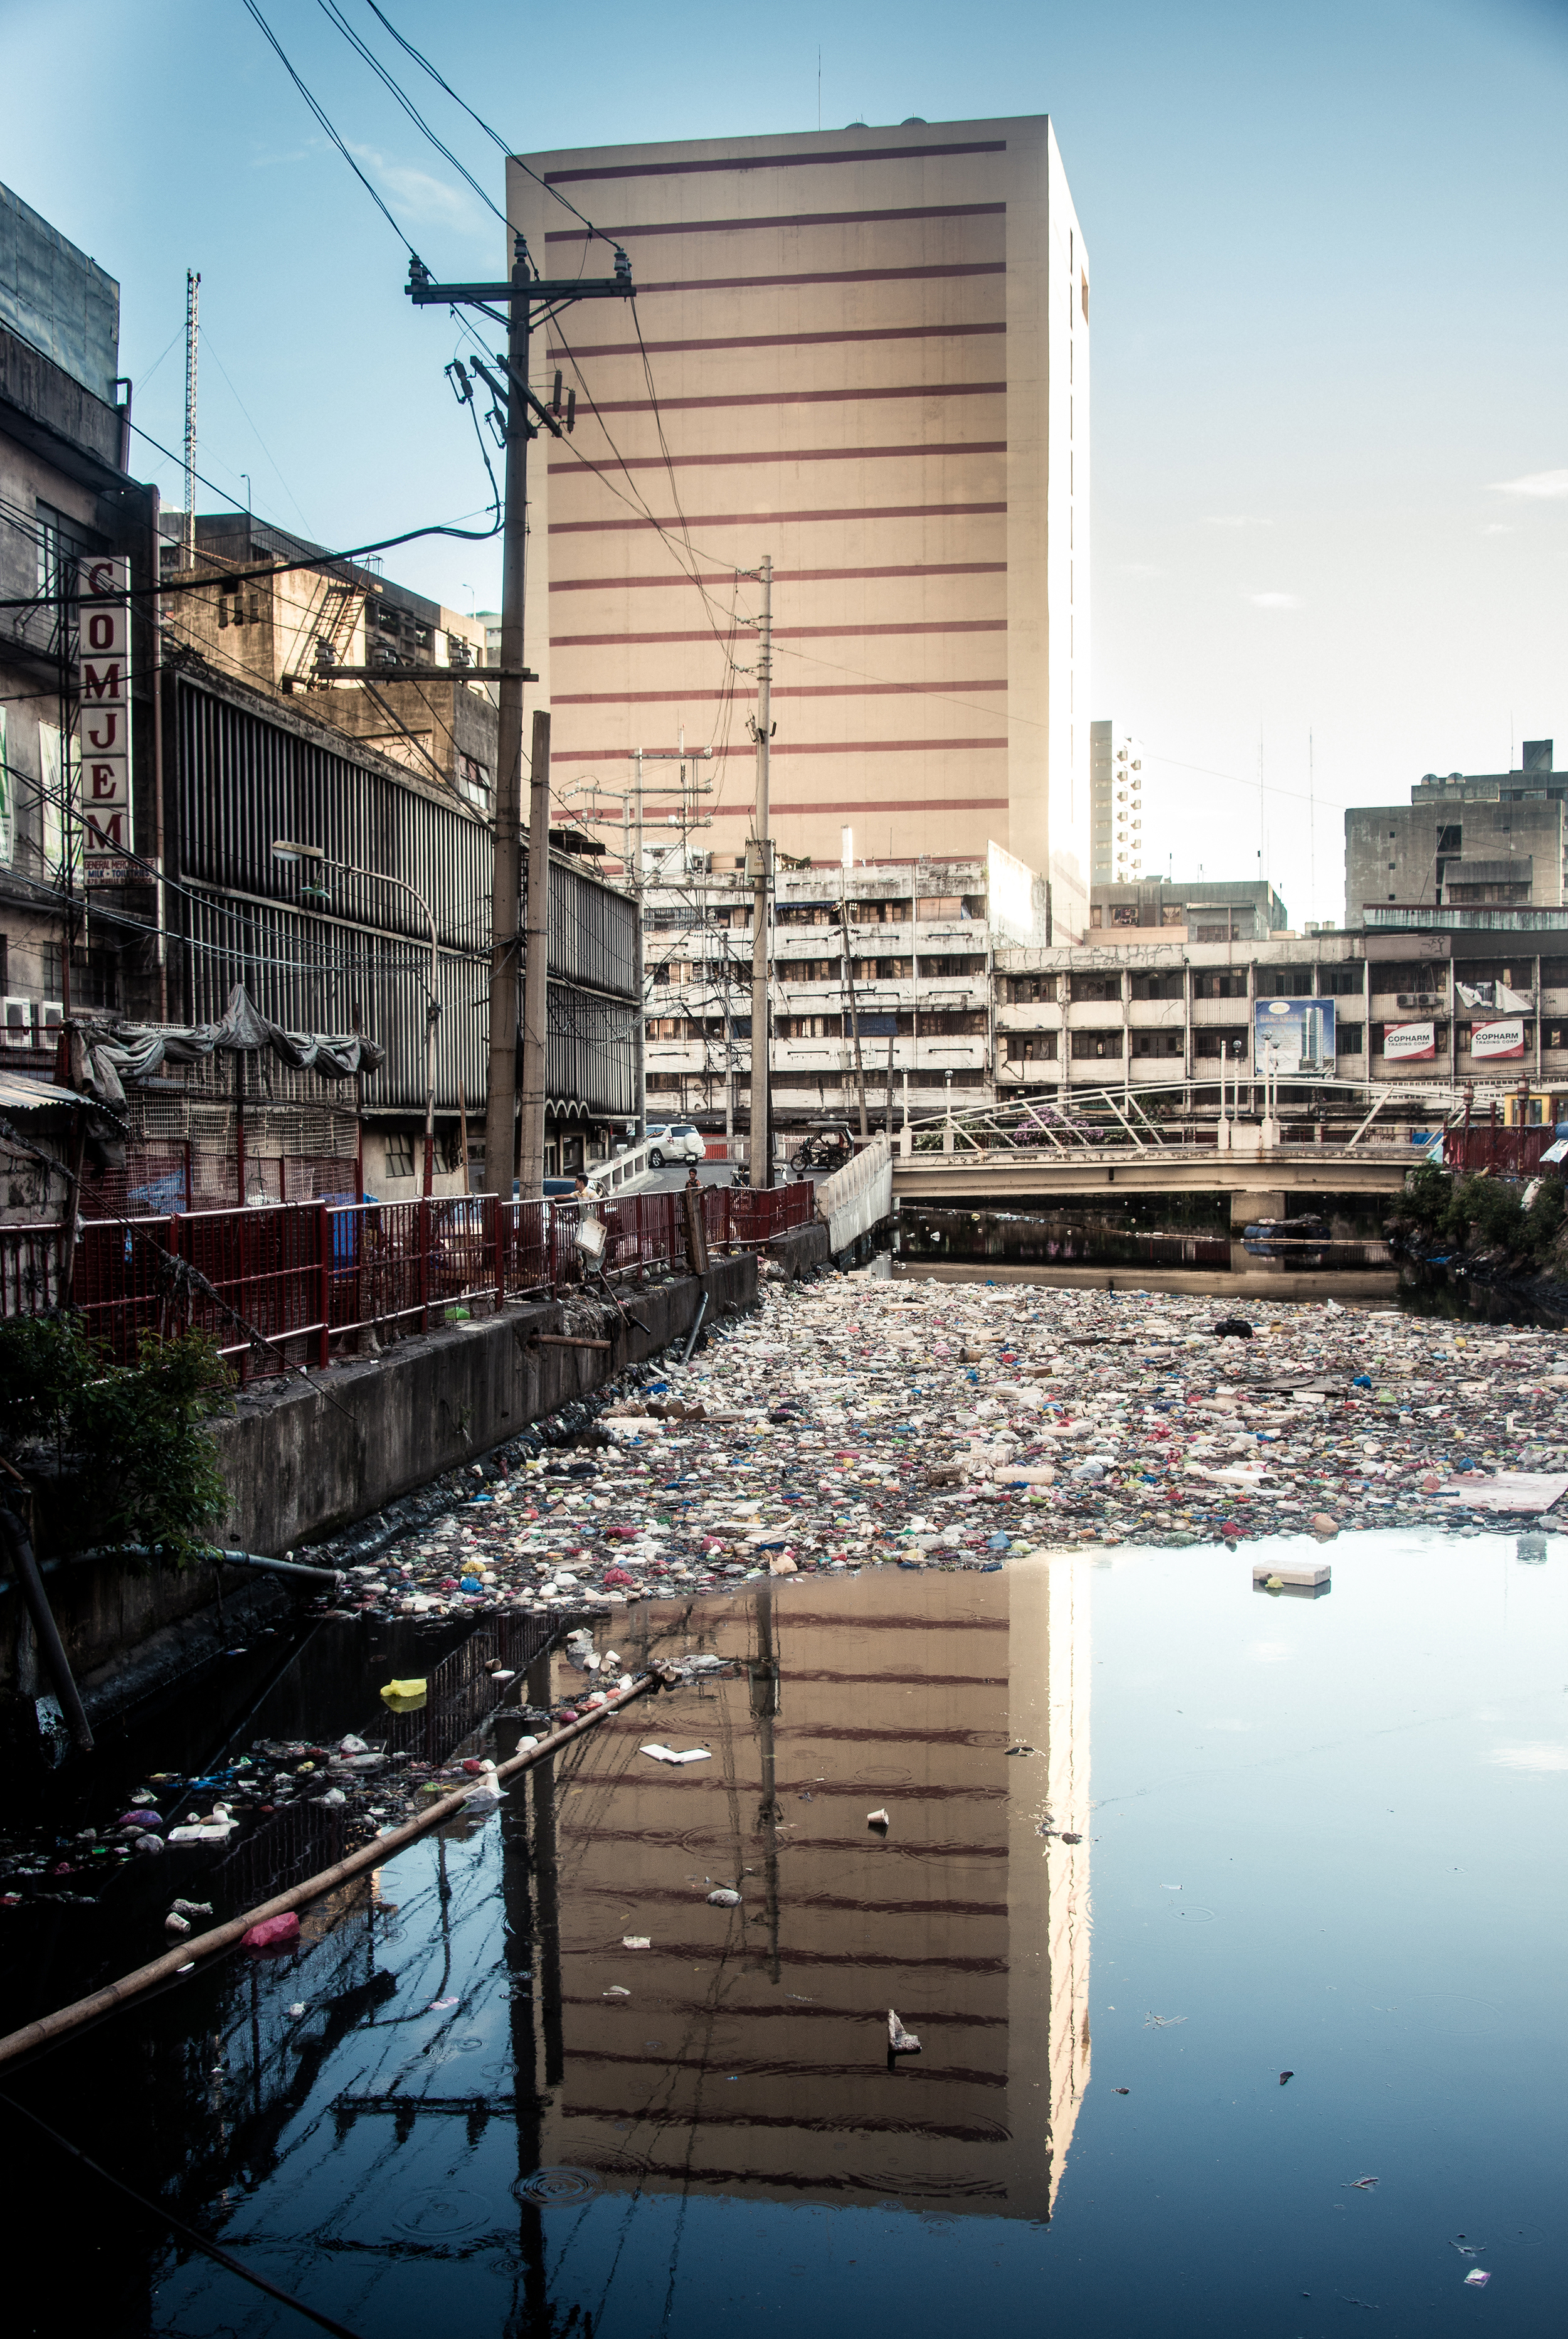
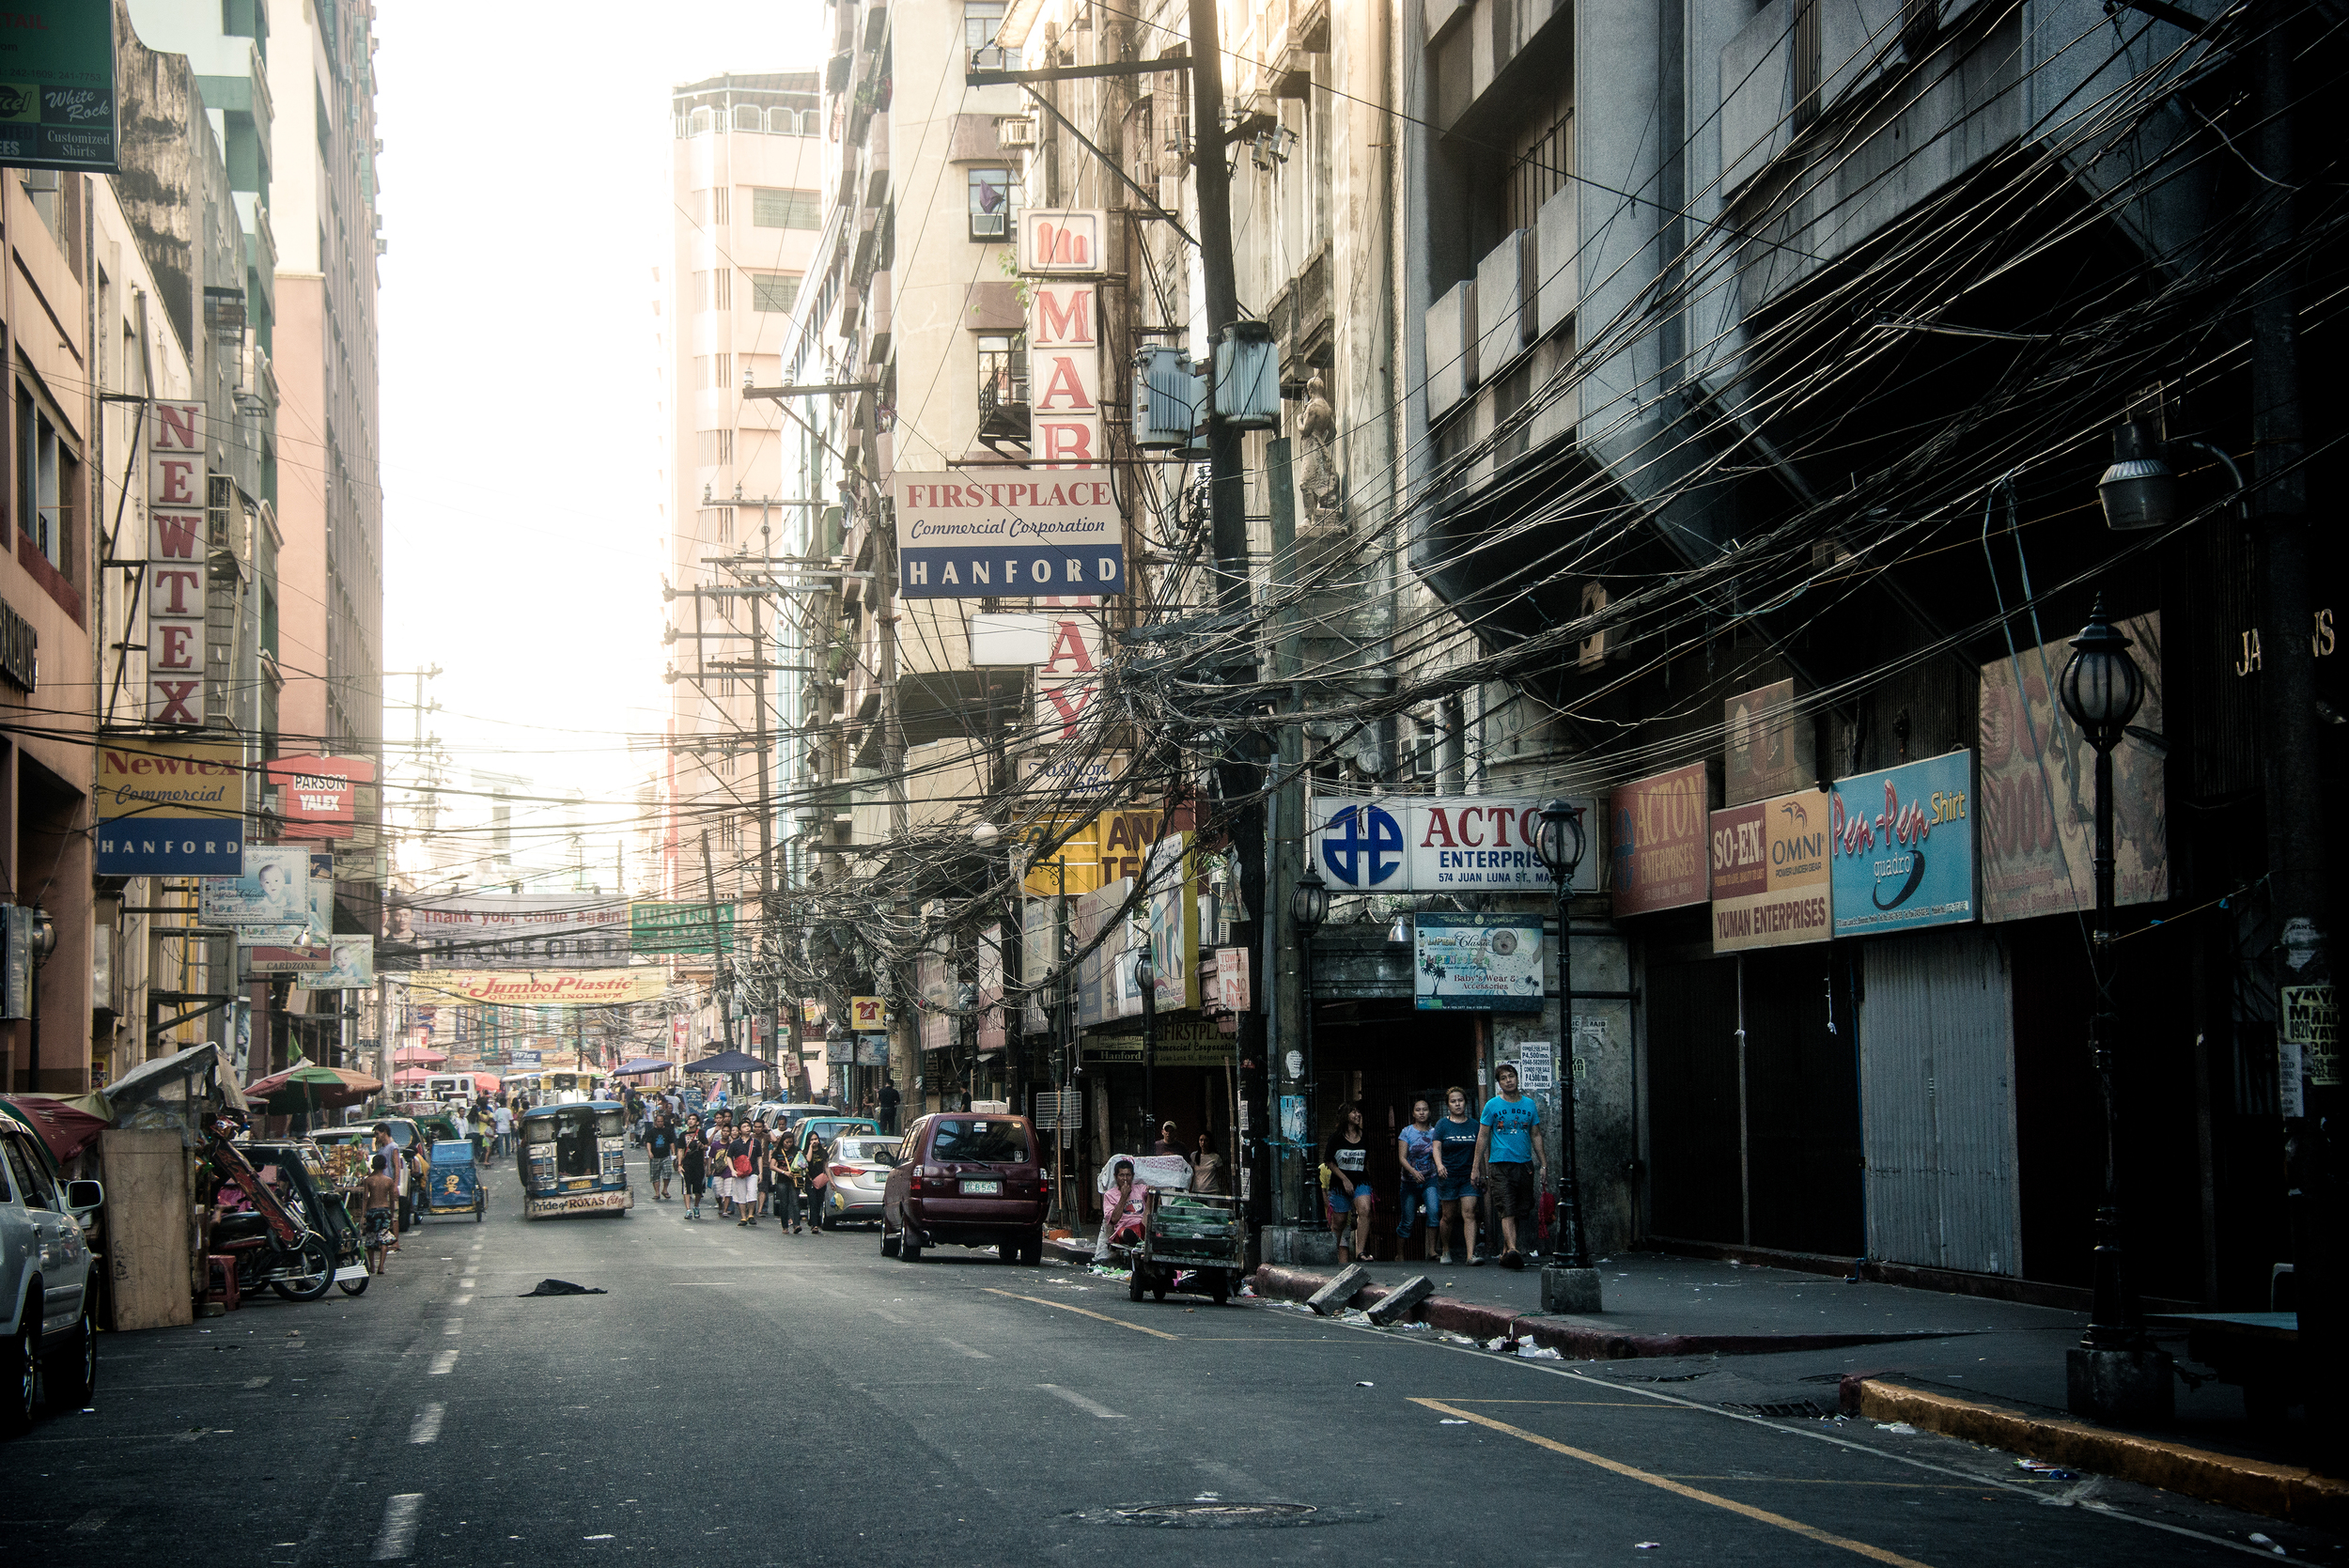
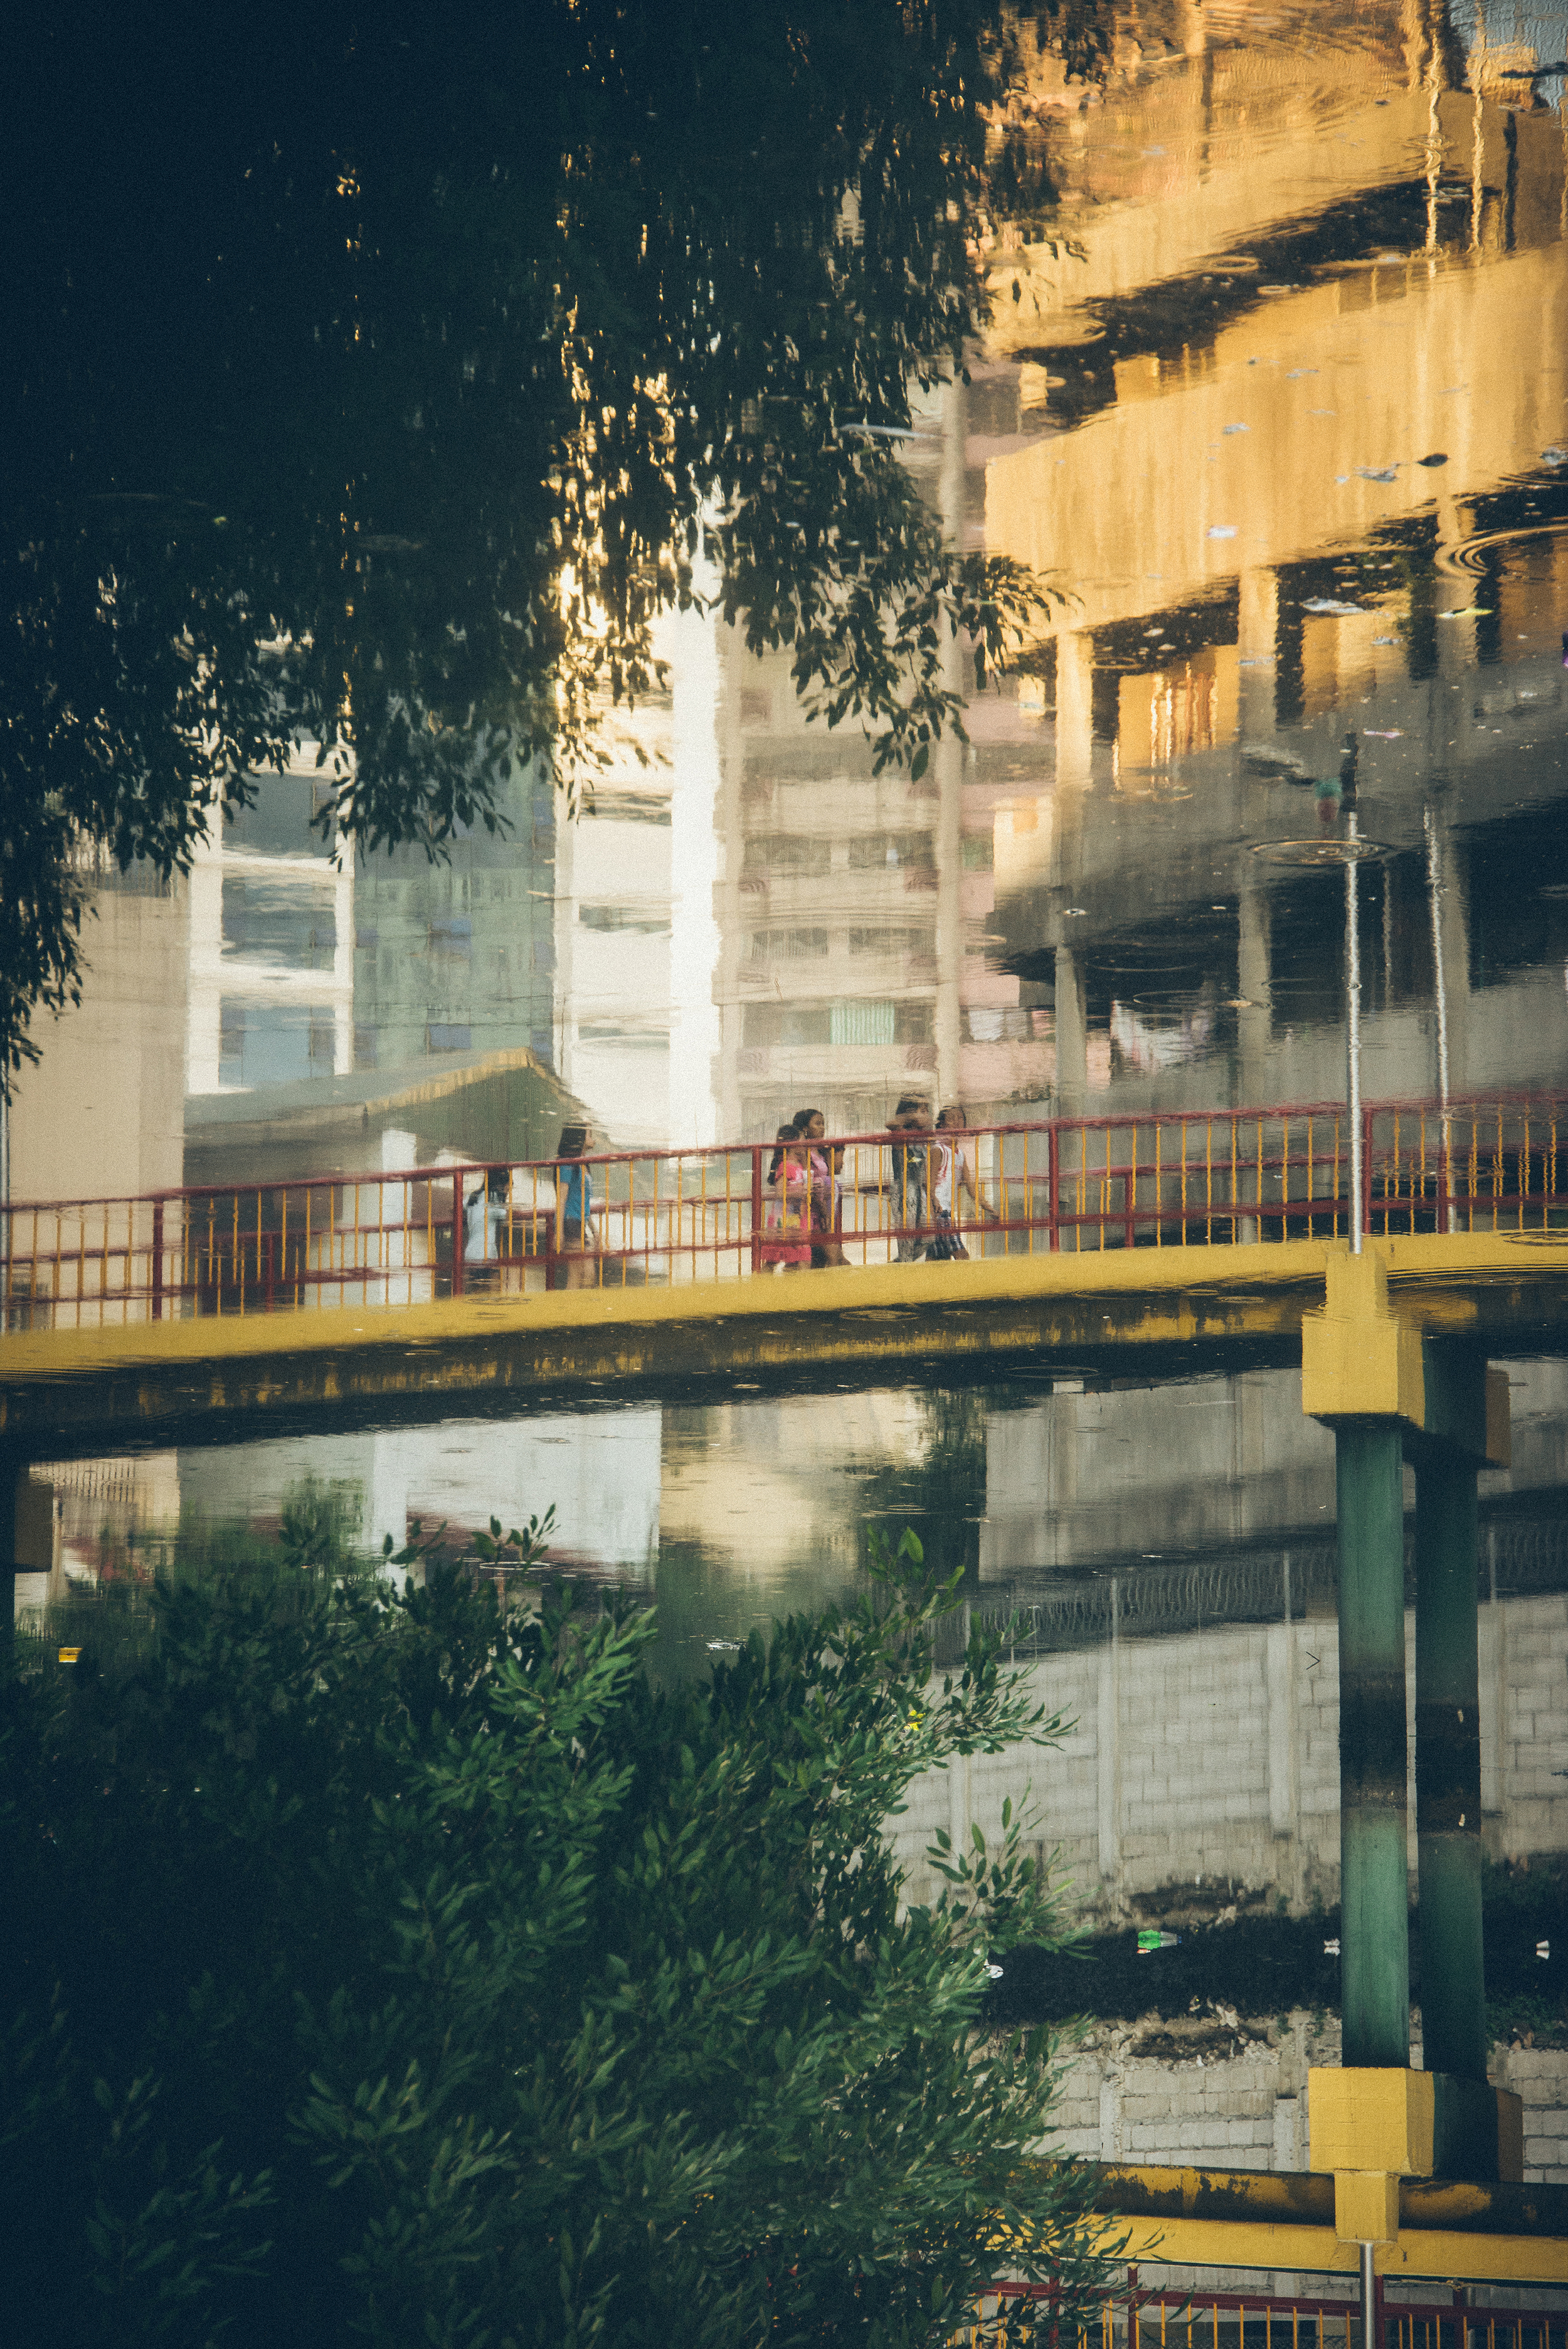
After weeks of architorture, I finally had the chance to fly back home for spring break. I’ve really been meaning to take my camera out because I felt I’ve been neglecting it for way too long. I went on a photowalk with Kay Yang in Binondo and it was an amazing experience altogether. Binondo is Manila’s very own version of Chinatown. I did not know this but it is also the oldest Chinatown in the world established in 1594.

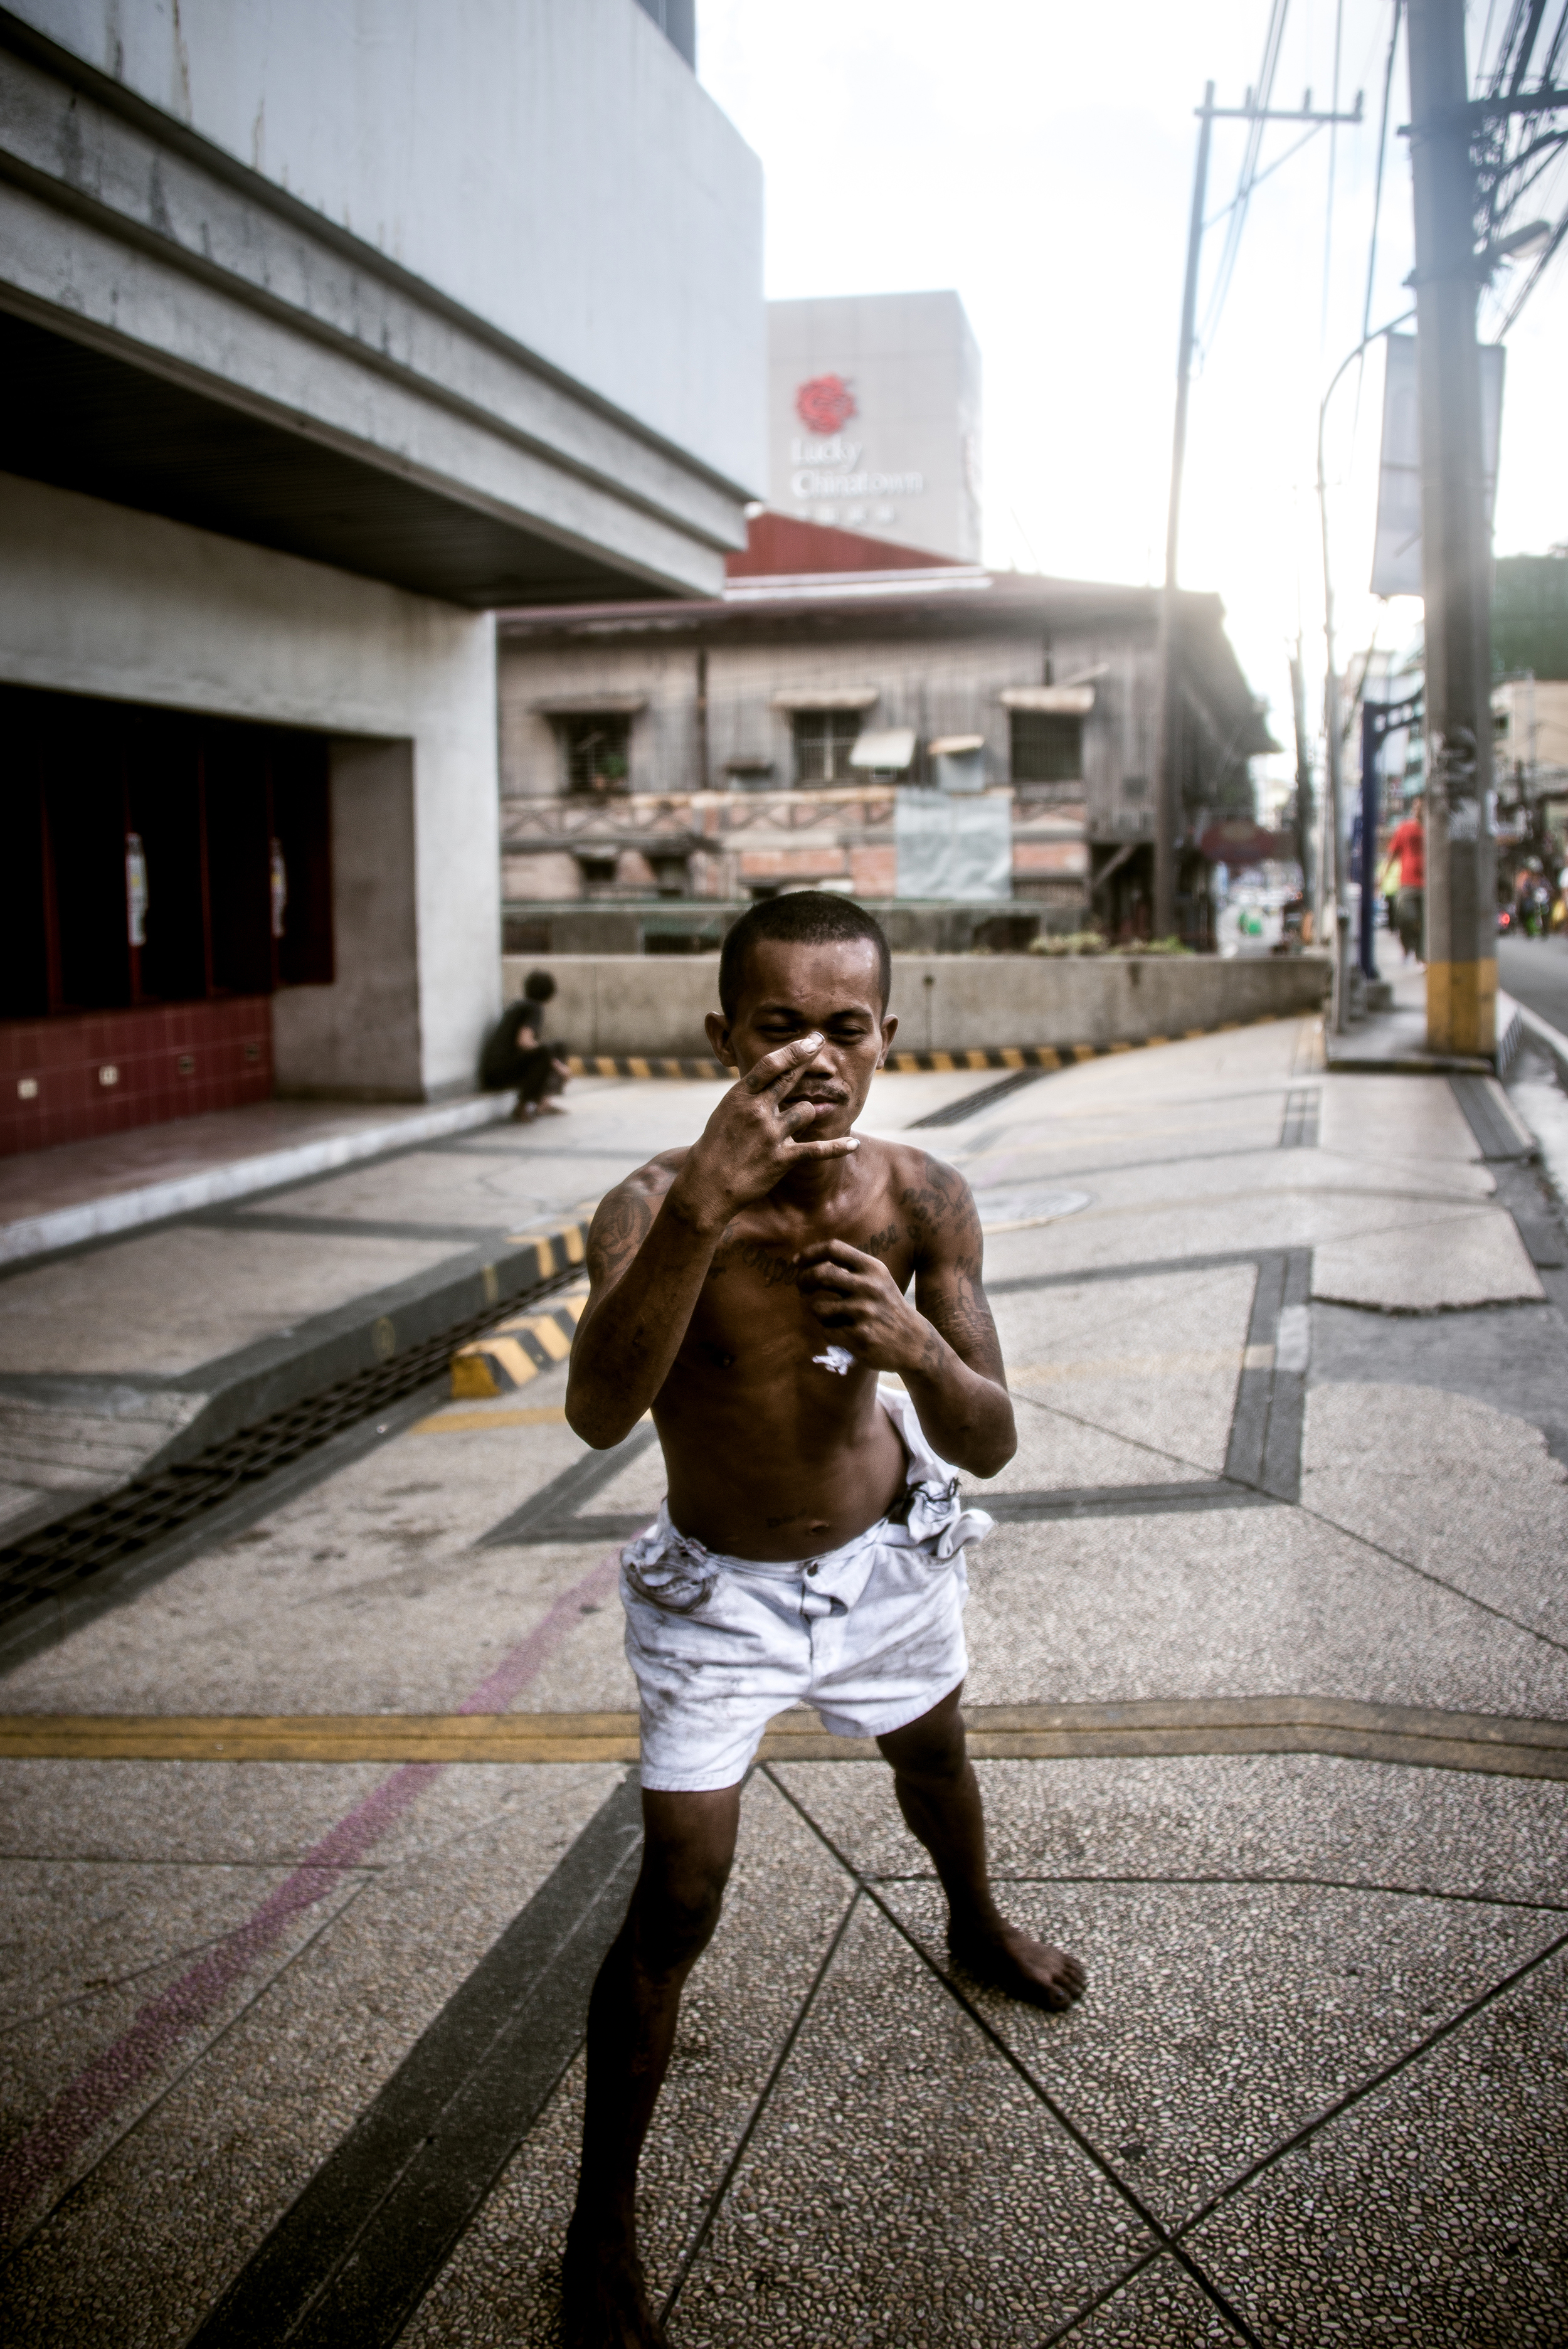
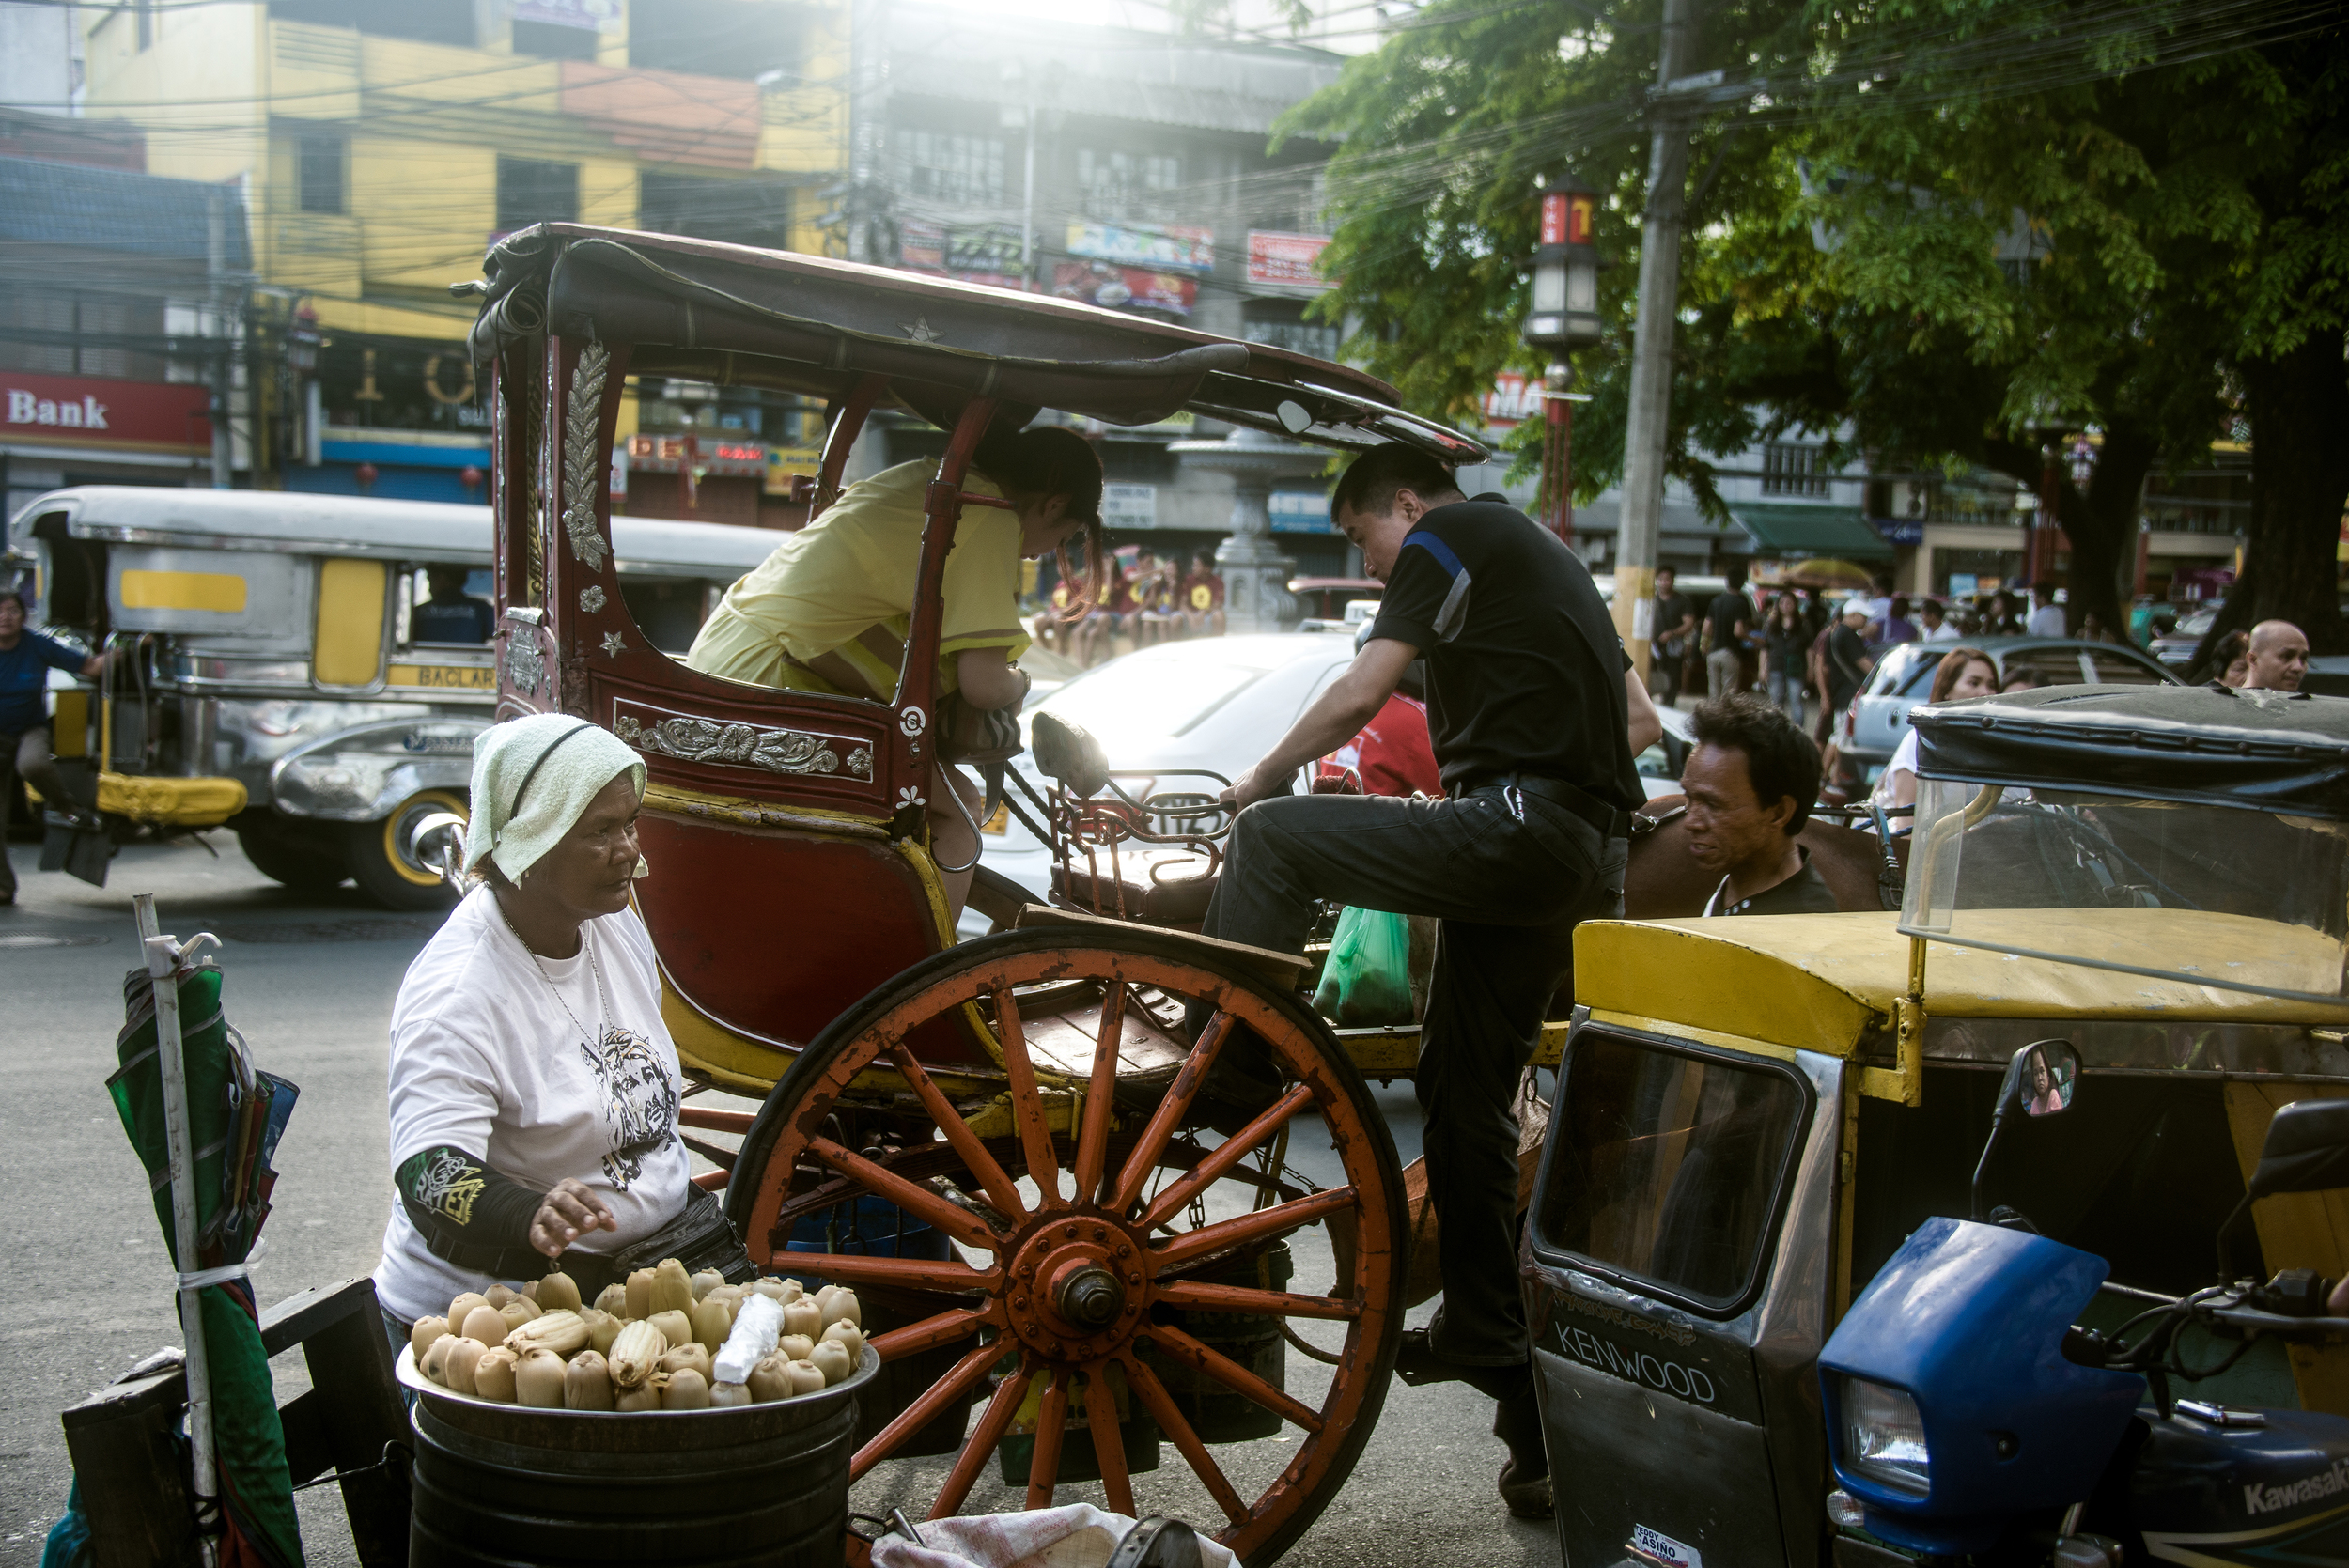
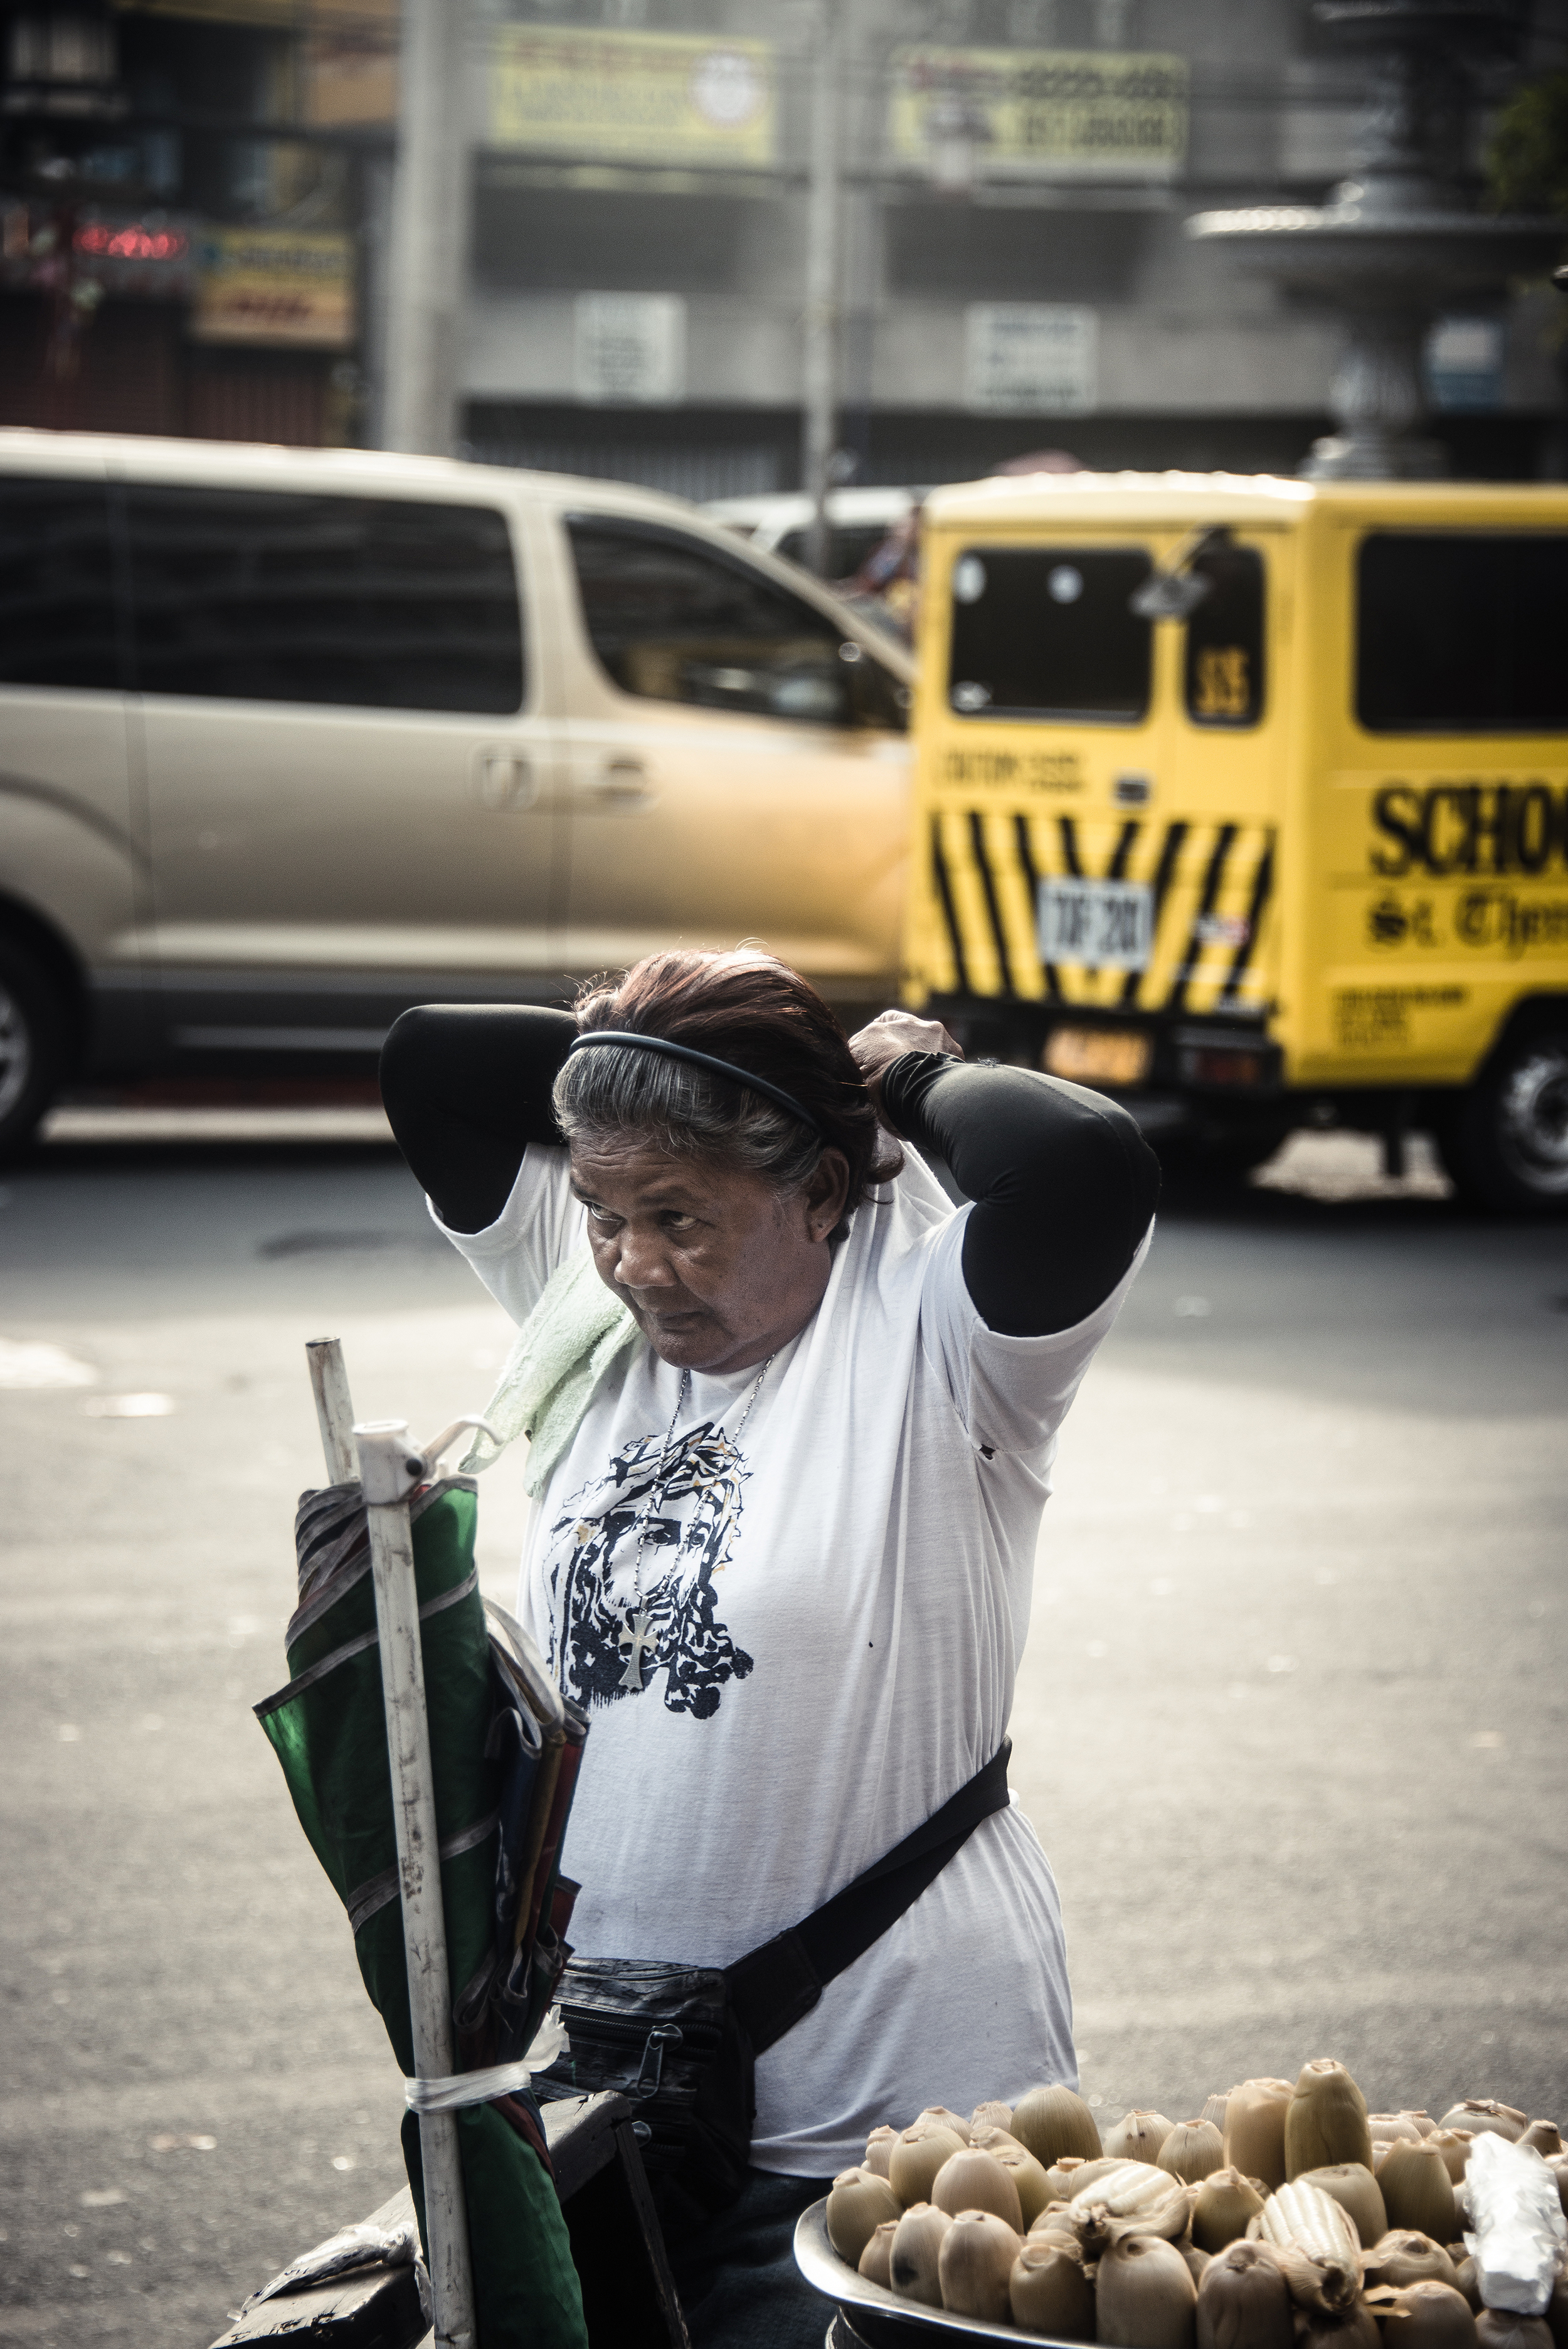
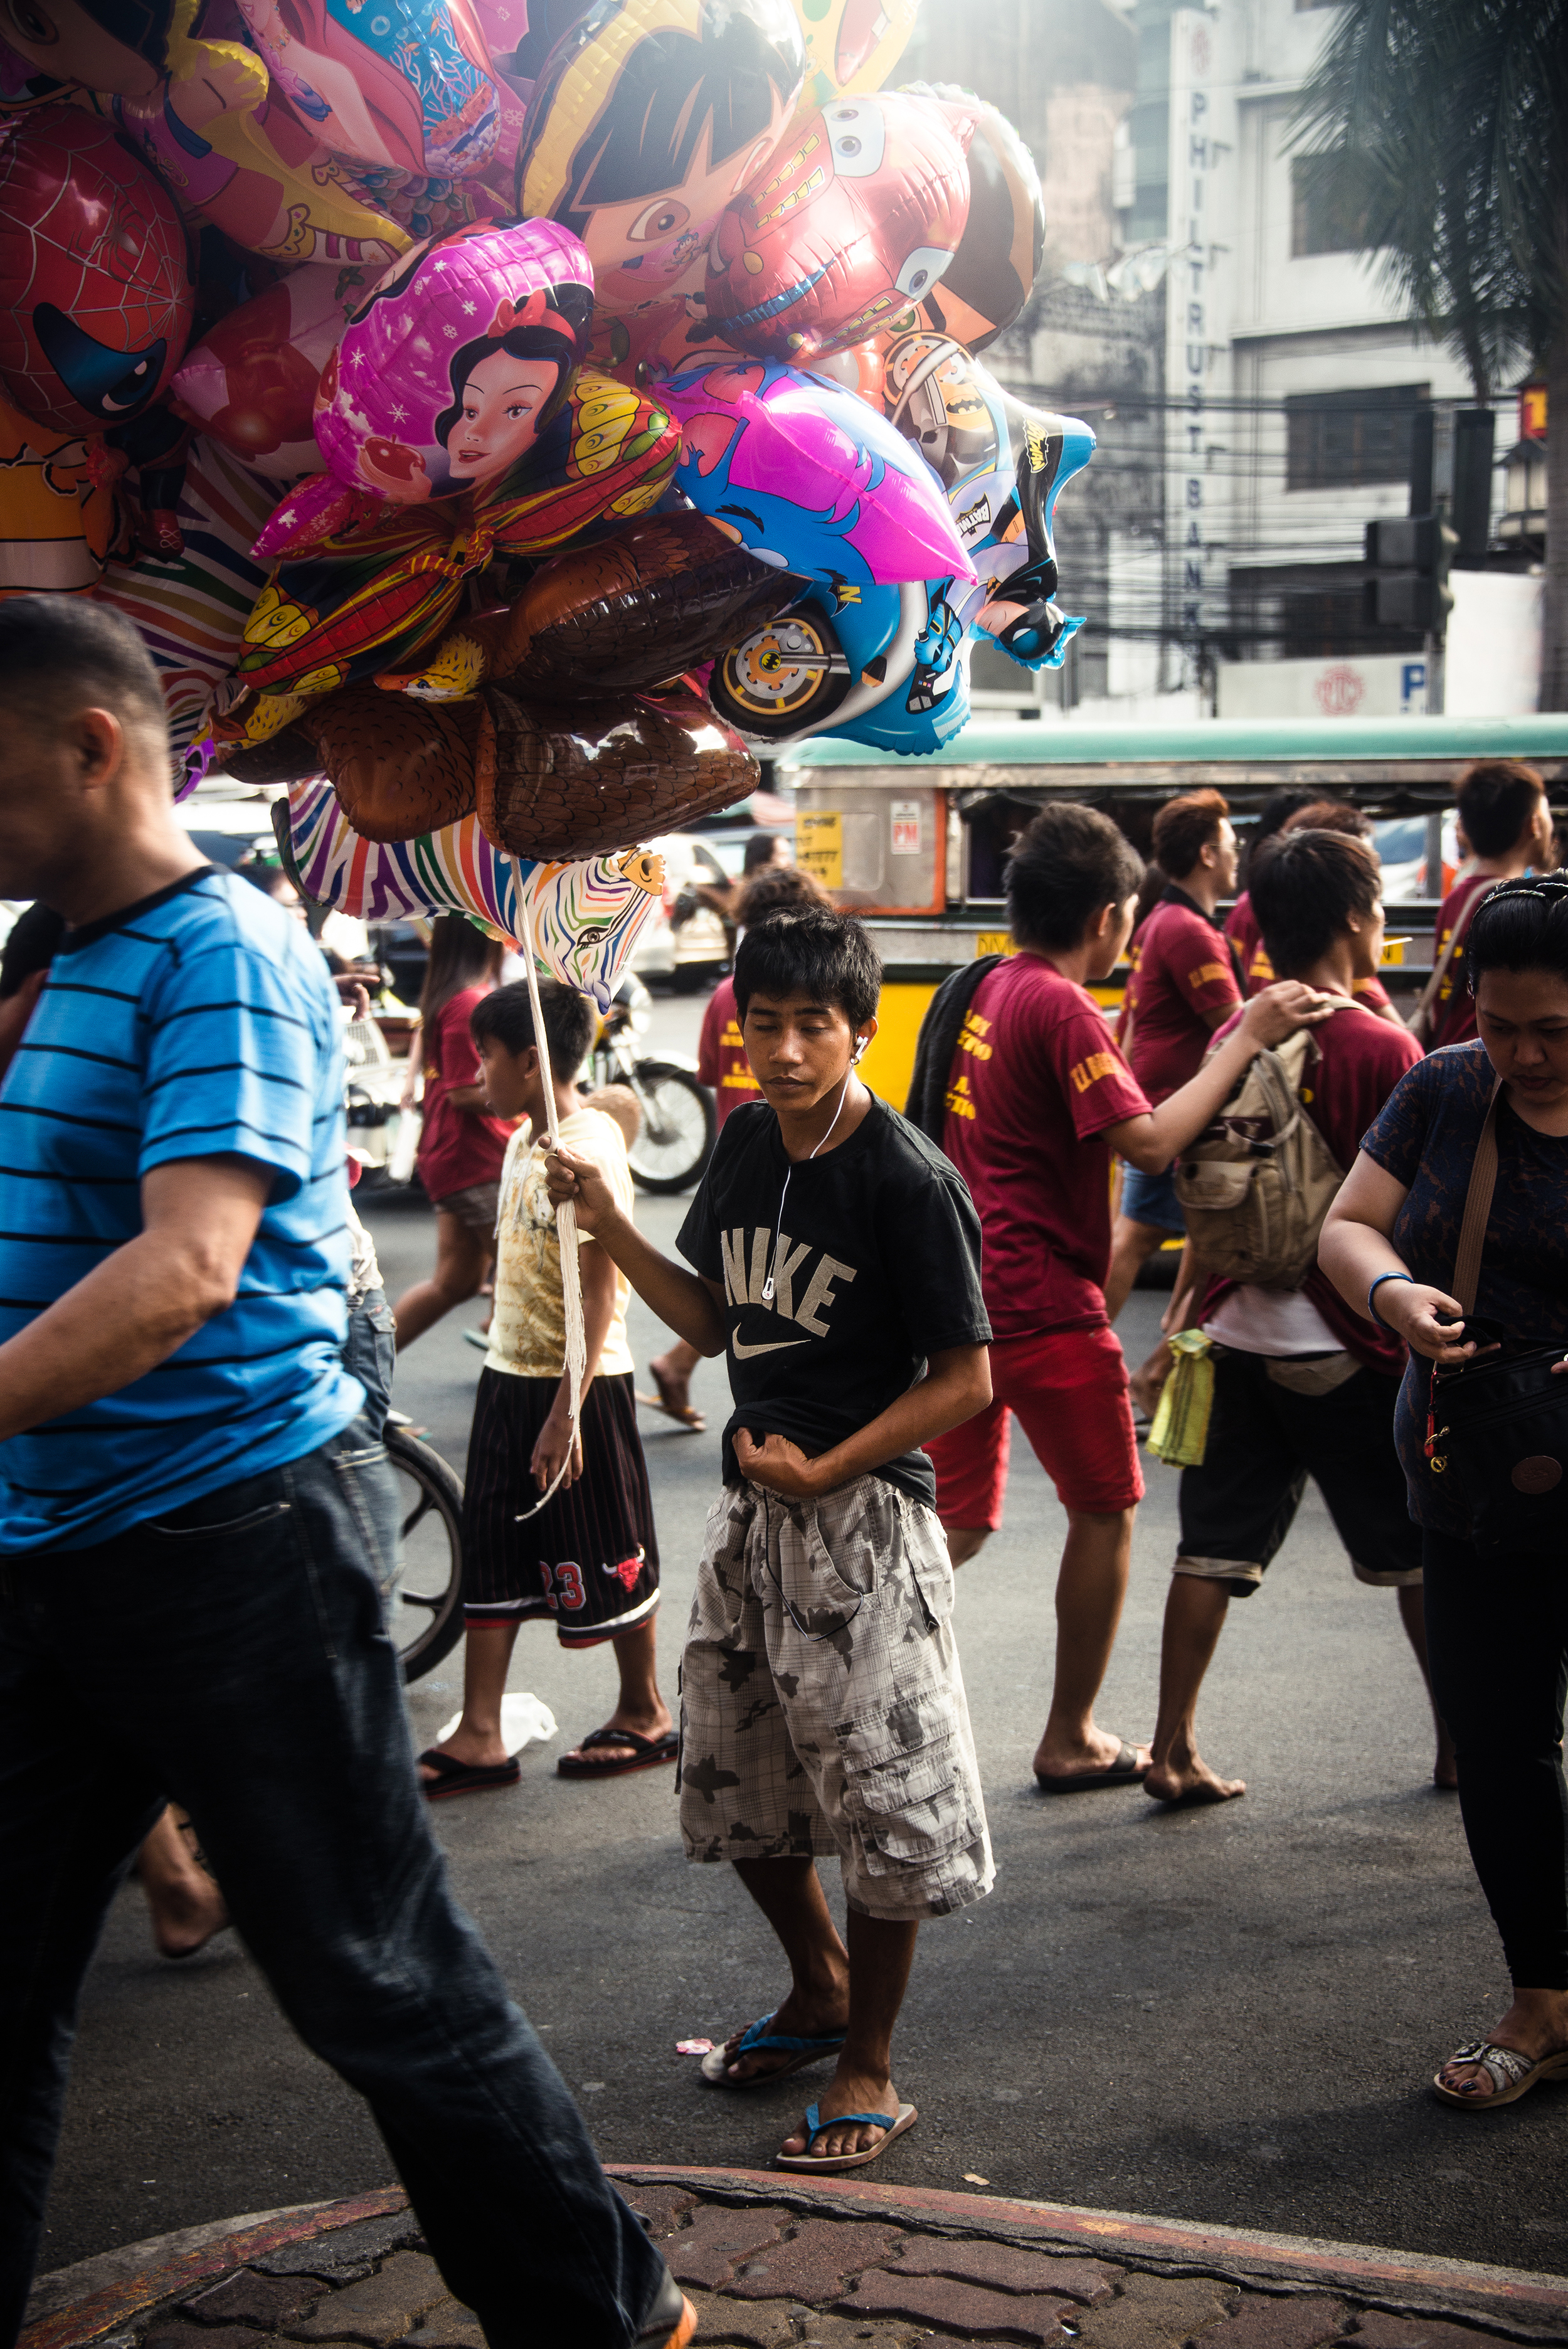
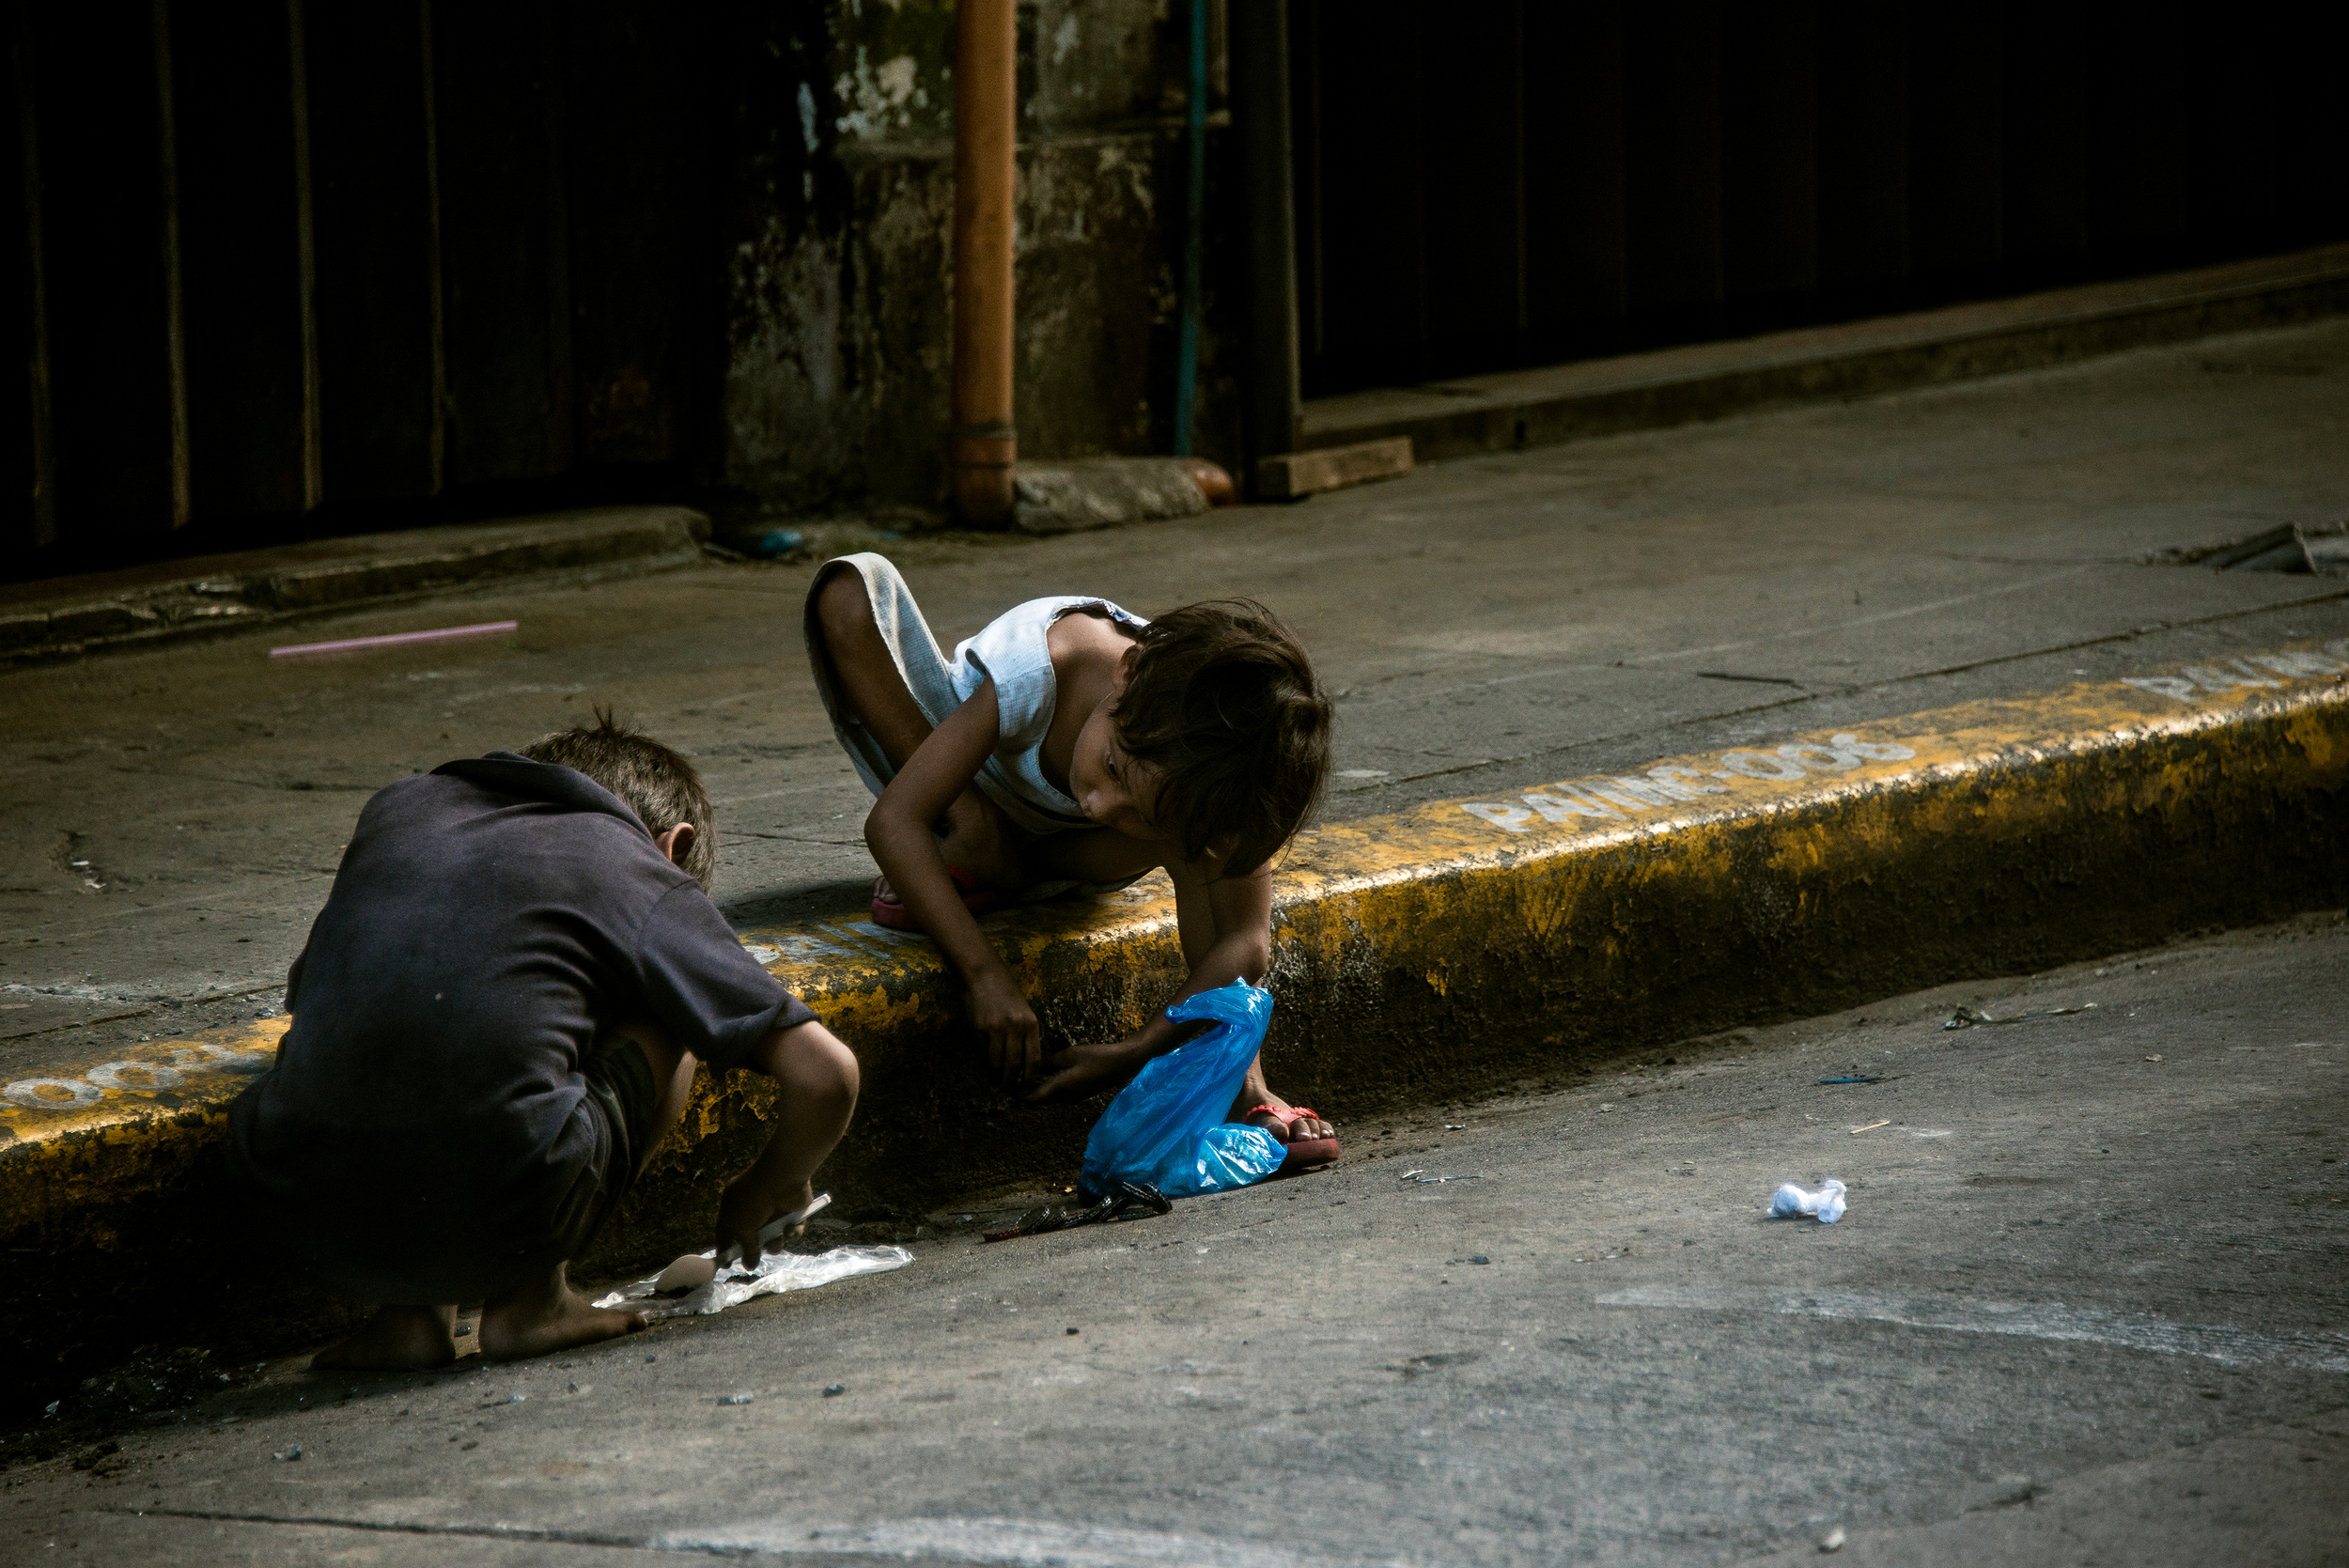
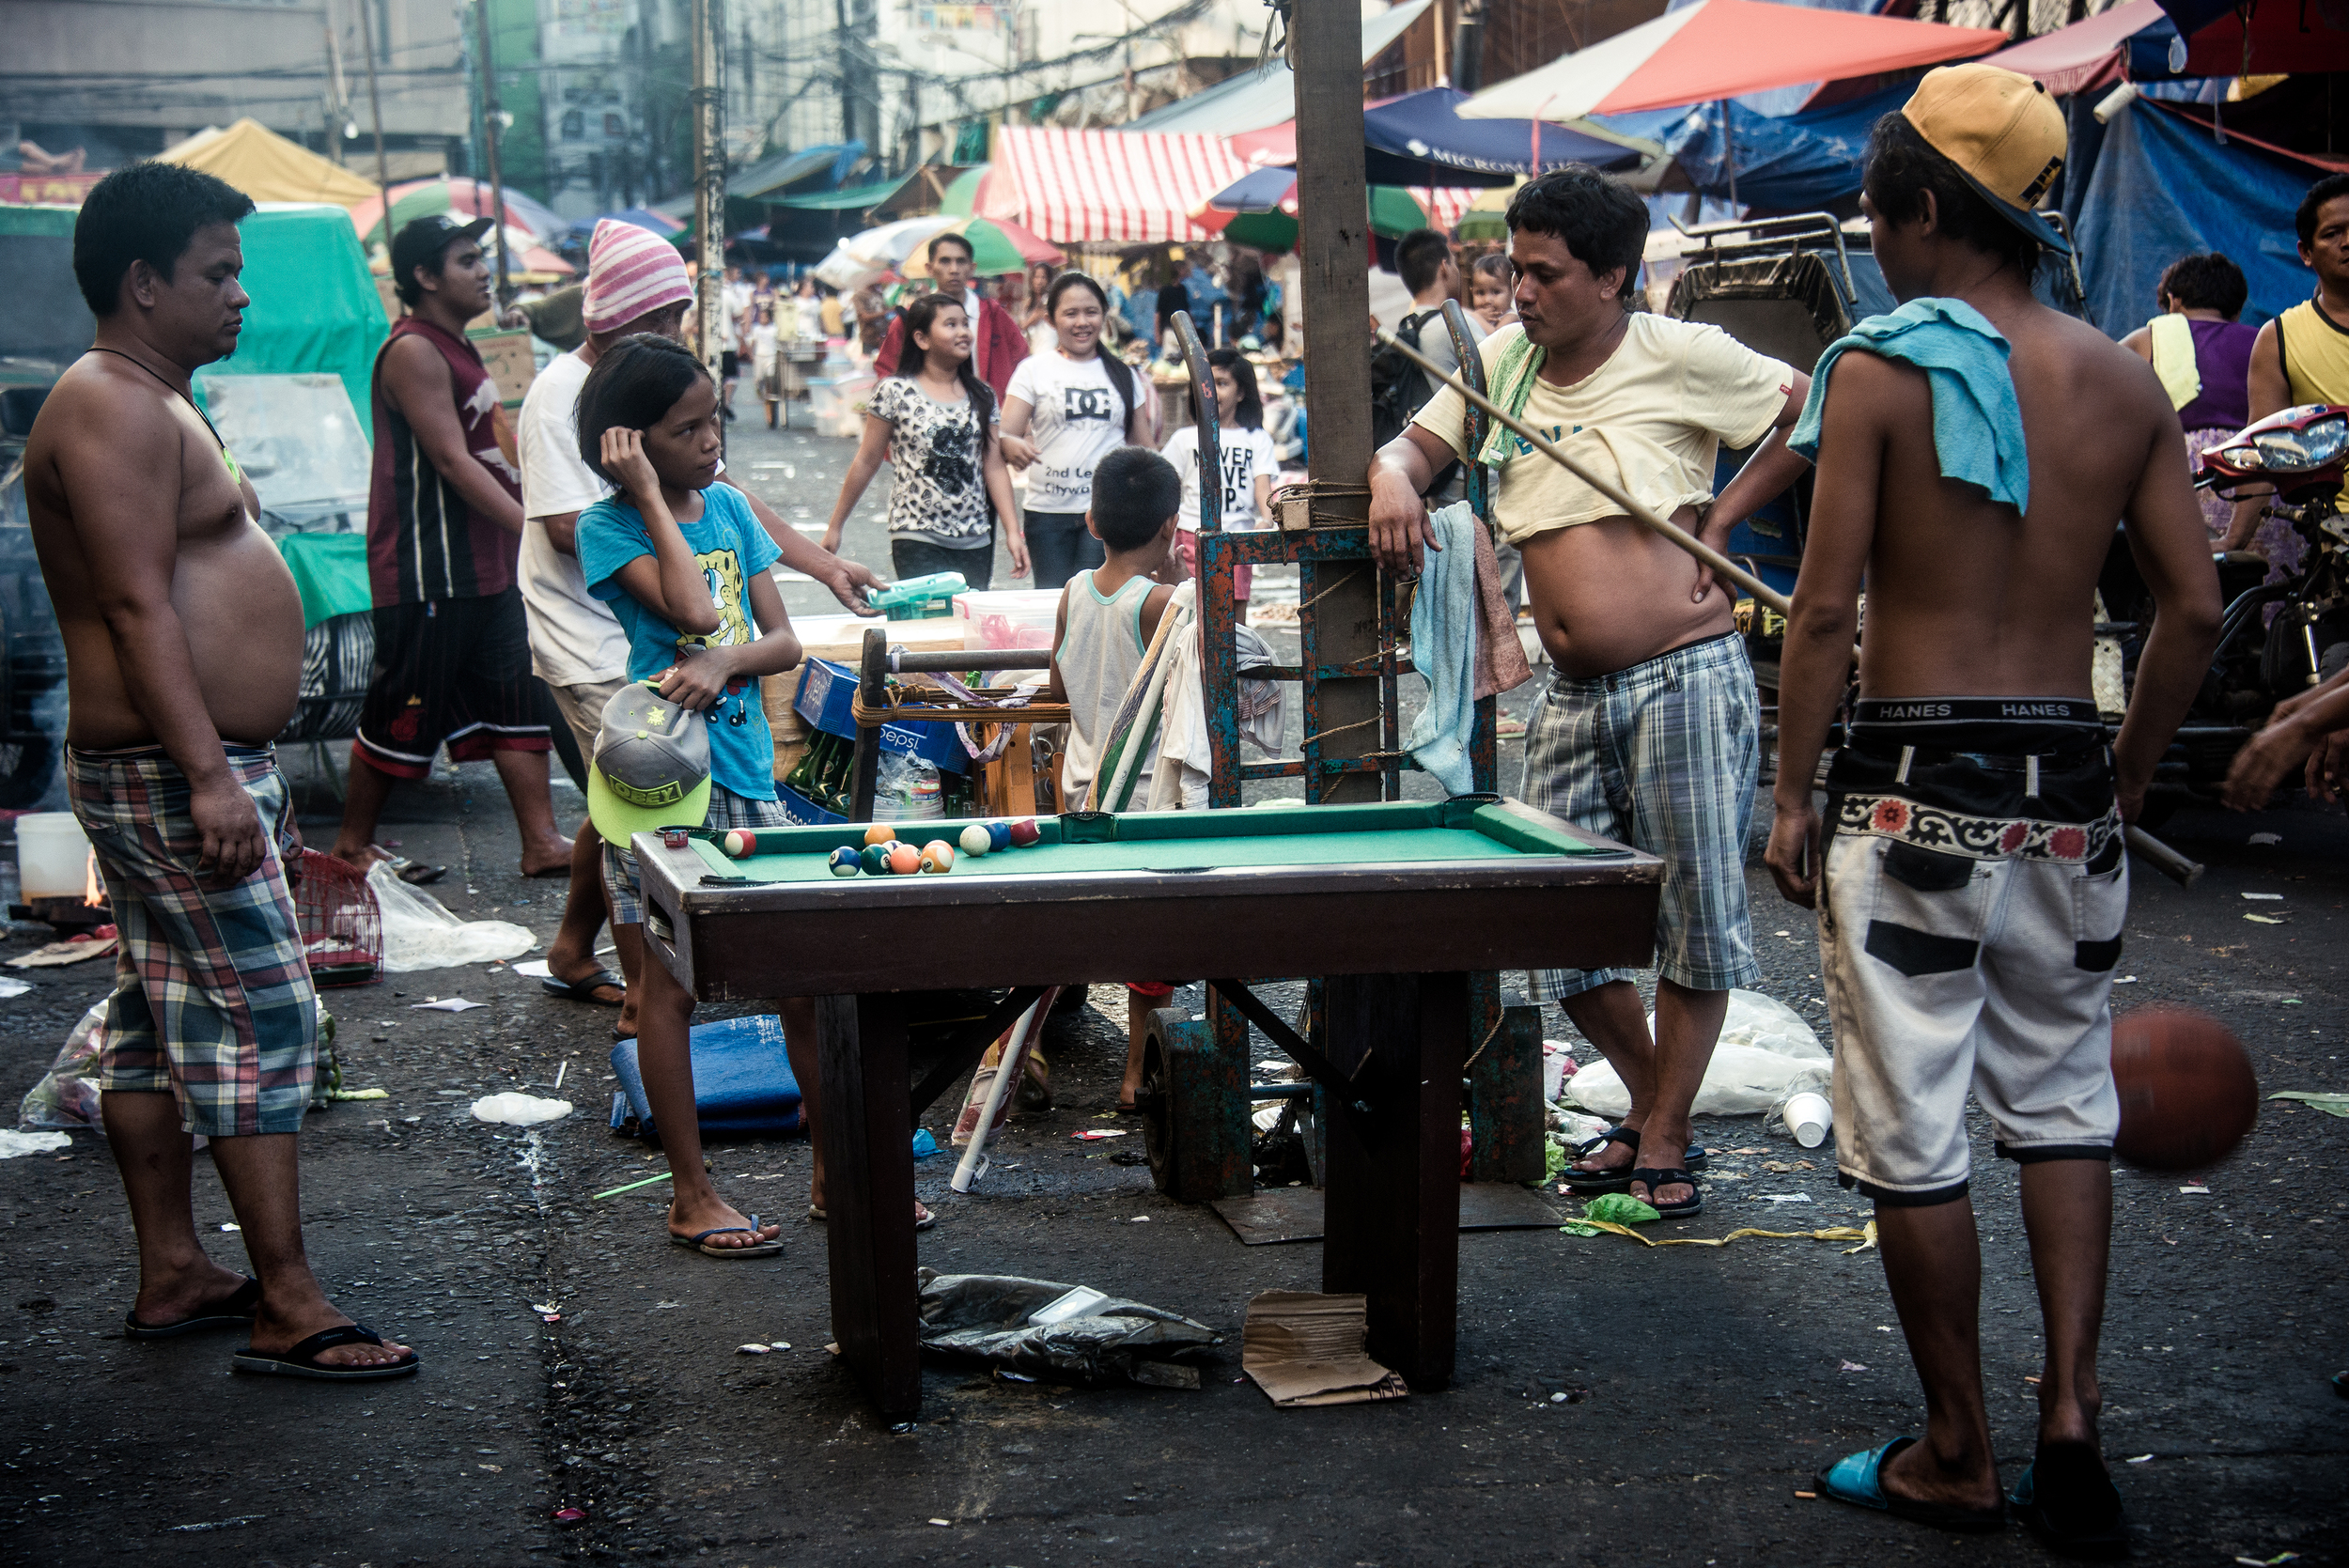
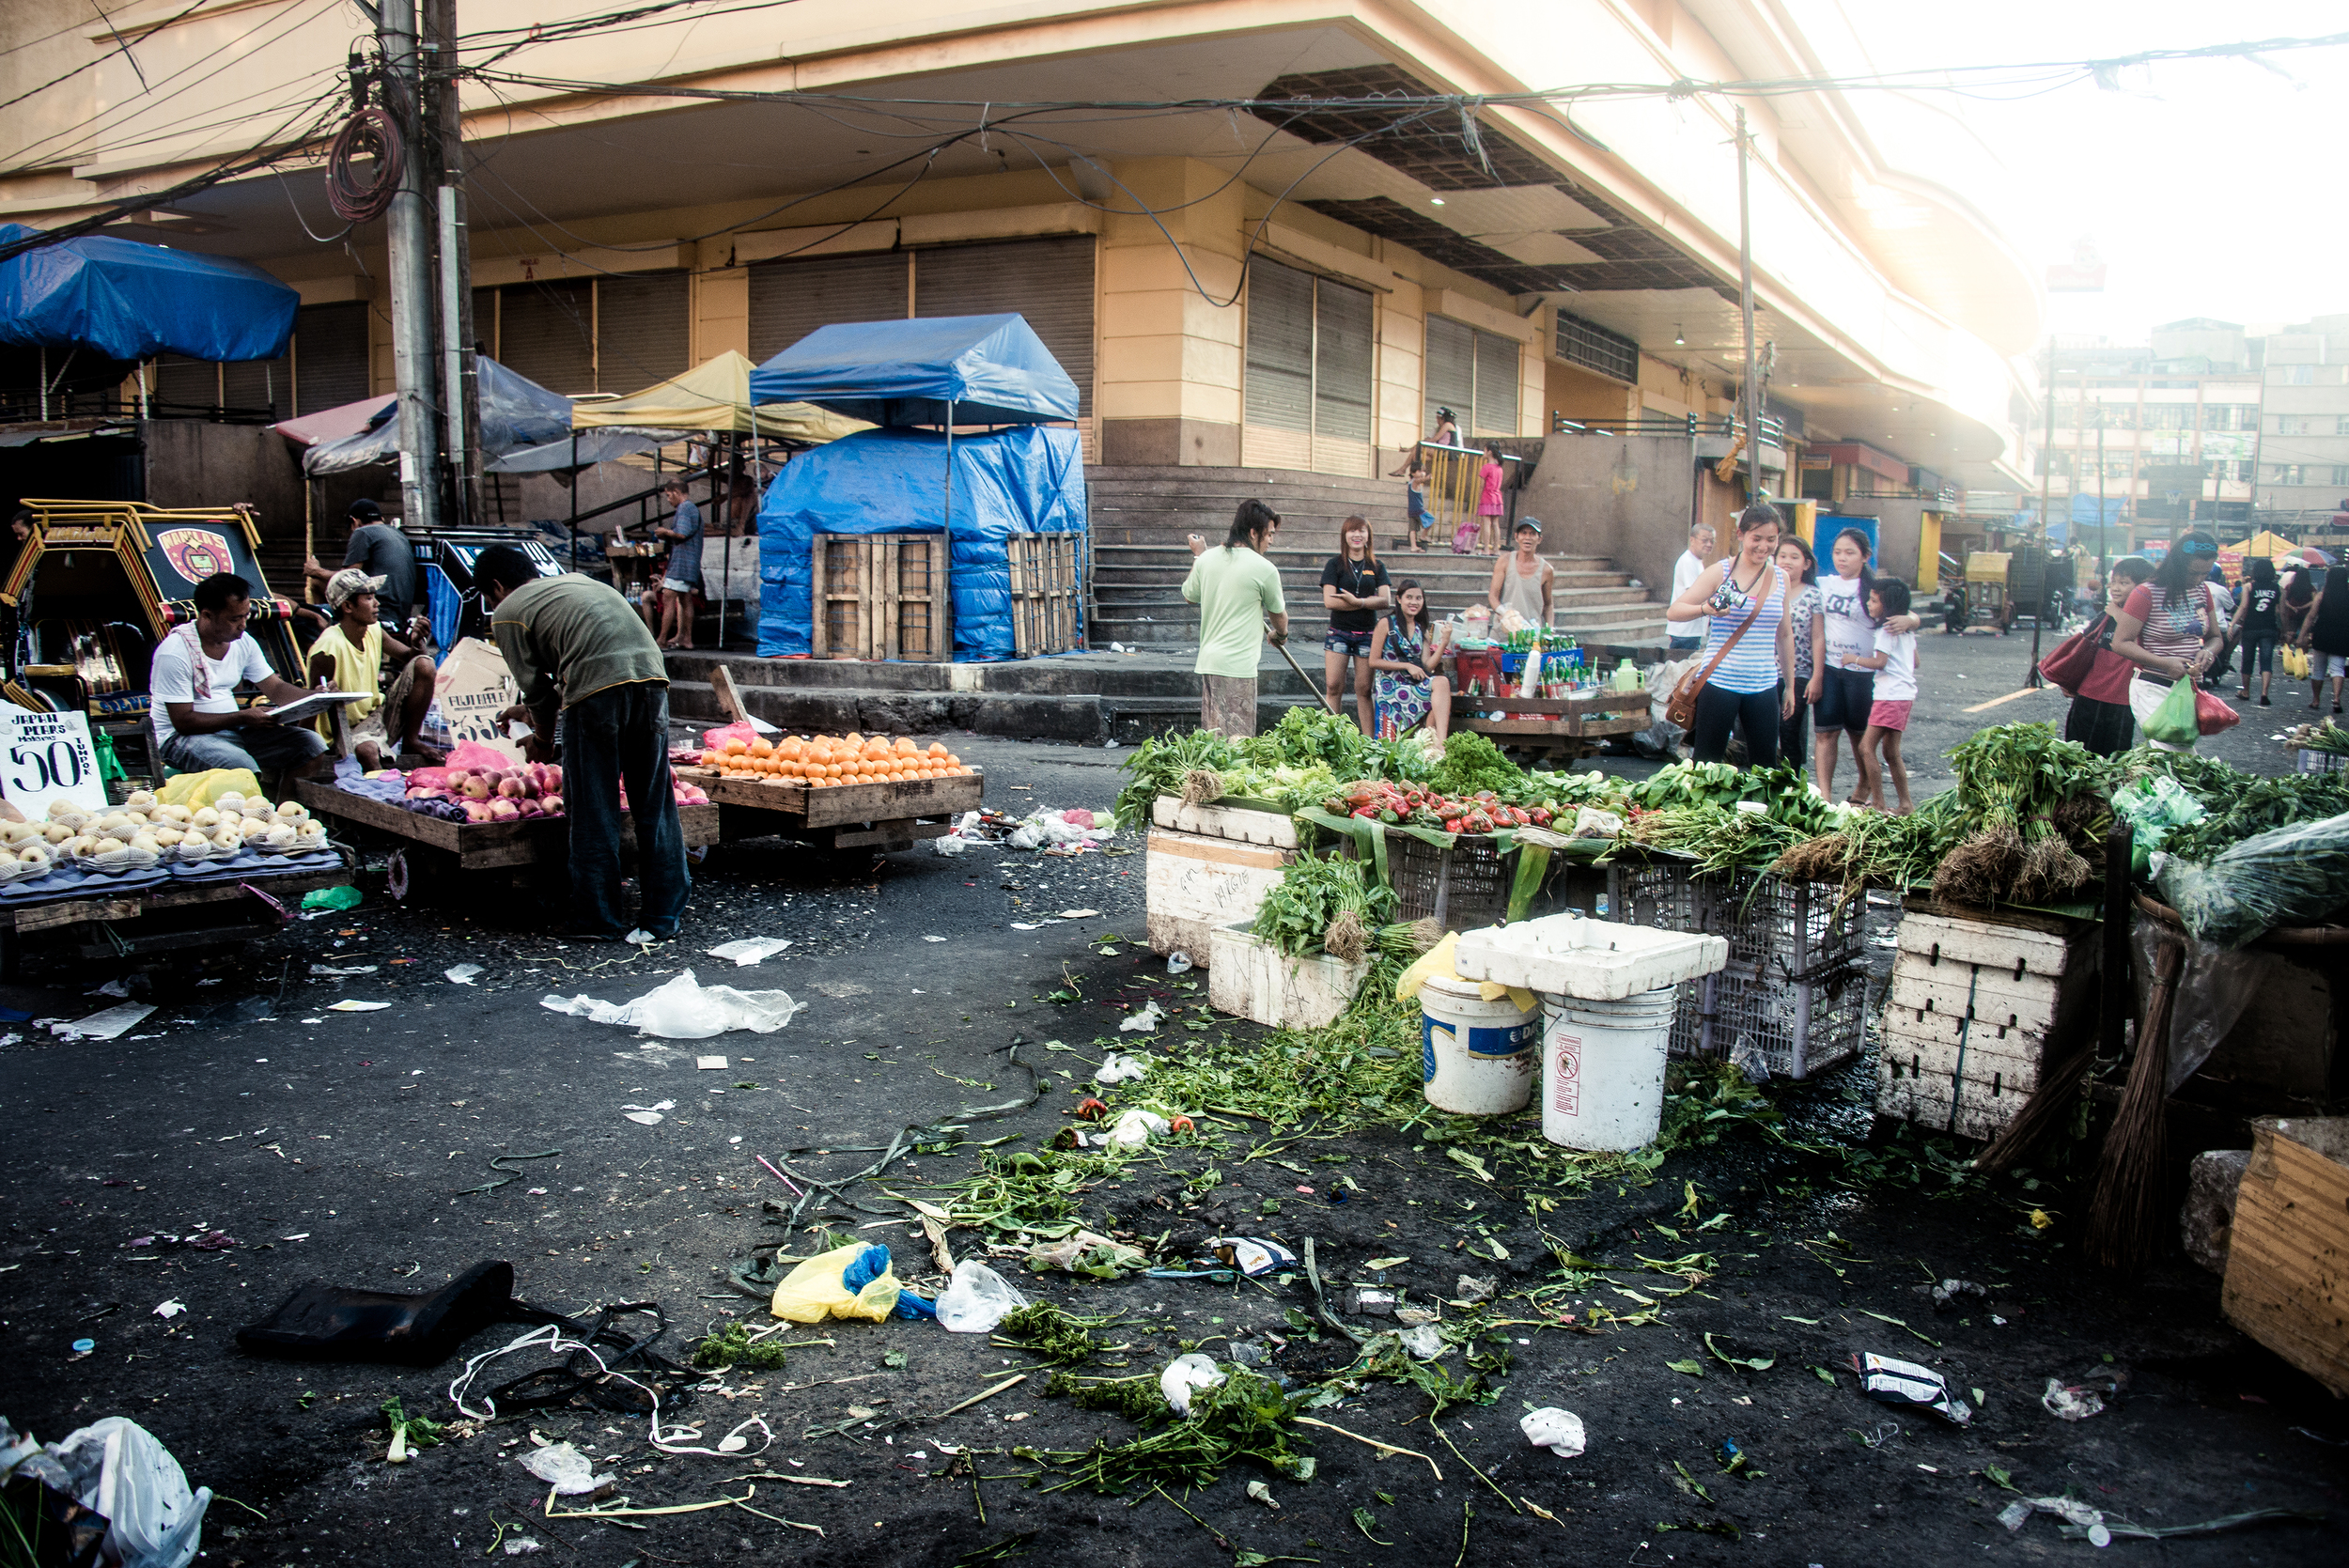
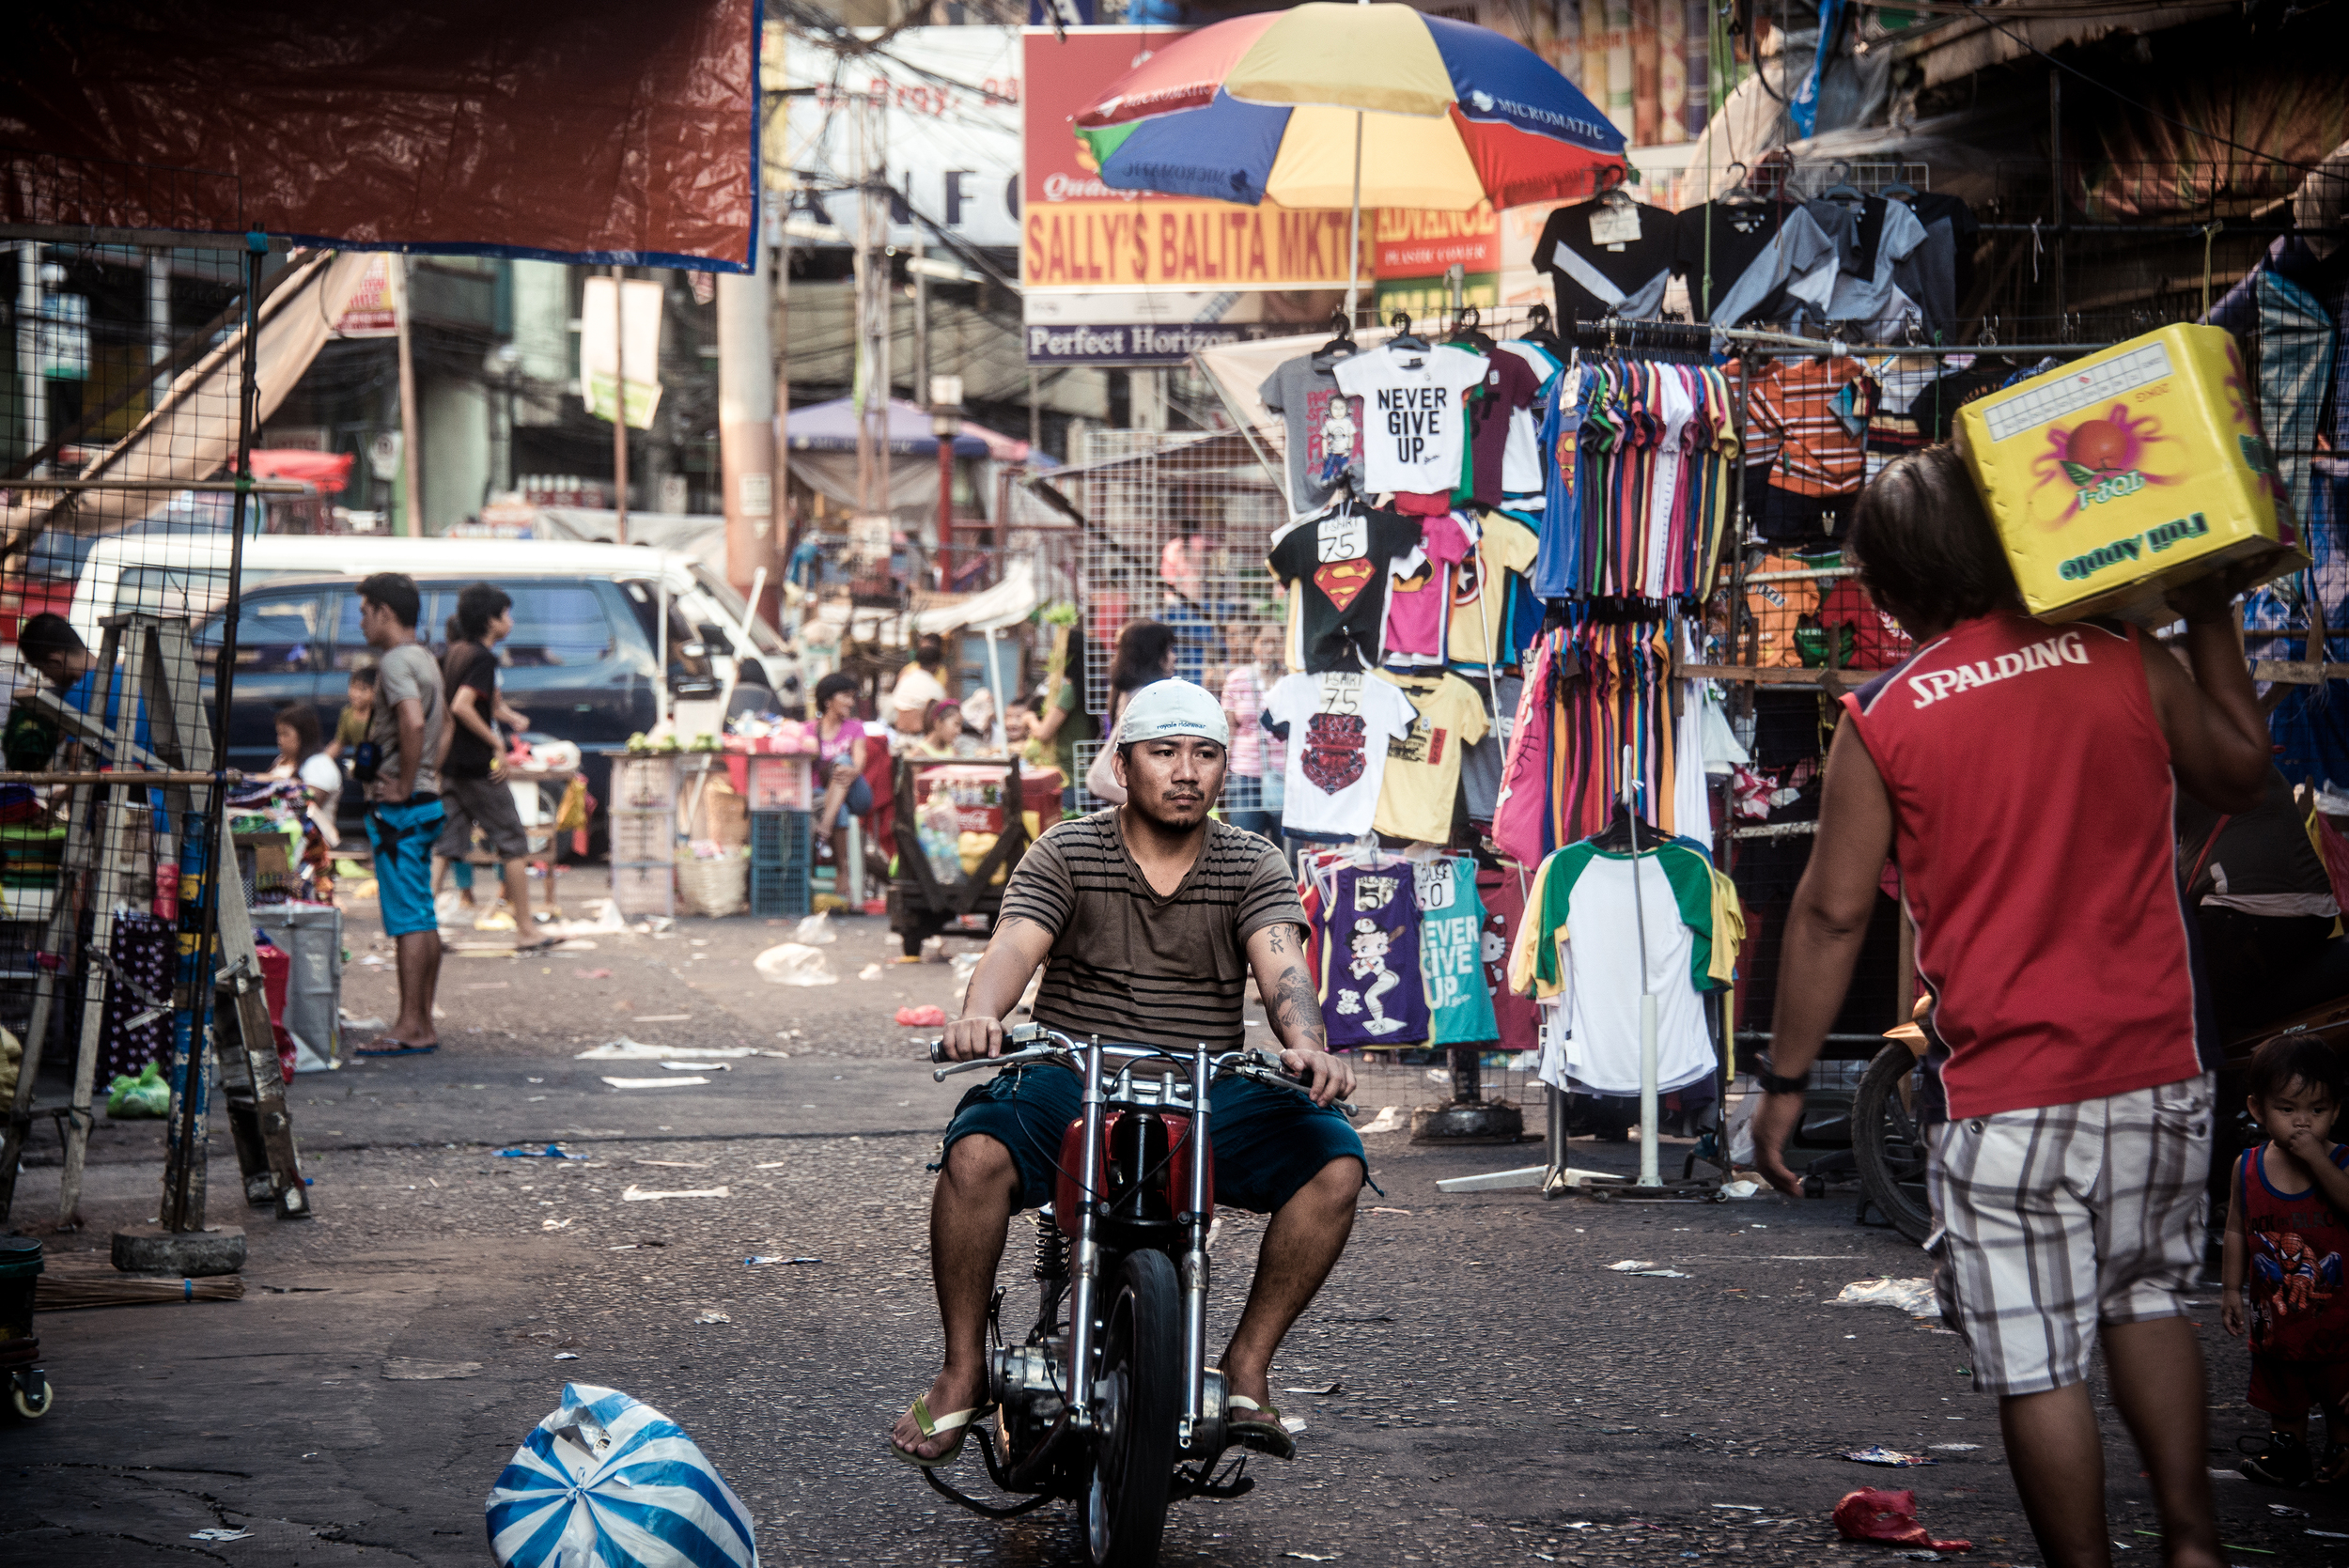
For all the photographers out there, Binondo should be on your list of photowalks. The place is packed with everything that defines interesting including the culture and the people. The people there are also the nicest group of people I have ever photographed. Only in the Philippines do you get people that not only approach you to be photographed but also thank you afterwards.

I edited these photos mainly using Adobe Photoshop and Lightroom 4. I also used Portrait Professional Studio for retouching. If you have more questions on how I produced these images, feel free to comment here or post on my wall on facebook.

website | facebook | flickr | behance instagram

Live in a Dream

The idea and concept for this shoot came to me when I had a conversation with a friend and she told me that she would rather live in her dreams than in reality. Her story struck me because it made me question reality and what it would feel like to live in an eternal dream.

I have always wondered what boundaries exist between dream and reality. What would it take to live in an eternal dream in where you can have complete control of the world? With the series, I question our reality and how its connected to dreams. Our dreams are an entry way to another kind of reality. I believe that if we have full control of our dreams, it could be a fully realized reality just as much as the one we live in now.

The model for this shoot is Olivia Medina and she is doing a lot of great work. She is a professional model and was recently the cover model for Rogue magazine.

This was the first time I worked with a professional model that wasn’t initially one of my friends and it was very intimidating. However, working with professional models is very rewarding because they know their angles very well. She saw my work on facebook and thus we ended up collaborating for this shoot. This is why it is important to share your work to the public even when you’re just getting started. The best way to spread you work out is through websites like Flickr or Facebook. Don’t be scared of criticism but rather accept it. You miss out on a lot of opportunities if you don’t.

I used three different locations for this shoot. The first location we shot at was on a yacht provided by a friend of mine. The next is actually the house next to mine back in Manila. They had torn their house down to build a new one and I just couldn’t resist. I didn’t know the owner of the lot so we had to sneak in, totally worth it. Always keep your eyes opened for locations that would be great for a shoot. The last location was a furniture showroom that again was provided by a friend.

For the concept to fully realize itself, I had to make sure that I had the correct lighting. I timed my shoot in each location so that I could use the sun to my advantage. This is very important when planning a photo shoot. Always keep the sun and its light in your mind.

According to a lot of great photographers out there, the best investment you can make aside from your camera would be lighting equipment. Ambient light will always be the best kind of light but it is also very hard to control.

It was about 3pm when we finished setting up for our first shoot. It was a great day out but there wasn’t a lot of clouds in the sky so the sun light wasn’t diffused and created really harsh shadows. There are a couple ways to lighten up these shadows, one is a reflector and another is a secondary light source. Light sources can range from a flash light, a speed light to studio strobes.

Reflectors are an essential to a portrait photographer and I highly advice you getting one. They are not so expensive and they can easily improve your portrait photographs. I found one in Amazon that works perfectly, Neewer 110CM 43″ 5-in-1 Collapsible Multi-Disc Light Reflector. You can easily change this reflector to different things to suit your needs. I used it as a diffuser for this shot.

I used a combination of the diffuser and a secondary light to decrease the harsh contrast on the model.

Here is the whole series: “Live In A Dream”

I edited these photos mainly using Adobe Photoshop and Lightroom 4. I also used Portrait Professional Studio for retouching. If you have more questions on how I produced these images, feel free to comment here or post on my wall on facebook.

website | facebook | flickr | behance instagram

Defying Gravity

I want to start of this blog discussing my first ever planned photo shoot, entitled “Defying Gravity”. It was taken in the November of 2010. In a nutshell, this shoot inspired me to become a full blown photographer. I will always have a soft spot for this set and it will always remain my most prized works of art.

It started off as one of my IBHL Visual Art pieces. Having the background of traditional art helped me escalate my skills of story telling because I was exposed to the process of brainstorming and creating thumbnails. This aids me in visualizing the outcome before I even start the shoot. Do not underestimate these skills and practice them as much as possible.

For this shoot, I asked my crew mates from my breakdance crew, Riot Kings to model for me. The idea was simple, to create images that will make the audience question the reality of it. I have always had an infatuation with the power of photography and this was its embodiment. I thought that dancers would best portray this idea because dancers are able to defy gravity or at least to their audience’s perception of gravity.

This was our first shot of the series:

“Defying Gravity”

“Defying Gravity”

My lack of photoshop and photo-manipulation skills ended up as an advantage because I was forced to set the shots up without any composites, which made it much more real. For this shot, it took about 50 tries to get the one we wanted. Here is the raw file to prove that it is not a composite:

Nikon D90, Shutter Speed of 1/200, Aperture f/5.6

Nikon D90, Shutter Speed of 1/200, Aperture f/5.6

When you are just starting off as a photographer, your camera’s settings is usually the hardest to understand and master. However, knowing it and practicing it will be your most essential tool. For this shot, I used a shutter speed of 1/200. Even though it seems as if there was a lot of light for this shot, I was still shooting indoors and there was still not enough light for me to go faster than 1/200 without increasing ISO (which in return, would increase noise). Fortunately, 1/200 is already enough for me to freeze all the motion. It may sound basic but the faster your shutter speed, the more you can freeze action. Also, when you are holding your camera by hand, it makes your image sharper and clearer because you are also stopping the motion of your own body.

I did a lot of experimentation with this shoot, which left a lot of room for error. However, those experiments are what paid off the most. Do not be afraid to experiment, especially when you are just getting started. You learn so much from it. The biggest risk I took was shooting against the light. I was just starting out so I did not know much about lighting. However, I was able to save most of the detail on the faces using Lighroom 3. I increased “Fill Light” and decreased “Black”. I also increased “Clarity”. This created a lot of noise in the image, which I was able to decrease using “Luminance”. Same technique was used for this photo:

“Without Boundaries”

“Take-Off”

“Take-Off”

The most important lesson I took from this shoot is the importance of having a concept. Art has been, and is still currently going through a paradigm shift, in which the balance of concept and technique are being weighed. However, concept is much more important when it comes to my own personal opinion. Learn how to conceptualize first. Technique will follow. You need to create depth behind your art to keep your audience interested.

Its a relief being able to finally write all of that down. I hope you guys enjoyed my first blog post and I promise there will be a lot more coming up soon.

website | facebook | flickr | behance instagram