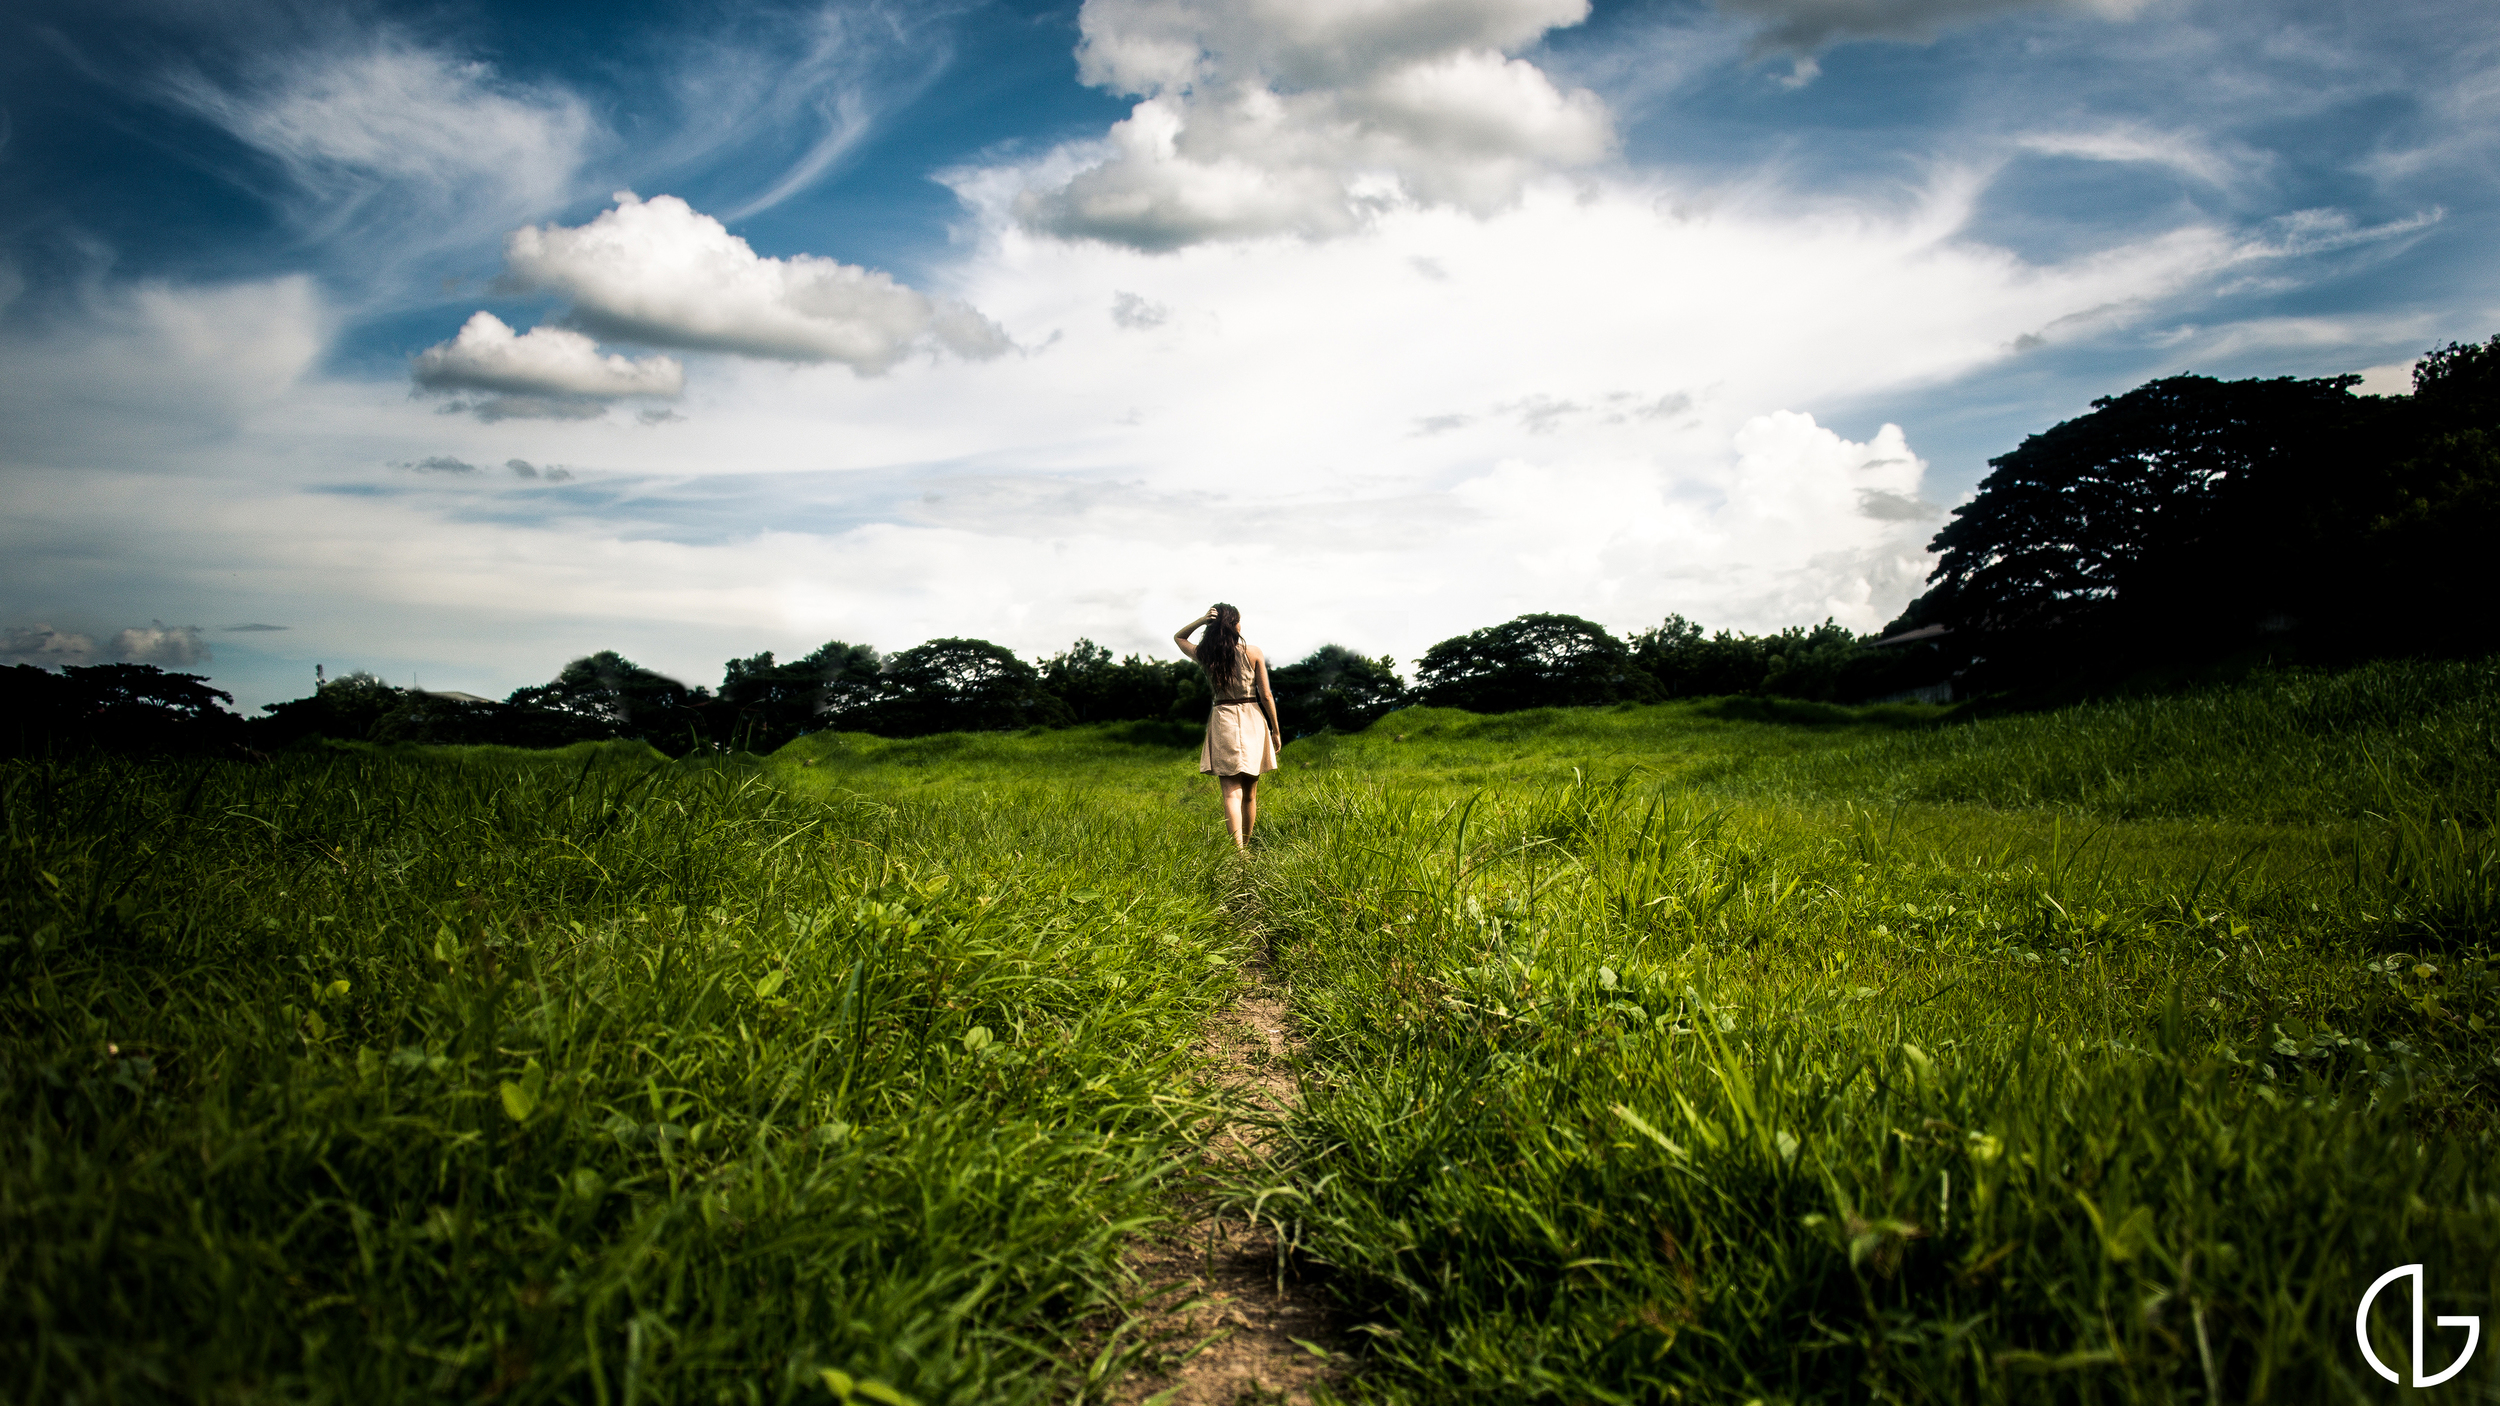
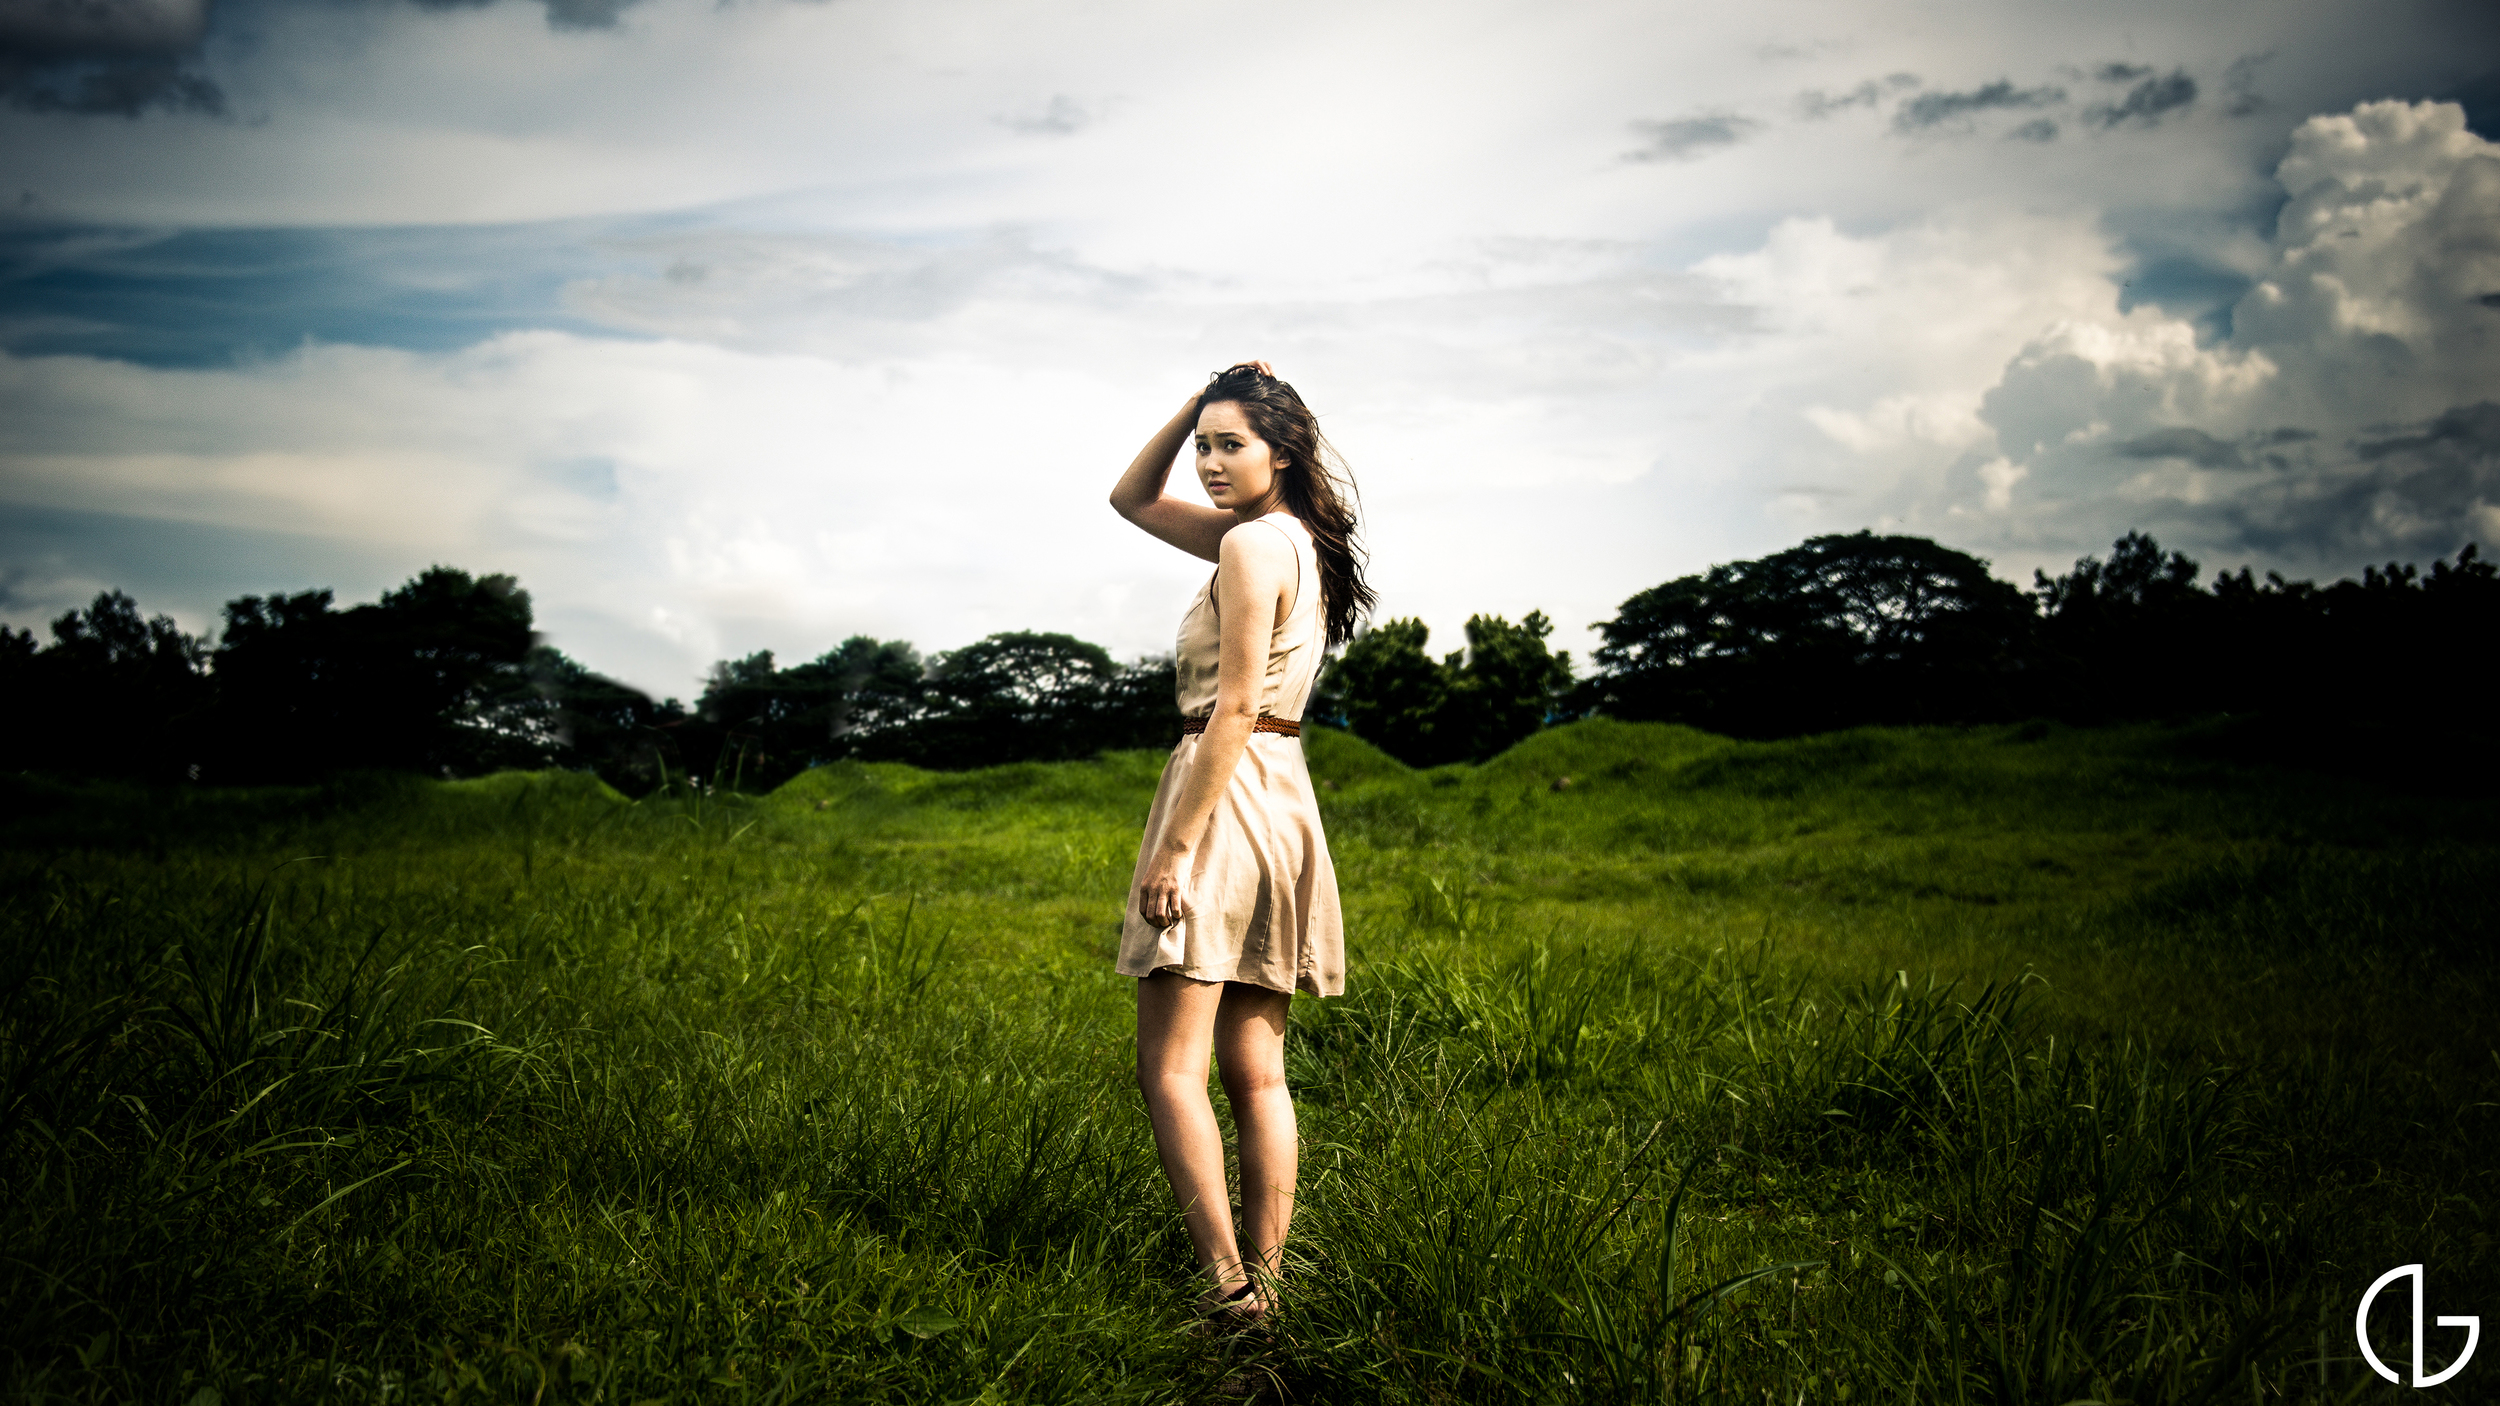
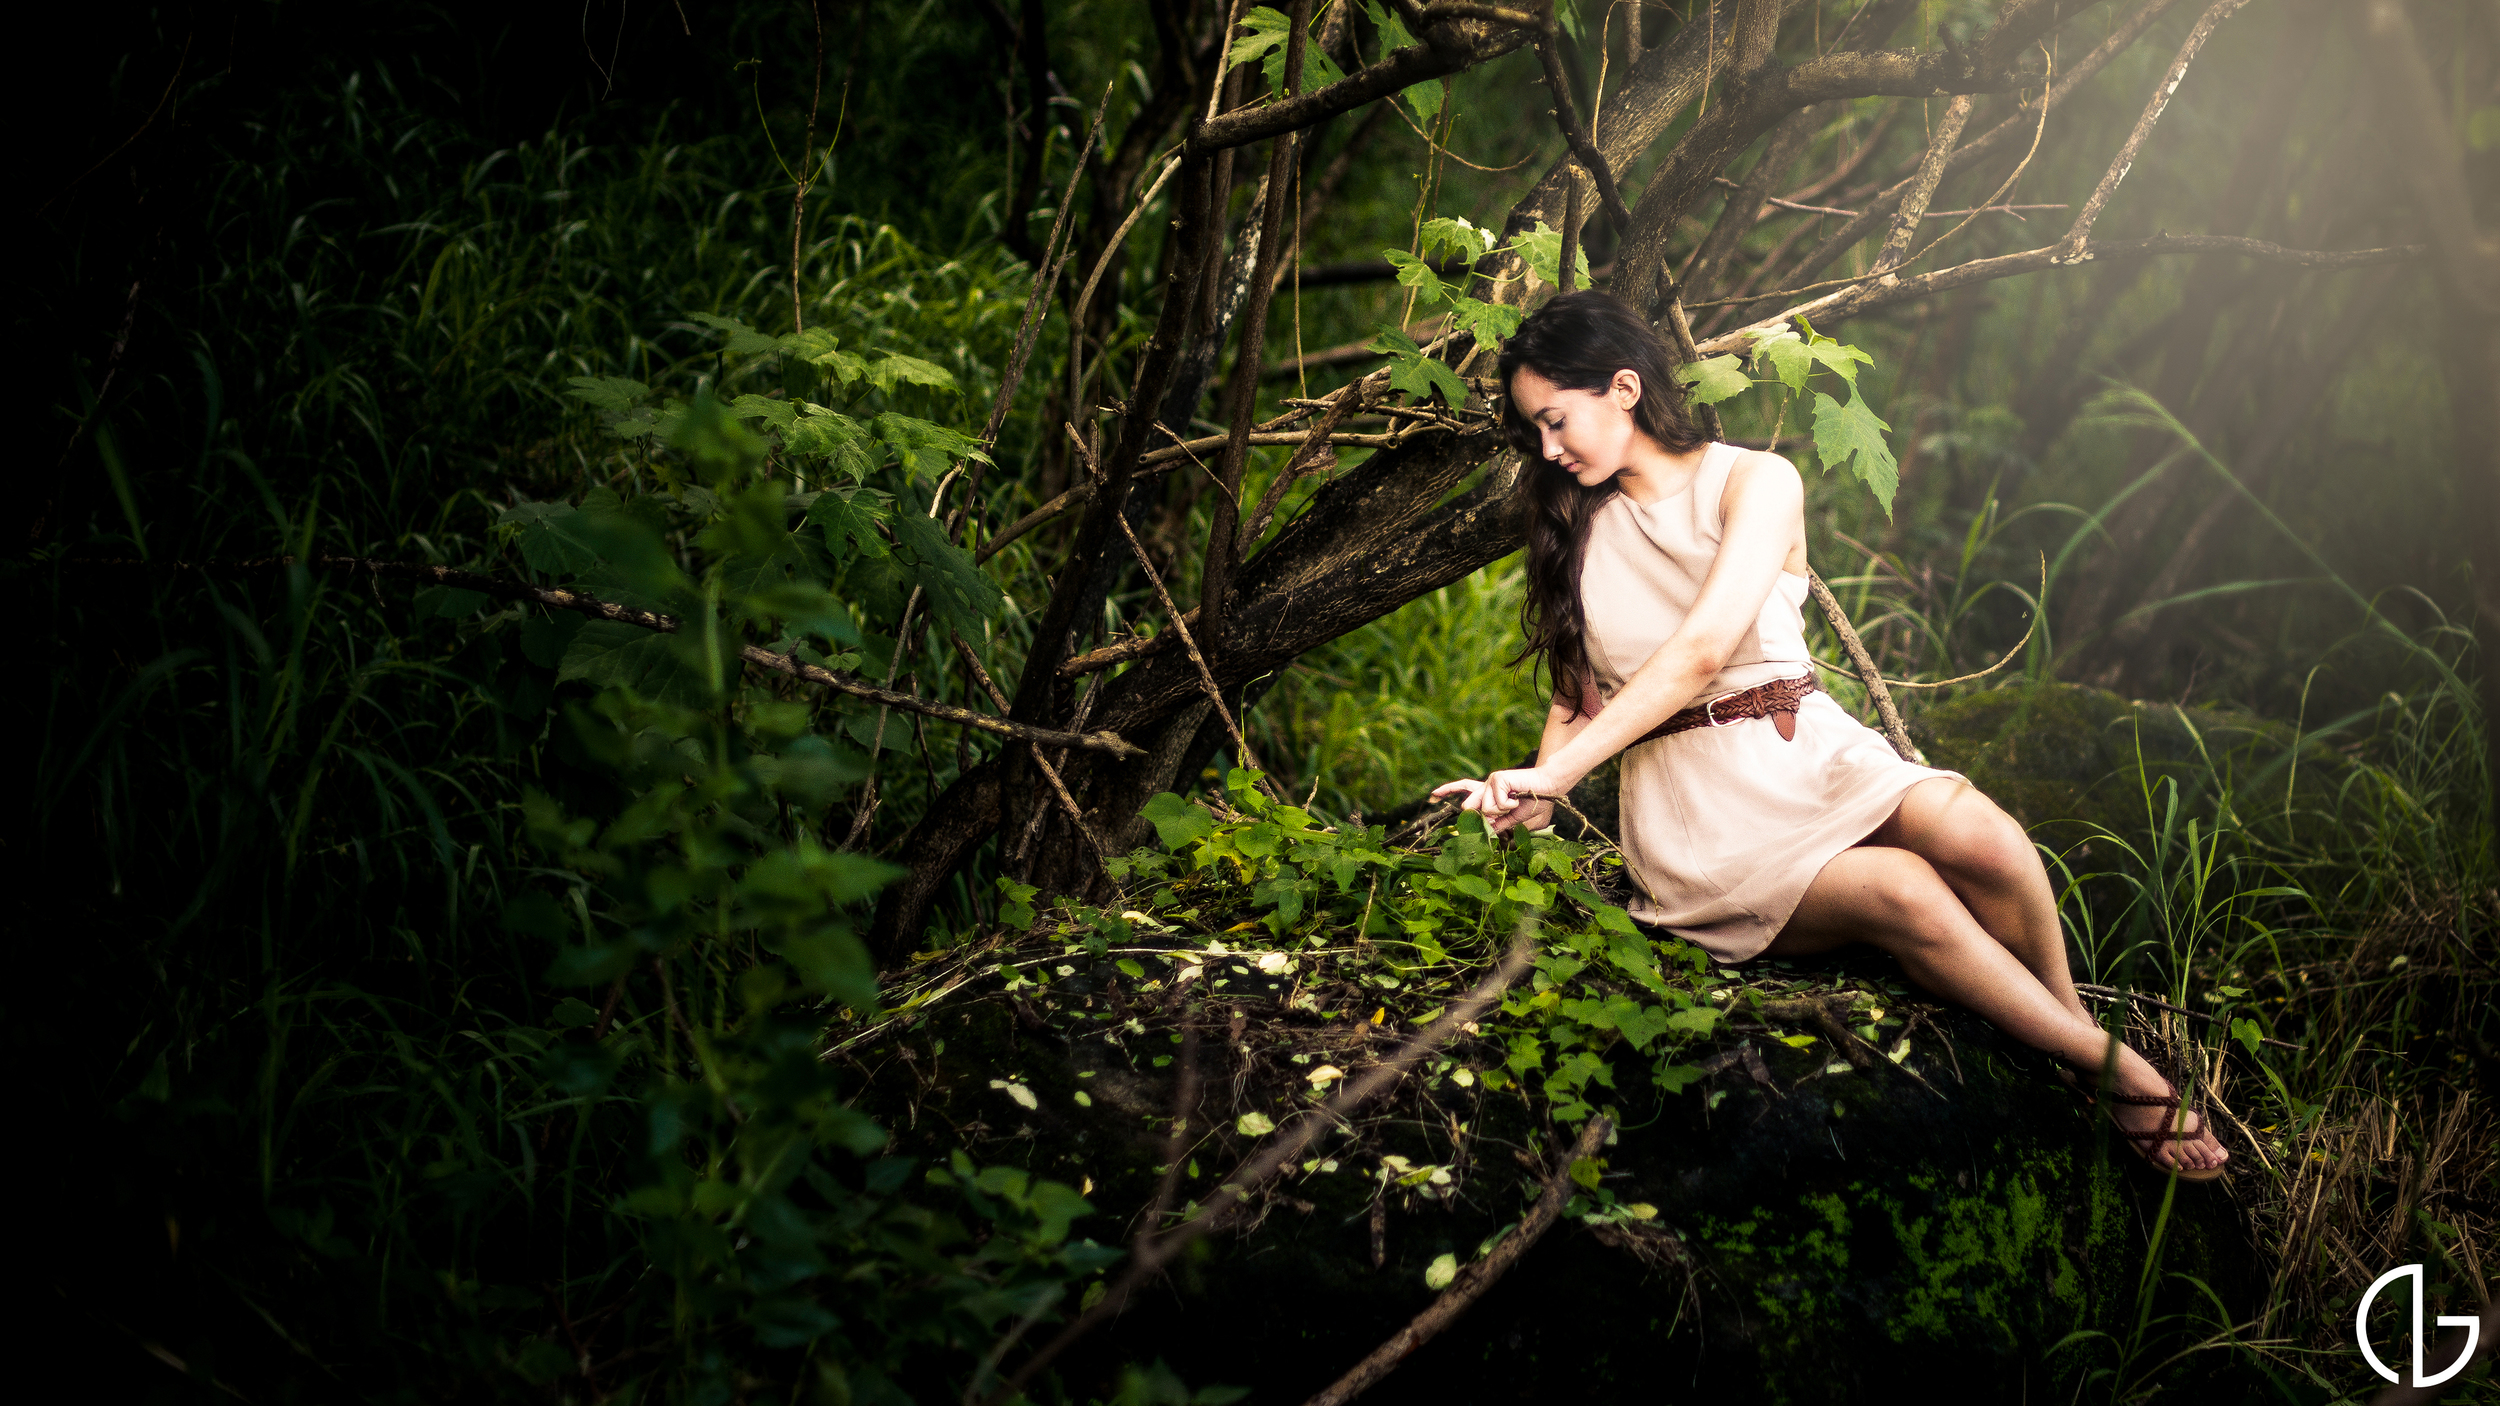
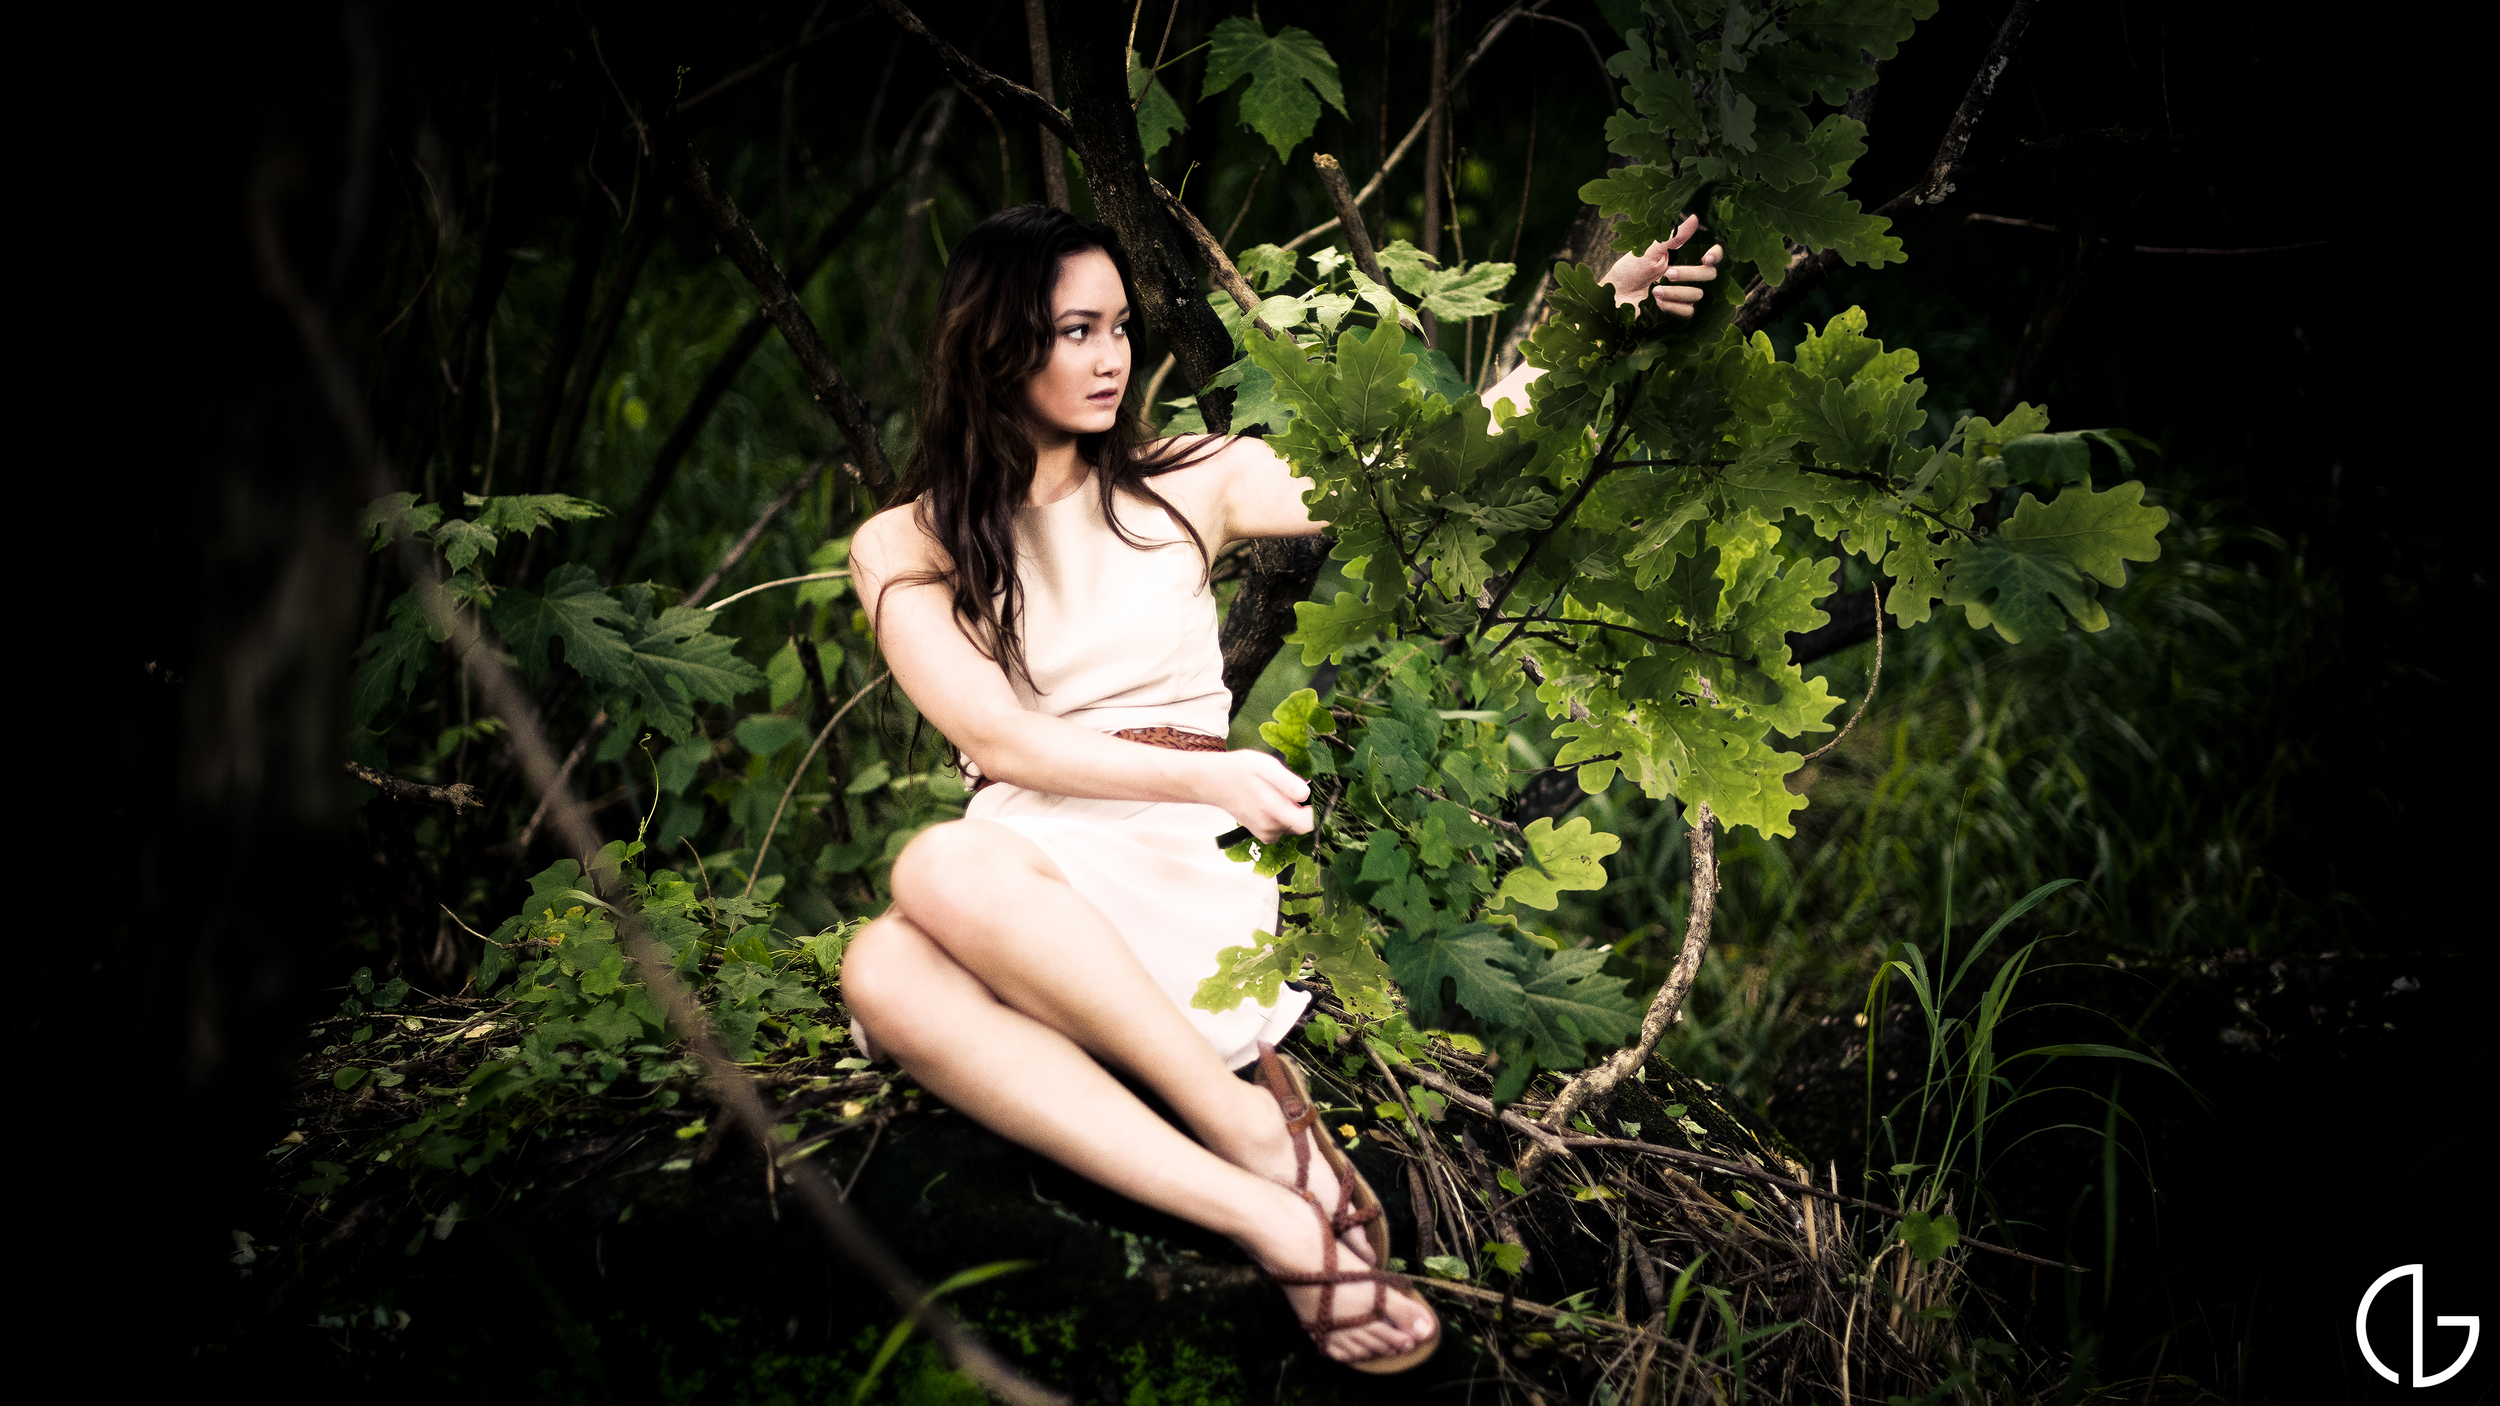
This conceptual photoshoot is loosely based on the Greek myth of Sisyphus. He was a king who was punished for chronic deceitfulness by being forced to roll an immense boulder up a hill, only to watch it roll back down, then to repeat this action forever.
I often find myself highly empathetic to Sisyphus and his burden because of societal structures that are forced upon me. May it be school, nutrition, or information, I feel as if I go through daily motions in spite of knowing the outcome, just to see it repeat itself.
"Exercise in Futility" is my expression of this continuous struggle. I wanted to explore the human experience of resilience in hopes of finding respite.
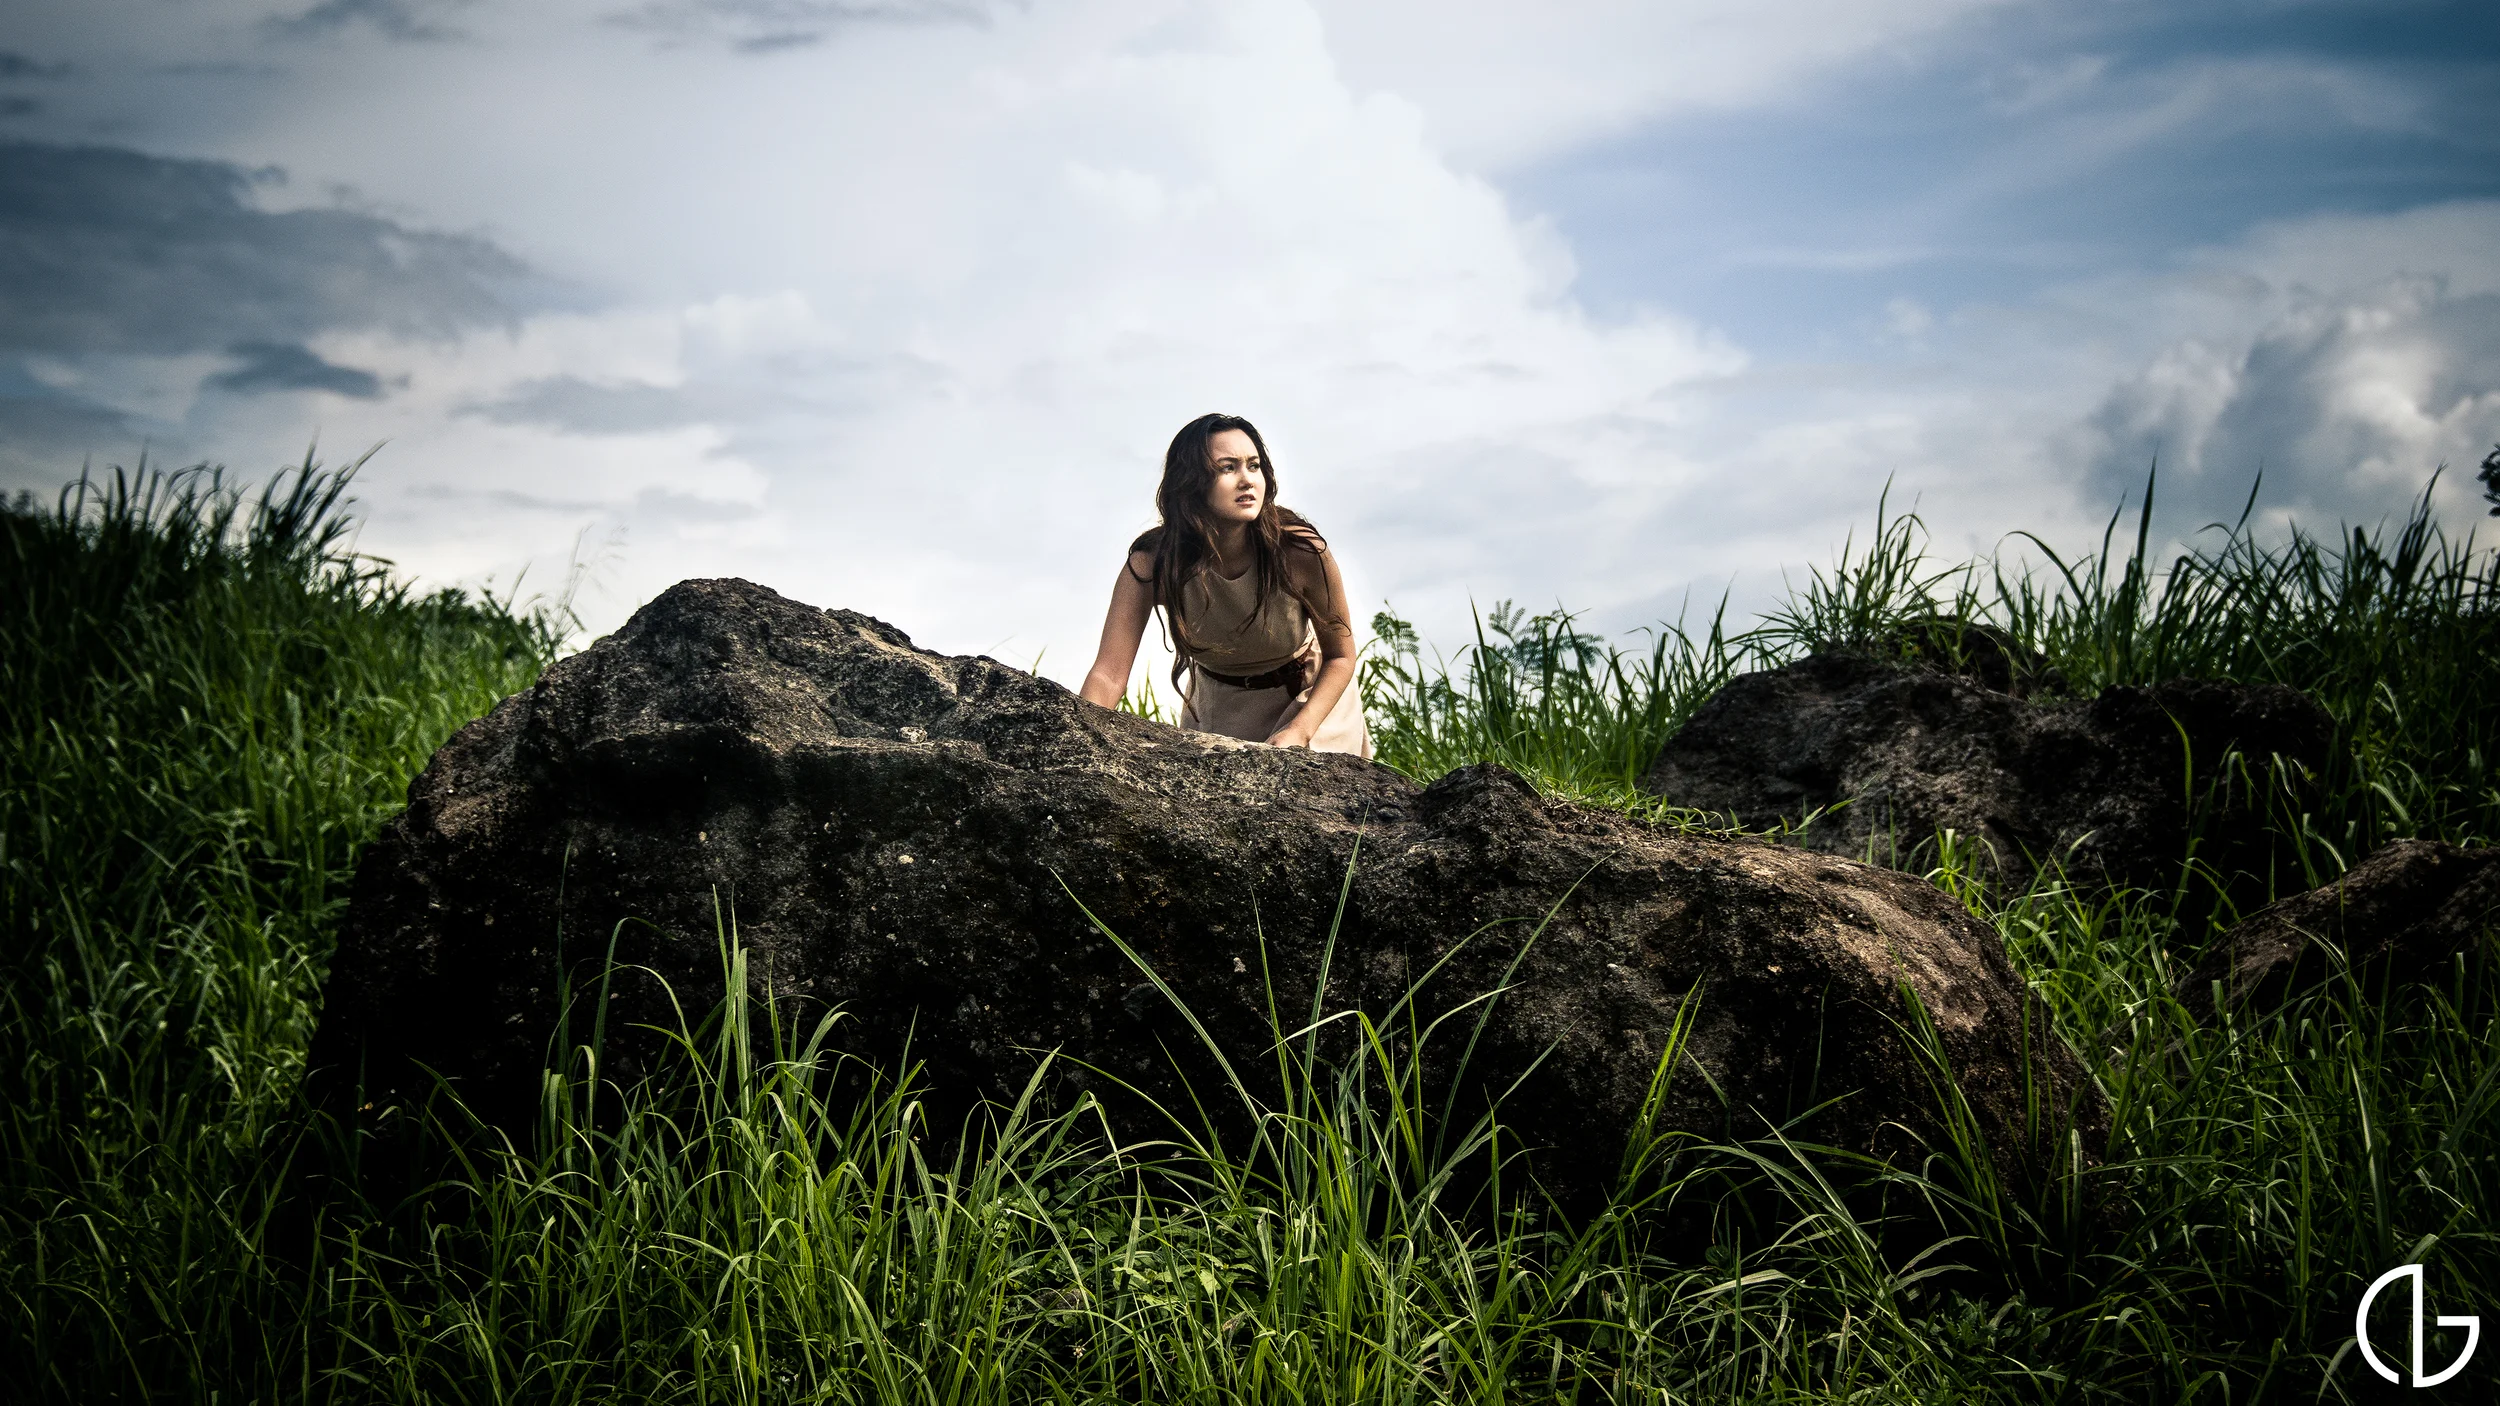
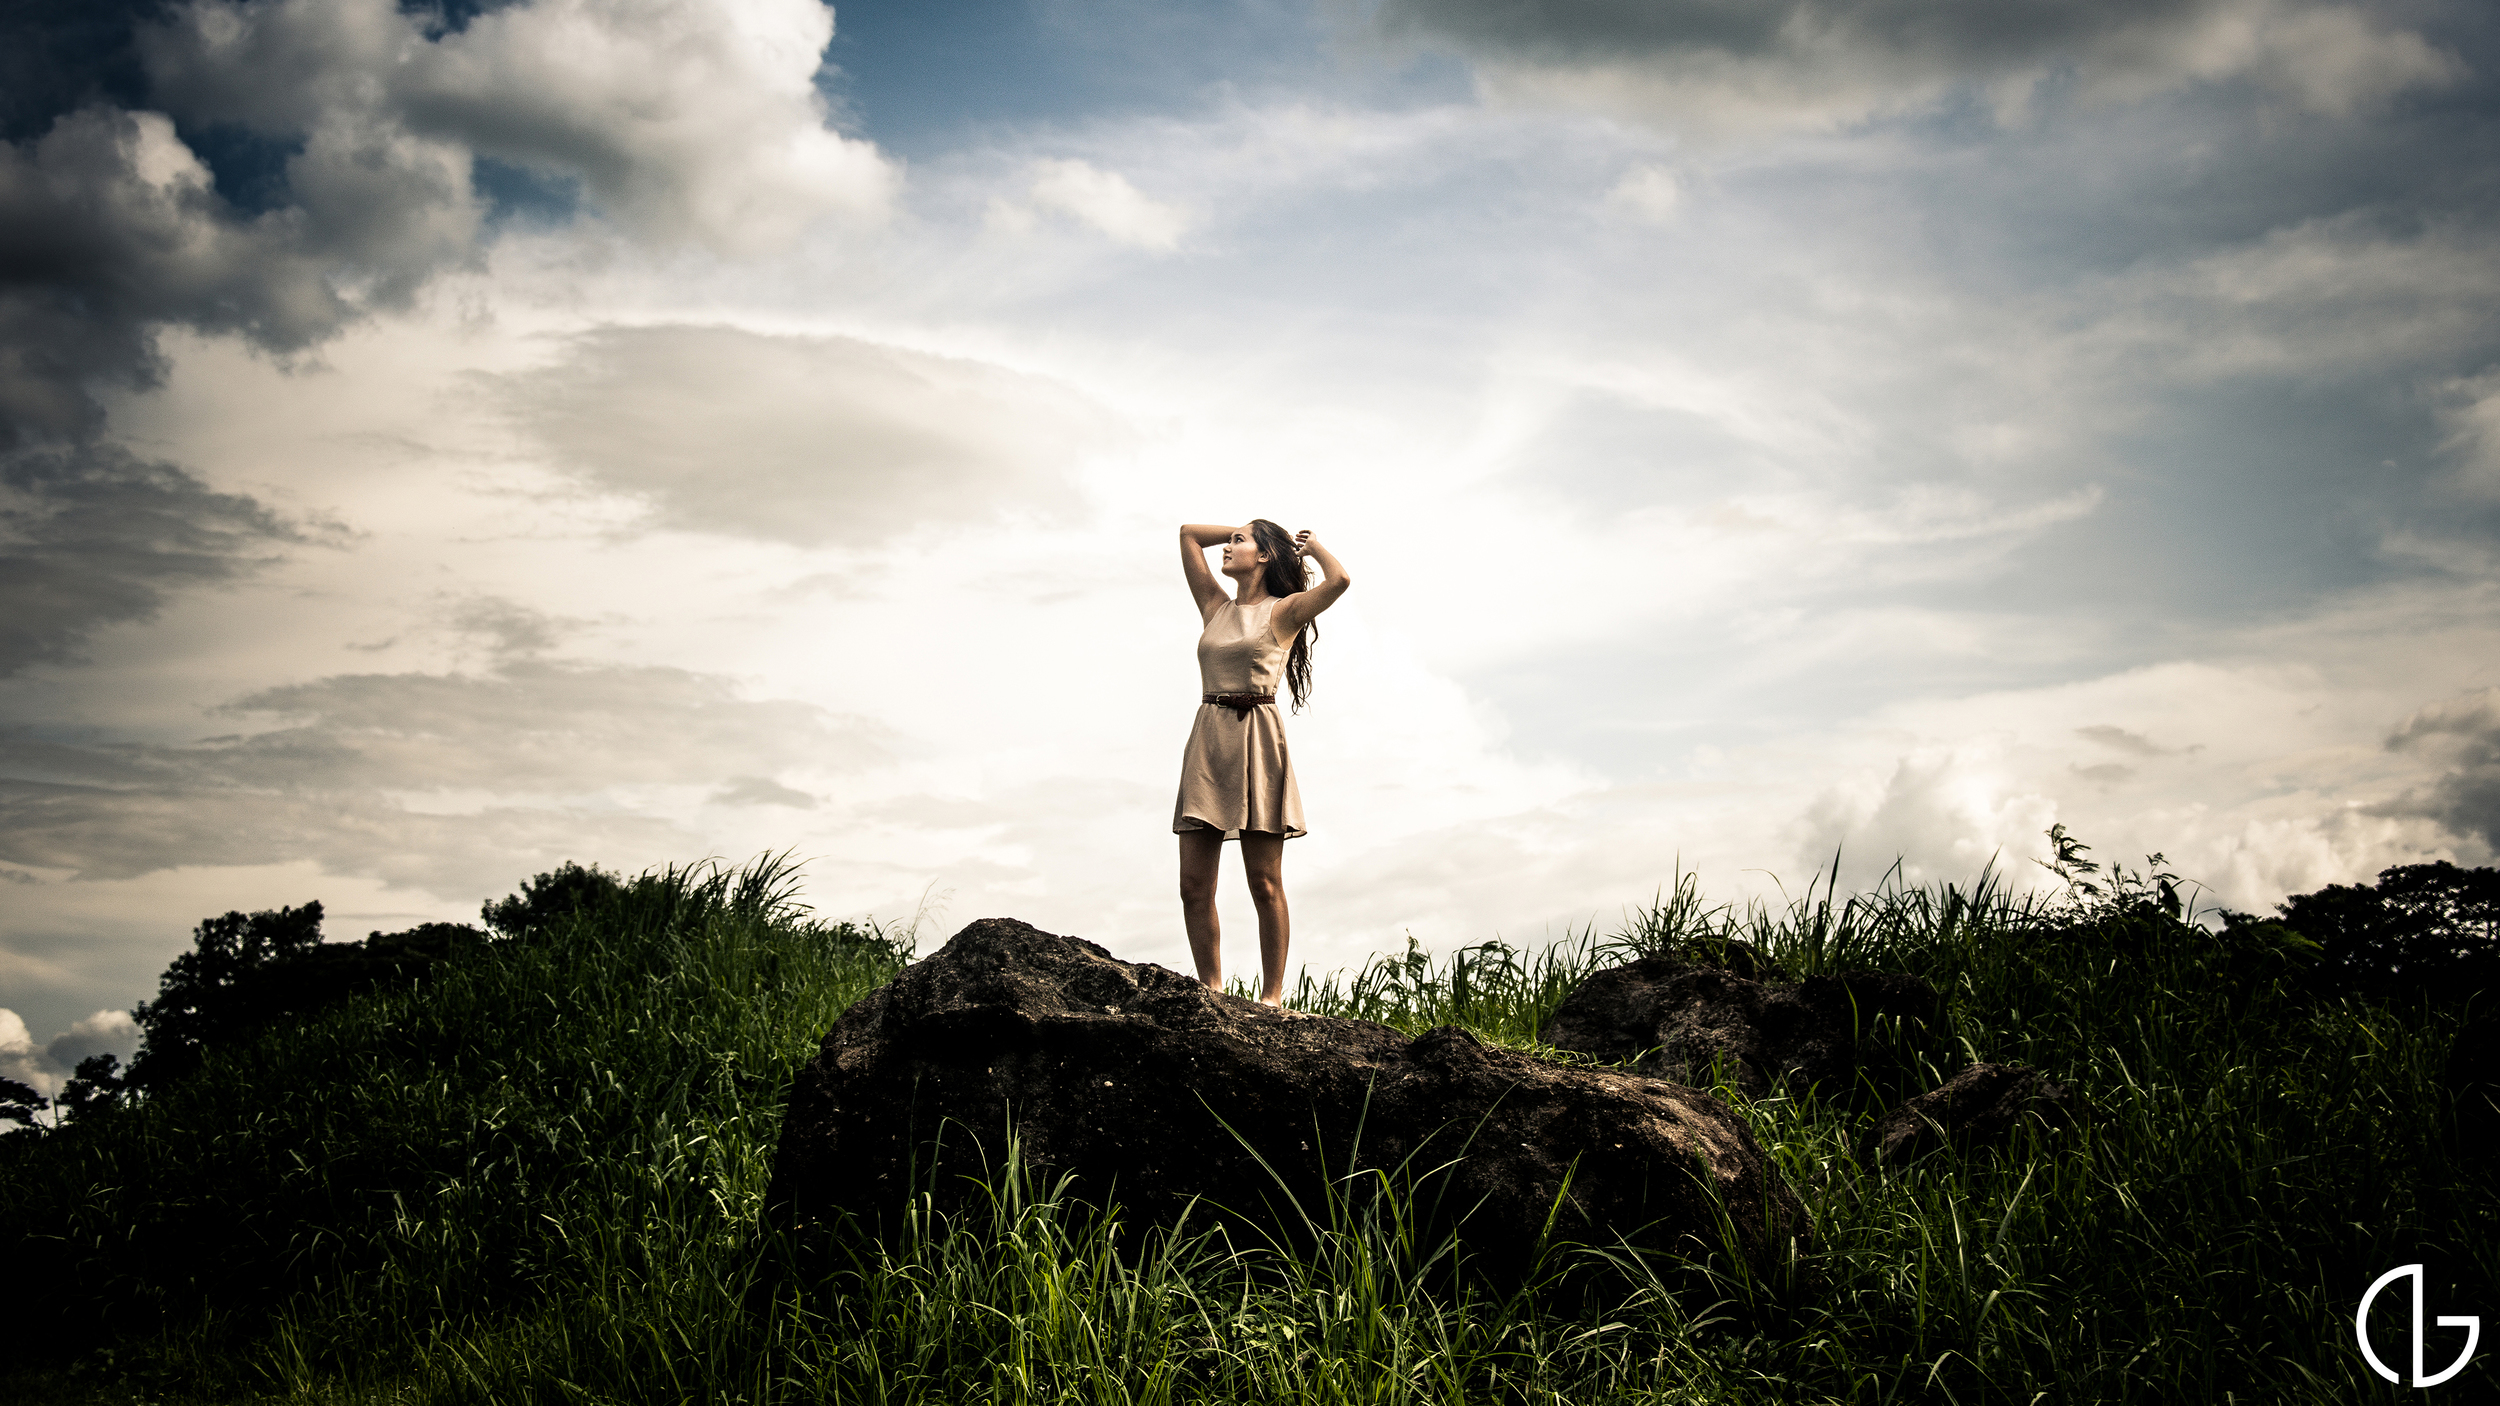
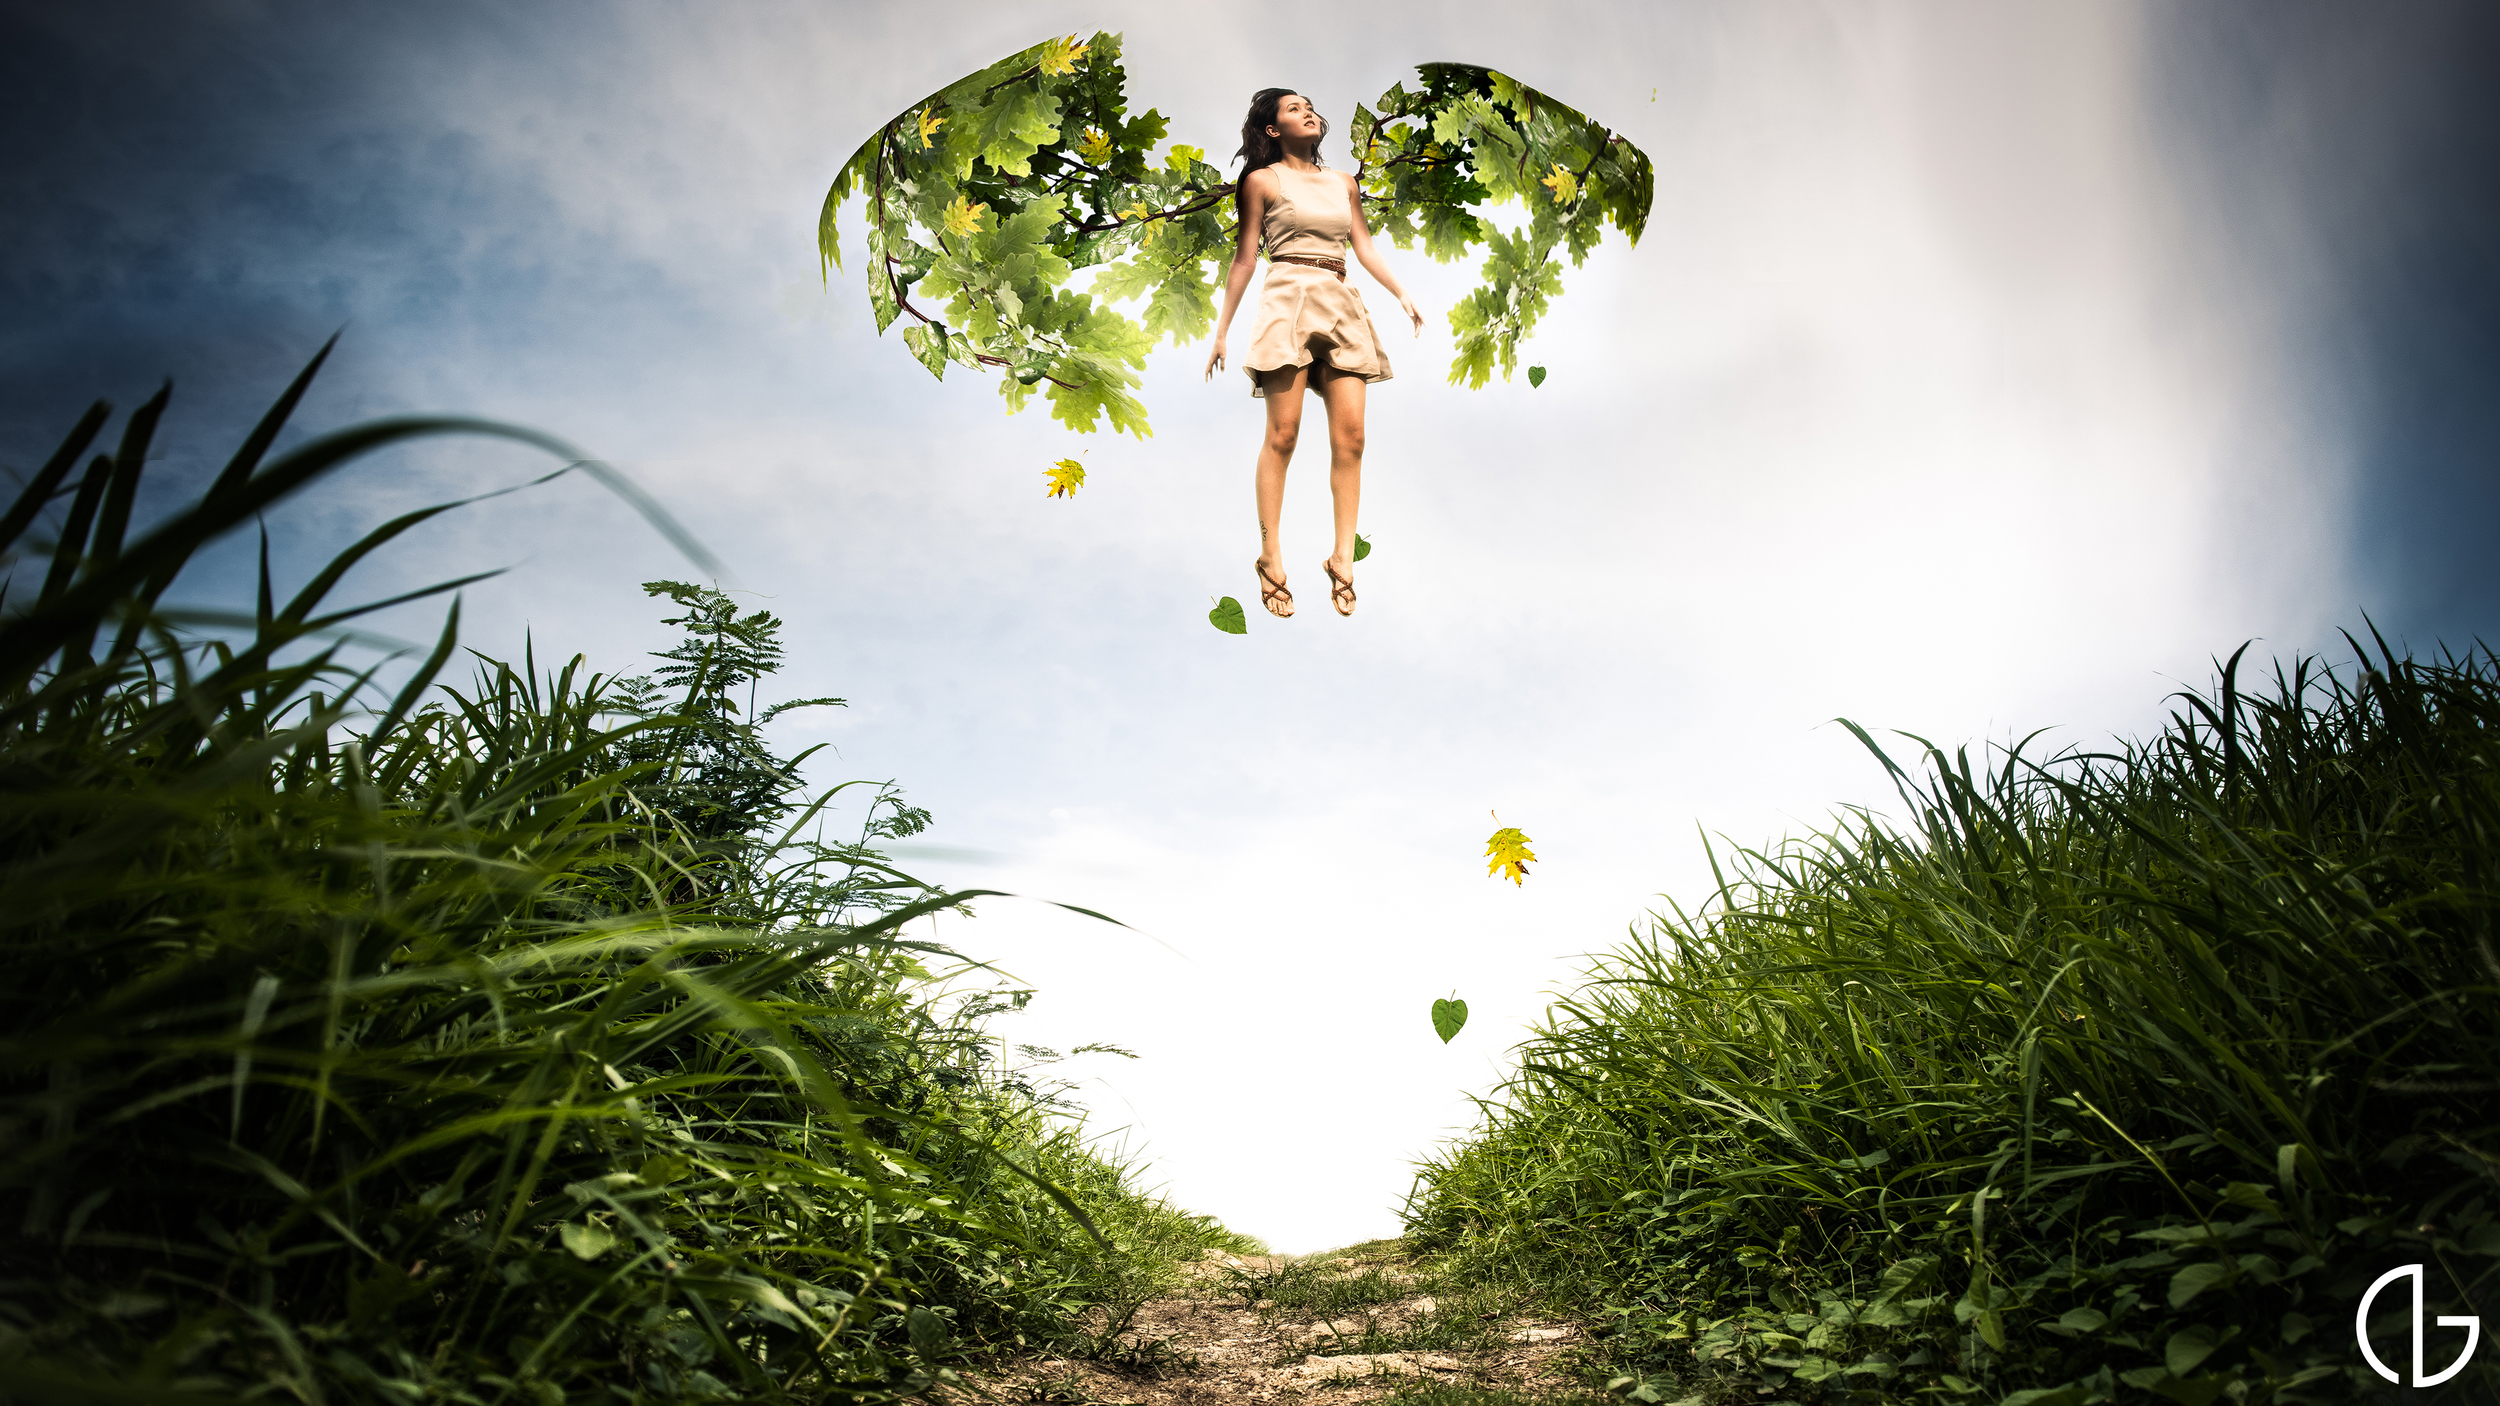
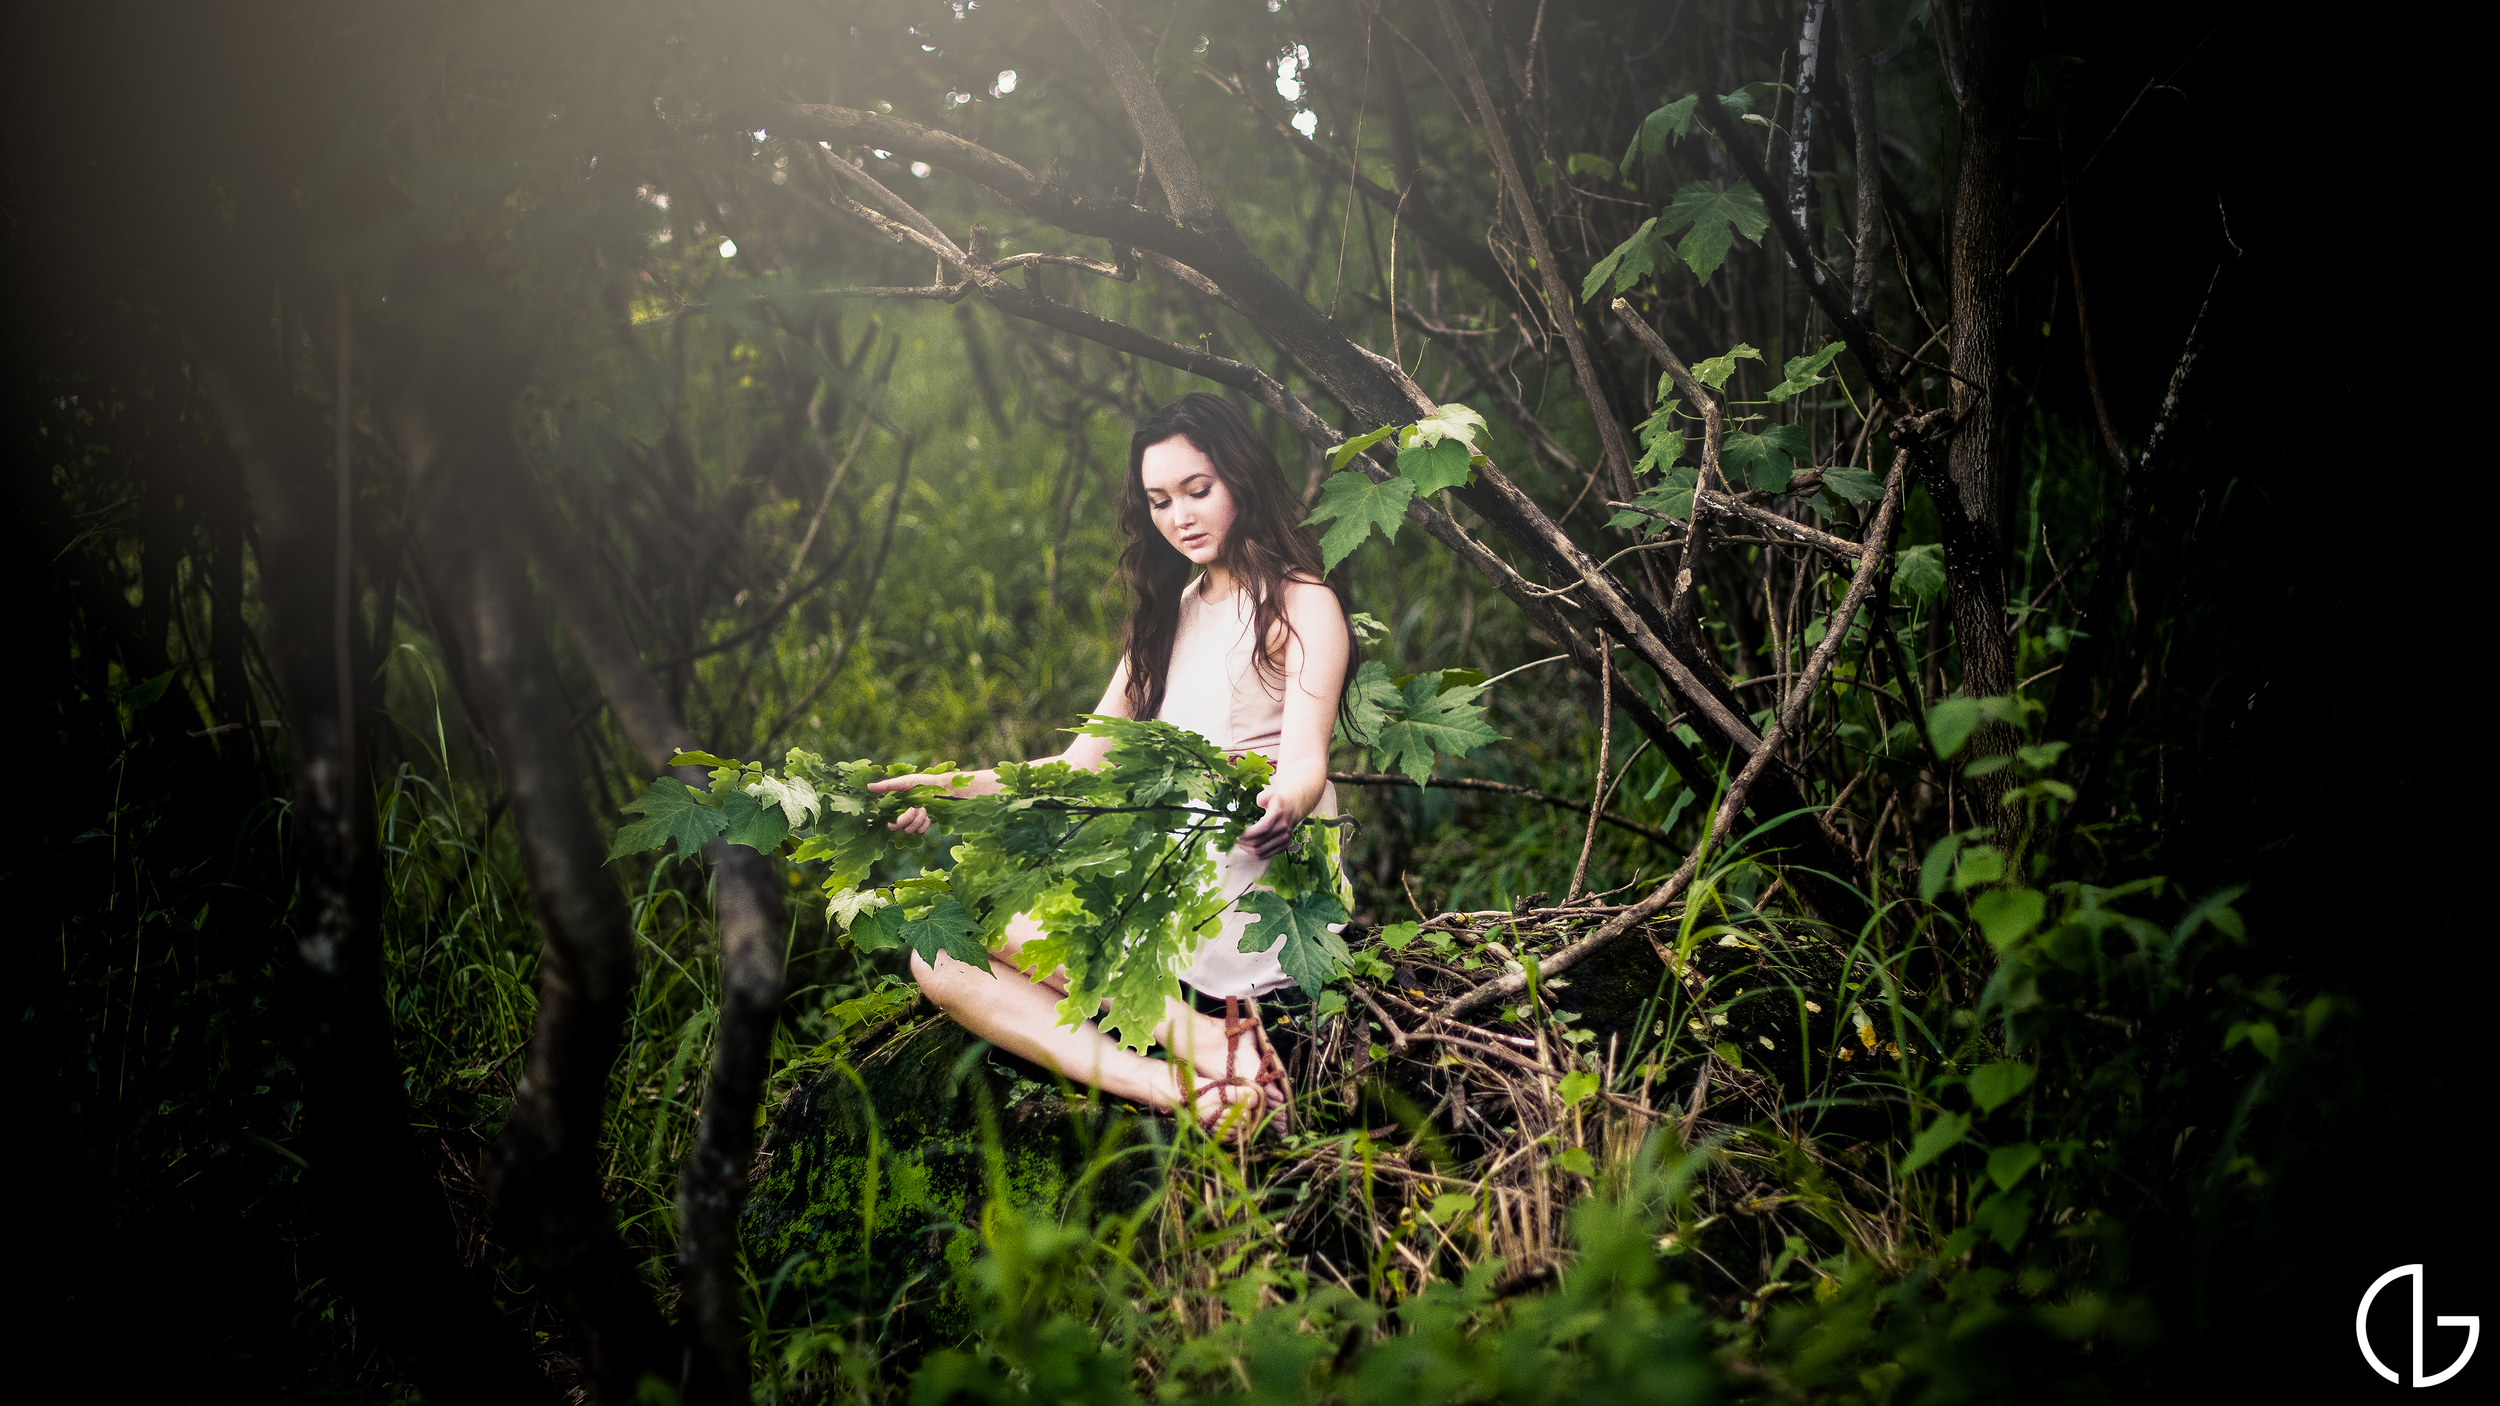
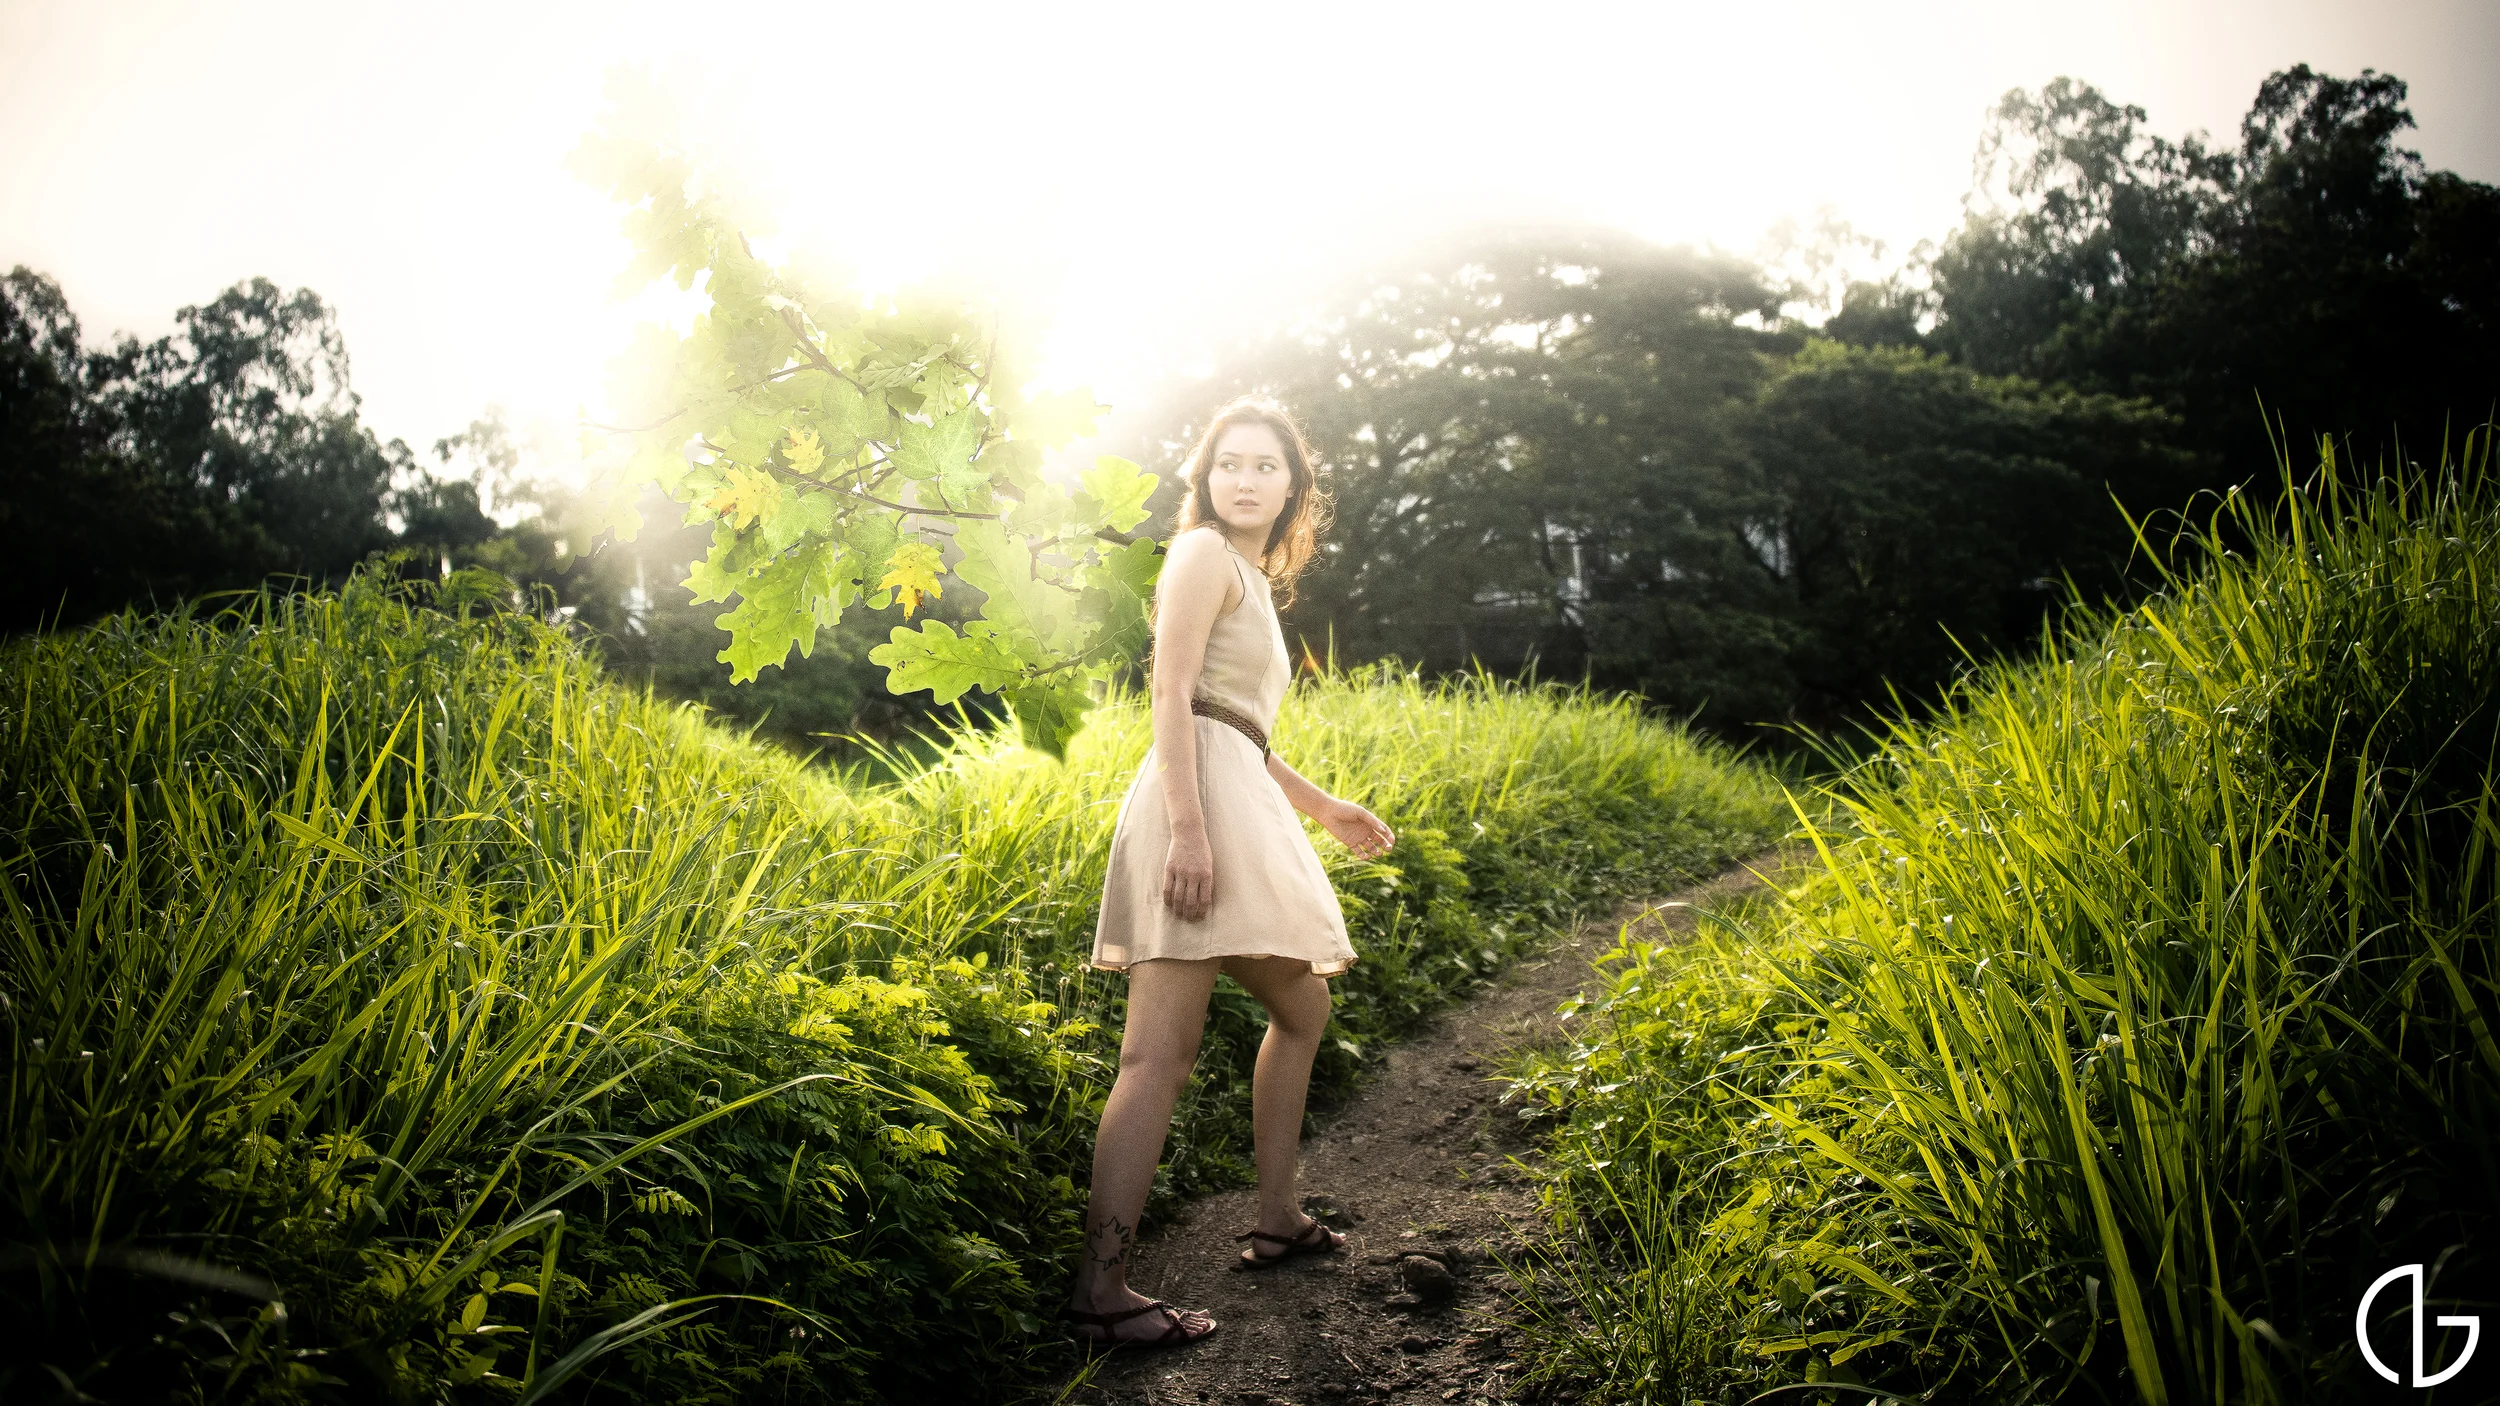
To express this, I created a character who is not satisfied with the world she's in and is then compelled to fly. She then builds wings of her own using the landscape around her. Creating the wings on photoshop was one of the most challenging tasks I have undertaken so far and so I really wanted to share how I did it.
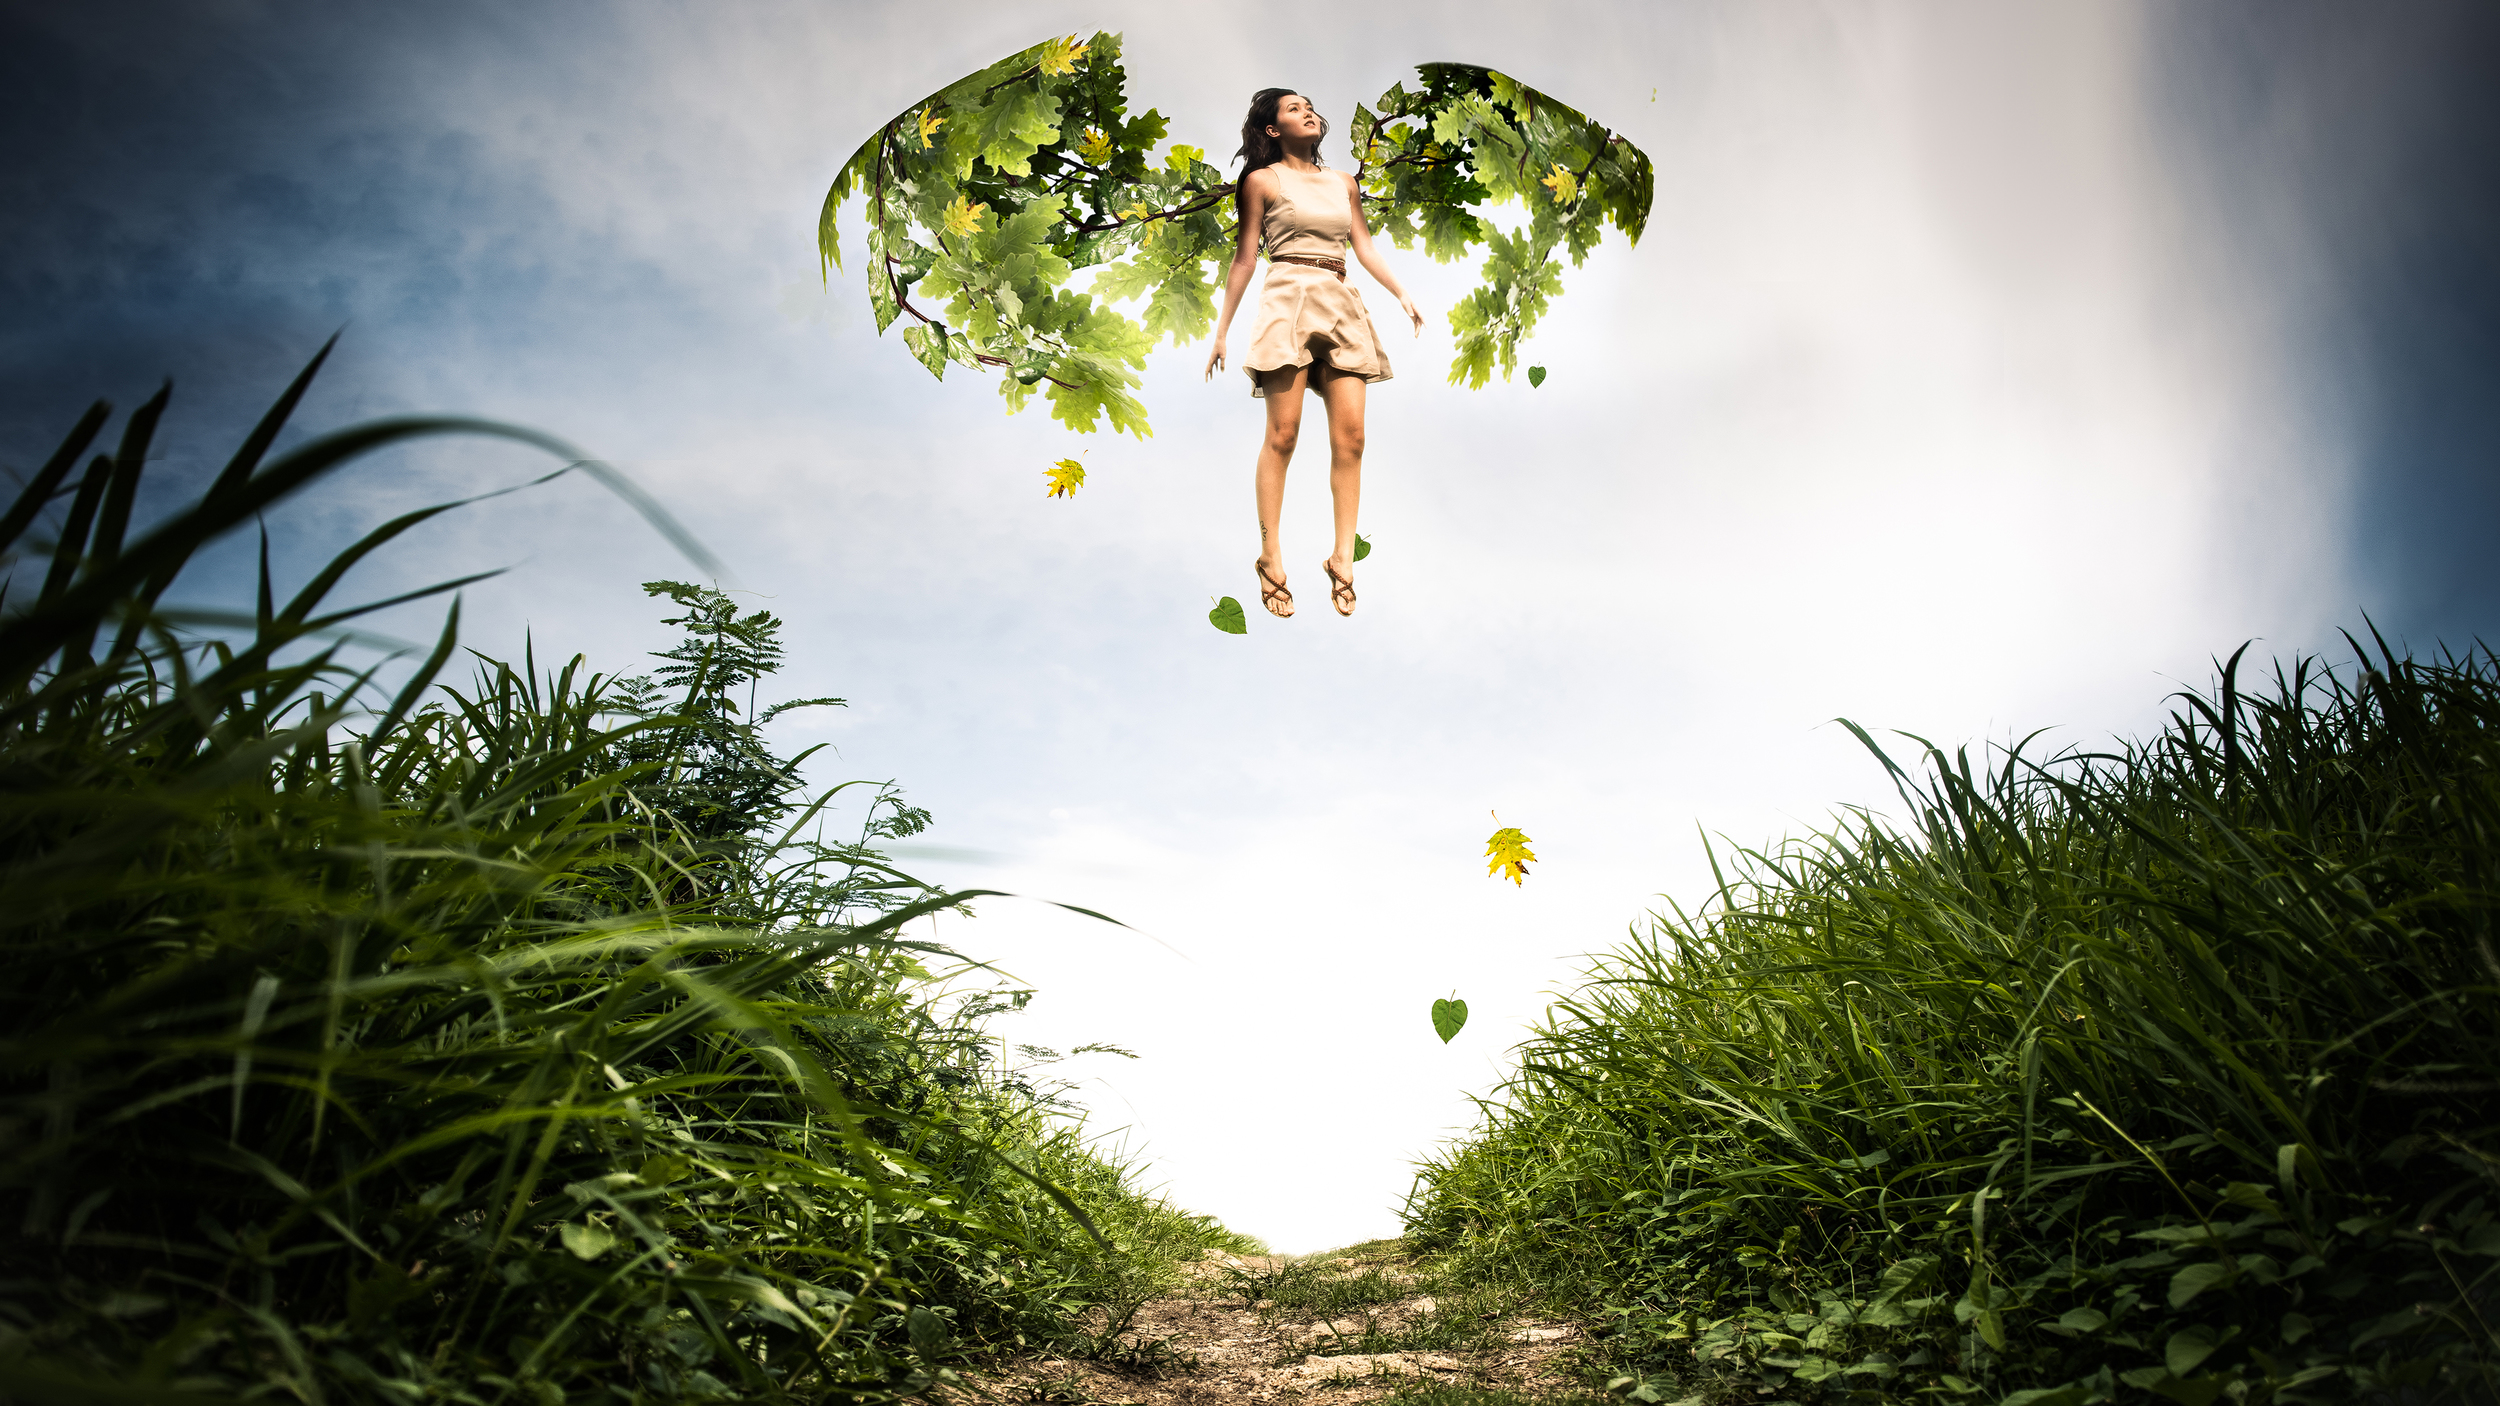
Final Image

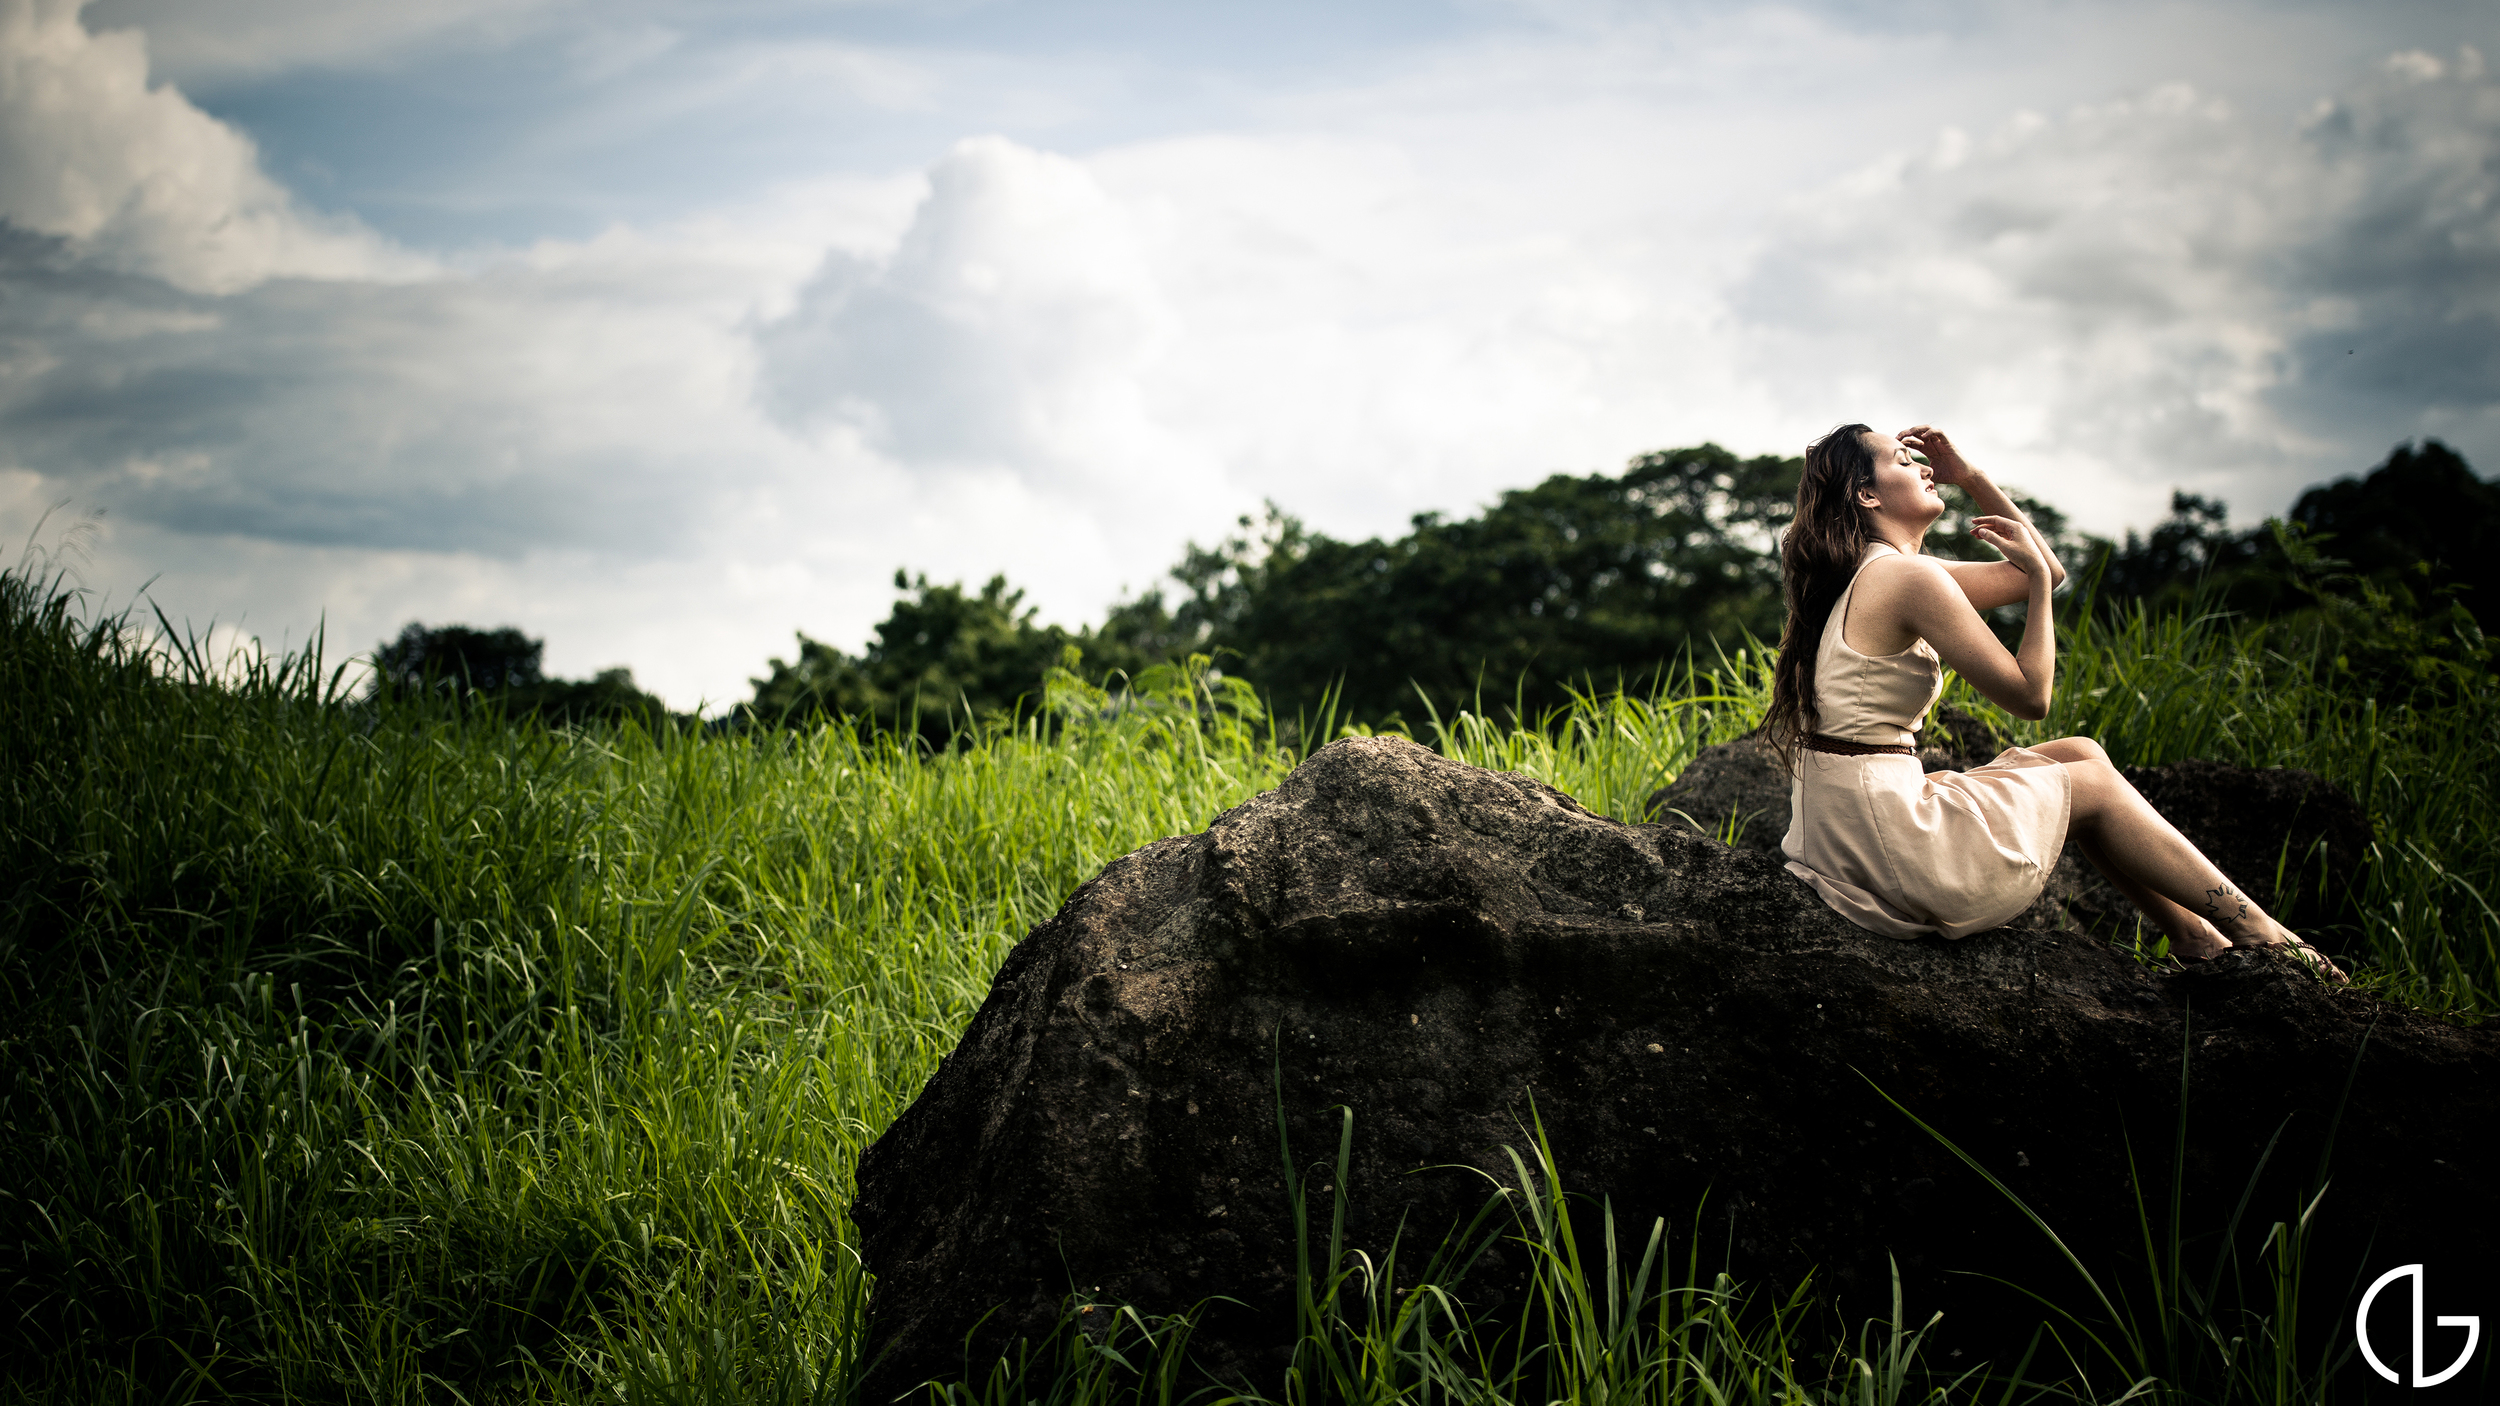
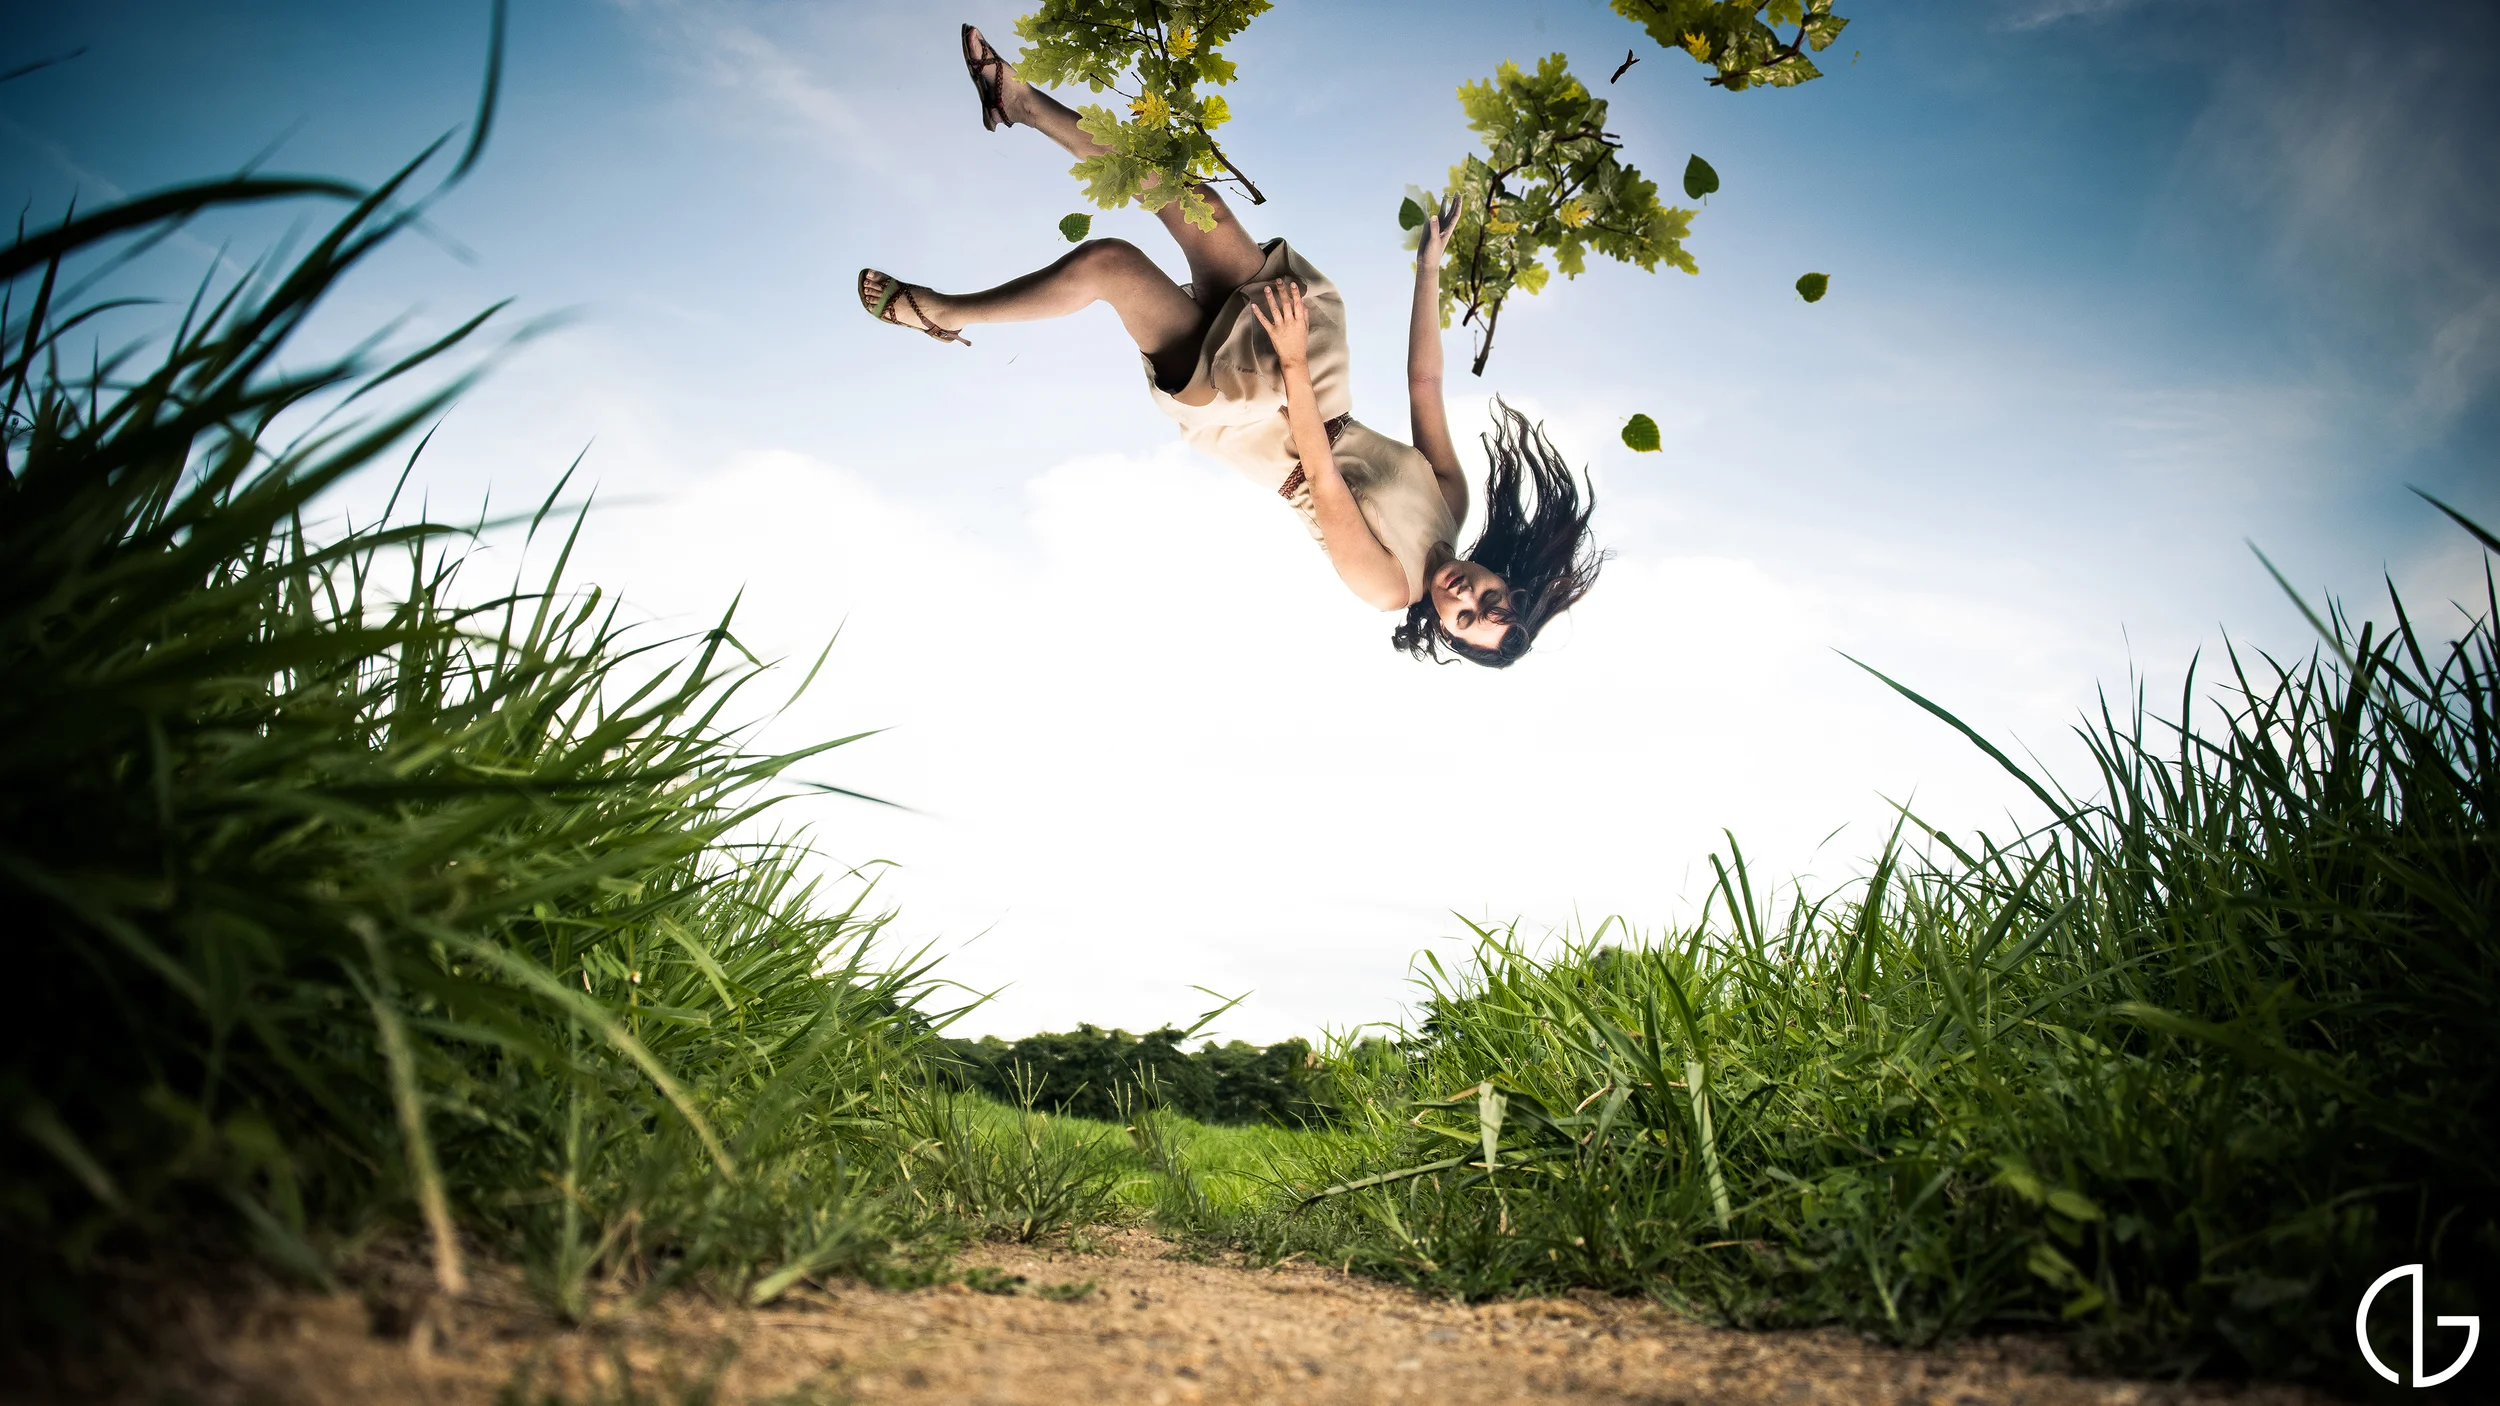
RAW Image
As always, my first step is to isolate the subject by selecting it (with either the pen, wand, or brush tool) and isolating it using a mask. I then placed the subject higher above the ground to make it more believable that she is flying. Photographing the model in the location that I want to use for the image keeps the lighting consistent and therefore believable.

For the wings, I used several images of branches and leaves from my own collection and stock images from the internet.

Composite of branches
To create more realism that the wings are responsible for lifting the character, there has to be motion. I referred to birds and looked how they flapped their wings when they are taking off. To create that motion, I used the warp tool on Photoshop.

Using the Warp tool in Photoshop
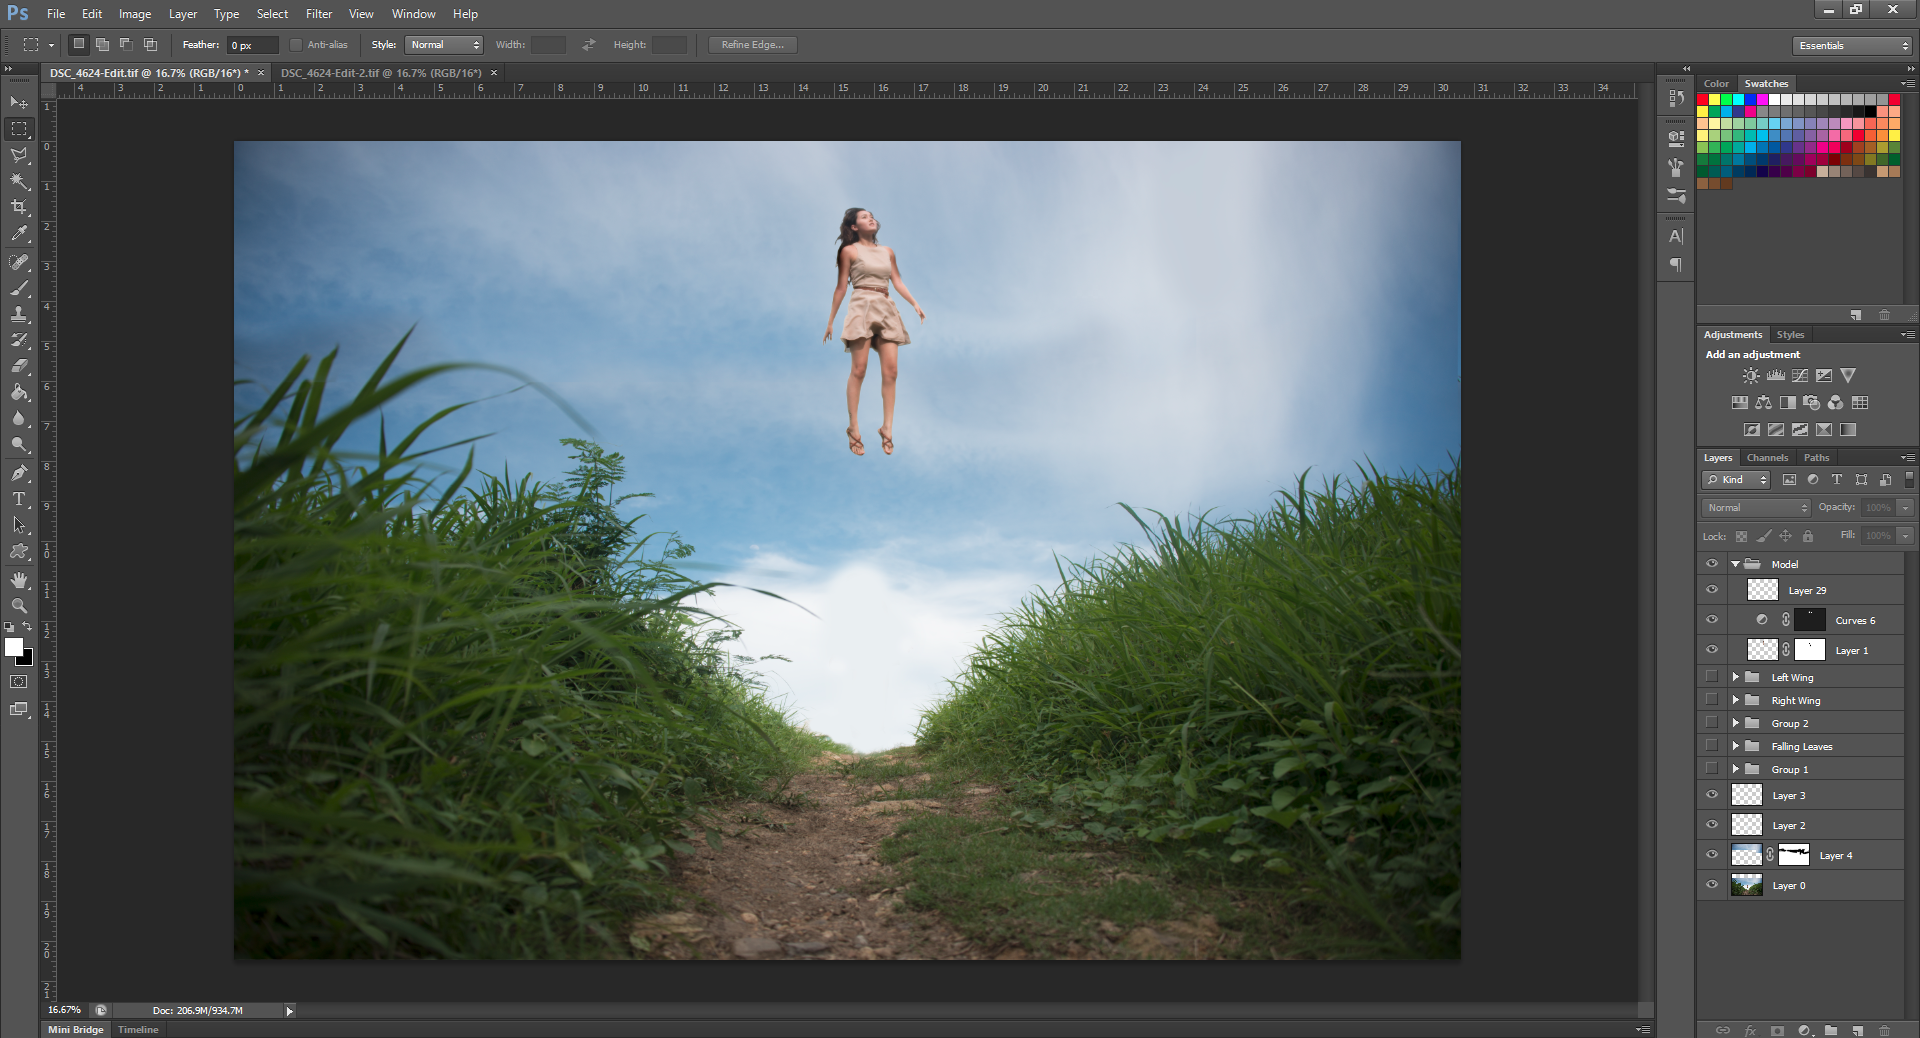
When placing all of the elements together, make sure that the lighting and shadows are consistent. Make sure you are aware of all the light sources in the image. Also keep in mind how your added composite images affect the overall photograph.

Final composite image
The last step for this image was taking it into Lightroom. As I have previously mentioned in my older posts, I always refer to Lightroom for the final stages of making a photograph. When I have finished placing all of the elements and creating the composite, Lightroom enables me to add filters and effects that affect the whole image which adds unity and therefore adds realism.

Final touches in Lightroom
Here is the whole story of Exercise in Futility: