Photography Inspiration: Gregory Crewdson

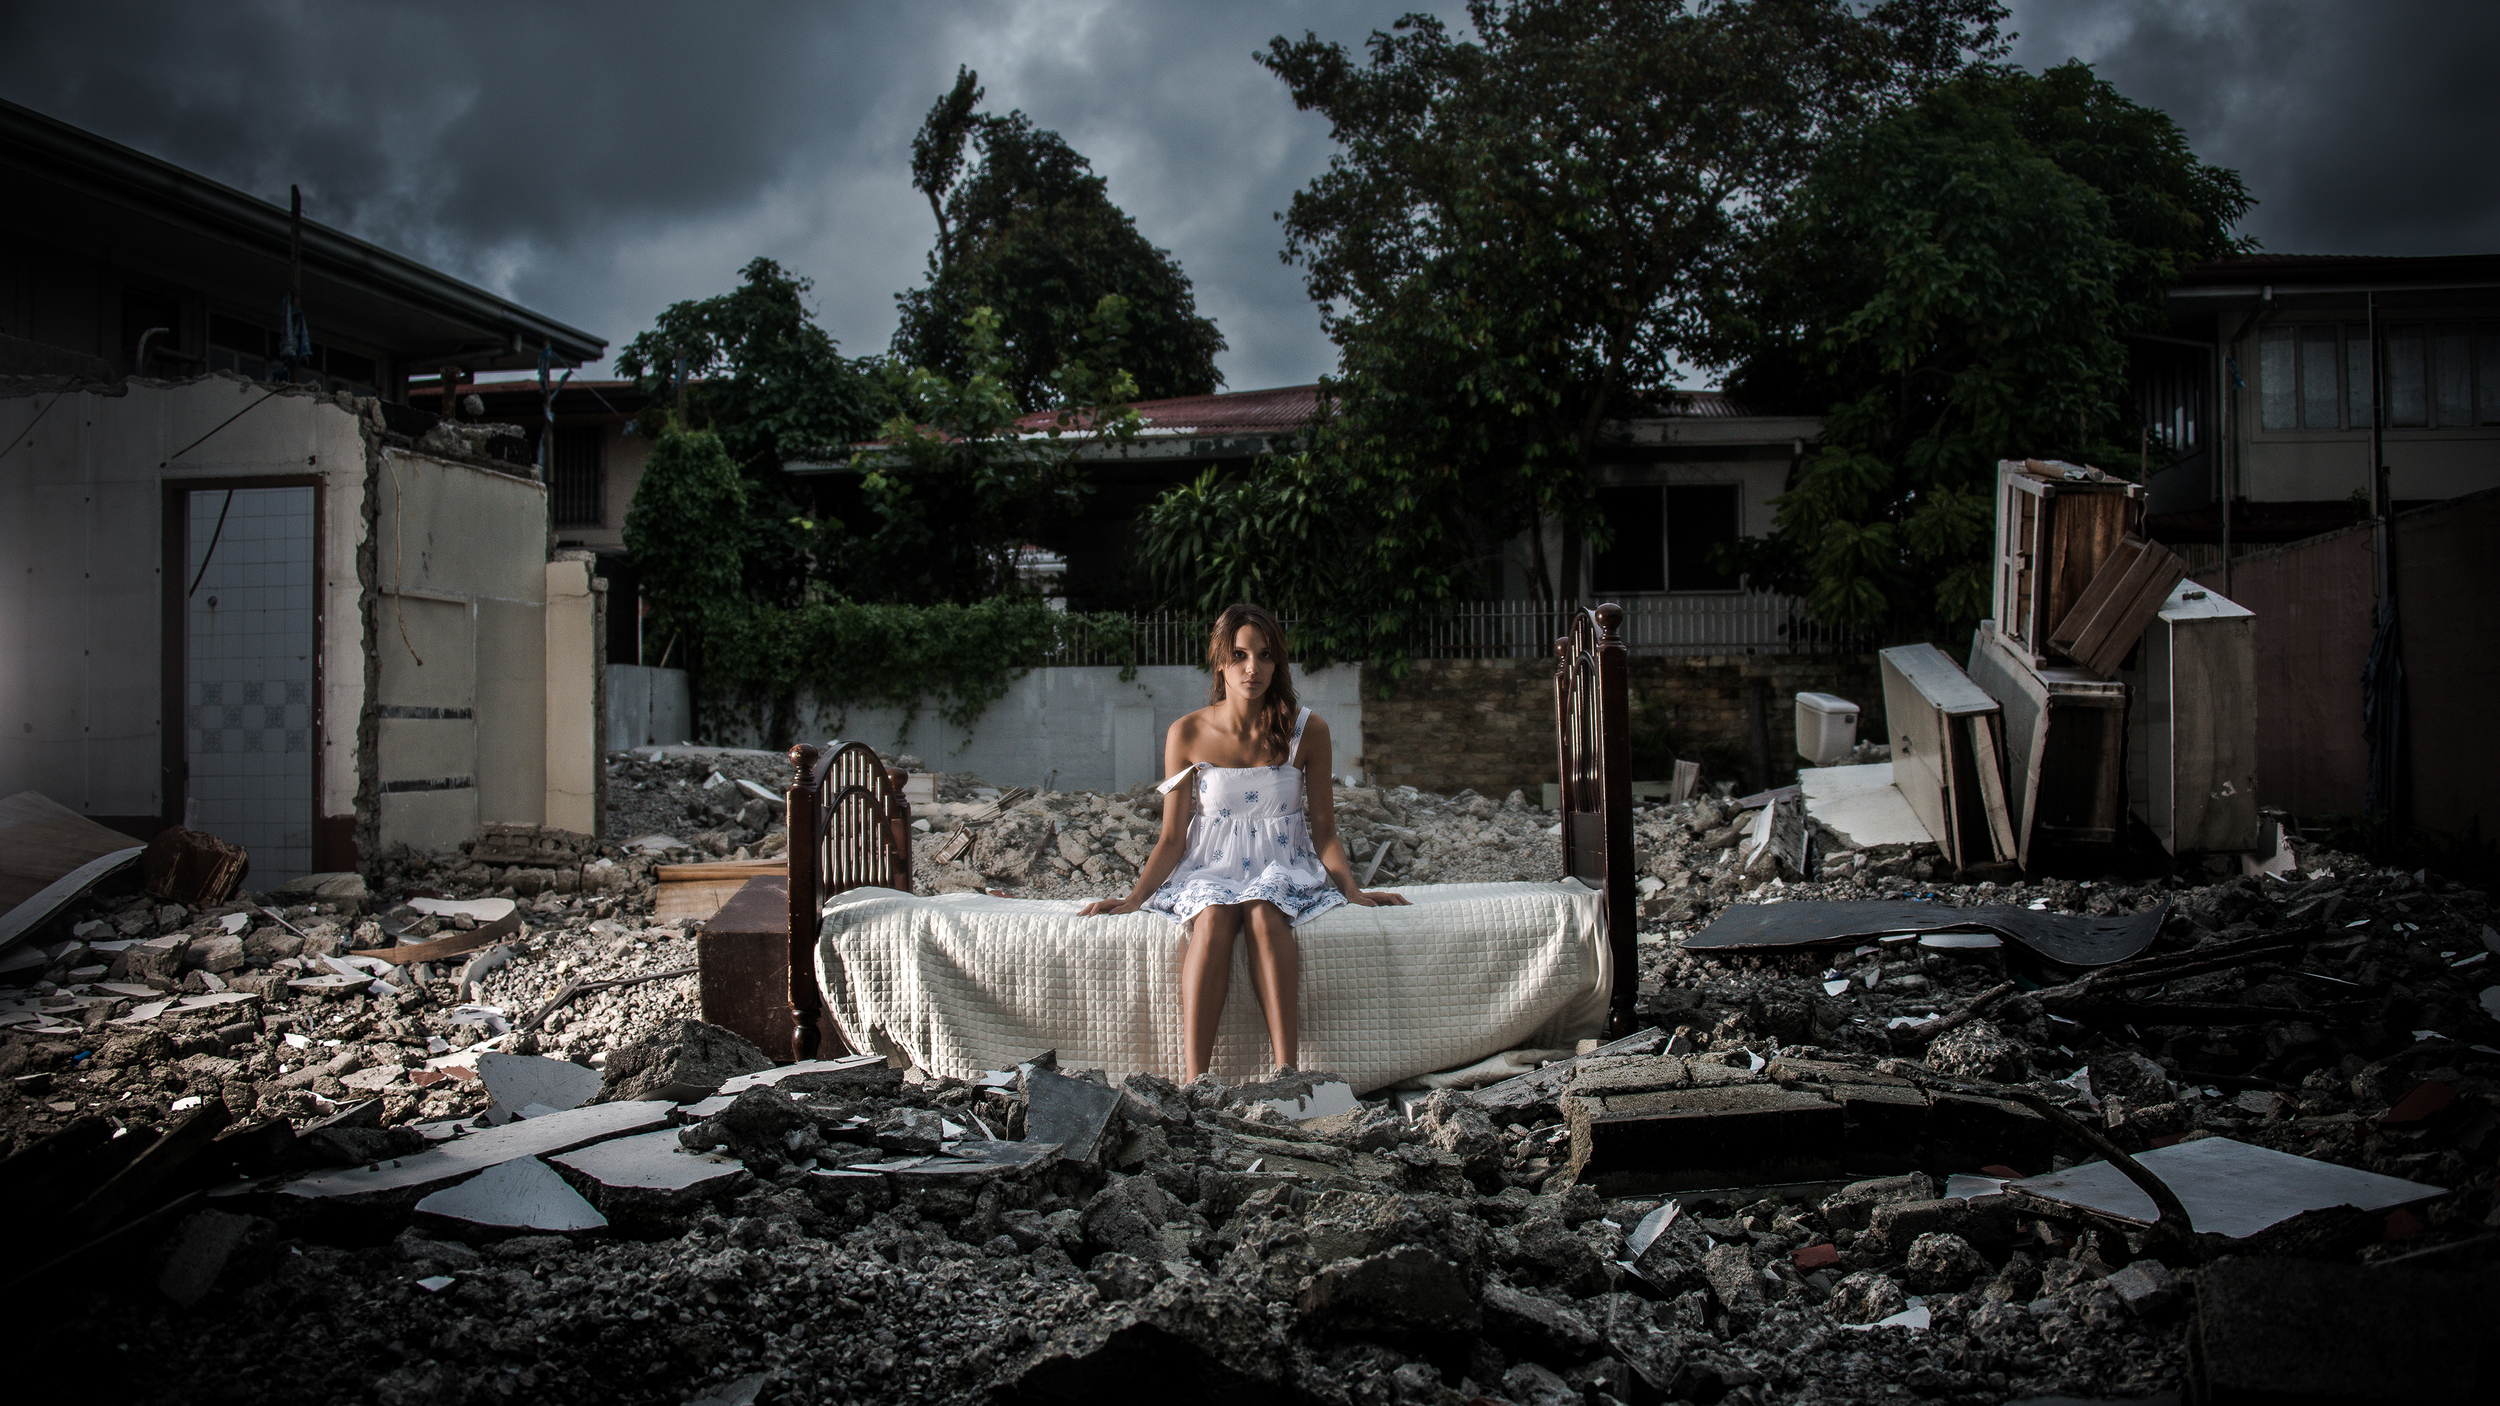
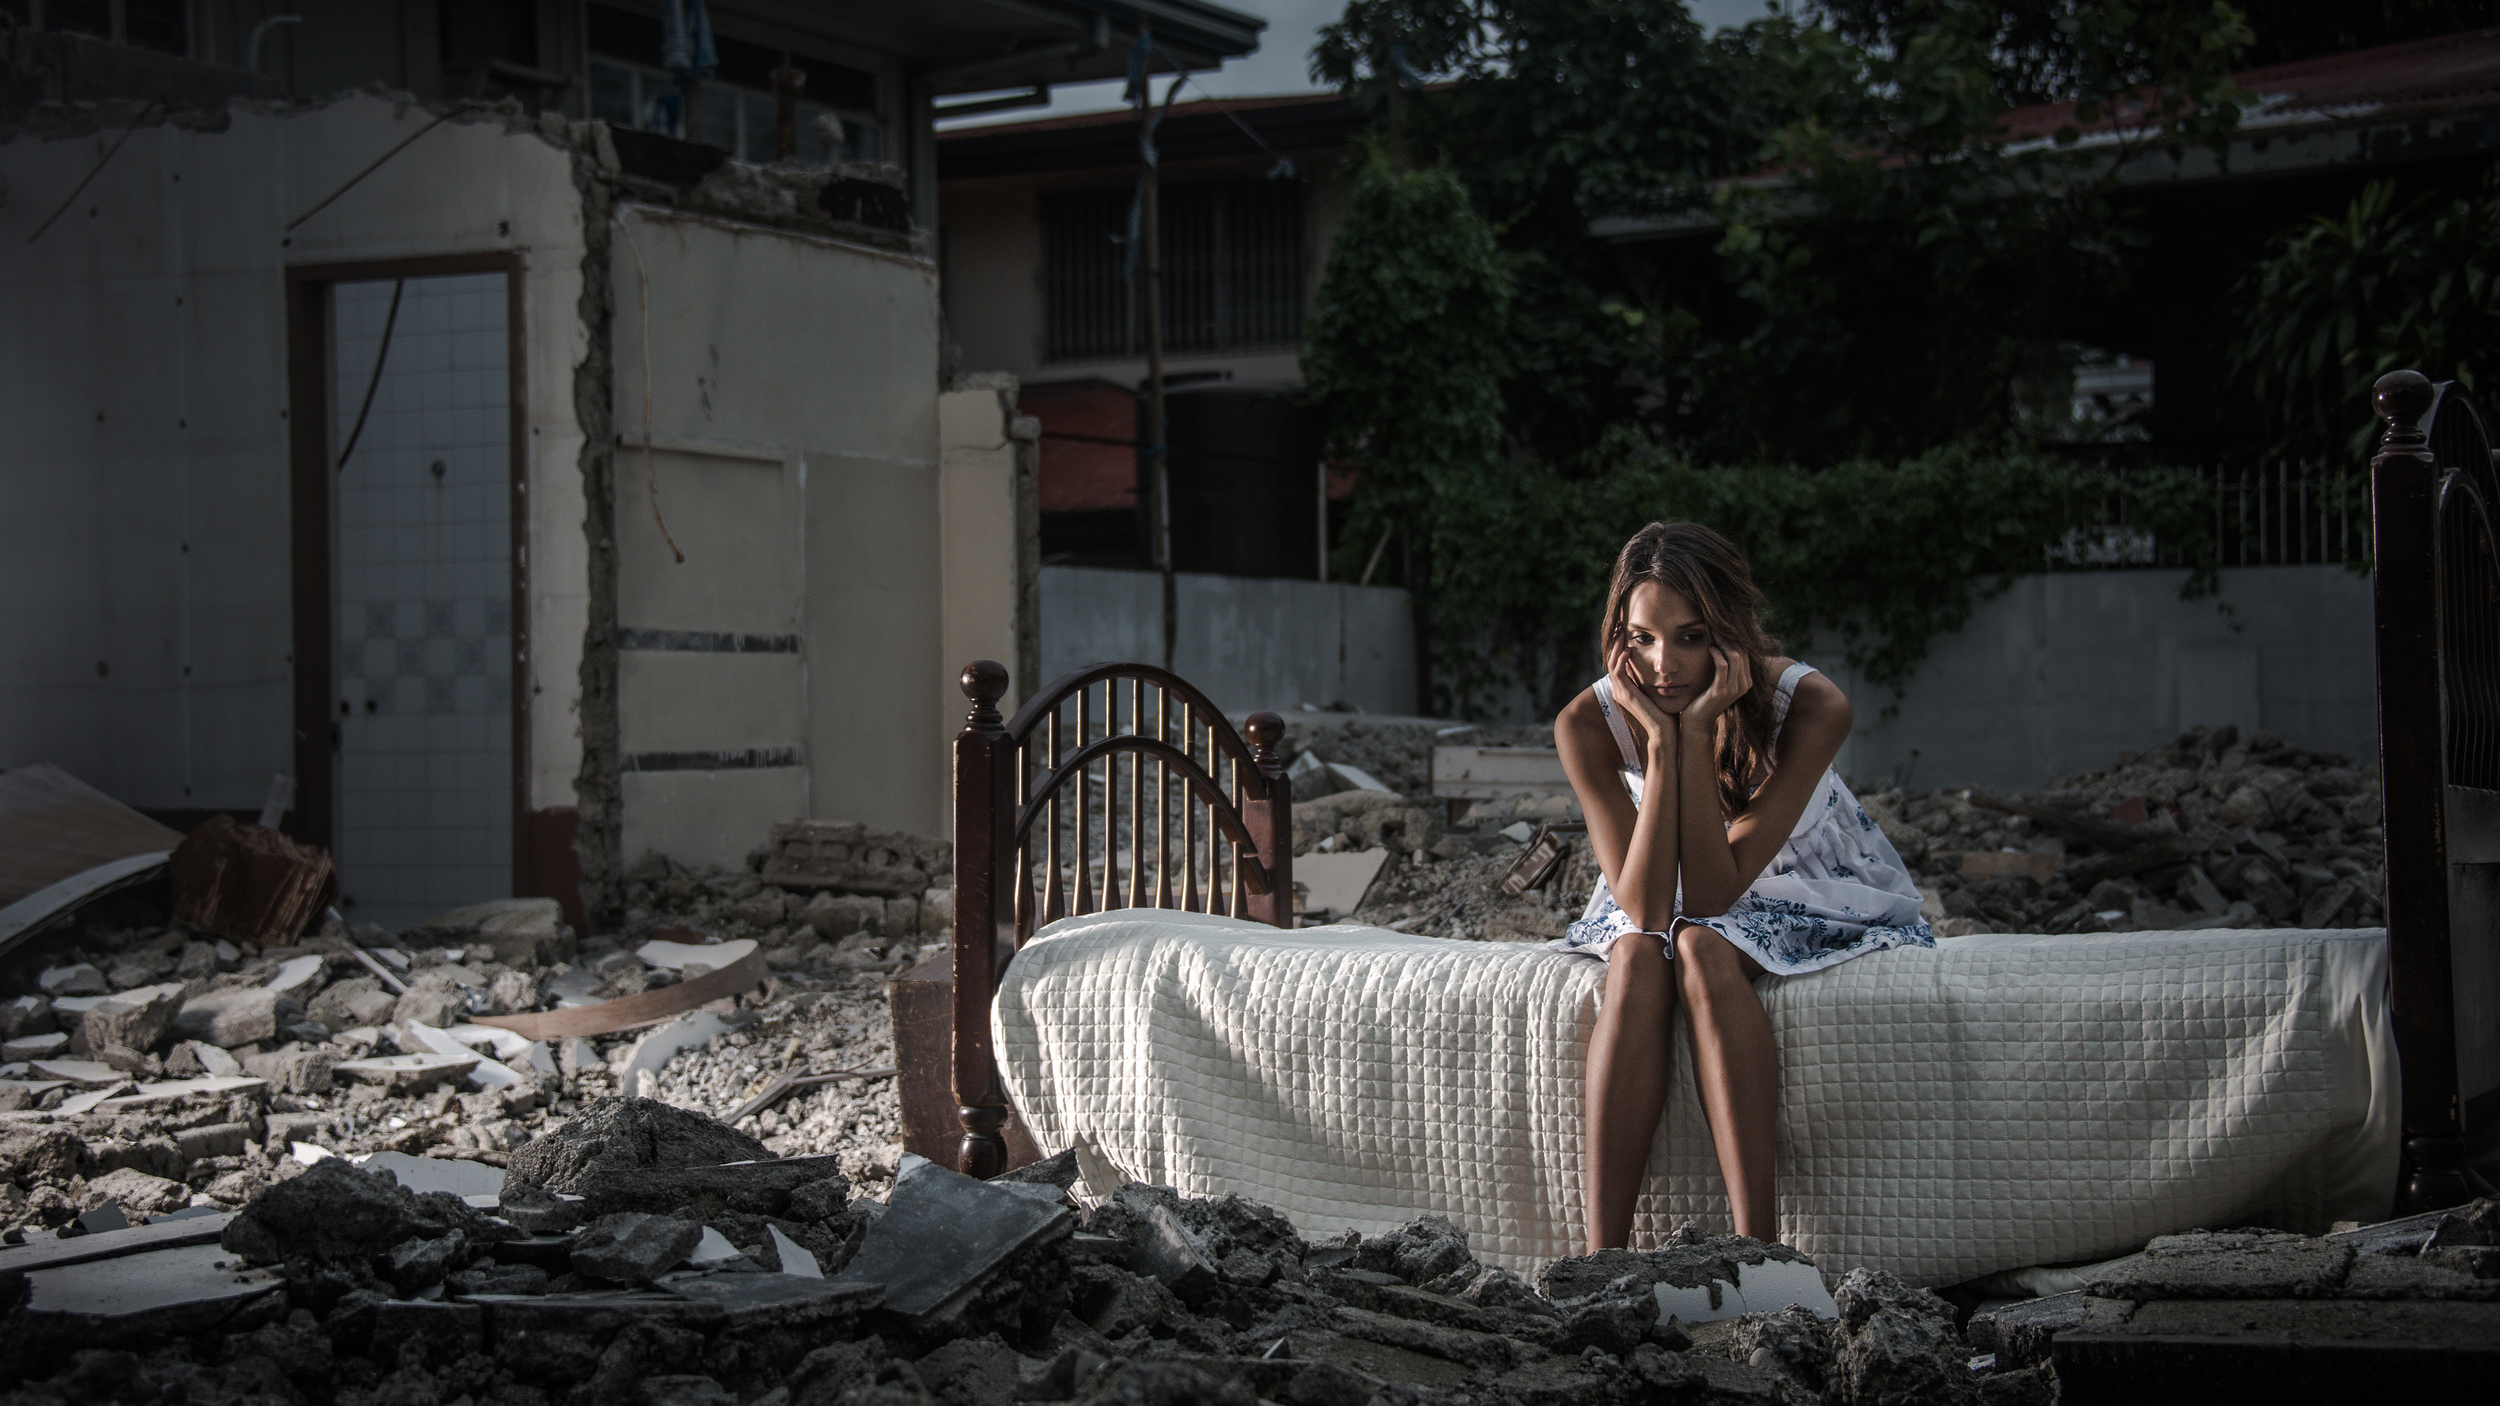
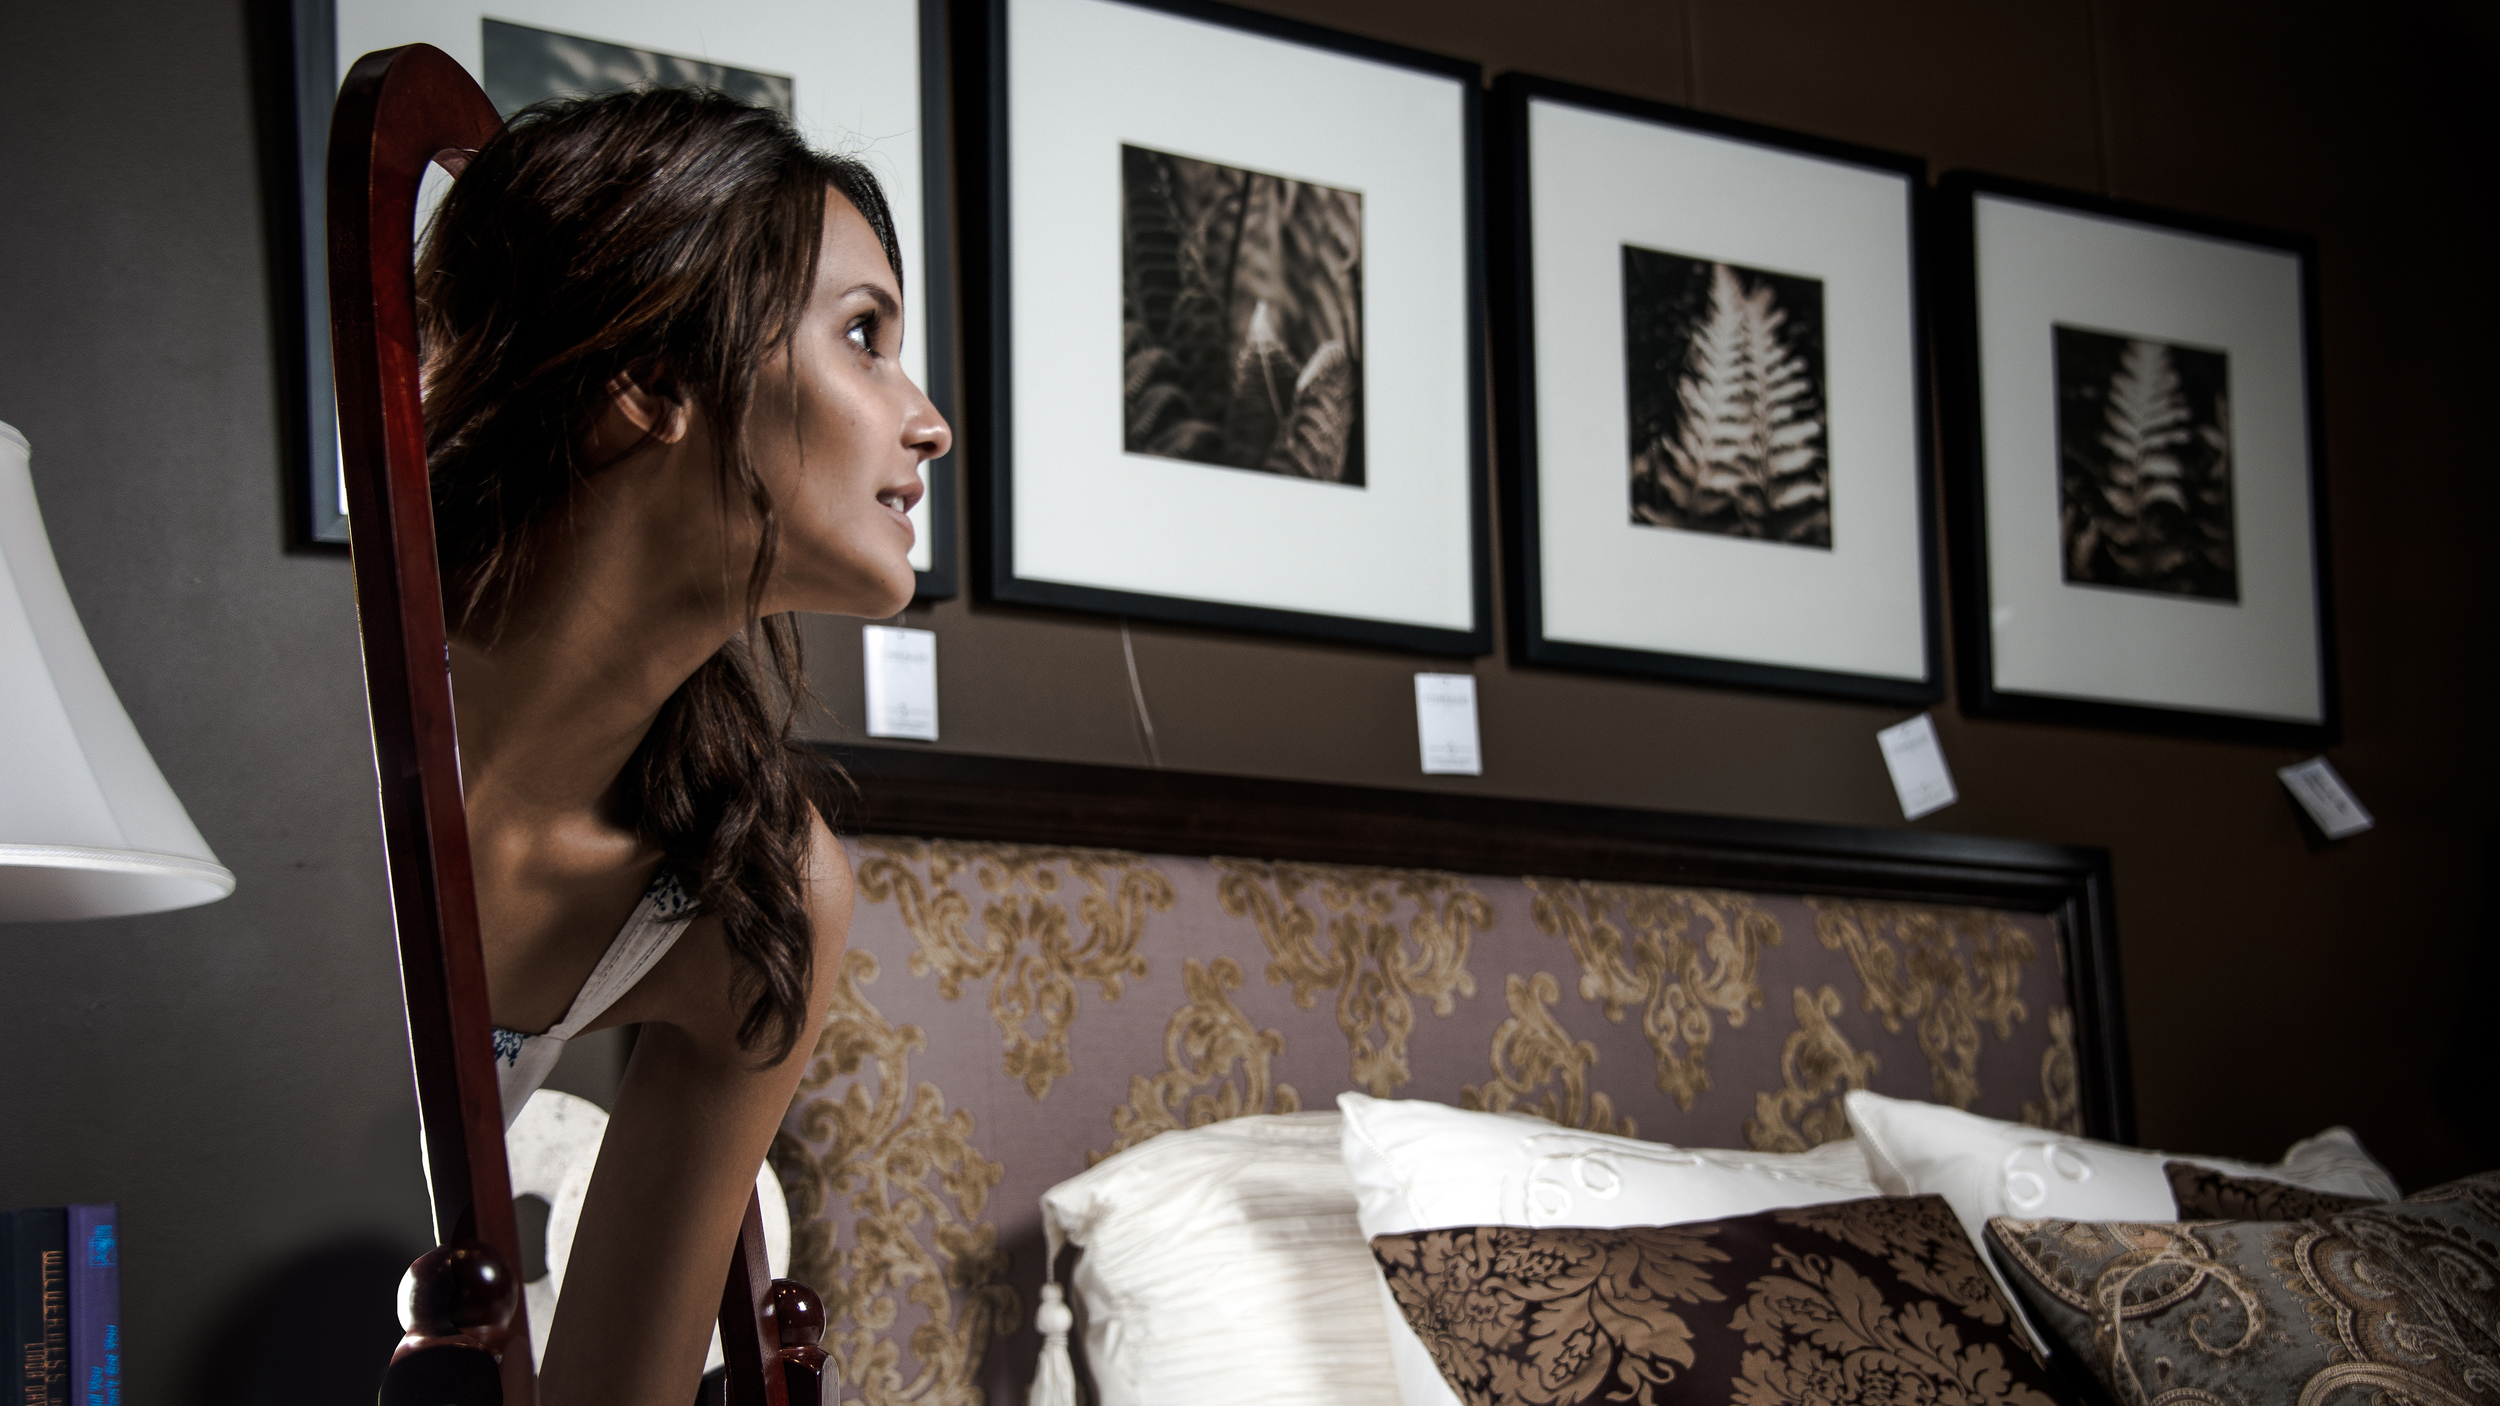
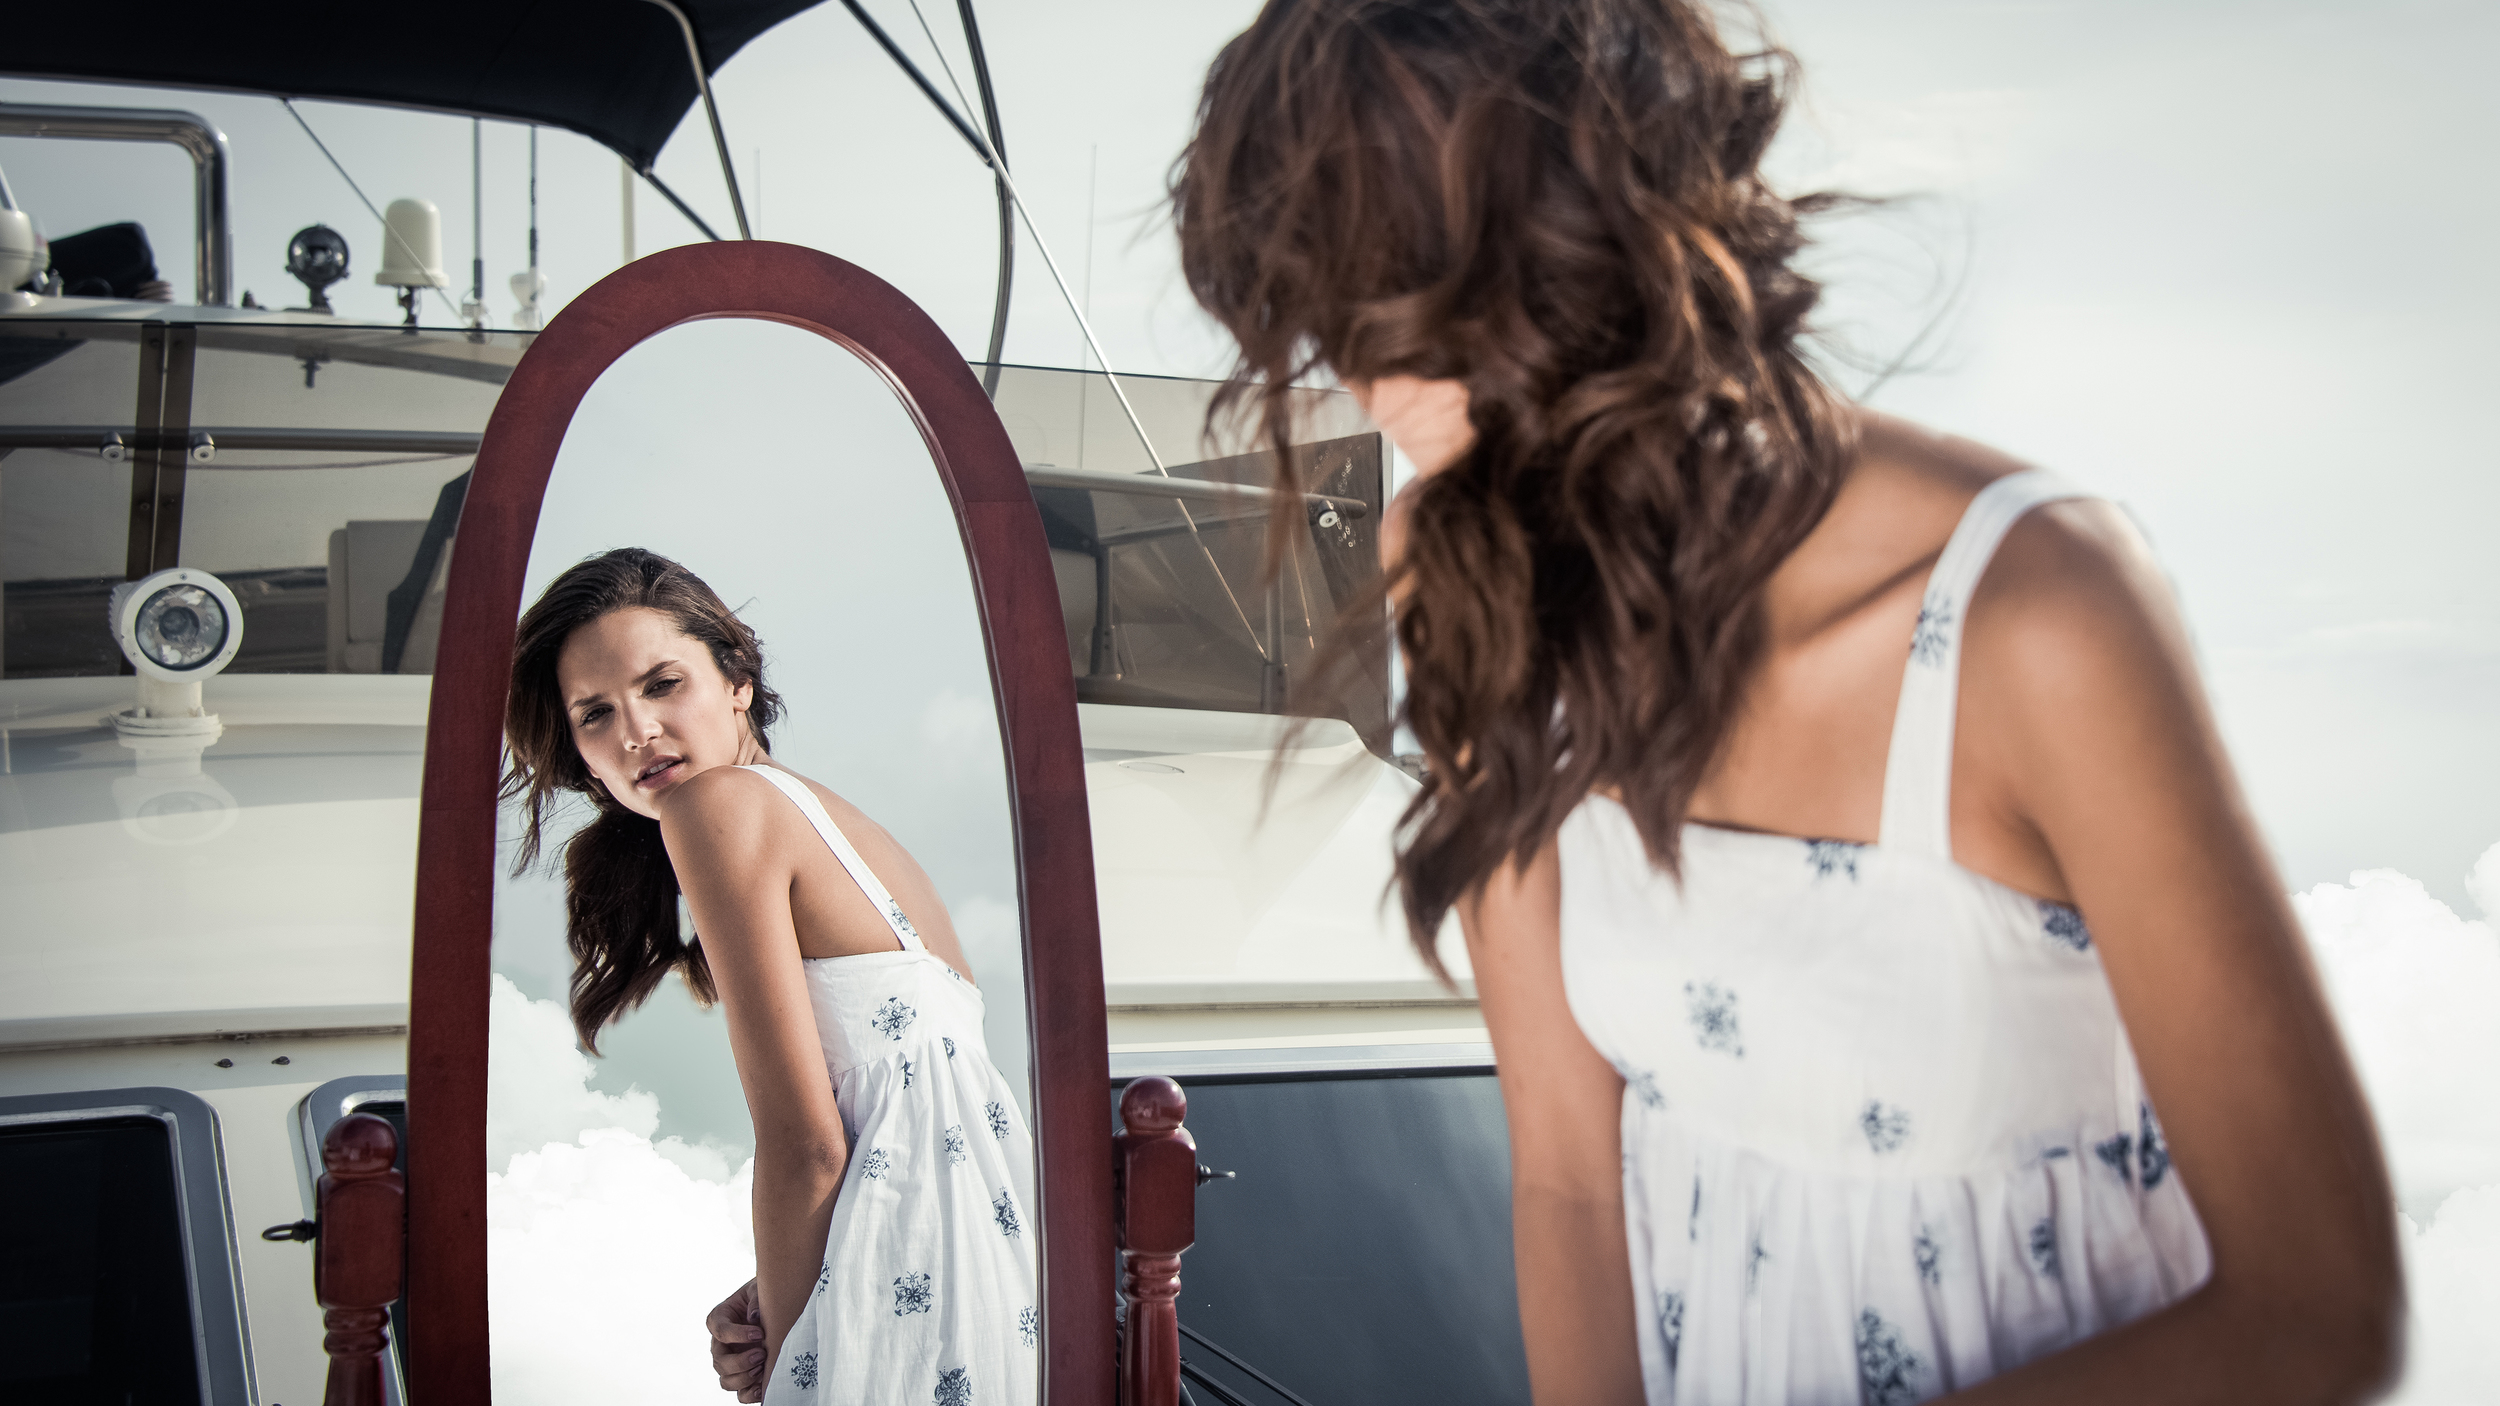
Last school year, I took a short class called Photo Intensive here in RISD and was introduced to the work of Gregory Crewdson. It’s not often when an artist’s work catches my attention as much as his . It deeply resonated inside me and thought that I would share it. Gregory Crewdson is an American photographer who creates a whole world with elaborate set designs and lighting. Every move he makes is deliberate and controlled and I think that’s what inspires me the most.

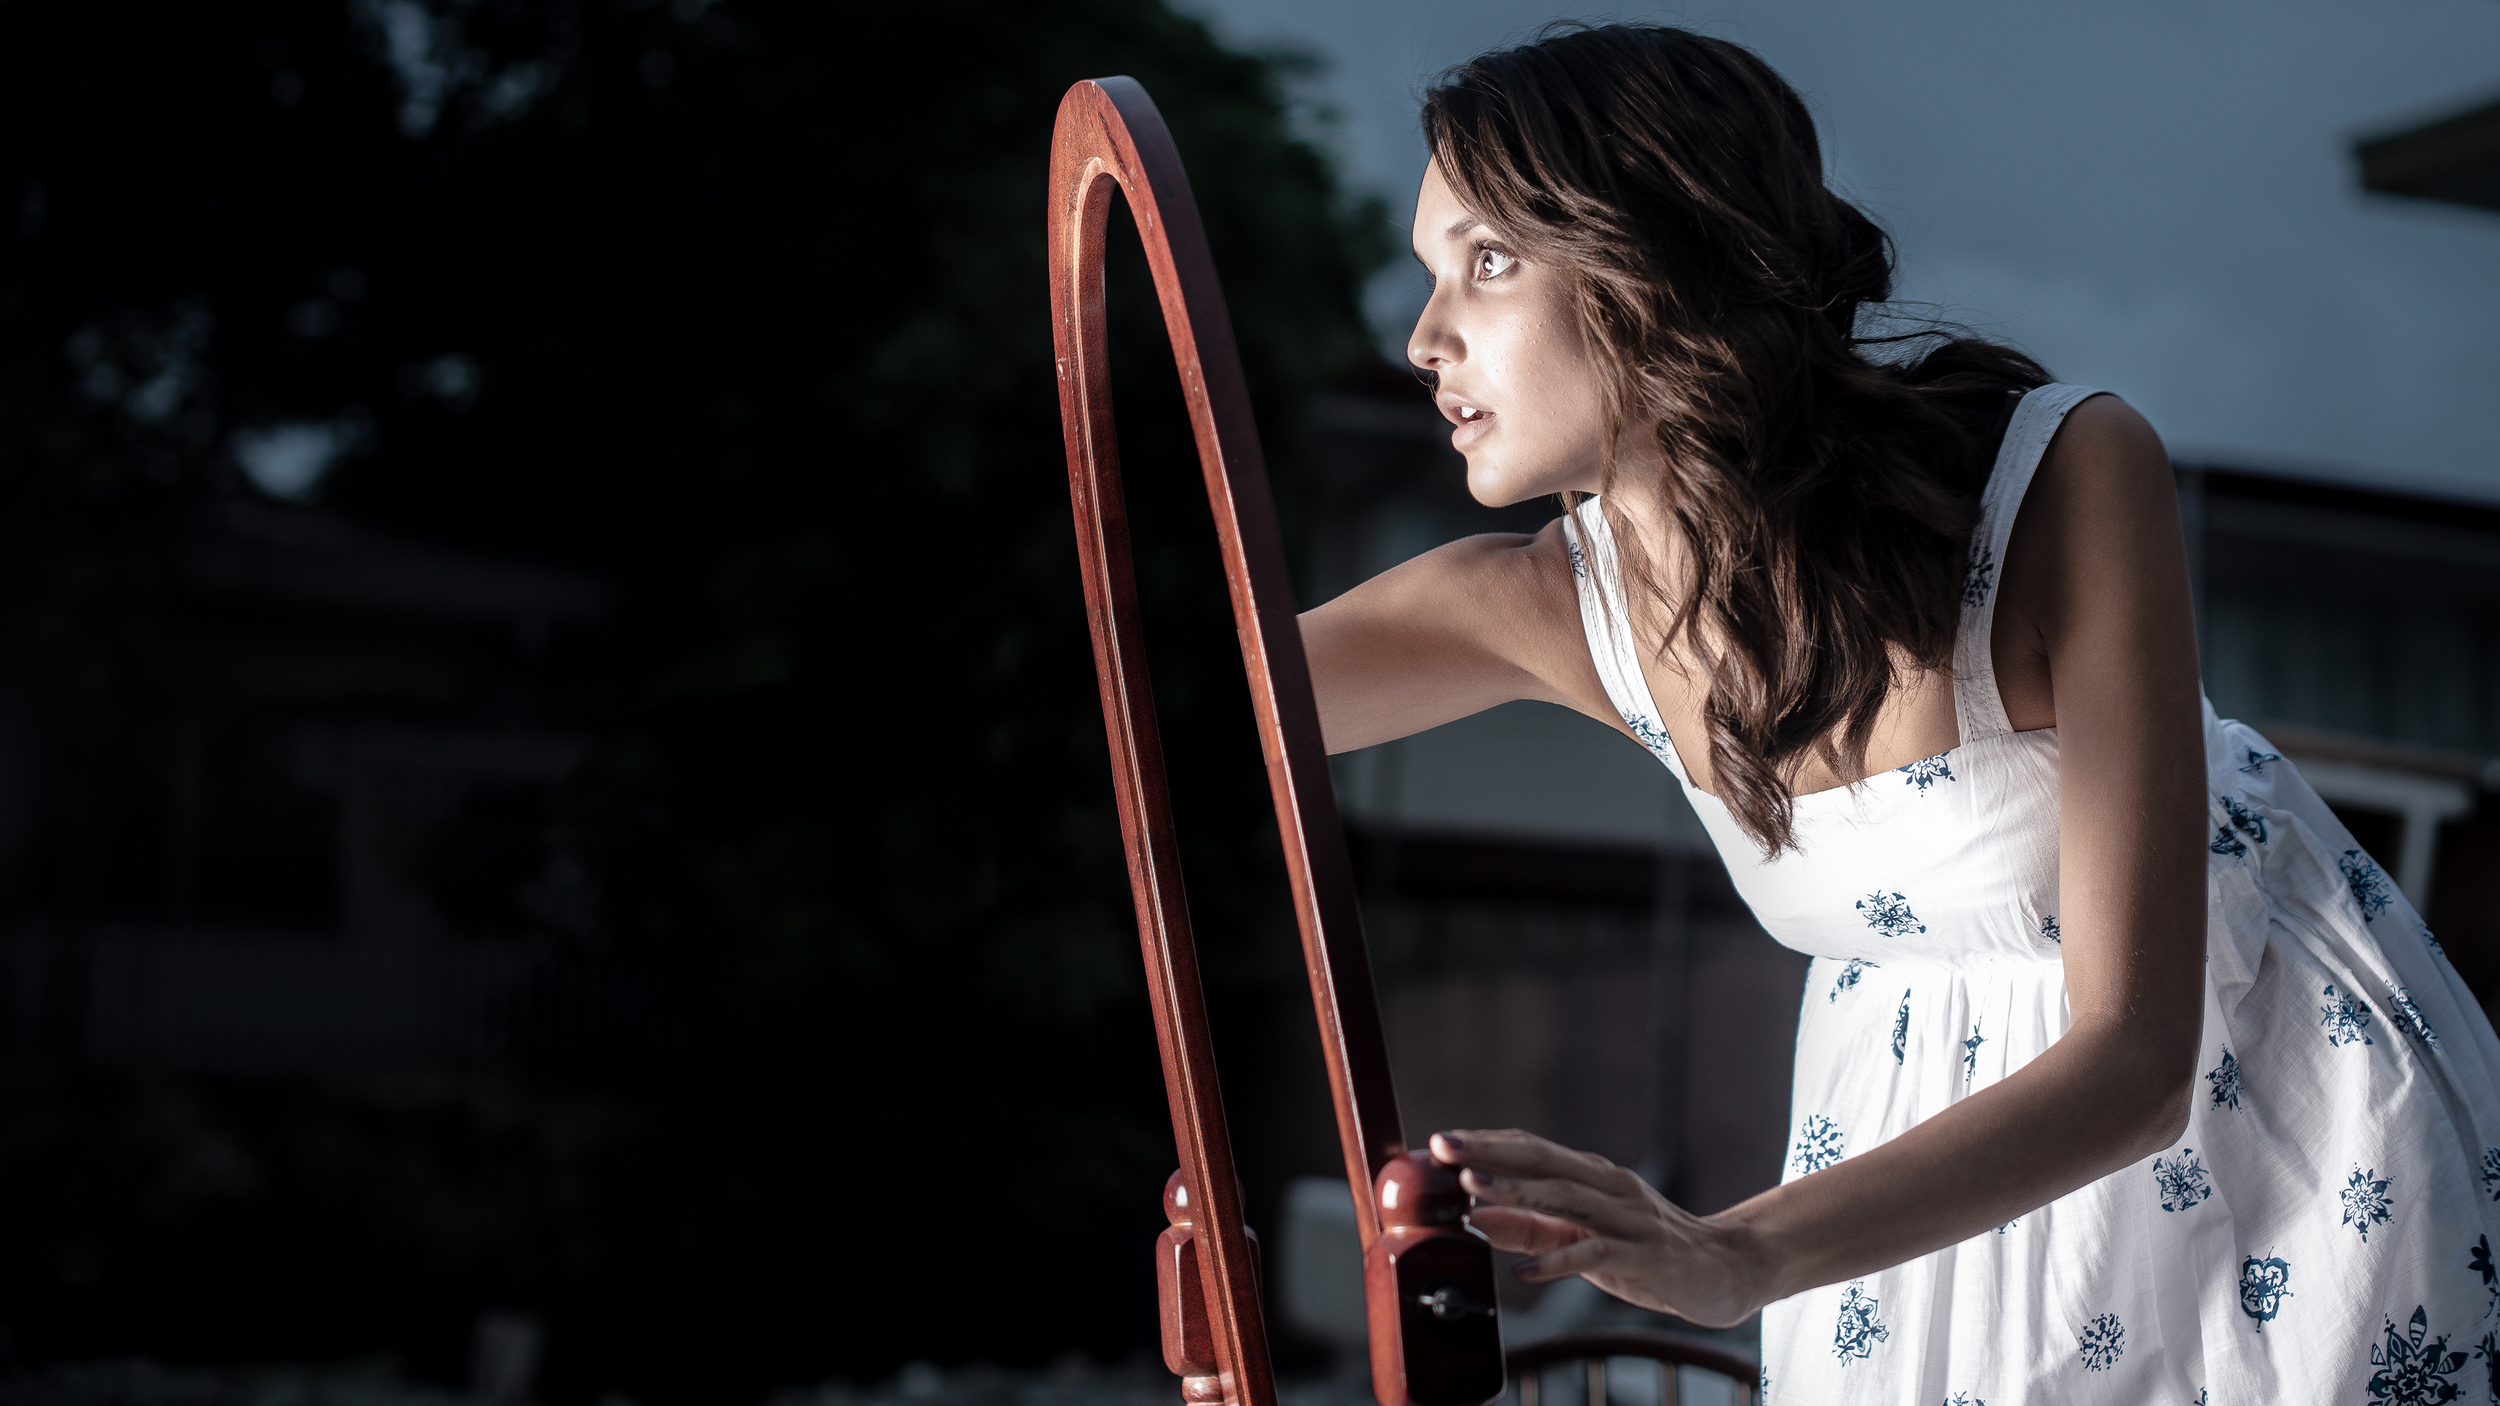
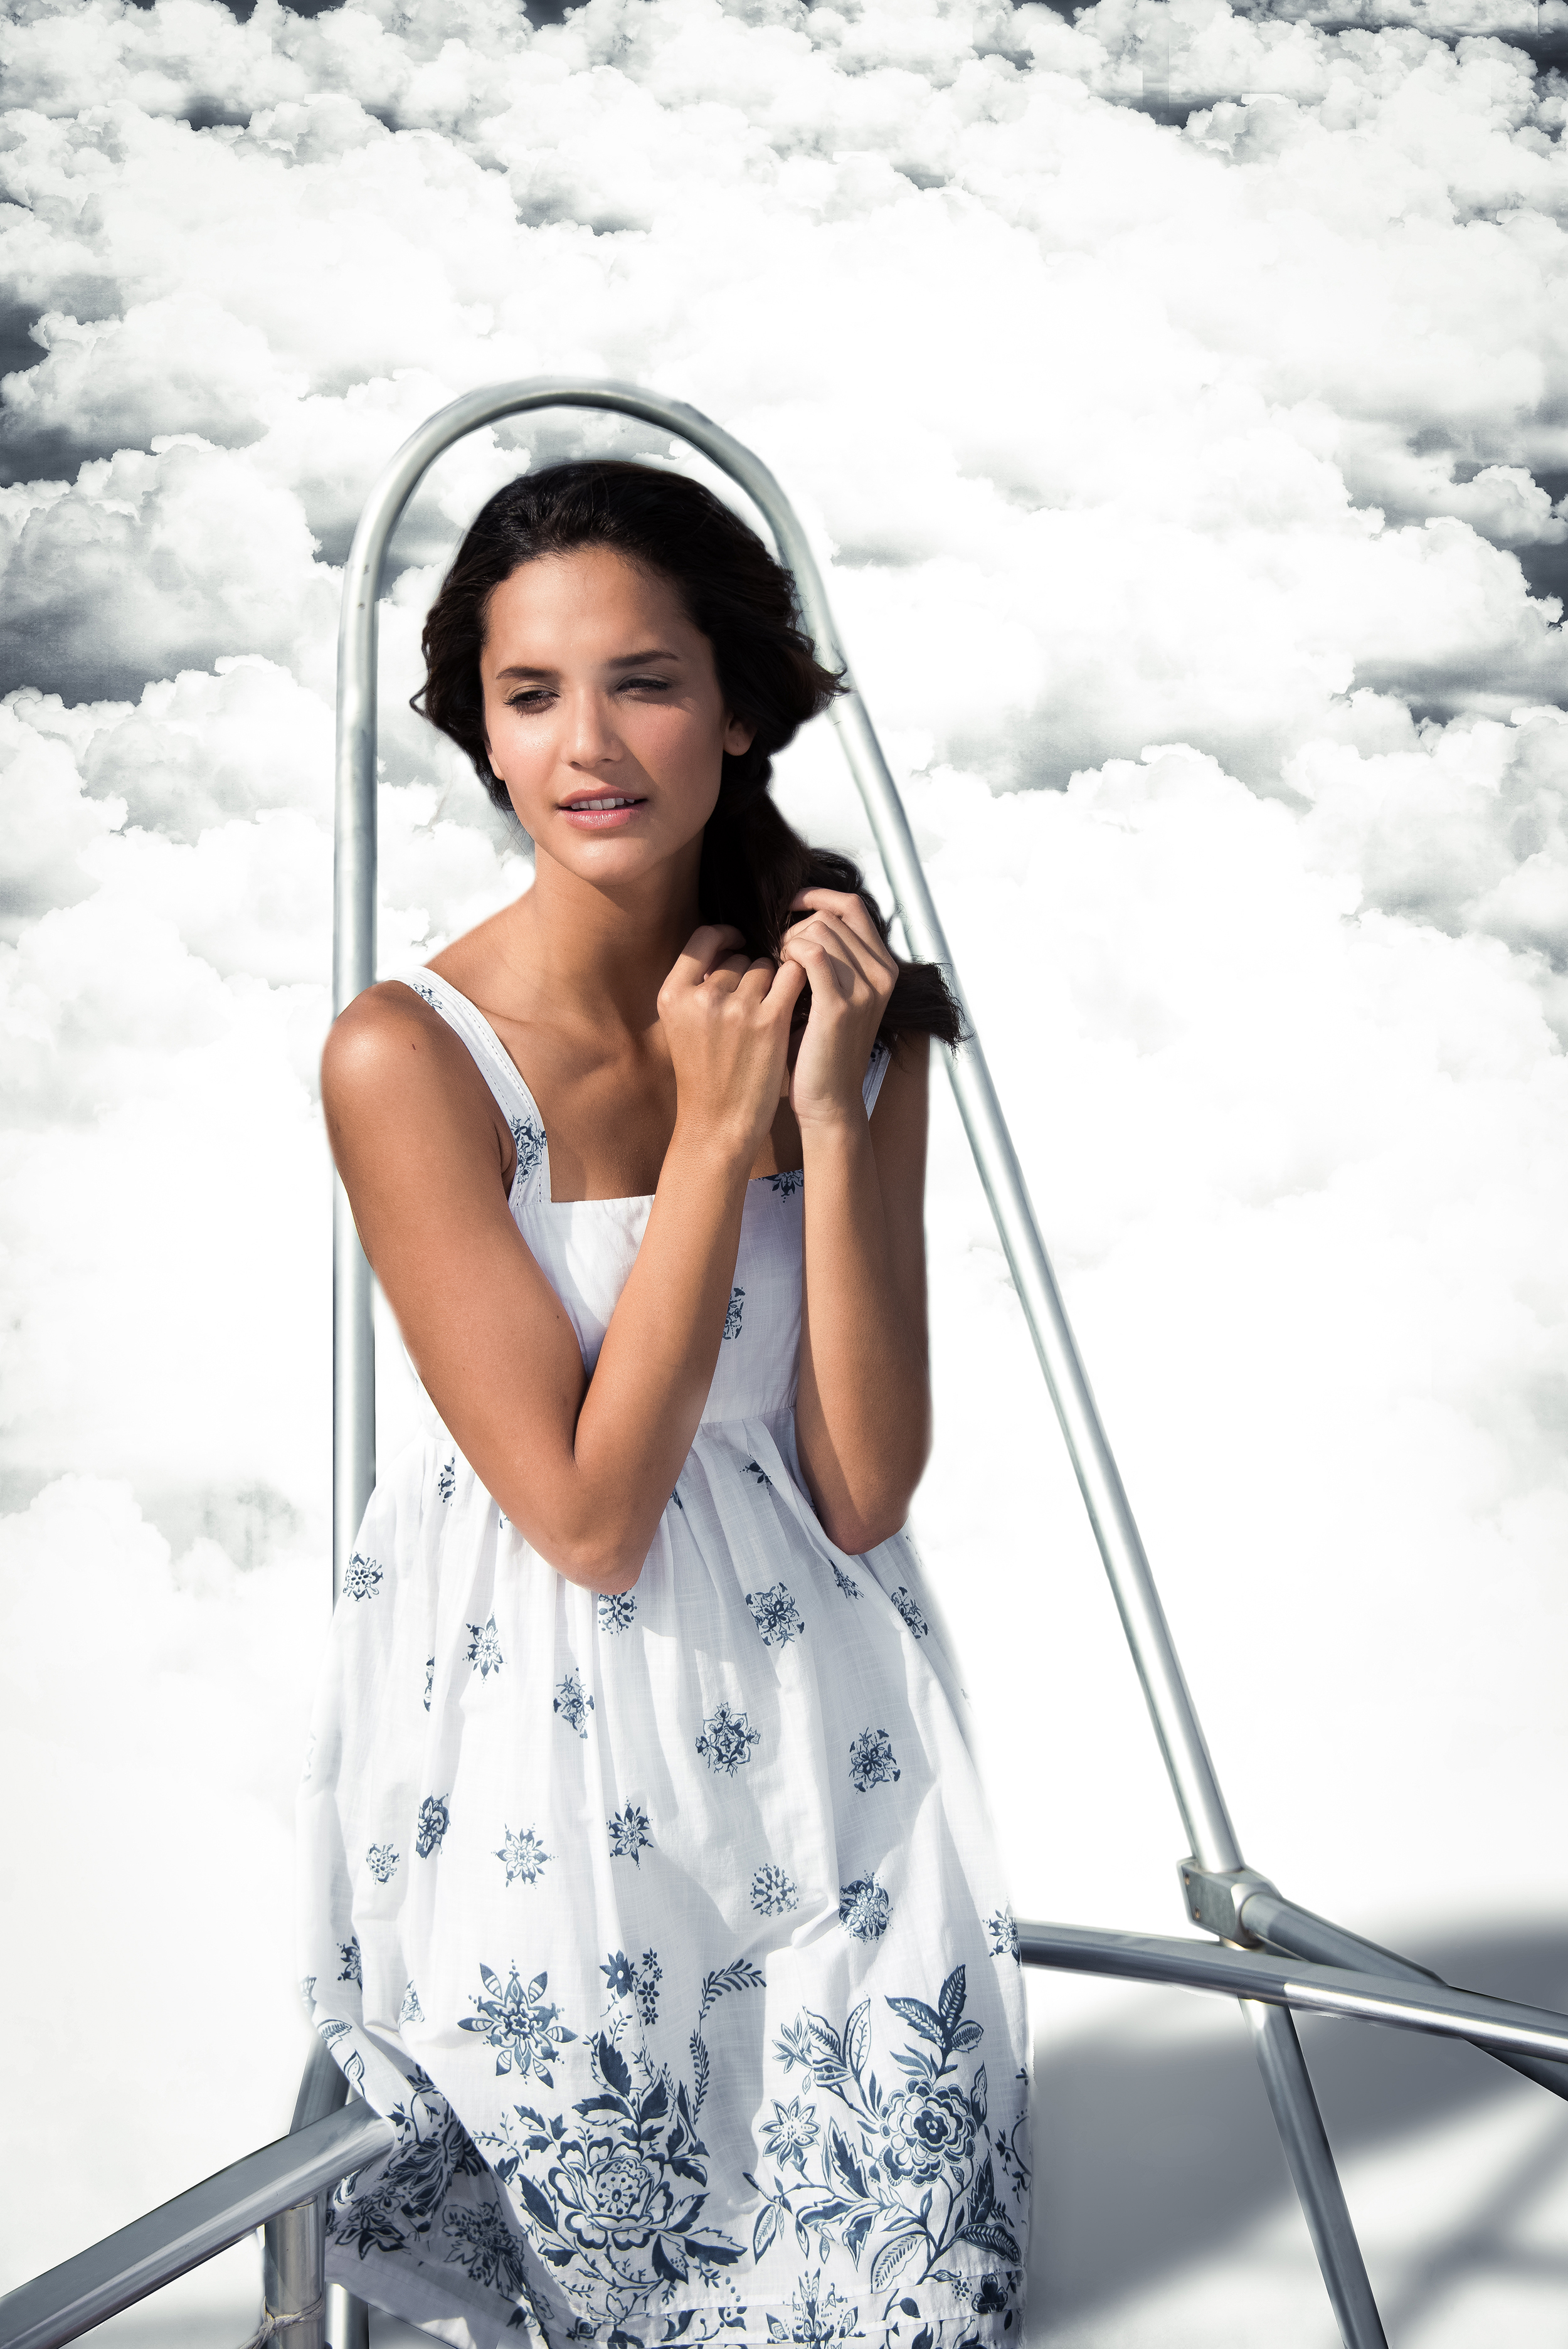
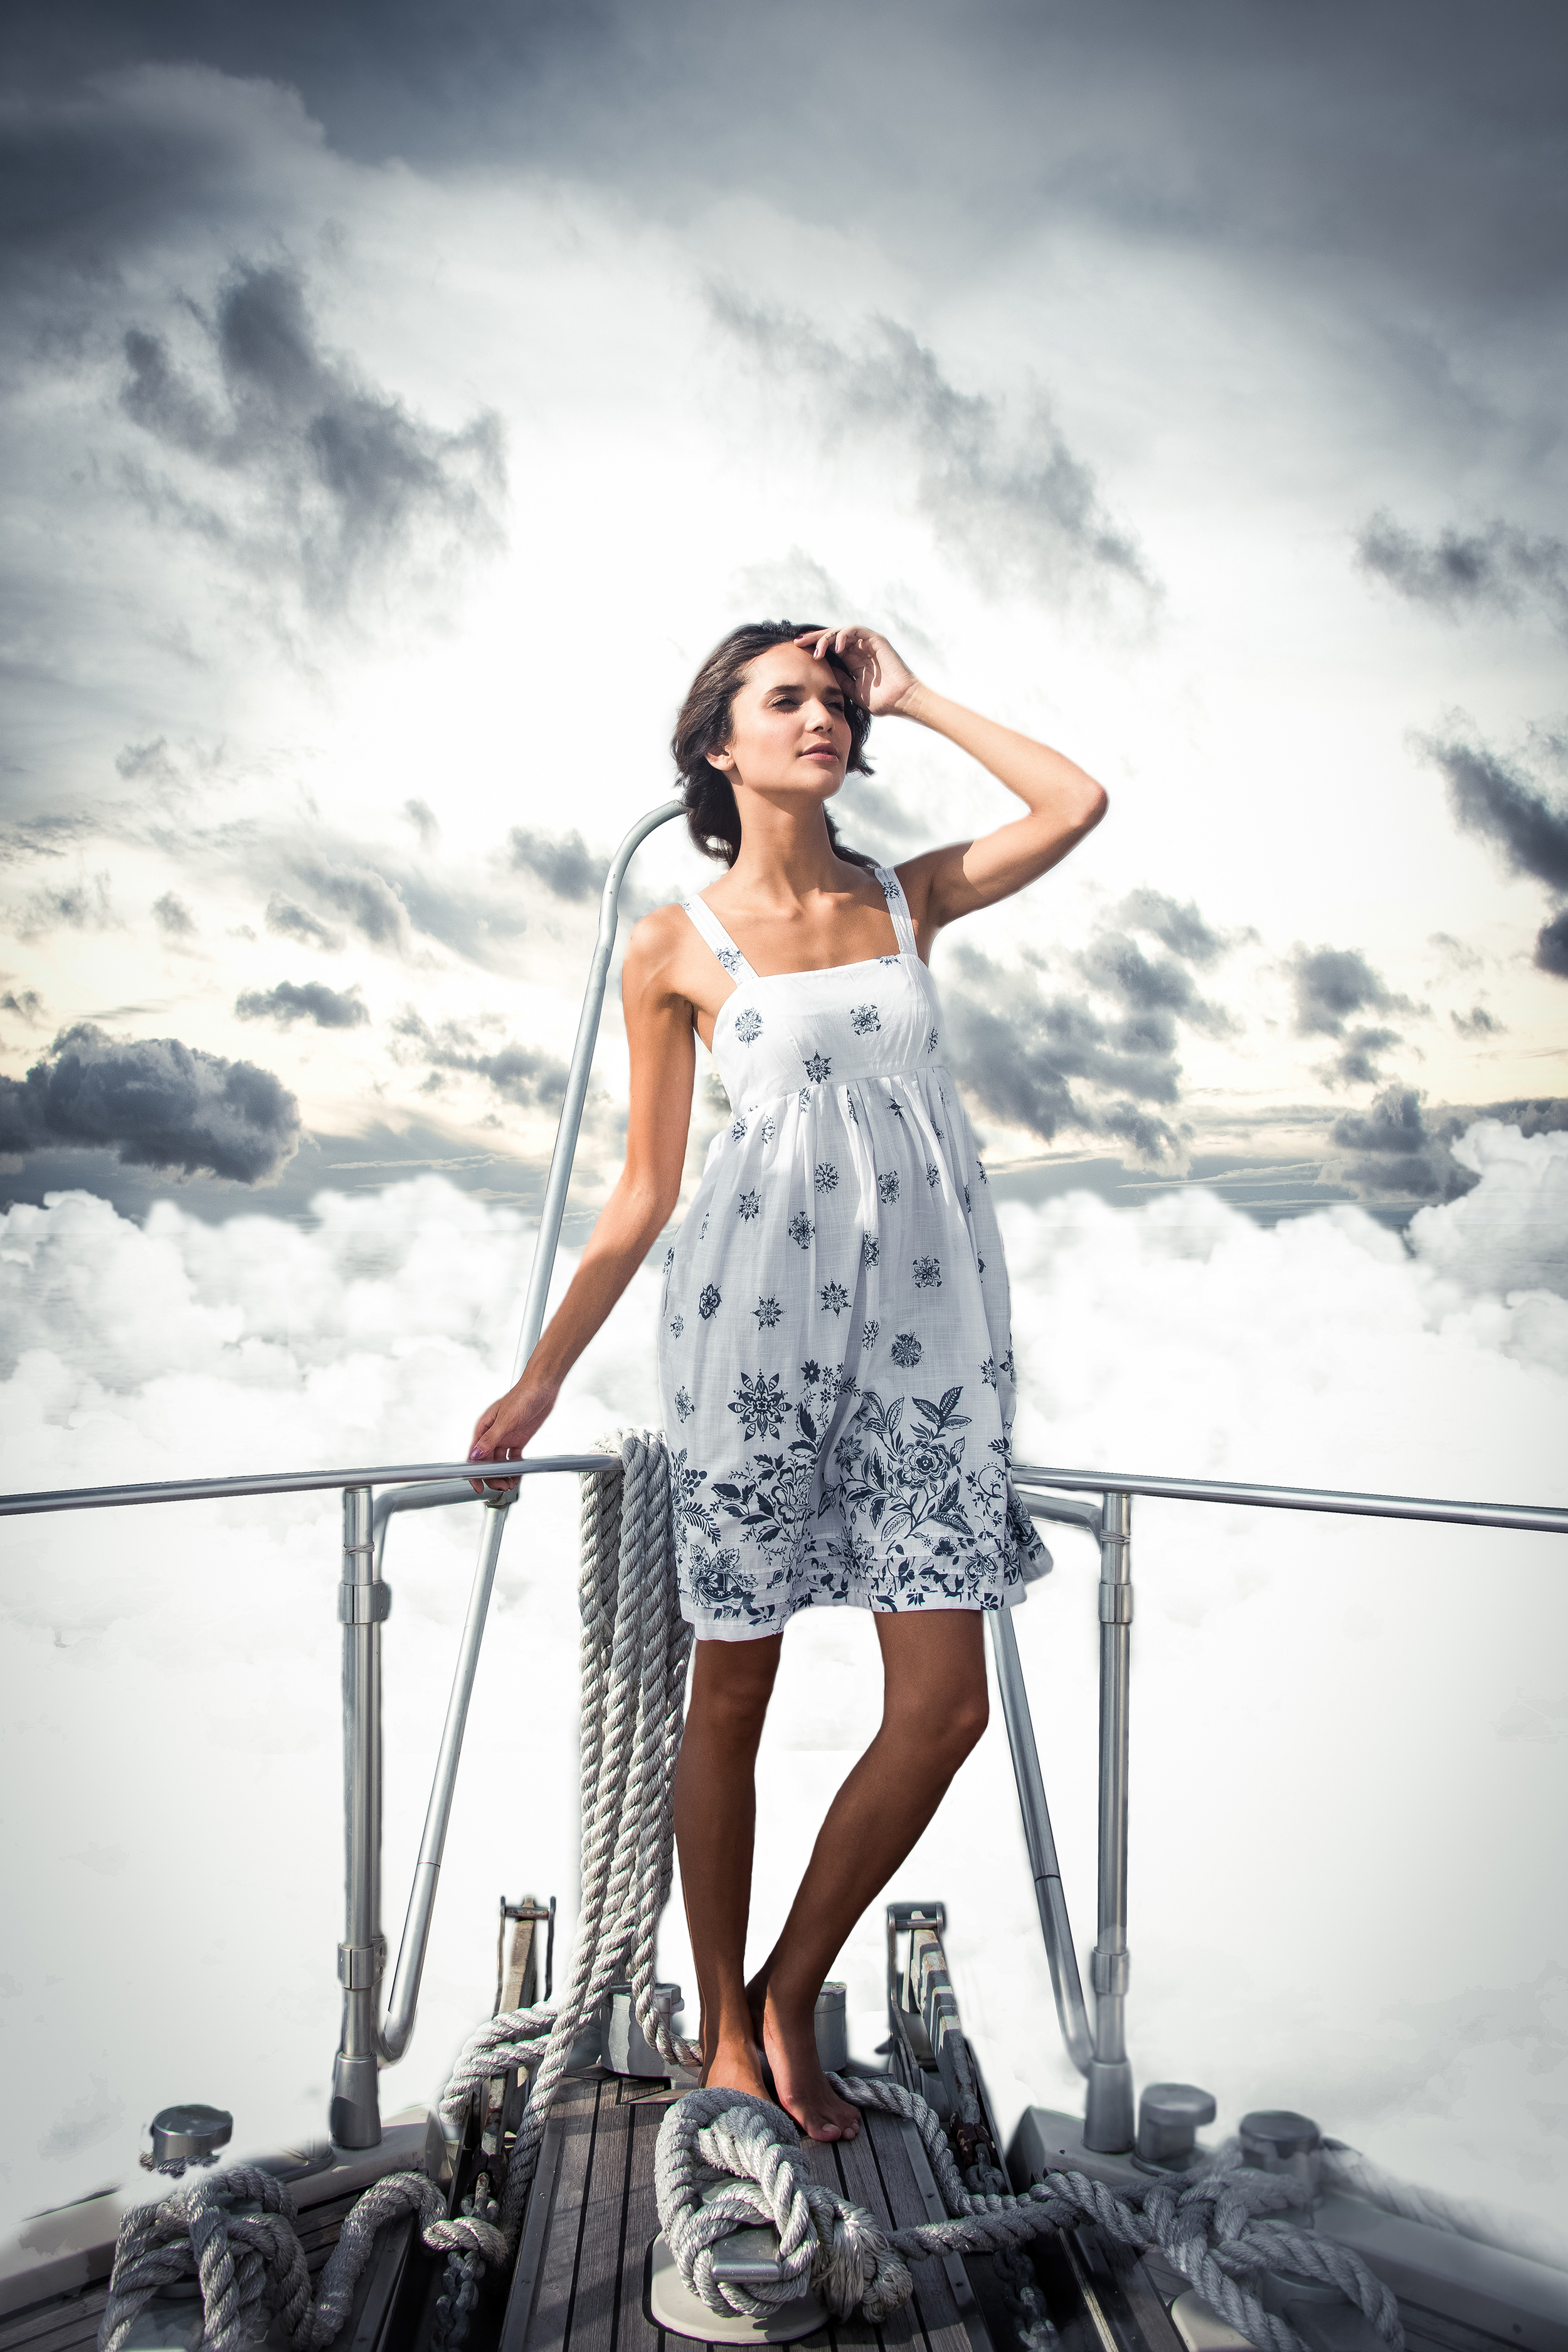
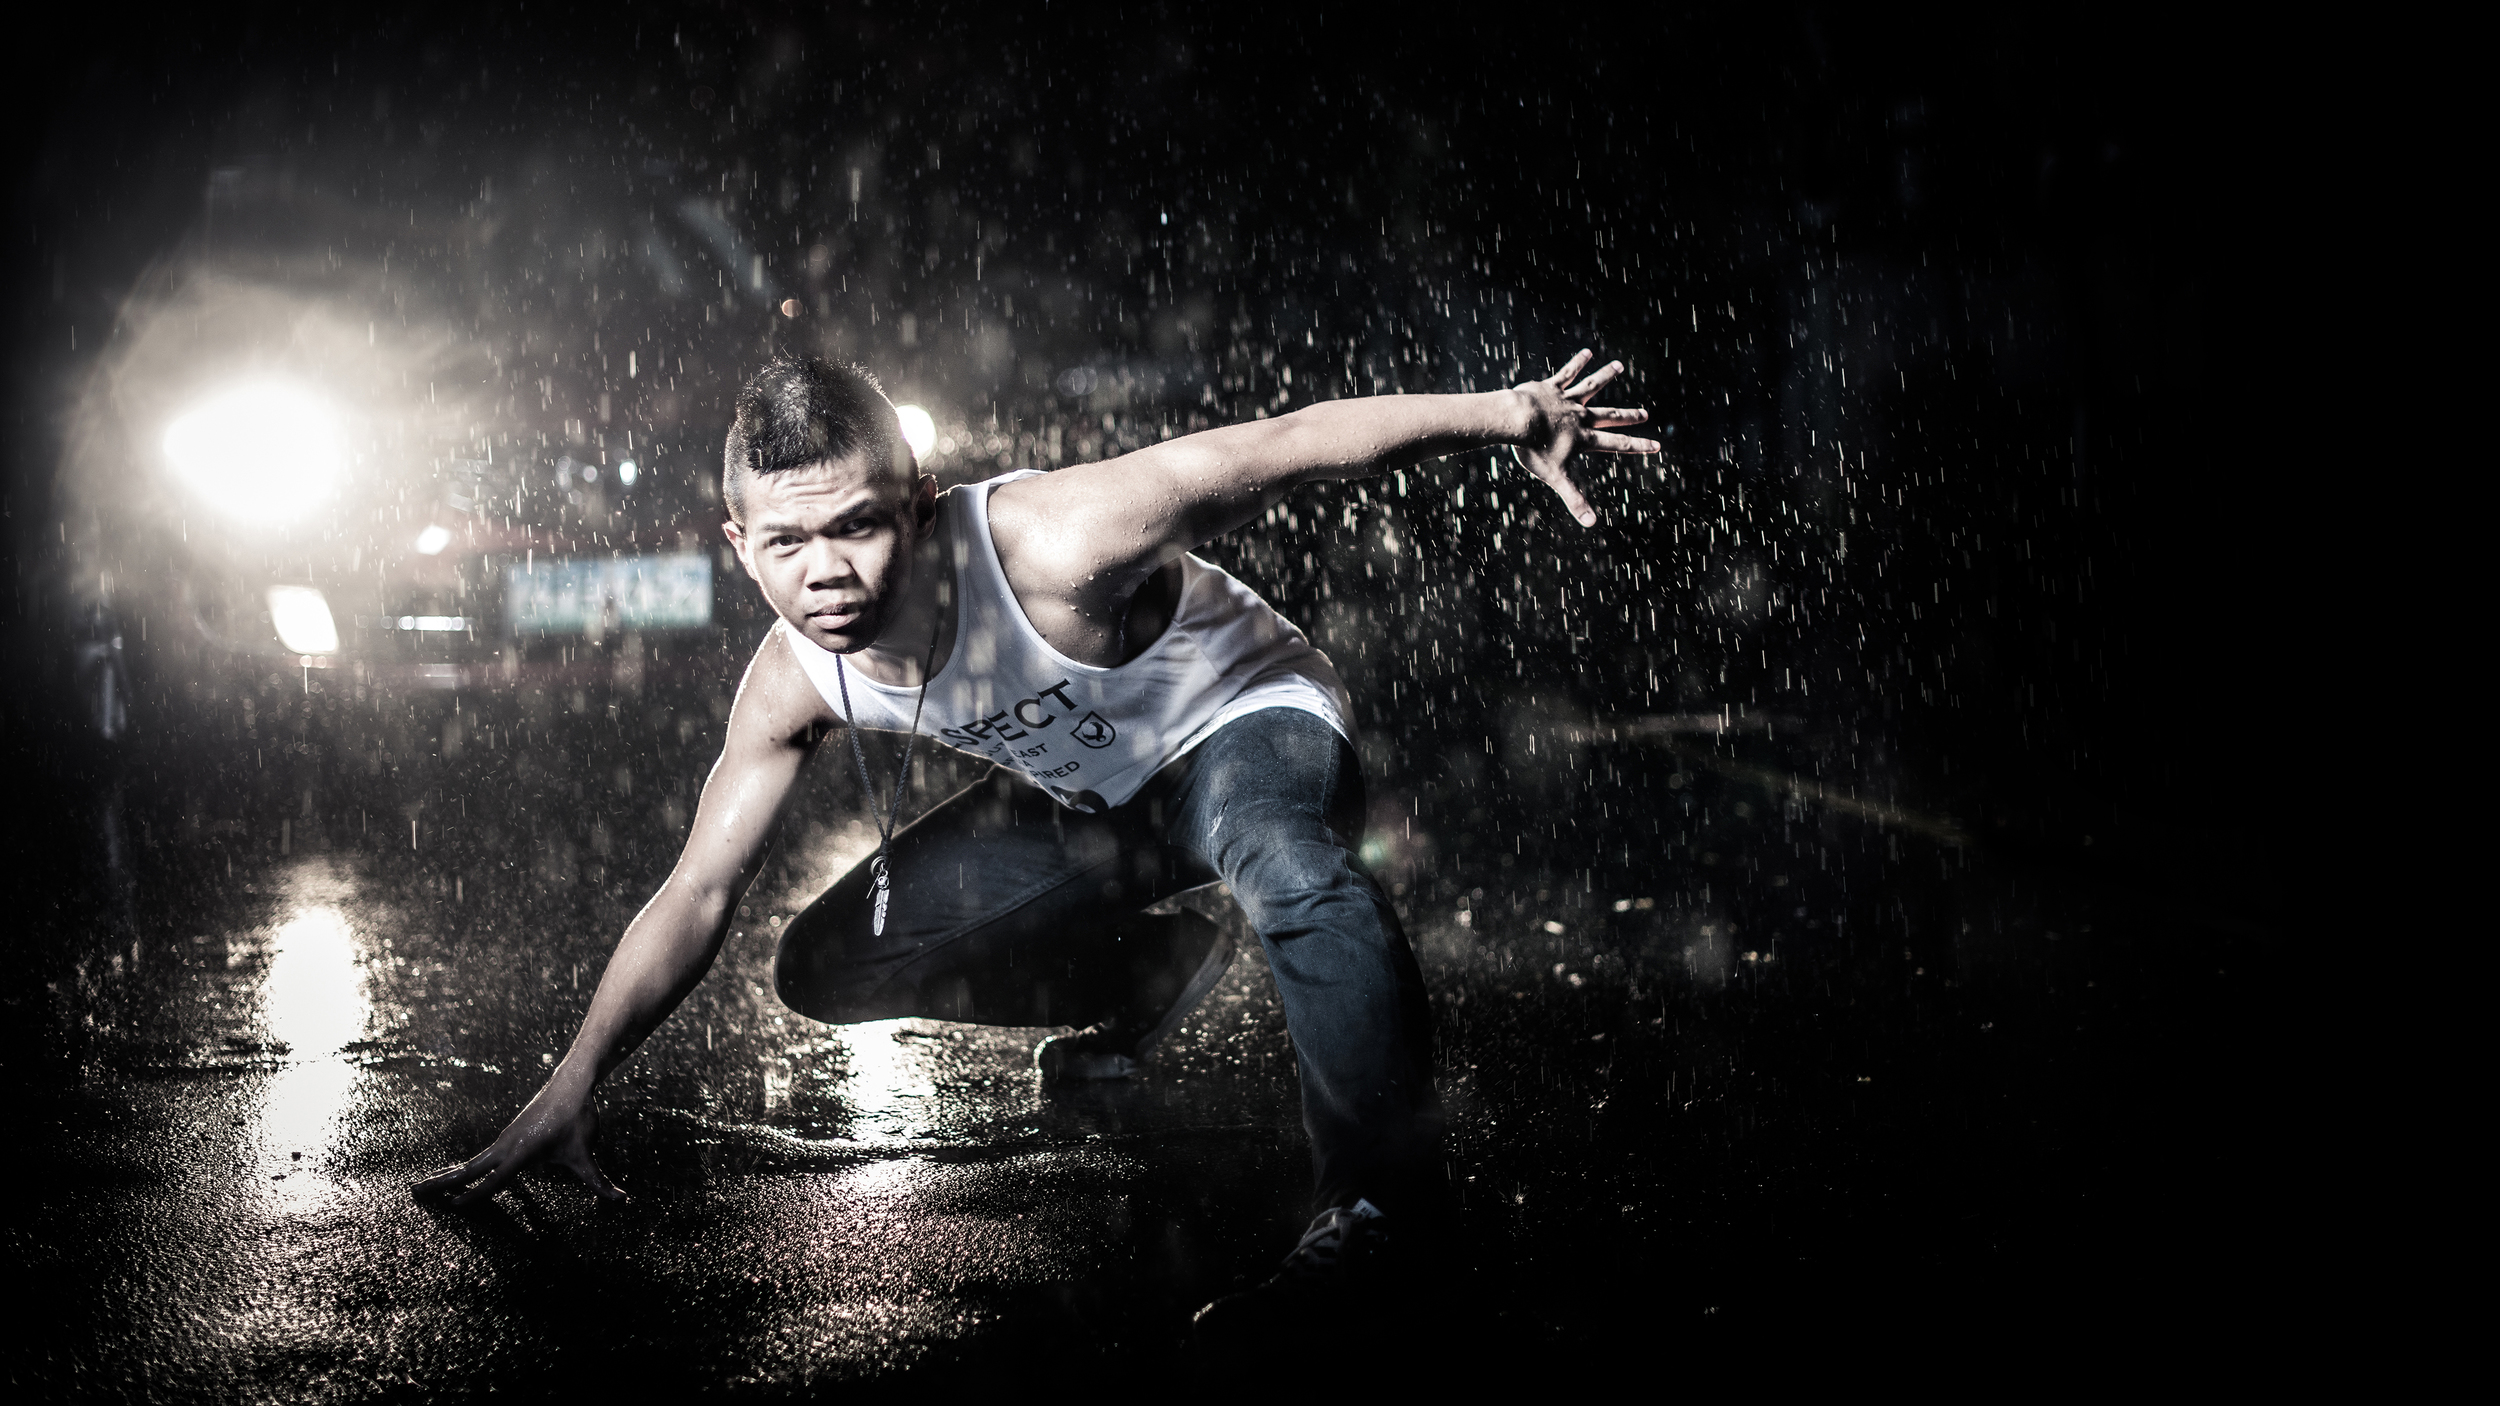
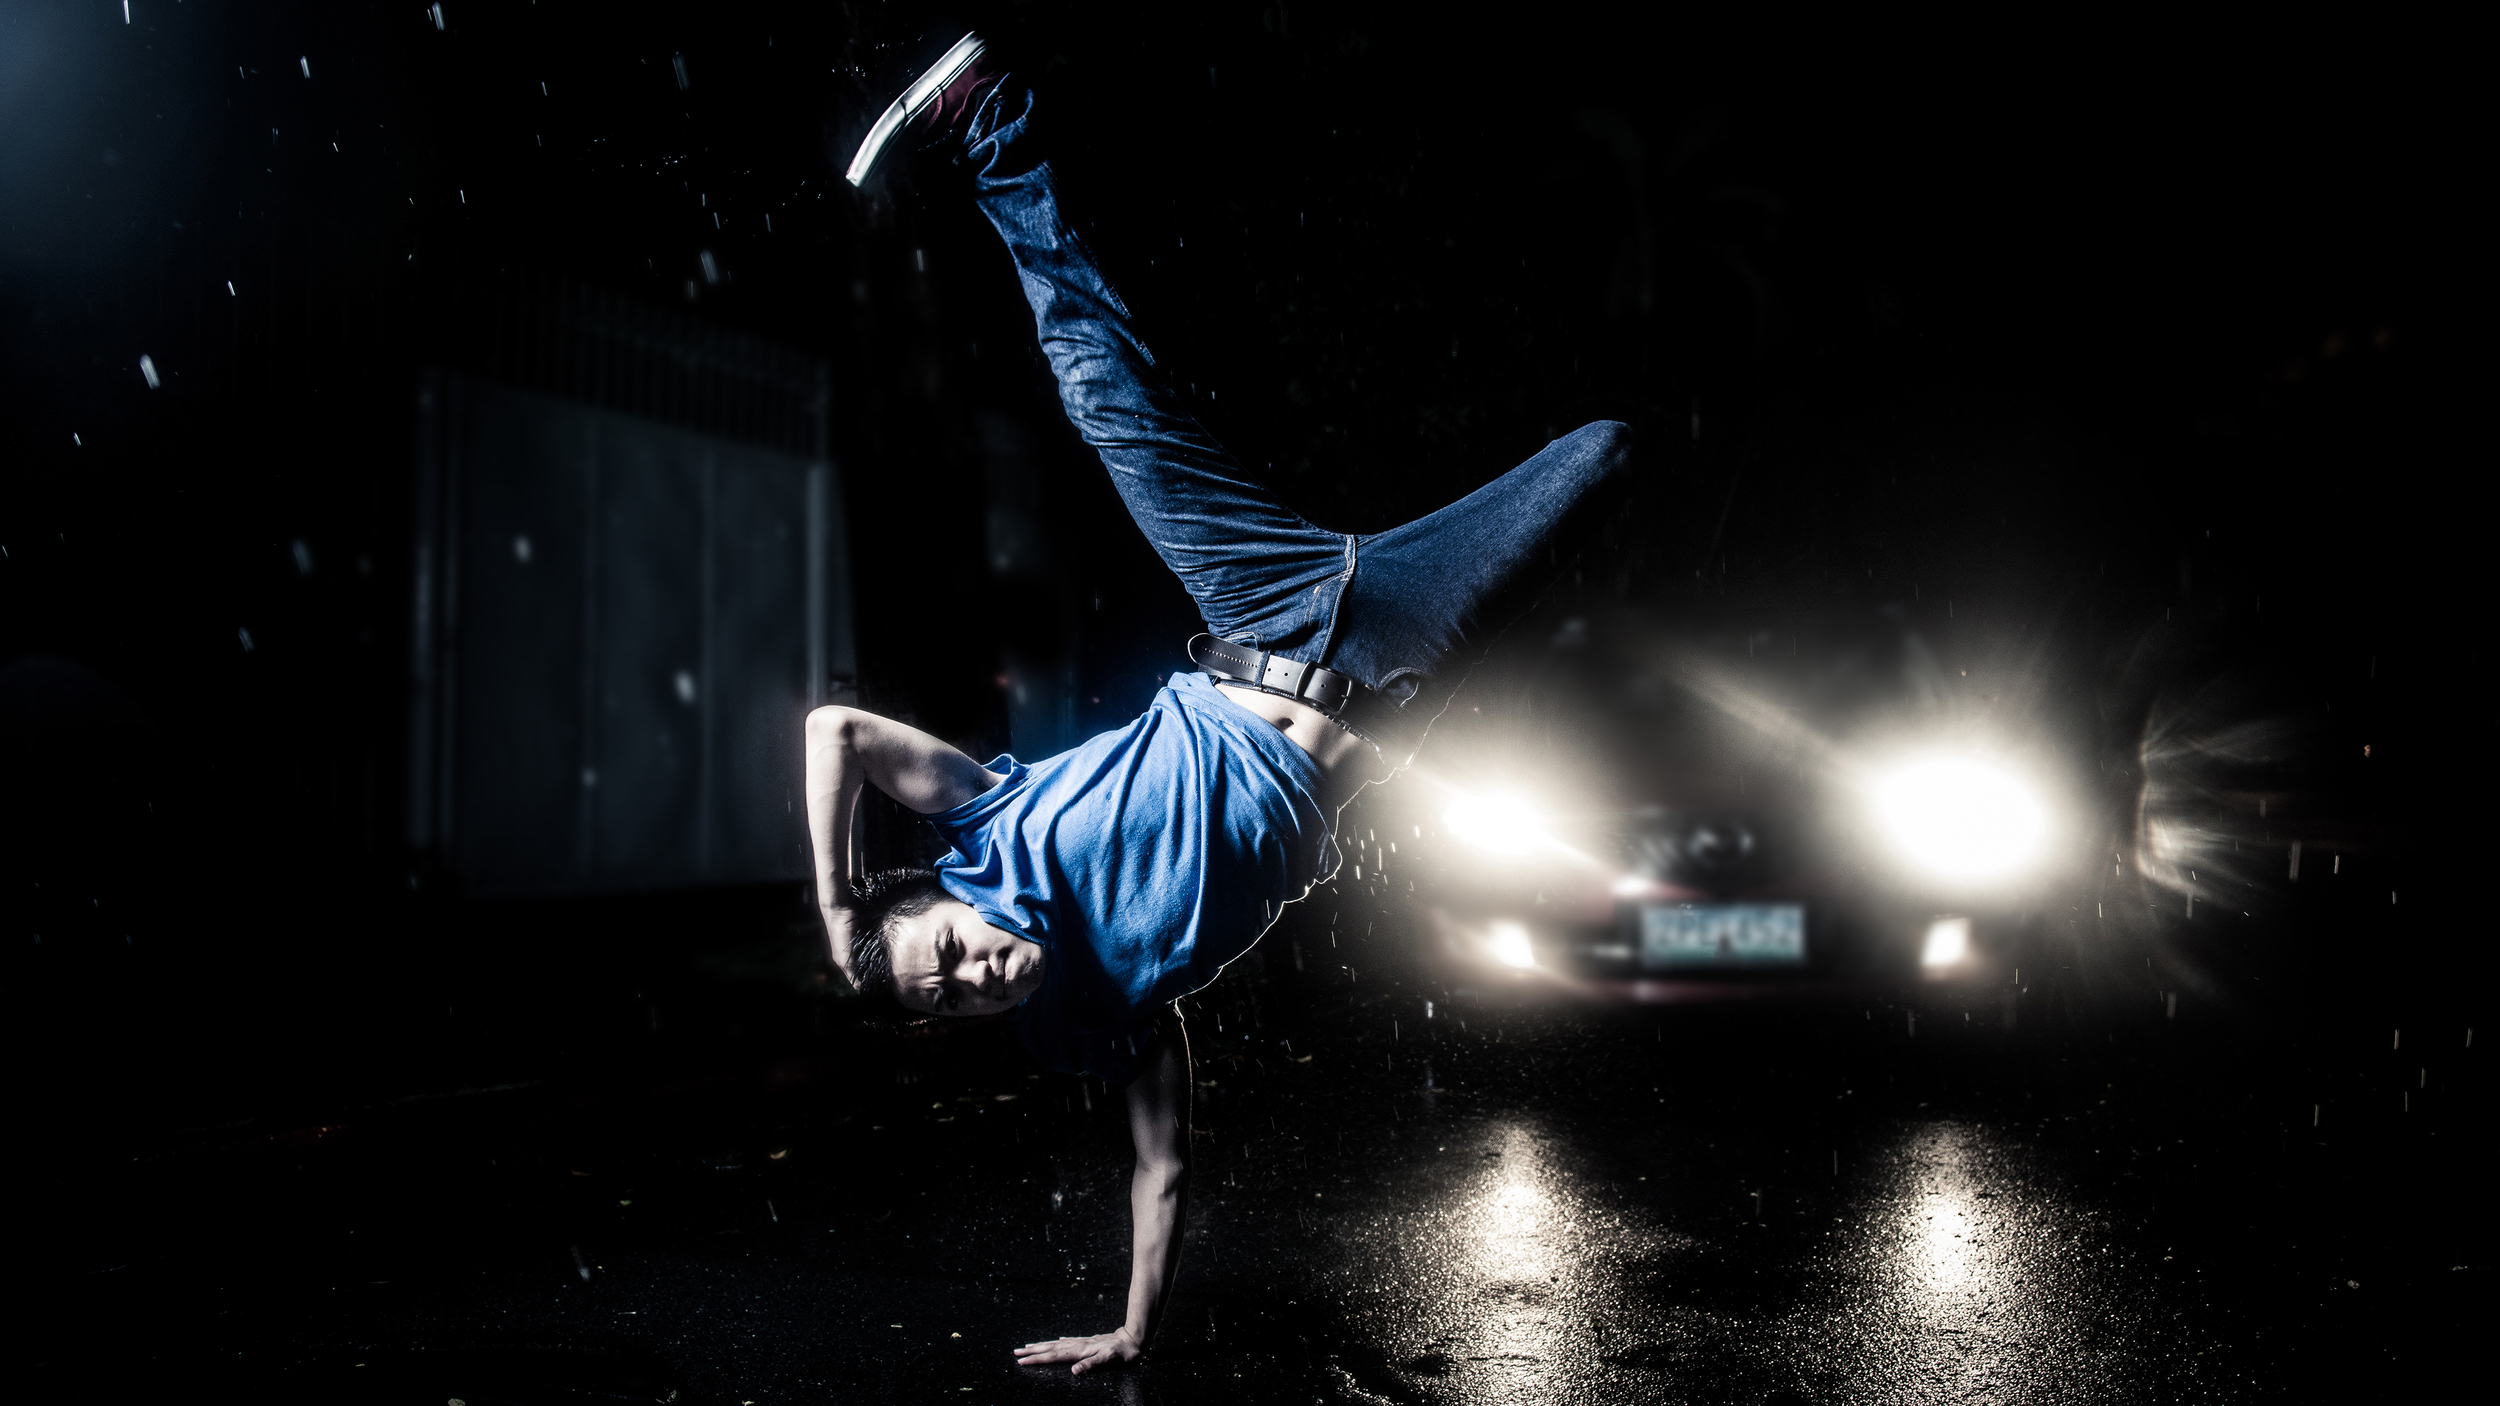
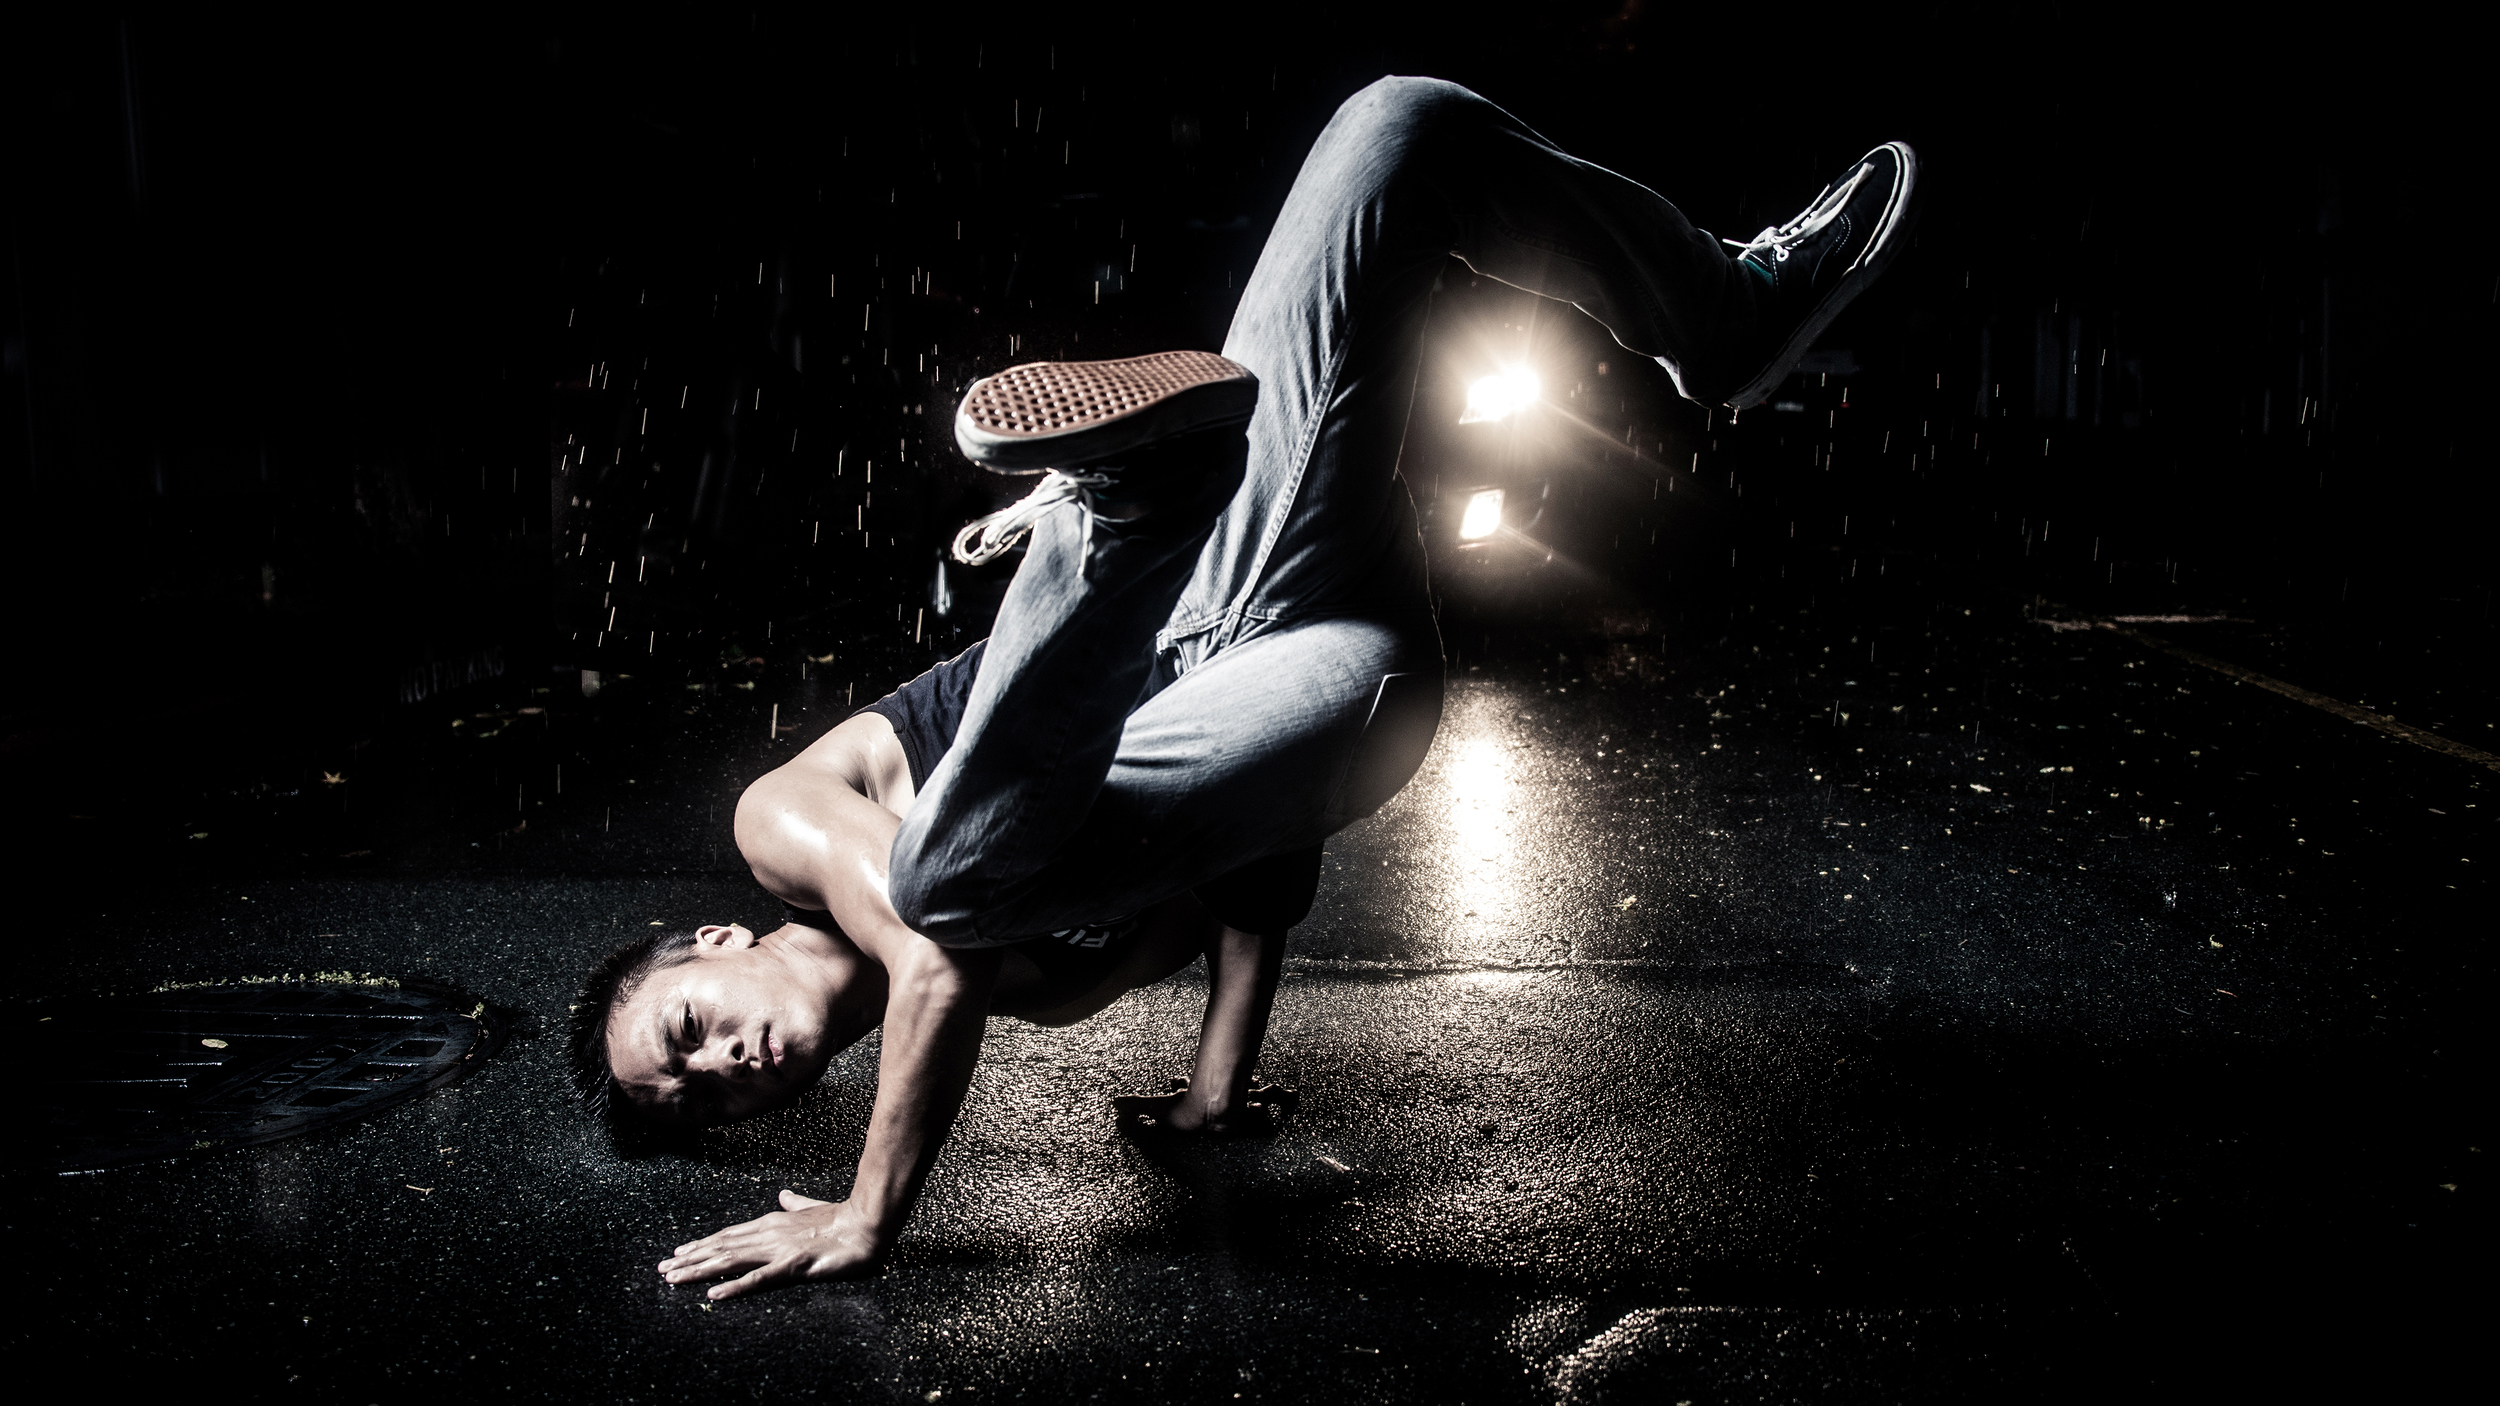
Every light that appears in his photographs are purposeful and planned ahead of time. Therefore, each picture tells a story but a purposeful story which is completely told by the artist. For me, this is what makes his work stand out from the rest.

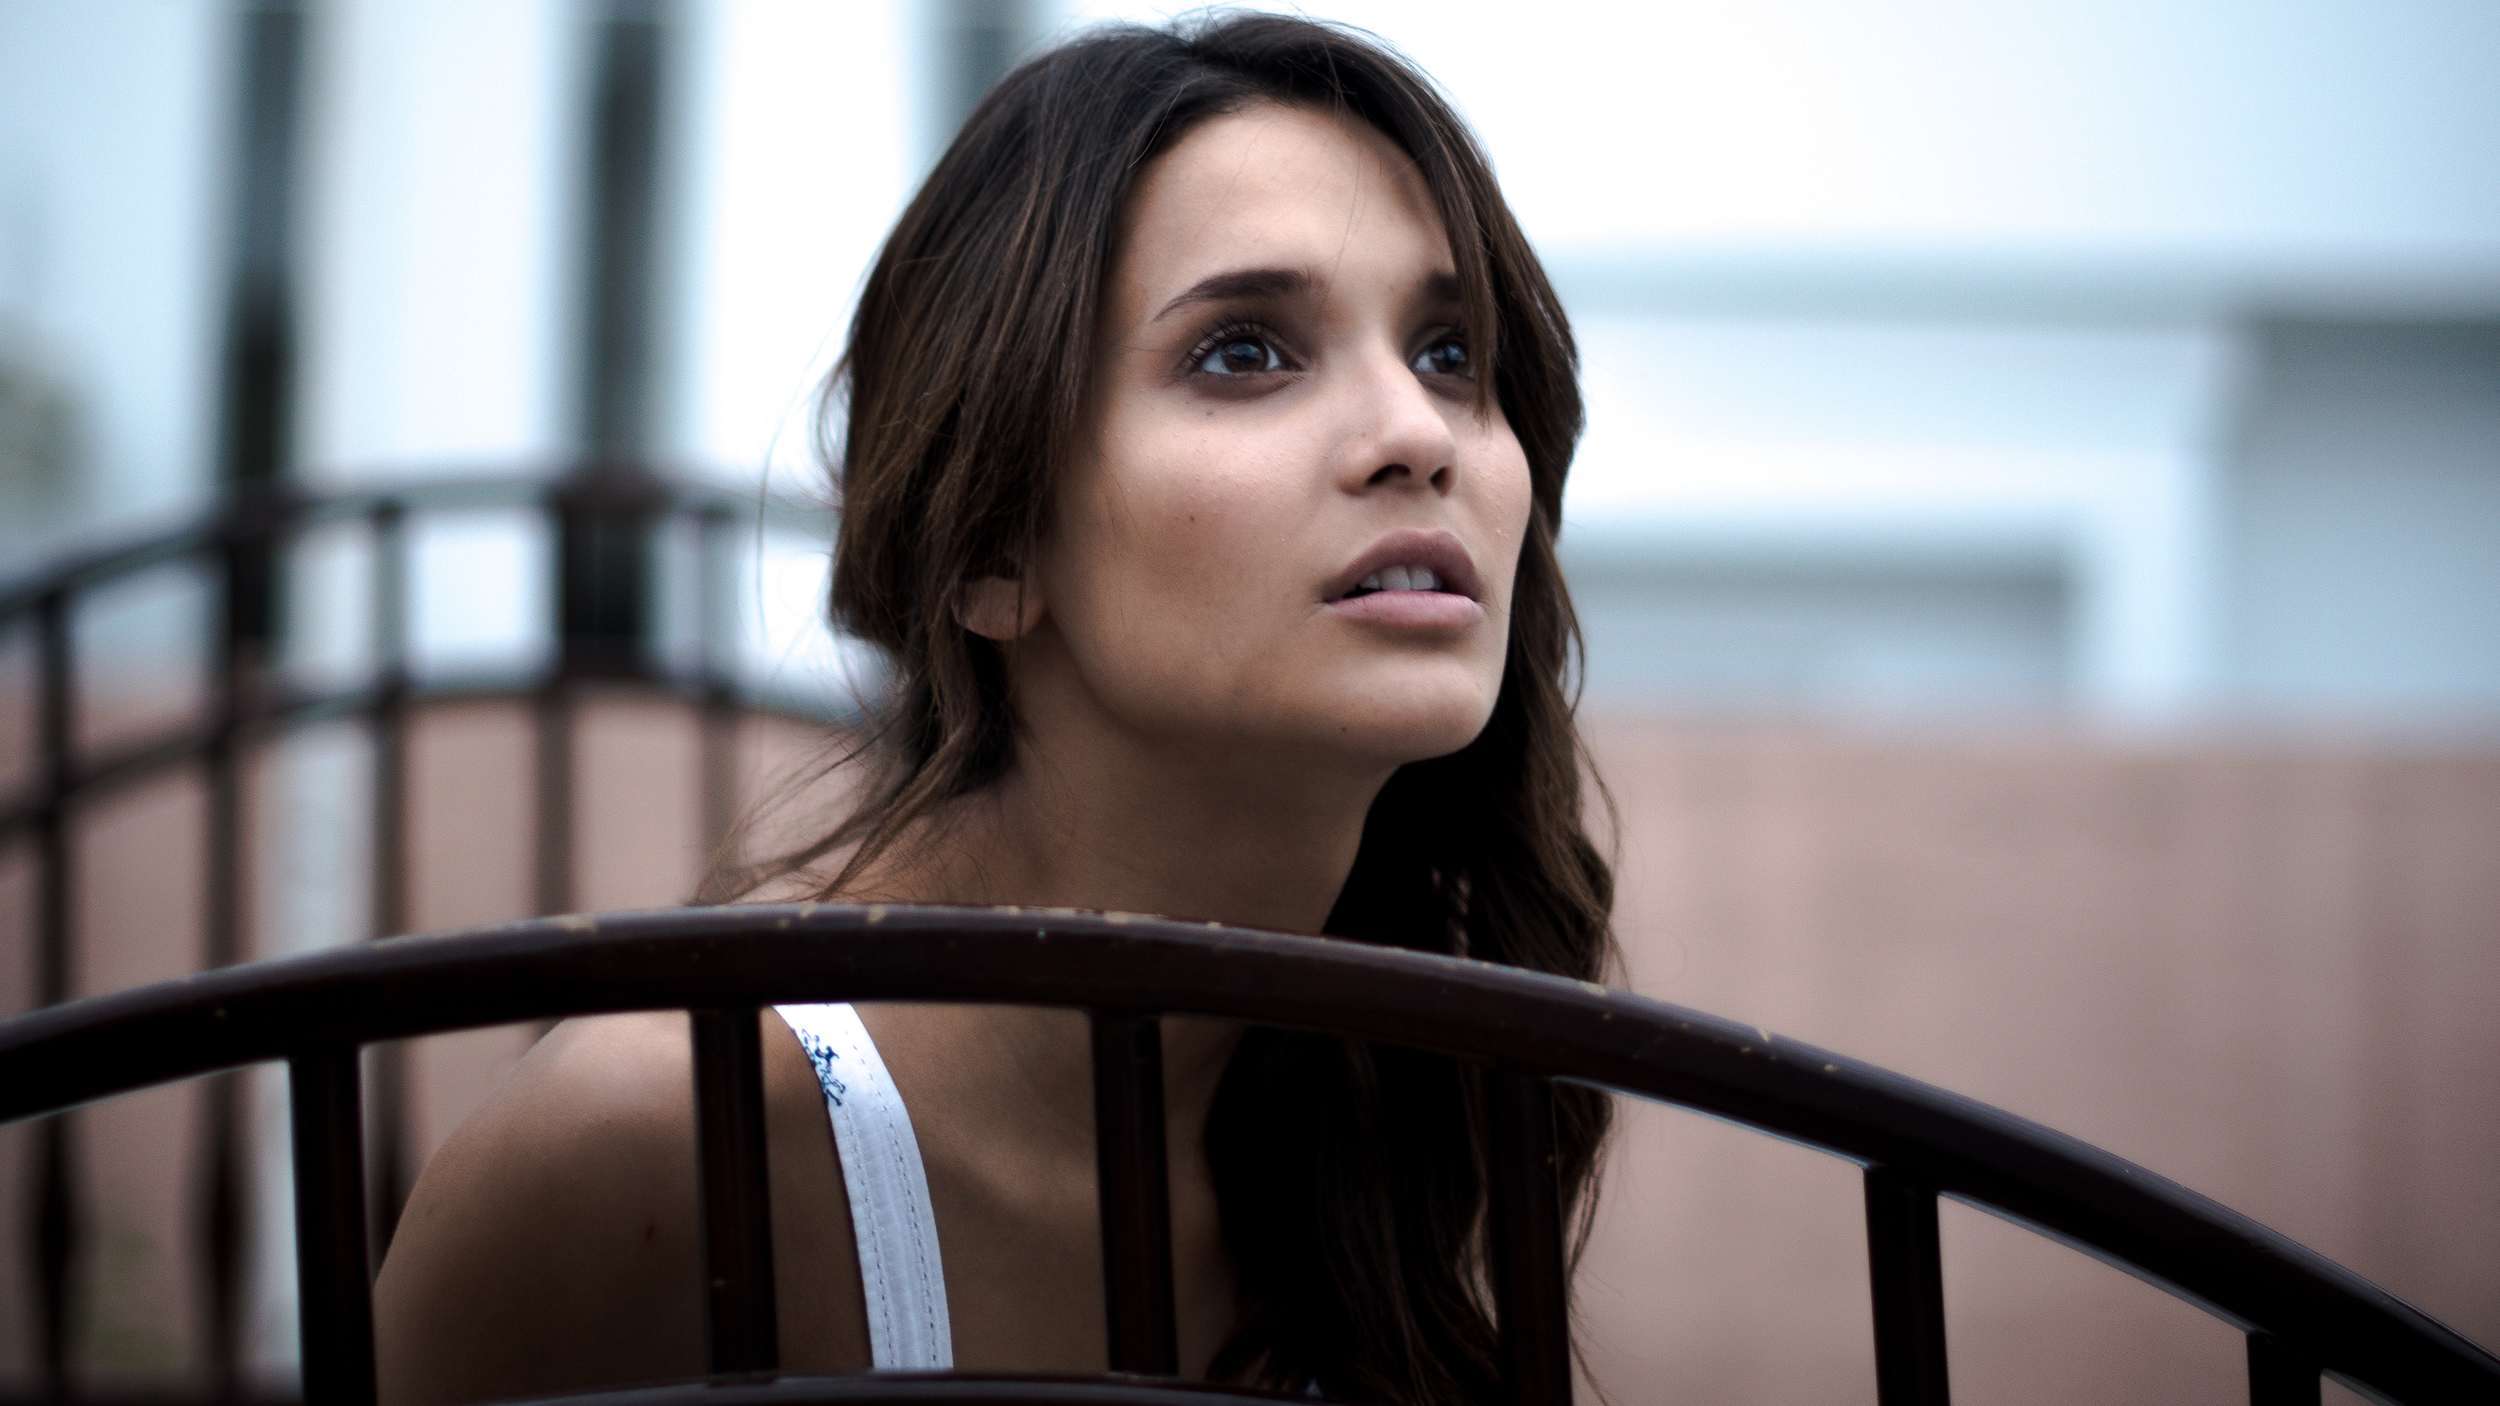
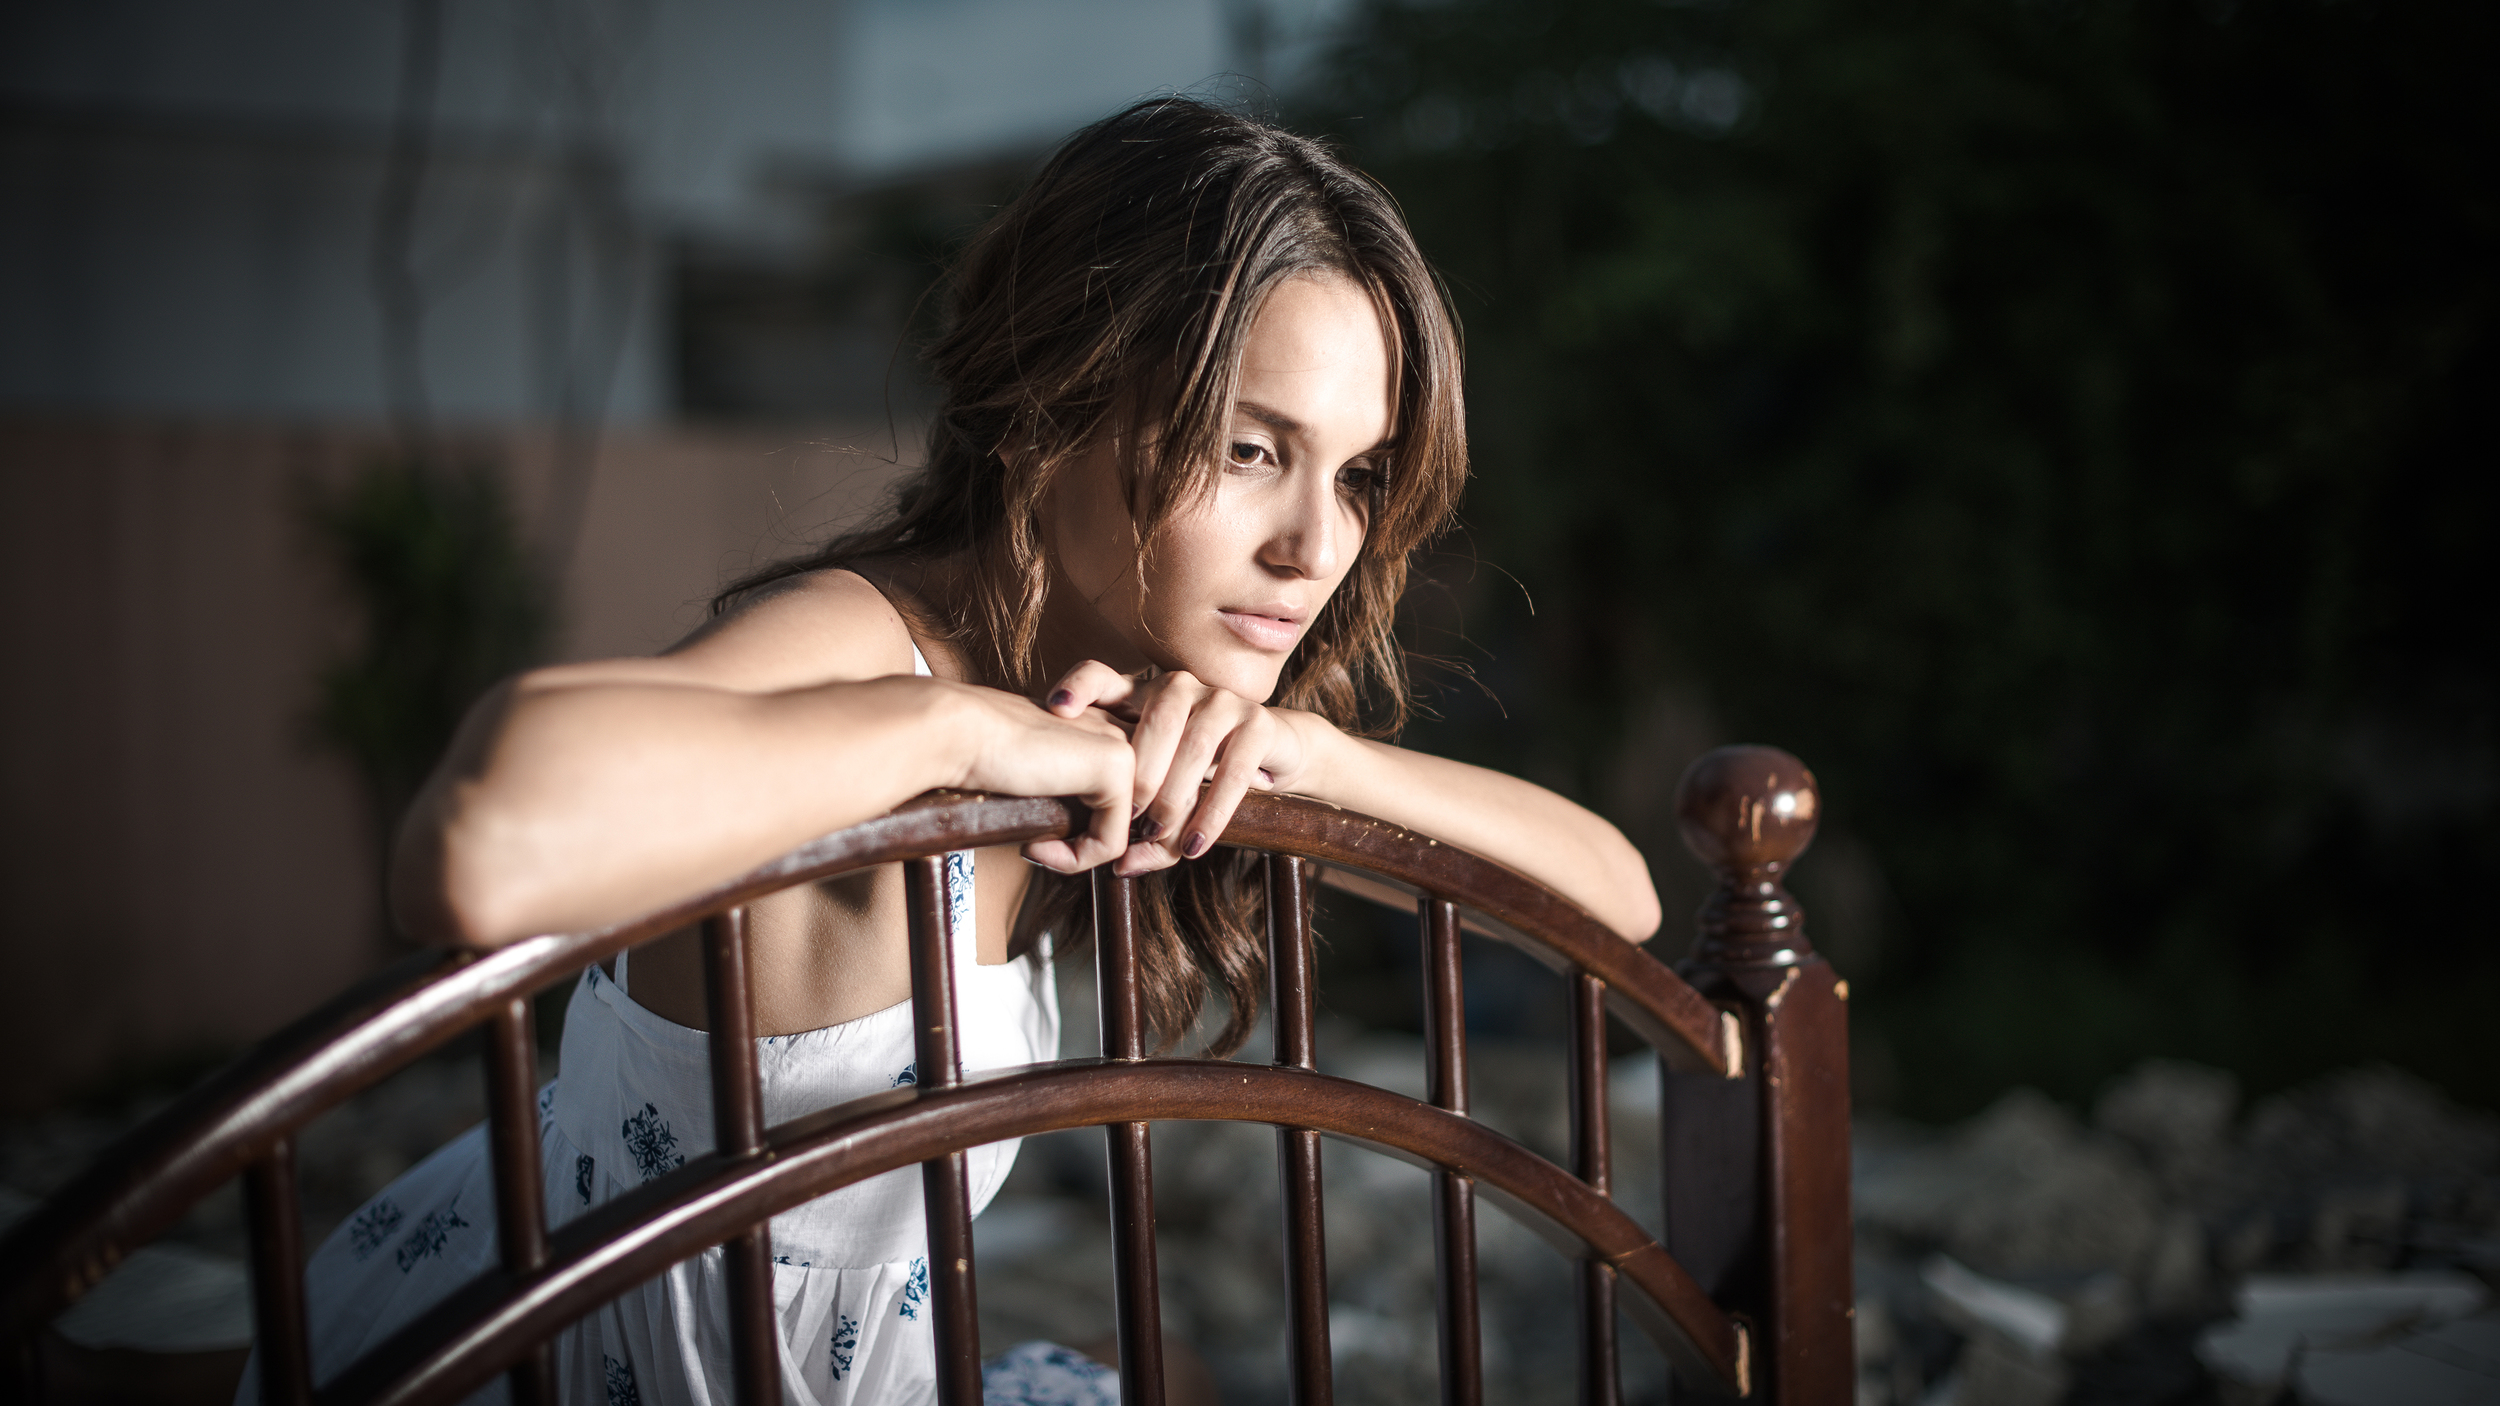
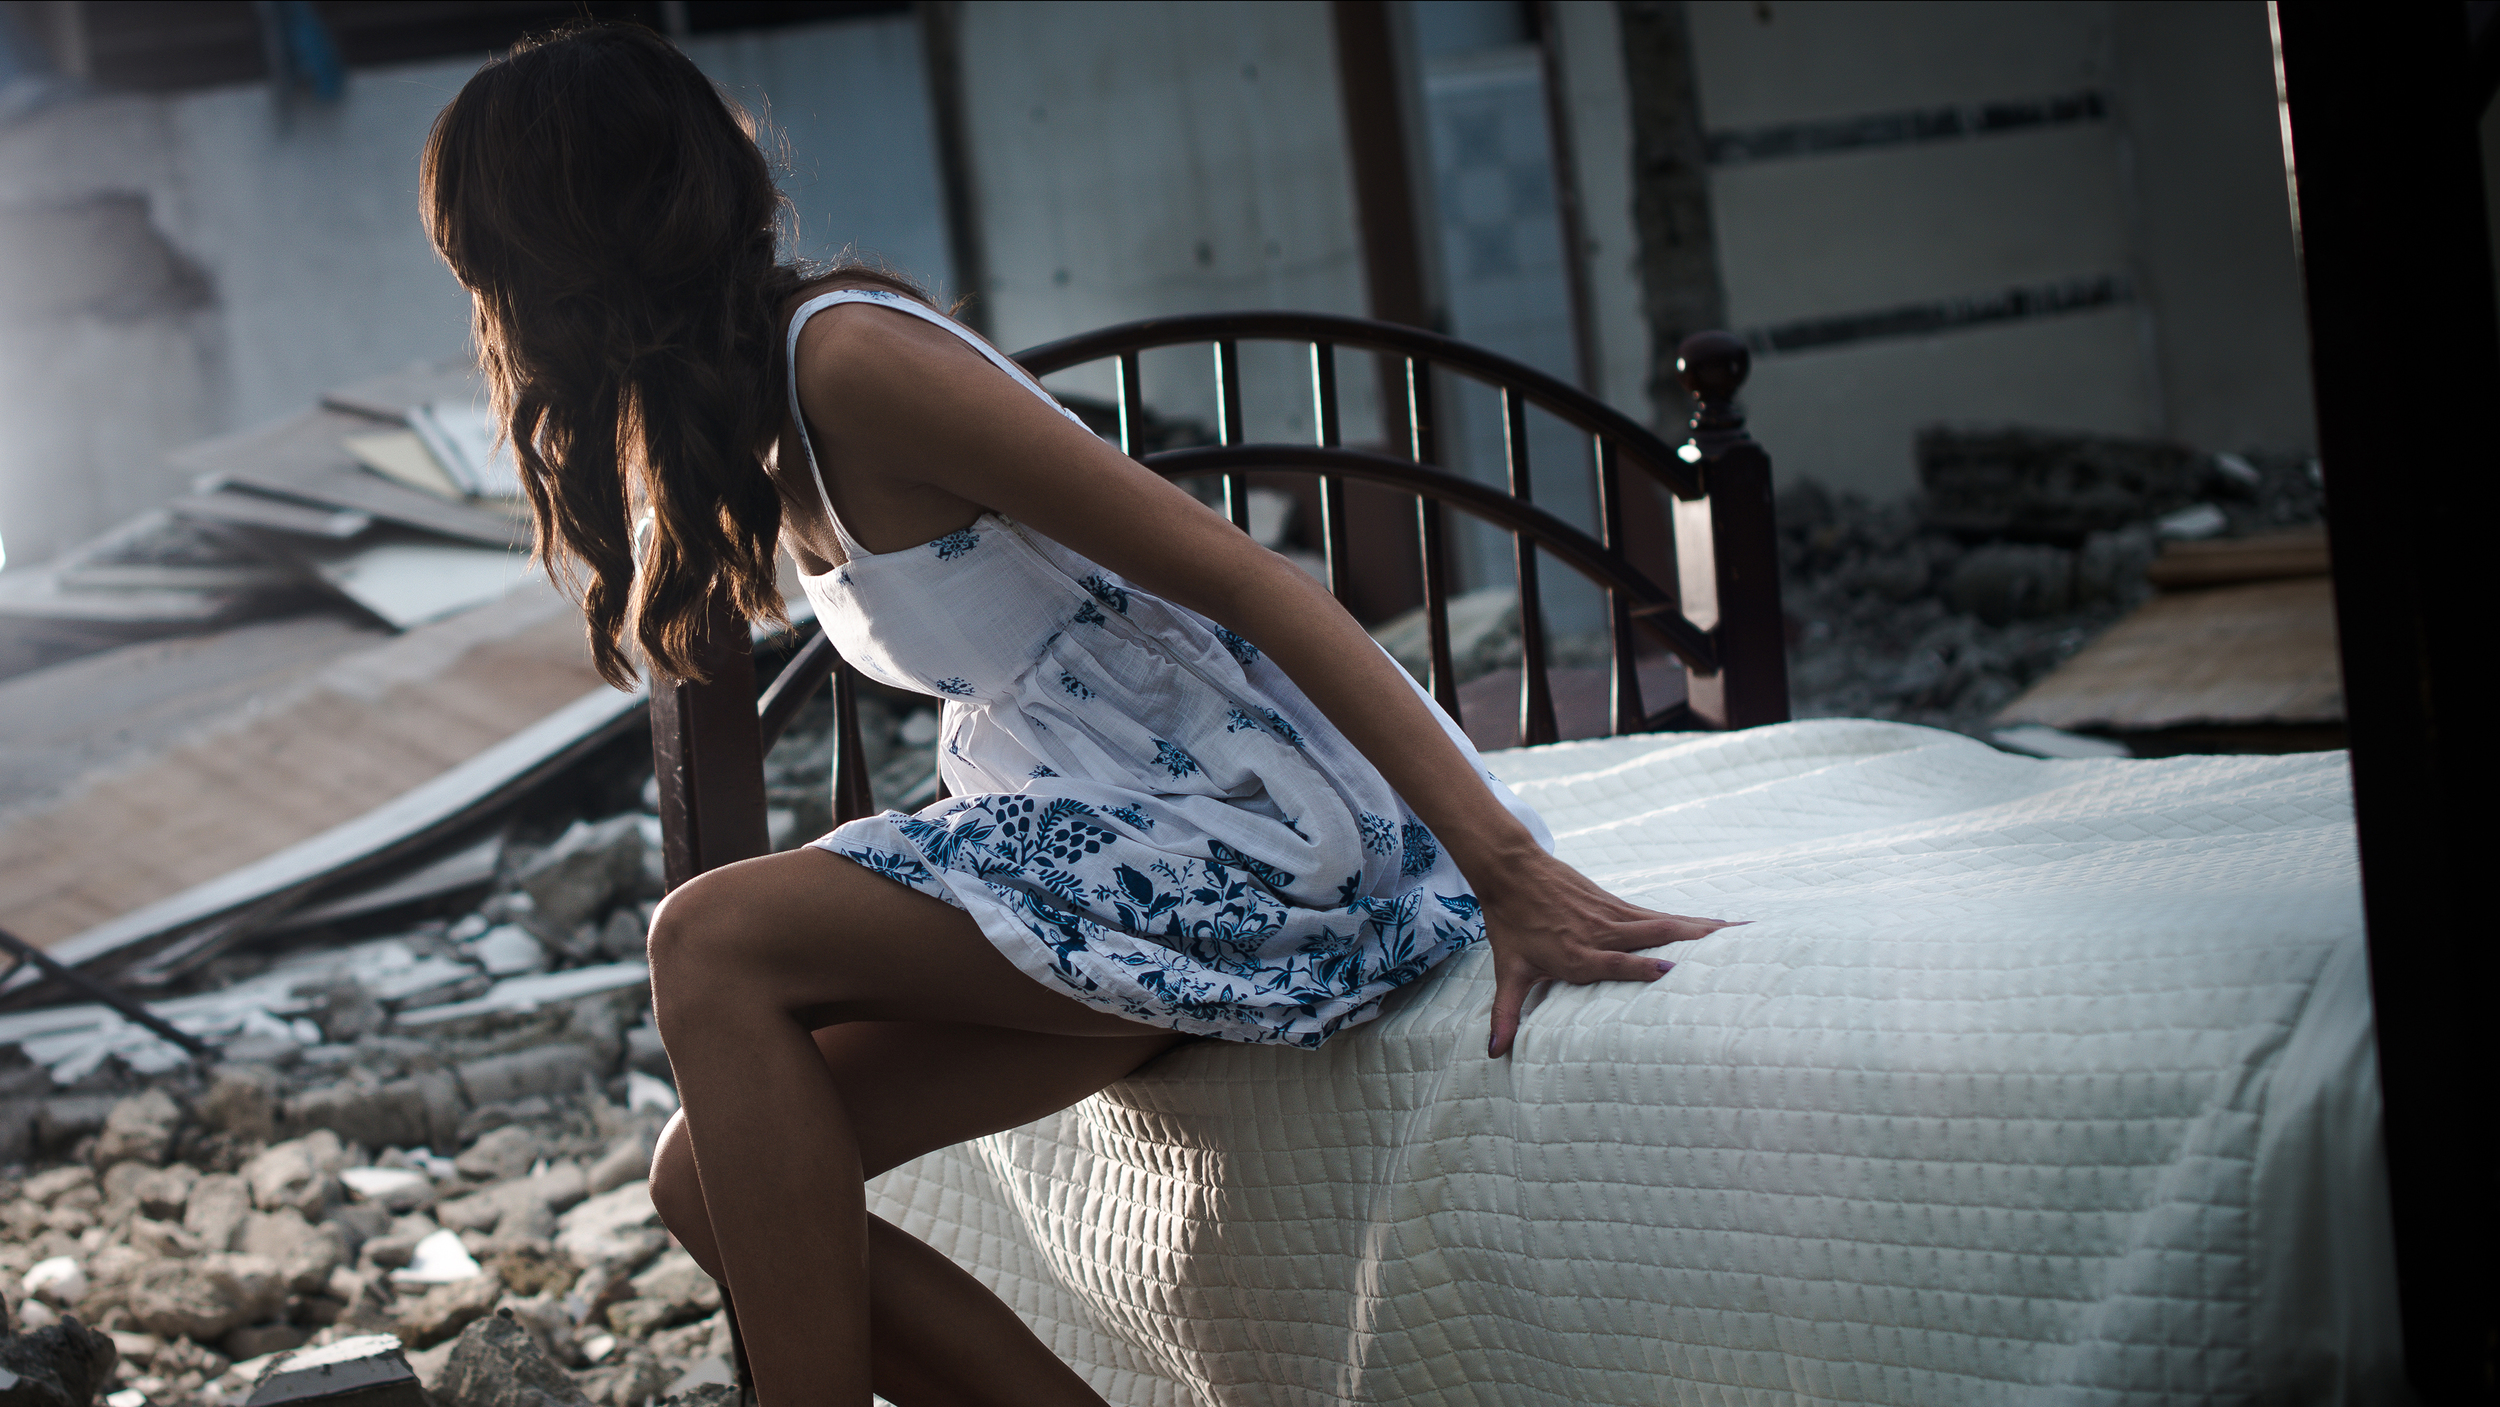
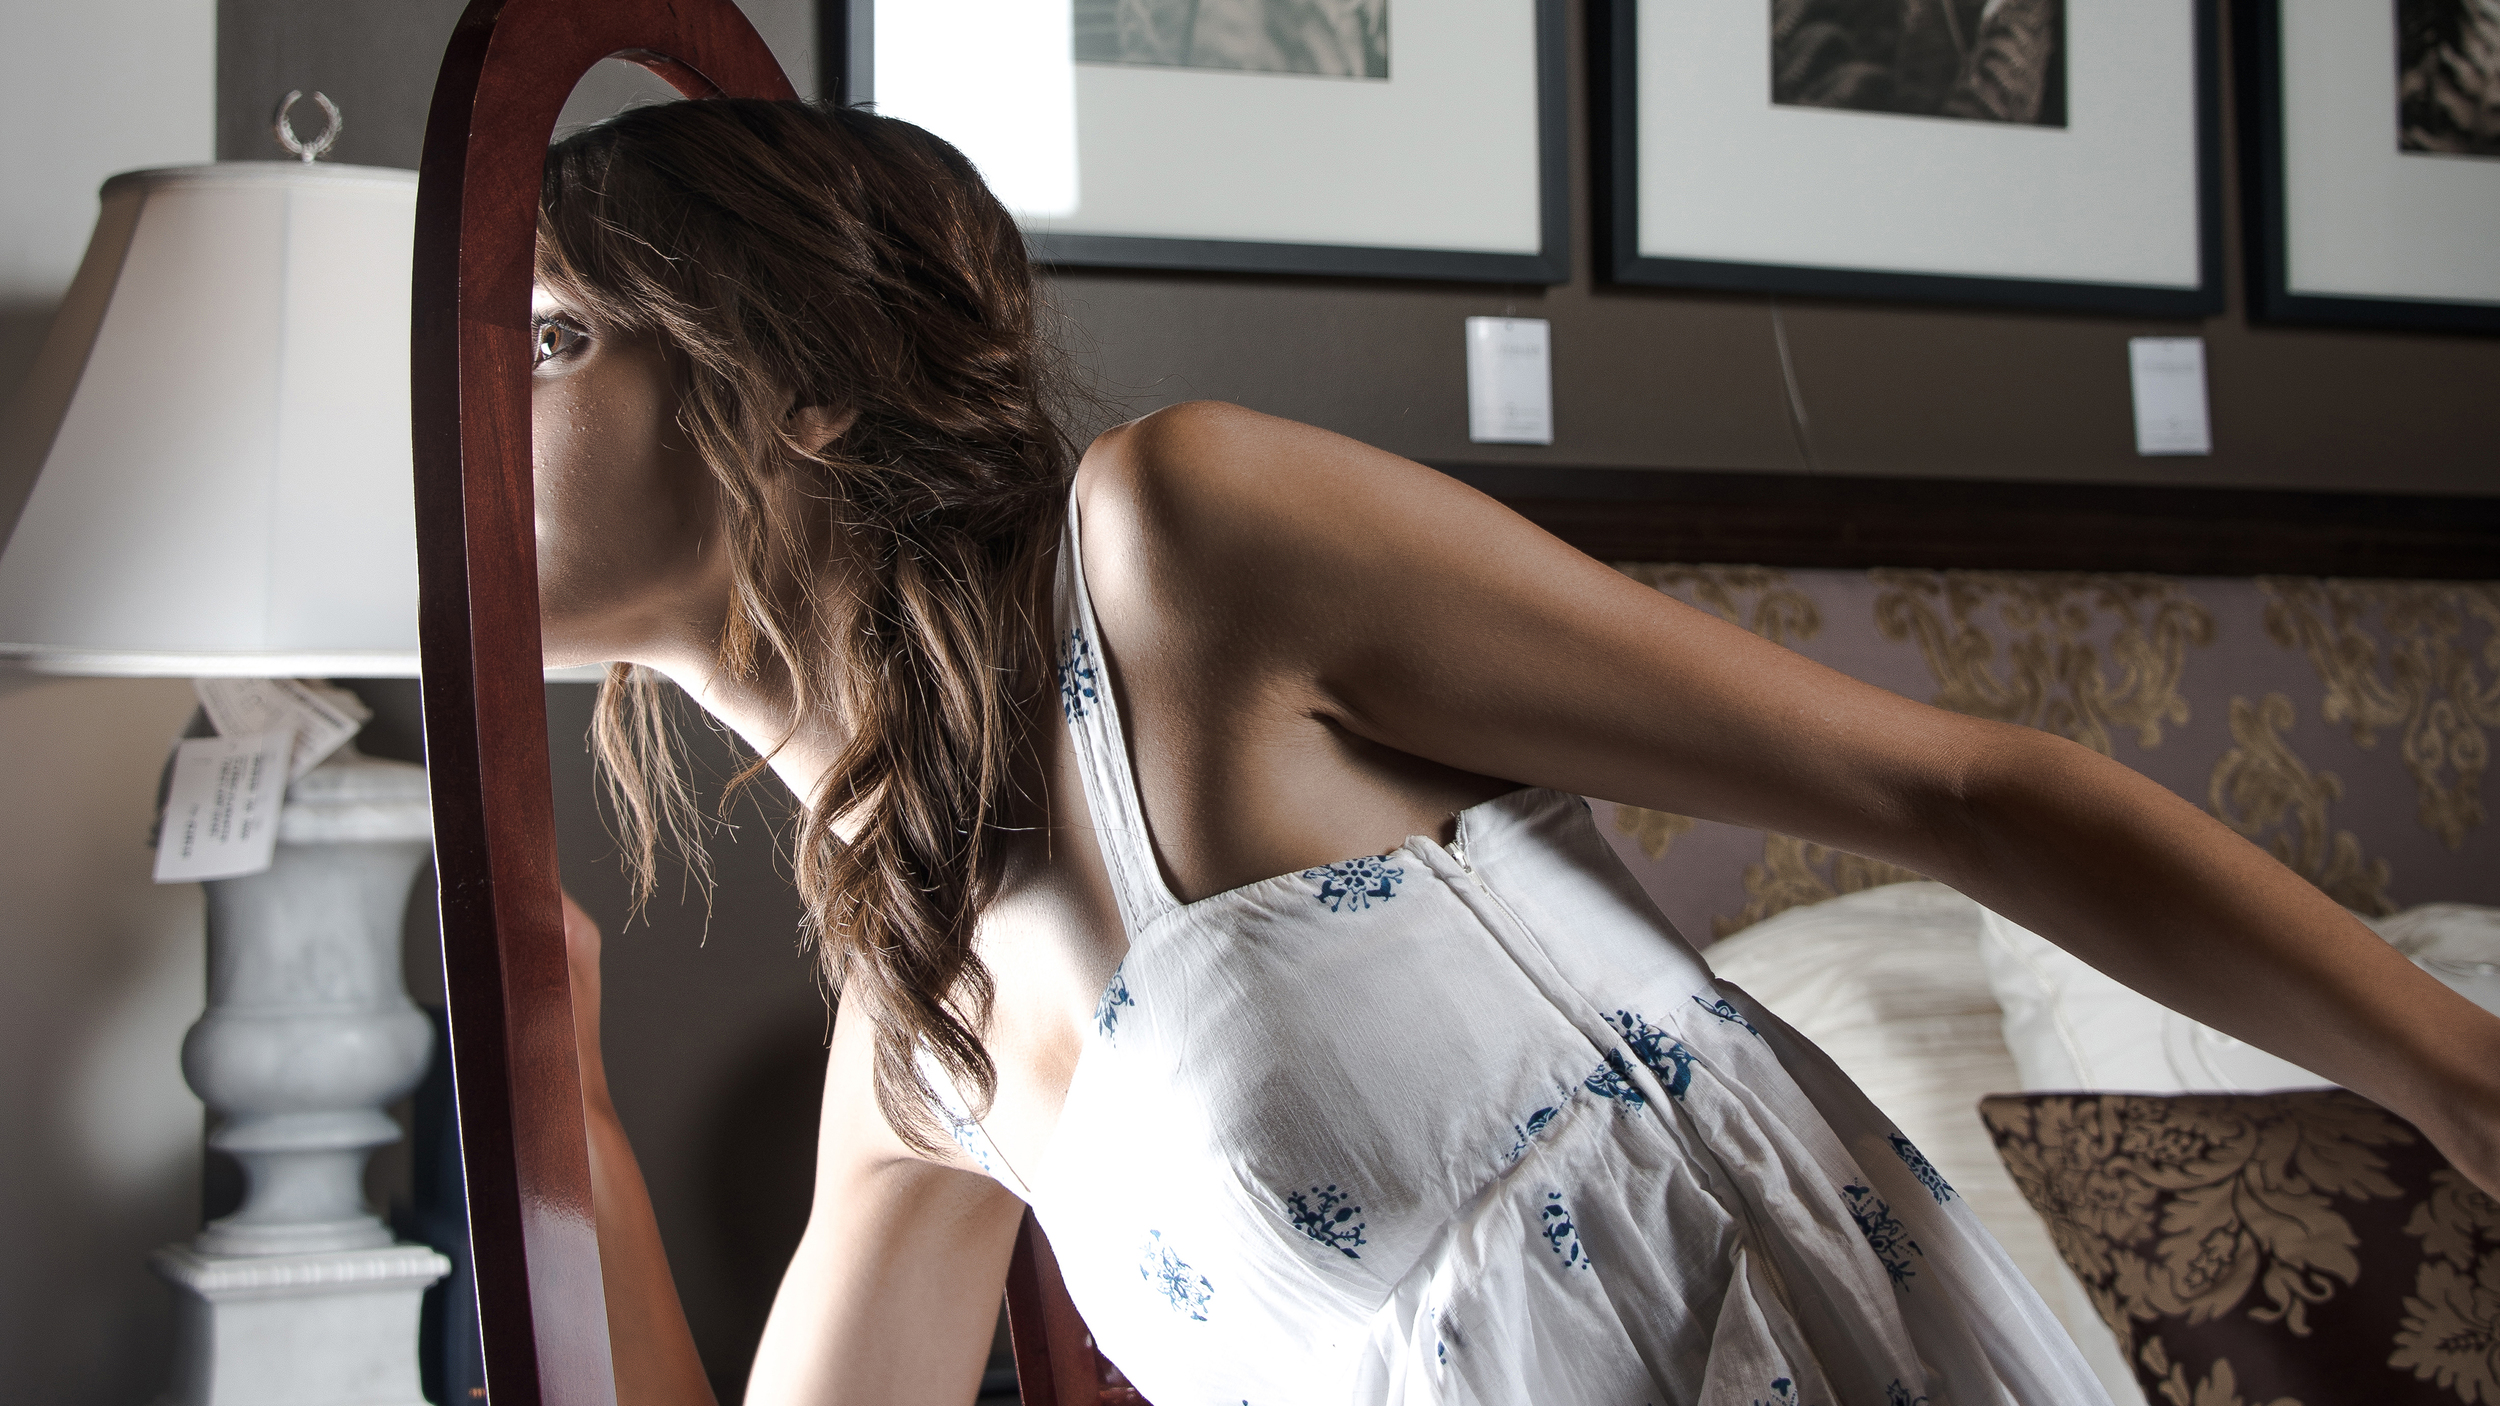
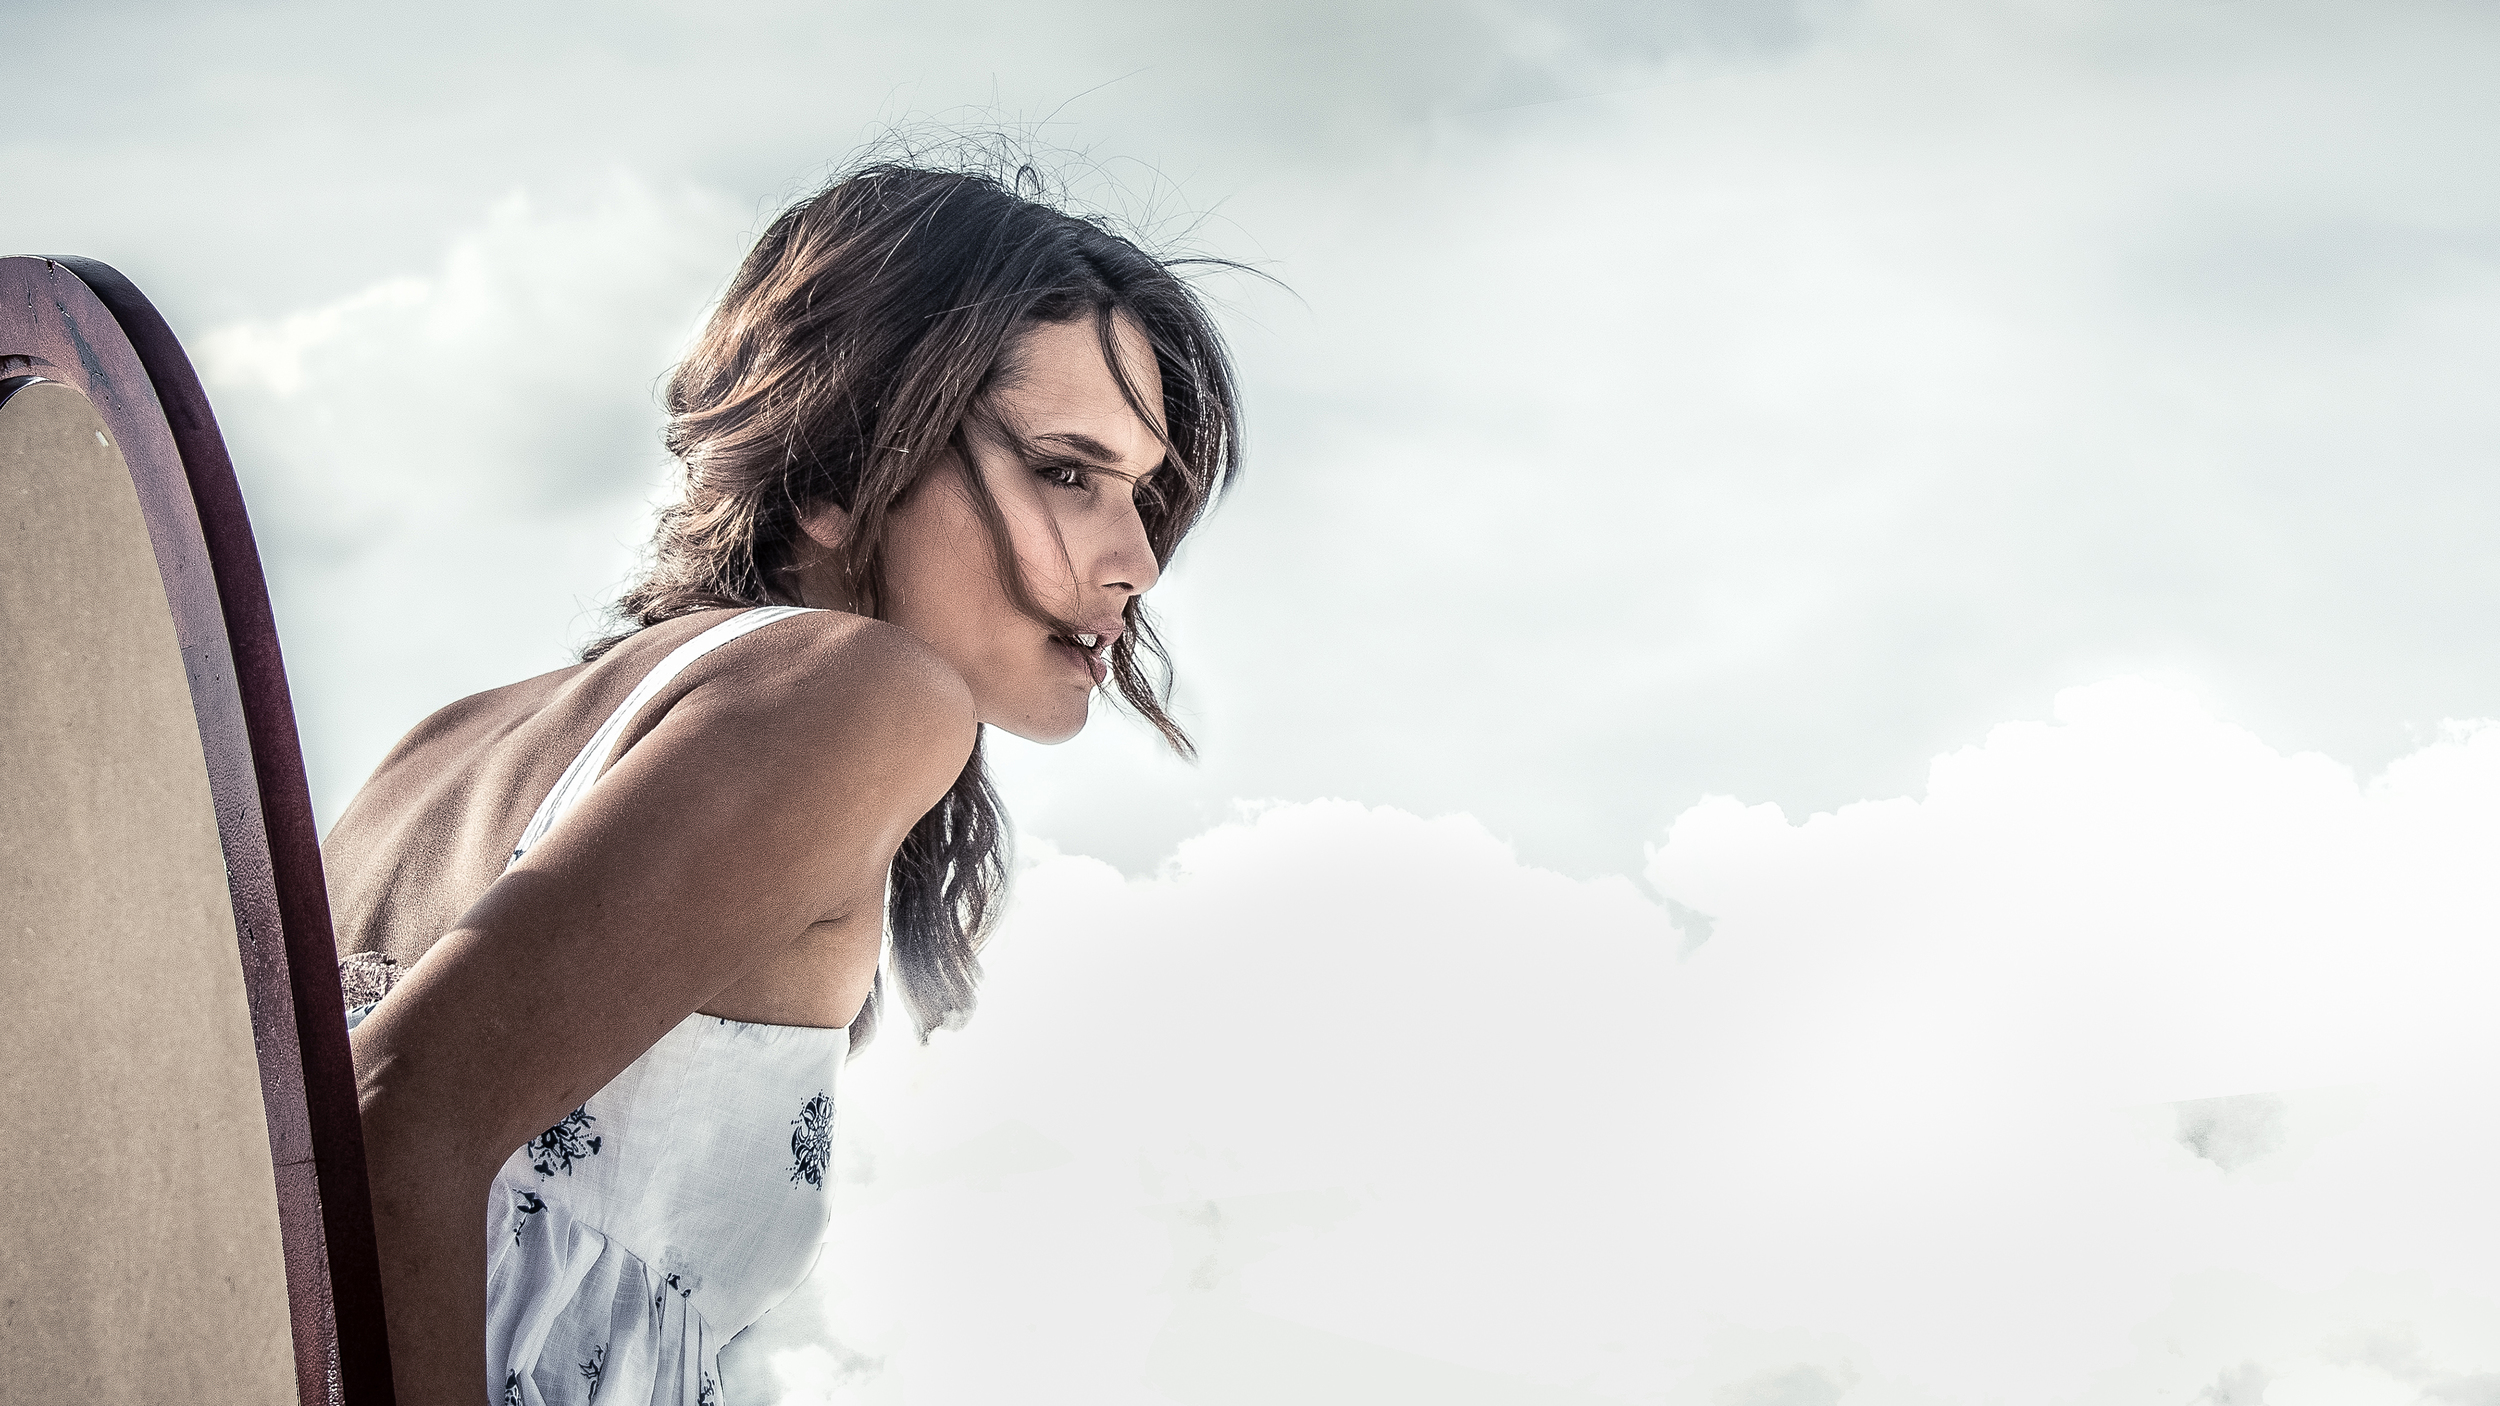
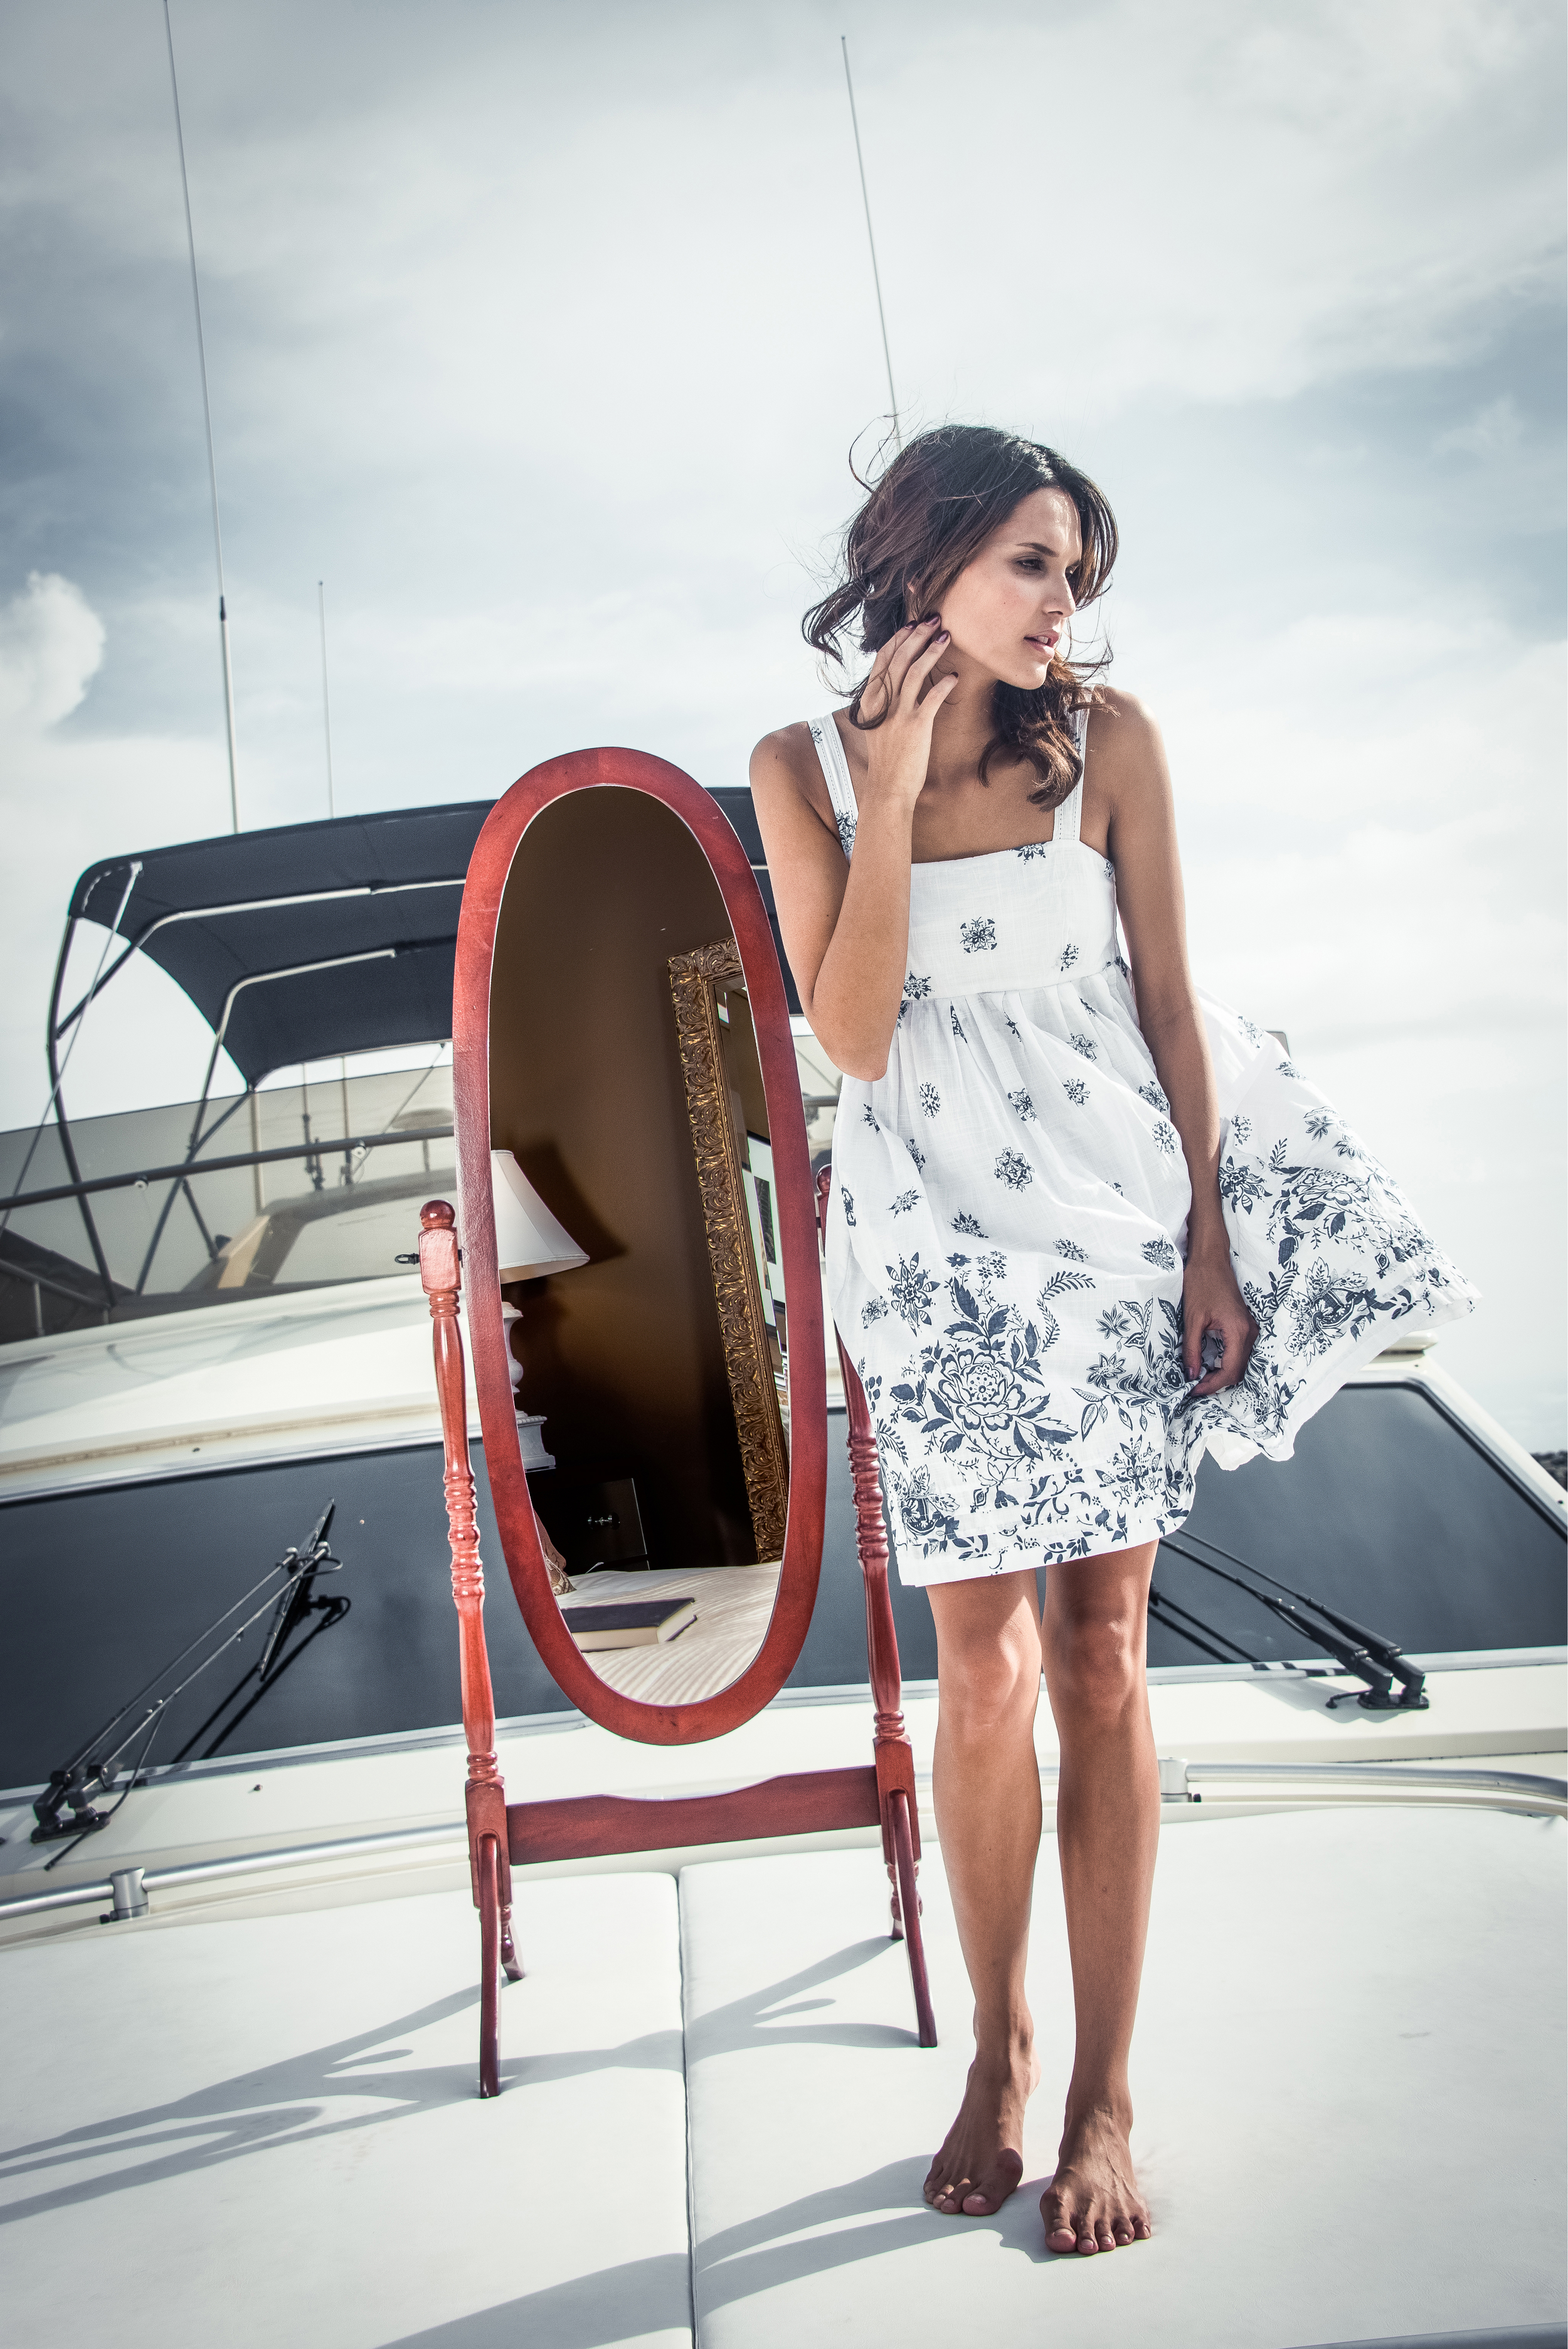
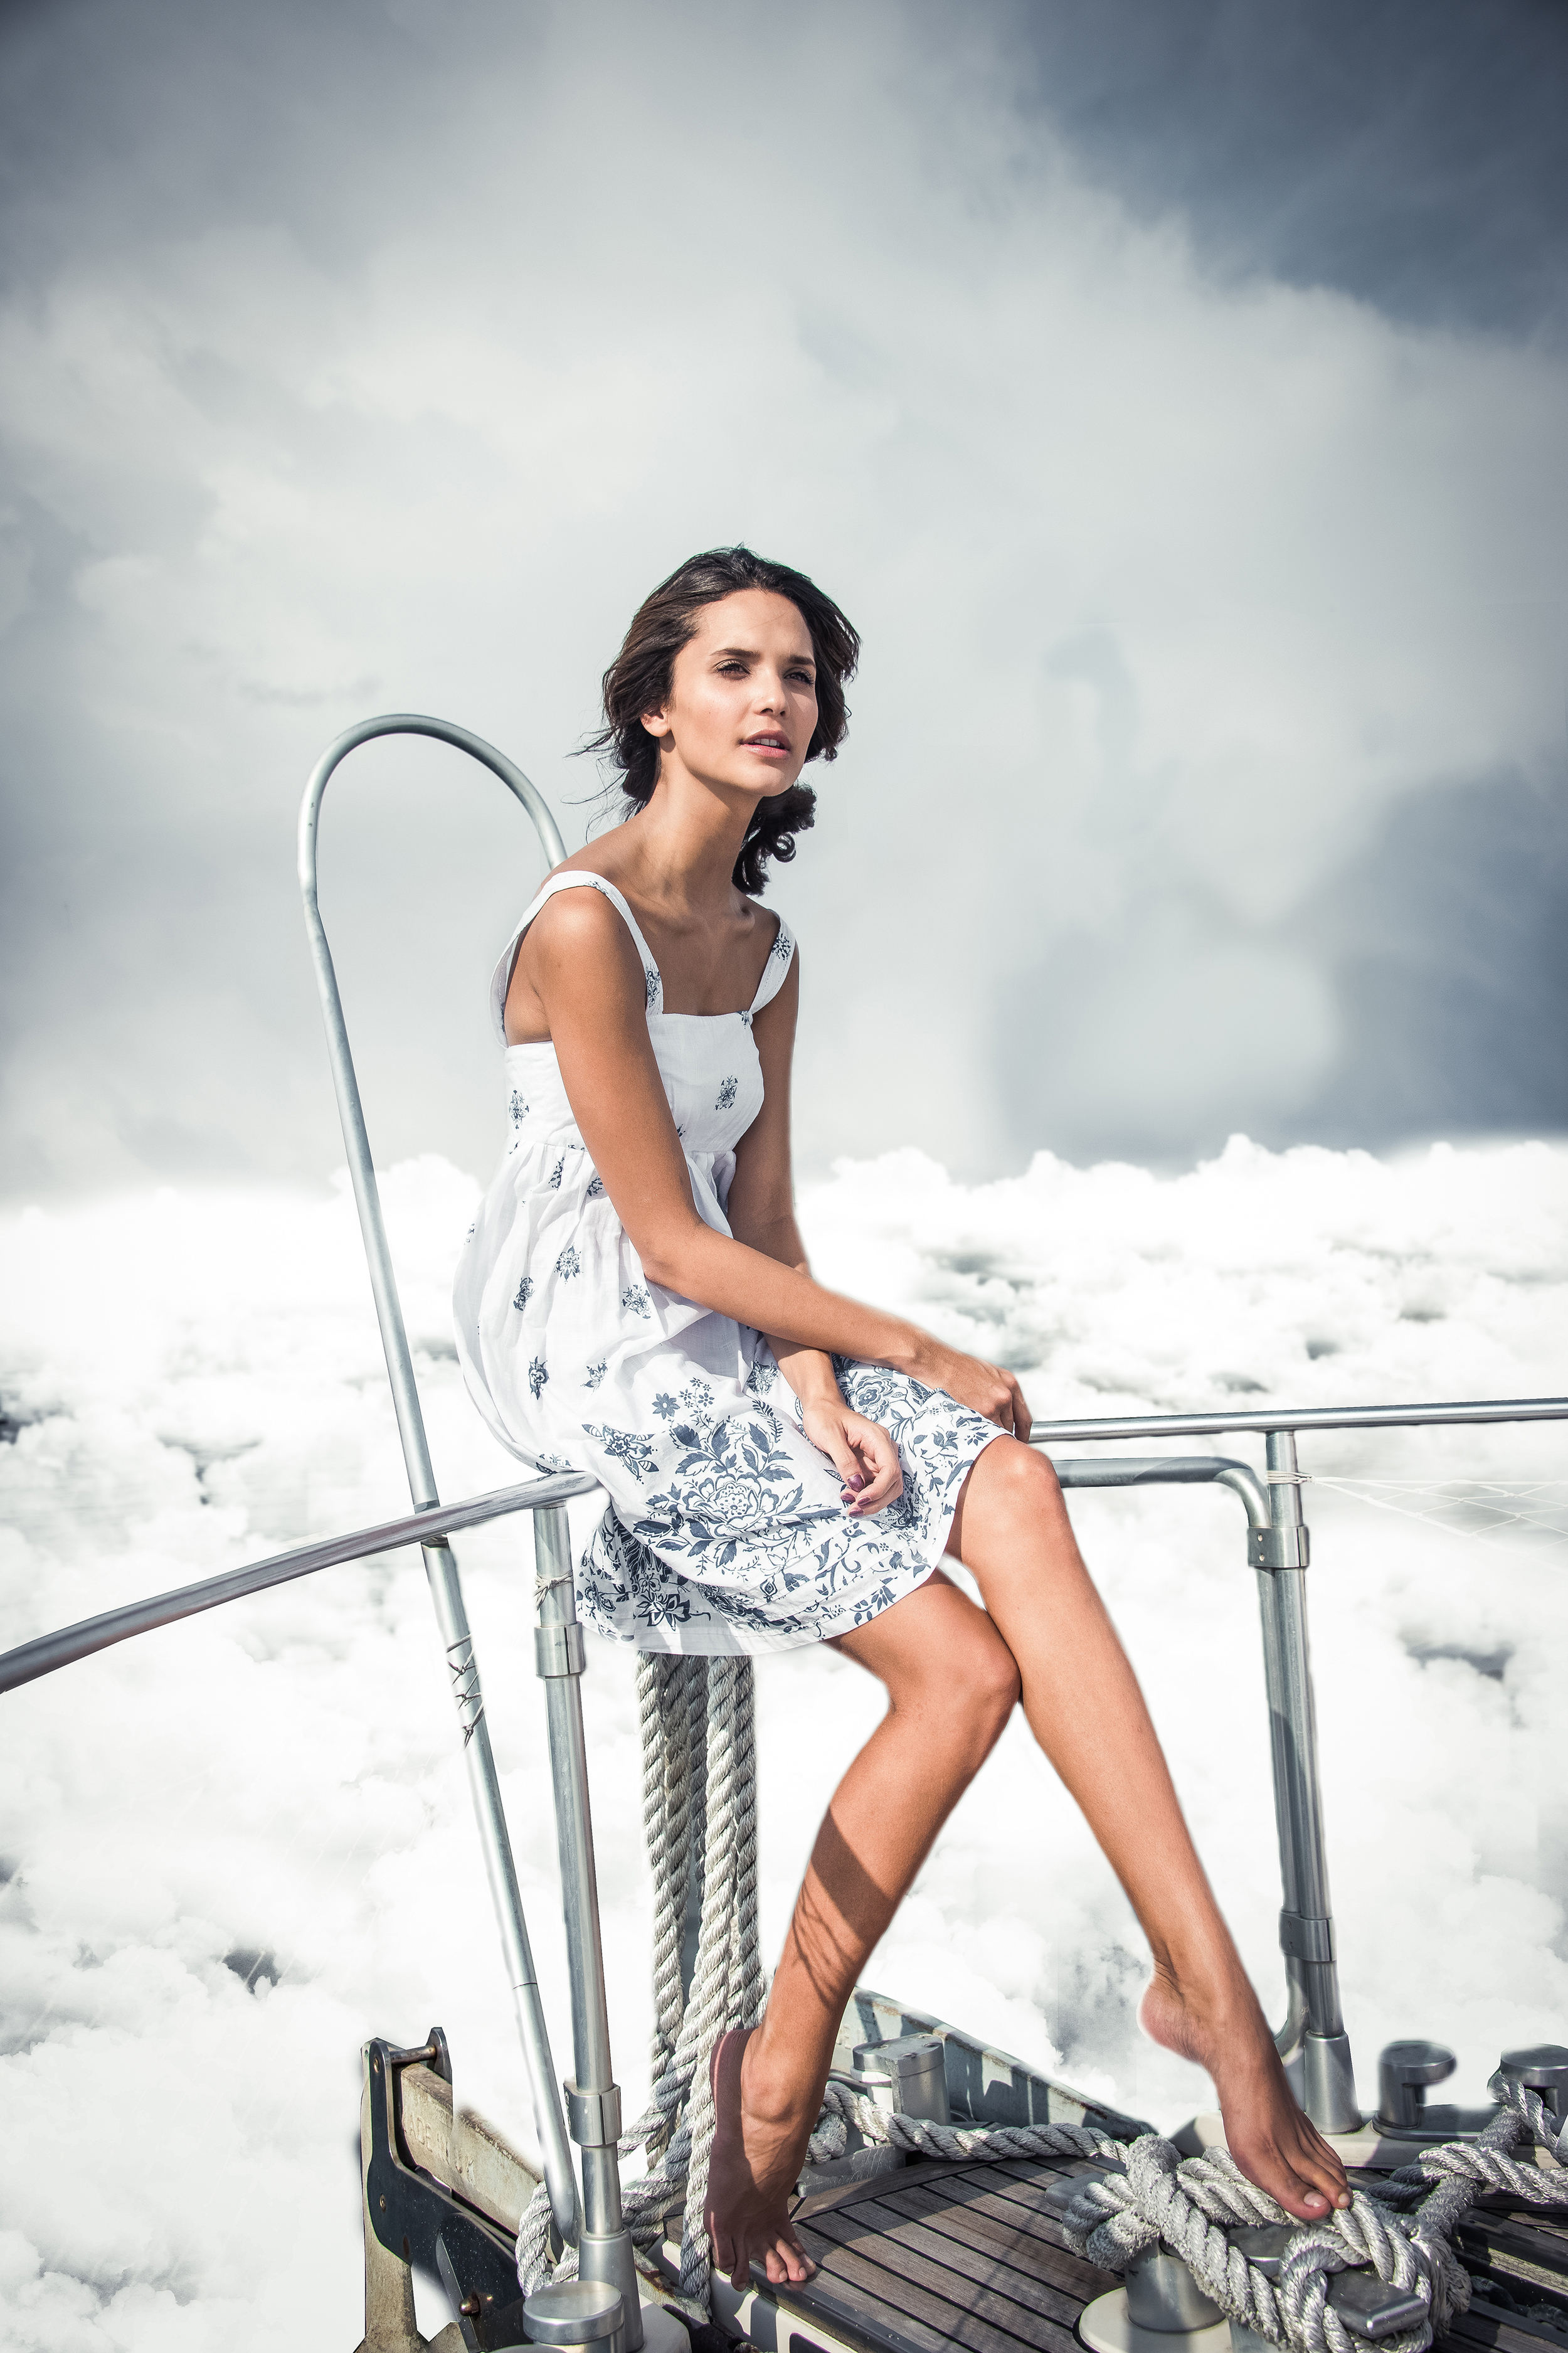
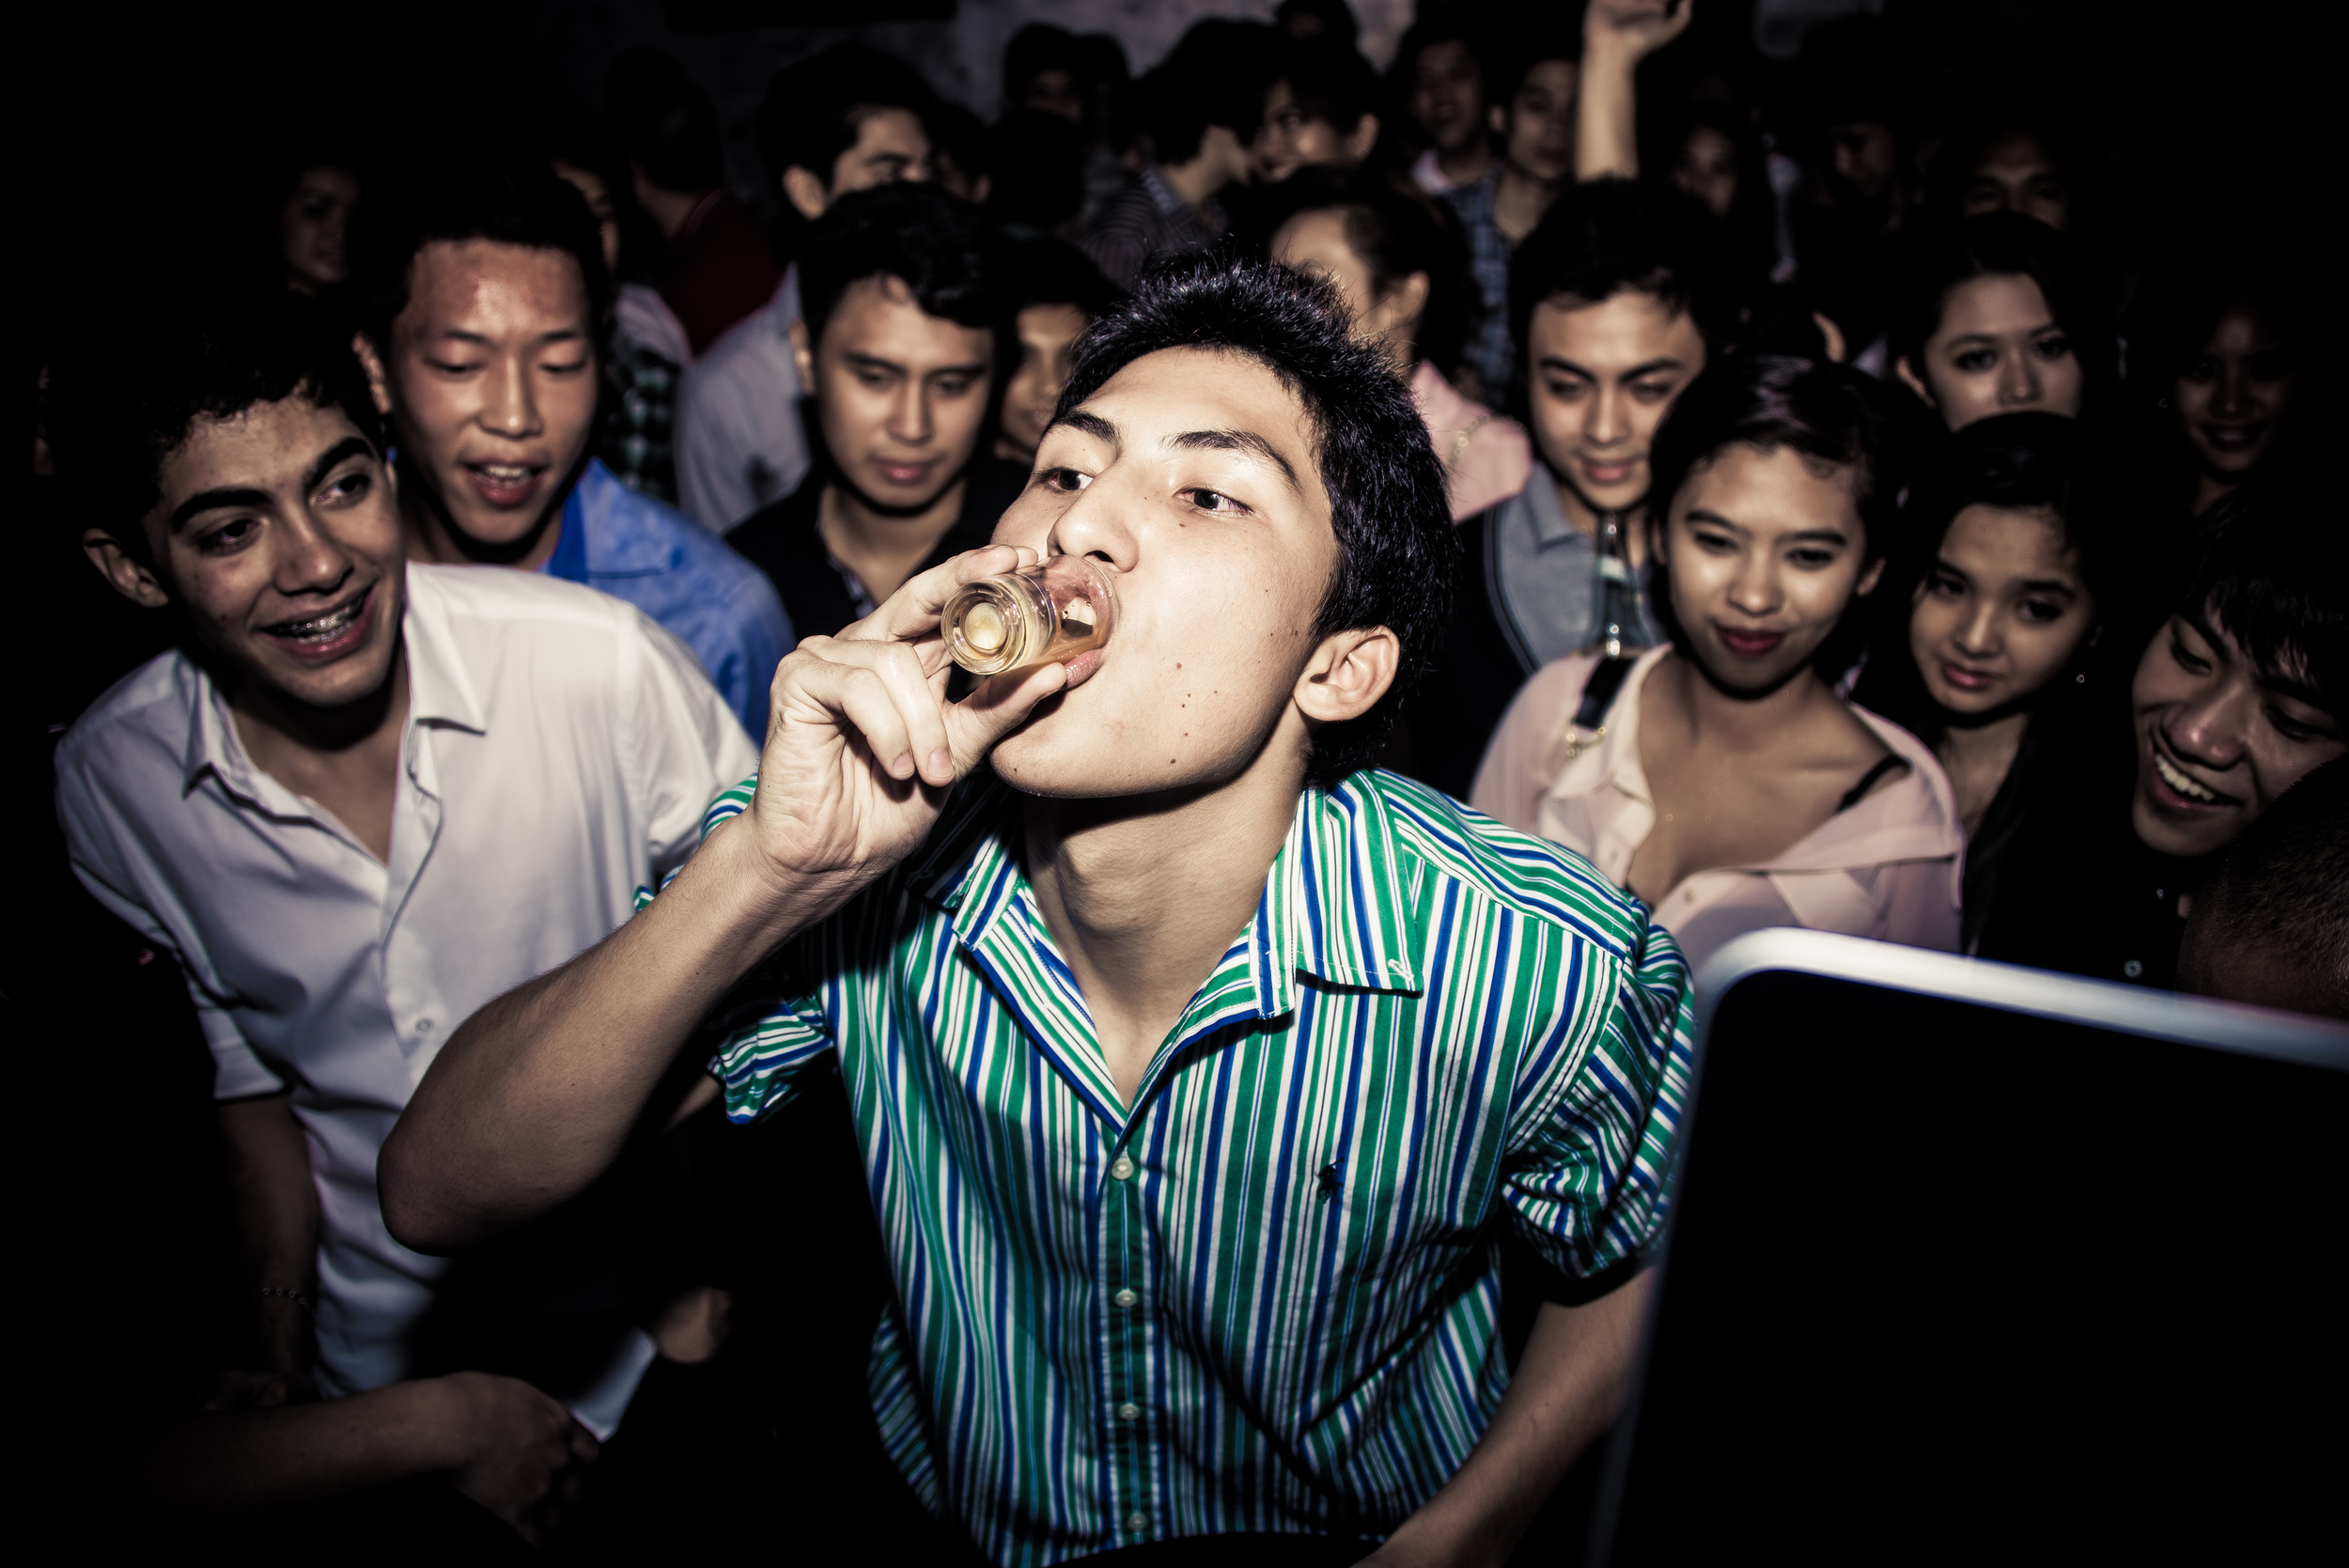
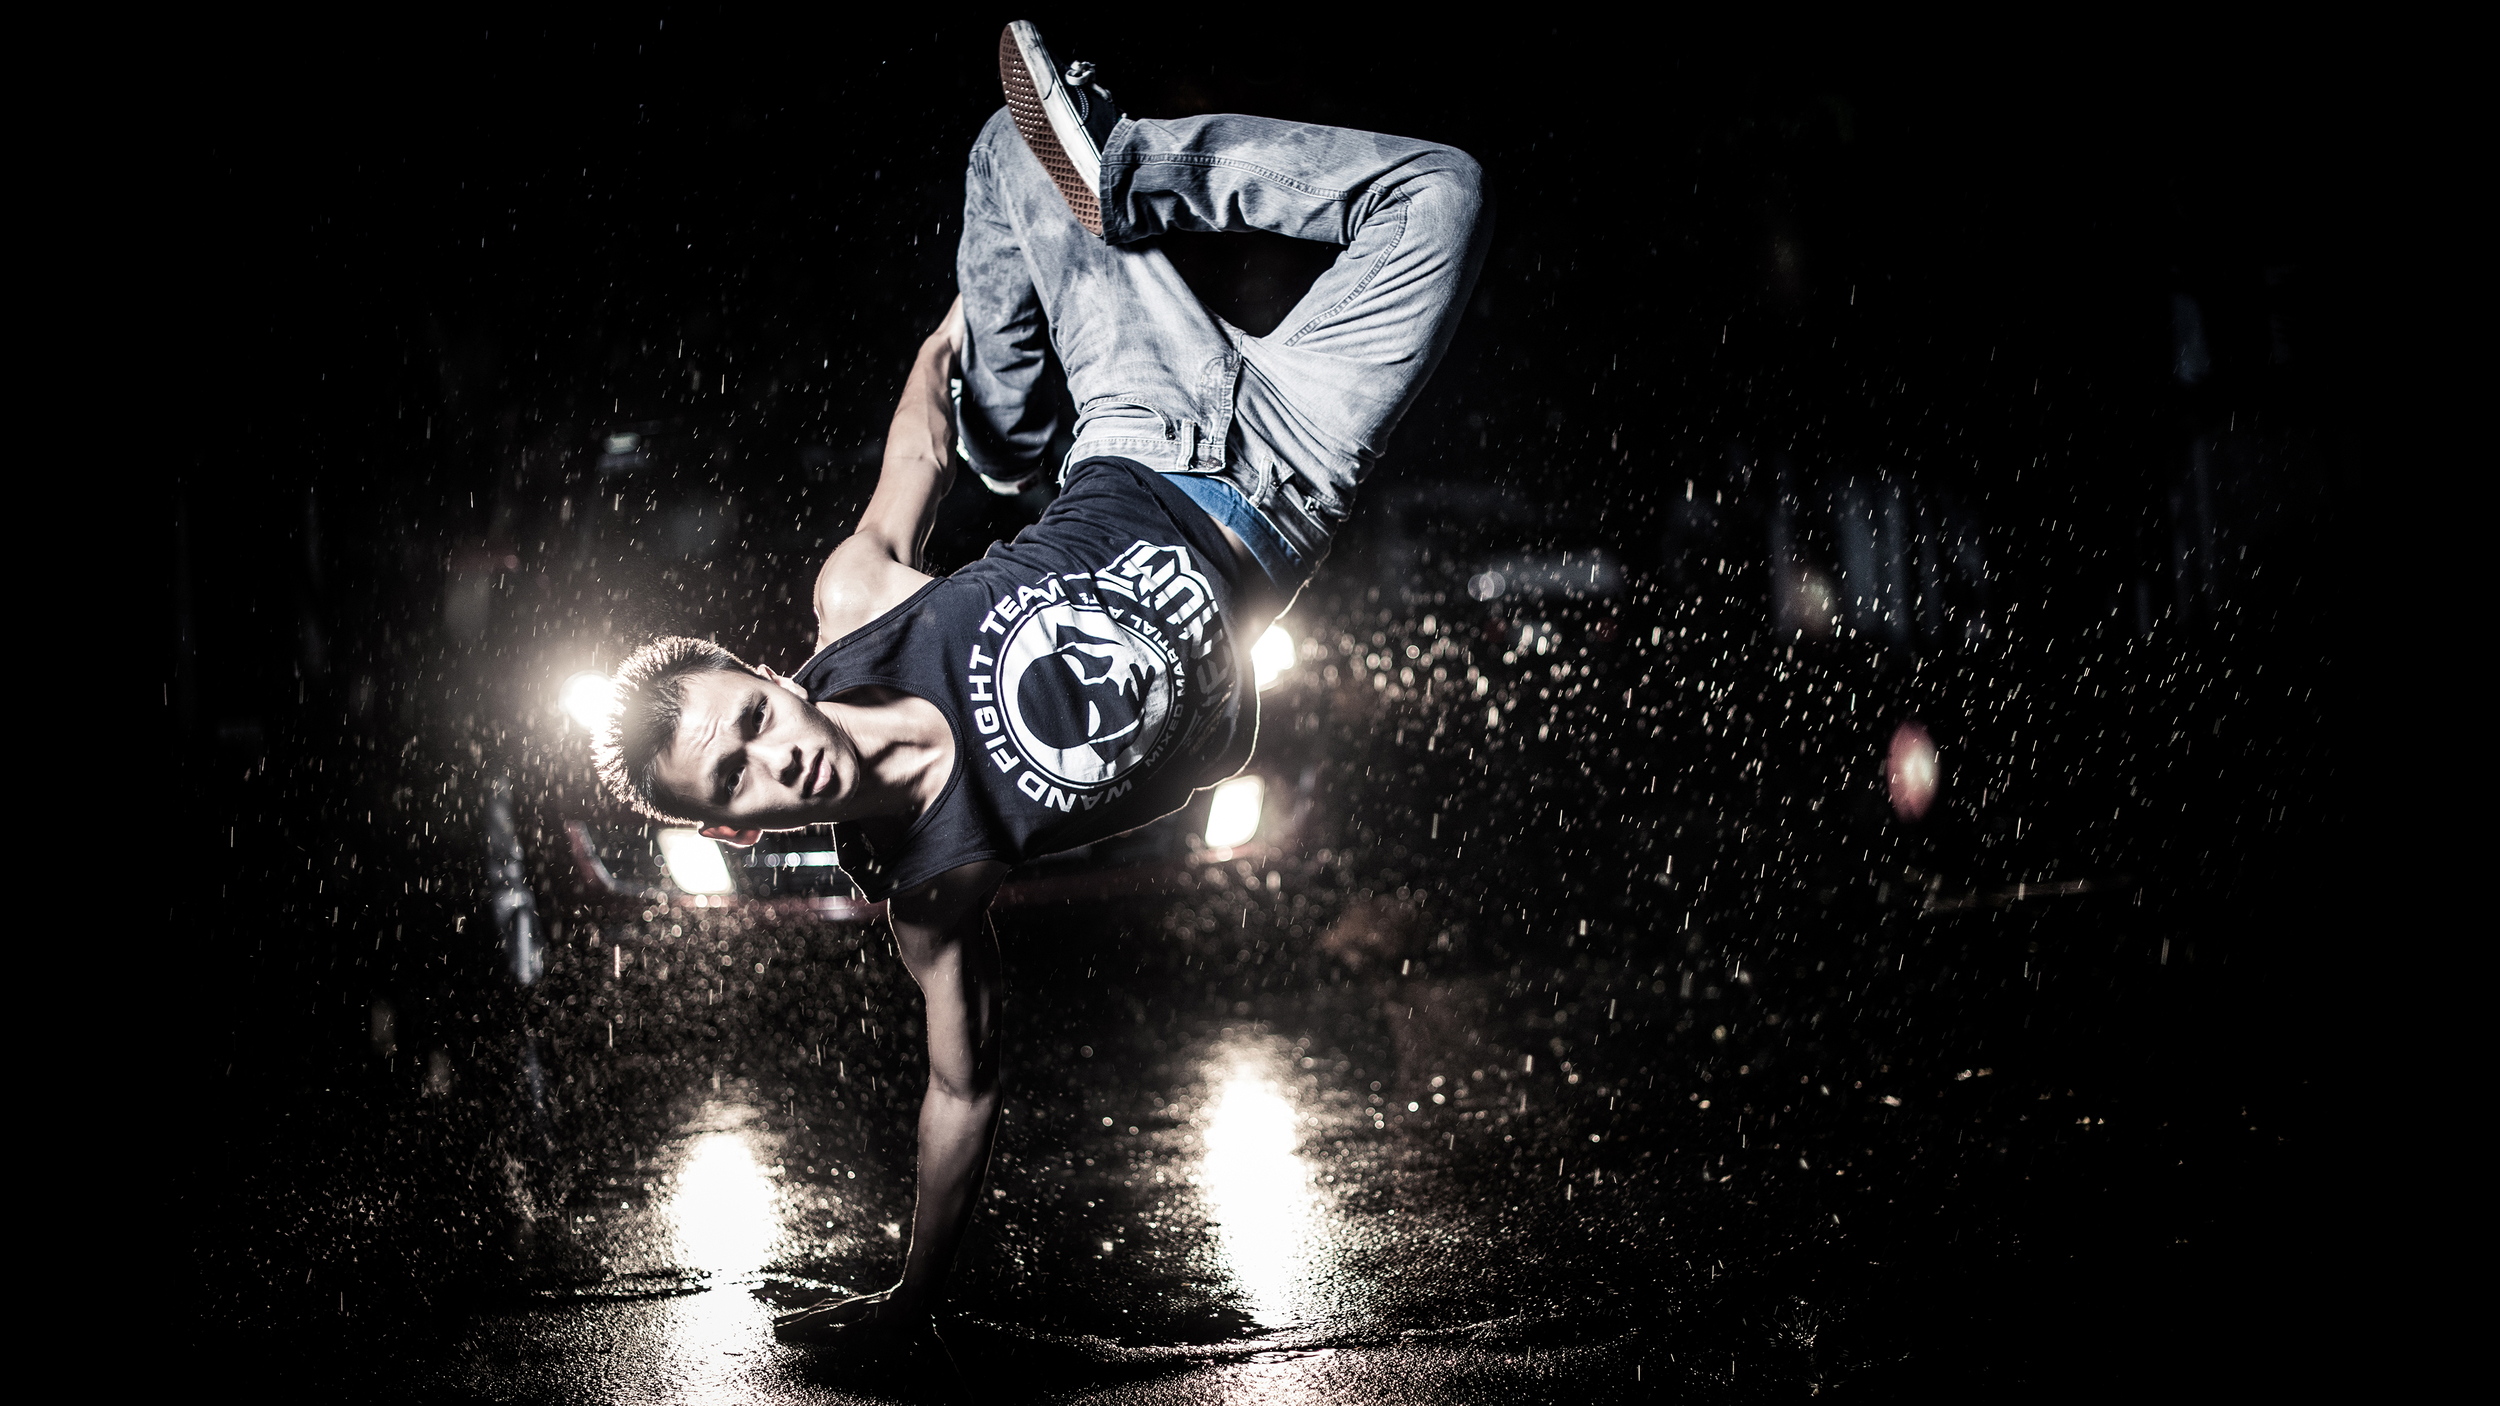
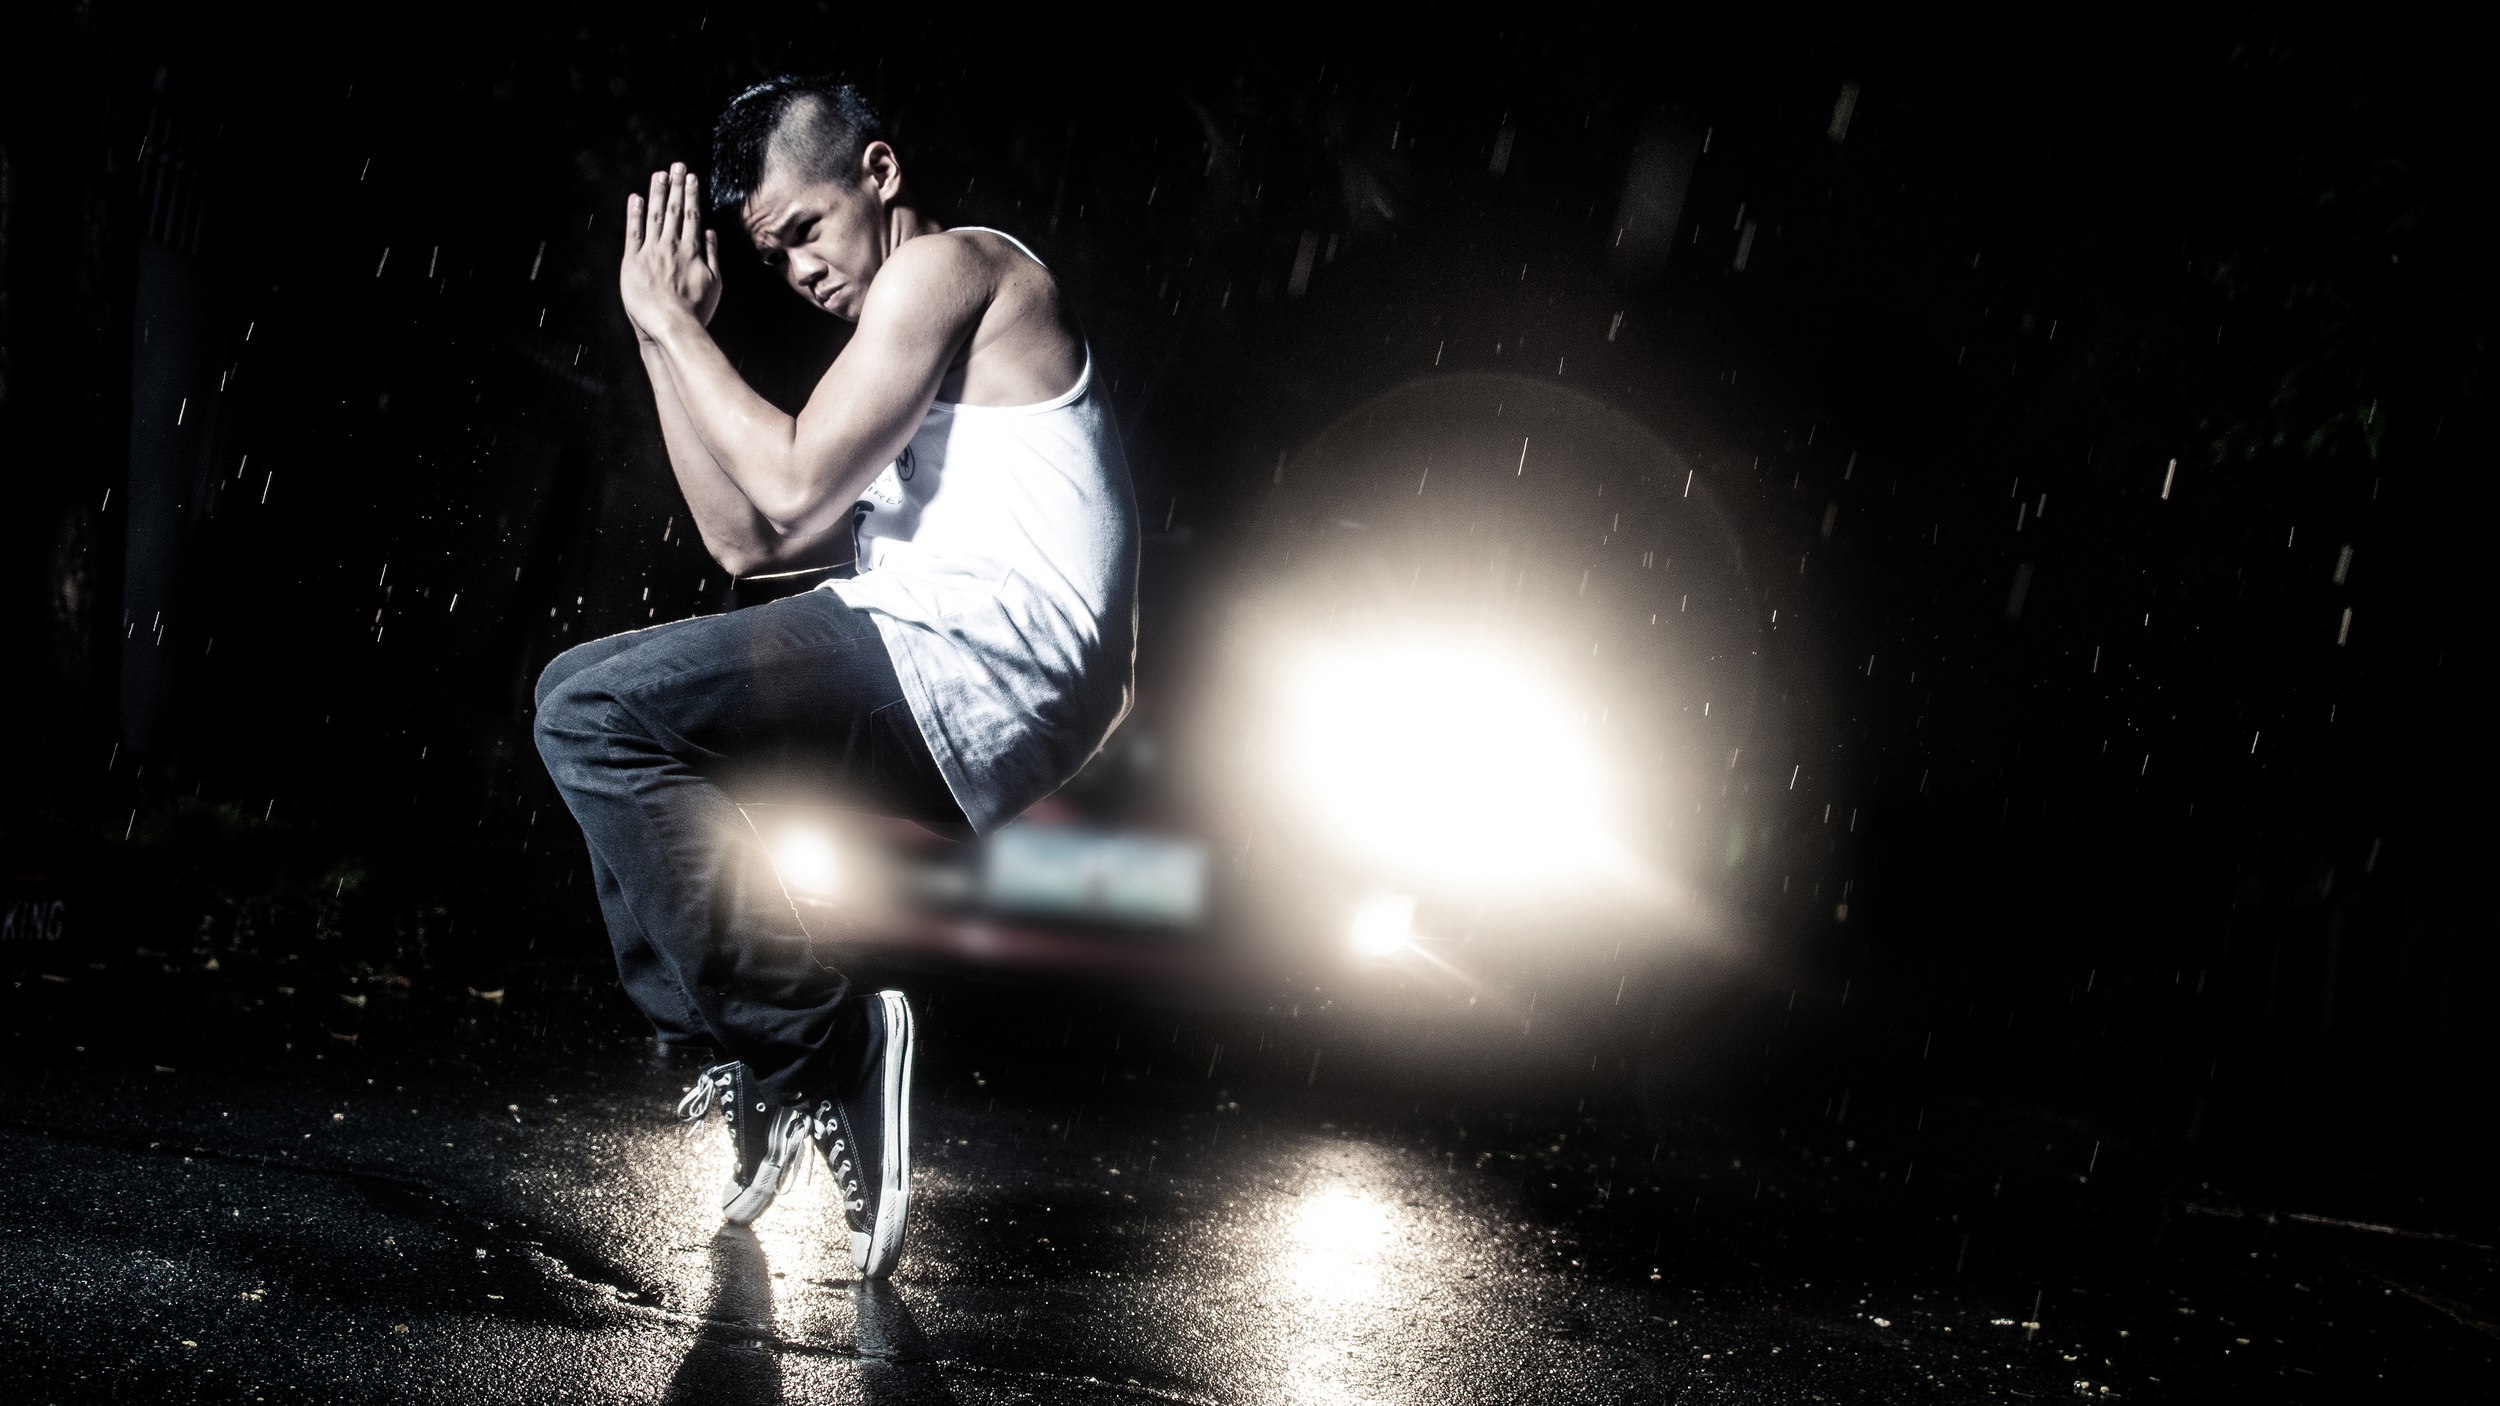
I am infatuated with the way he creates such a dramatic scene with a lot of tension and emotions. He portrays his idea not only with the model but also with the background equally. In return, his photographs have a very surreal and cinematic feel to them.

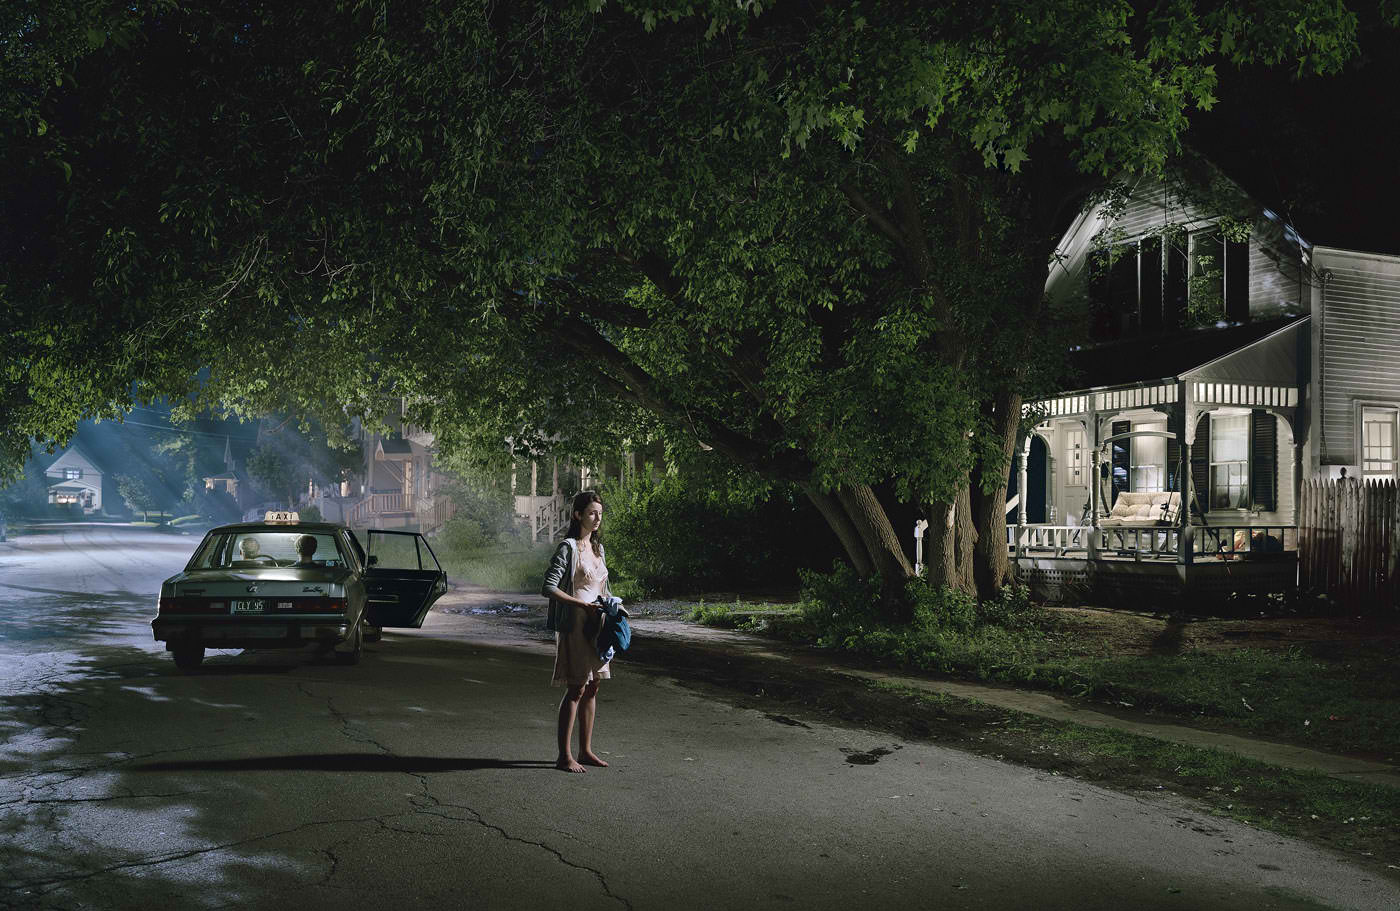
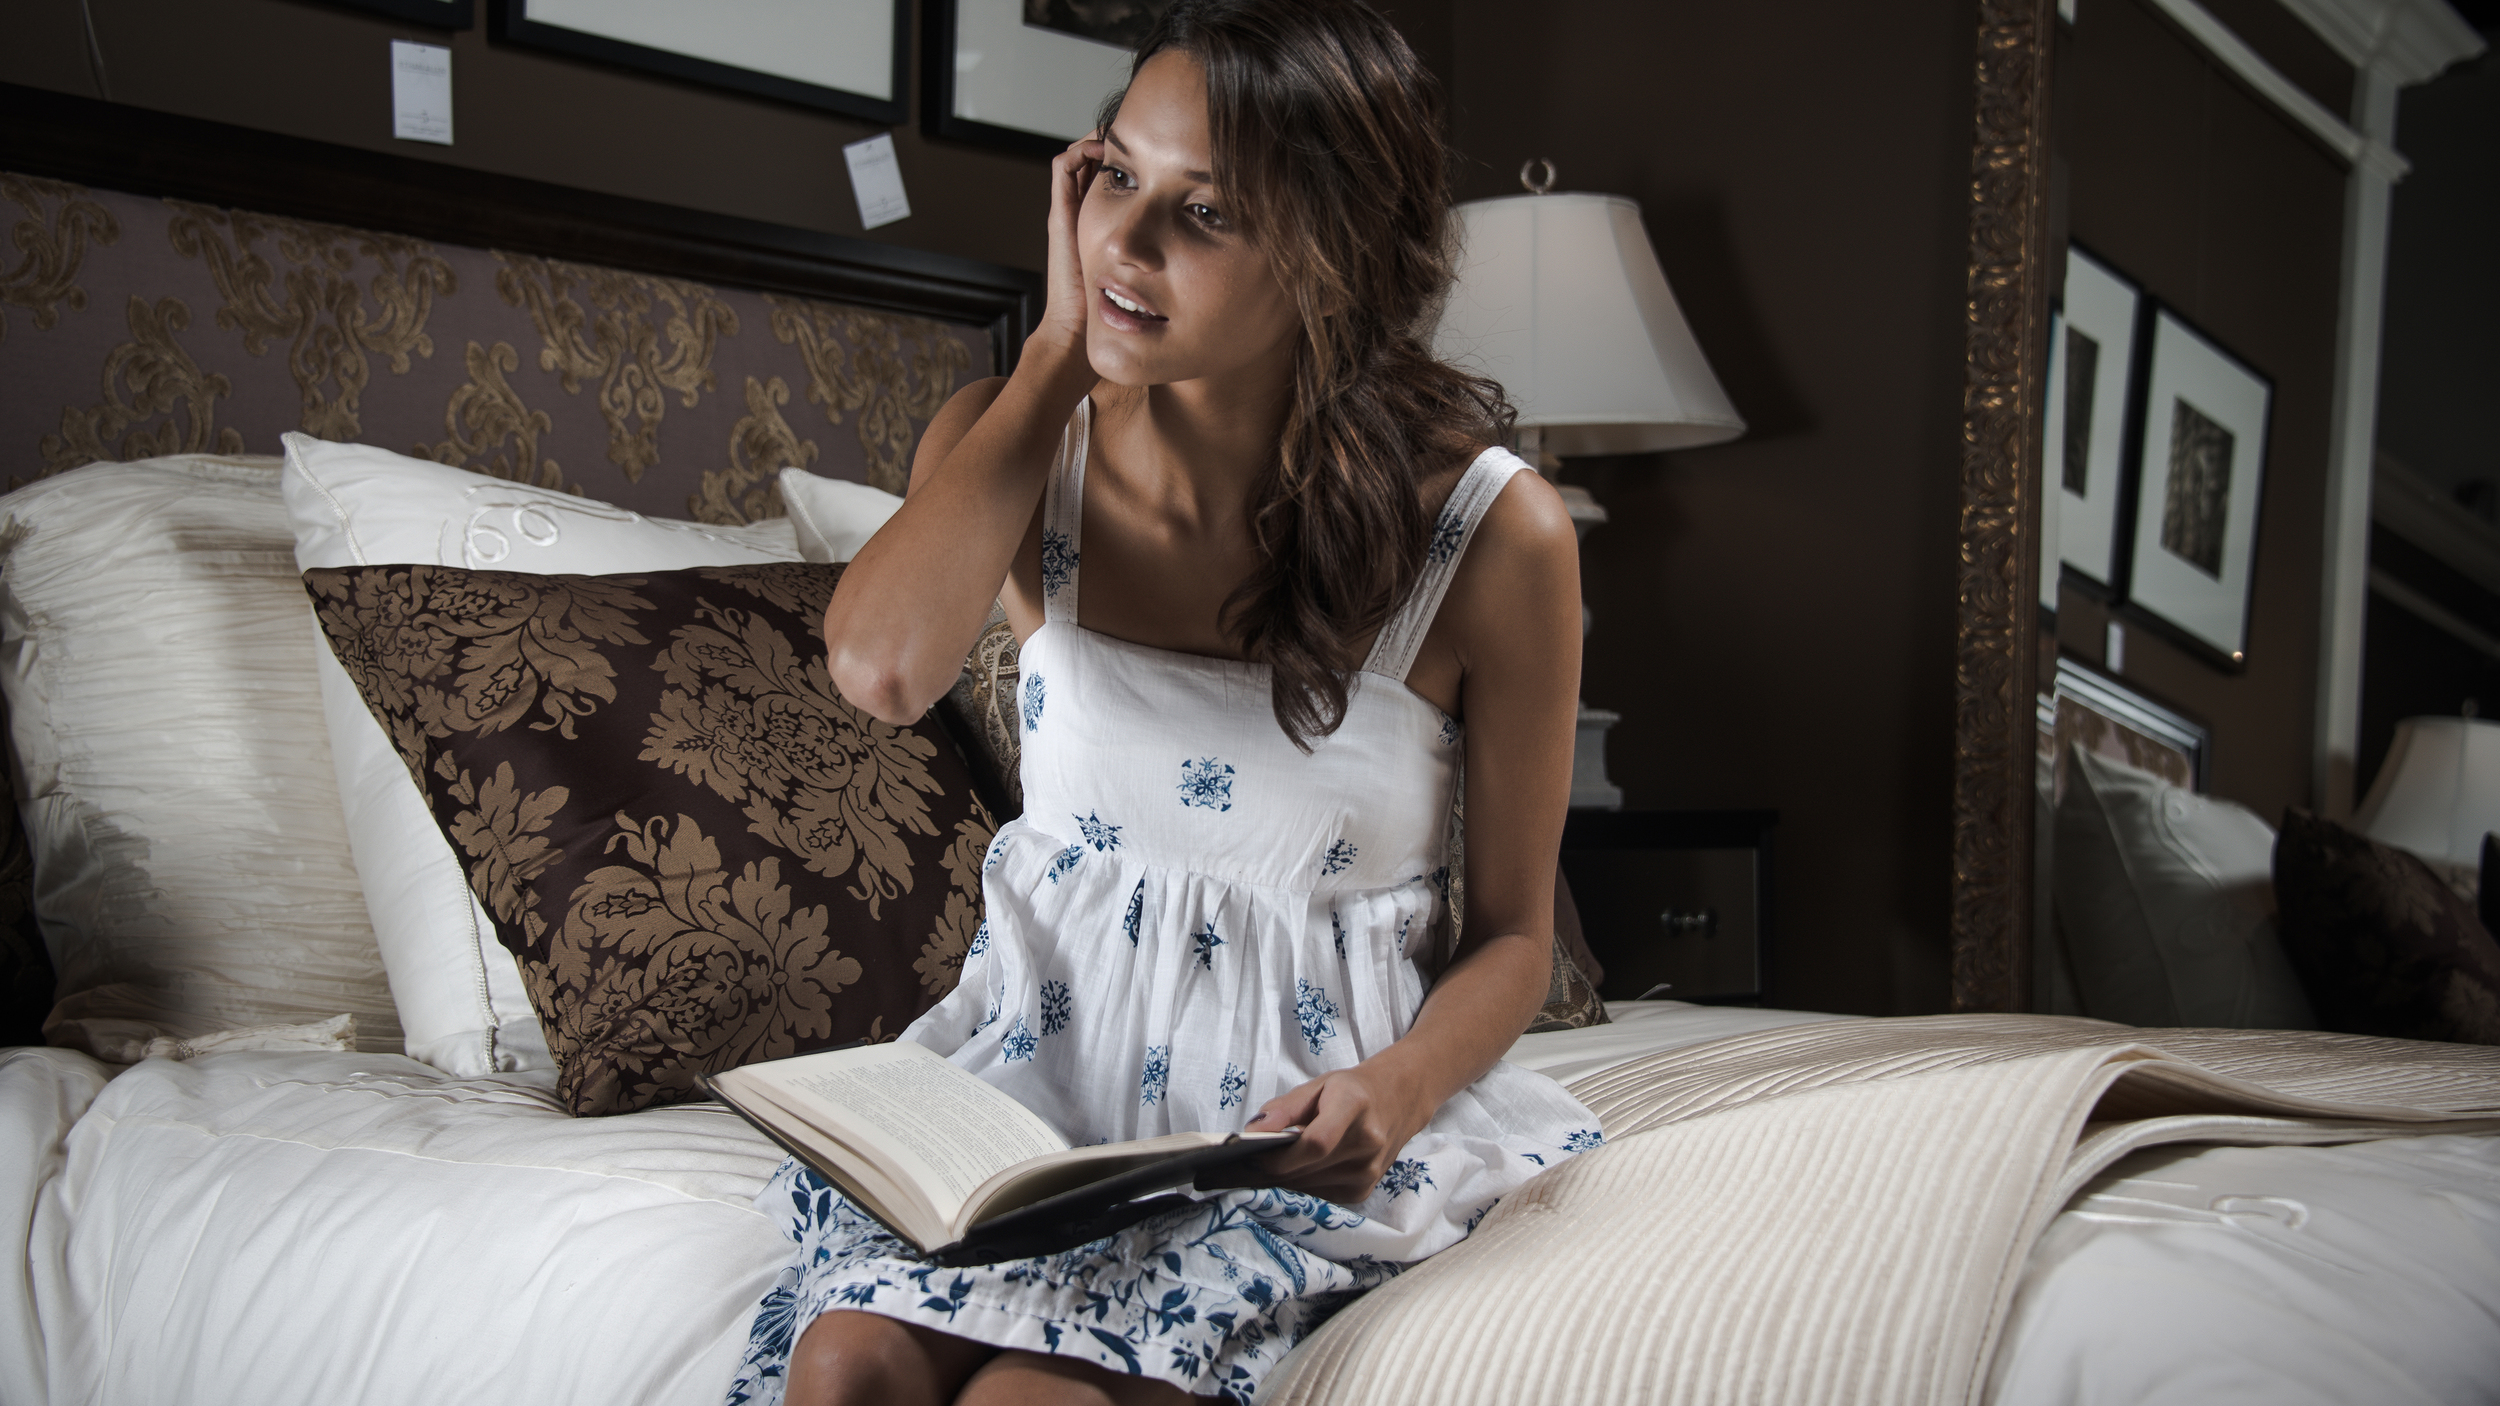
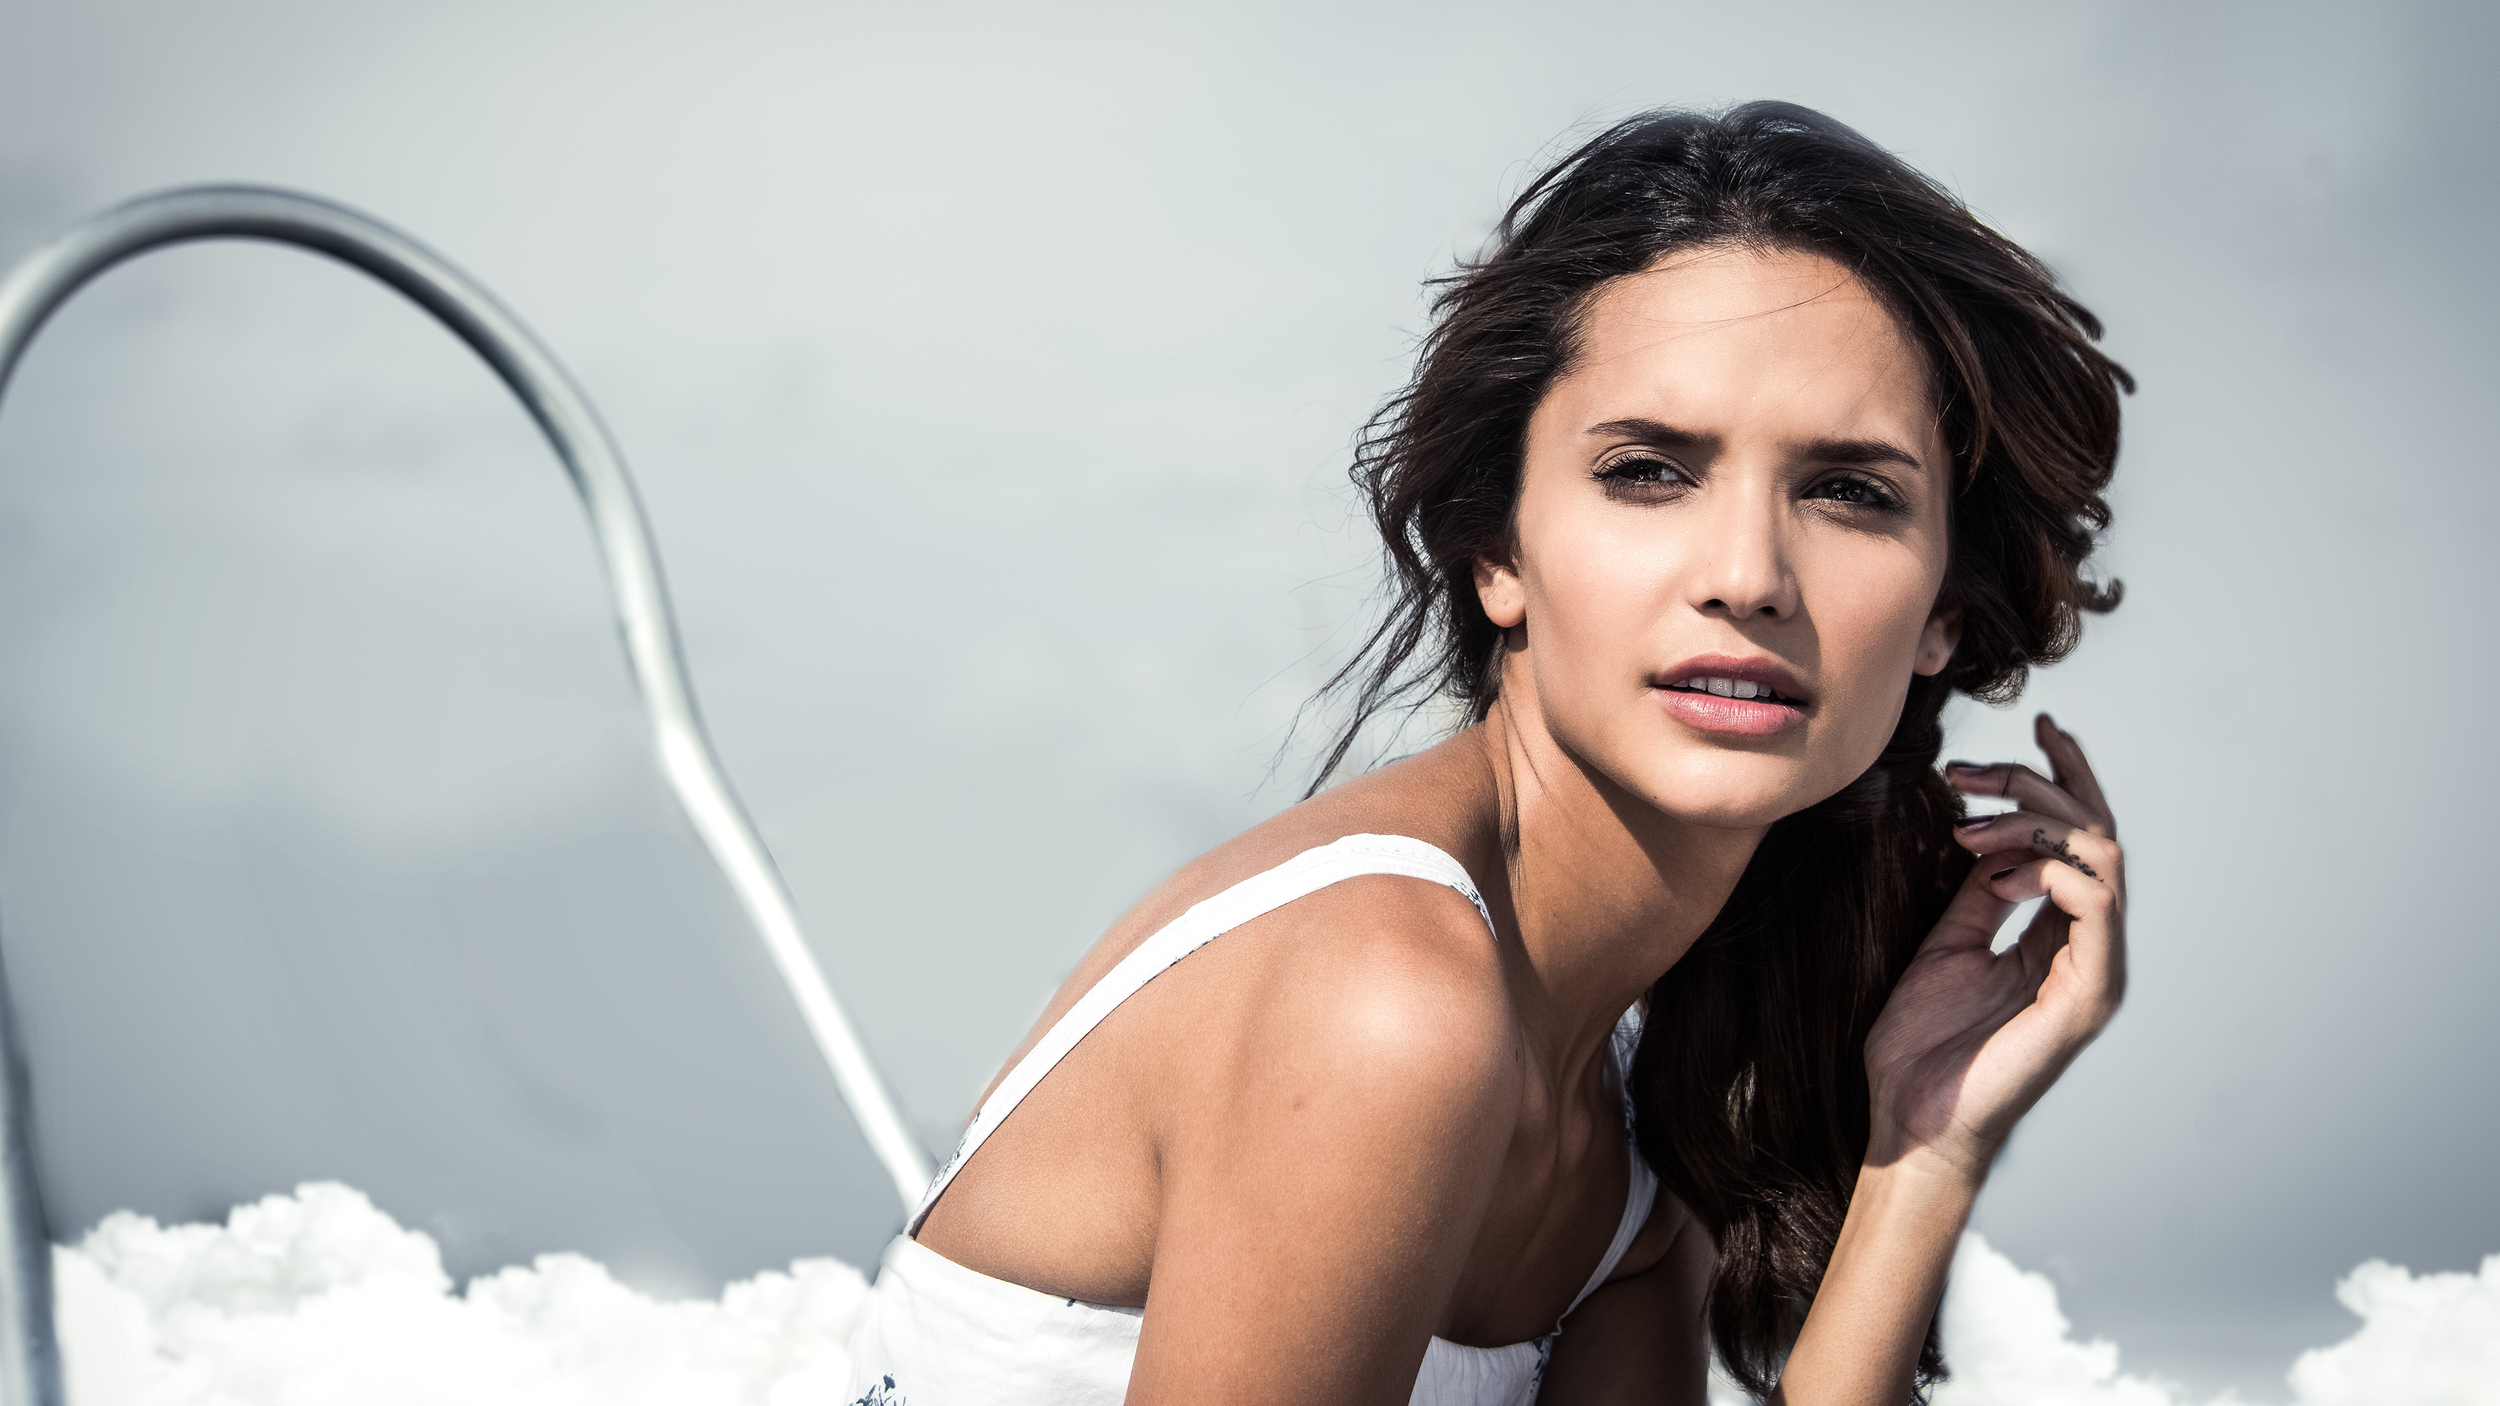
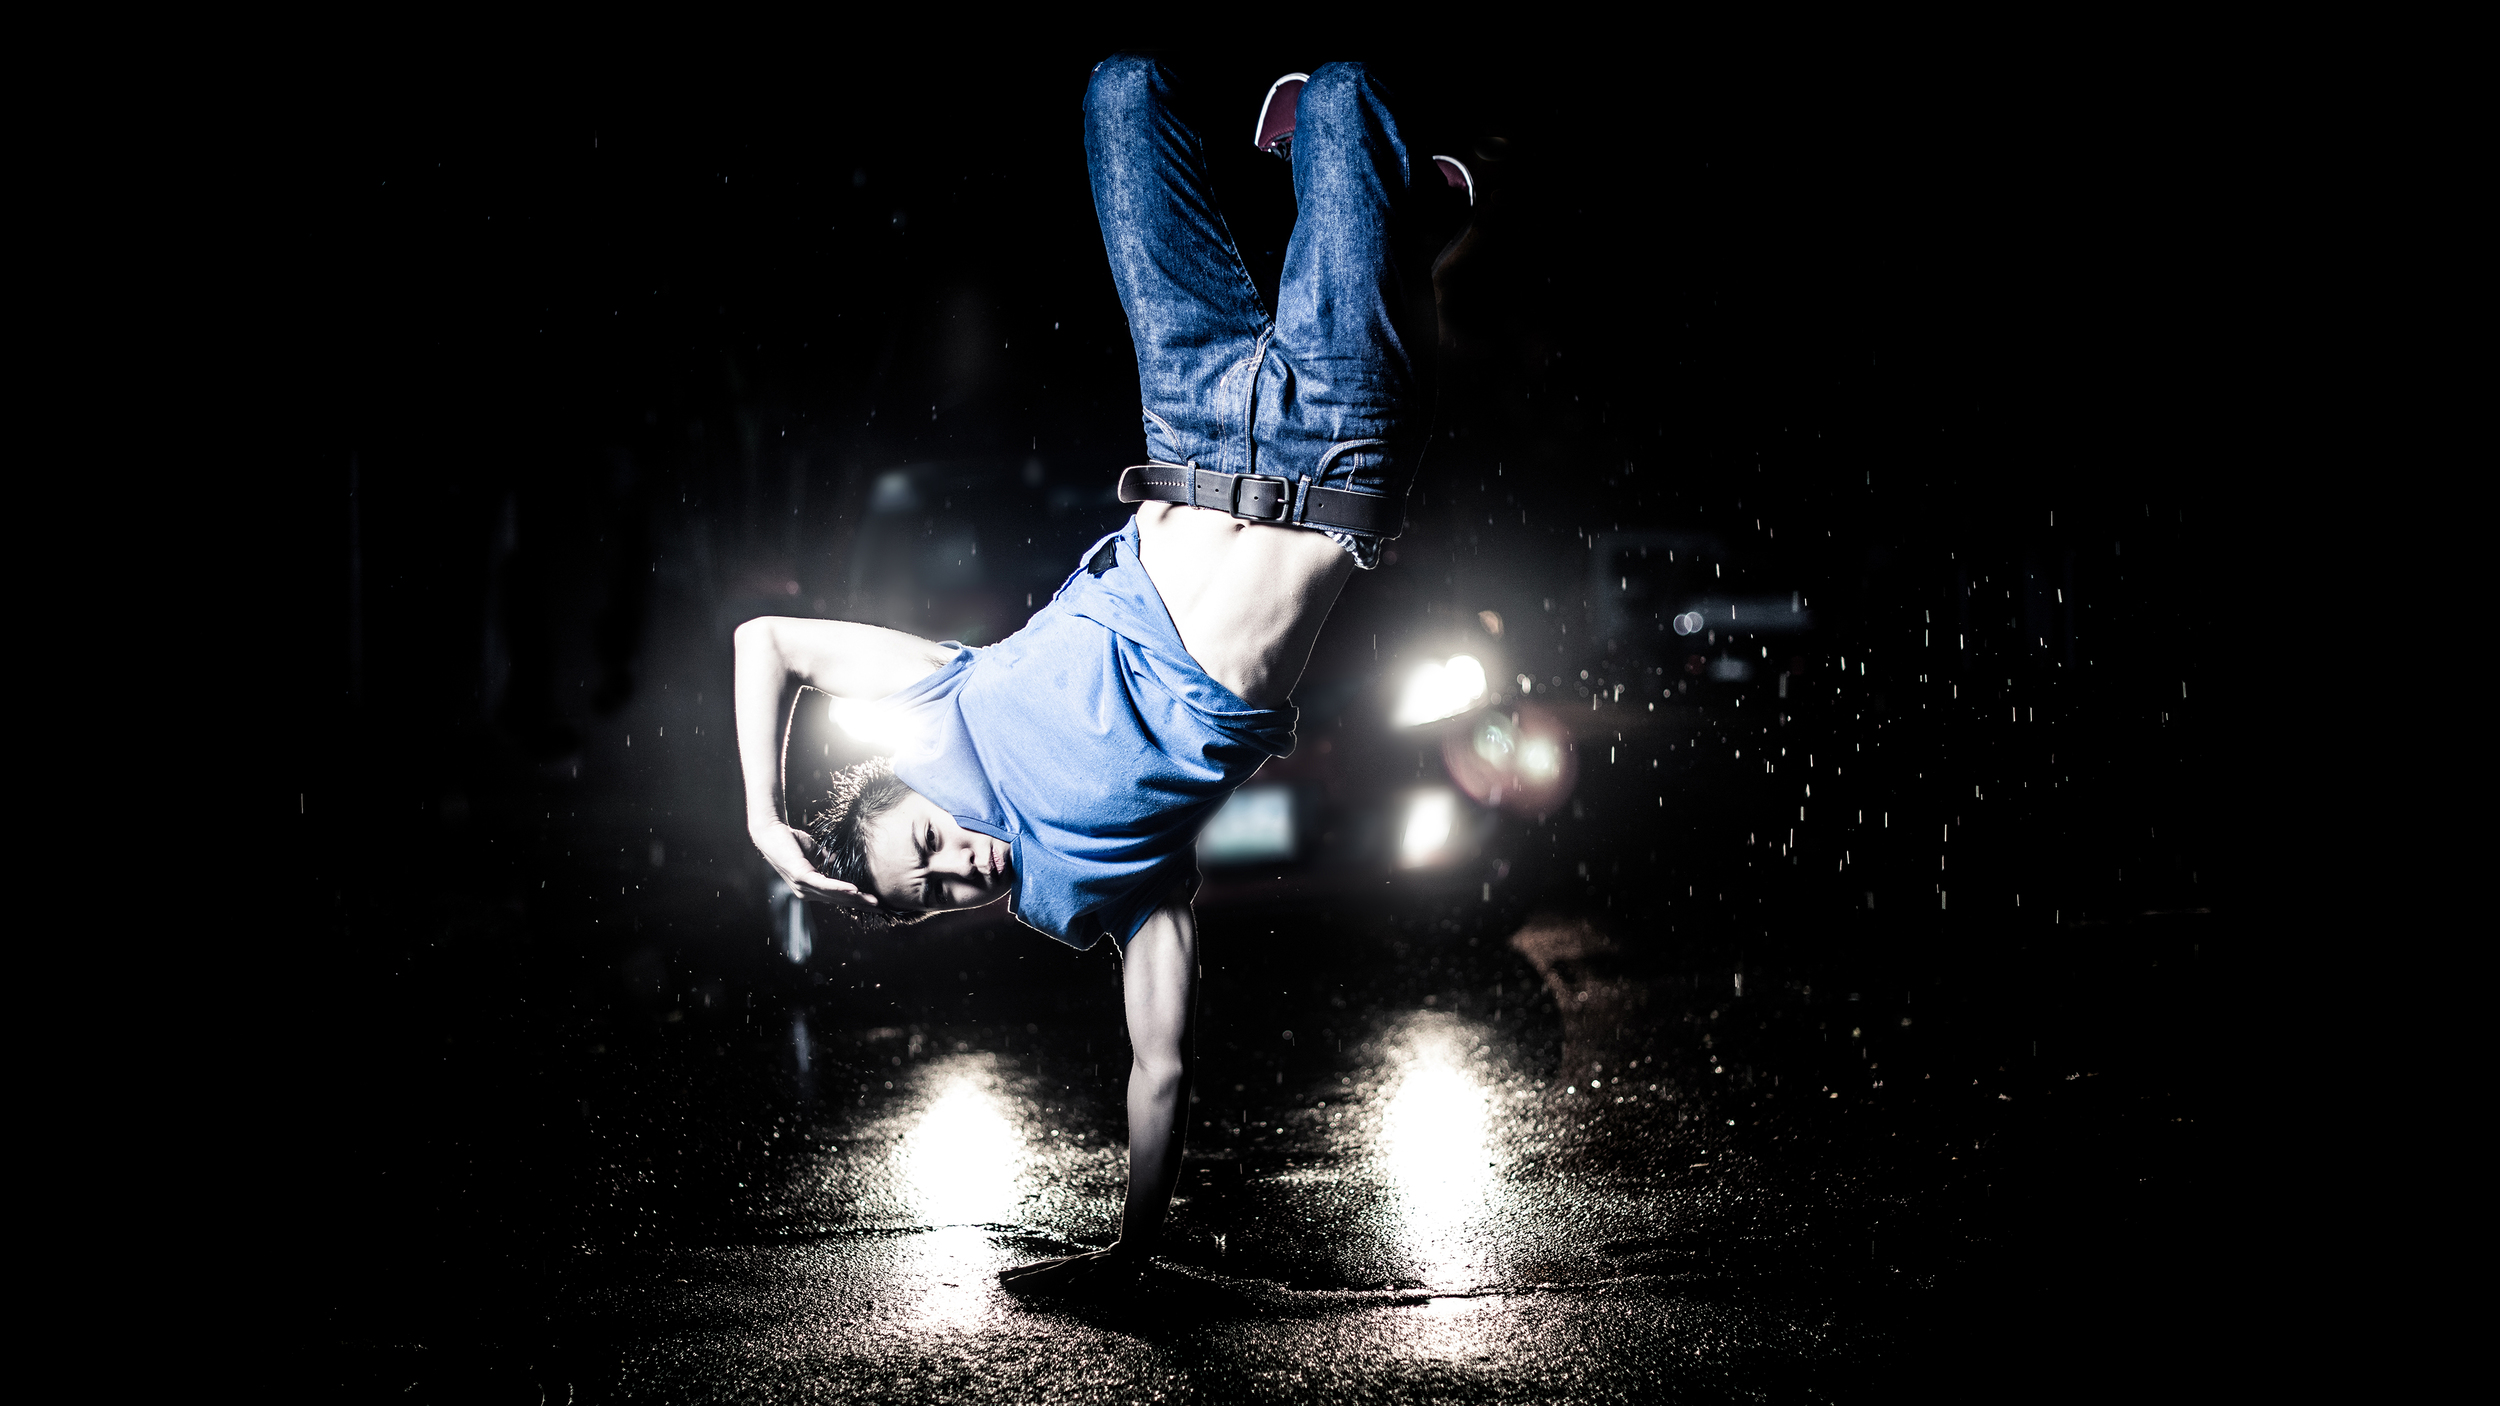
He mainly uses a deep depth of field, which can be problematic at times because the photo might turn out too busy. However, he creates focus on his subject using lighting. This is very hard to do and you must first master light and how it affects the body and the scene to be truly successful.

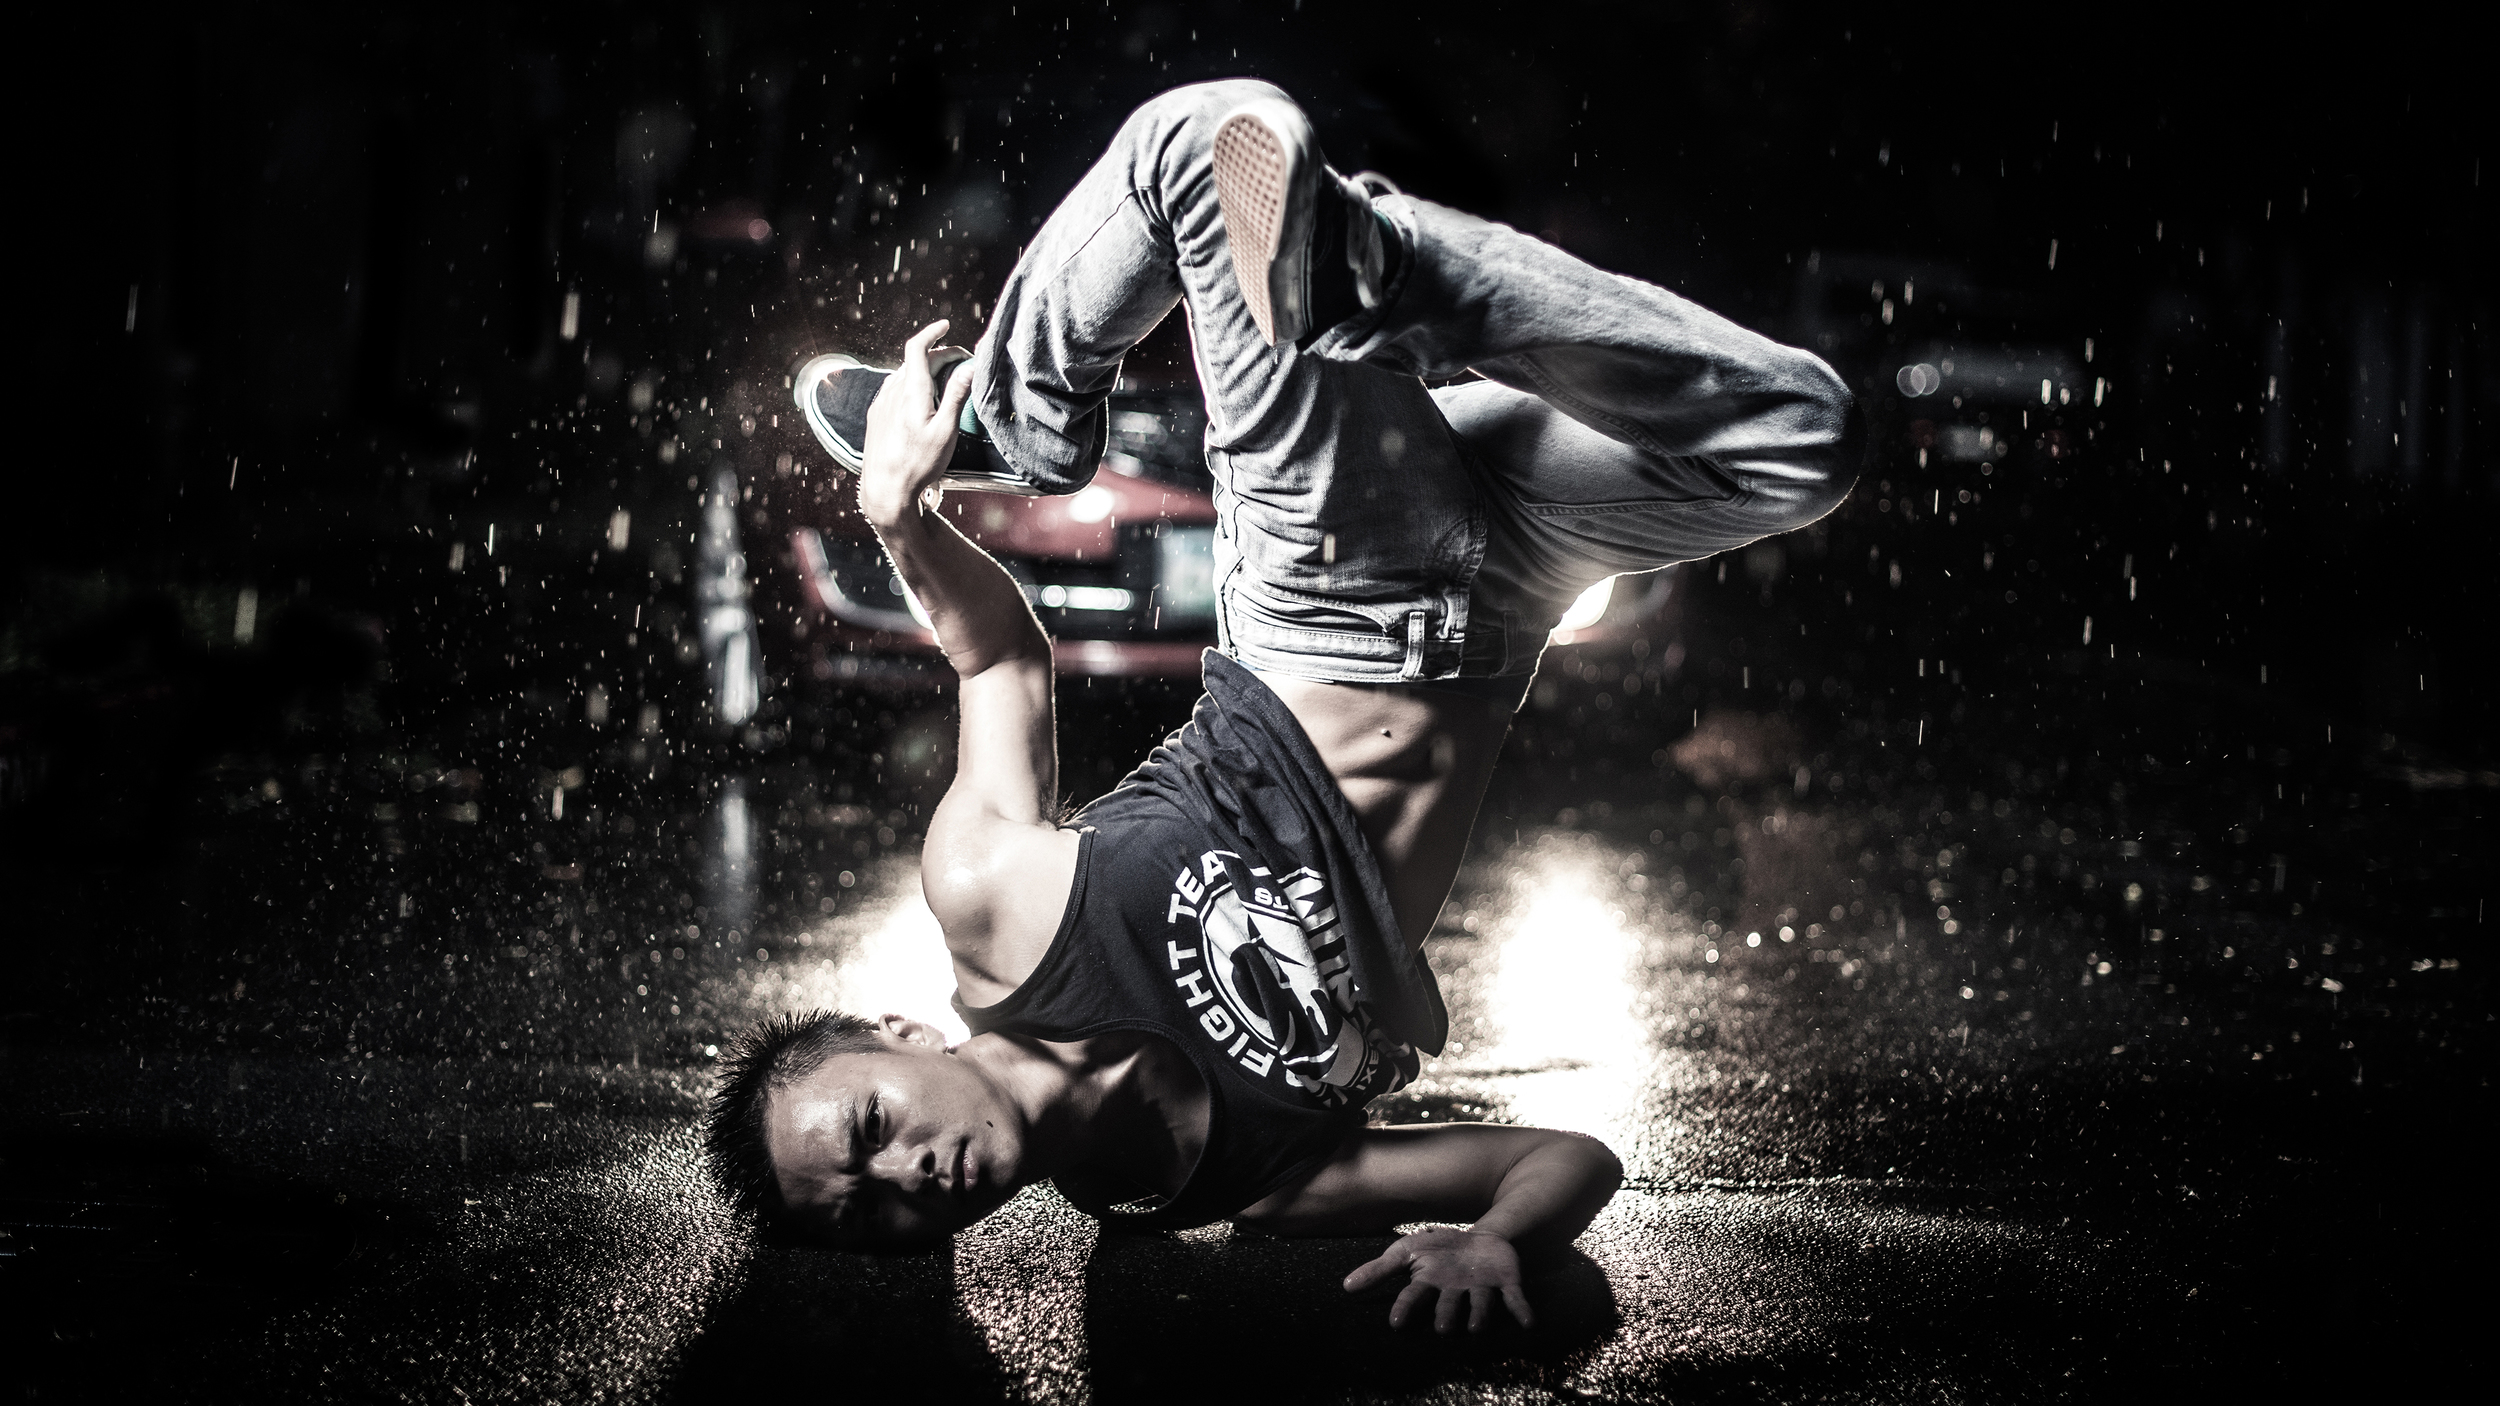
Gregory Crewdson’s work truly inspire my own as a photographer. I still have a lot to learn about photography and I haven’t had the chance to take many classes but sometimes one photo can teach you so much more than a class. His work has truly taught me a lot and gave me a better understanding with lighting and set design.

Live in a Dream

The idea and concept for this shoot came to me when I had a conversation with a friend and she told me that she would rather live in her dreams than in reality. Her story struck me because it made me question reality and what it would feel like to live in an eternal dream.

I have always wondered what boundaries exist between dream and reality. What would it take to live in an eternal dream in where you can have complete control of the world? With the series, I question our reality and how its connected to dreams. Our dreams are an entry way to another kind of reality. I believe that if we have full control of our dreams, it could be a fully realized reality just as much as the one we live in now.

The model for this shoot is Olivia Medina and she is doing a lot of great work. She is a professional model and was recently the cover model for Rogue magazine.

This was the first time I worked with a professional model that wasn’t initially one of my friends and it was very intimidating. However, working with professional models is very rewarding because they know their angles very well. She saw my work on facebook and thus we ended up collaborating for this shoot. This is why it is important to share your work to the public even when you’re just getting started. The best way to spread you work out is through websites like Flickr or Facebook. Don’t be scared of criticism but rather accept it. You miss out on a lot of opportunities if you don’t.

I used three different locations for this shoot. The first location we shot at was on a yacht provided by a friend of mine. The next is actually the house next to mine back in Manila. They had torn their house down to build a new one and I just couldn’t resist. I didn’t know the owner of the lot so we had to sneak in, totally worth it. Always keep your eyes opened for locations that would be great for a shoot. The last location was a furniture showroom that again was provided by a friend.

For the concept to fully realize itself, I had to make sure that I had the correct lighting. I timed my shoot in each location so that I could use the sun to my advantage. This is very important when planning a photo shoot. Always keep the sun and its light in your mind.

According to a lot of great photographers out there, the best investment you can make aside from your camera would be lighting equipment. Ambient light will always be the best kind of light but it is also very hard to control.

It was about 3pm when we finished setting up for our first shoot. It was a great day out but there wasn’t a lot of clouds in the sky so the sun light wasn’t diffused and created really harsh shadows. There are a couple ways to lighten up these shadows, one is a reflector and another is a secondary light source. Light sources can range from a flash light, a speed light to studio strobes.

Reflectors are an essential to a portrait photographer and I highly advice you getting one. They are not so expensive and they can easily improve your portrait photographs. I found one in Amazon that works perfectly, Neewer 110CM 43″ 5-in-1 Collapsible Multi-Disc Light Reflector. You can easily change this reflector to different things to suit your needs. I used it as a diffuser for this shot.

I used a combination of the diffuser and a secondary light to decrease the harsh contrast on the model.

Here is the whole series: “Live In A Dream”

I edited these photos mainly using Adobe Photoshop and Lightroom 4. I also used Portrait Professional Studio for retouching. If you have more questions on how I produced these images, feel free to comment here or post on my wall on facebook.

website | facebook | flickr | behance instagram

Night Club Photography

Night clubs are always a great place to take pictures in, because of all the energy. In return, you can really capture some great candid memories. Some also do it because it’s a great way to expose your work to a larger audience, especially now with social media. I do it just as favors for friends because I don’t like risking my camera. But when I do take my camera out to a club, it’s always worth it.

Nikon D800, 28-300mm f/3.5-5.6, Aperture: f/3.5, Shutter Speed: 1/125

Nikon D800, 28-300mm f/3.5-5.6, Aperture: f/3.5, Shutter Speed: 1/125

Here are a couple of pointers when you plan to take your camera to the club.

1. Define your point of view.

A lot of photographers are hired to go to the night club specifically to take photos. It means that there is a certain barrier between them and the subject because they will most likely be posed. There is nothing wrong with that but you lose a lot of energy in those photos and they are very generic. However, most clubs don’t allow DSLR’s and so being hired does give you an advantage.

In my personal opinion, it is still better to find ways to bring your DSLR in a club without being hired. You have a fresh perspective and can focus on capturing unposed portraits. It’s all about capturing memories and you can focus on your friends. If you aren’t a hired photographer, I would avoid wandering outside your group of friends because you might be thought of as a creep.

Nikon D800, 28-300mm f/3.5-5.6, Aperture: f/3.5, Shutter Speed: 1/60

Nikon D800, 28-300mm f/3.5-5.6, Aperture: f/3.5, Shutter Speed: 1/60

2. Flash

I would suggest investing in a flash that can rotate its head vertically and horizontally. This enables you to bounce your flash so that it doesn’t create a harsh lighting on your subjects.

Bouncing your flash basically means directing your flash towards the ceiling or a wall. In return, your flash’s light travels more distance, making it softer and more spread out. Your light will be more diffused and thus, less hotspots. Hotspots are harsh light on a subject (usually on a person’s nose). You also don’t get that annoying red eye that you usually have to edit out.

3. Flash Sync

Flash sync speed is the fastest shutter speed you can use with a flash. Most off camera flashes will have a maximum flash sync of 1/250th of a second. If you want to capture the motion of the lights and the atmosphere, then you would have to use a shutter speed slower than 1/250th. If you want to completely freeze all of the action, then use 1/250. I often use a slower shutter speed so that I can get those nice laser lights that add a lot of mood to the photos.

Nikon D90,18-200mm f/3.5-5.6, Aperture: f/4, Shutter Speed: 1/30

Nikon D90,18-200mm f/3.5-5.6, Aperture: f/4, Shutter Speed: 1/30

4. Lens

You usually just bring one lens to a night club because you don’t want to be bringing a bag with you. Therefore in my opinion, the best lens for a night club would be a lens that can do it all. I usually carry around either my DX 18-200mm lens or FX 28-300mm. These super zooms/wide angle will make sure that you don’t miss a thing.

Do not worry about depth of field and aperture as much because your flash/light will be responsible for separating your subject from the crowd. Your flash has a certain reach due to its power and therefore will only illuminate a certain part of the picture. You can control this to add focus to your subject. However that being said, my personal choice for aperture is as wide as your lens can go (low f number).

Nikon D800, 28-300mm f/3.5-5.6, Aperture: f/5, Shutter Speed: 1/80

Nikon D800, 28-300mm f/3.5-5.6, Aperture: f/5, Shutter Speed: 1/80

5. Friendly reminders

Don’t drink and shoot: You know how they say don’t drink and drive? The same rules apply when taking photos in a club. You don’t want to mix drinks and taking photos. The last thing you would want is to damage your camera or lose it while being drunk. If you do plan to drink, have a sober friend help keep an eye out for your camera (just like a designated driver).

Bring a Handkerchief: Getting drinks spilled on you is always a risk at a party. It’s even more of a risk when you have your camera with you. Most DSLR’s are weather-proof and can afford to get a little wet. However, you would want to dry up that alcohol as soon as possible and that is where a handkerchief comes in handy. If anything though, keep your distance from people that are too drunk.

Nikon D800, 28-300mm f/3.5-5.6, Aperture: f/3.5, Shutter Speed: 1/125

Nikon D800, 28-300mm f/3.5-5.6, Aperture: f/3.5, Shutter Speed: 1/125

I edited these photos mainly using Adobe Photoshop and Lightroom 4. I also used Portrait Professional Studio for retouching. If you have more questions on how I produced these images, feel free to comment here or post on my wall on facebook.

website | facebook | flickr | behance instagram

When The Rain Falls

As most of you might not know, I am also a breakdancer and part of a crew named Riot Kings in the Philippines. One night while we were having a jam, it started pouring and raining really hard. Then we had a crazy idea of doing a shoot in the rain. It’s one of those idea that you just fantasize about but never actually do it. But for me, I already had all my gear in my car and it was too good of an opportunity to pass up. In return, this was probably the most spontaneous photo shoot I’ve ever had and the result of that was unexpectedly great. Sometimes, you really have to go out of your way for a great photo.

Dancers are great to work with because they can create so many different forms with their bodies. I have found that the best angle when shooting dancers is low angle.

Camera: Nikon D800, Lens: 50 mm f/1.4, Shutter Speed: 1/320, Aperture: f/1.8

Camera: Nikon D800, Lens: 50 mm f/1.4, Shutter Speed: 1/320, Aperture: f/1.8

It was quite a challenge because there were so many variables involved, but since it wasn’t for a client, I had a lot of room to experiment. There were two main variables that I had to take account of: very low light and the rain. When you have numerous variables to consider, it is best to solve them one by one before you take the photo. The best way to solve them is to have a goal and vision of what you want your photograph to look like. However, in most cases, preparation will only take you so far. As a photographer, you have to be adaptable and ready for anything. For this shoot, I wanted to freeze the motion of both the dancer and the rain drops.

Tips for shooting in the rain:

A lot of amateur photographs such as myself are scared to shoot in the rain because they are worried about their gear. However, there are a lot of ways to make sure that your gear stays safe and dry. Also, because of that same fear, you can take that photo that most people are not daring enough to take. These are some easy steps on keeping your gear safe.

For your camera: You don’t need an expensive underwater casing to shoot in the rain. I found this cheap re-usable rainsleeve that fits the camera perfectly at Amazon. Even when you get one of these, use your lens hood if you have one to make sure rain doesn’t get on the front of your lens.

For your strobe: I covered the body of my strobe with a plastic bag to make sure it doesn’t get wet. However, I could not protect the soft box with plastic. Therefore, I placed an umbrella on top of the unit to make sure it doesn’t get wet. If there’s a lot of wind, ask a friend or an assistant to hold the umbrella and to hold the unit as well.

For your models: Have assistants and an umbrella. It takes awhile to set up the shoot. Make sure that your models stay dry.

Lighting Setup:

As most of you will know, to stop motion you need a high shutter speed. If you’re using a high shutter, you either need a lot of light or a wide aperture or increase ISO. I tend to not think about ISO as a variable because I like keeping it as low as possible to decrease noise. During the night, in low light conditions and using a high shutter speed, even a wide aperture and a high ISO will not produce a good image. You will also not be able to freeze raindrops as effectively as they are reflecting minimal light. Therefore, I decided to focus on light and aperture as the main variables.

Camera: Nikon D800, Lens: 50 mm f/1.4, Shutter Speed: 1/320, Aperture: f/1.8

Camera: Nikon D800, Lens: 50 mm f/1.4, Shutter Speed: 1/320, Aperture: f/1.8

I used a shallow depth of field to isolate the model from the background, as it blurs everything else. It also enables me to use a higher shutter speed as it allows more ambiant light, which adds more rain drops to the photo.

This is the lighting setup I used to create these shots.

When The Rain Falls Lighting Setup

When The Rain Falls Lighting Setup

I decided to use my car and turn on it’s headlights because it adds a rim light effect (a thin halo creating a contour) on the model and on the rain drops. Not only that but it adds another visual element to the scene, rather than a black background. Be resourceful. Anything that can emit or reflect light can be used as a light source.

More photos from the series:

I edited these photos mainly using Adobe Photoshop and Lightroom 4. I also used Portrait Professional Studio for retouching. If you have more questions on how I produced these images, feel free to comment here or post on my wall on facebook.

website | facebook | flickr | behance instagram