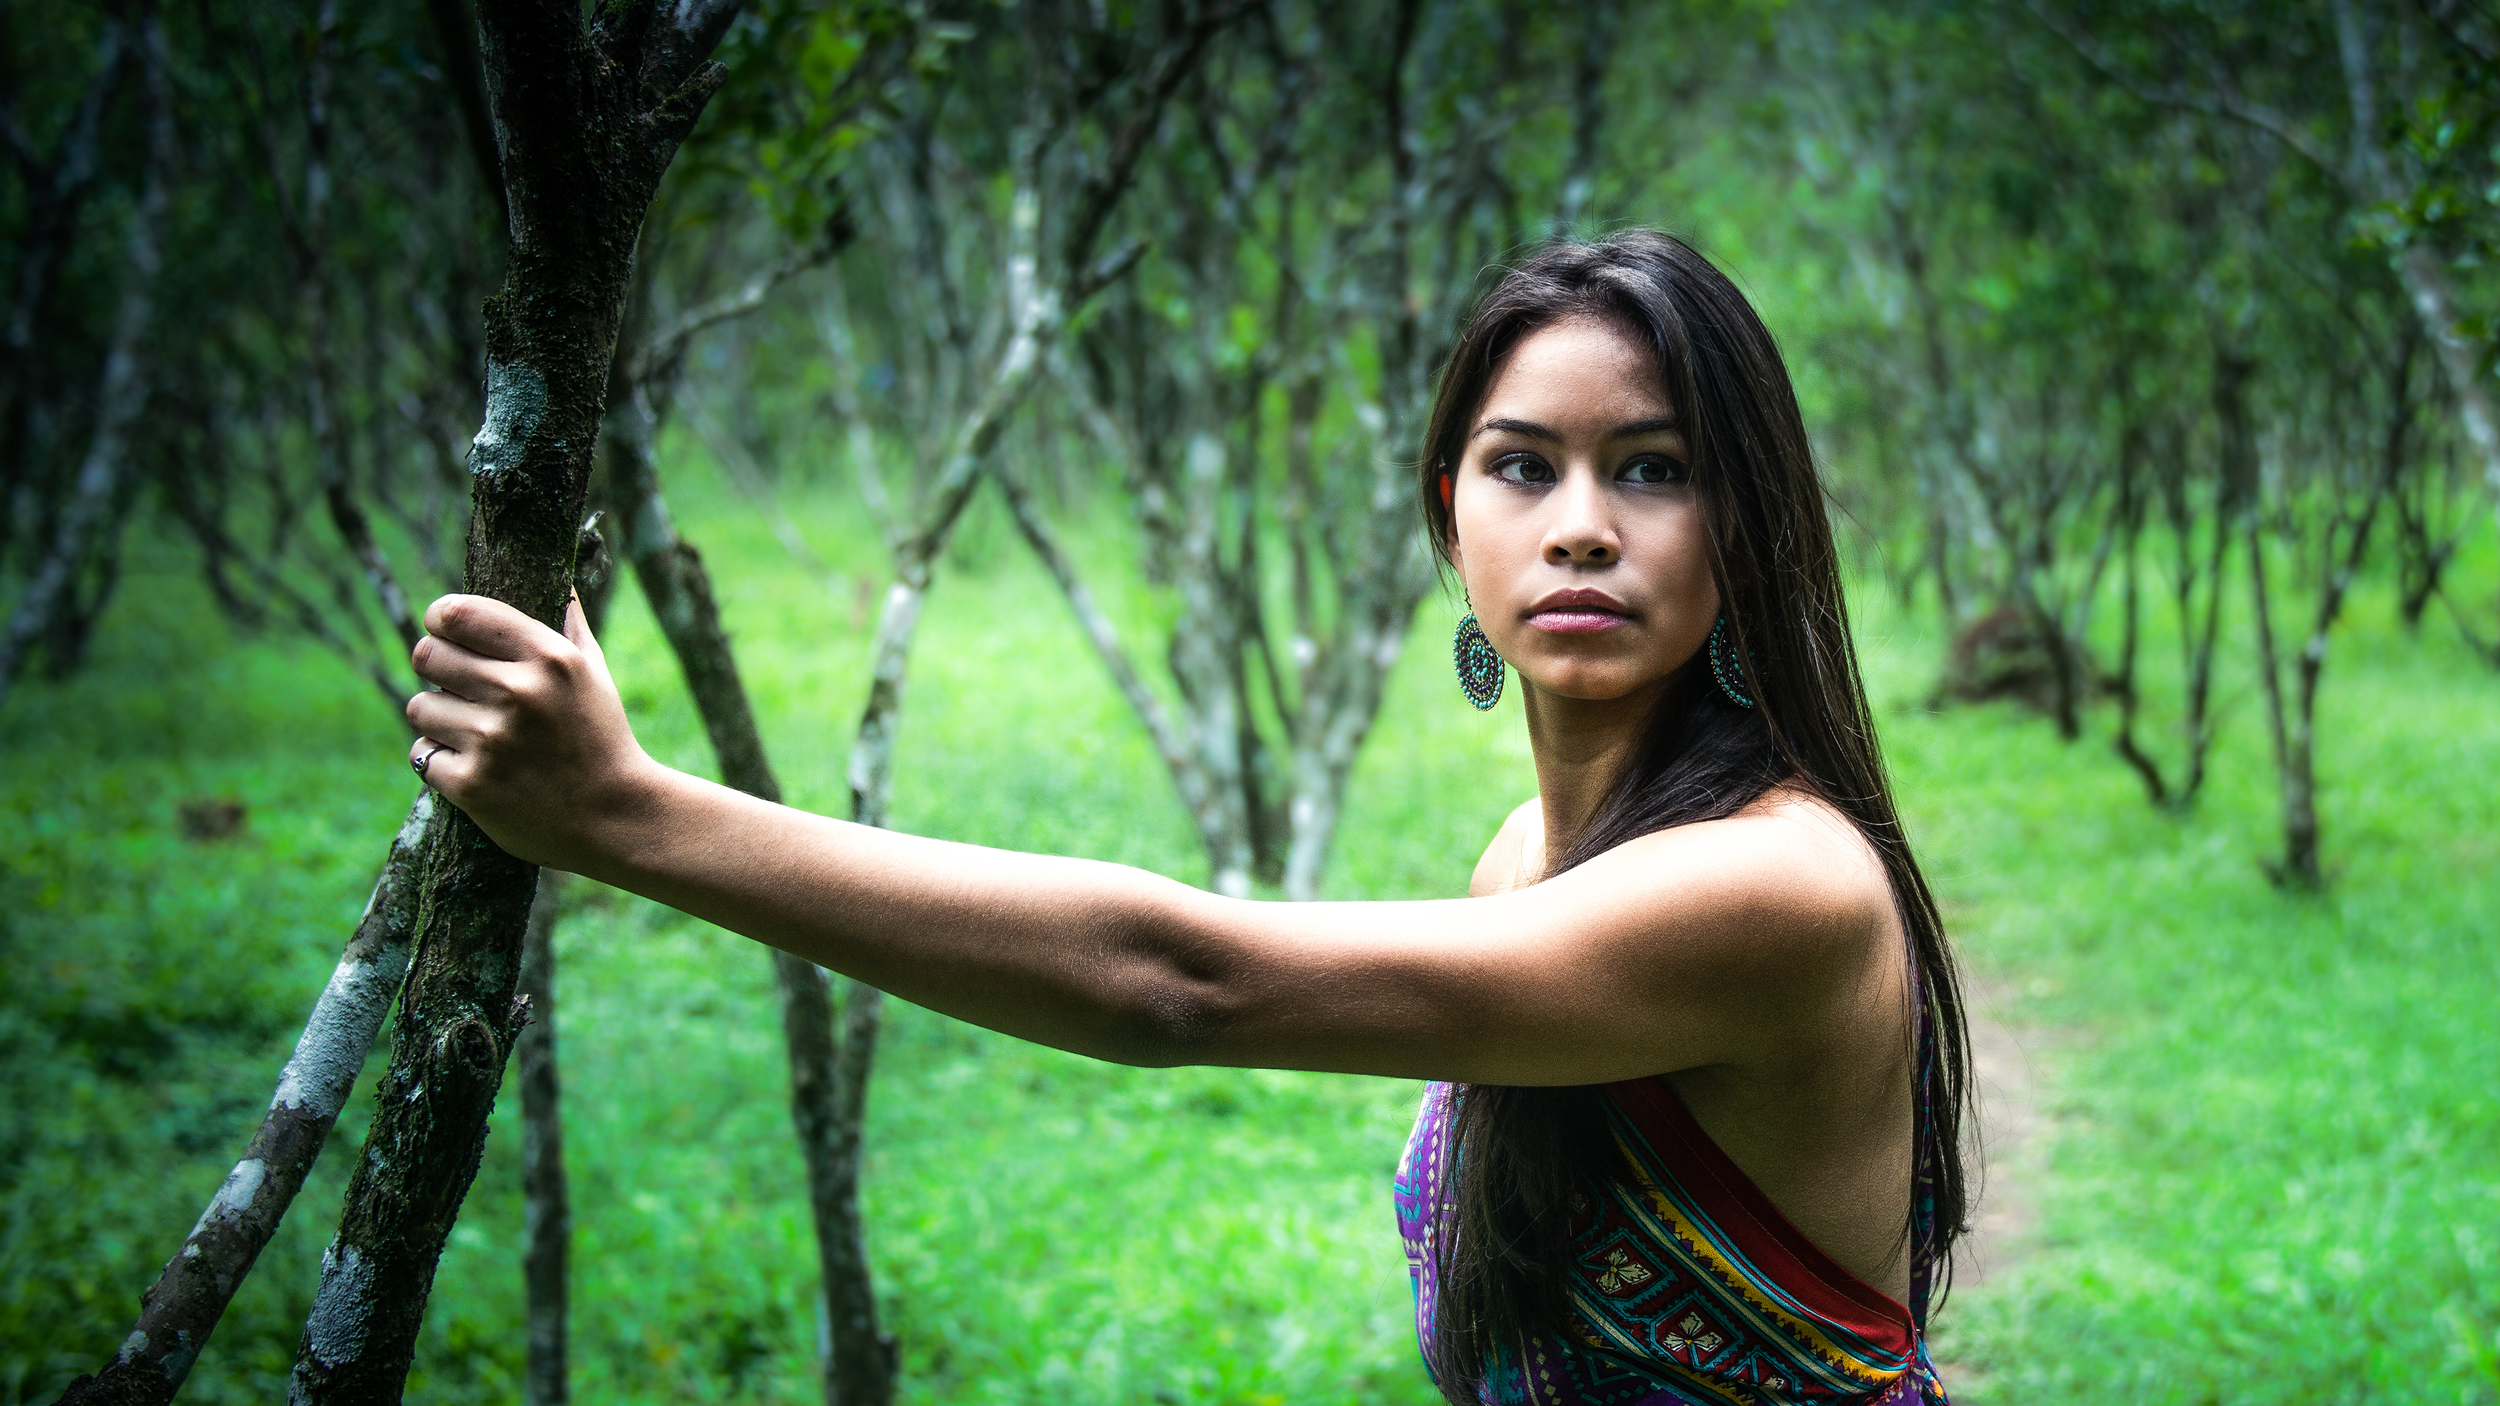
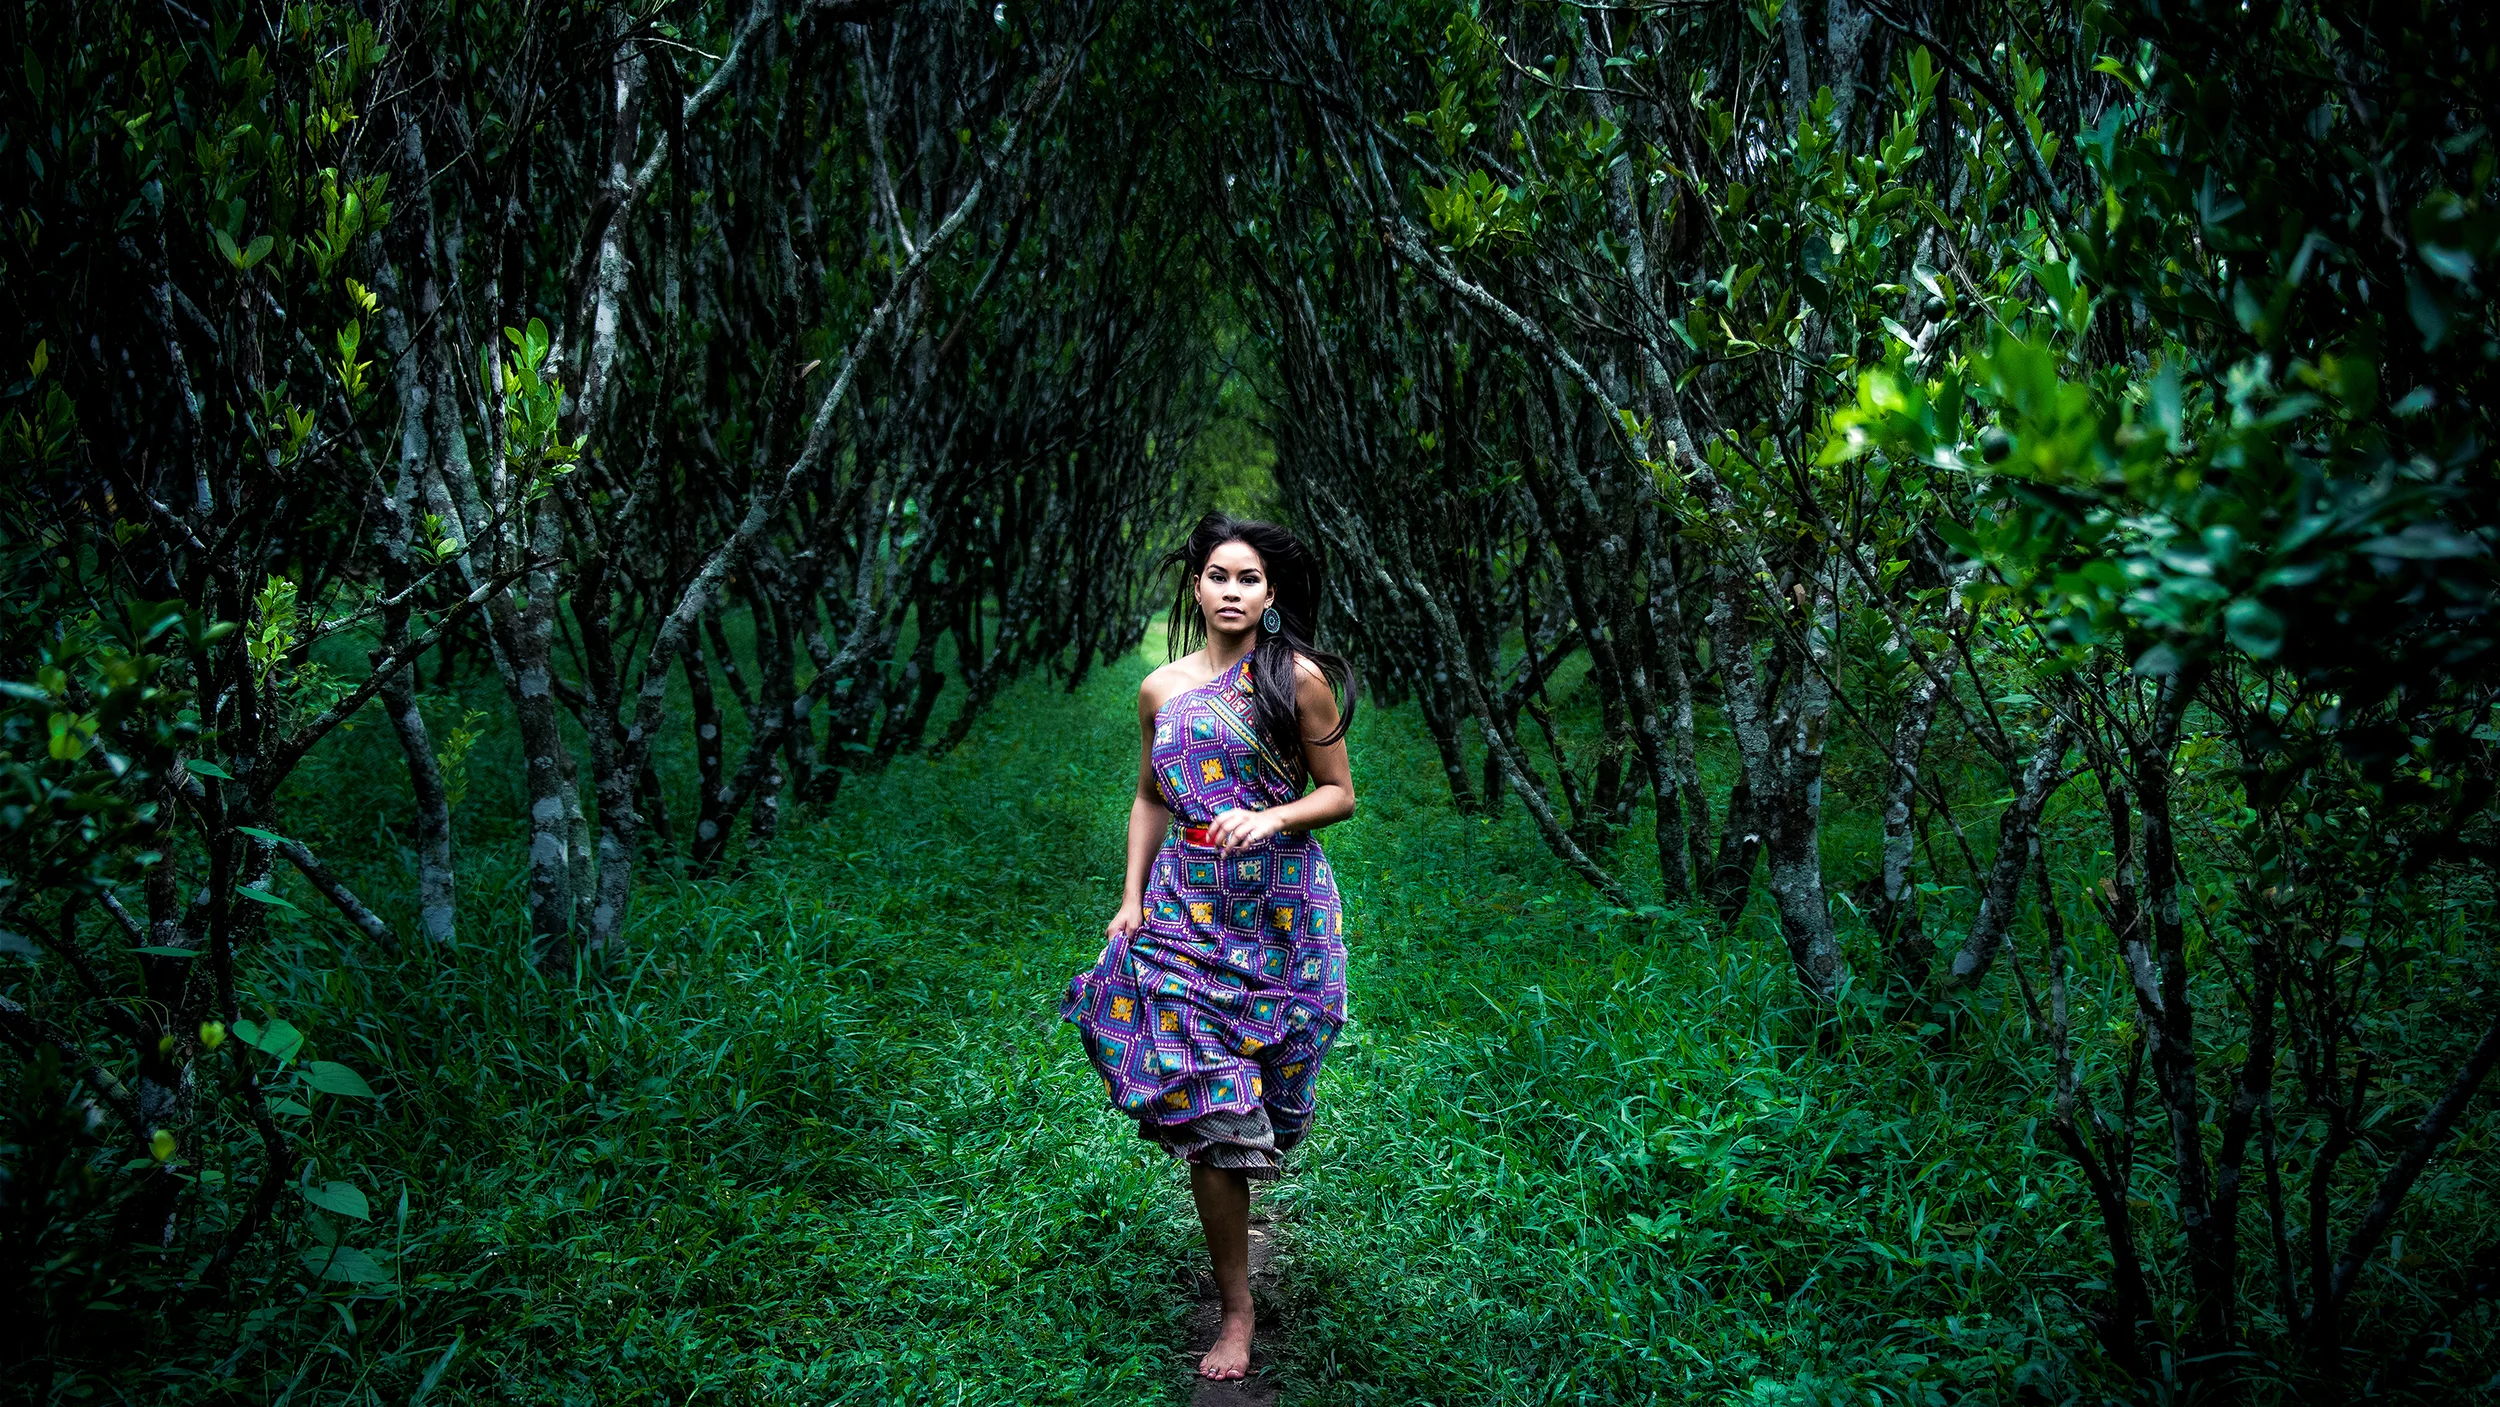
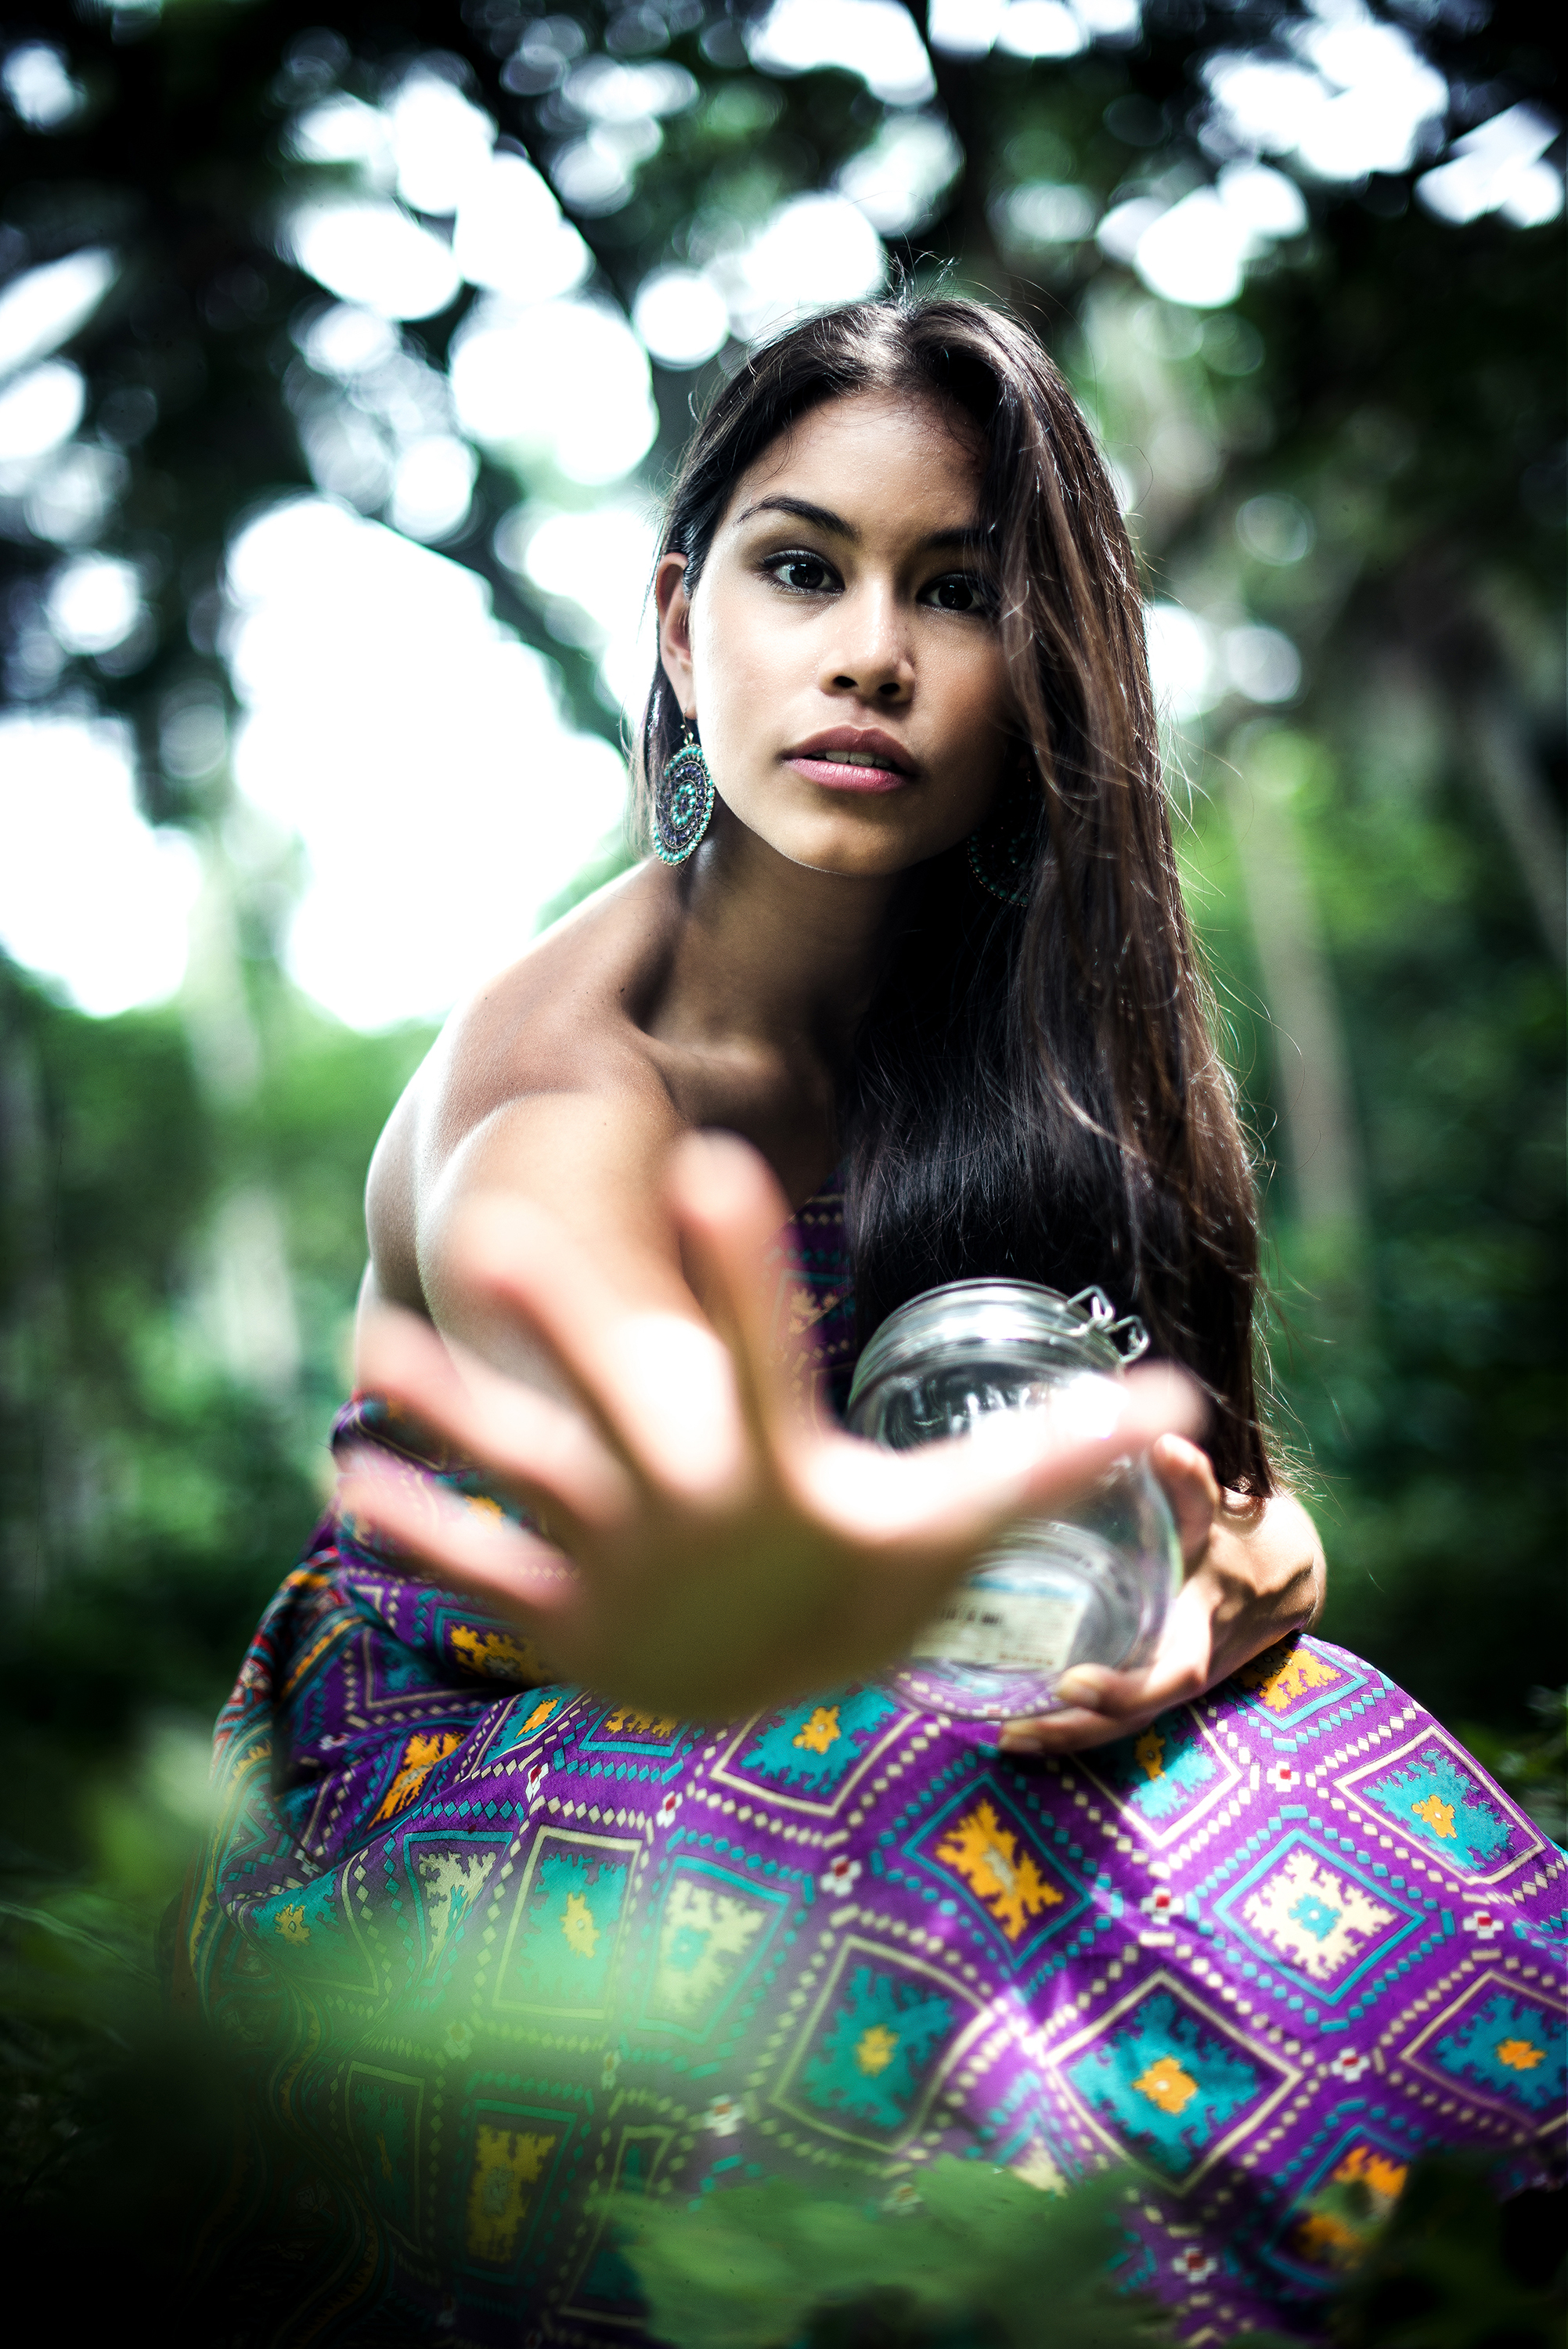
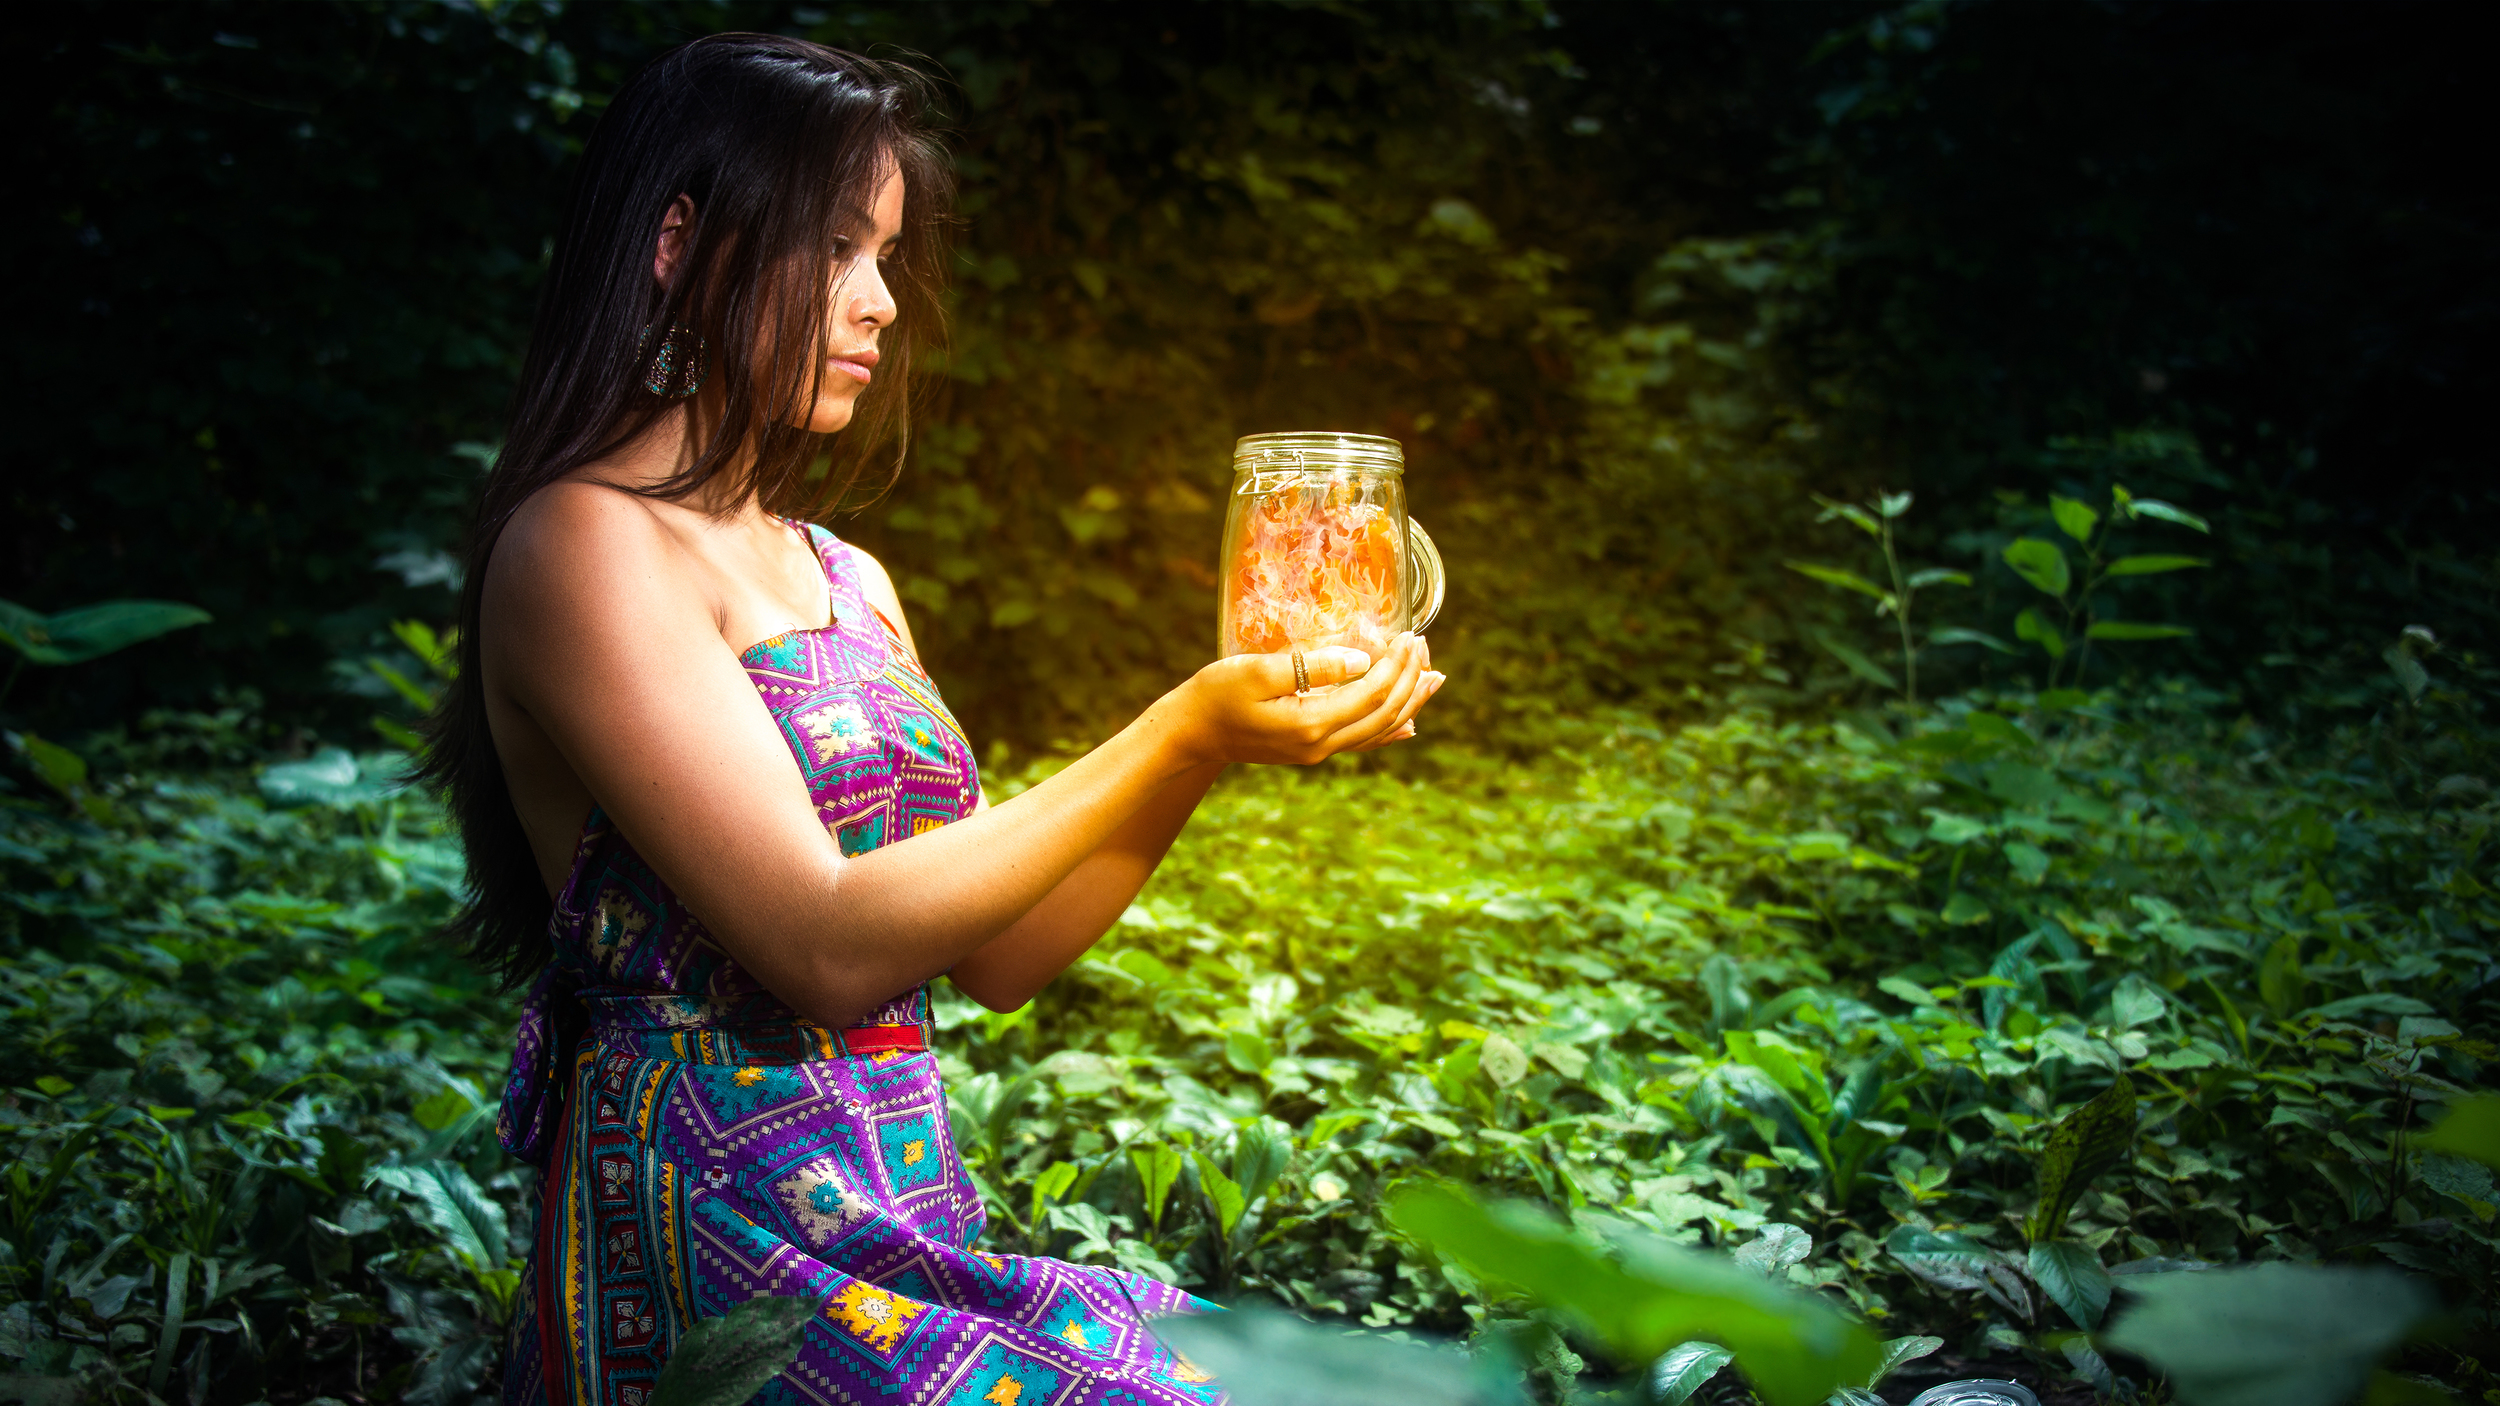
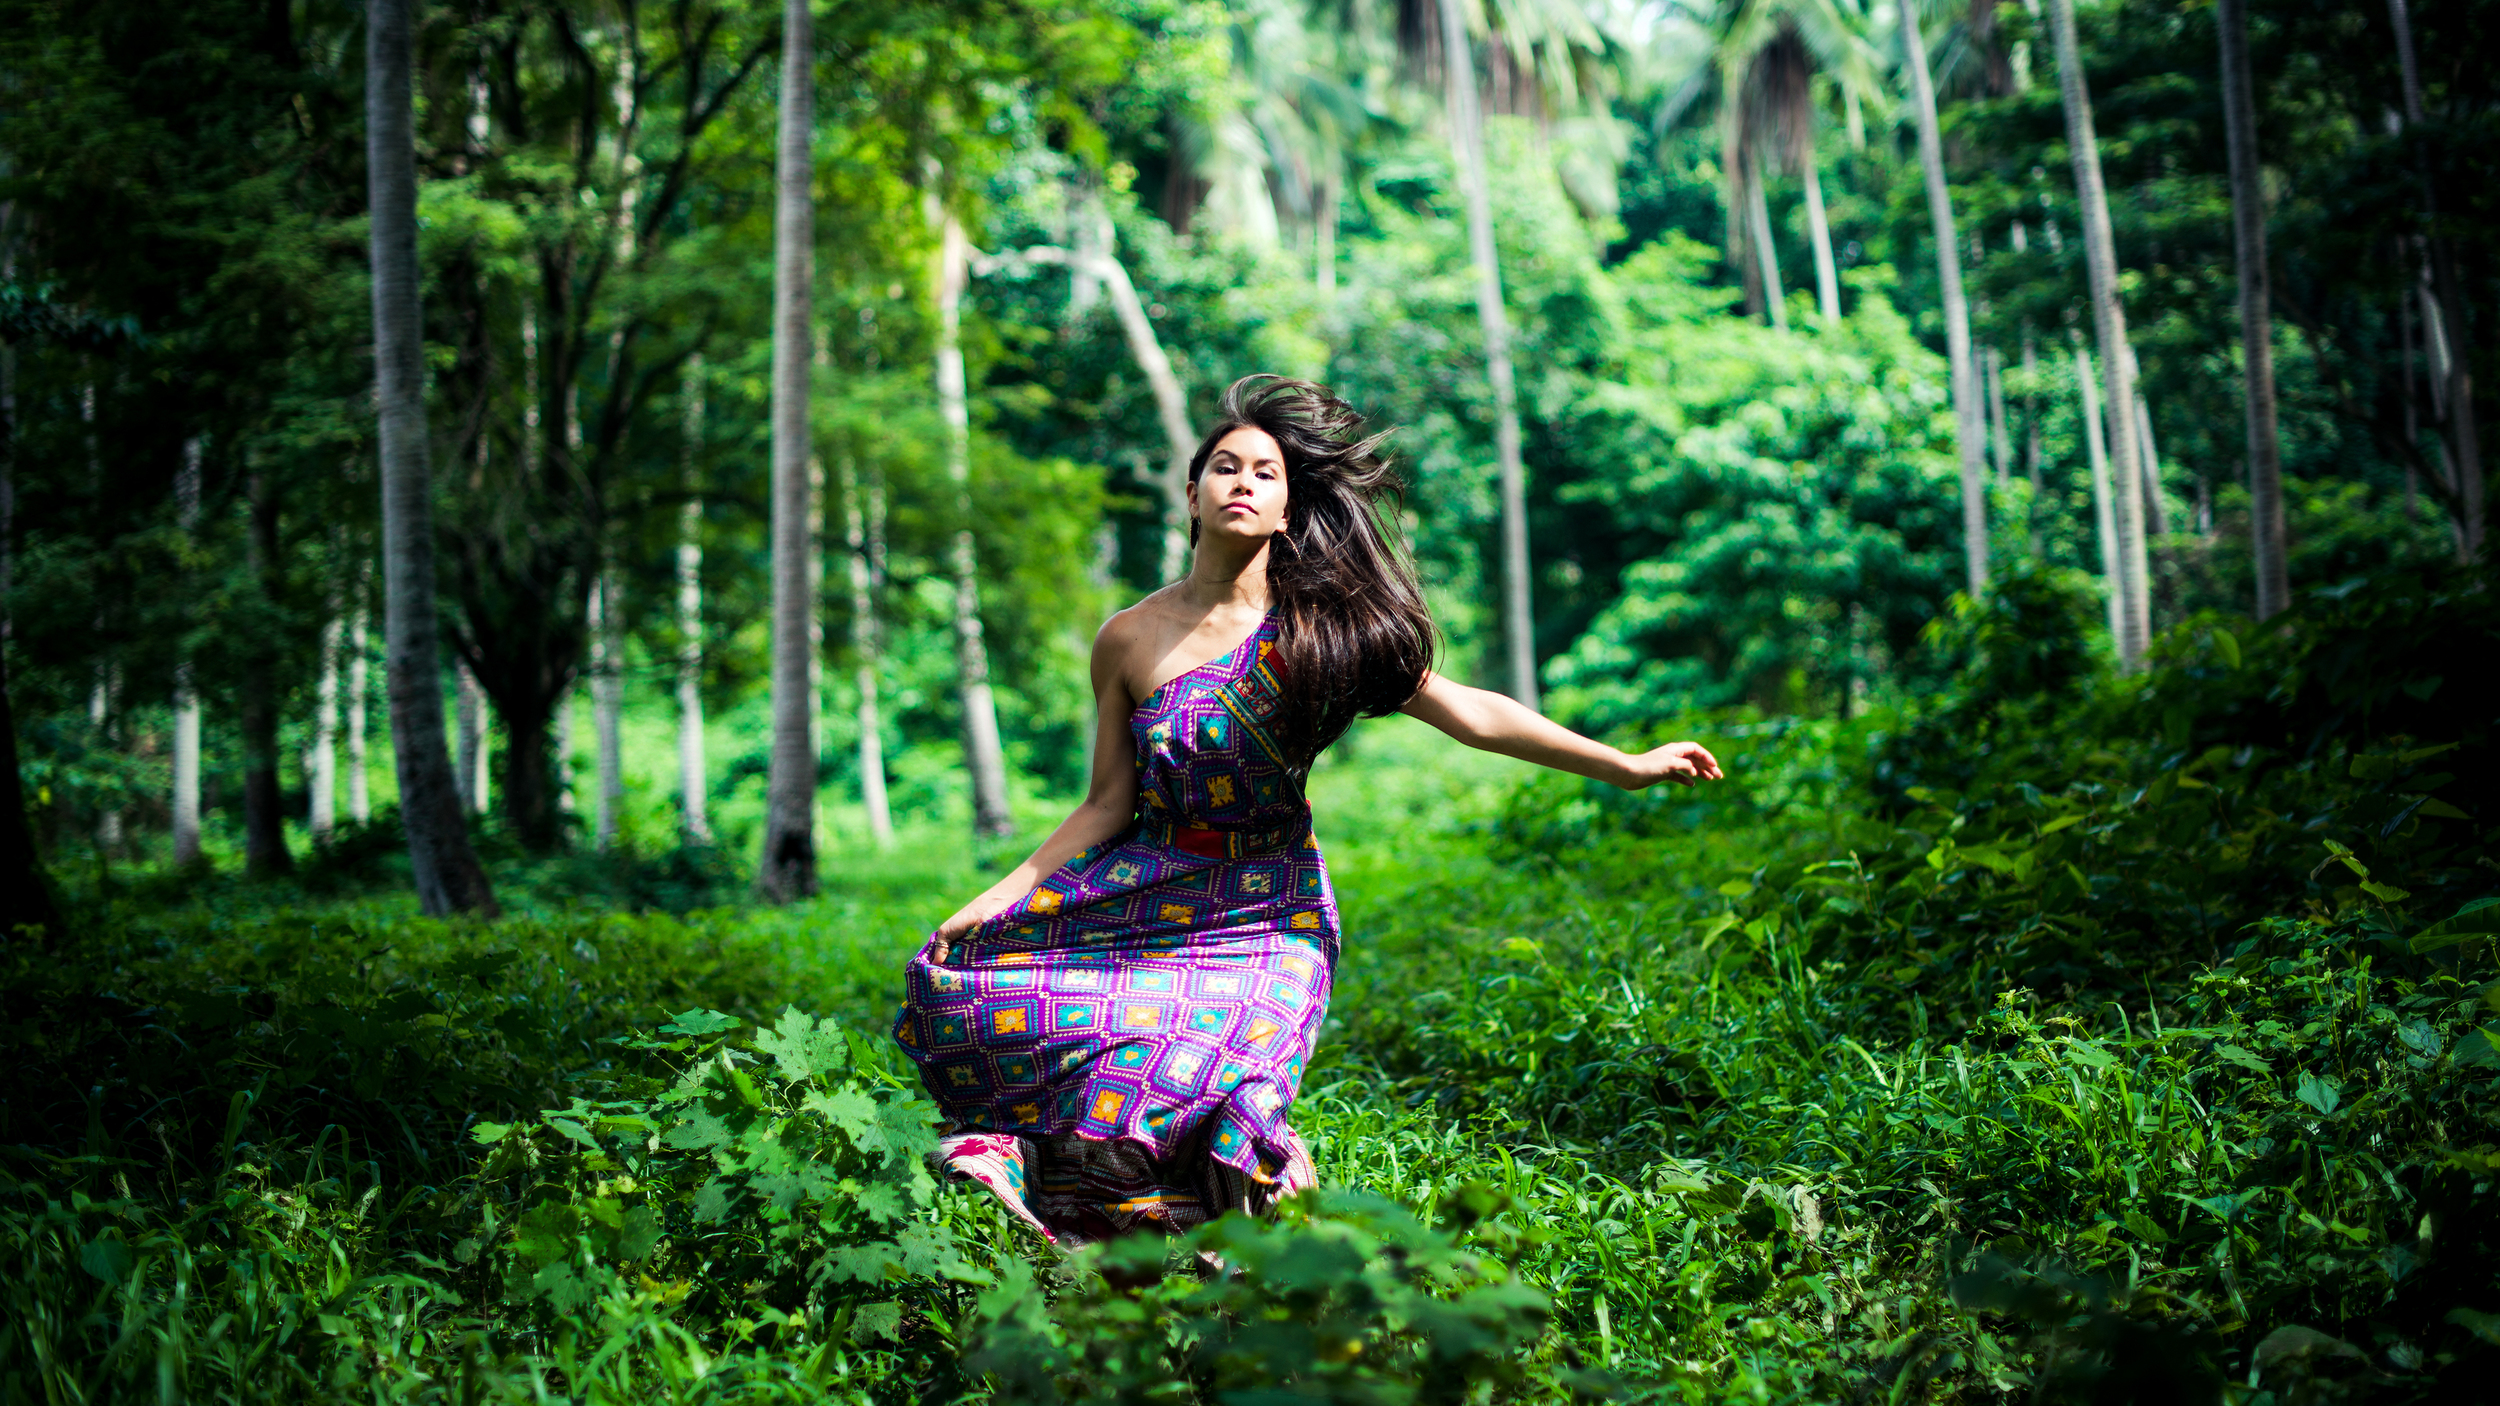
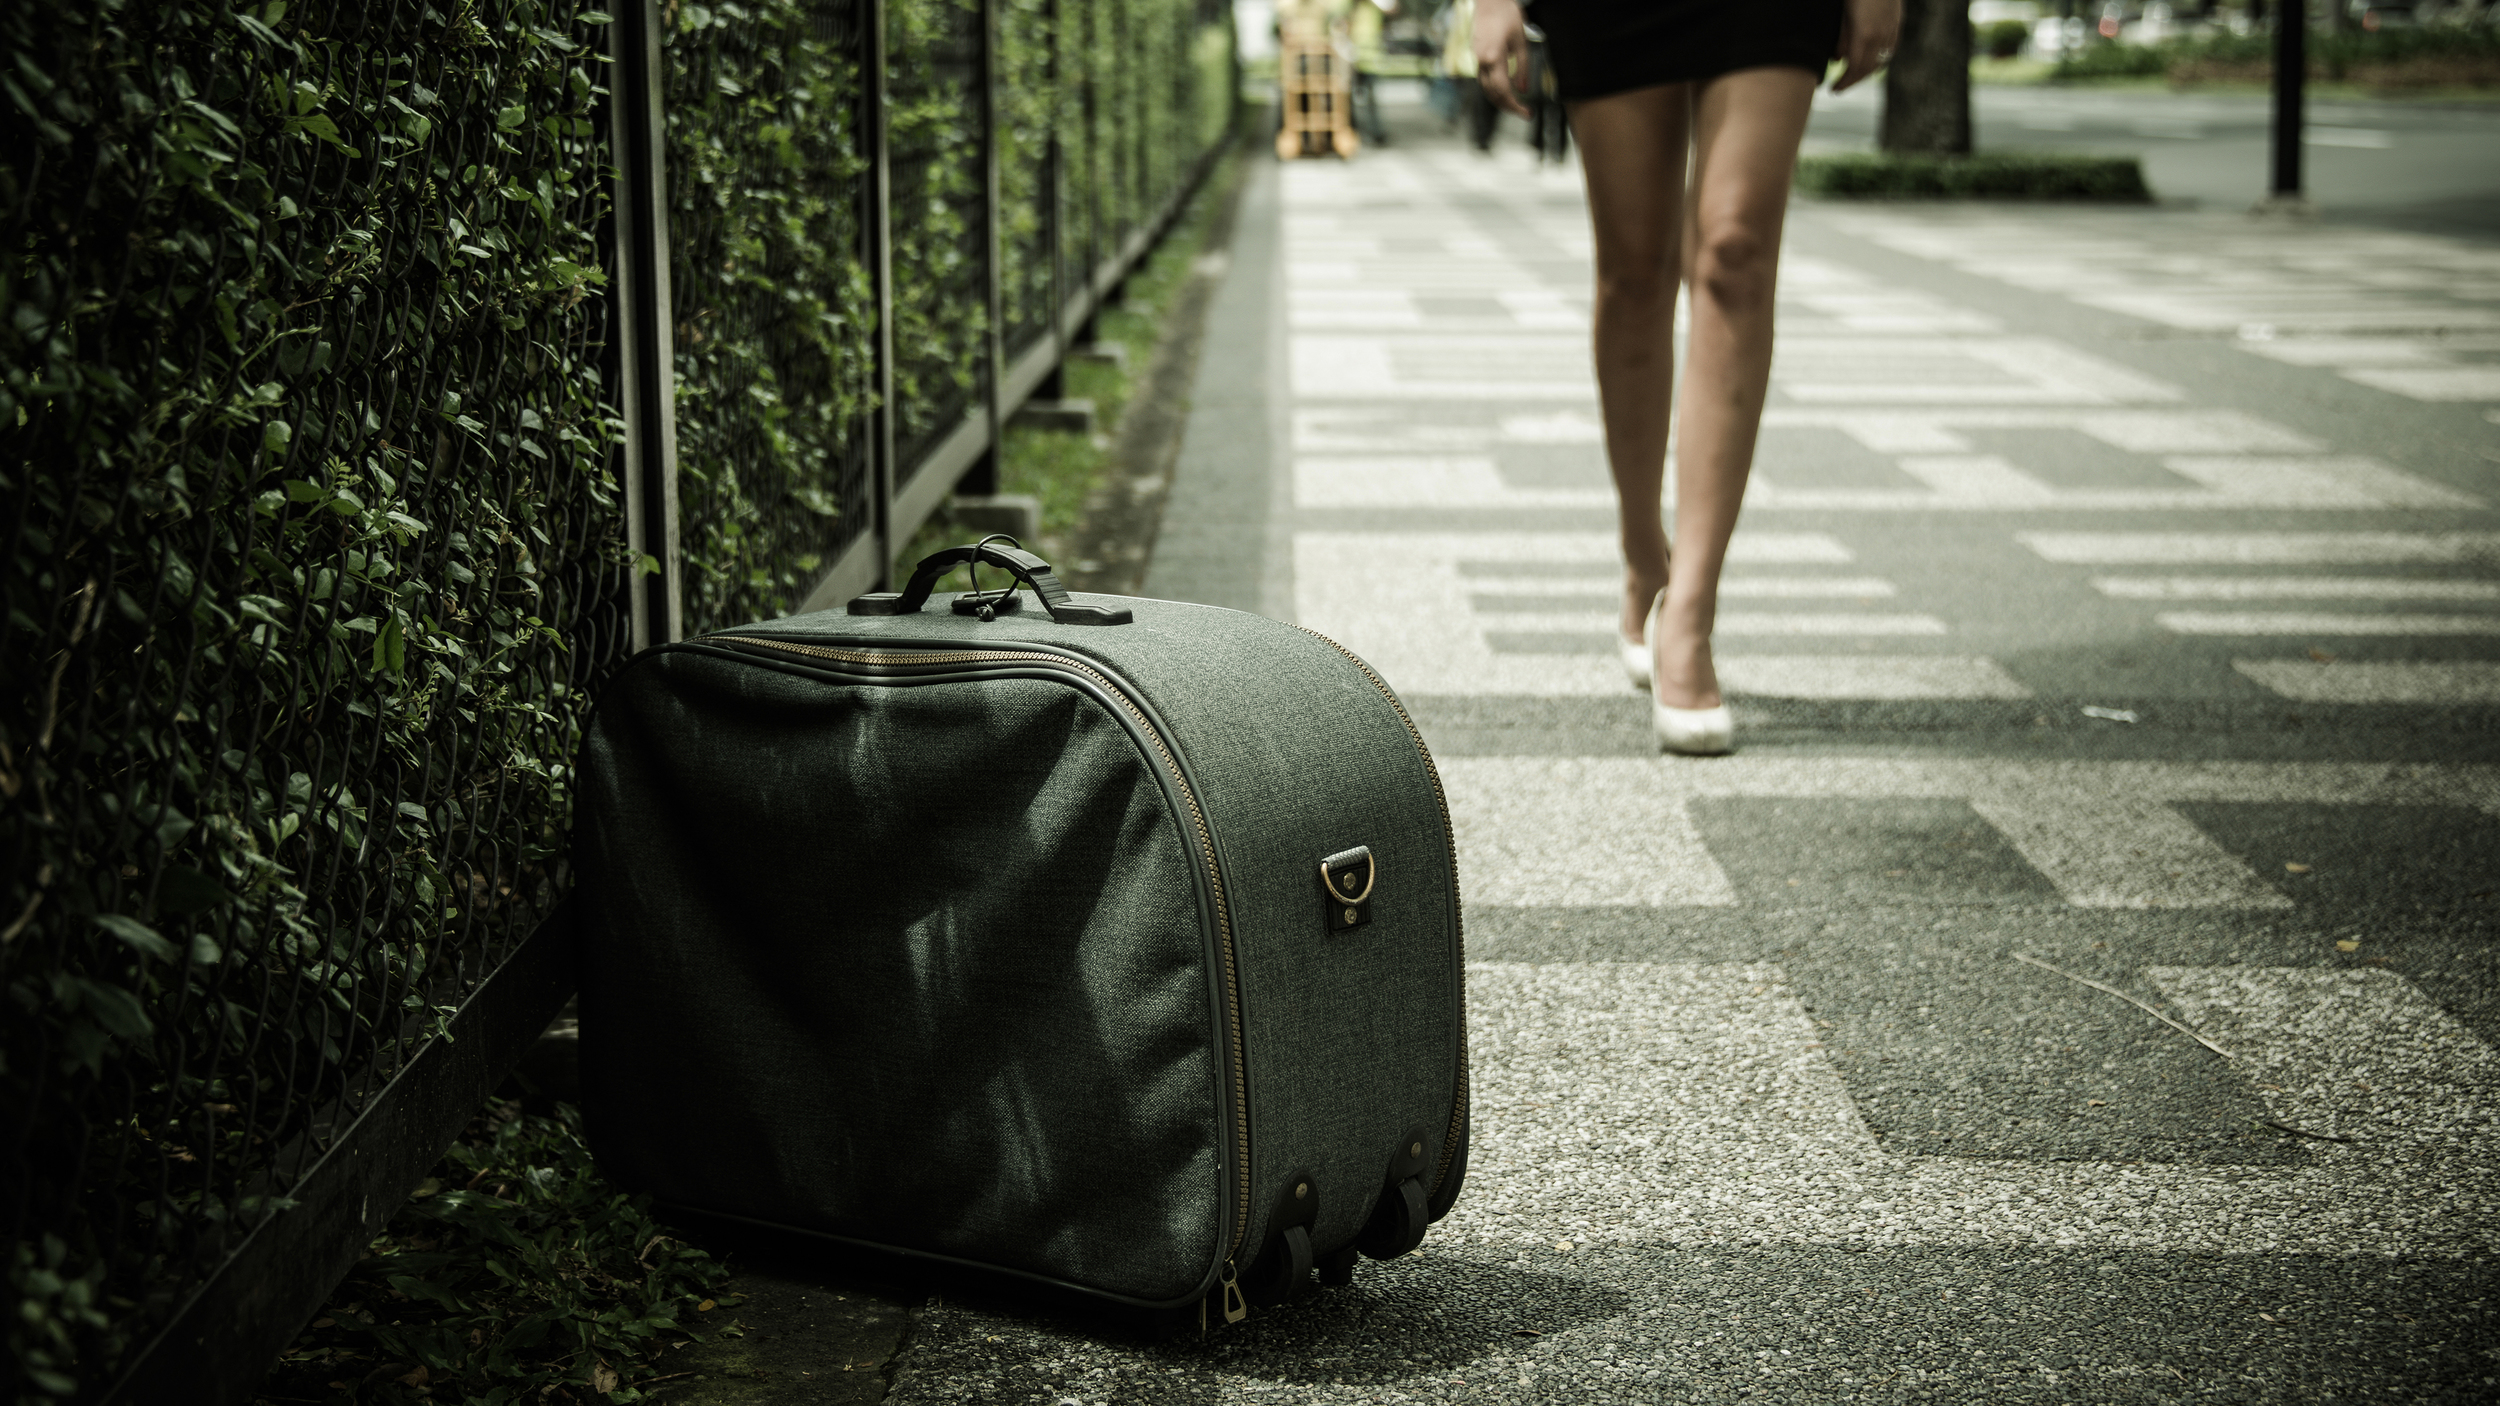
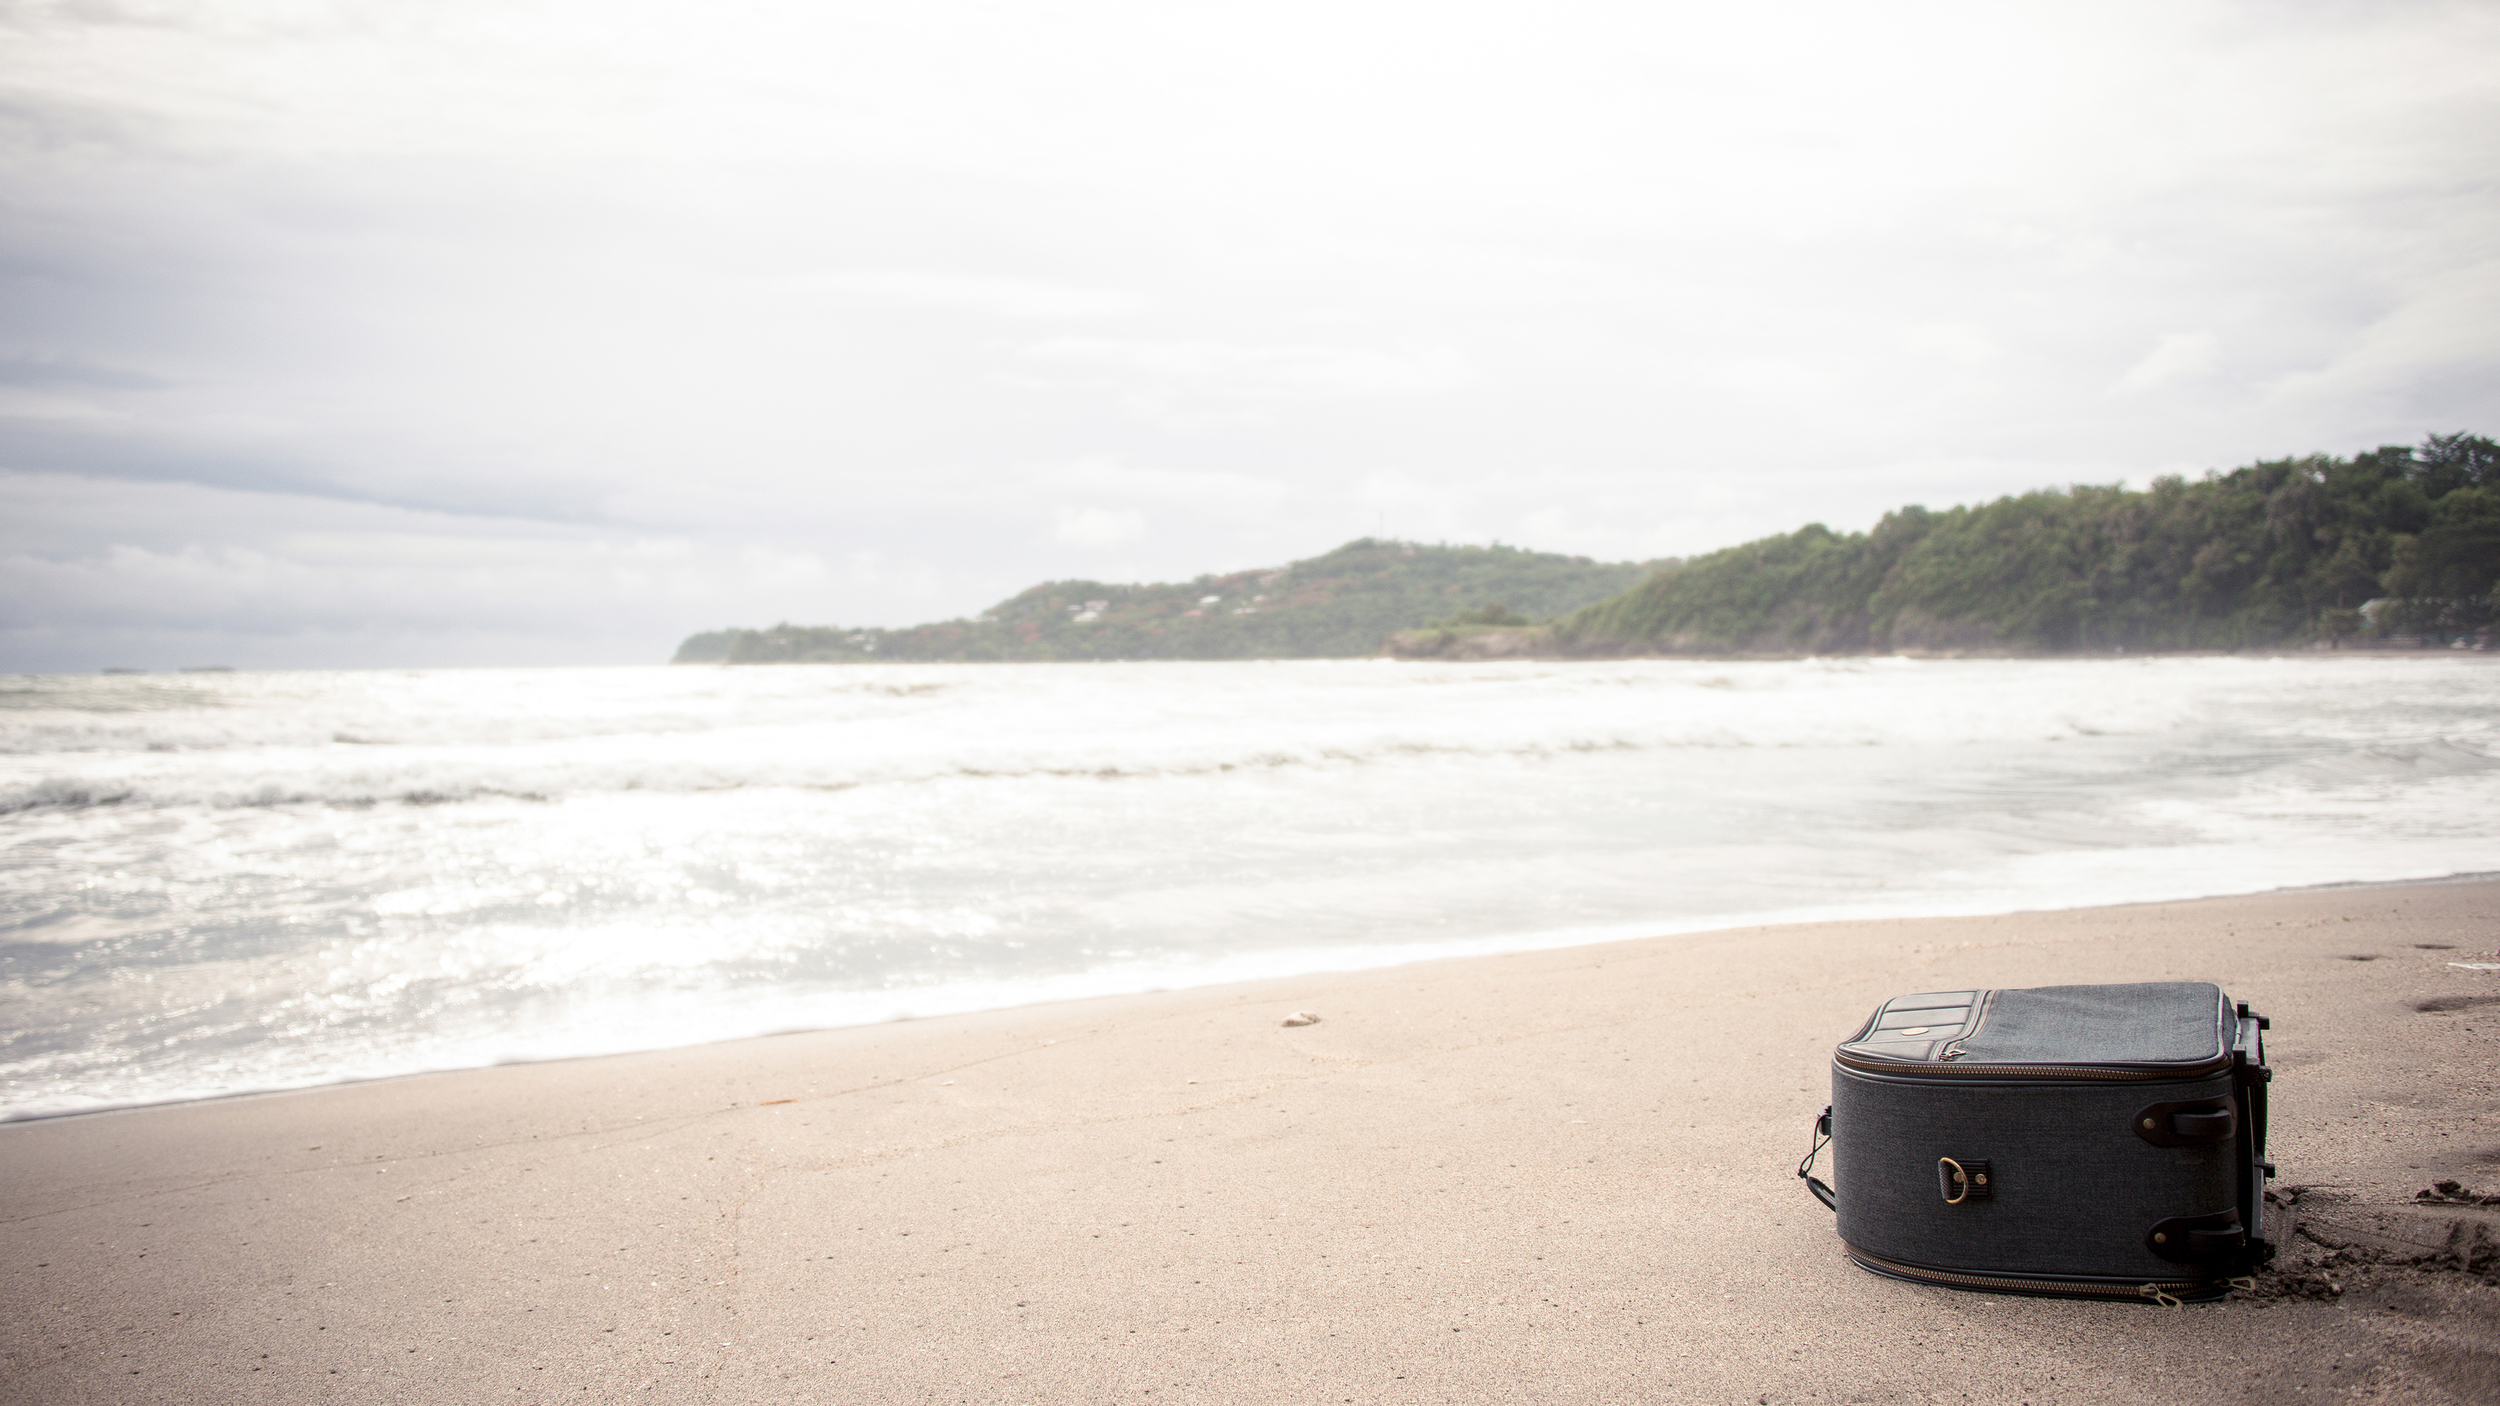
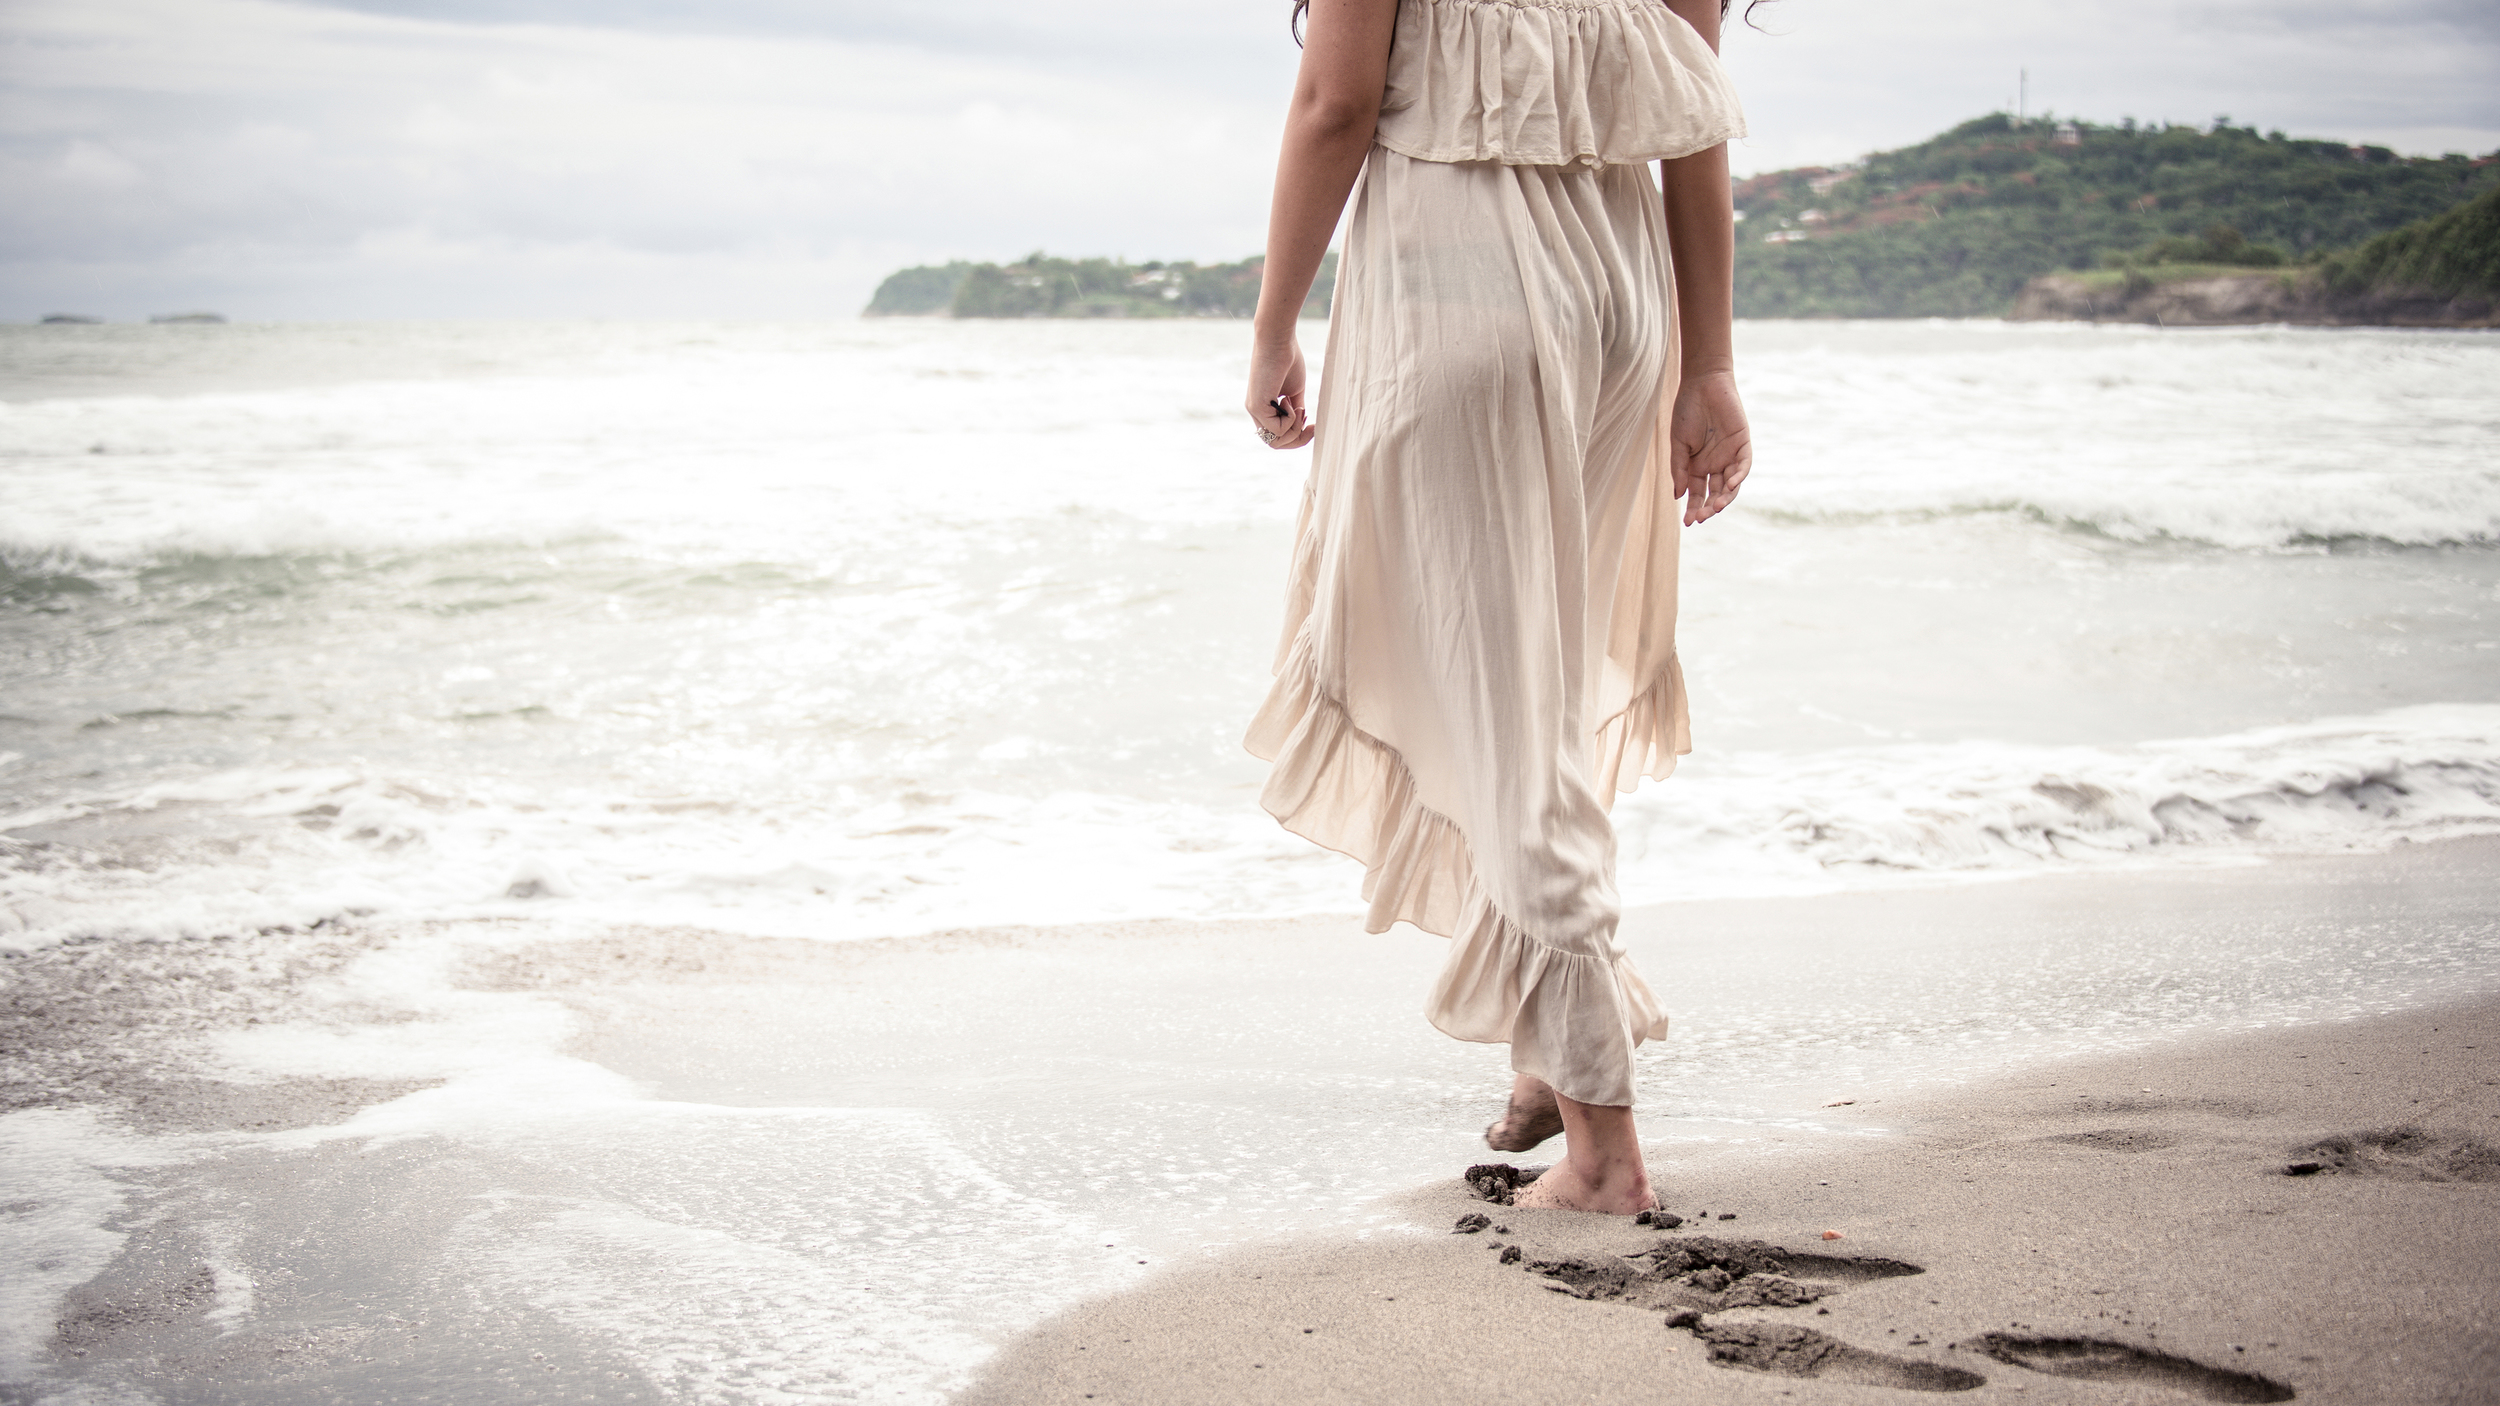
The concept behind this photo shoot revolved around wanting to hide something of yourself. You cannot run away and hide yourself forever. Freedom is only temporary.
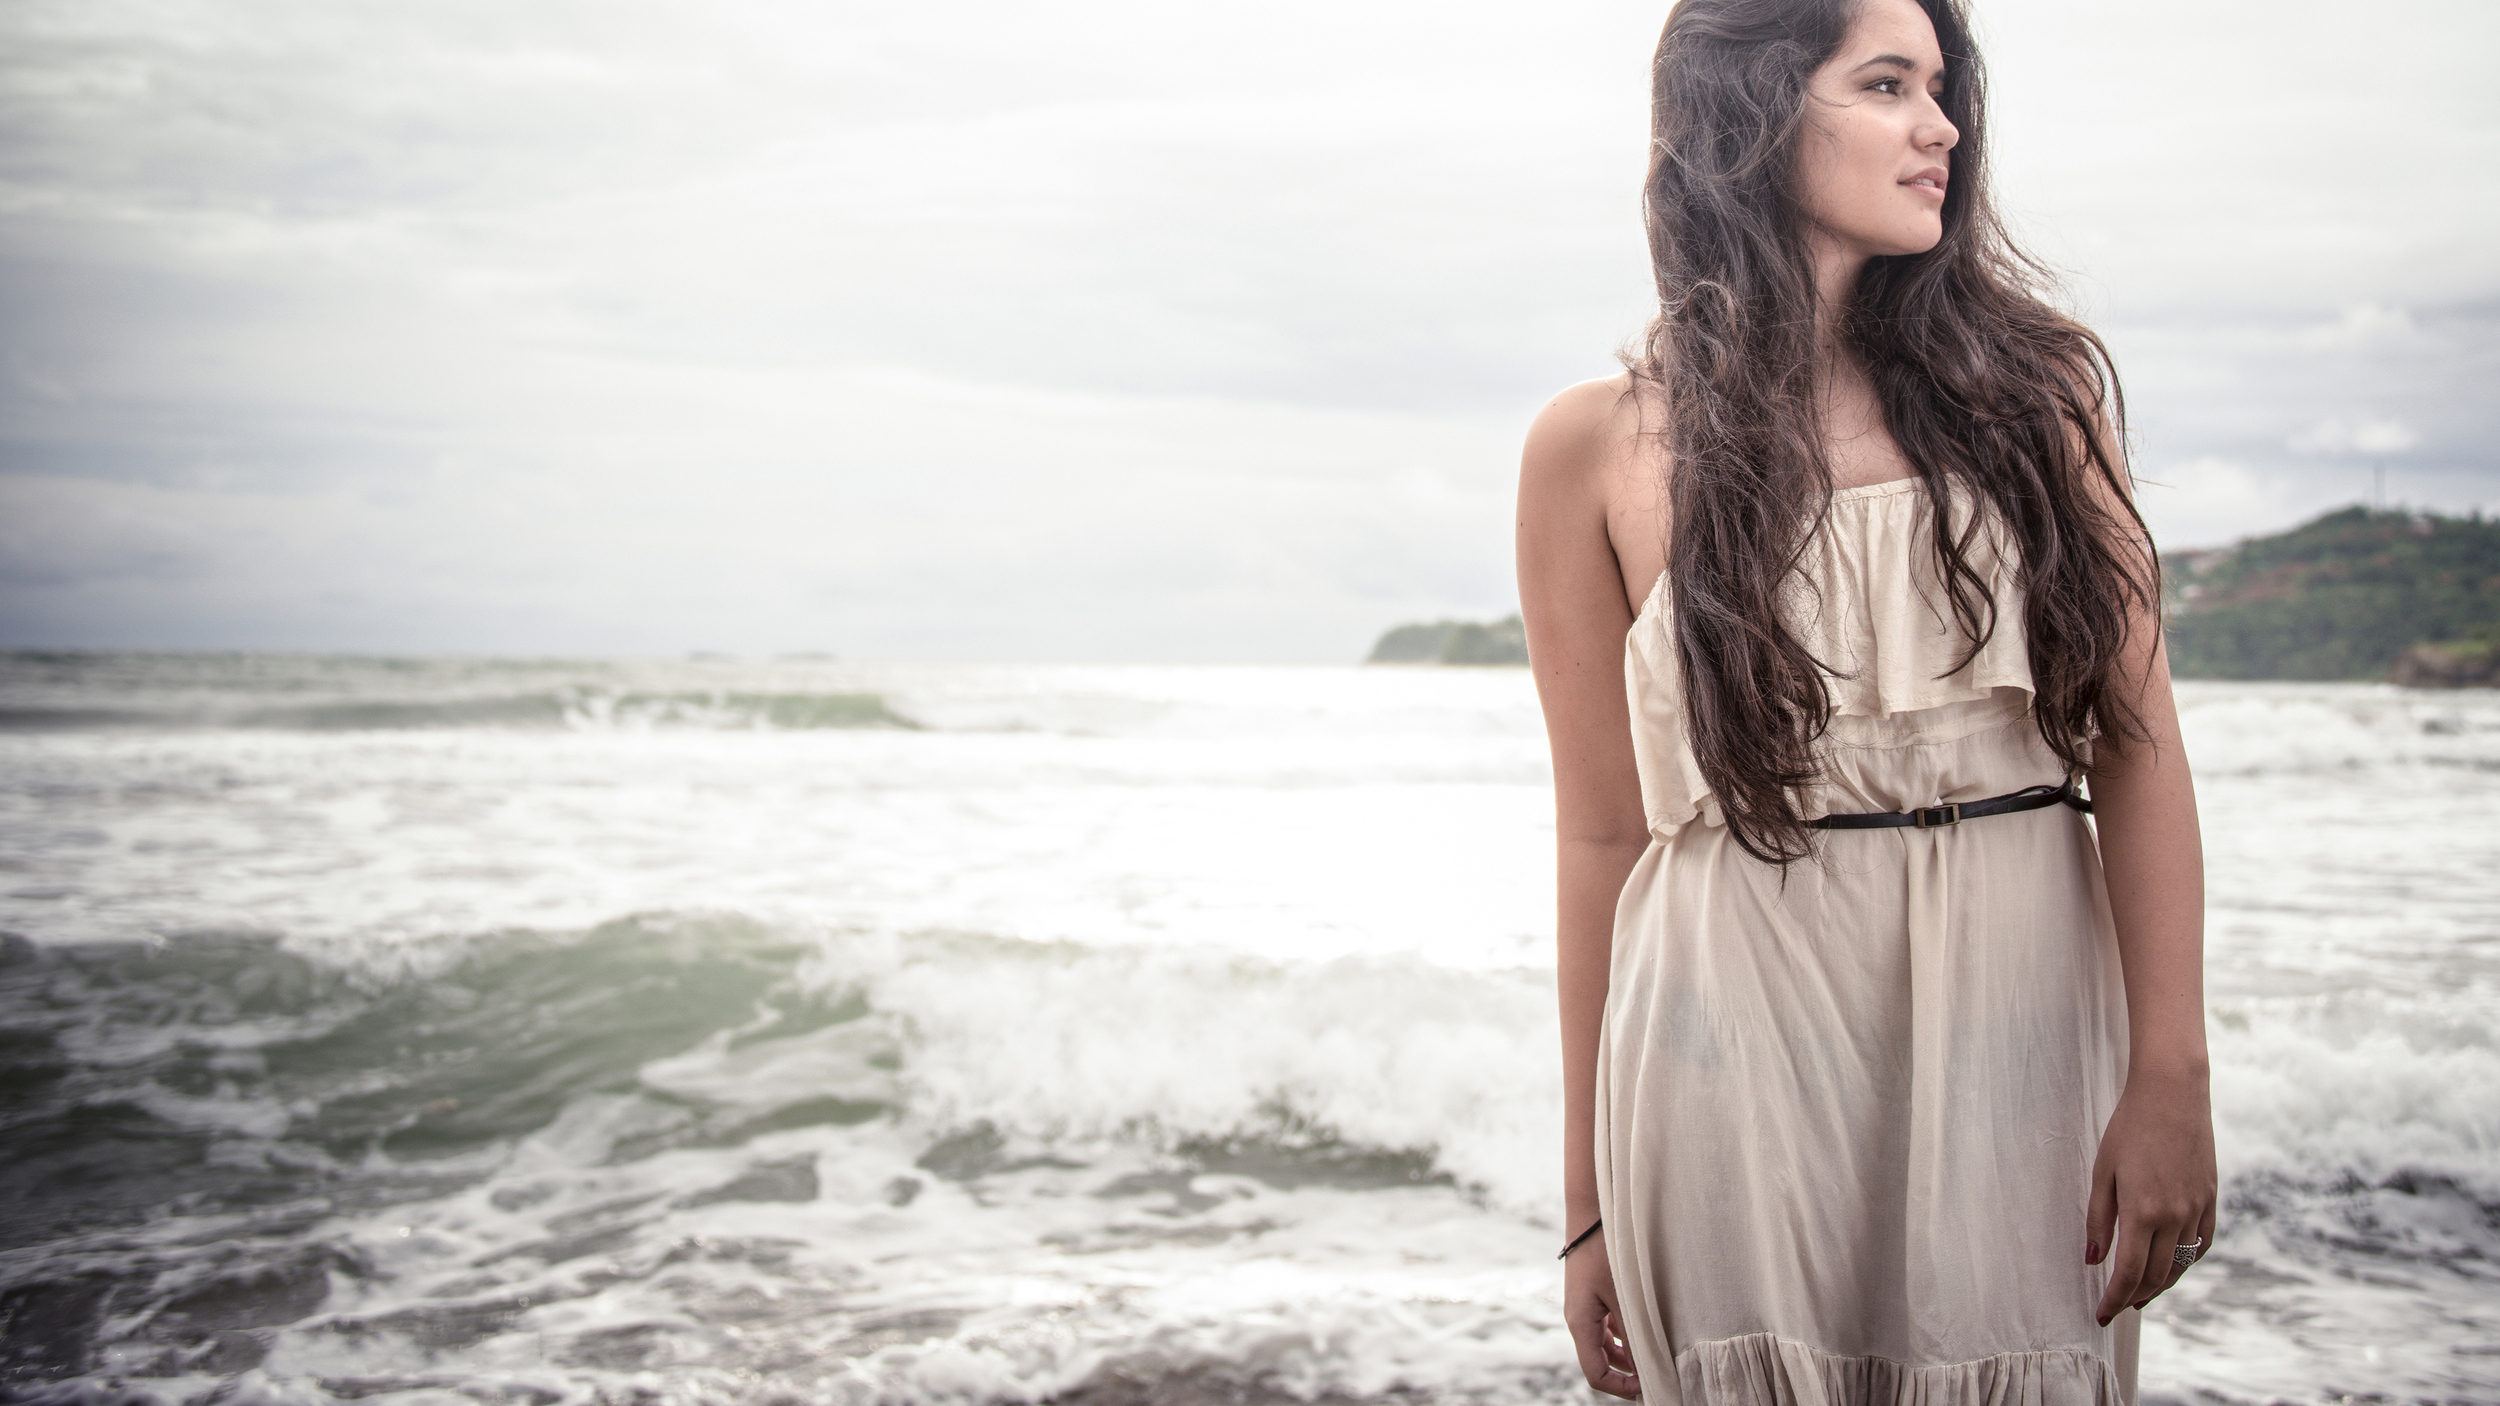
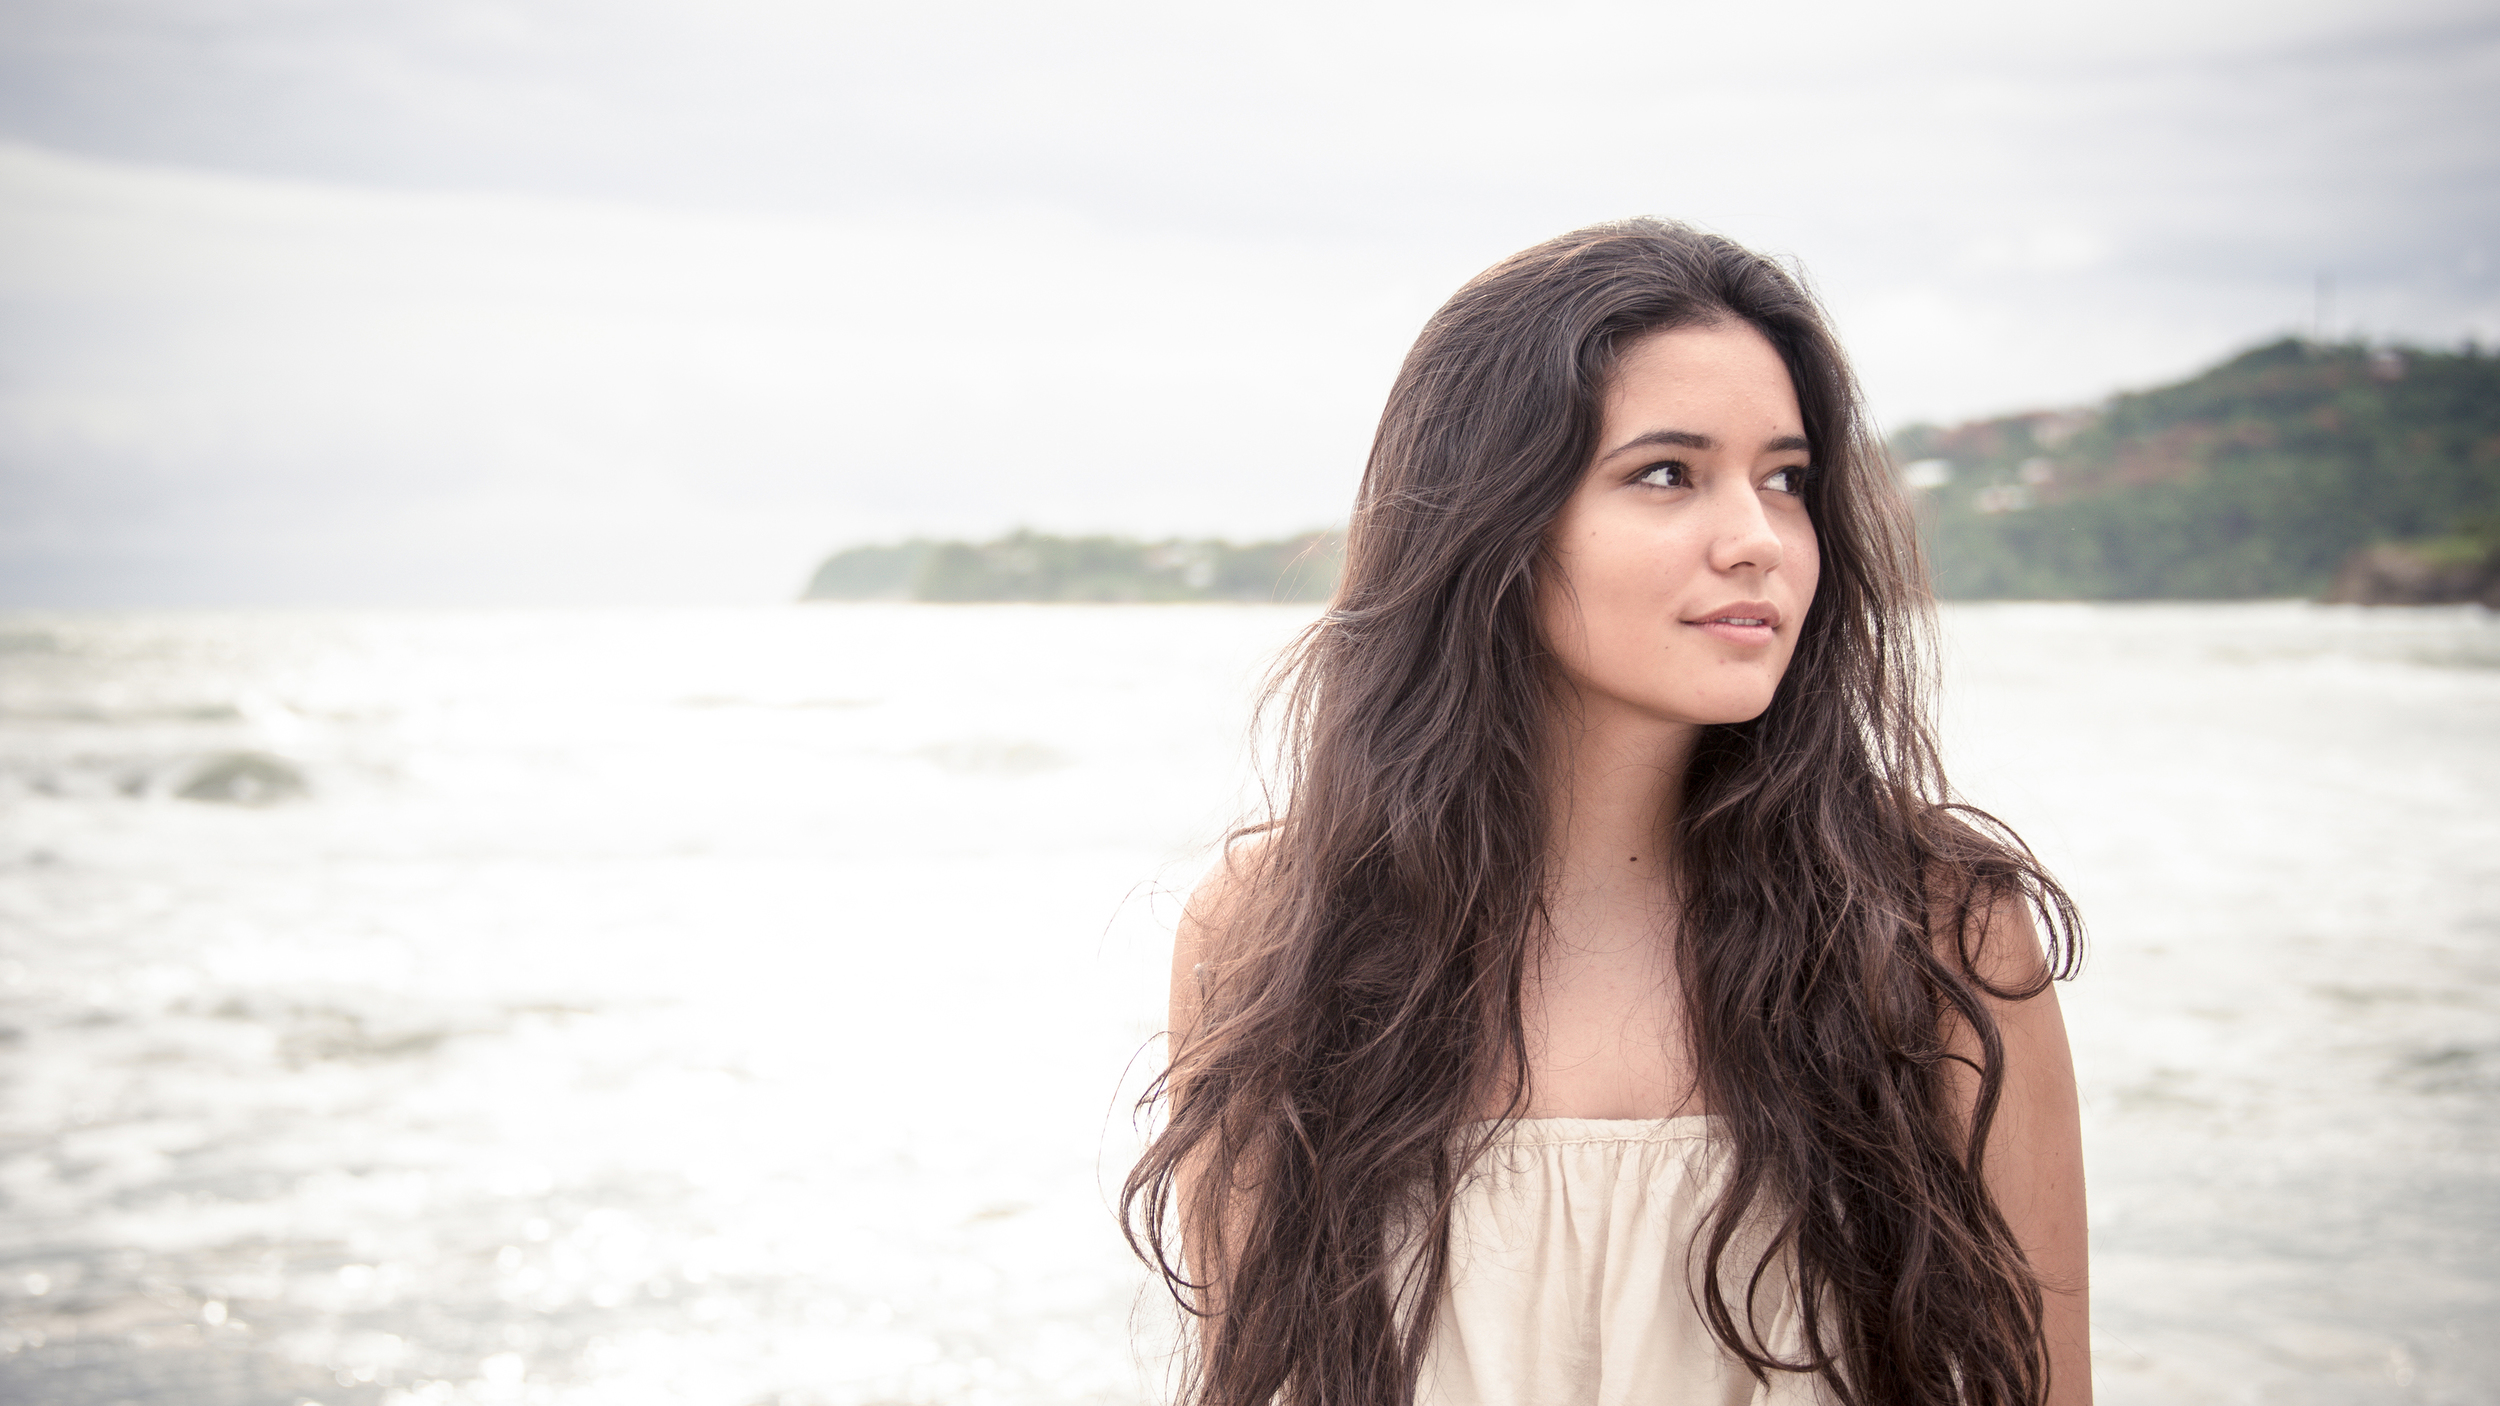
I needed a lot of acting for this shoot to successfully portray the message that I wanted to get across. Therefore, I asked one of my close friends, Kristine Crouch. She has a lot of acting experience as she is no stranger to the stage.
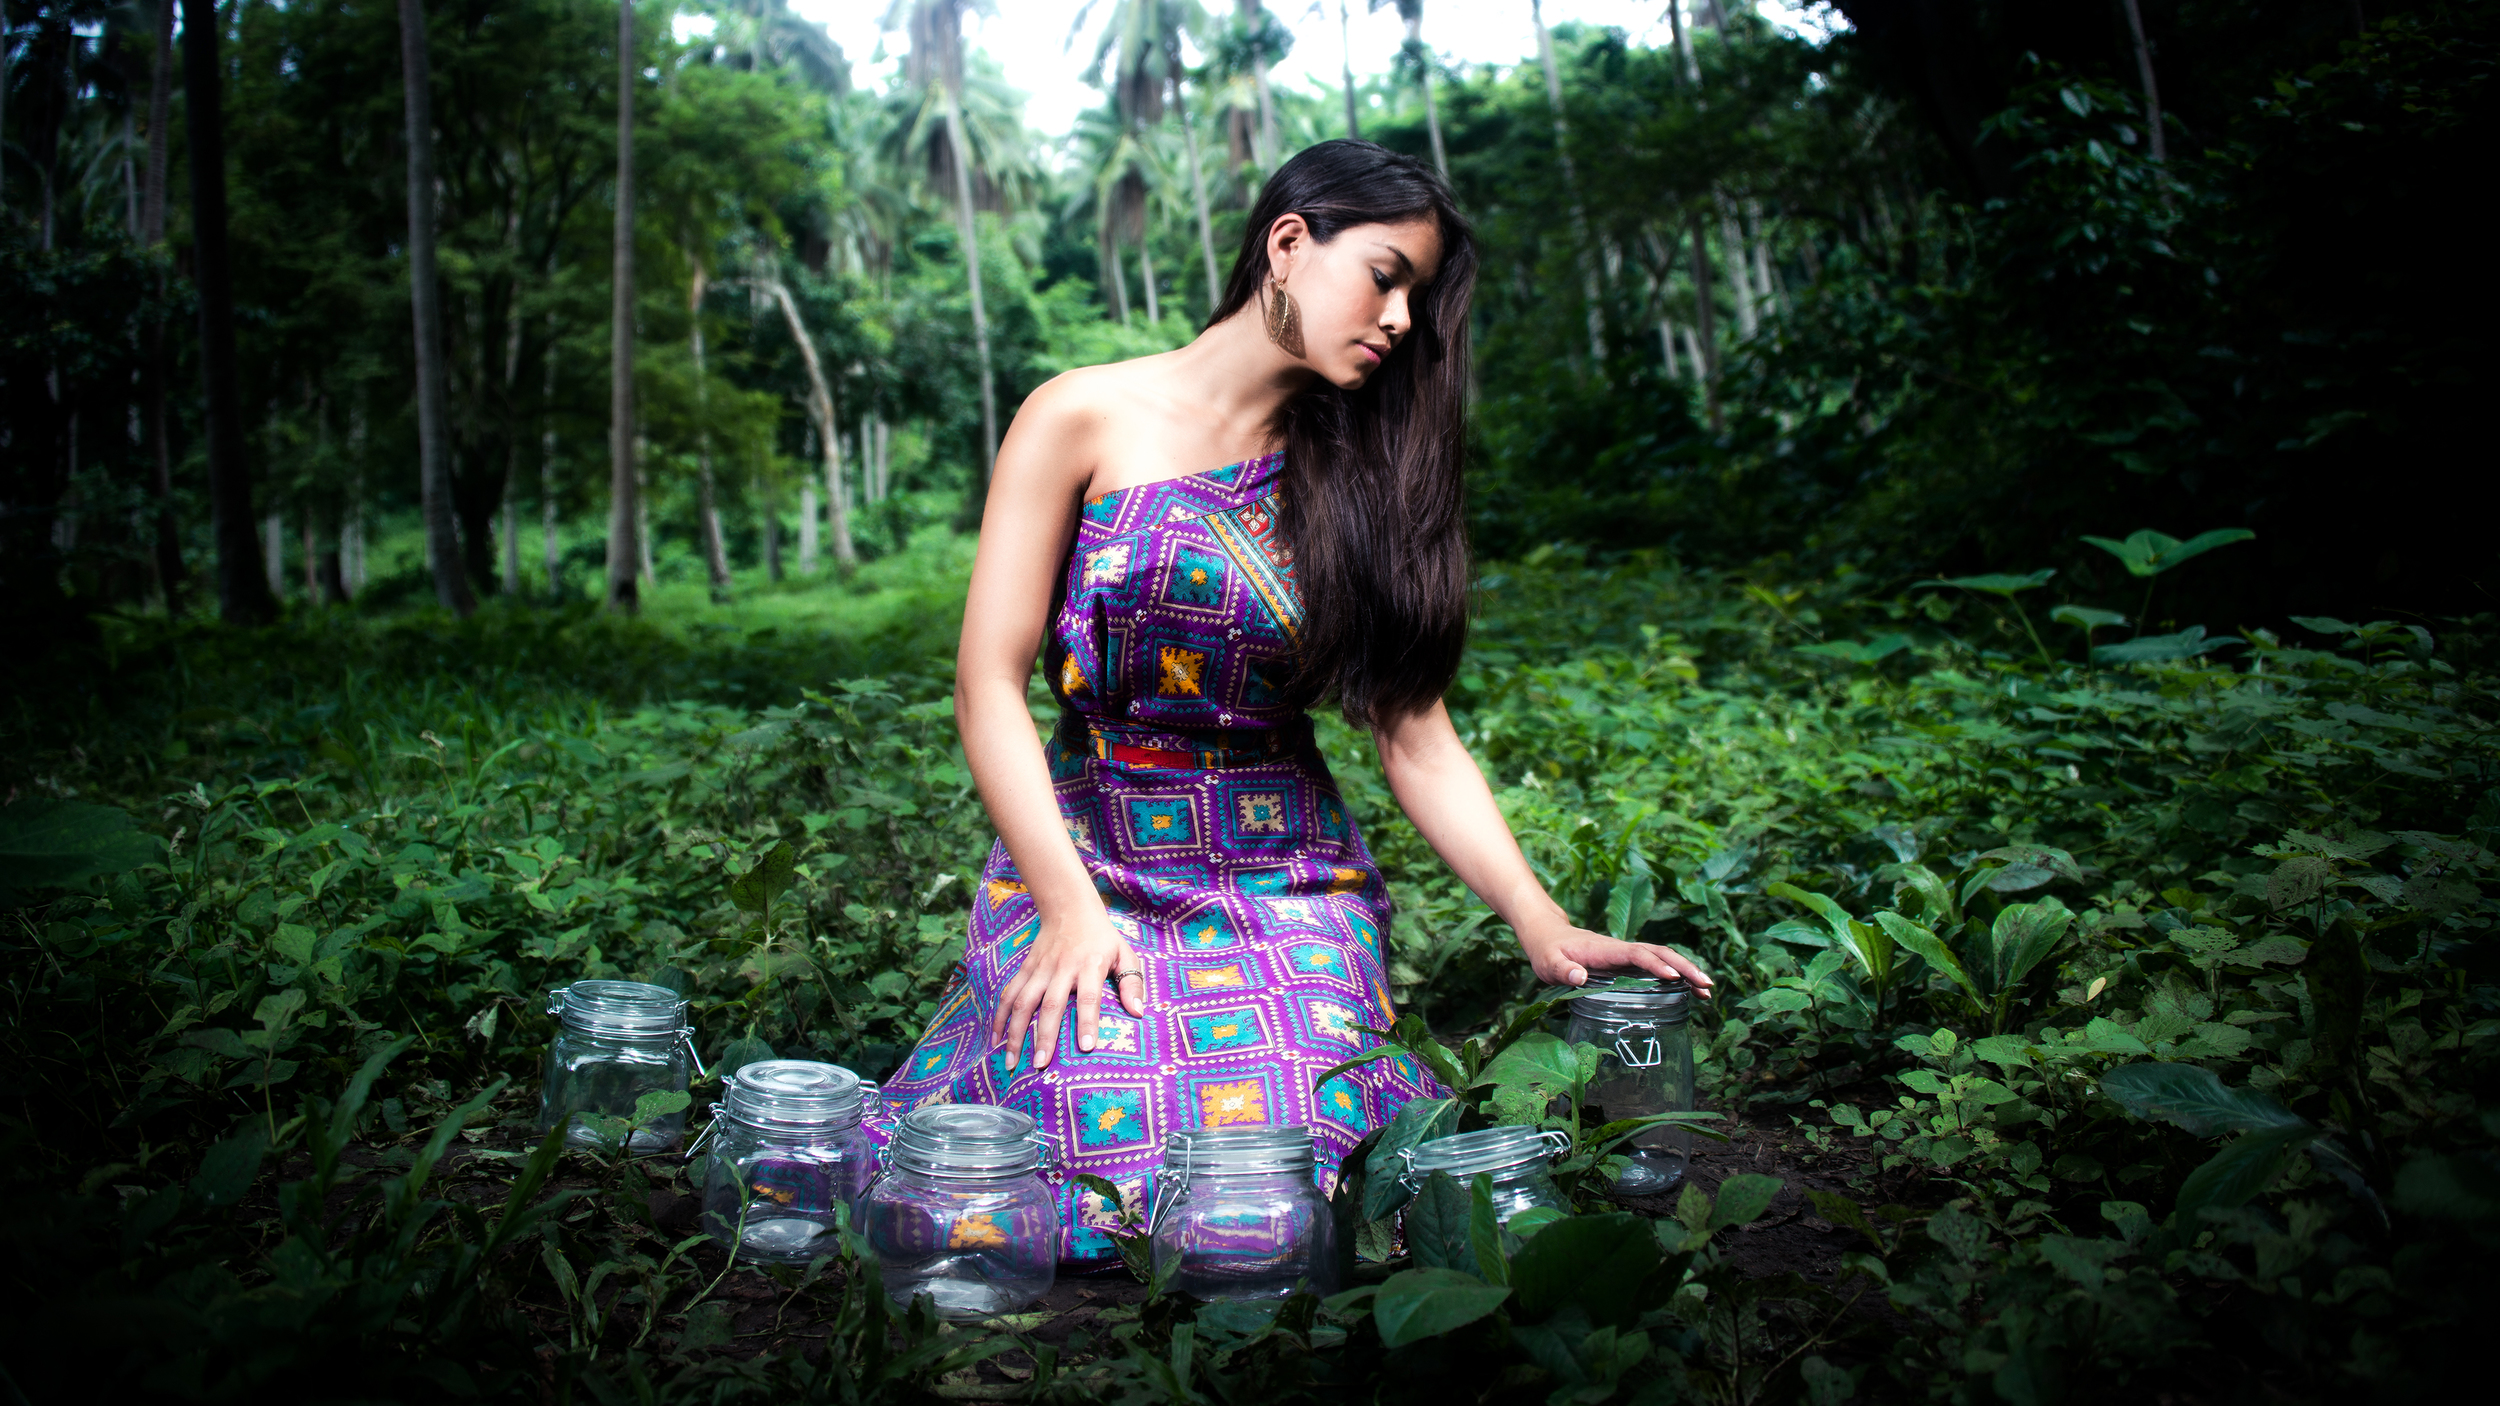
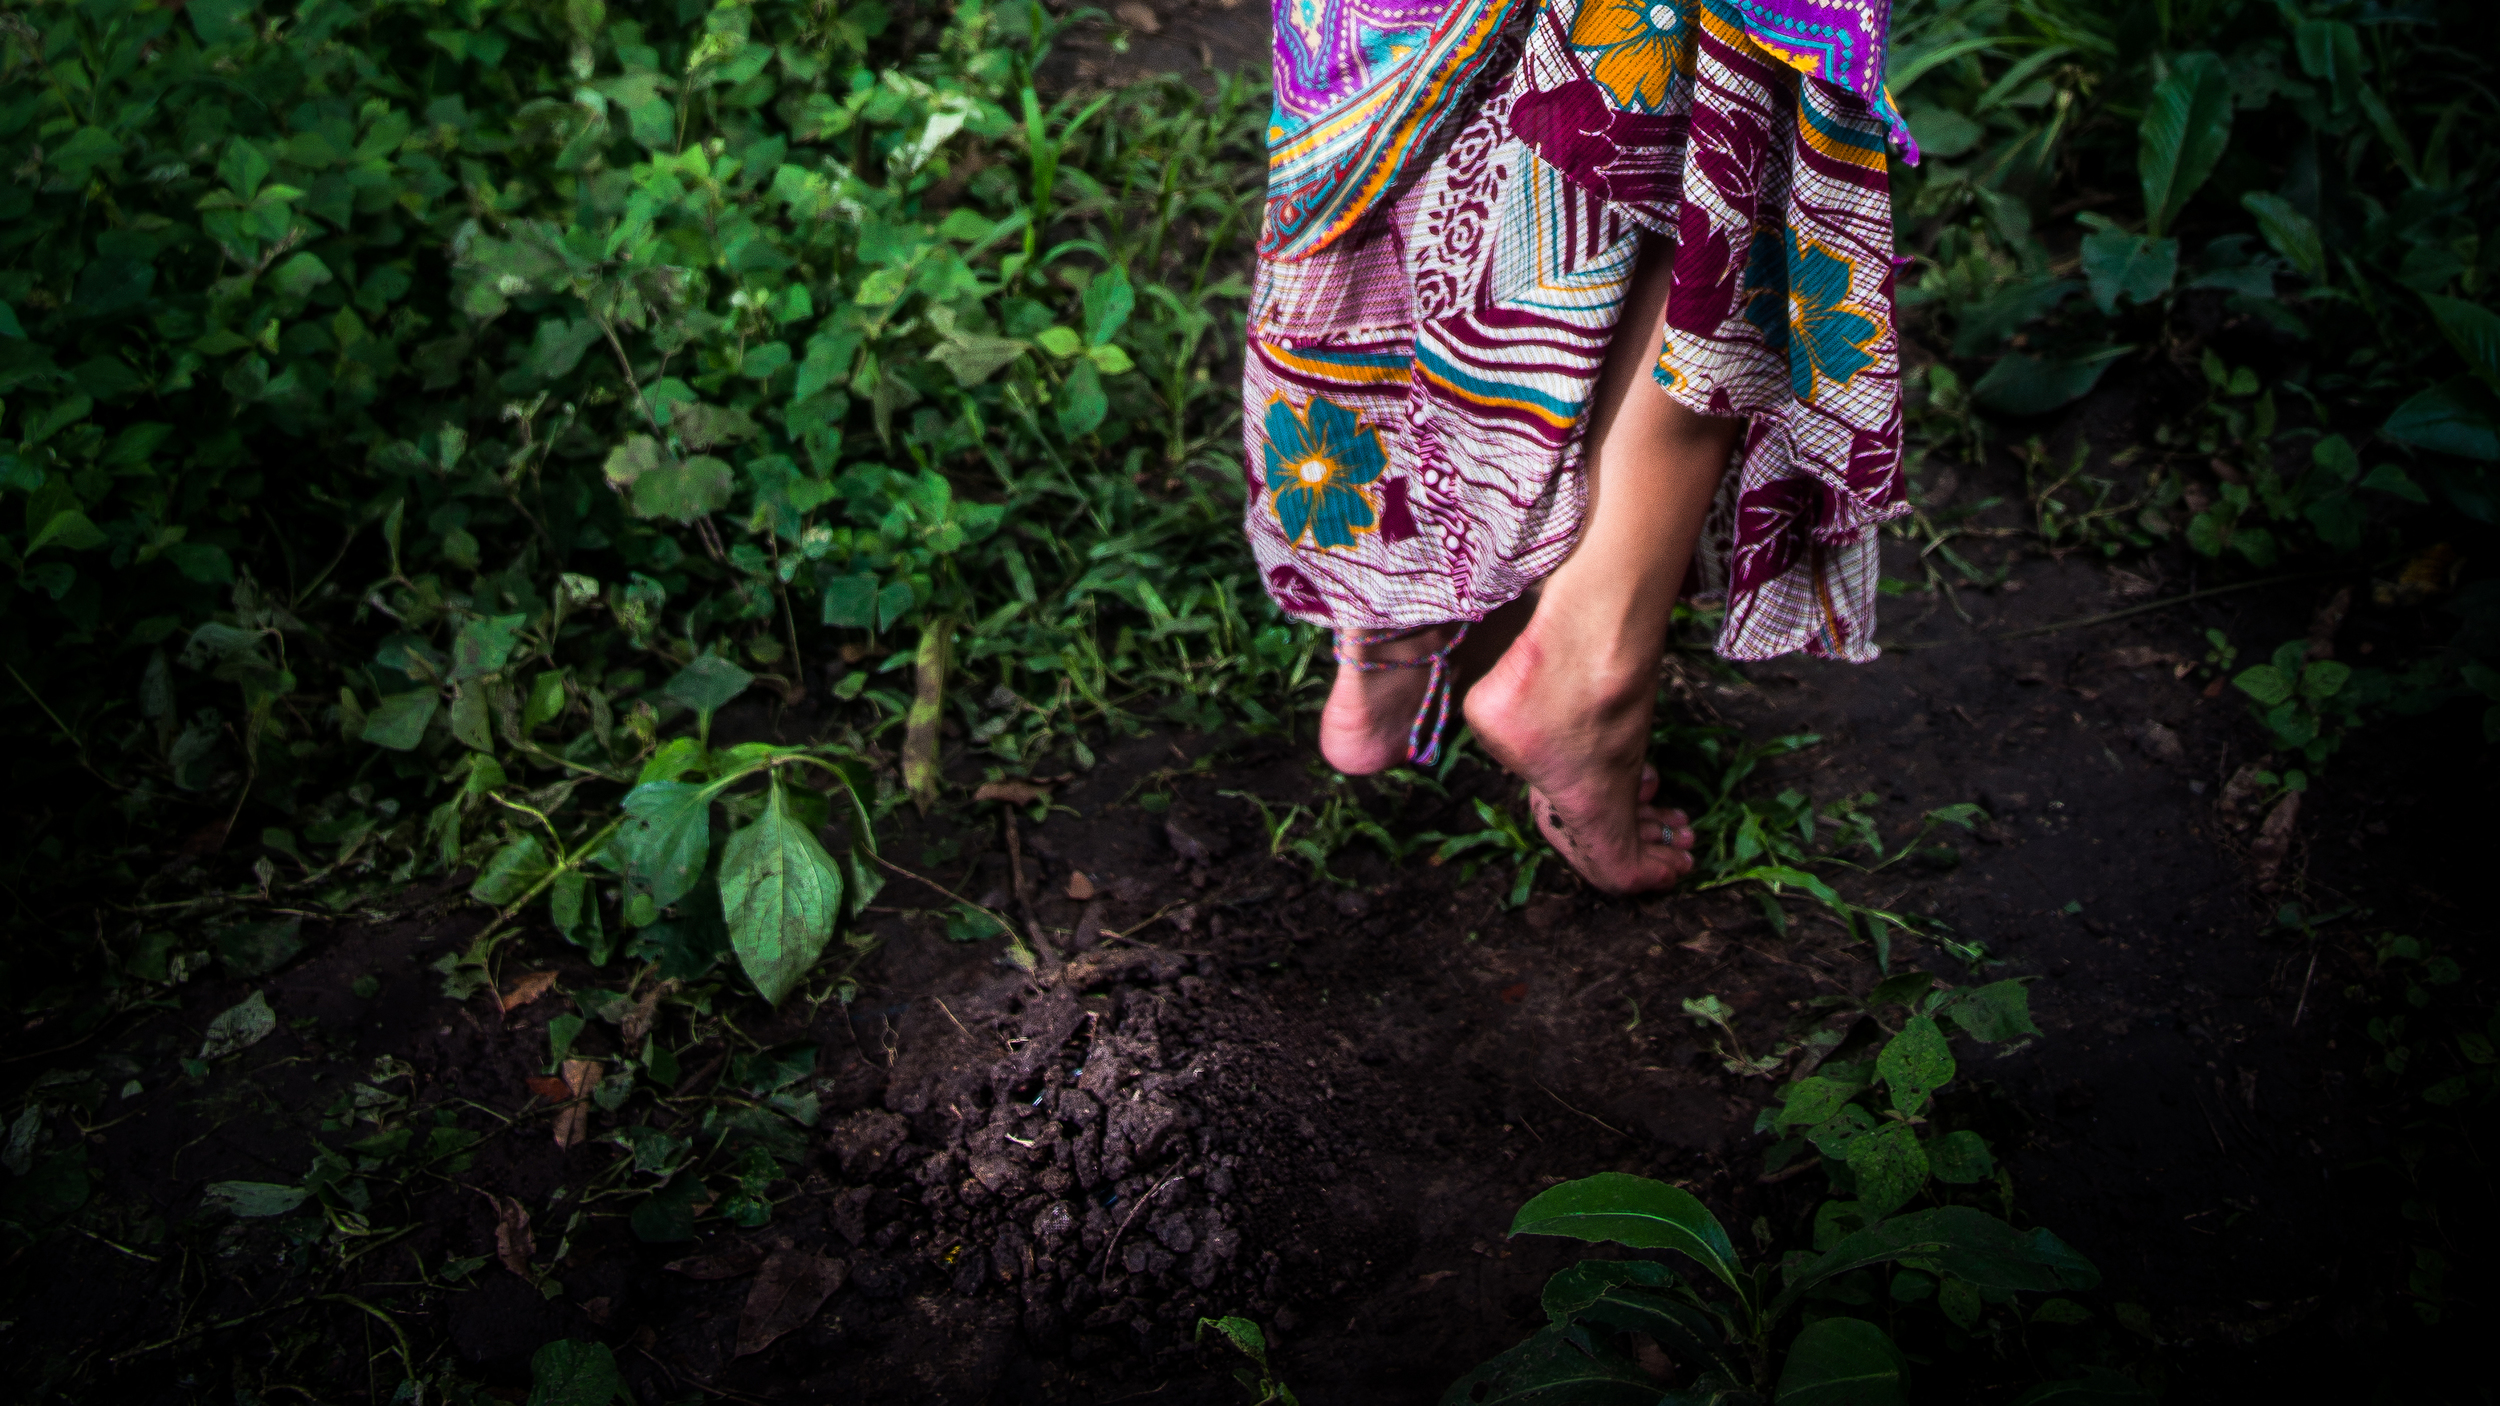
The location I chose for this shoot was as detached from society as I could find. This shoot was shot in a farm in Batangas, Philippines, which was provided by a good friend of mine, Mara Javier.
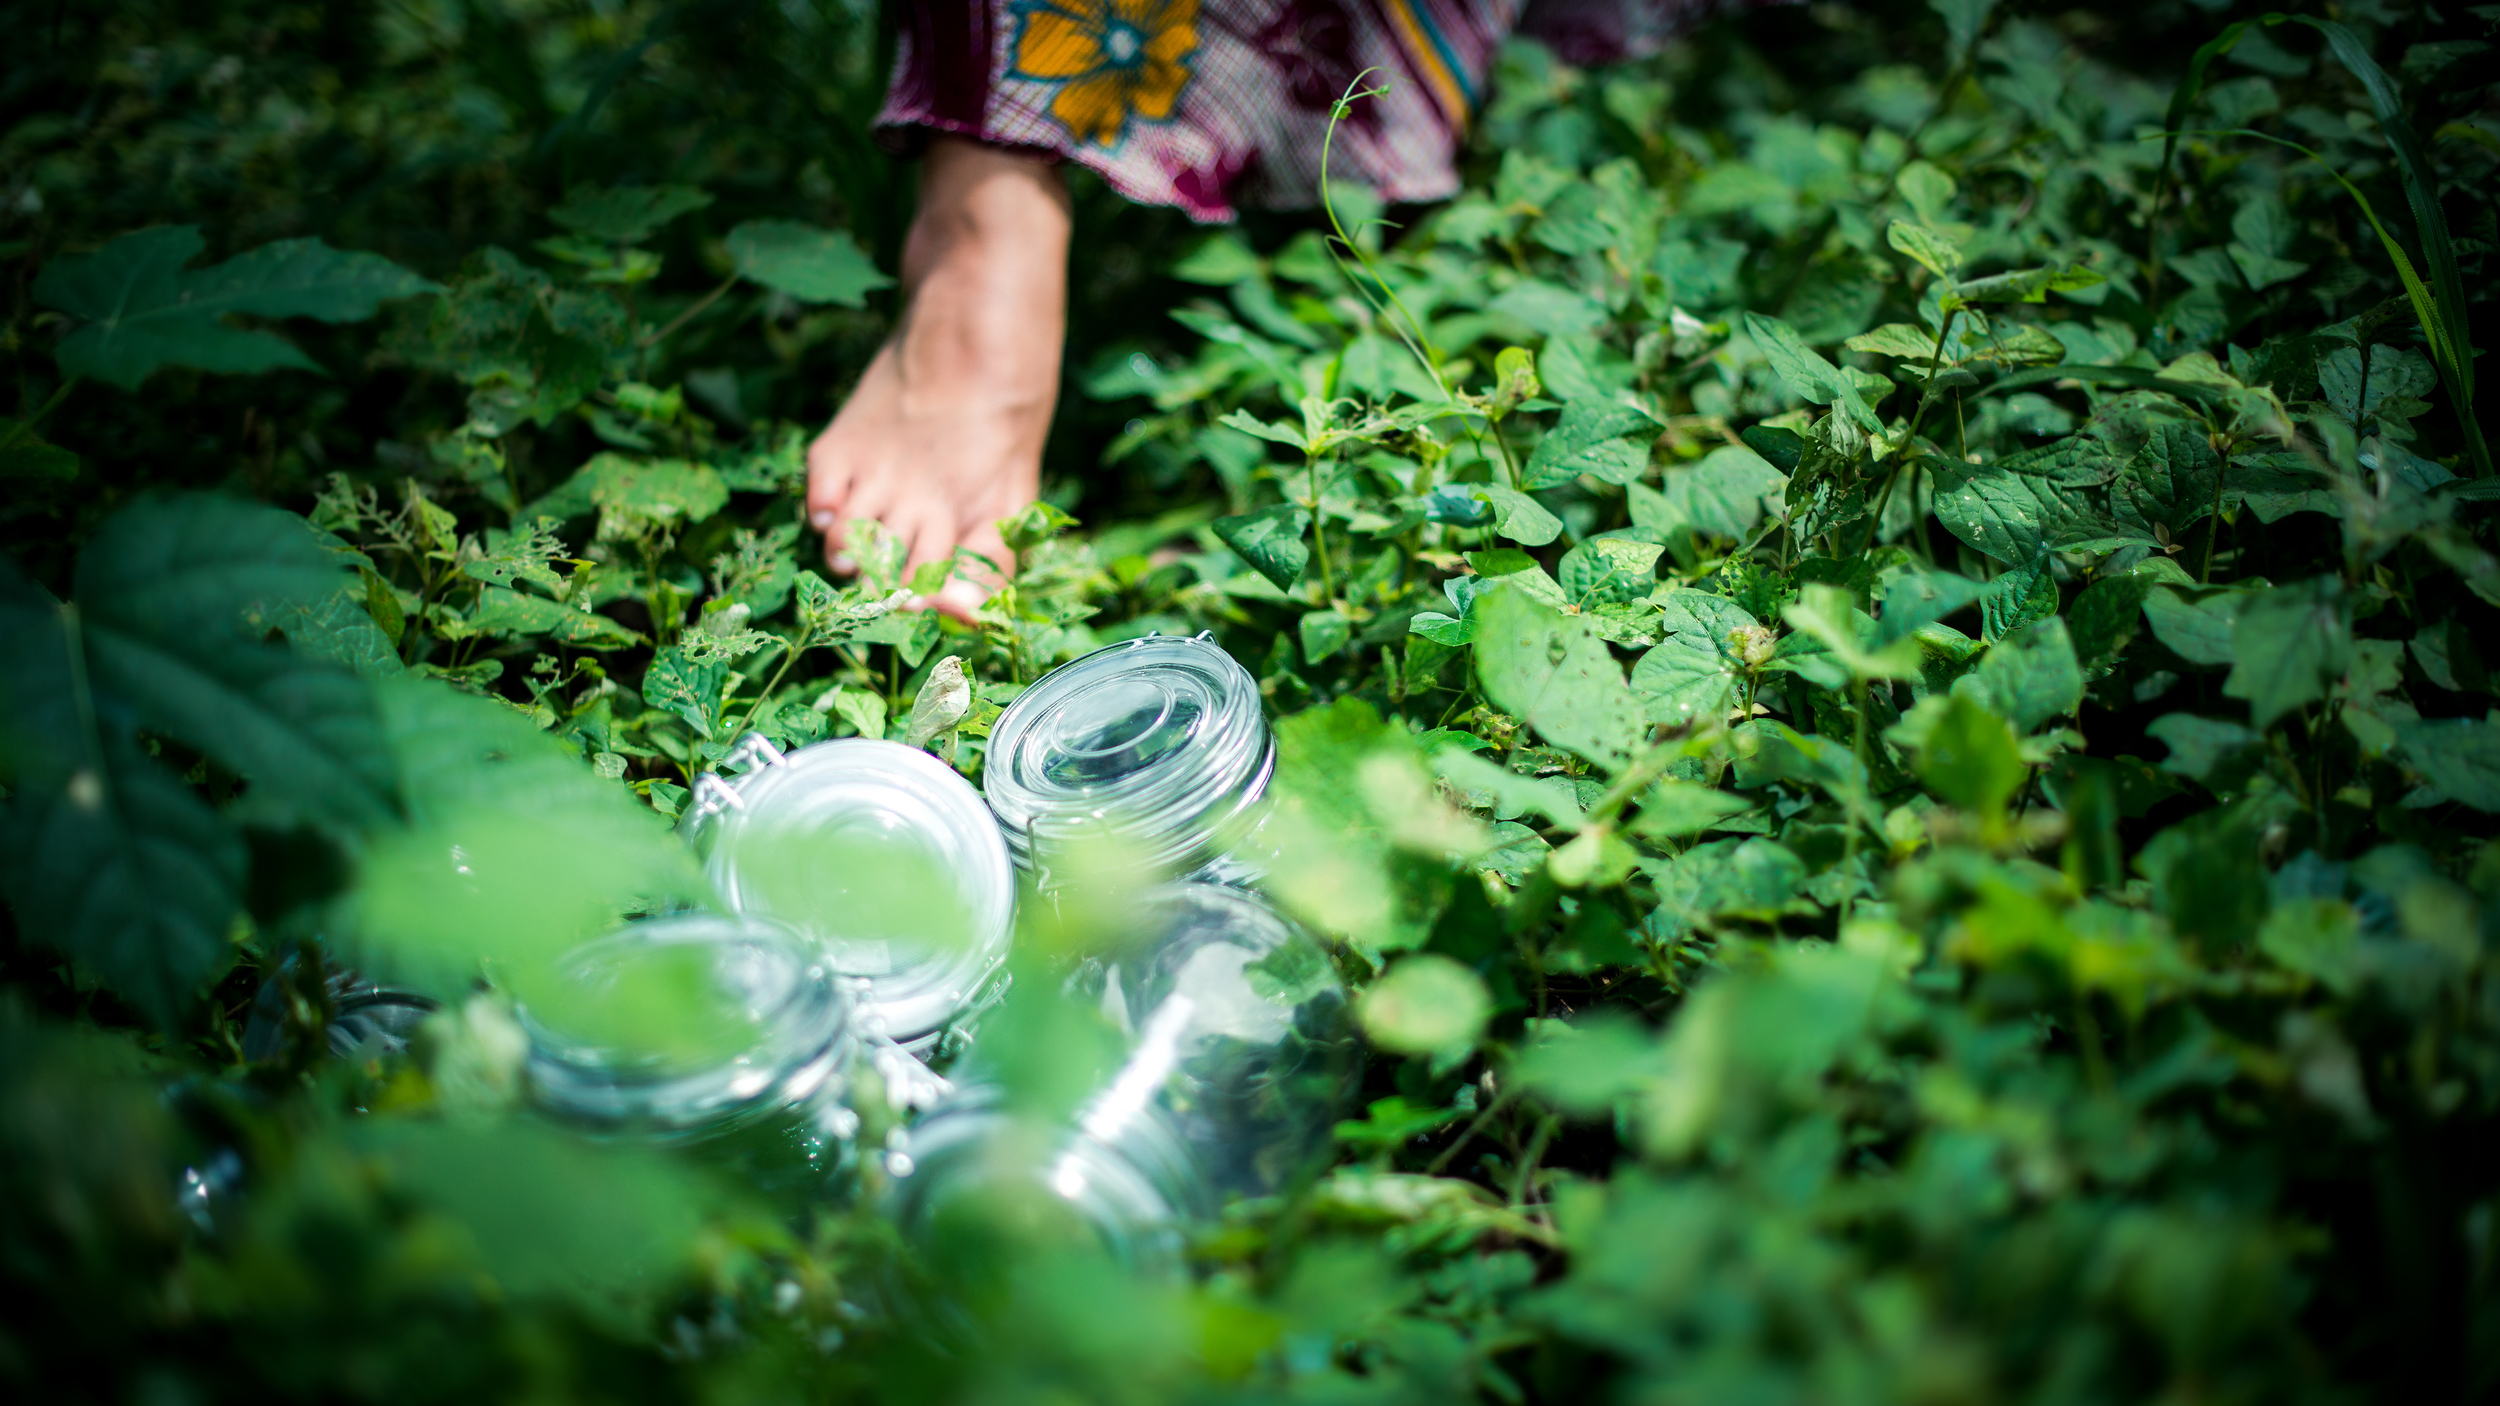
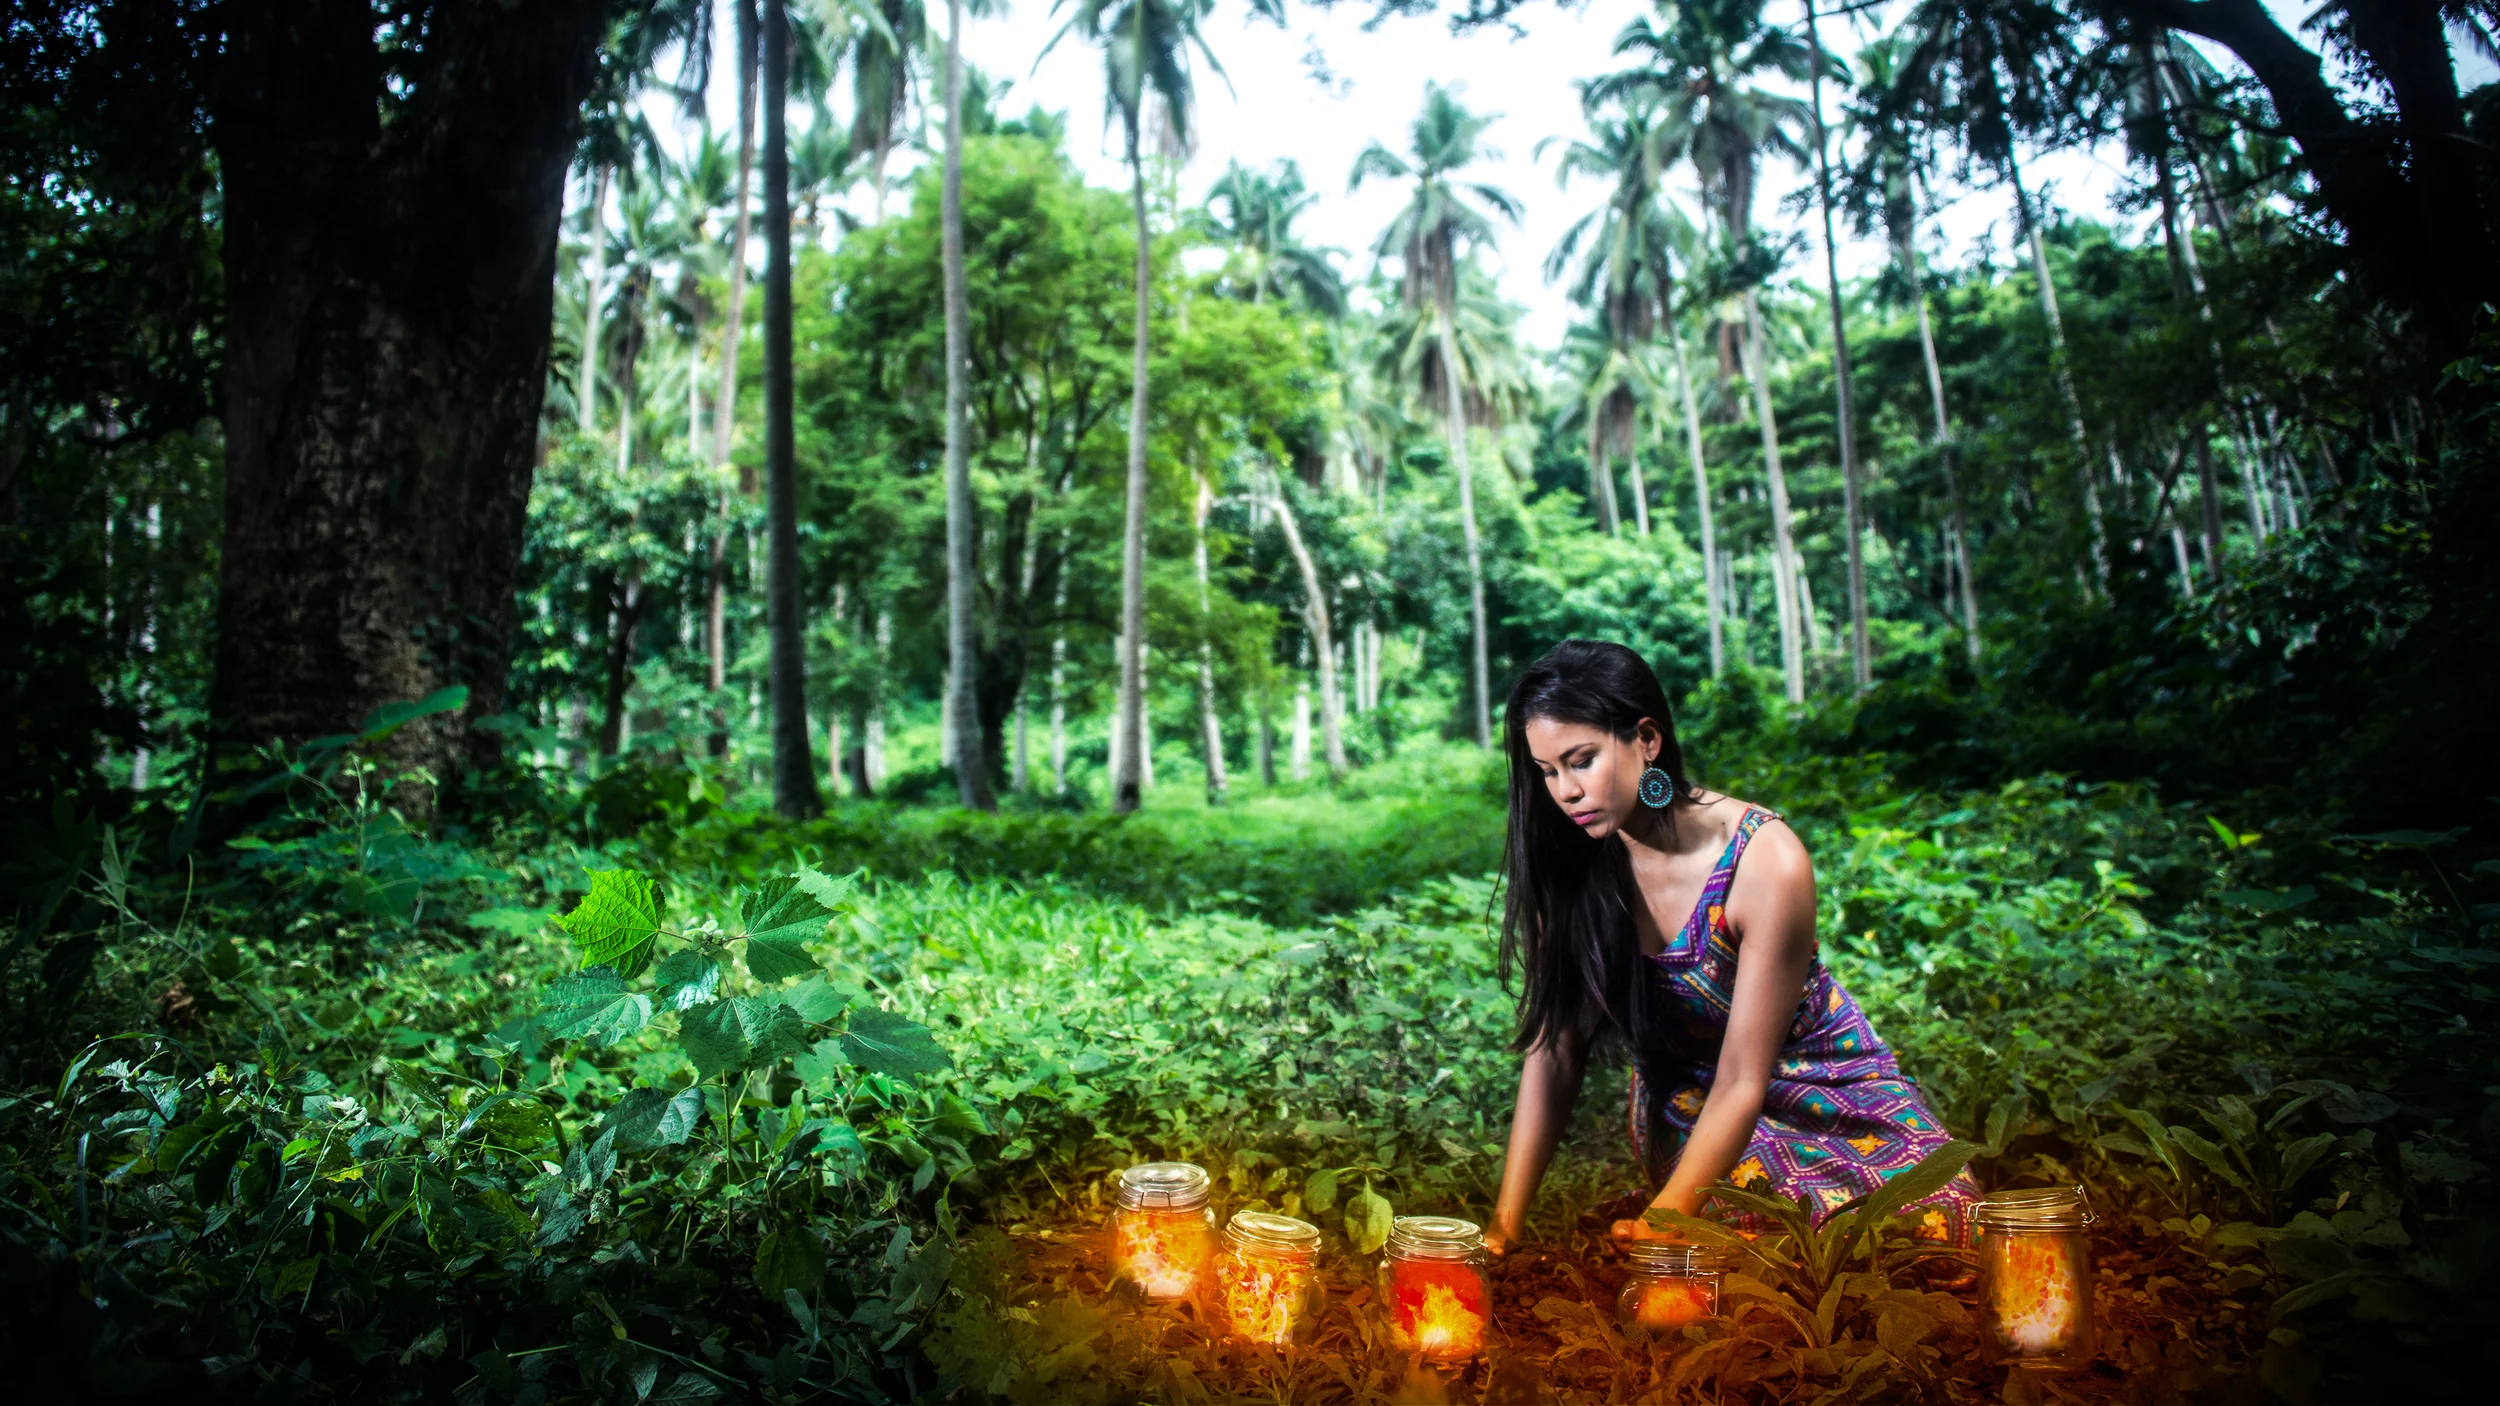
For the photos in this series, I created a light source to emulate the glow of the fire in the jar. Therefore in this post, I will focus on giving tips when creating light sources using photoshop.

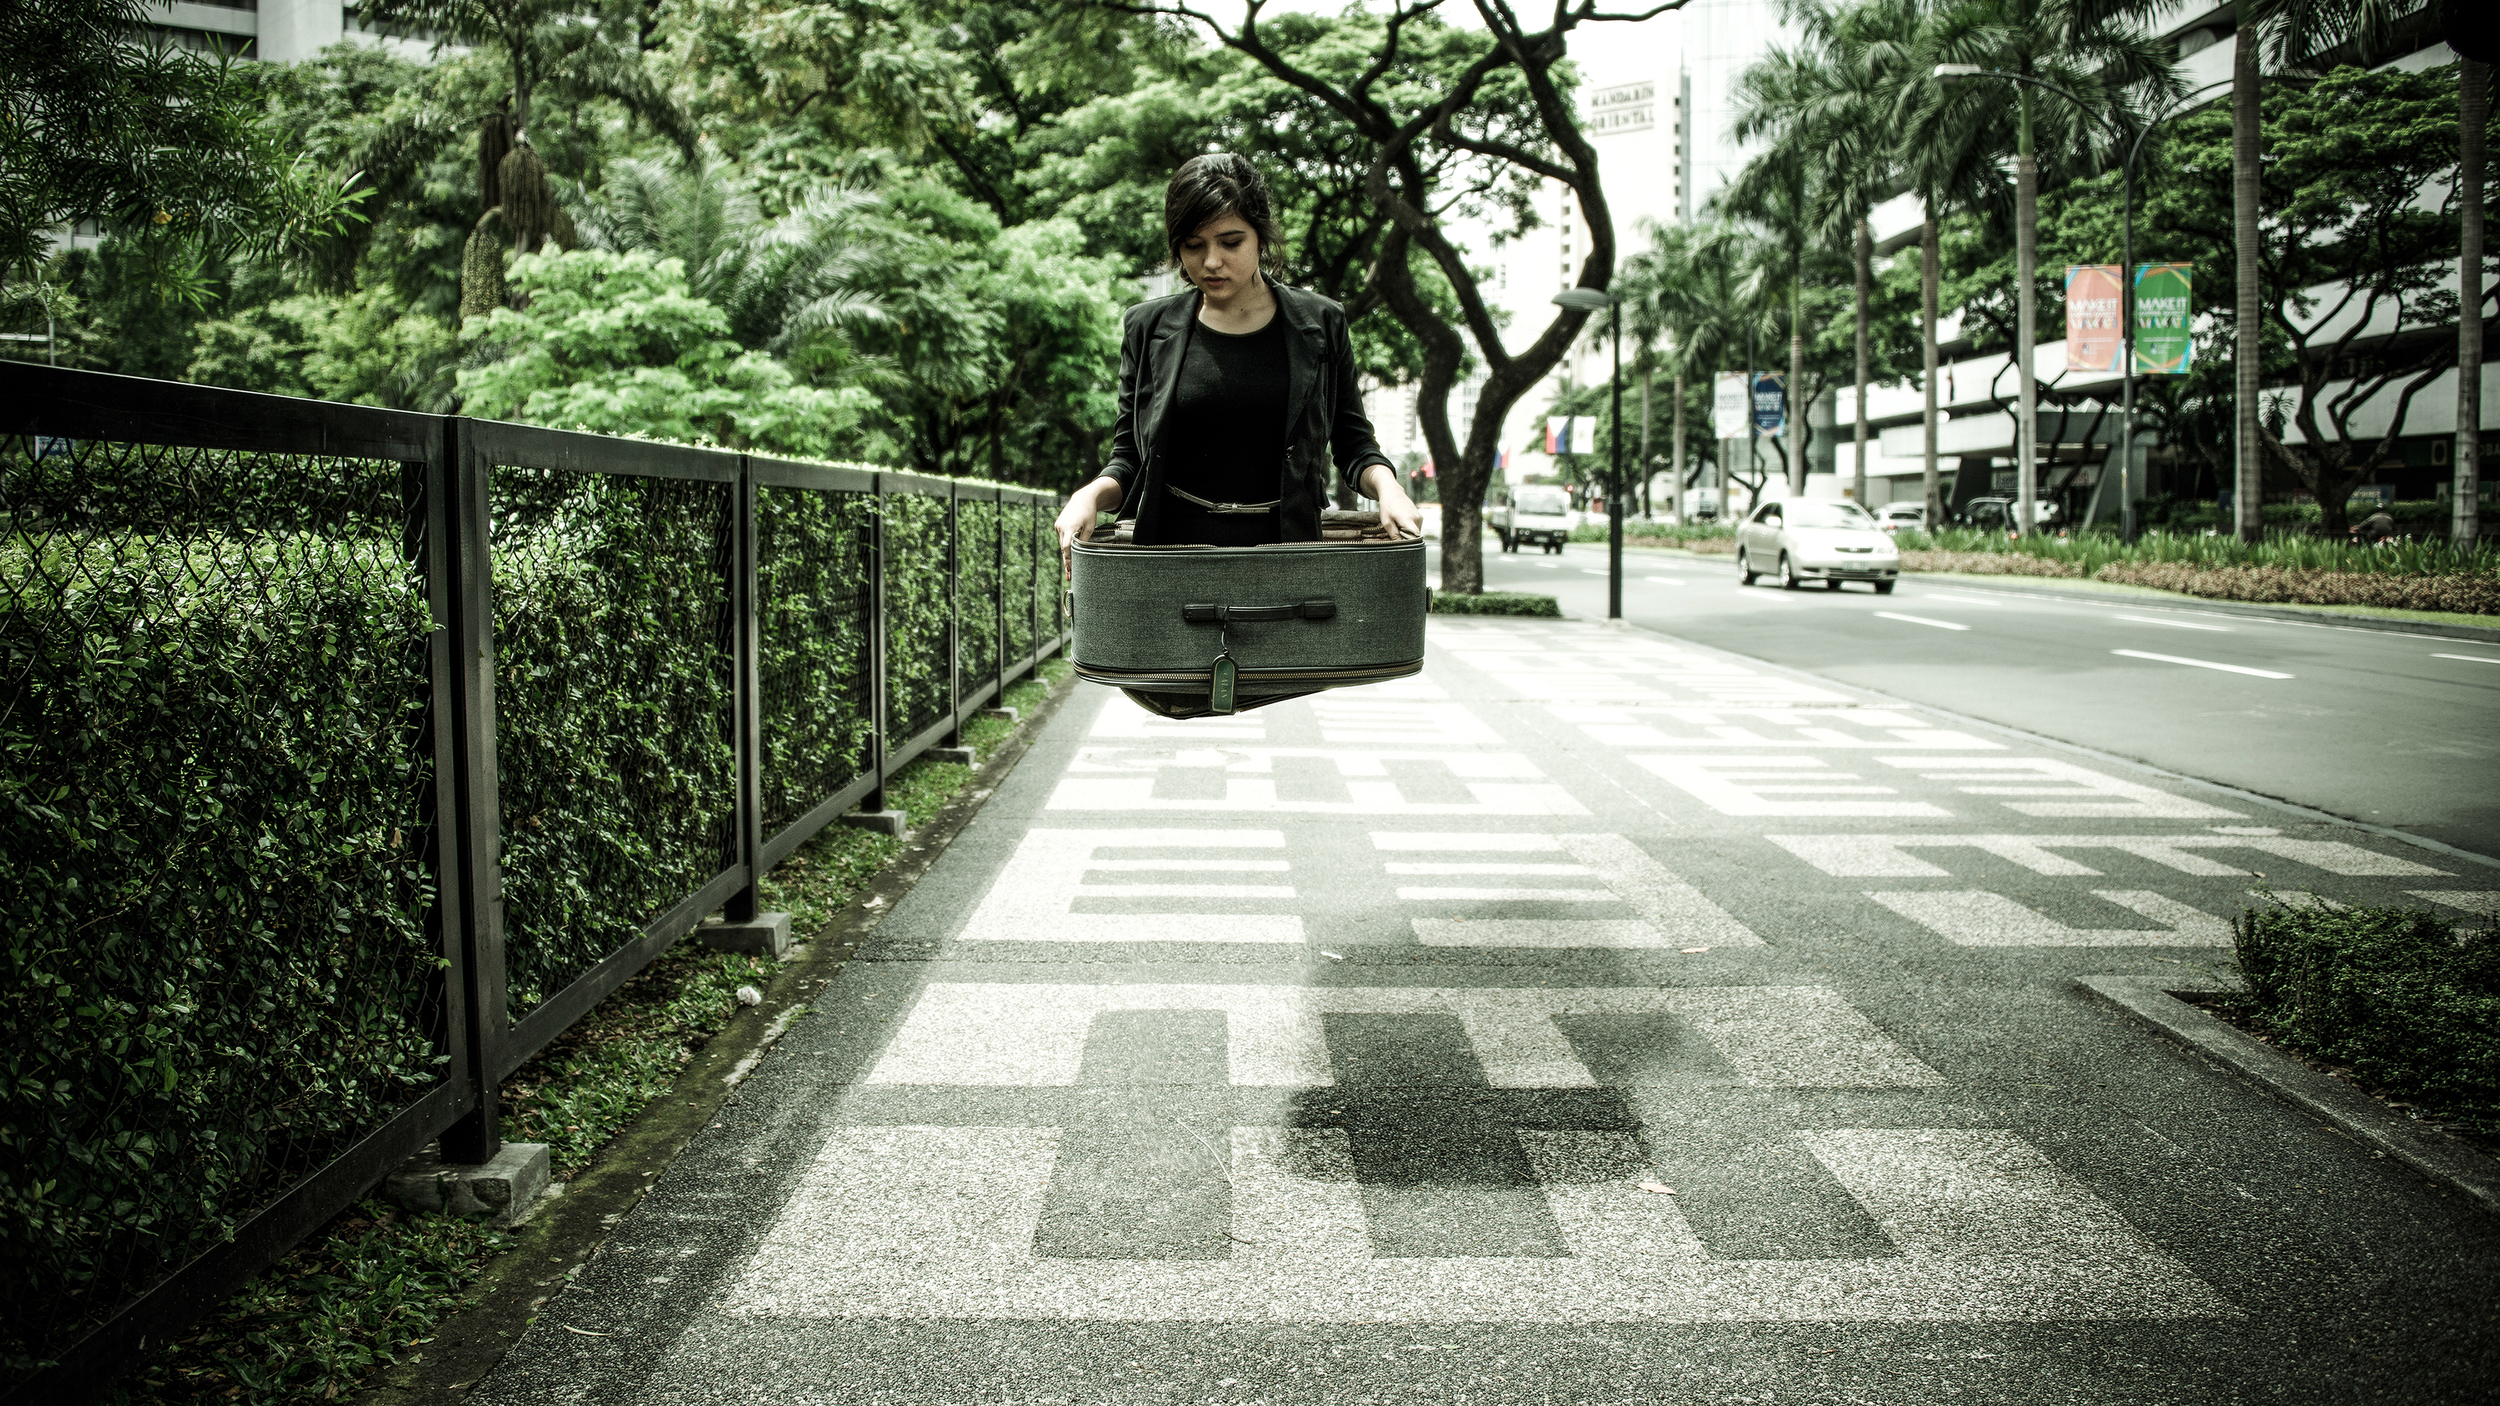
As you can see with the photo above, there is light emitting from the jar that the model is holding. I did not want to place an actual fire in the jars because of safety and logistical reasons. Therefore, I had to use Photoshop to create this illusion.
A thing to keep in mind is, Photoshop is a very powerful and useful tool. However, it will not always produce realistic looking images. You first need to create a proper set up when taking your photos to ensure that you get all the elements and variables correctly. For this concept, the important variable was the emitted light. To make sure that the light bounces off the body accurately, I placed a strobe light (artificial light) with a soft box on the right of the frame (in front of model).

This is the RAW file after some post-editing using Lightroom 4. I have attached the preset that I made at the end of this post. As you can see, the original lighting set up that I used already create the necessary lighting on the model.

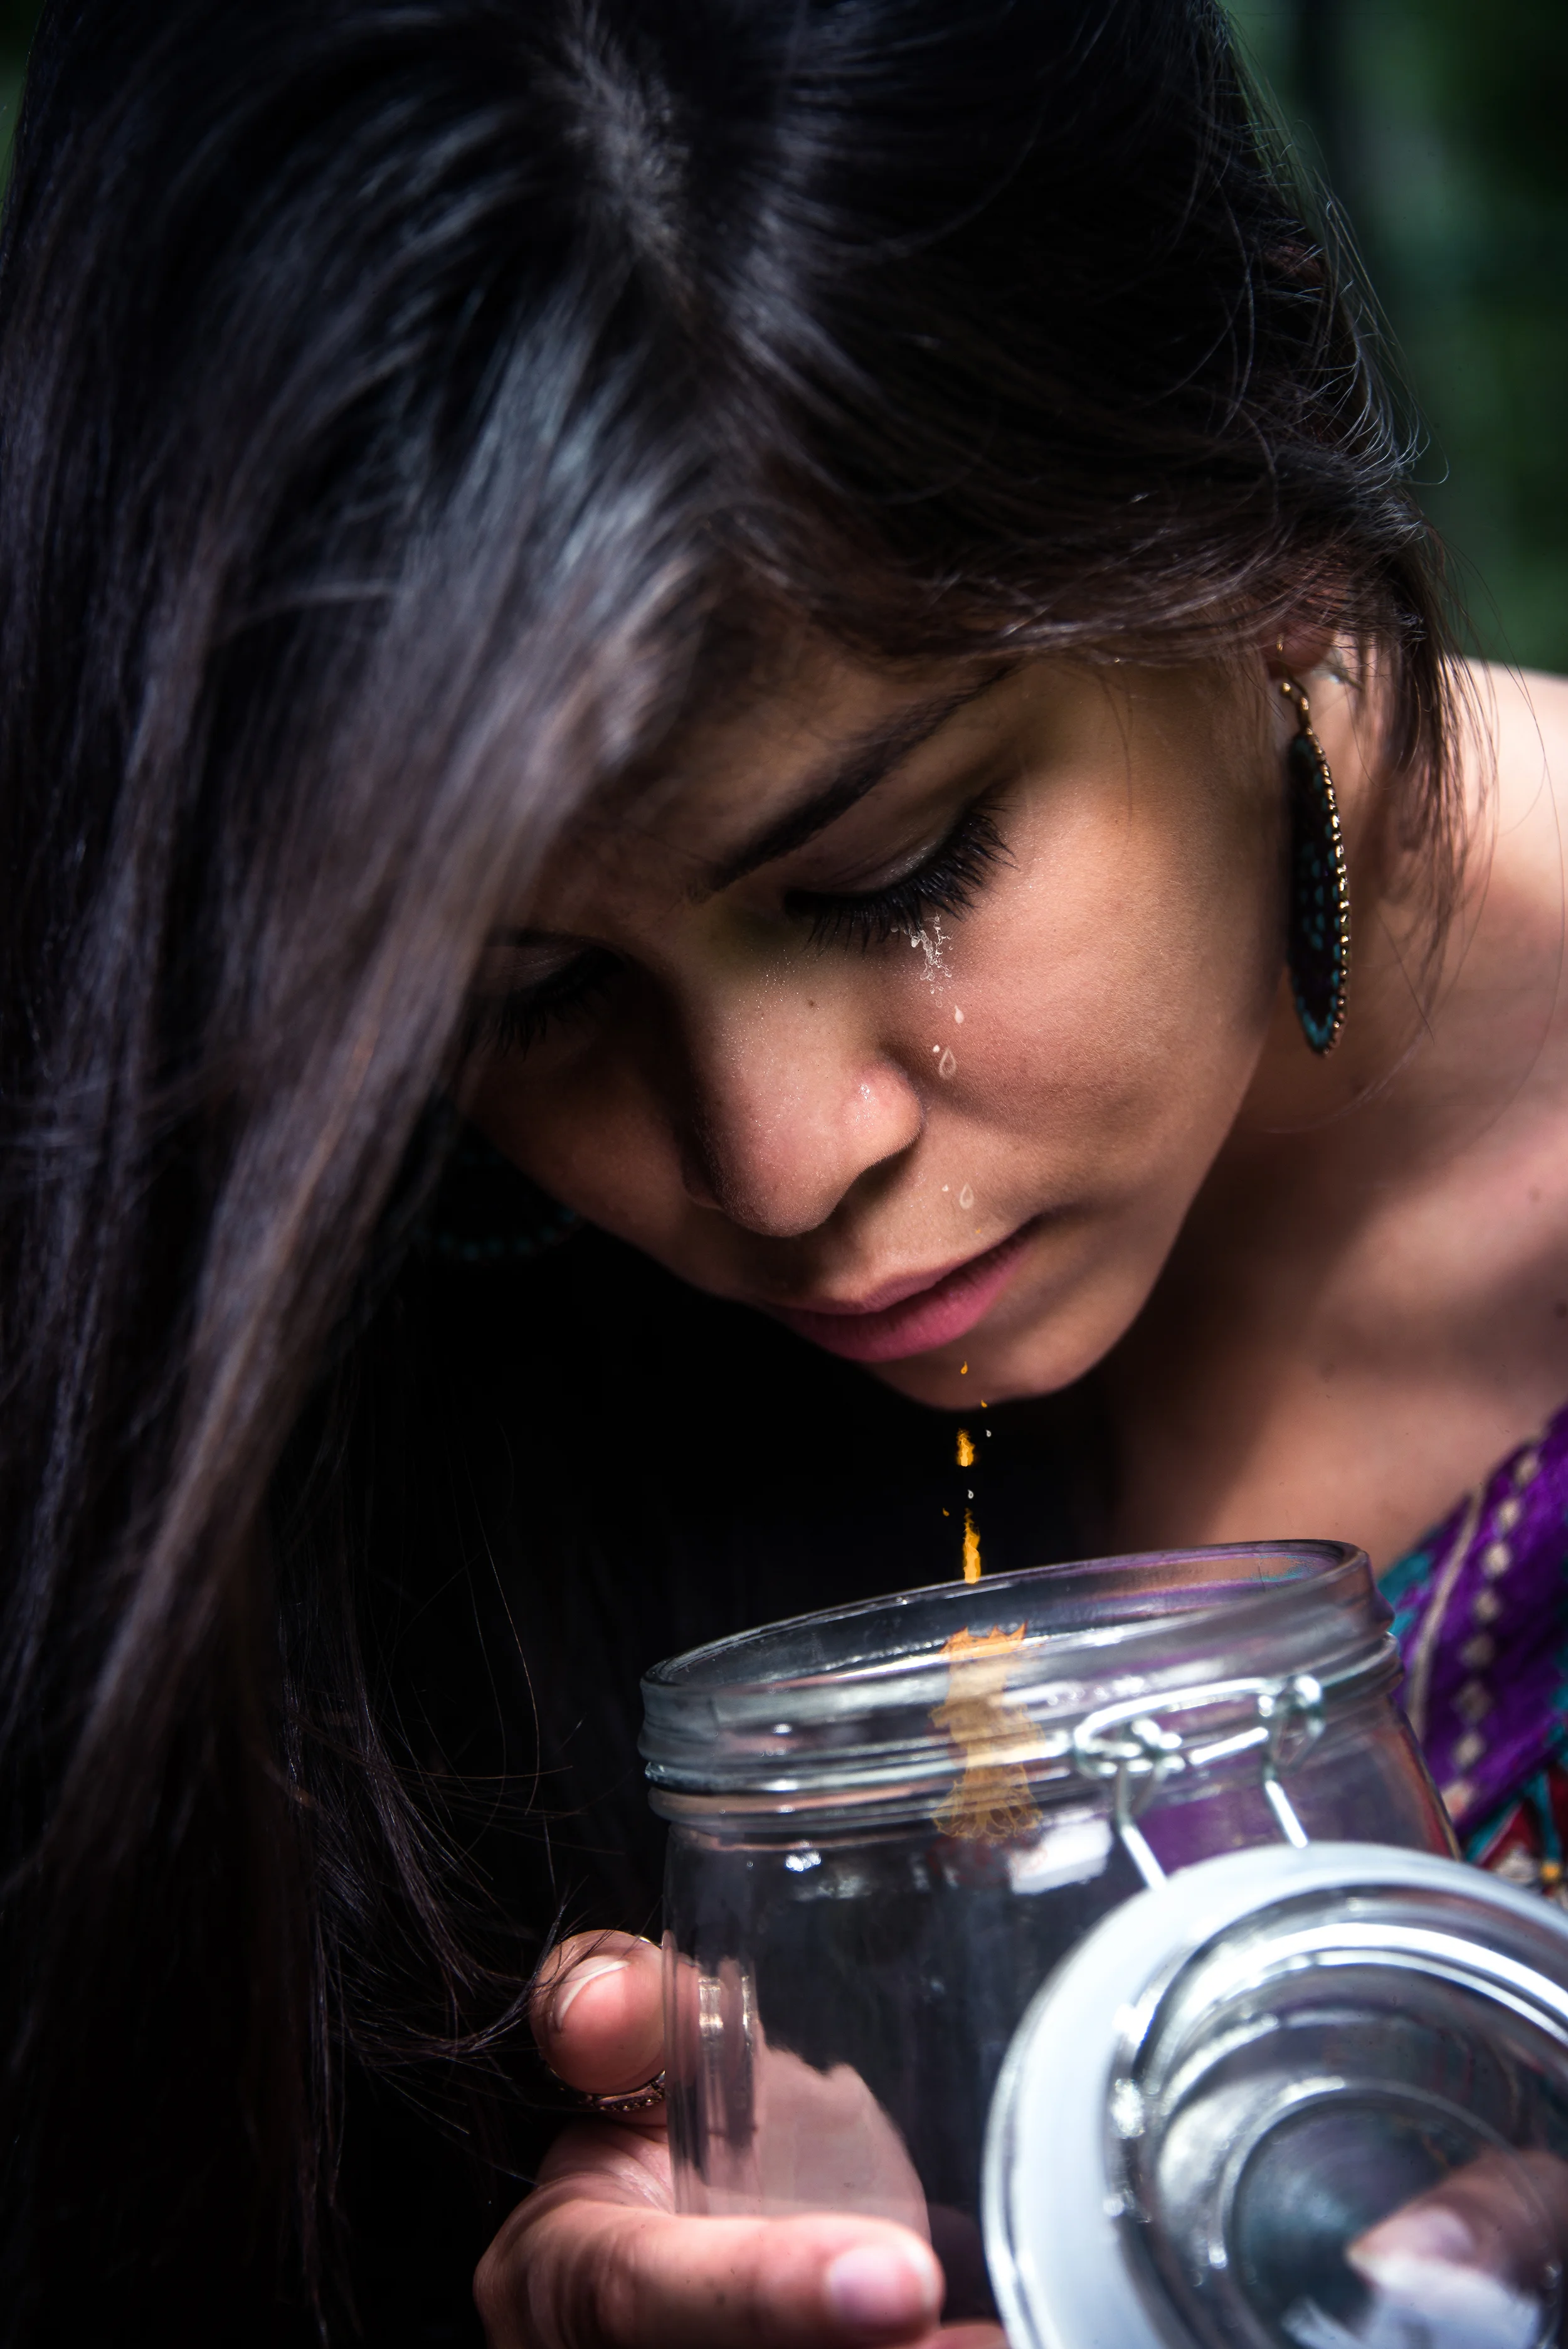
I then added the fire/energy using a brush that I downloaded online. I thought that the fire/energy looked out of place because it didn't affect the model nor the surroundings and thus looked unrealistic.

To create the glow from the fire/energy, I created a new layer above the original image. After, I used the “Gradient Tool” then switched it to “Radial Gradient”. I used the same color I used for the fire/energy for the gradient. I then chose the center of the fire/energy as the starting point of the gradient. After that, I changed the blending mode of the layer into “Soft Light” (you can find the blending mode right on the bottom of the layers header). “Soft Light” makes the gradient blend more with the background. It also adds a transparency, which makes the glow look realistic.
As you can see, it is quite easy to create light sources using Photoshop. But like I said, make sure that the picture is ready for another light source. Keep in mind that the lighting throughout the photo must be consistent to make it realistic. Add shadows when necessary.
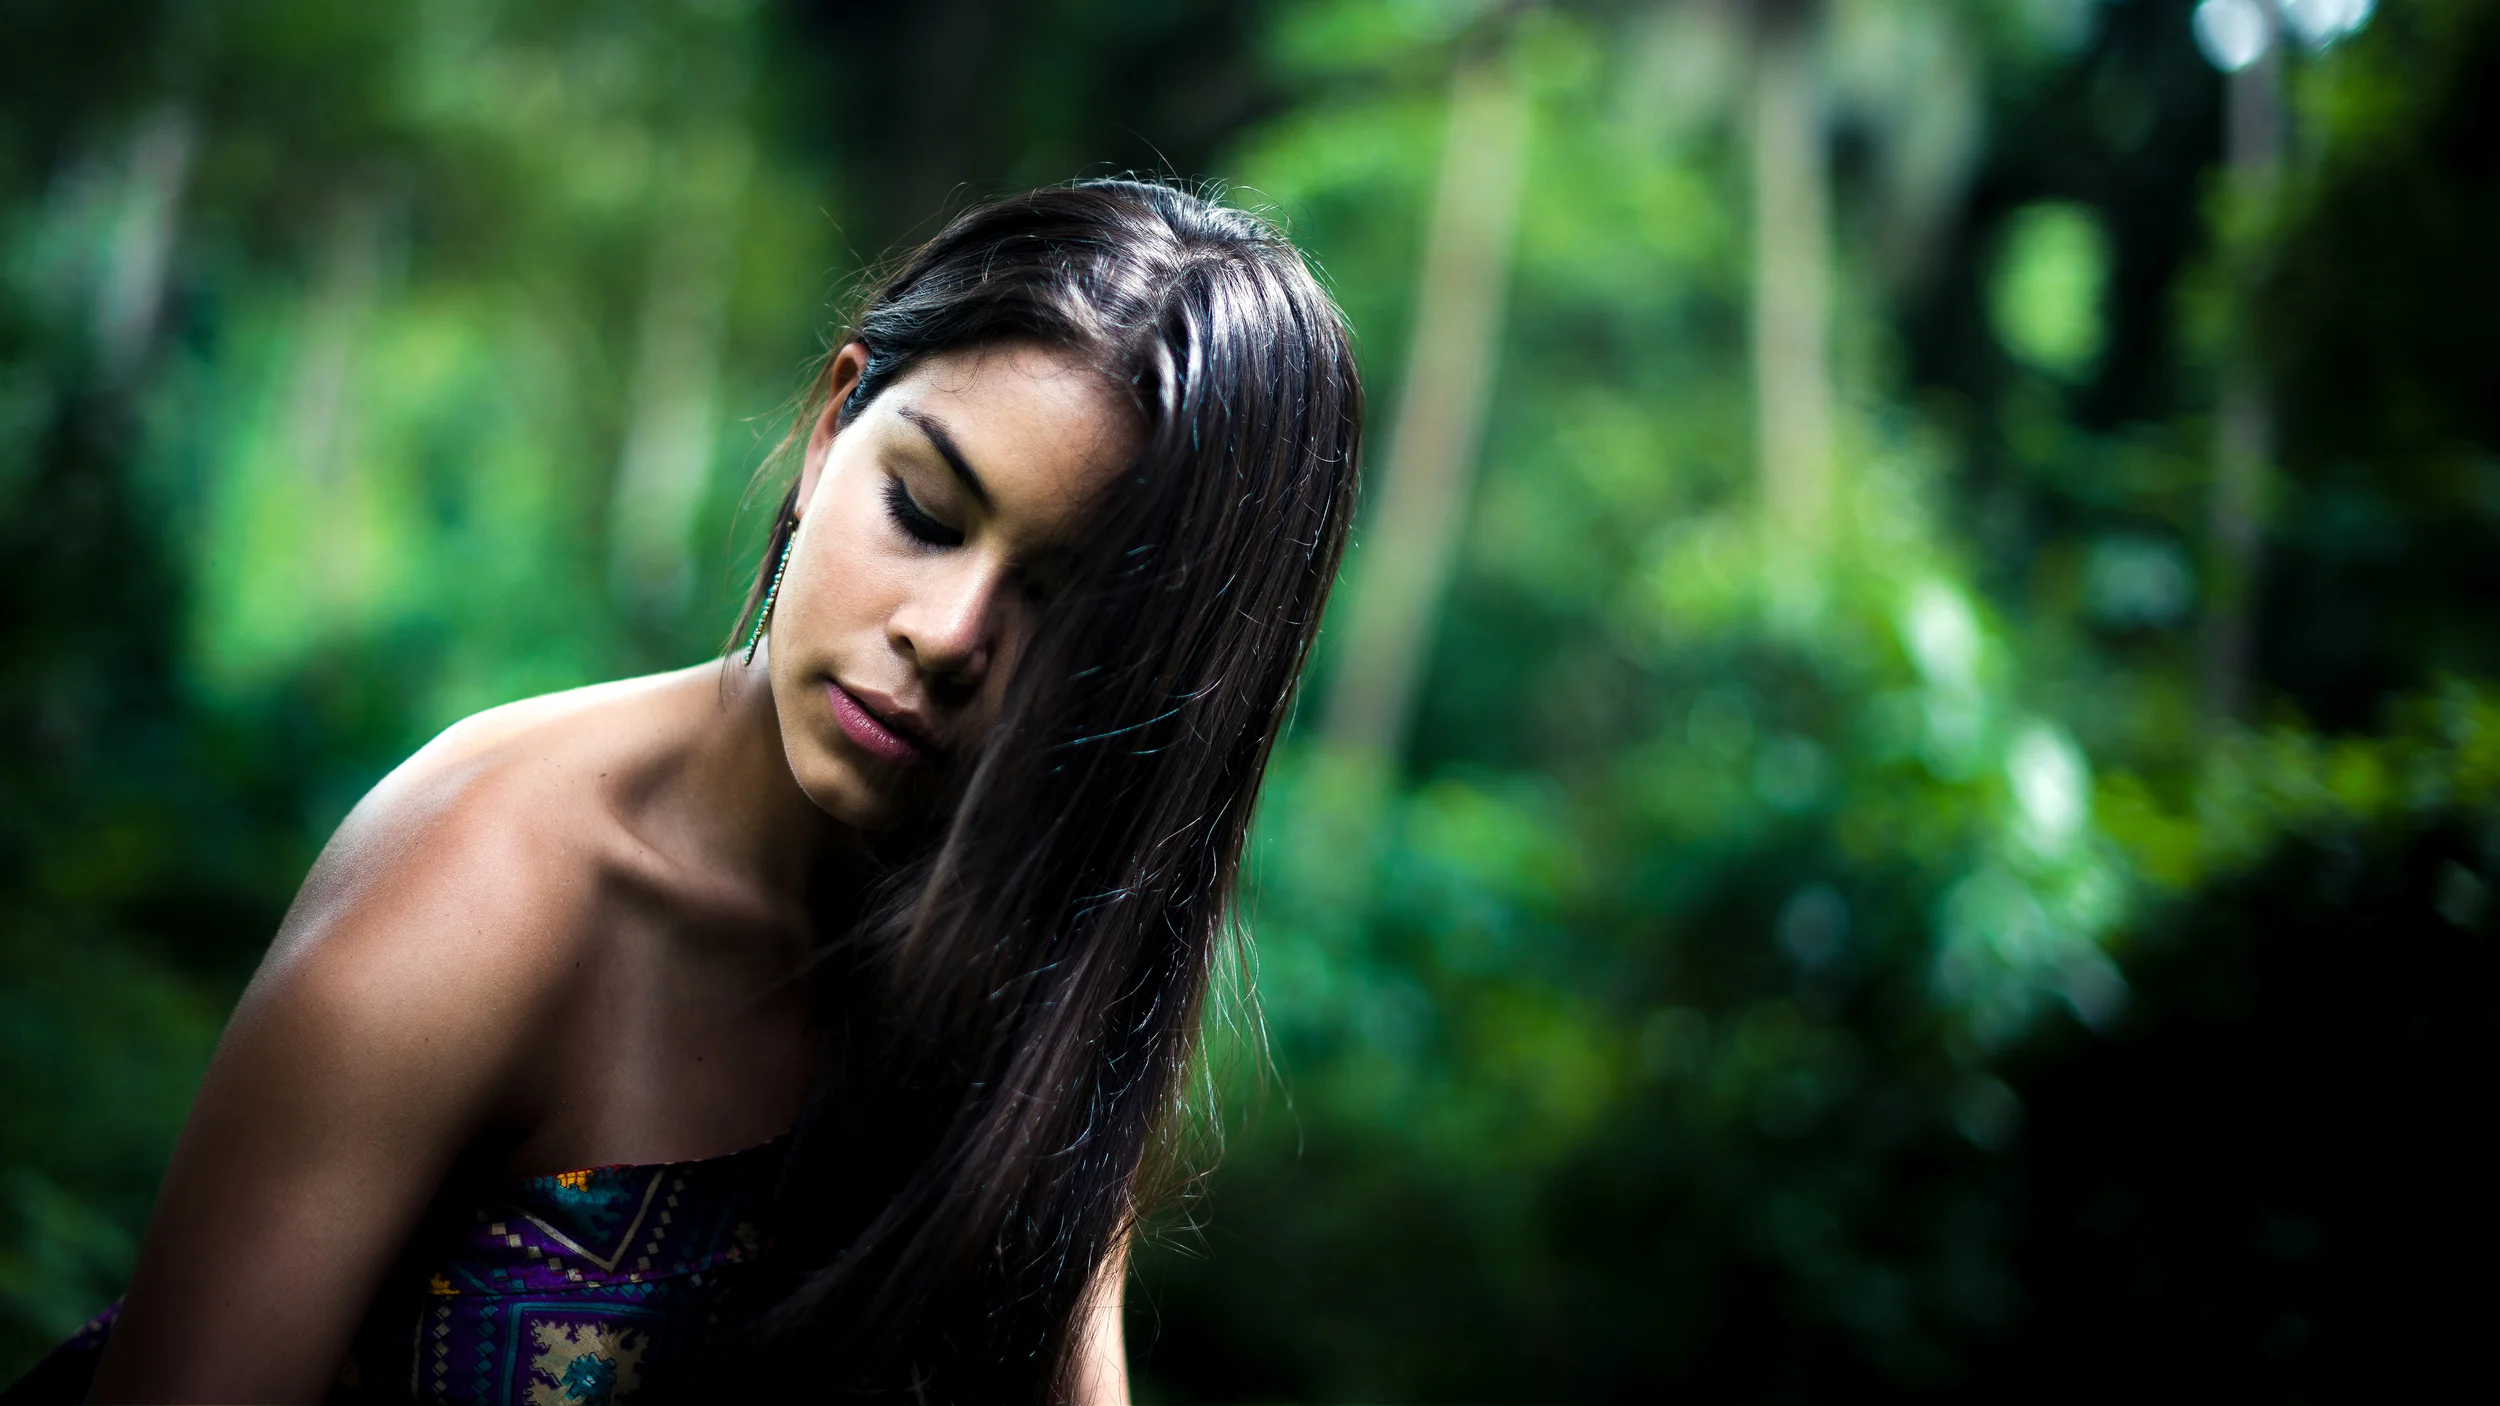
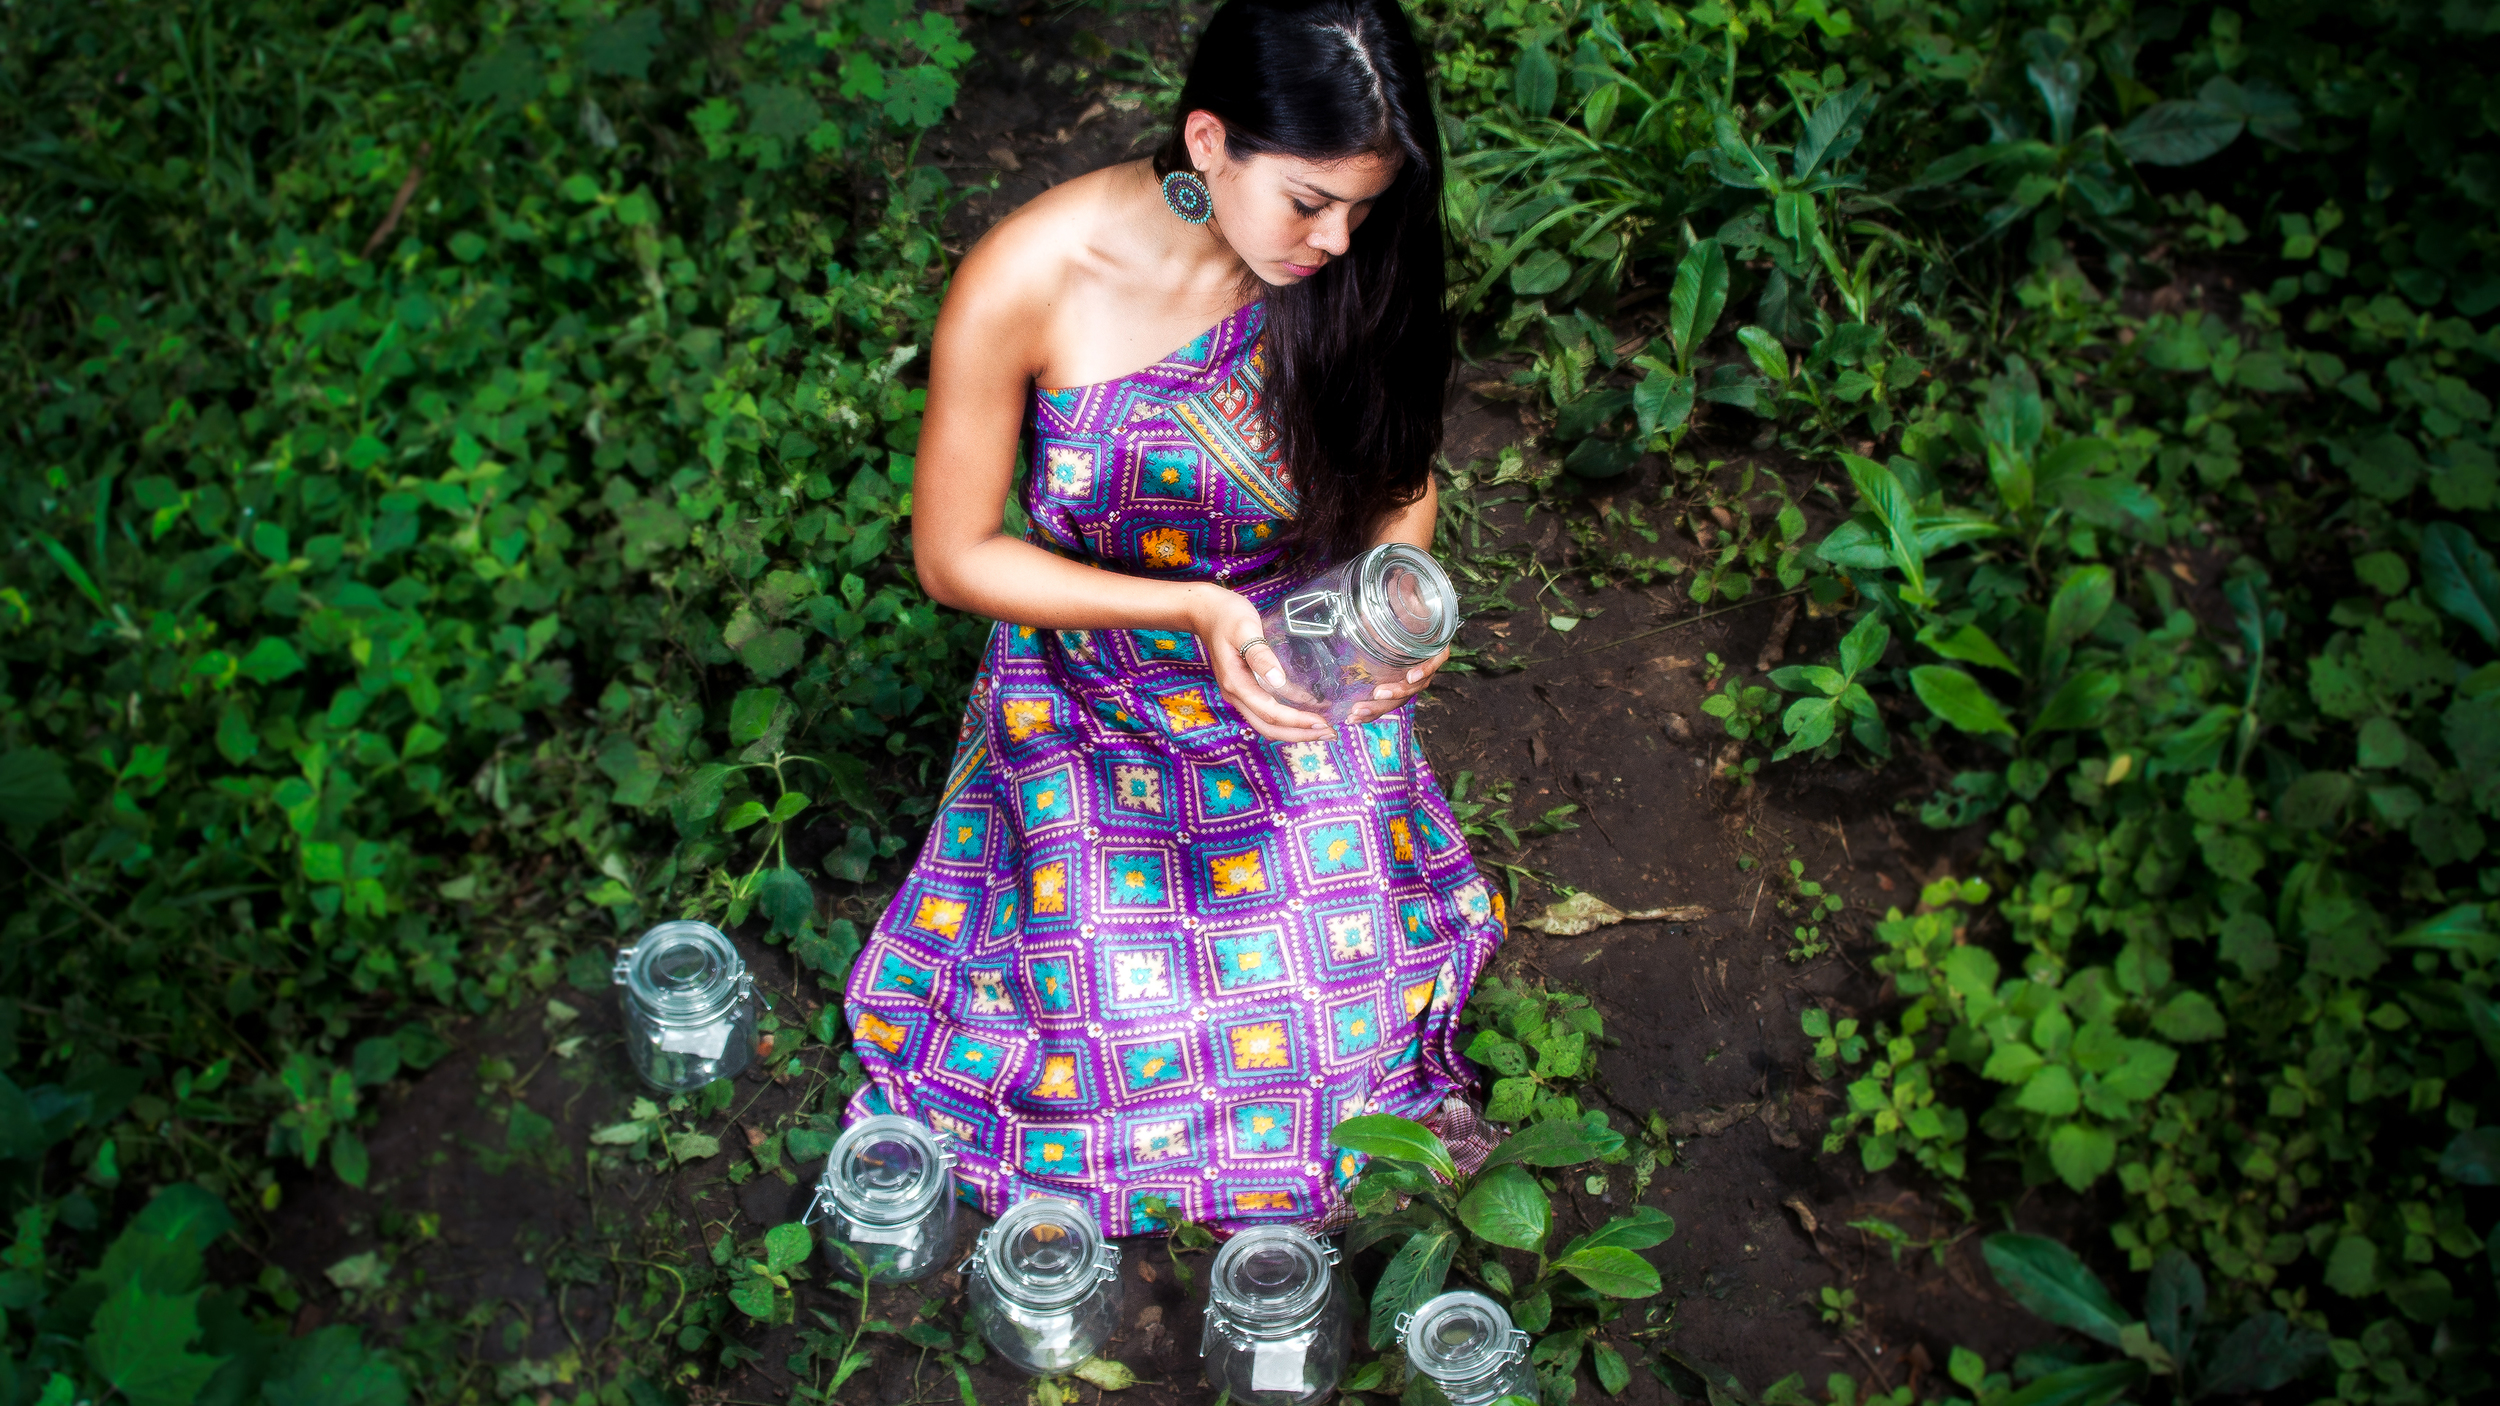
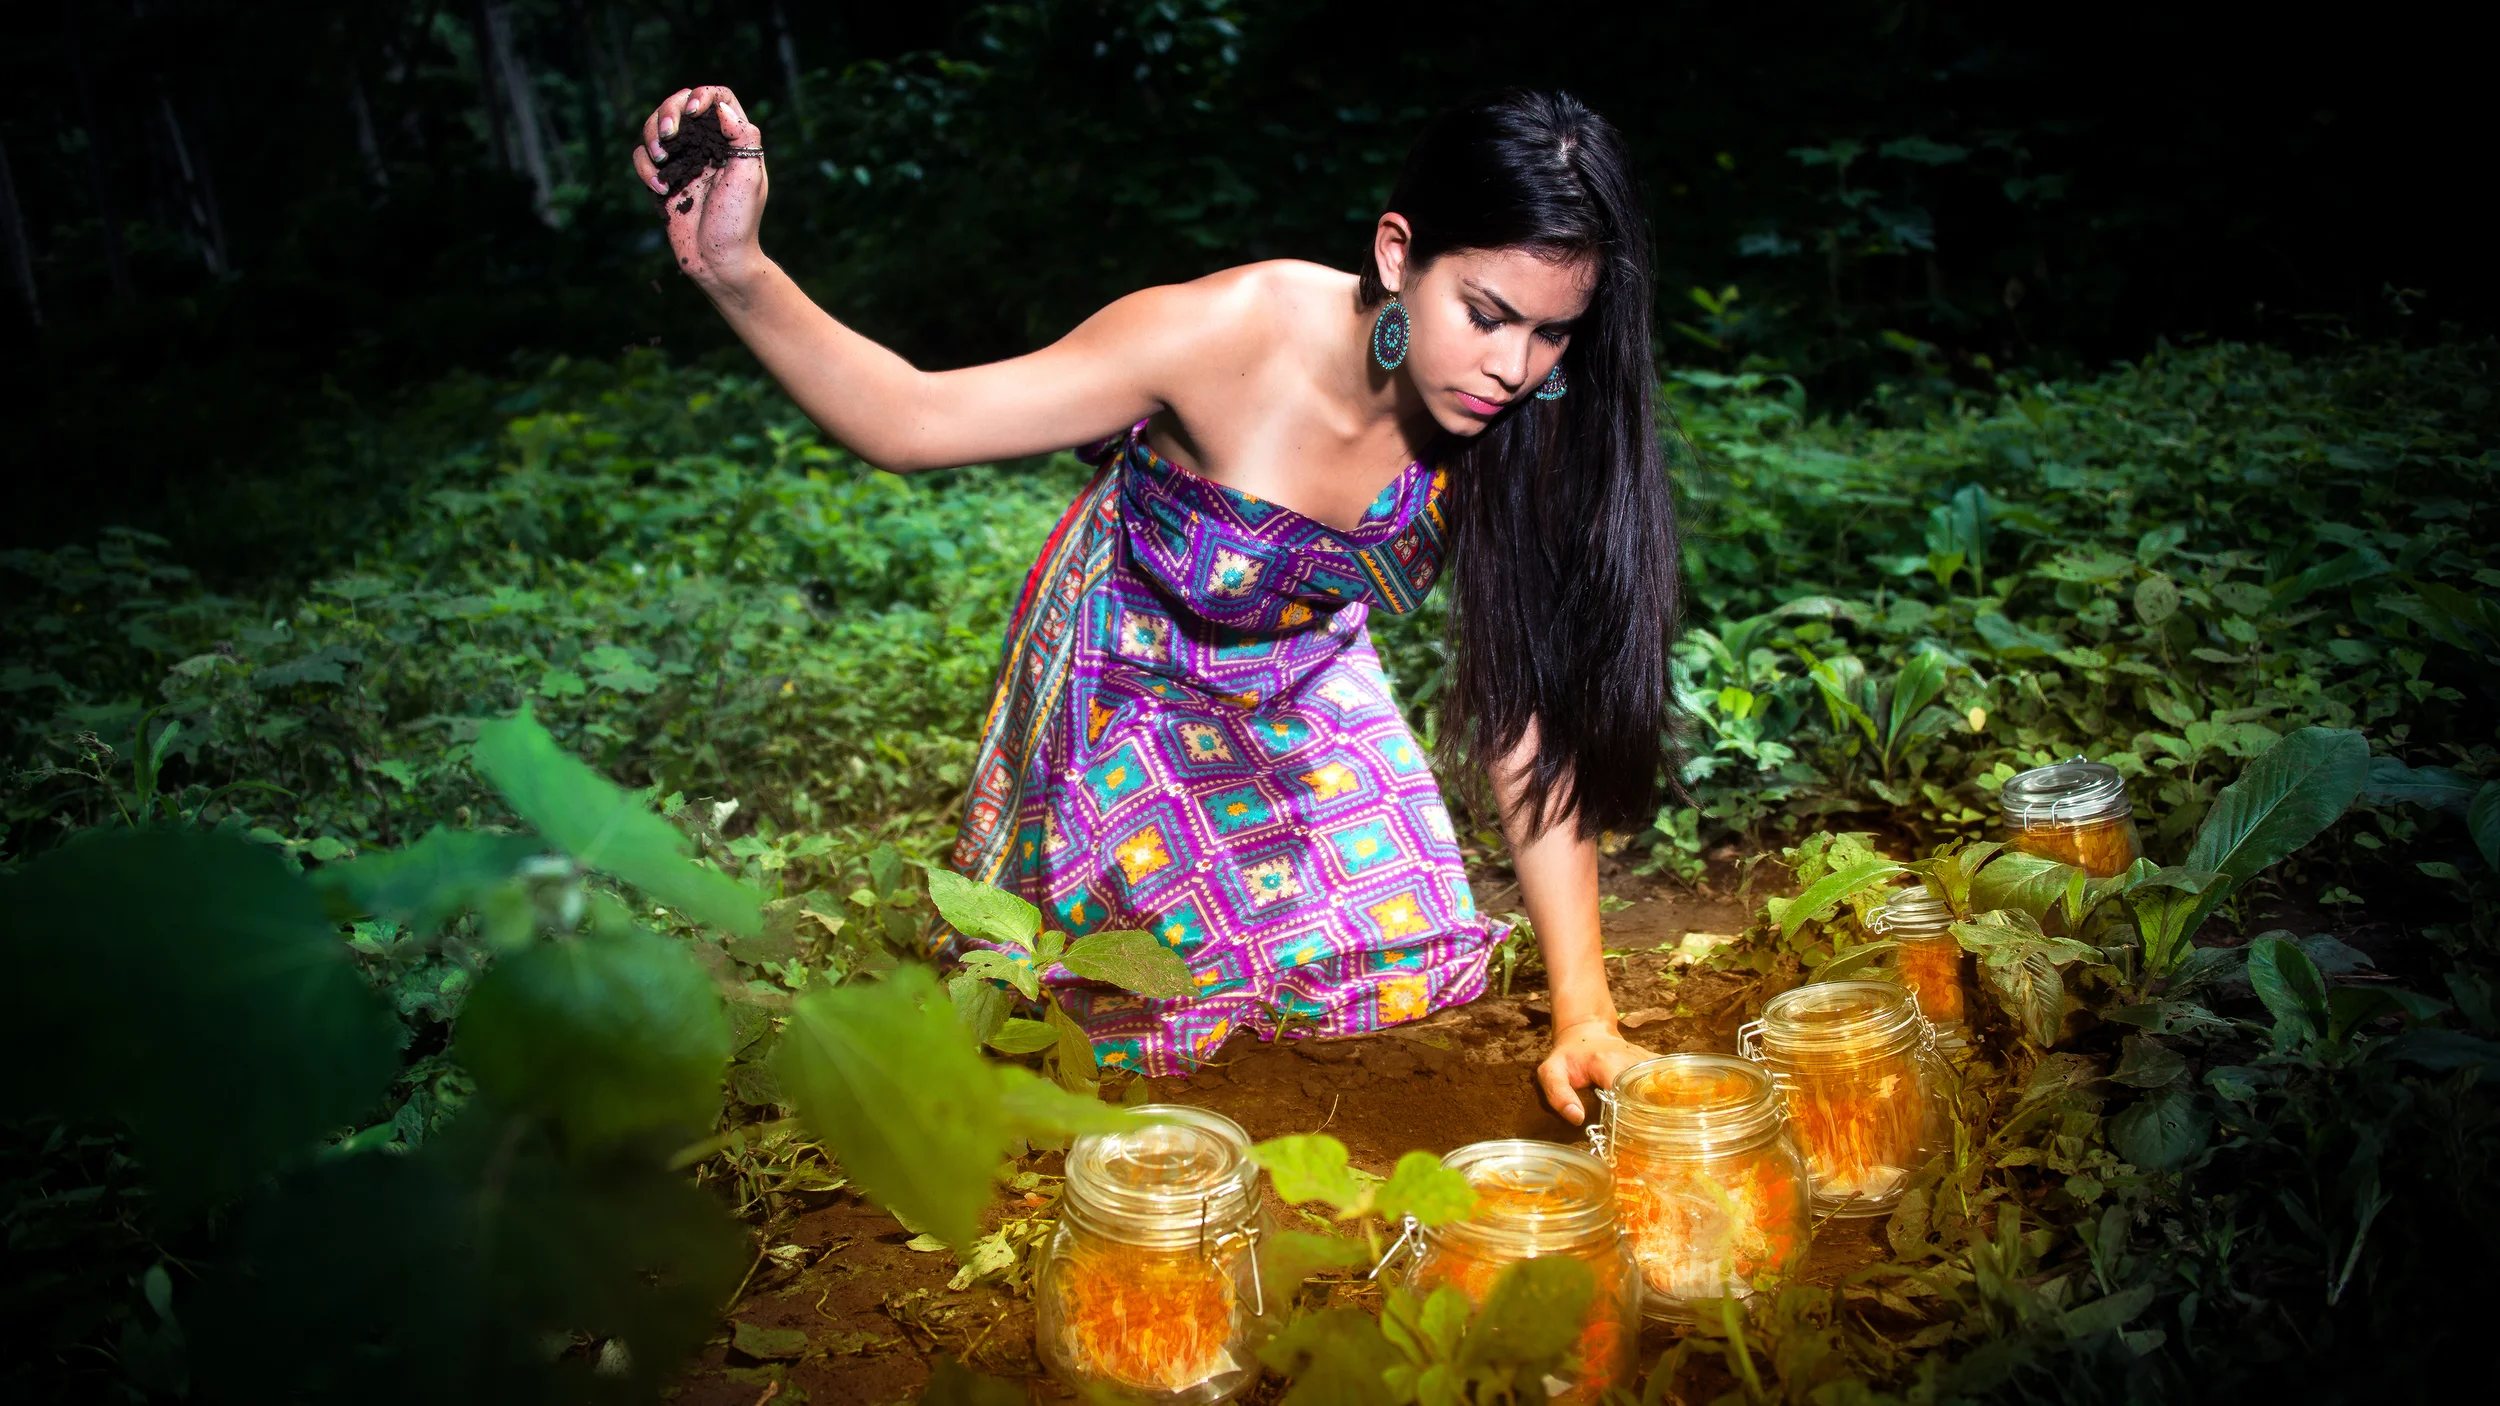
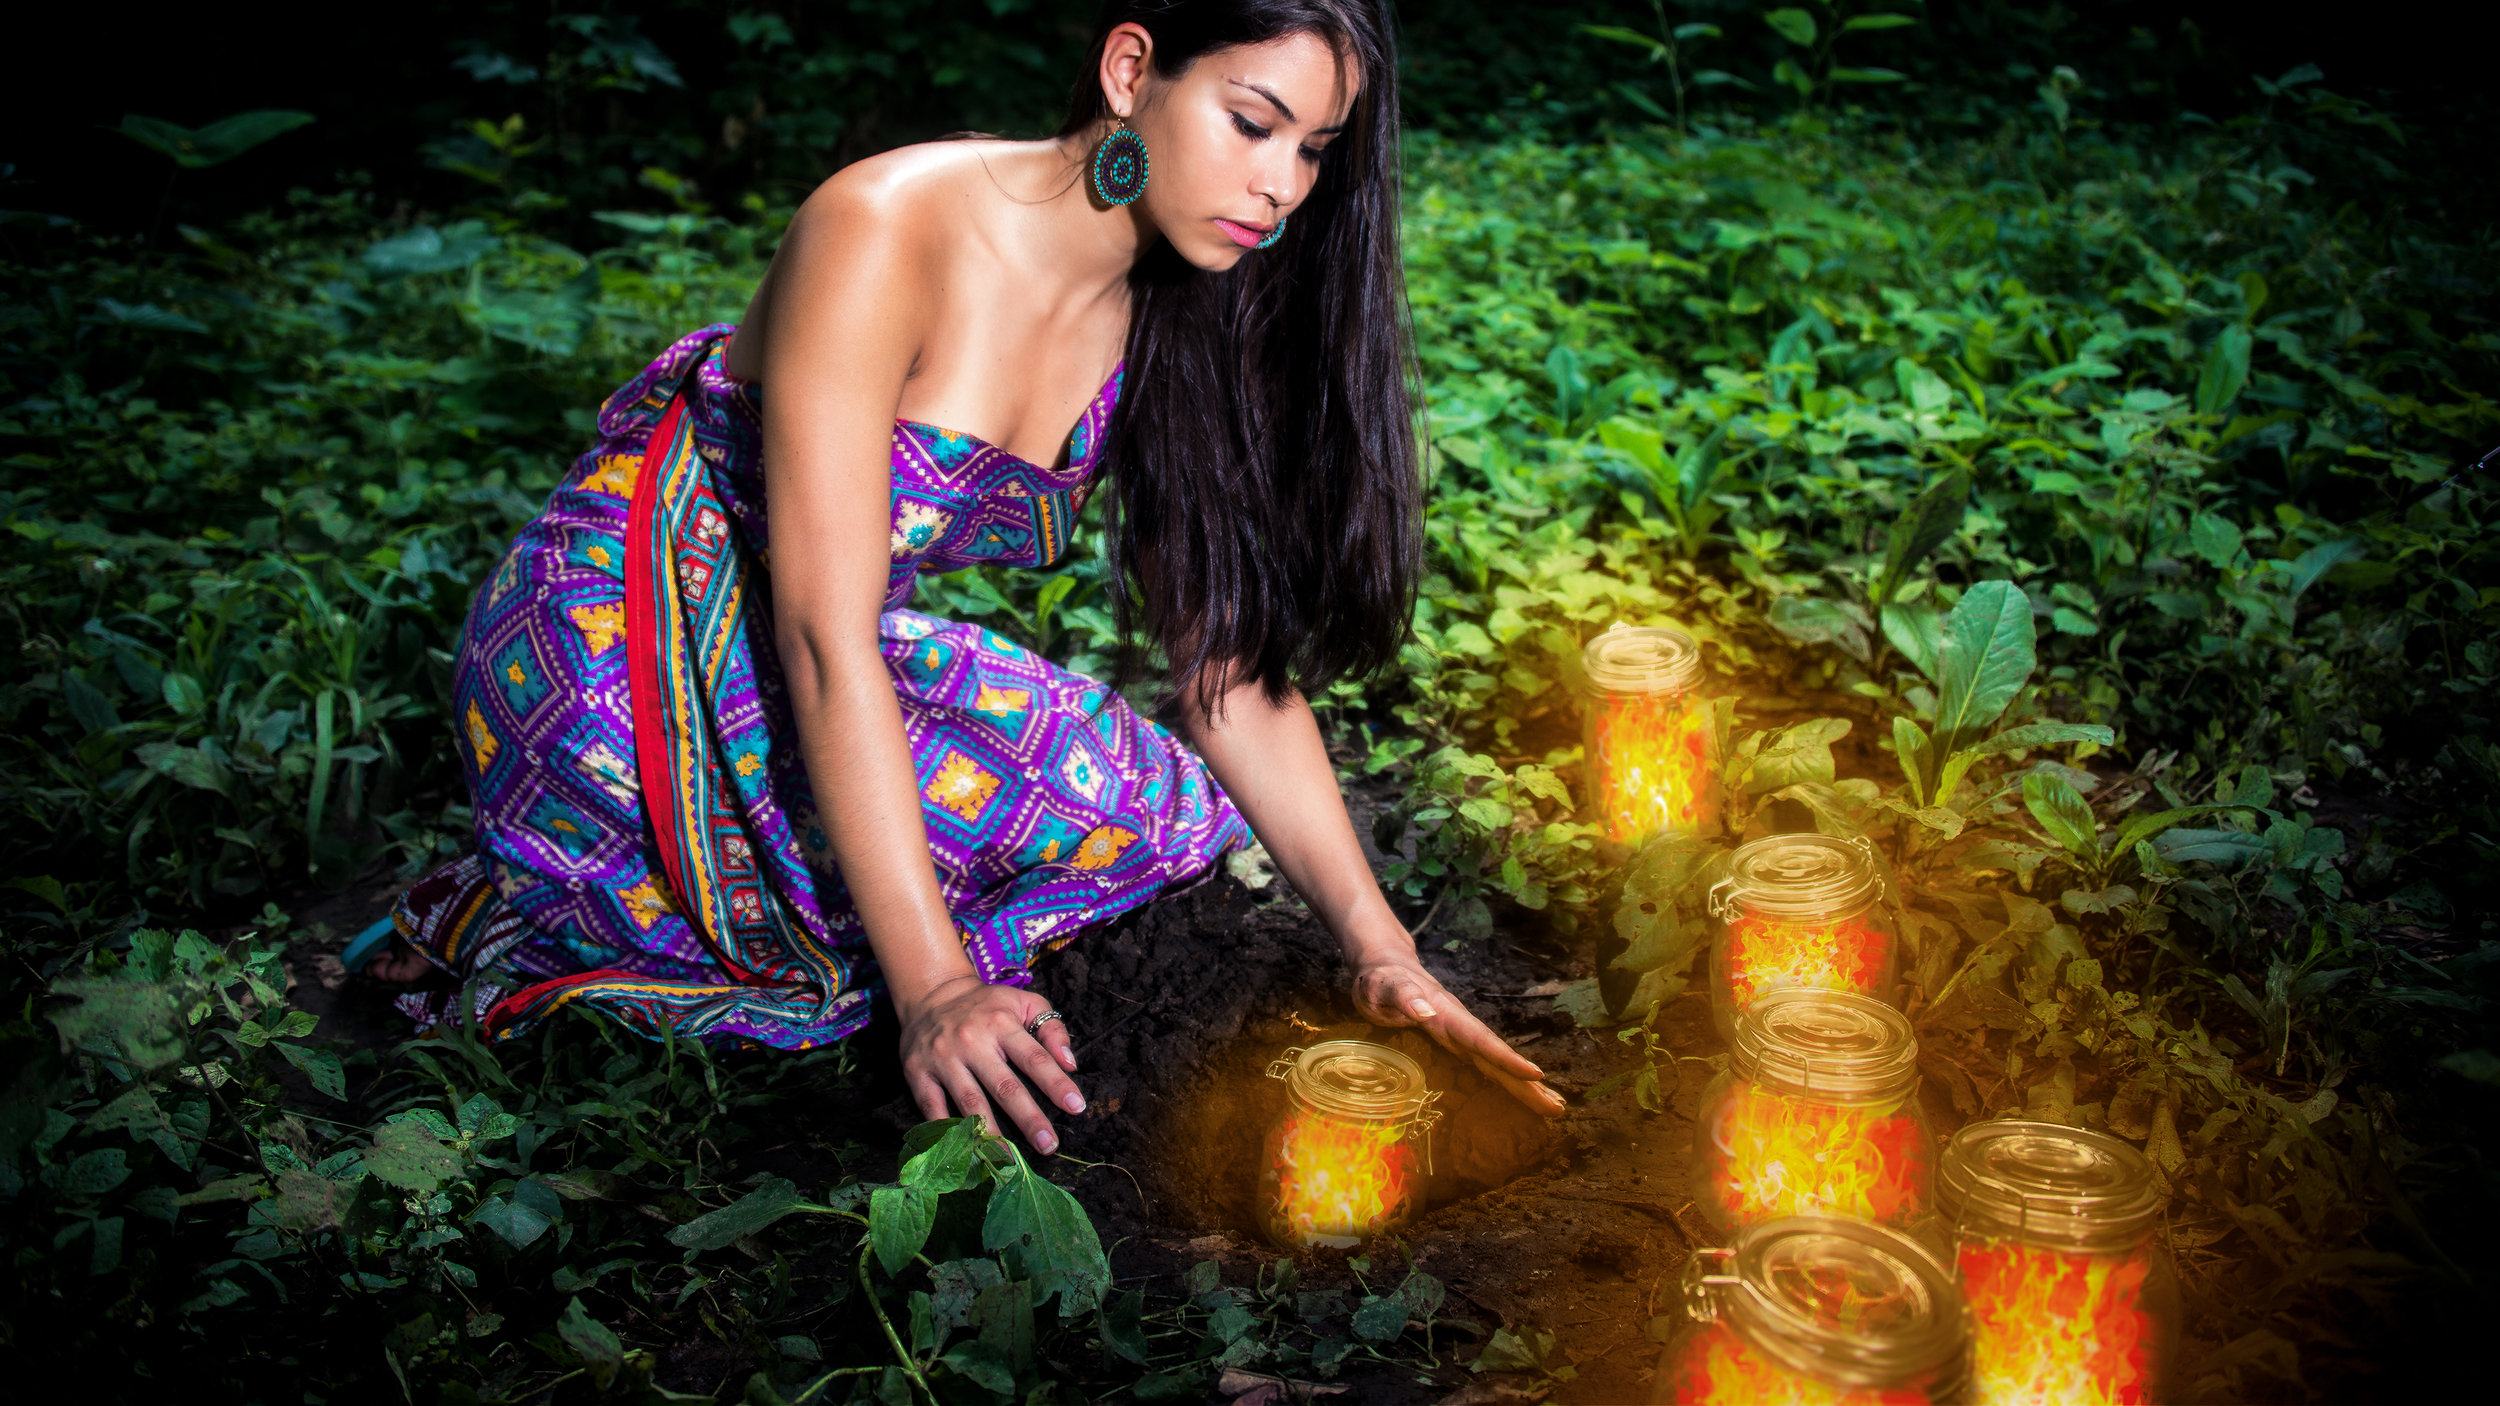
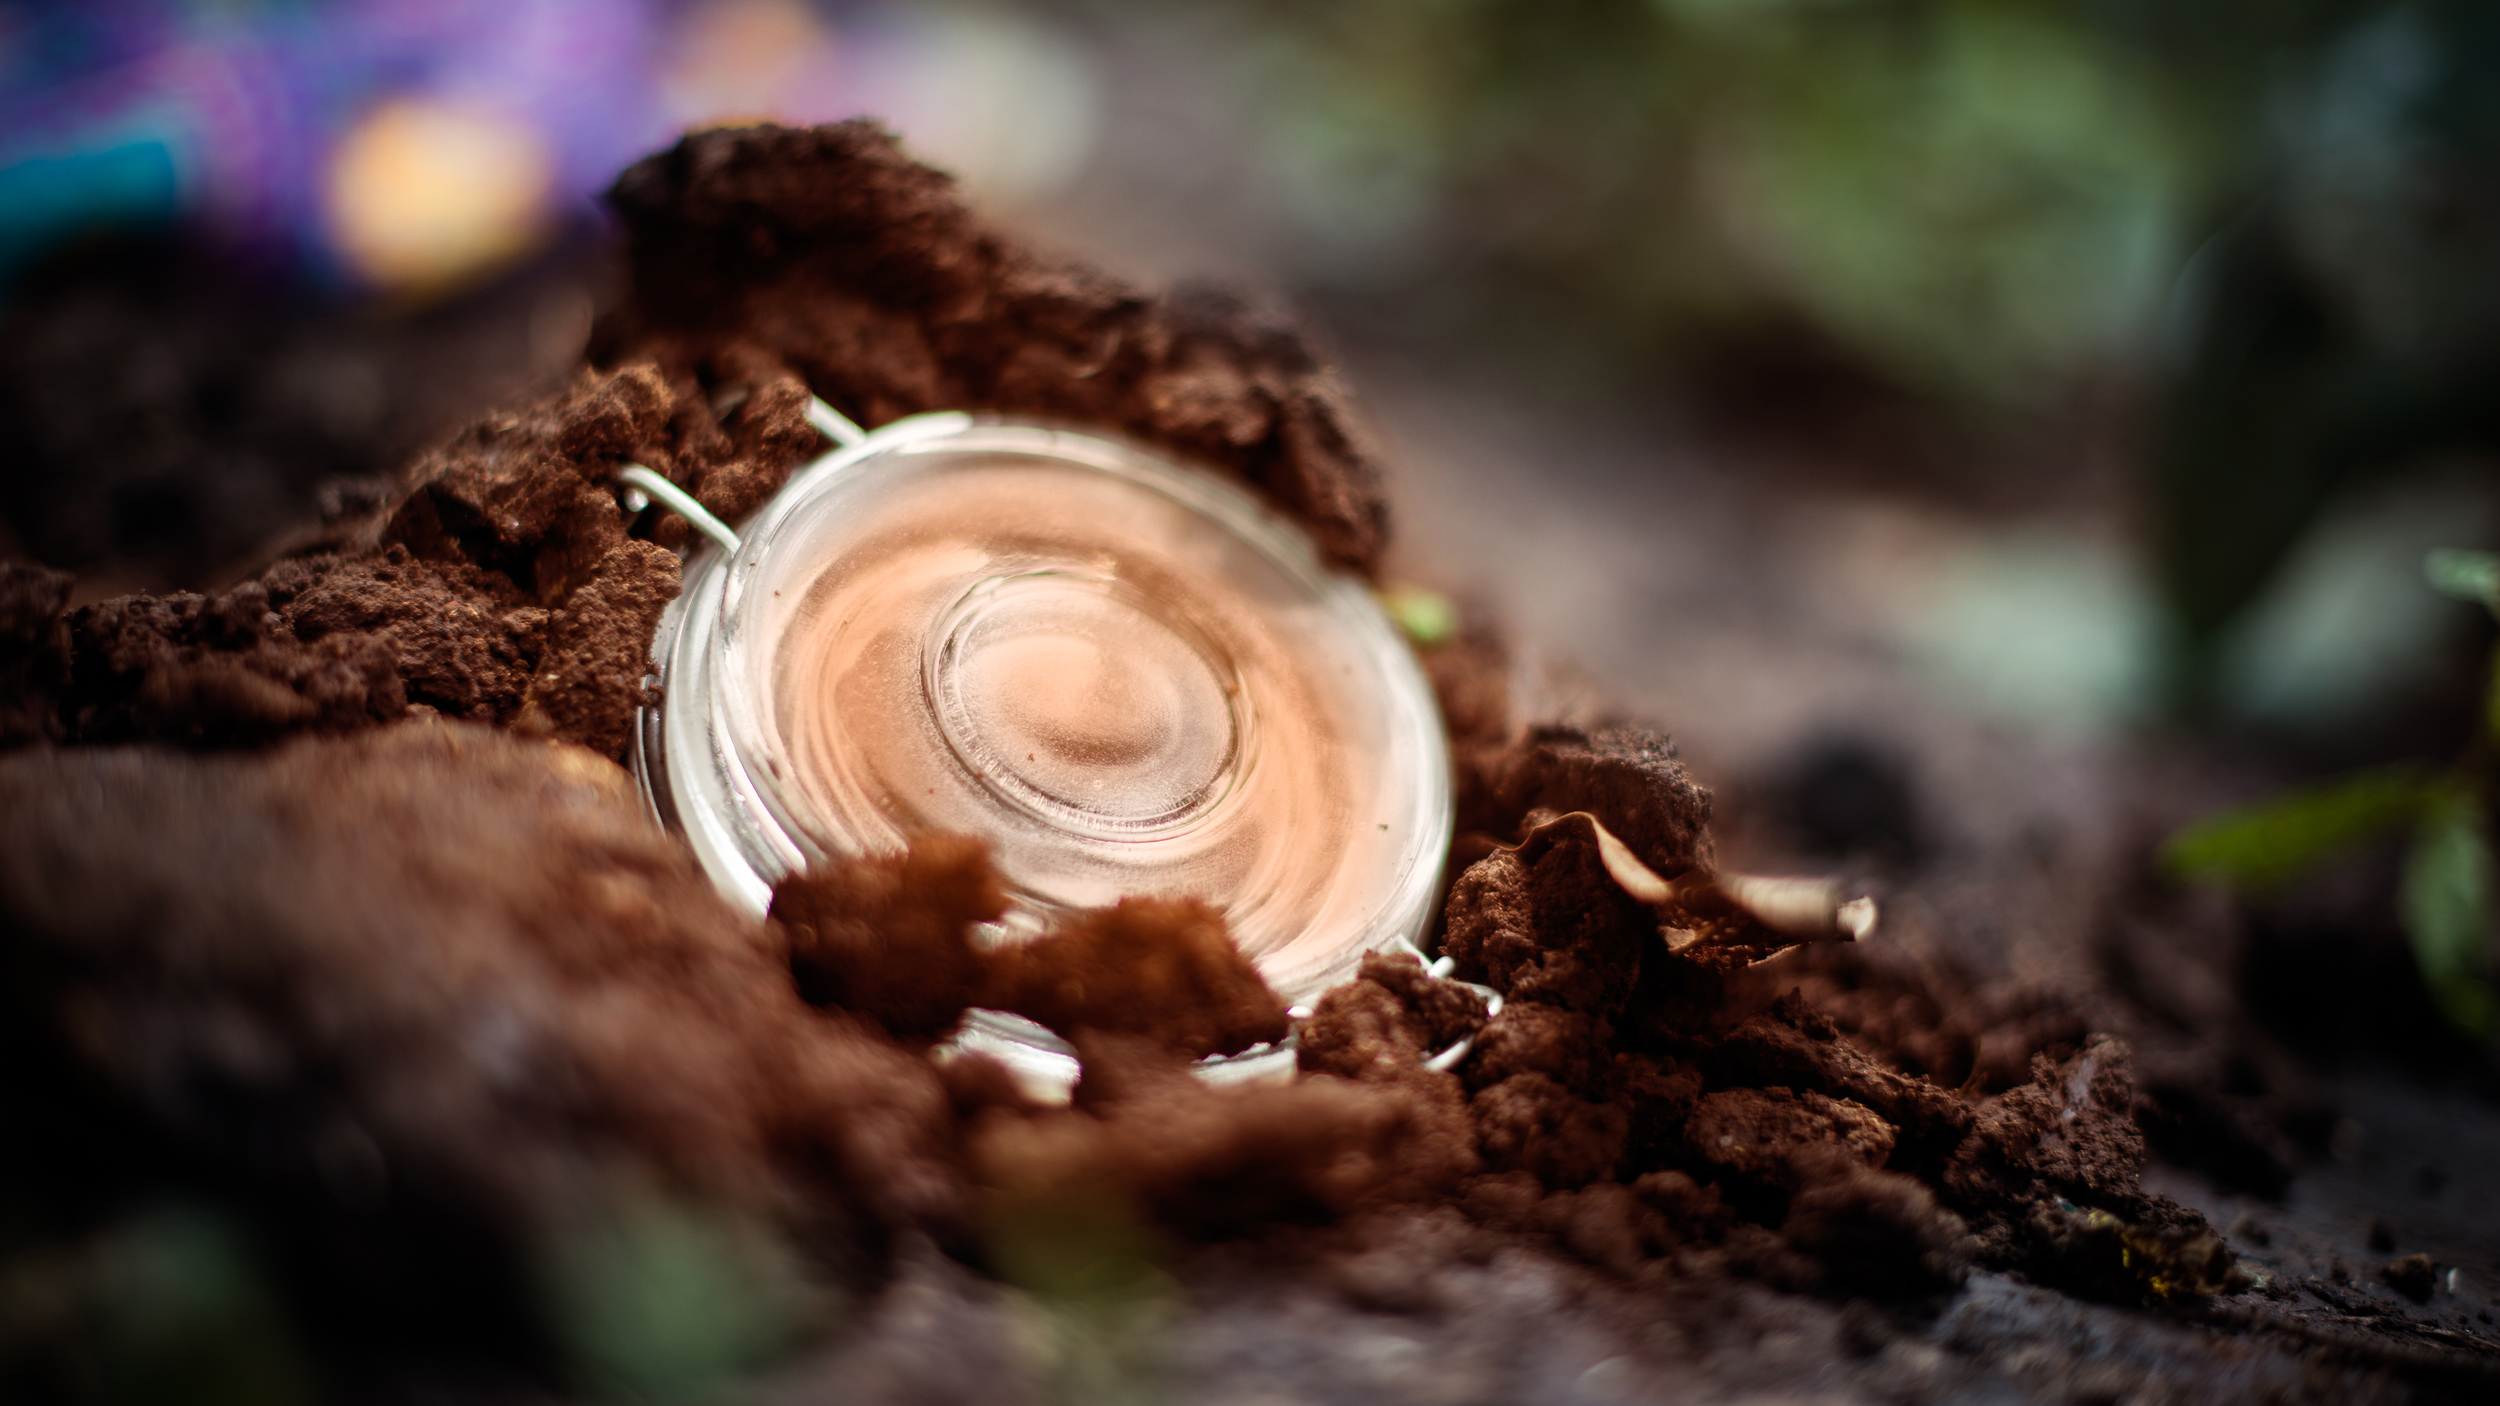
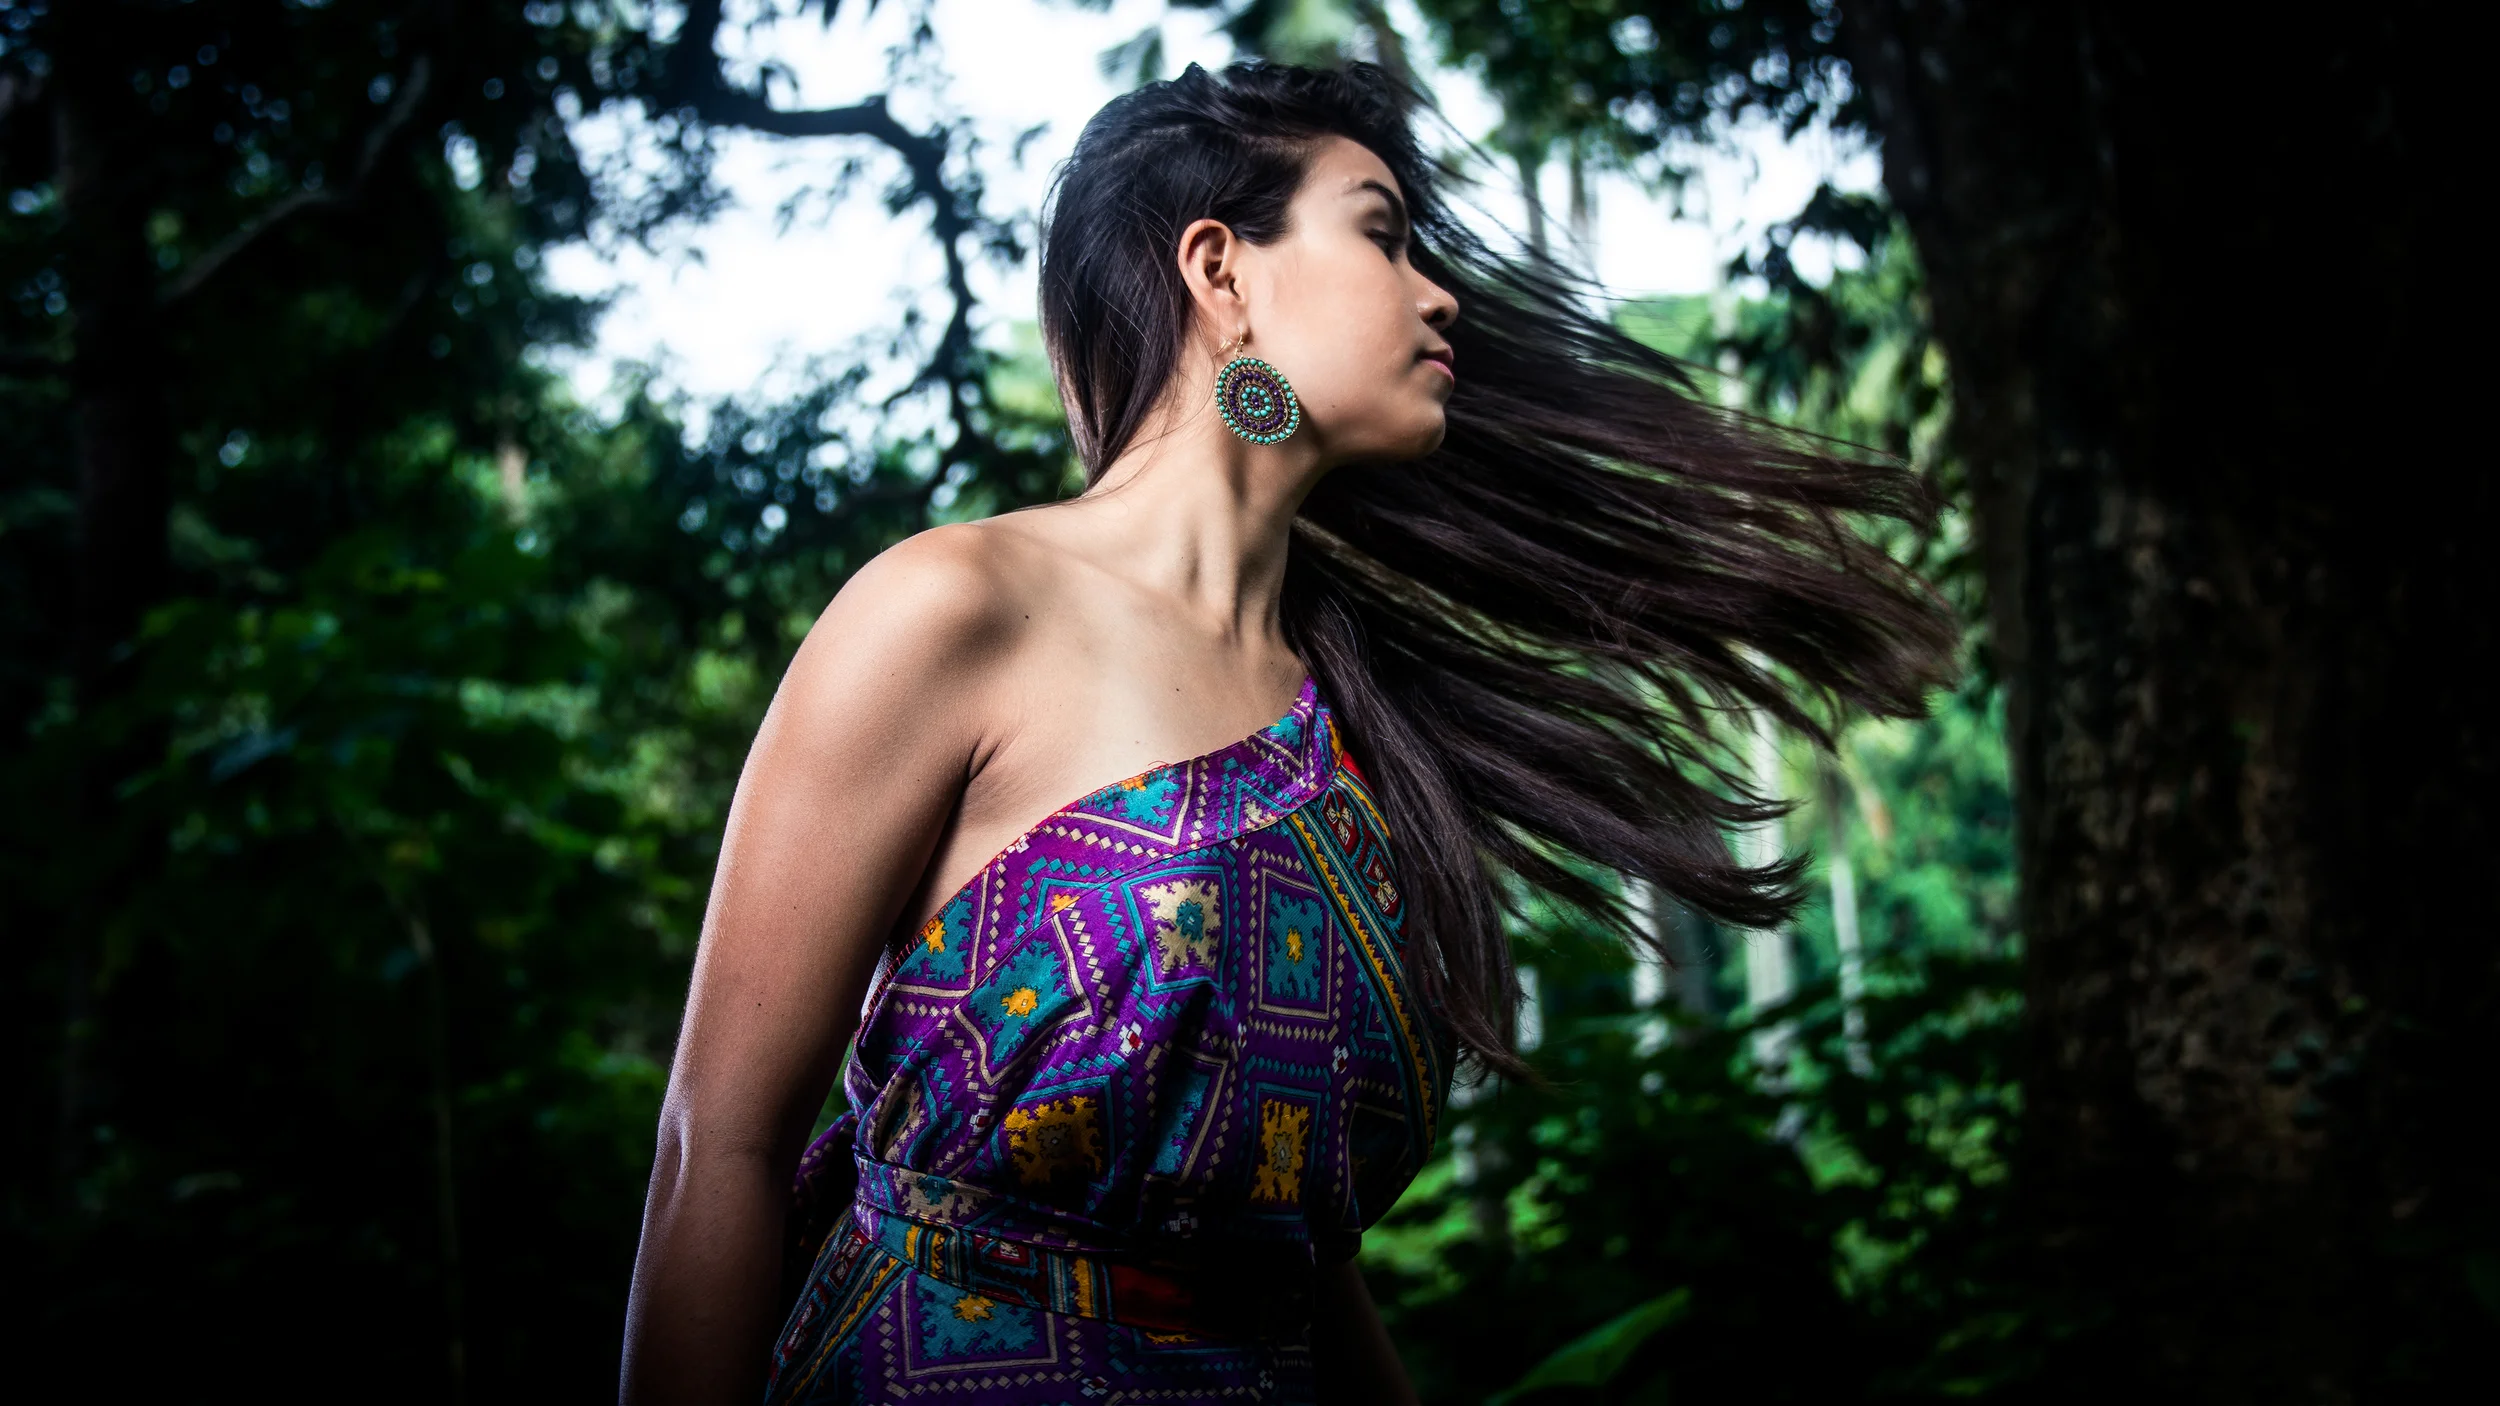
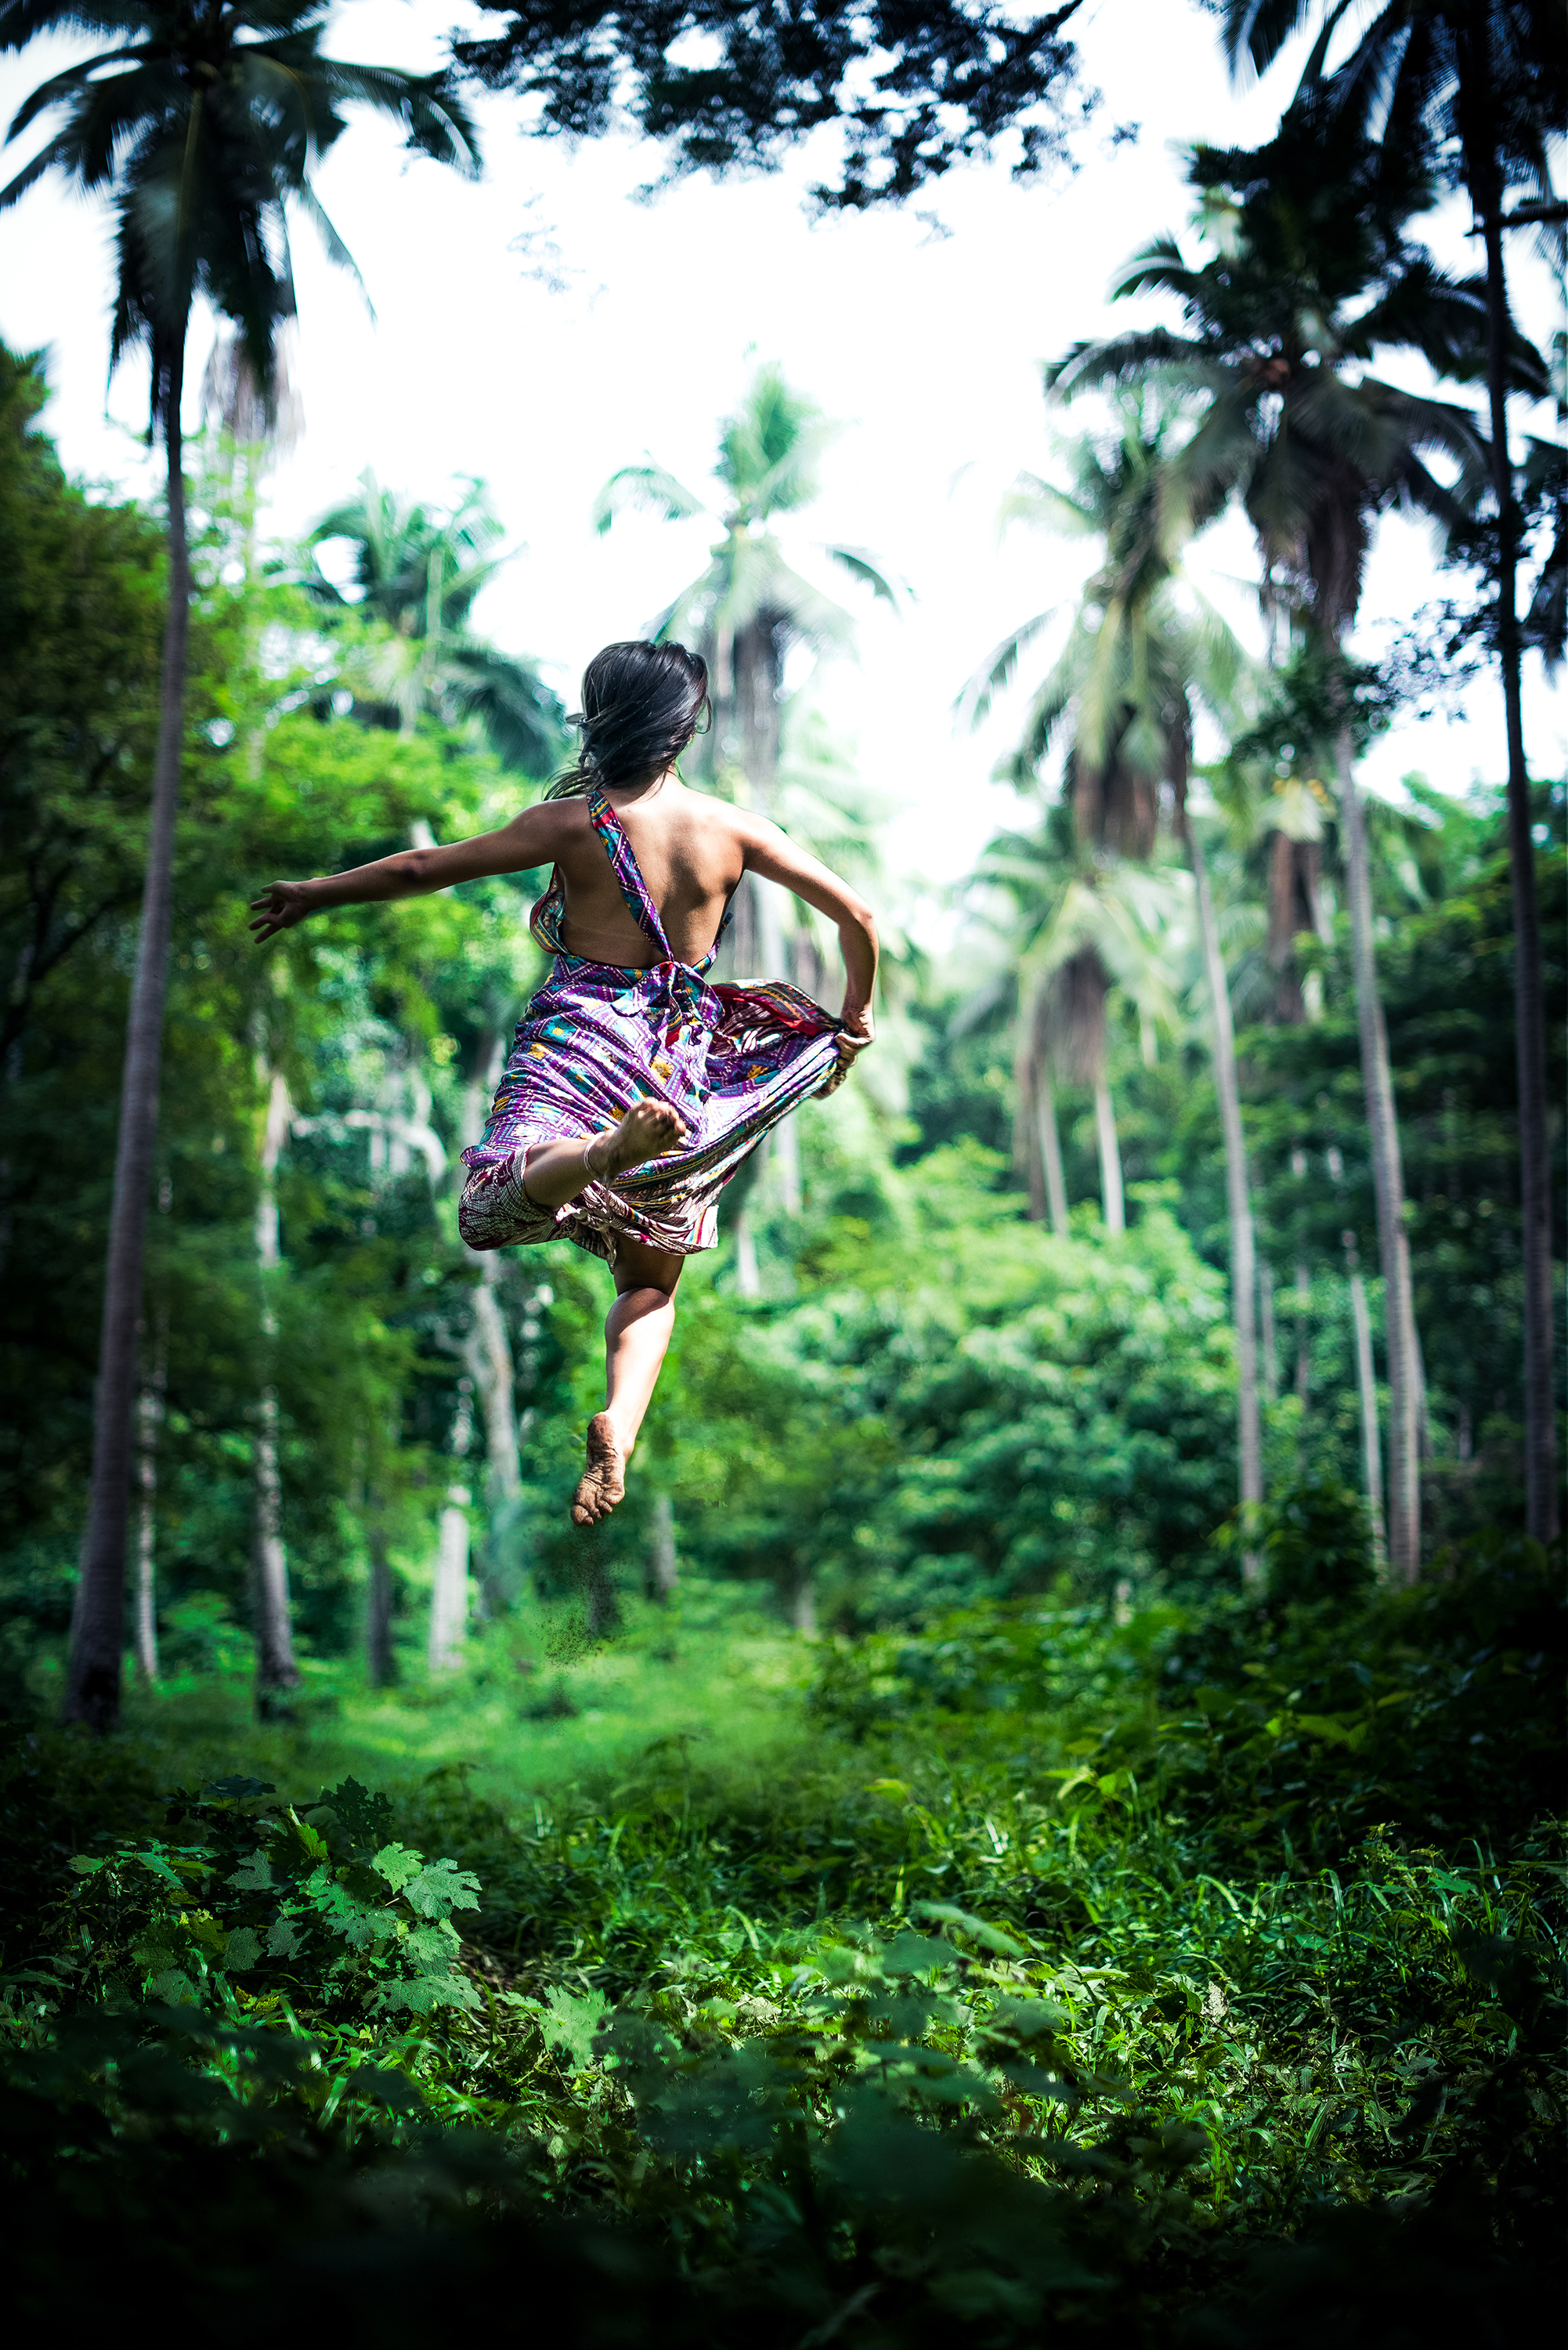
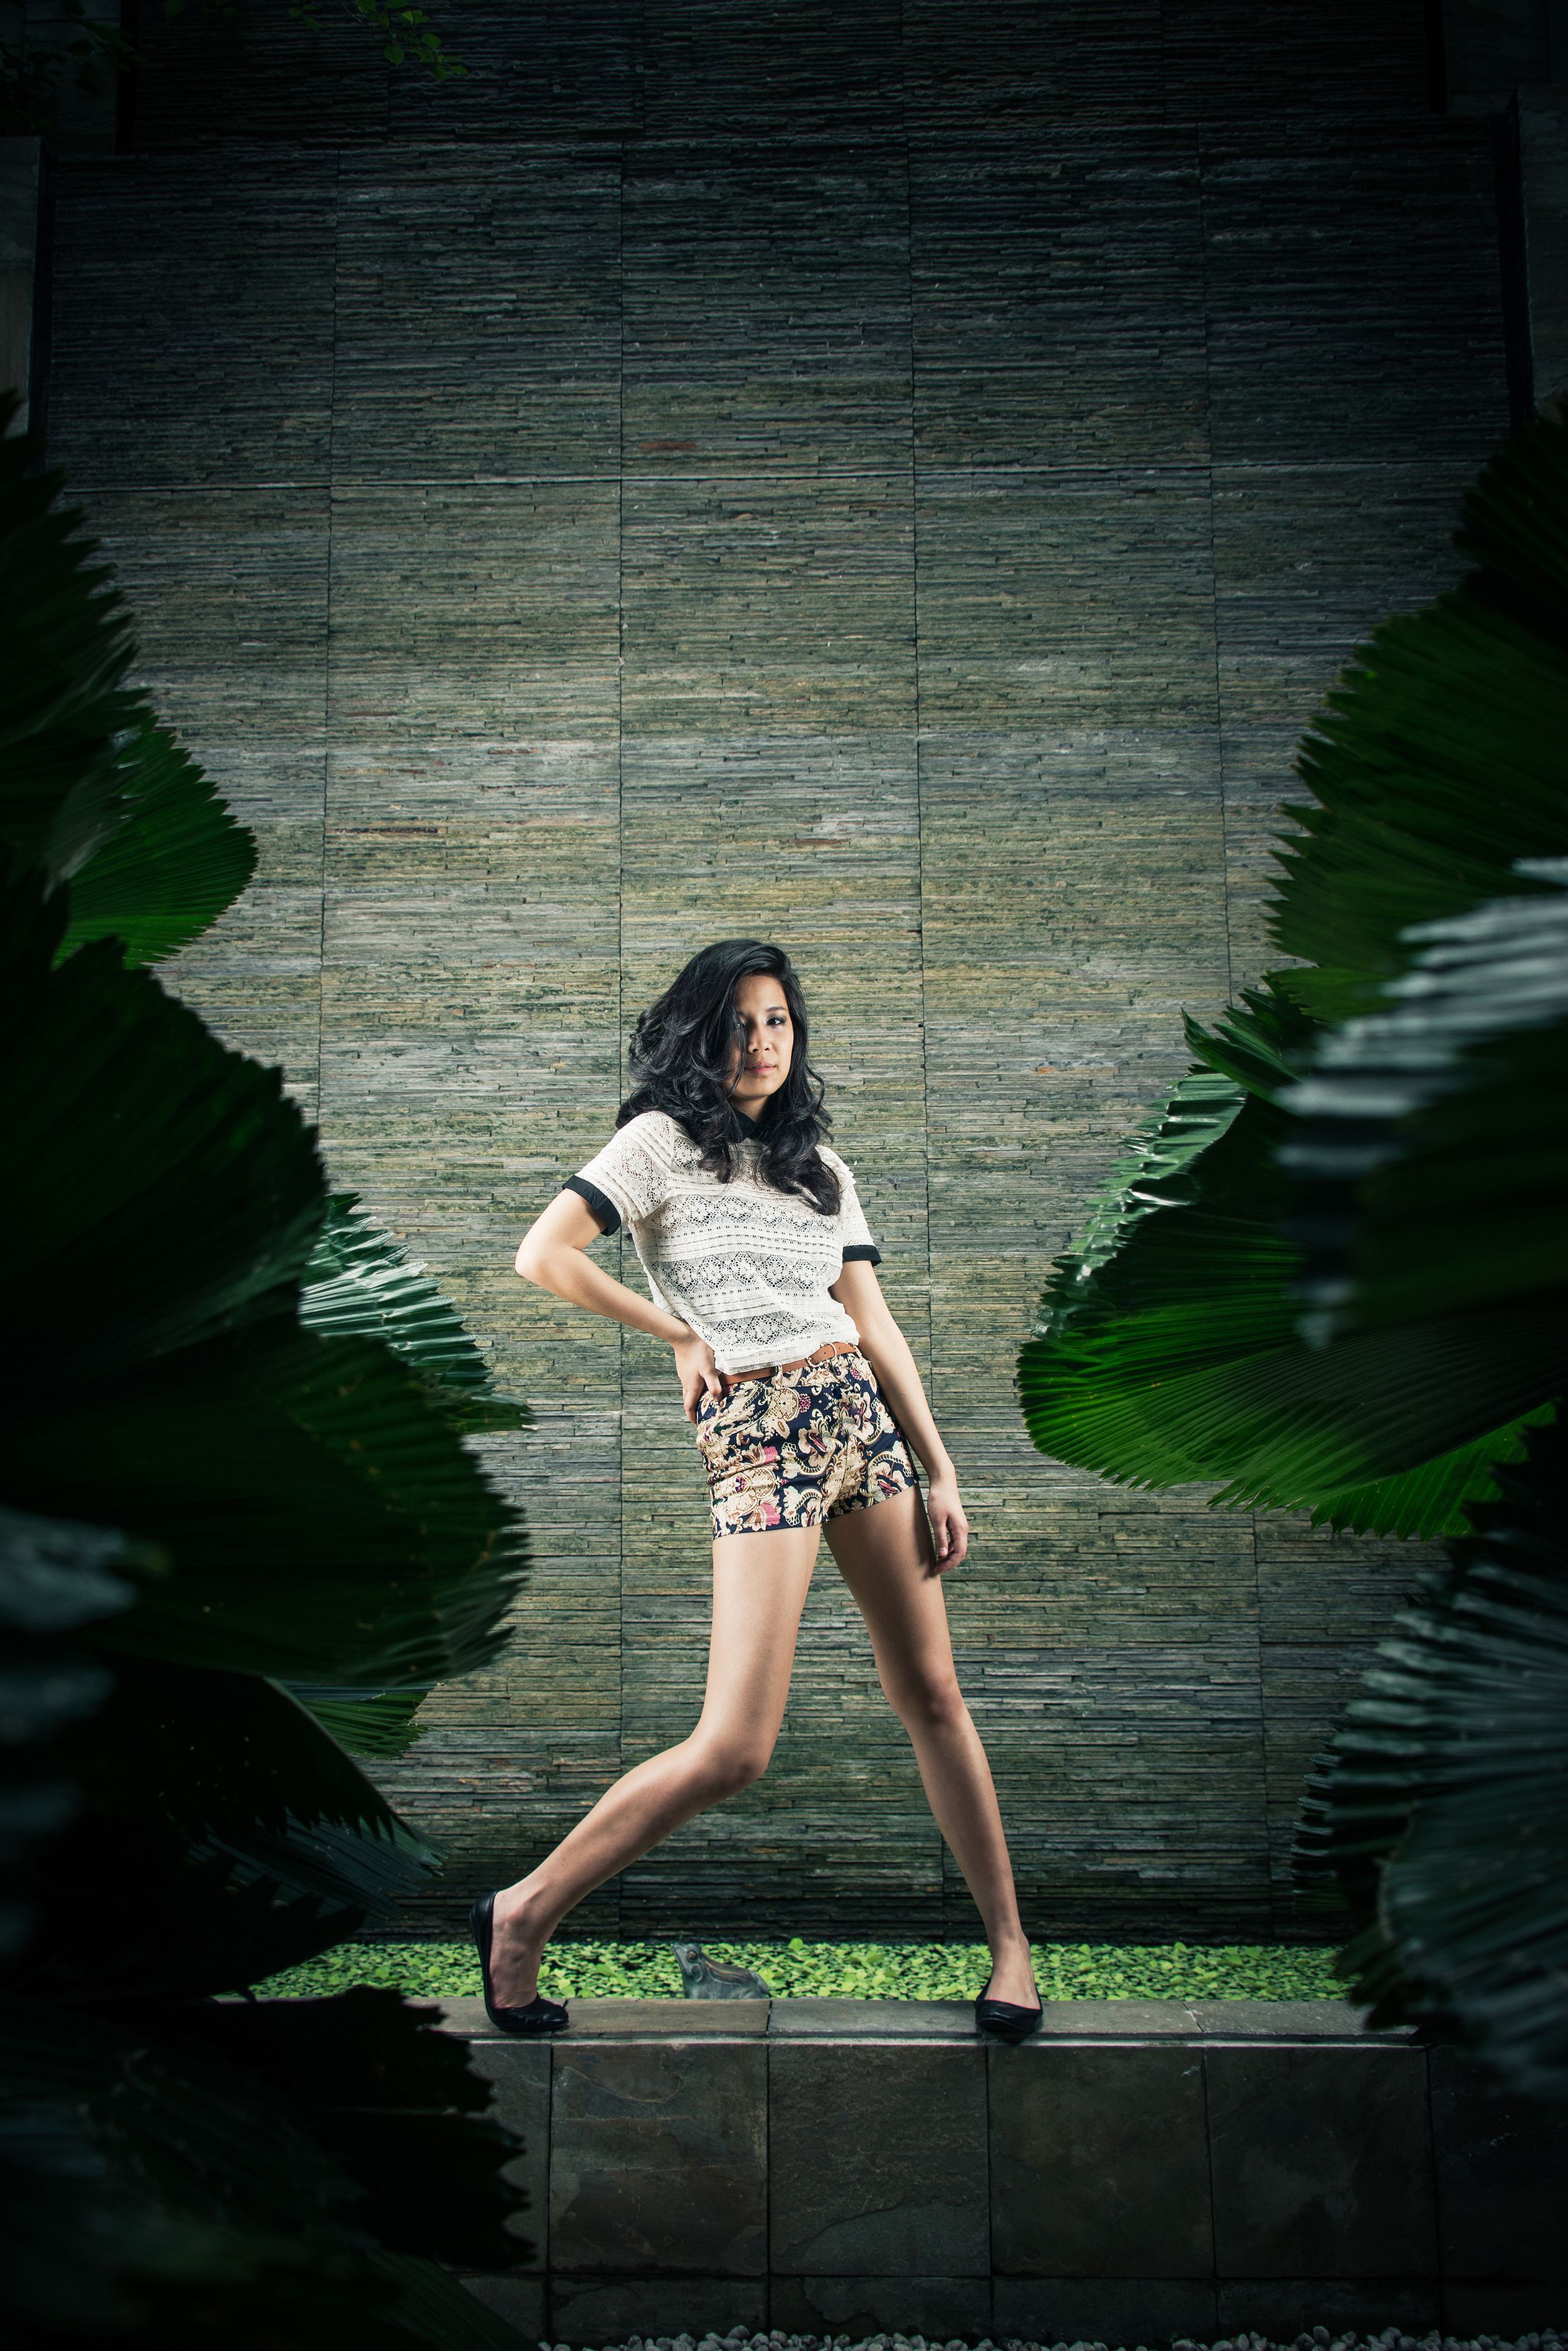
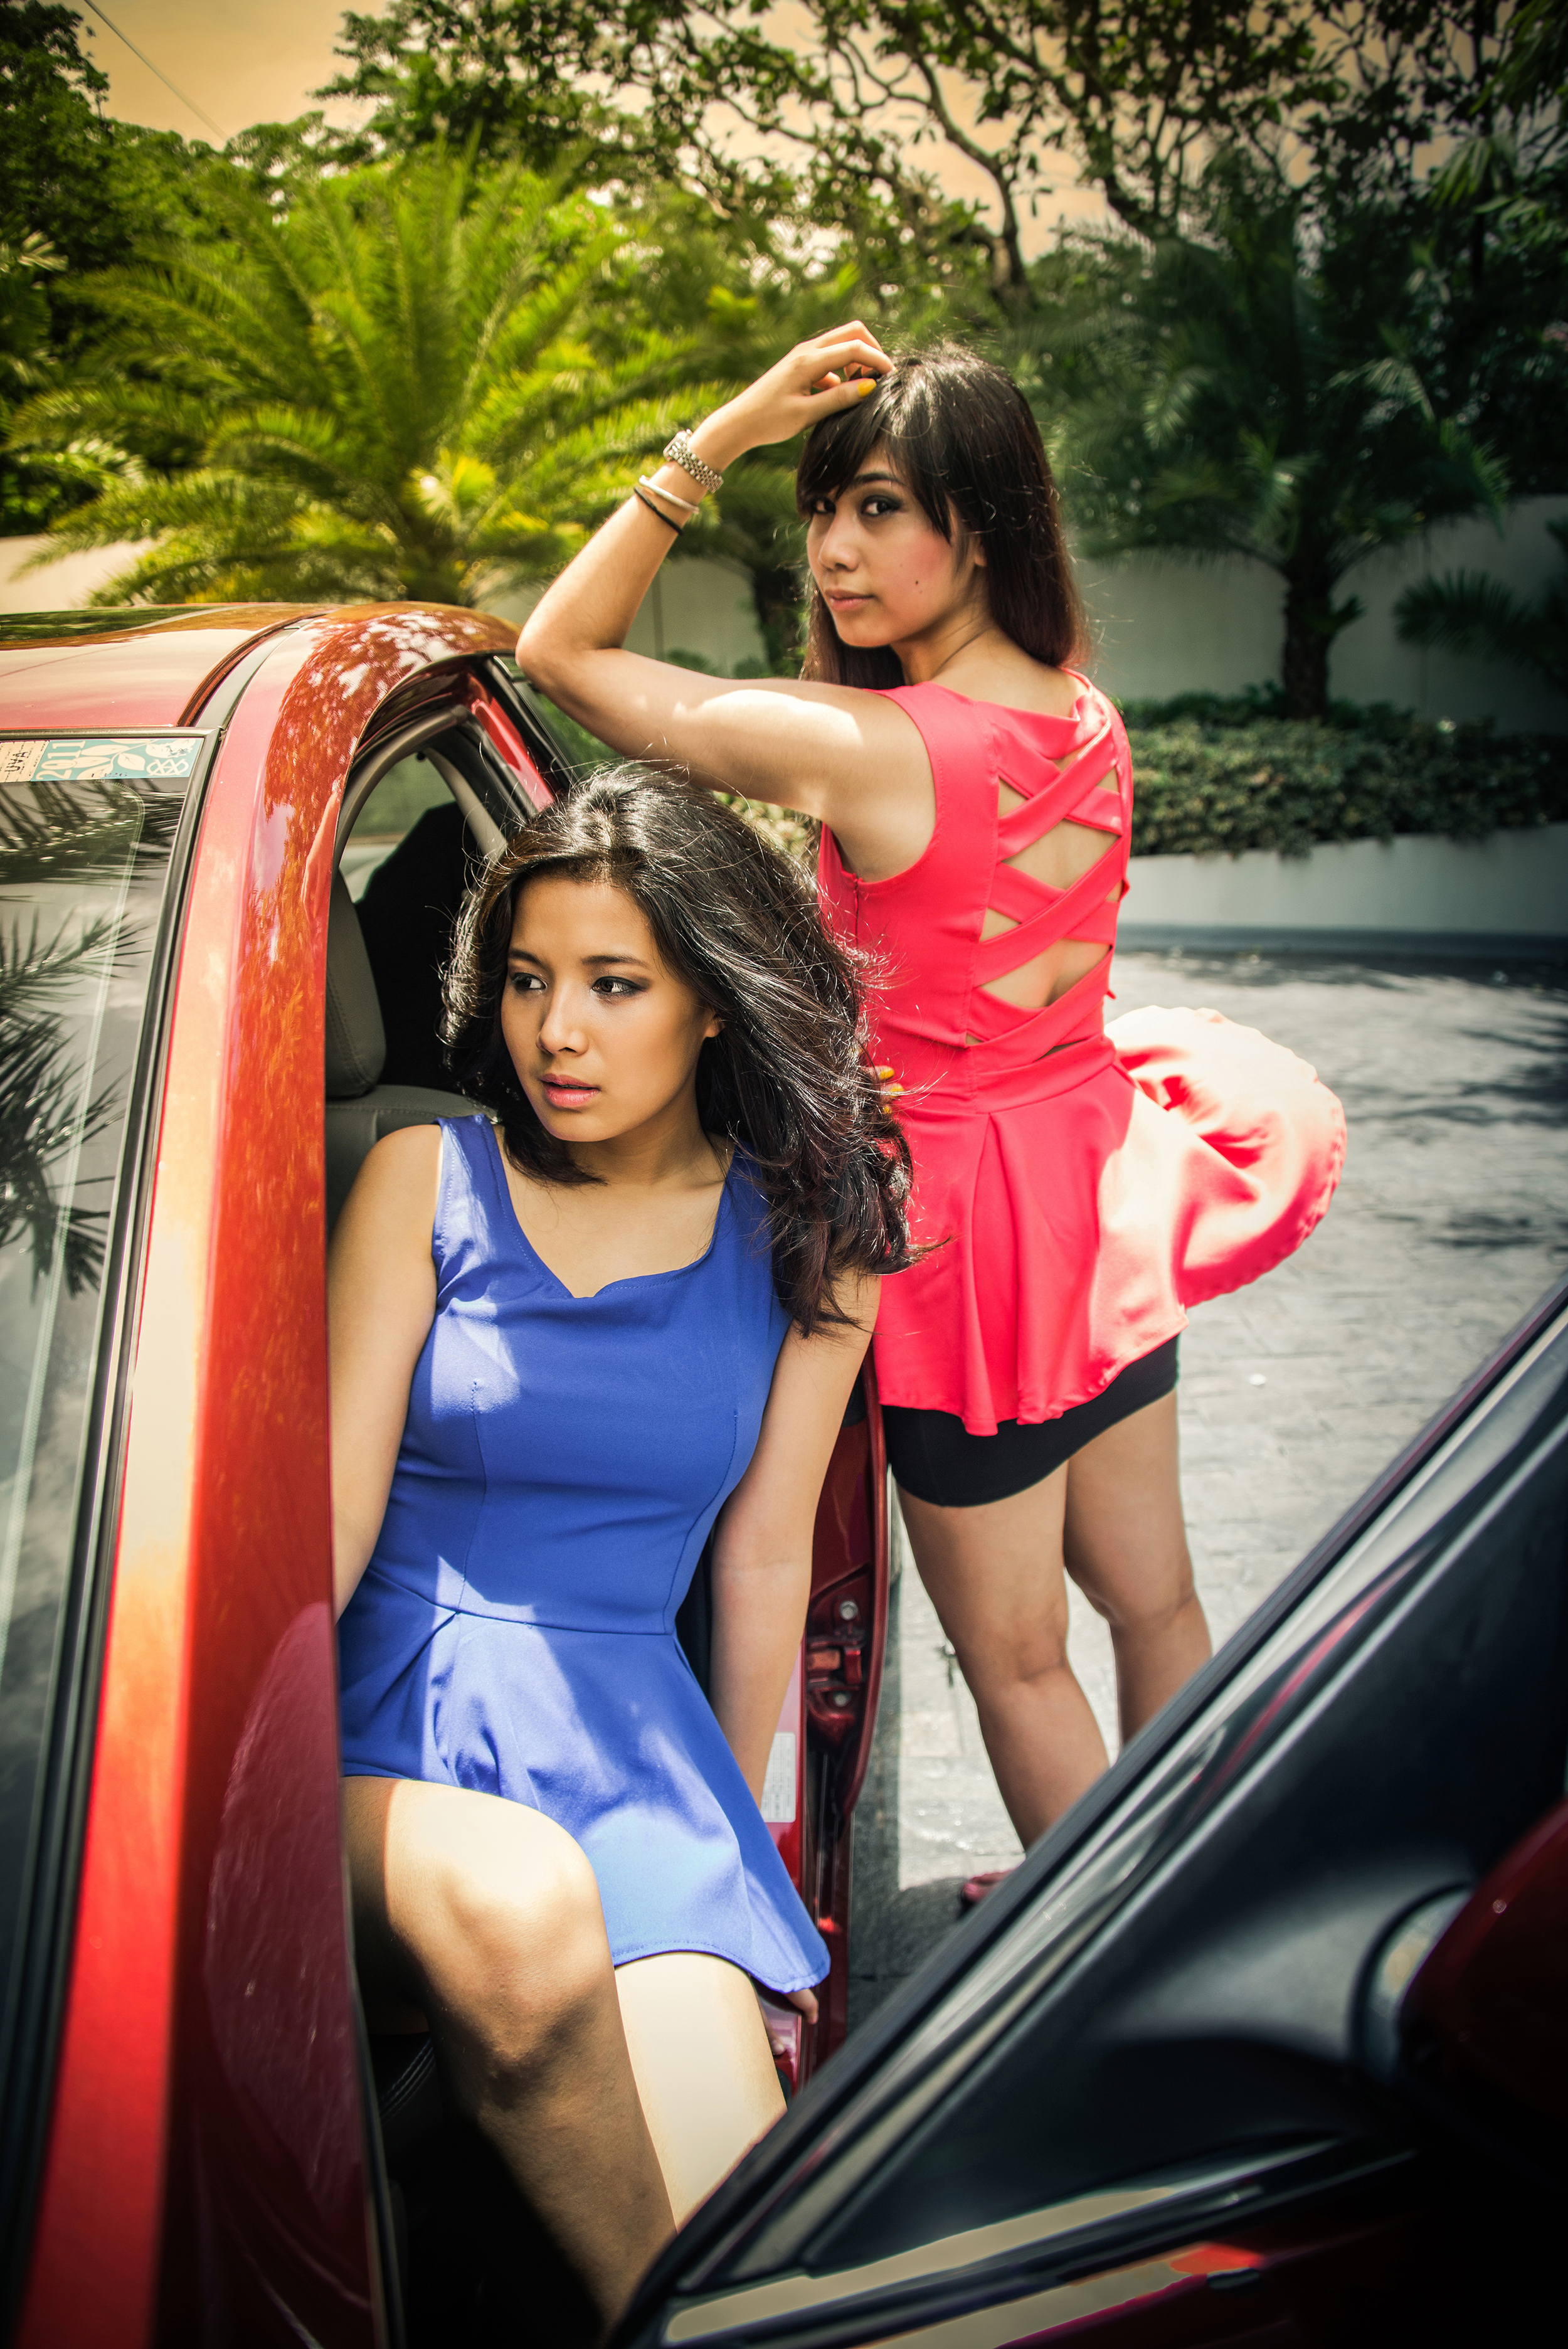
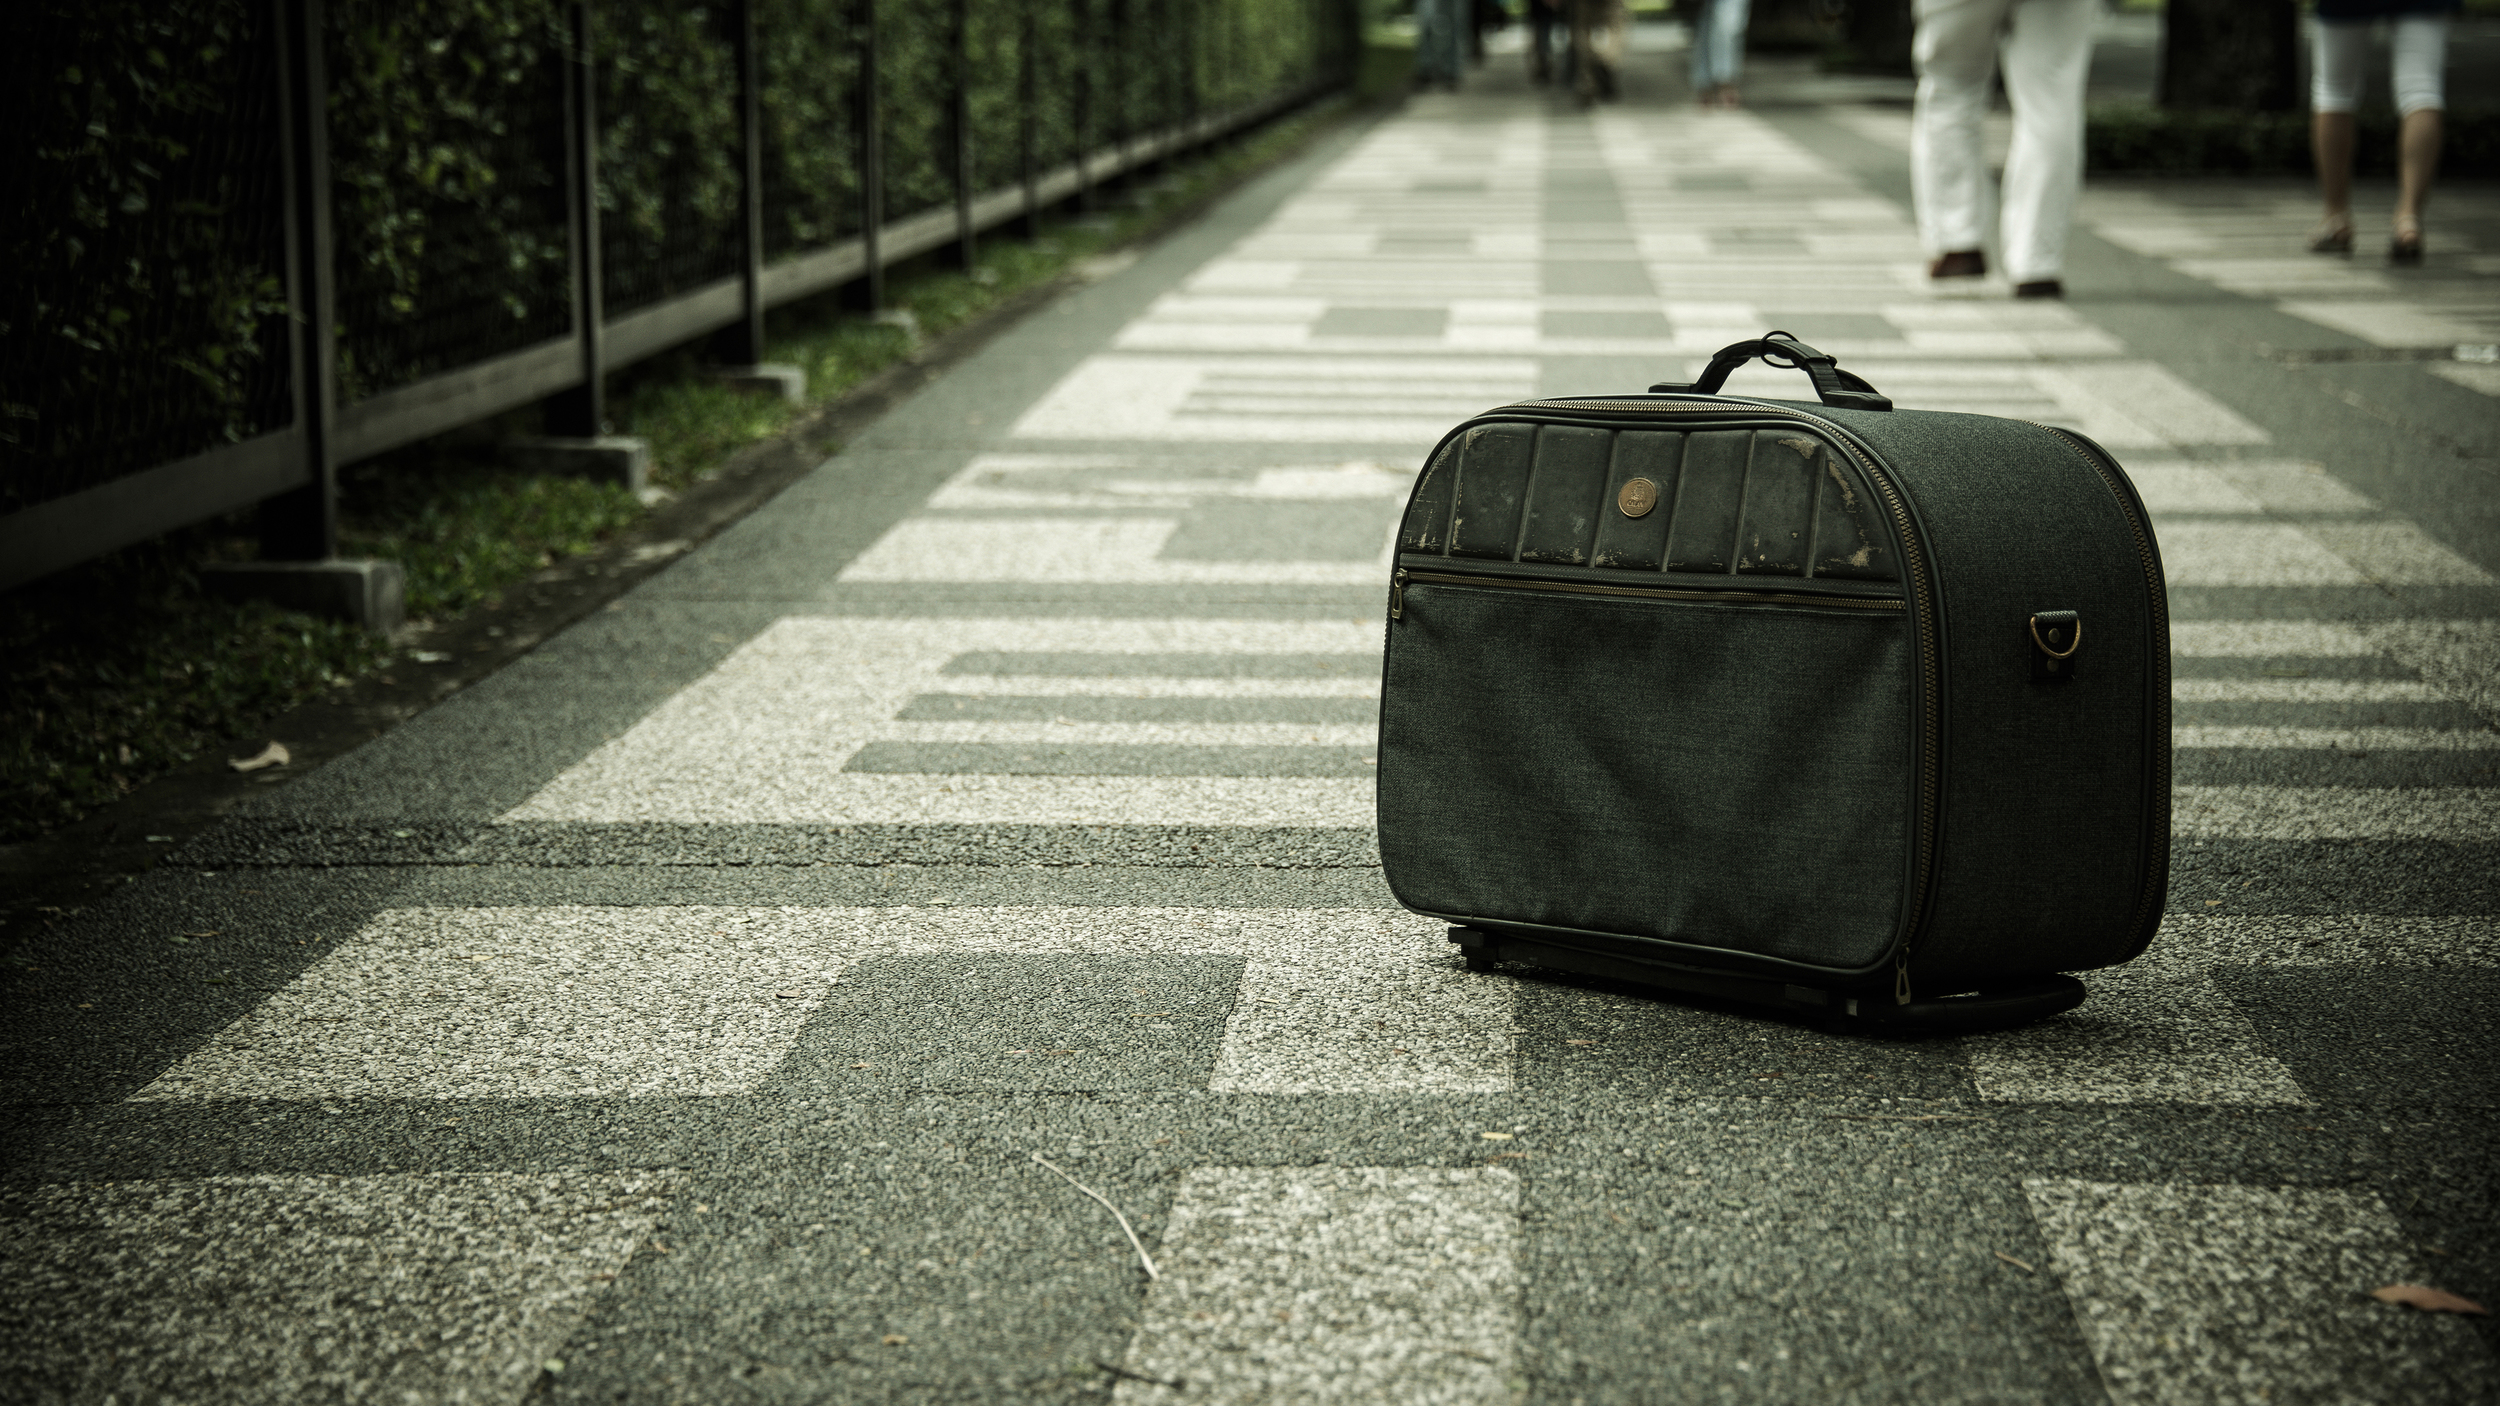
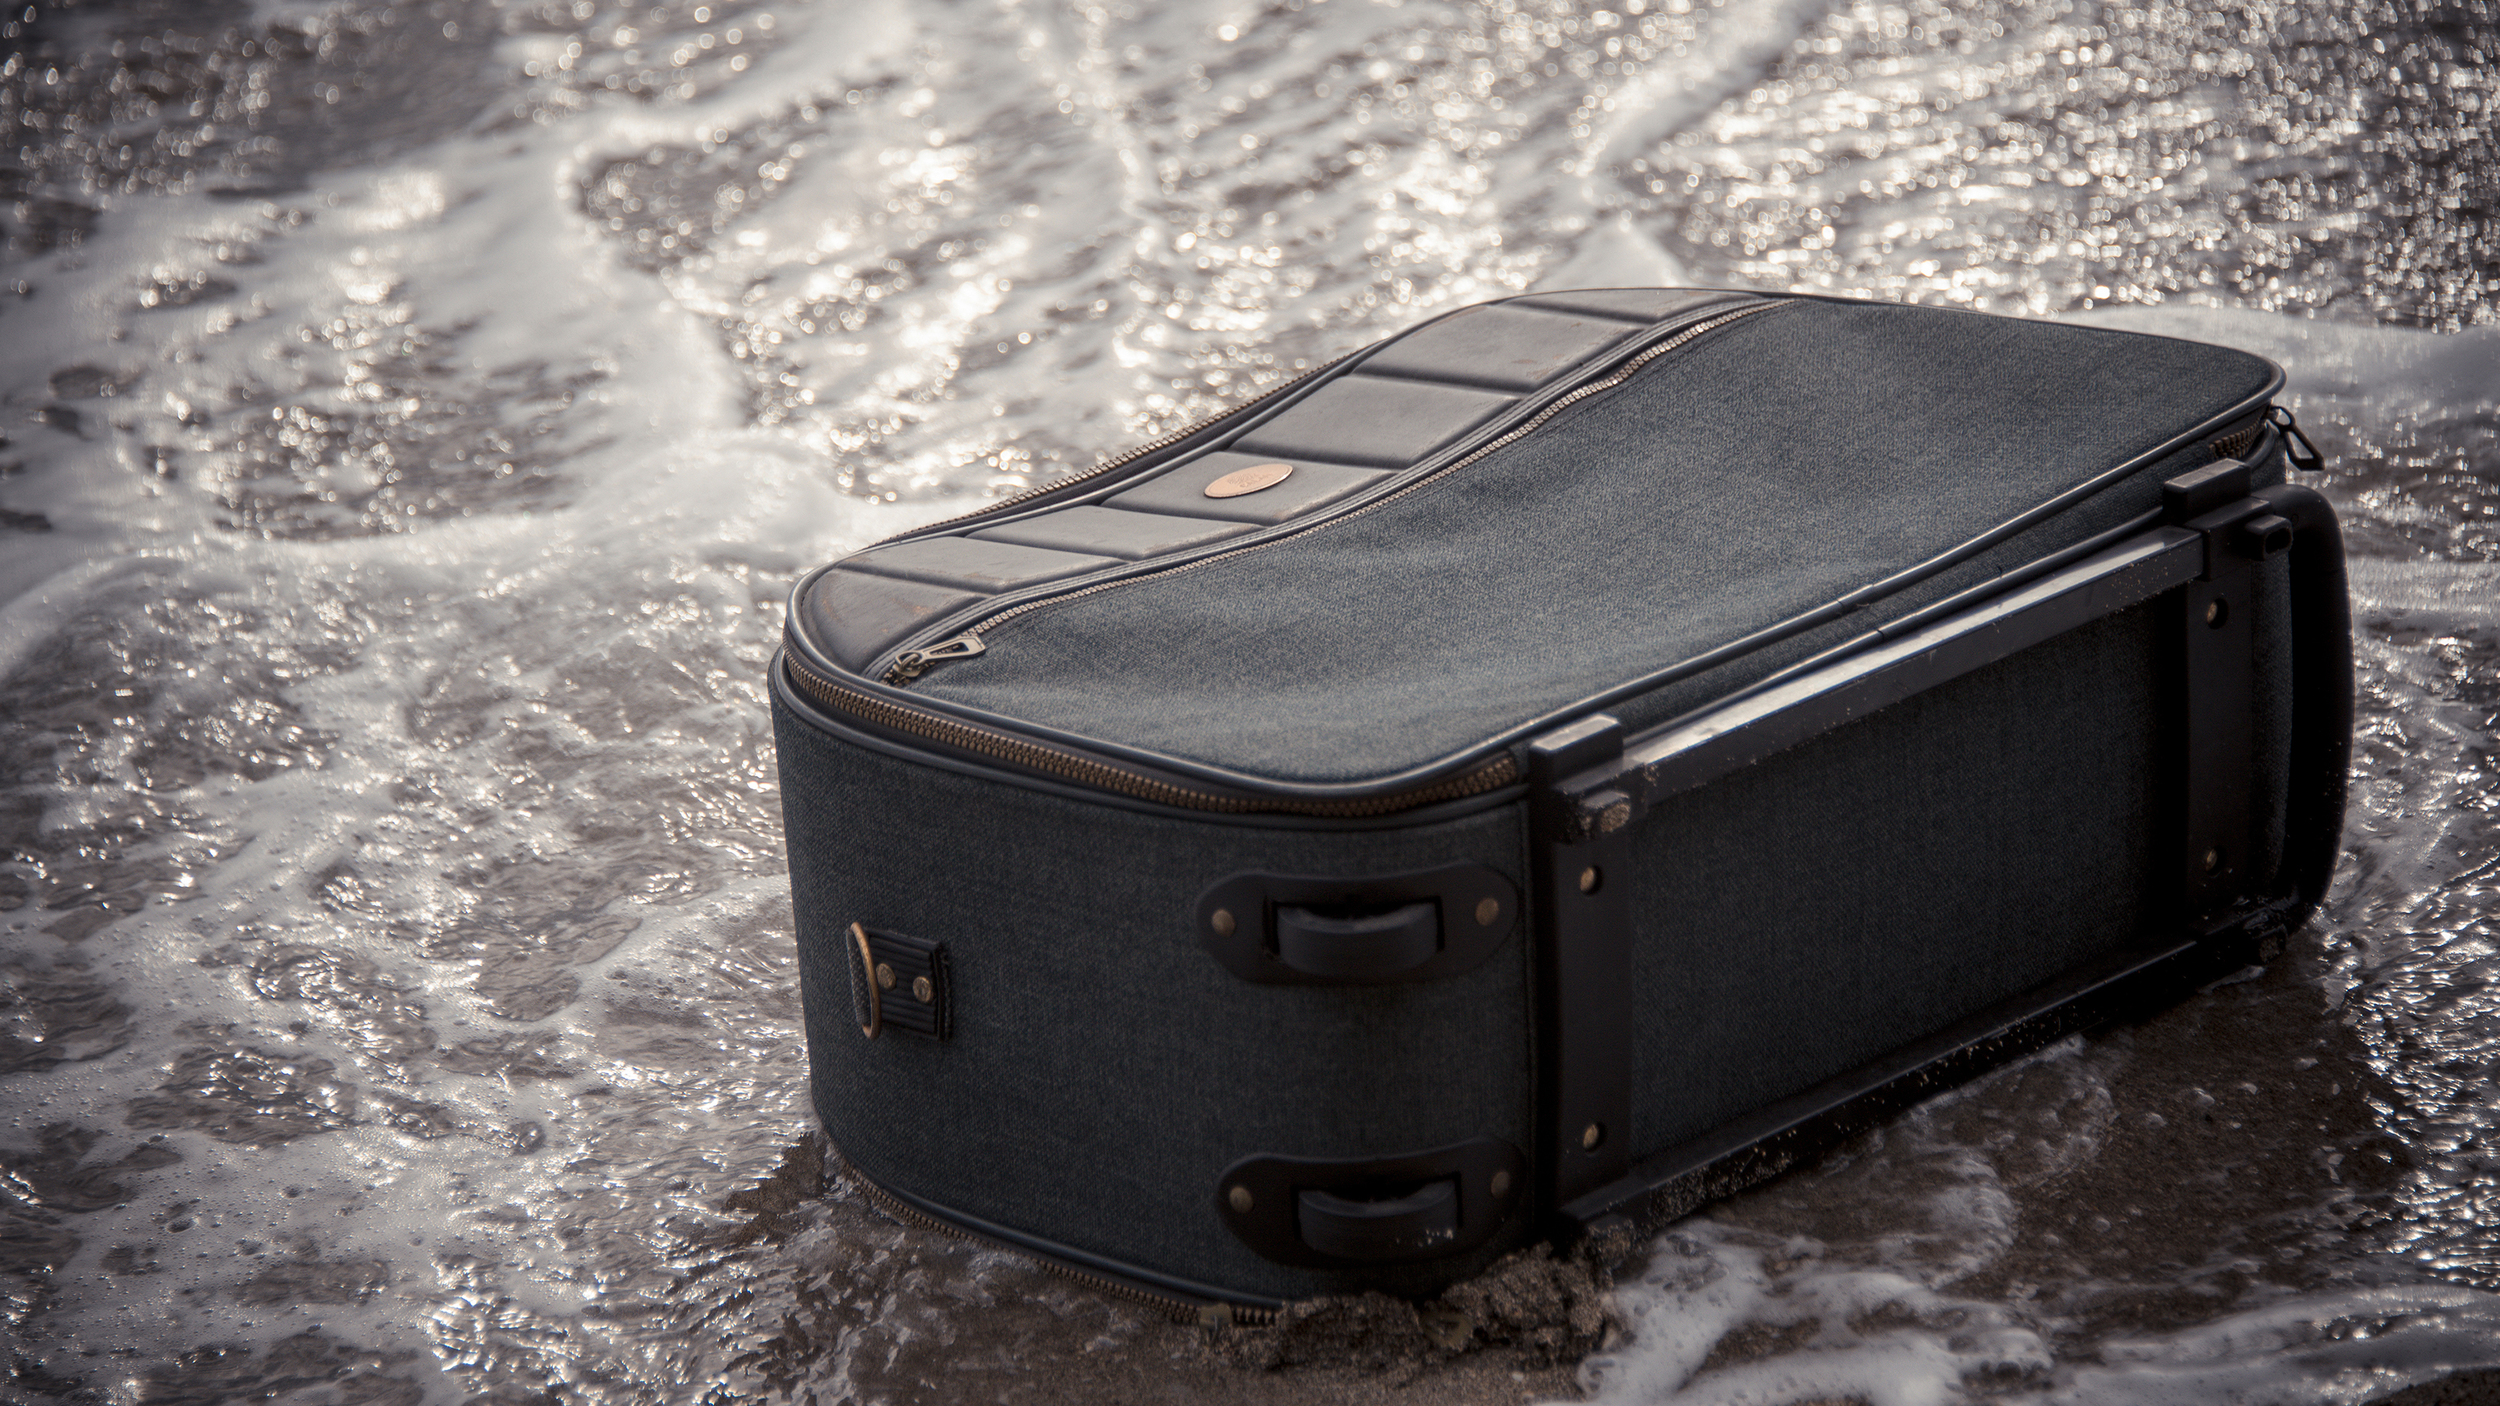
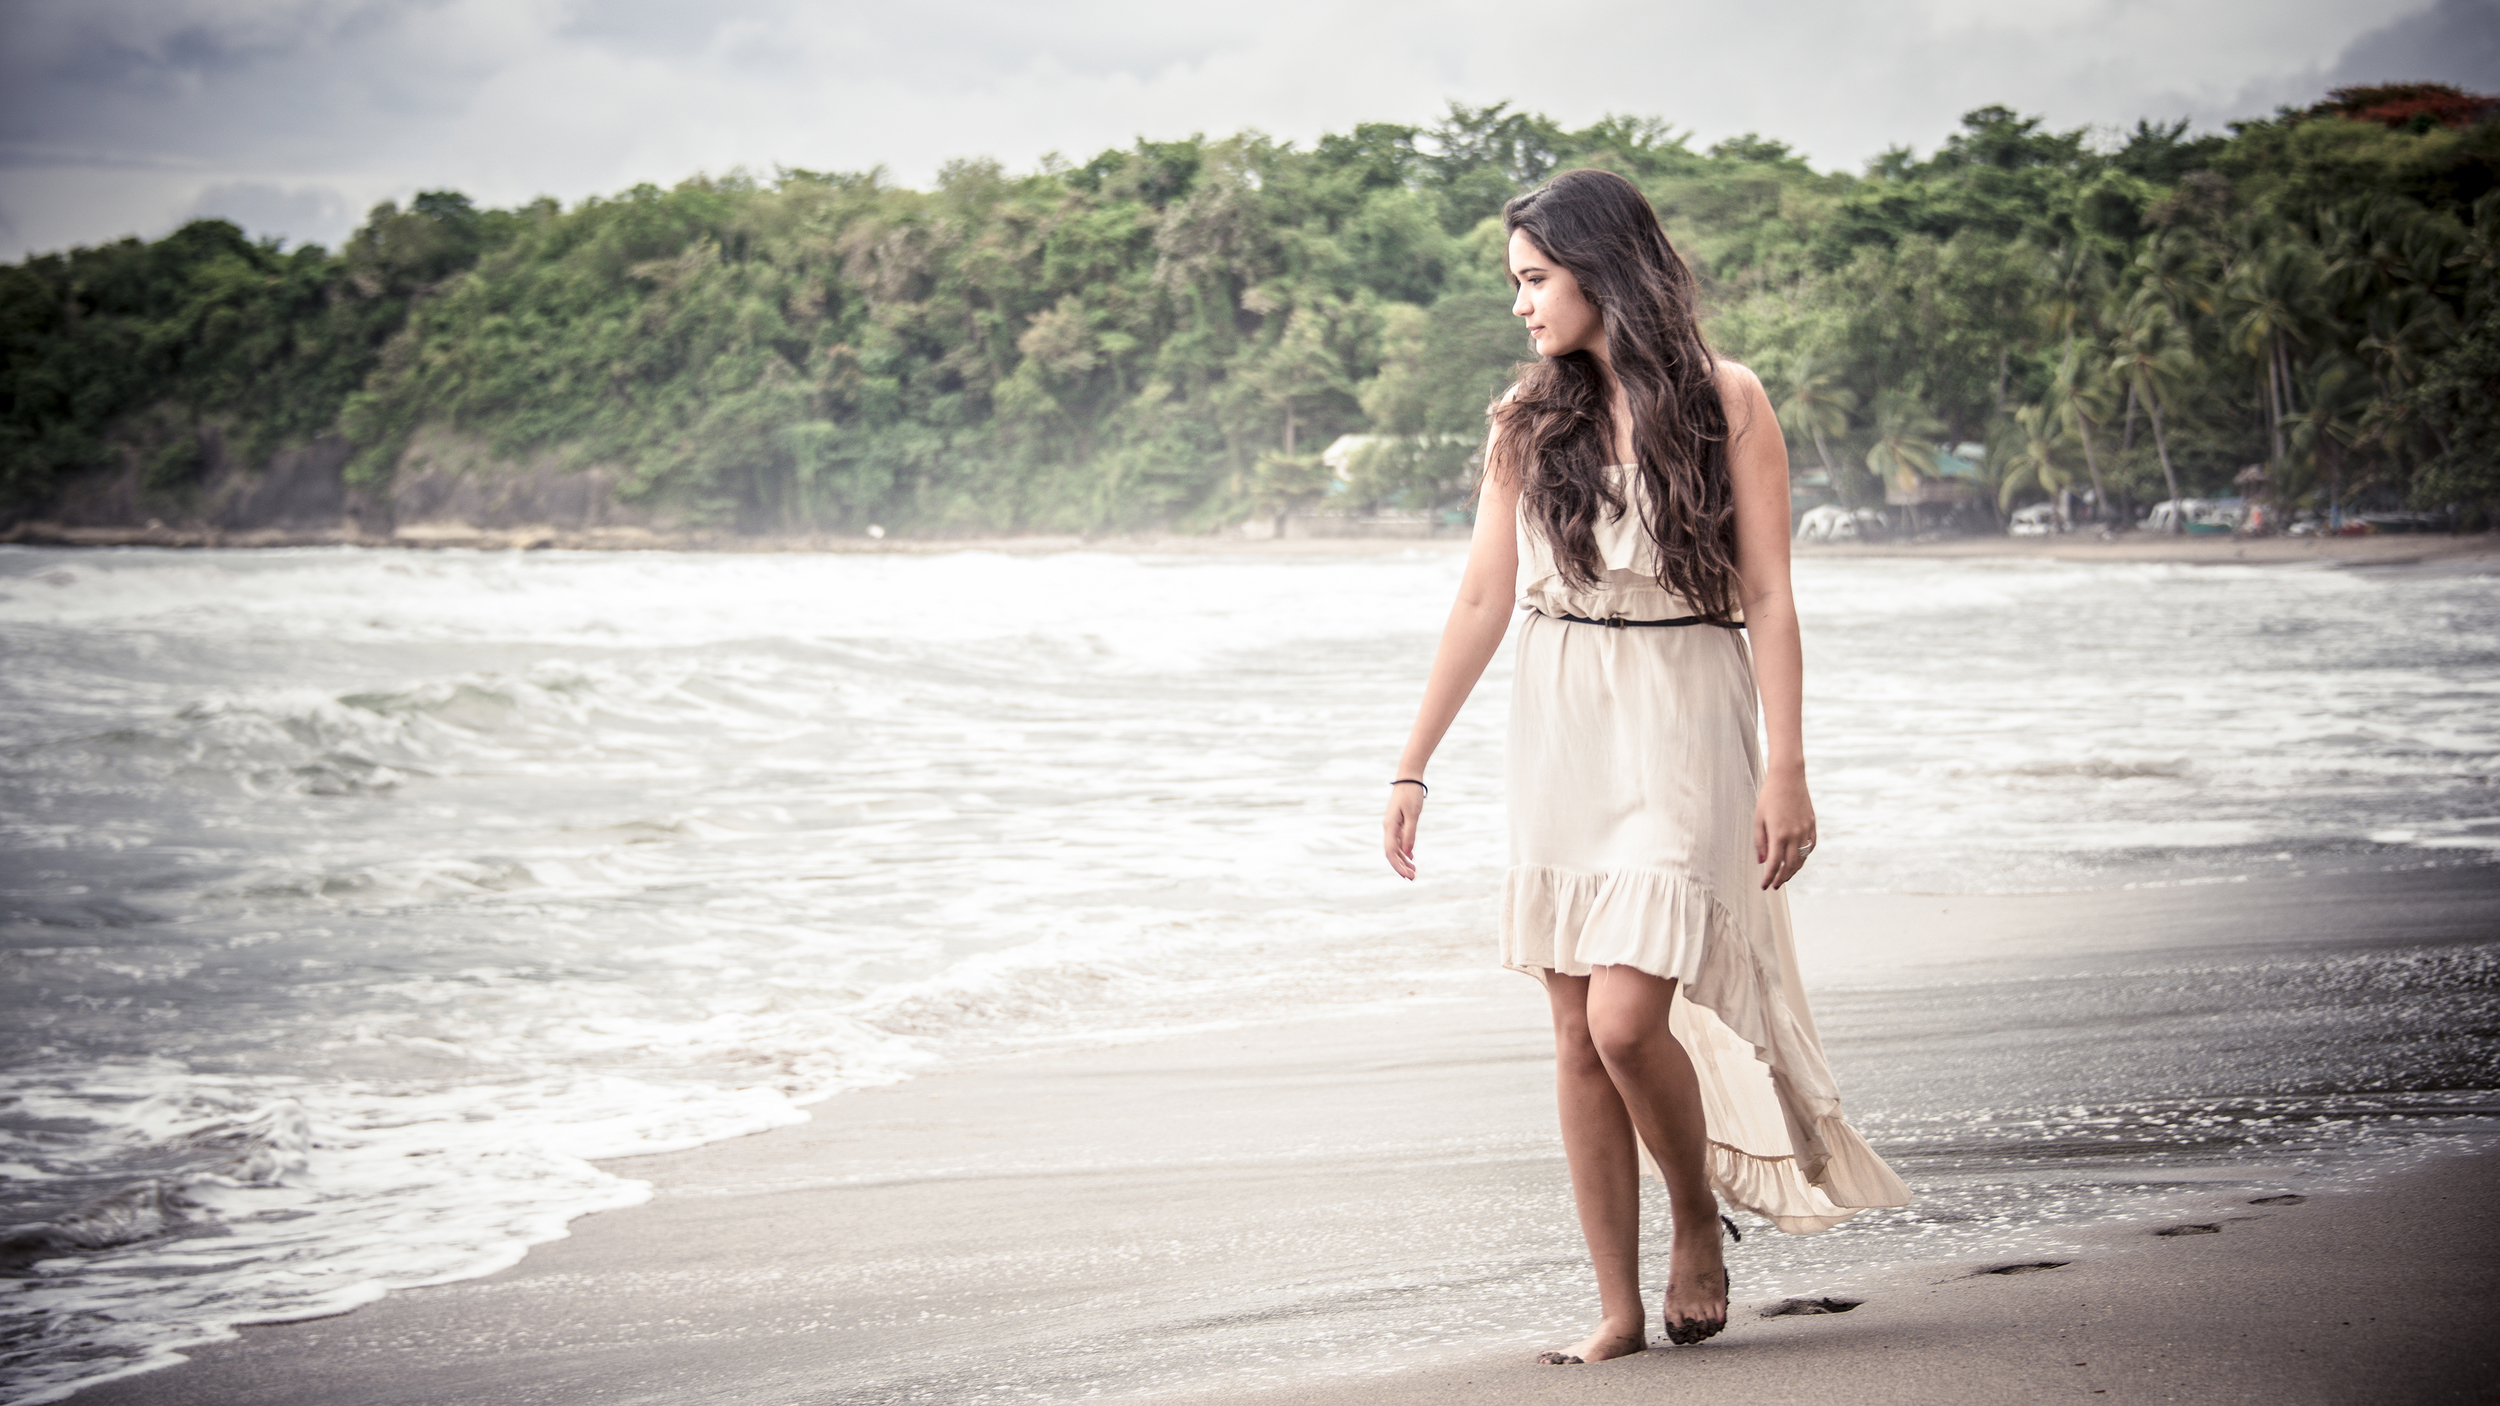
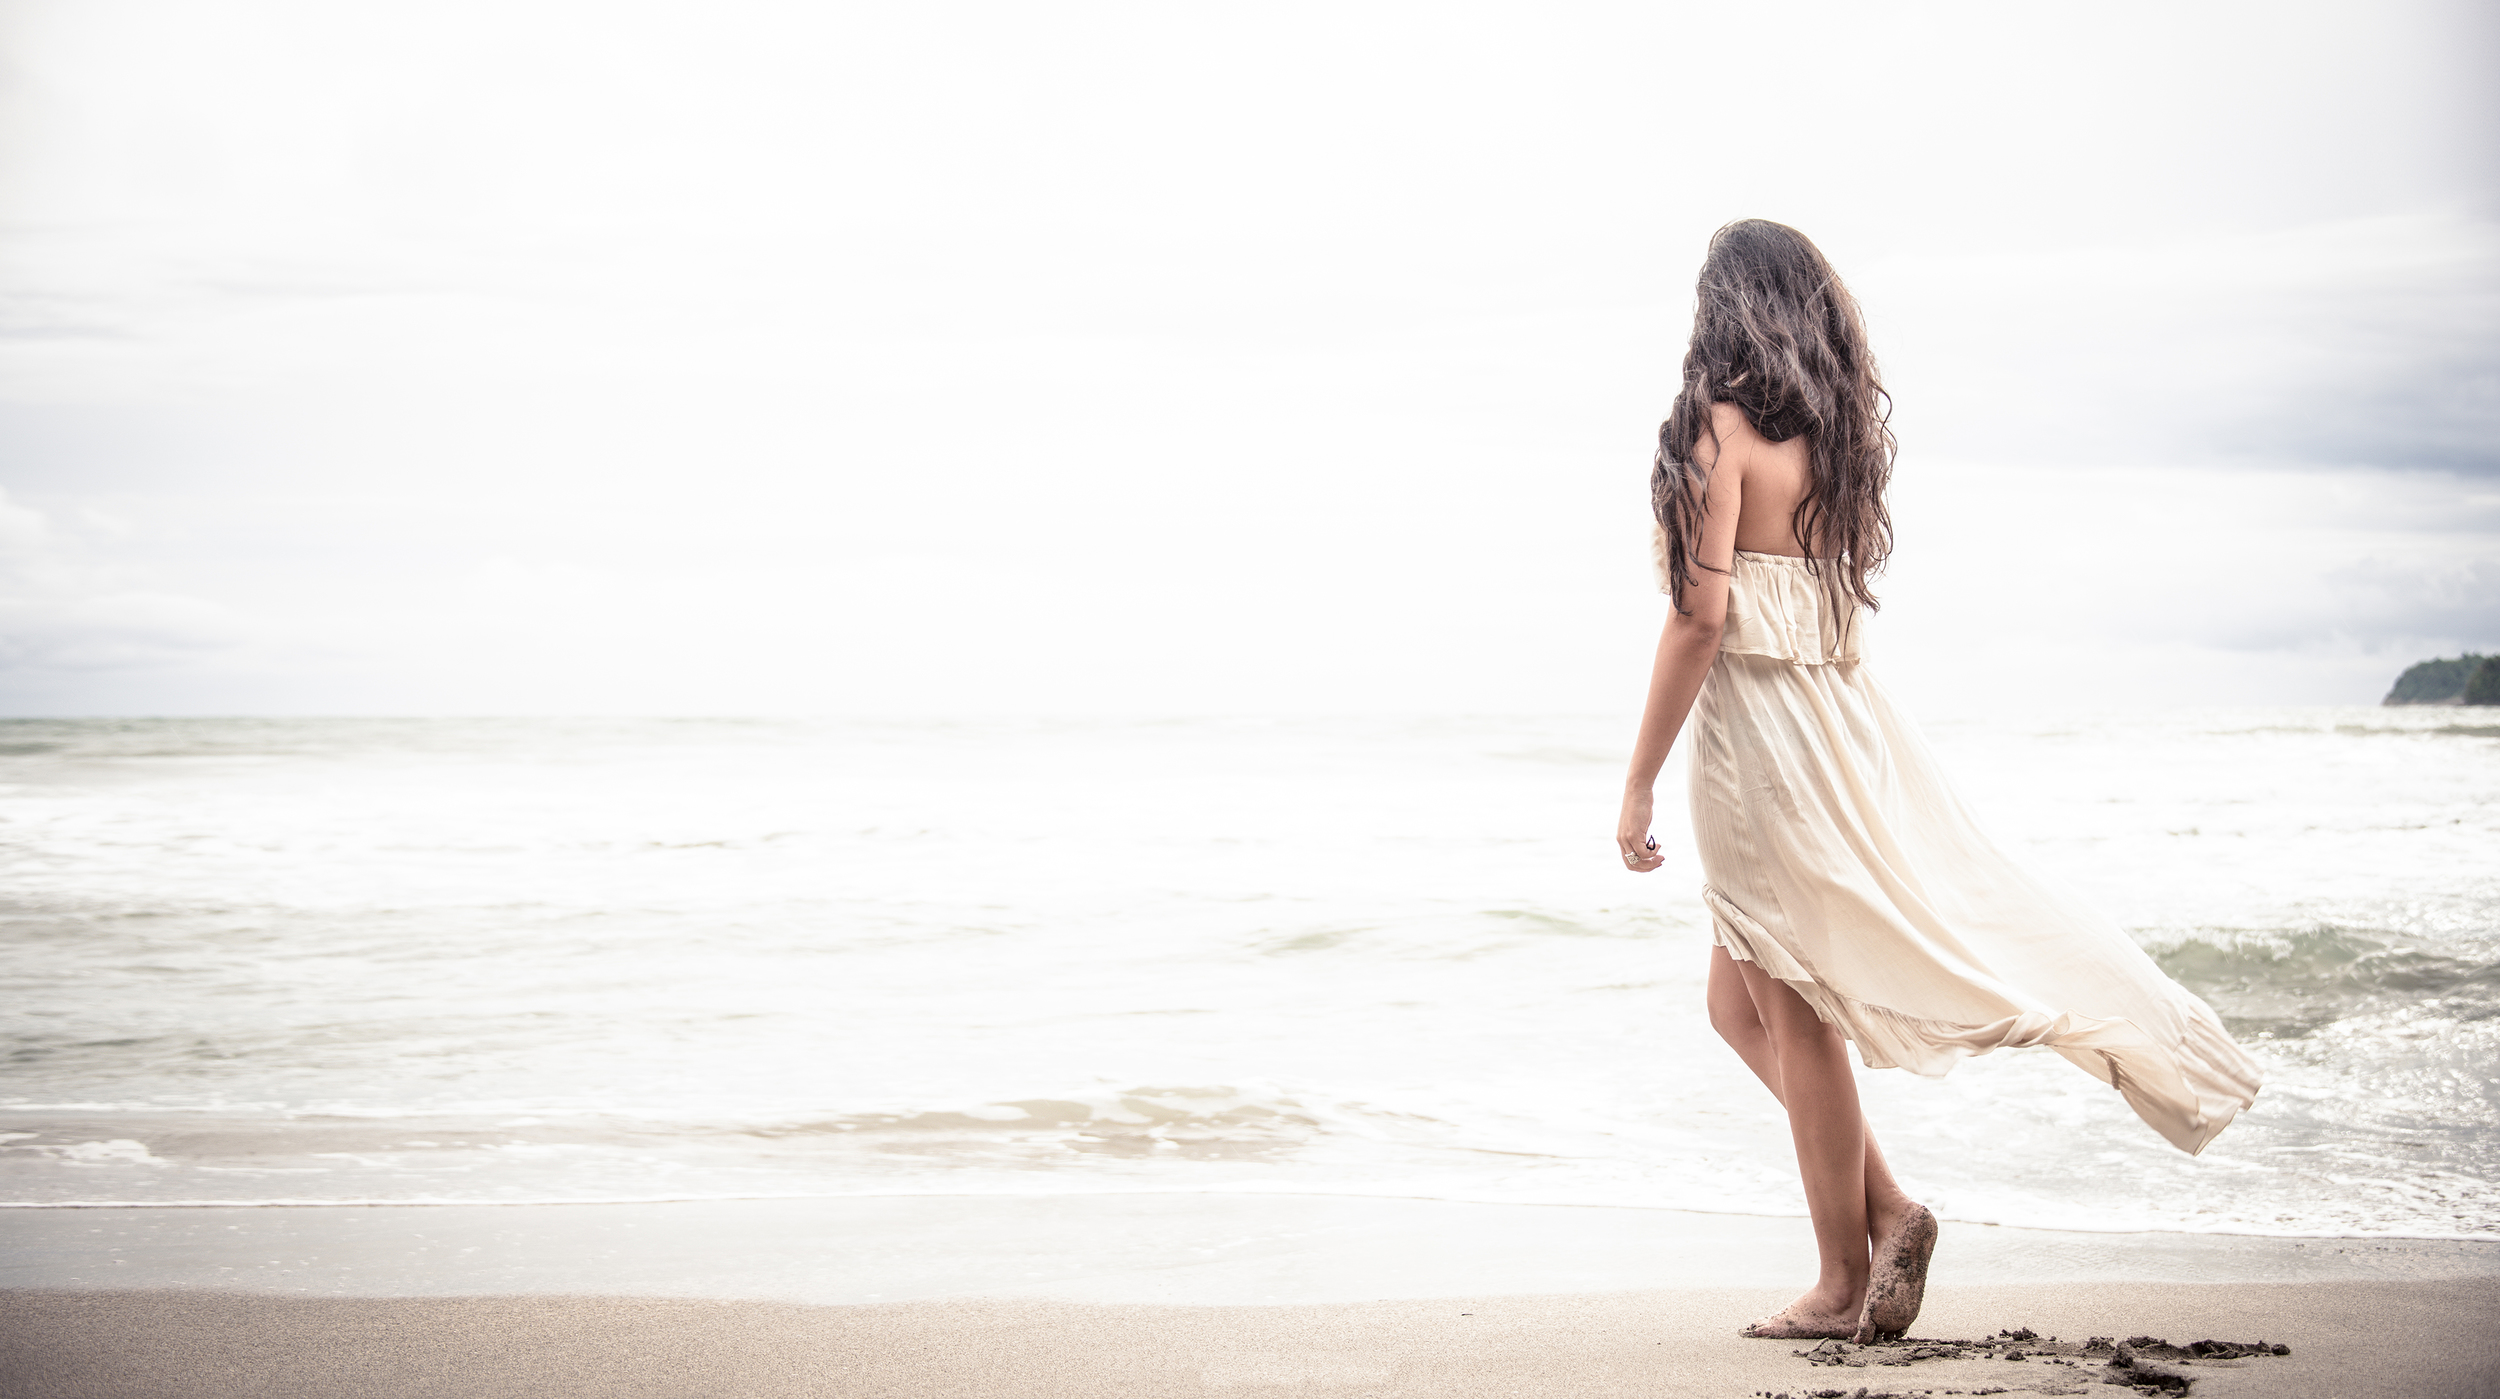
Here are more photos from the series: